It’s time for another not-tutorial, by someone who doesn’t actually know what they’re doing! Just like my attempts at dyeing aida fabric, I mainly just want to share my process so you can learn from my mistakes. This time, I’ll be turning some cross stitch designs into iron-on patches.
At this point, I’m not even sure what I want to iron the completed patch on to, but that’s not important right? It is a commonly requested tutorial, so I thought I’d give it a go.
This post may contain affiliate links. If you buy something using one of these links, I earn a small commission. However, there is no extra cost to you. Thanks for understanding! Learn more in my Disclosures & Privacy Policy.
Table of Contents
Materials
To start off, I spent some time doing ‘research’ online. I didn’t find too much specific to just cross stitch, and had to settle for tutorials geared towards people with embroidery machines. Regardless, I did notice a trend.
Every single article I found referenced the same product — HeatnBond UltraHold Iron-On Adhesive. Thankfully, this is a pretty inexpensive item, so I picked up a pack and decided to give it a go.
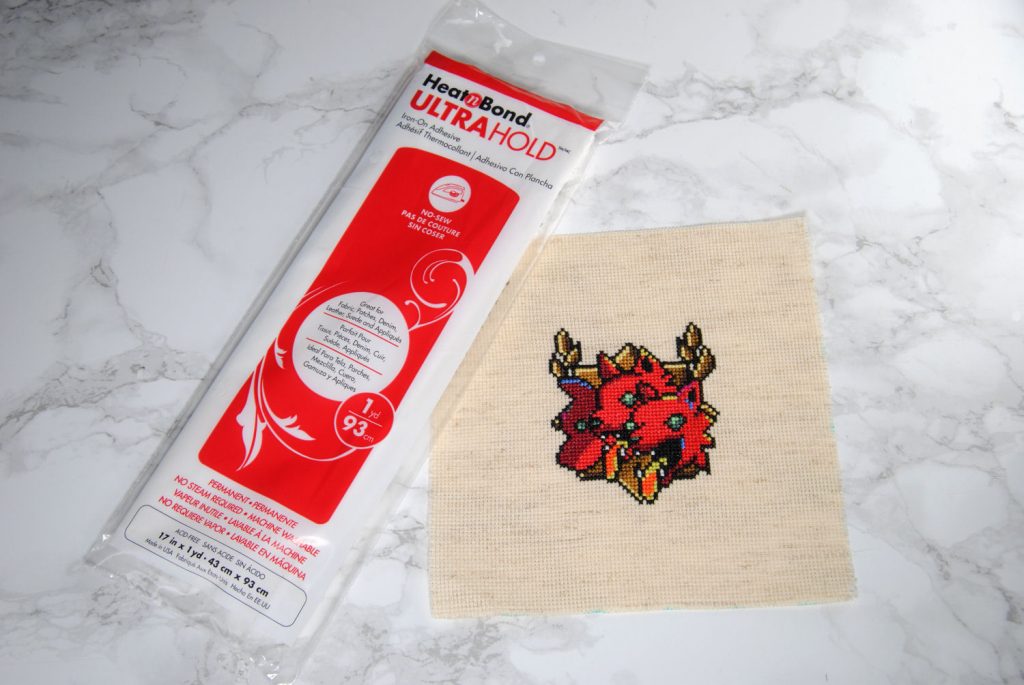
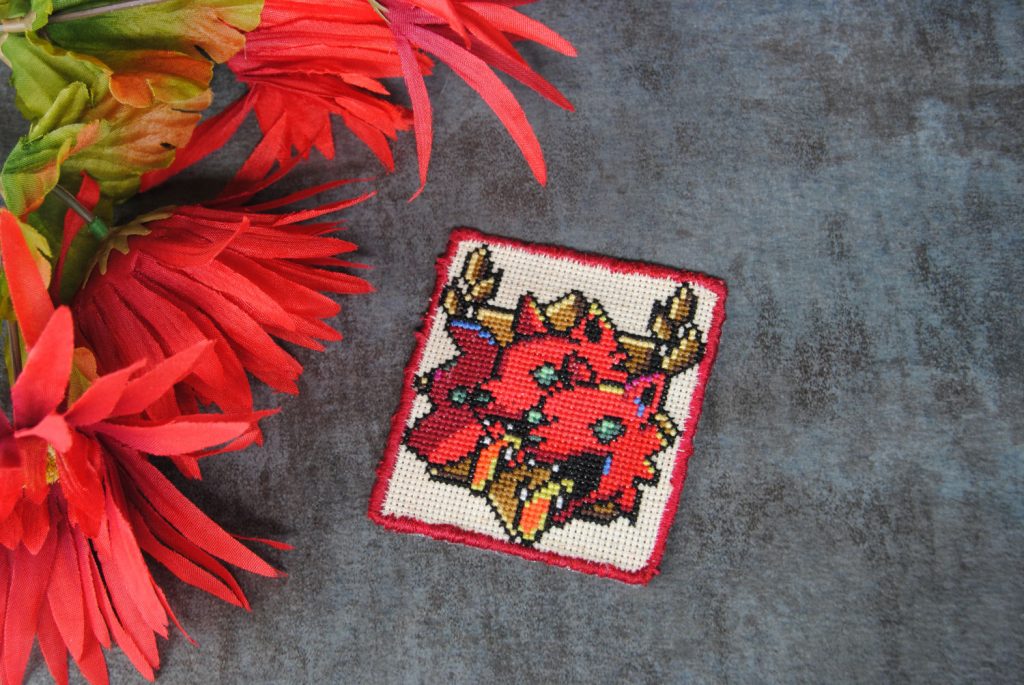
My ultimate plan being to turn this adorable Cerberus pattern into a patch! But since this is my first attempt, I’ll be using a test pattern instead.
Before we jump in though, let’s look at the instructions on the package–
Instructions
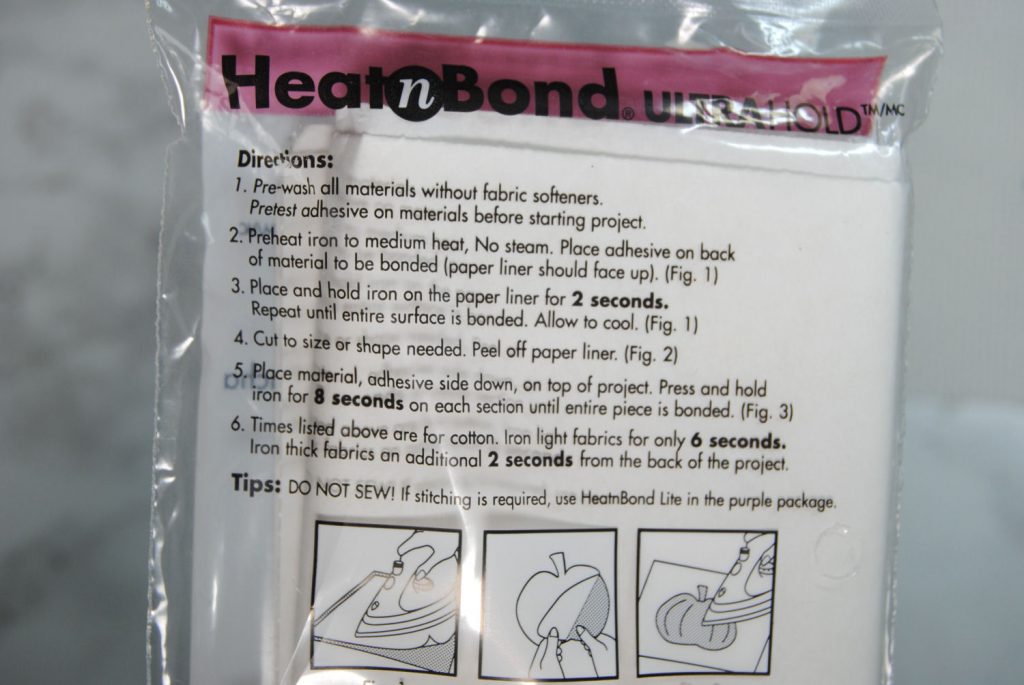
- Pre-test adhesive? I guess that counts if we’re doing a test first. Check.
- Medium heat, no steam. Good to know!
- Paper liner face up, alright. Iron for 2 seconds and allow to cool. Pretty quick bond, then.
- Cut and peel. Then iron the patch onto your final target. Cool. Fairly straightforward.
“DO NOT SEW” — oh. Okay. Guess we should do THAT first, then.
Test Patch
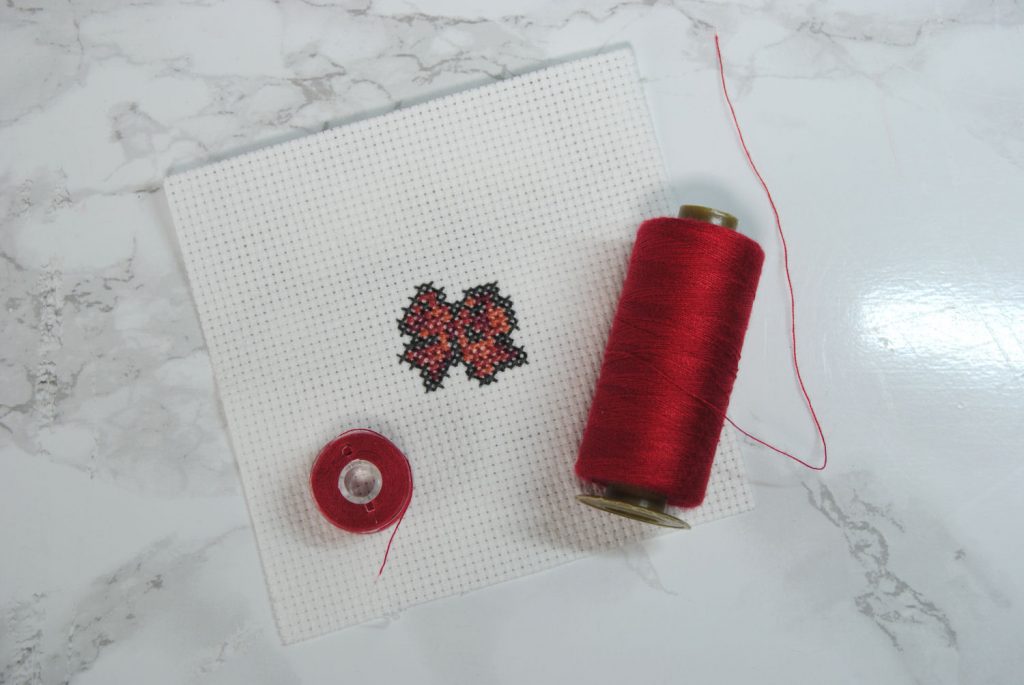
While not strictly necessary, one of the most common features of iron-on patches is that thick thread border. So let’s see if we can recreate that. I do have a sewing machine, so I may as well use it. Don’t worry, later I’ll try it by hand too.
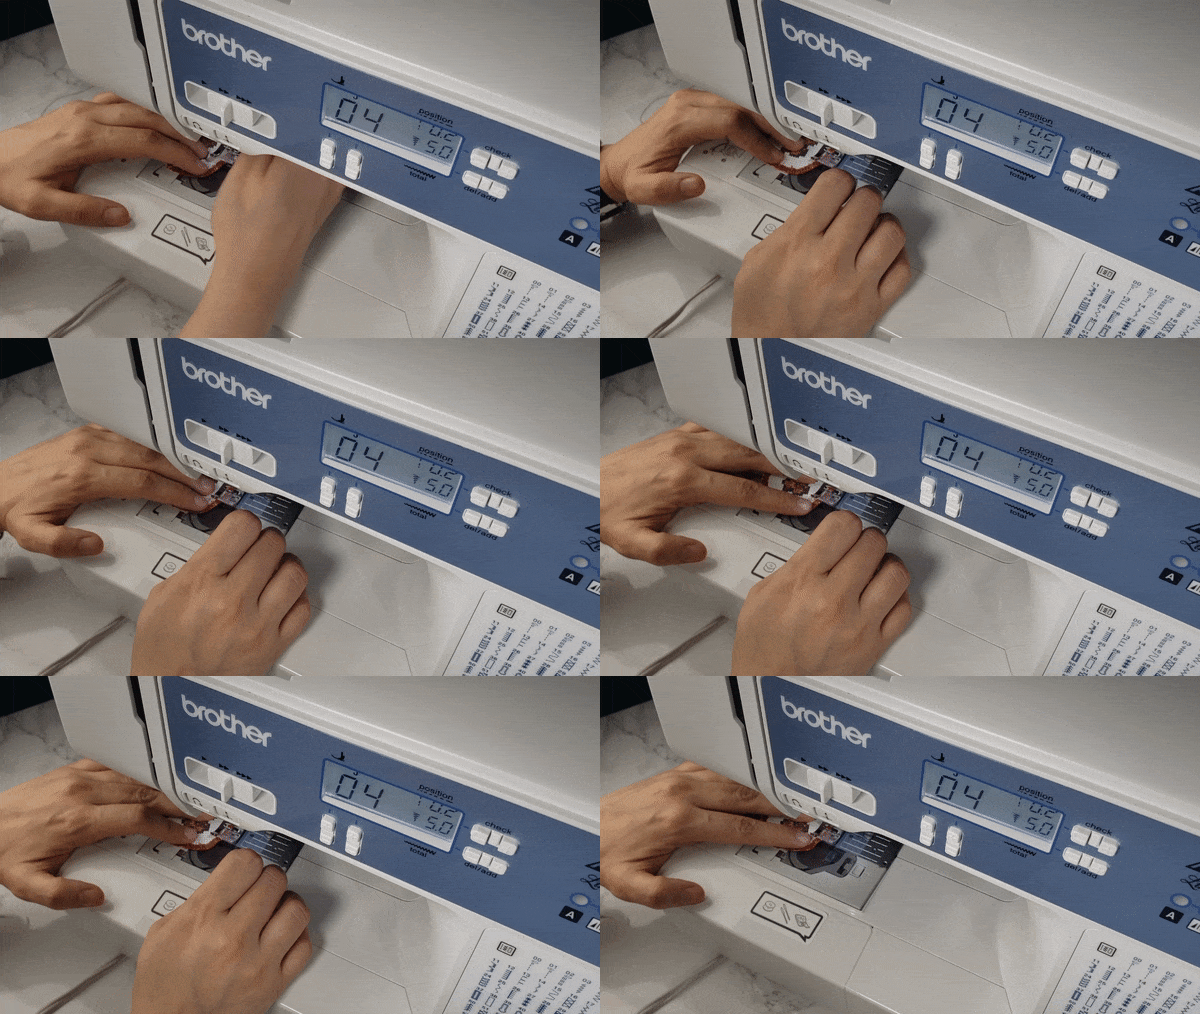
Thinking myself mighty clever, I traced a circle on the back of my stitch, and then sewed an outline following that. For reference, I used a zig-zag stitch at a height of 5 and width of 0.2.
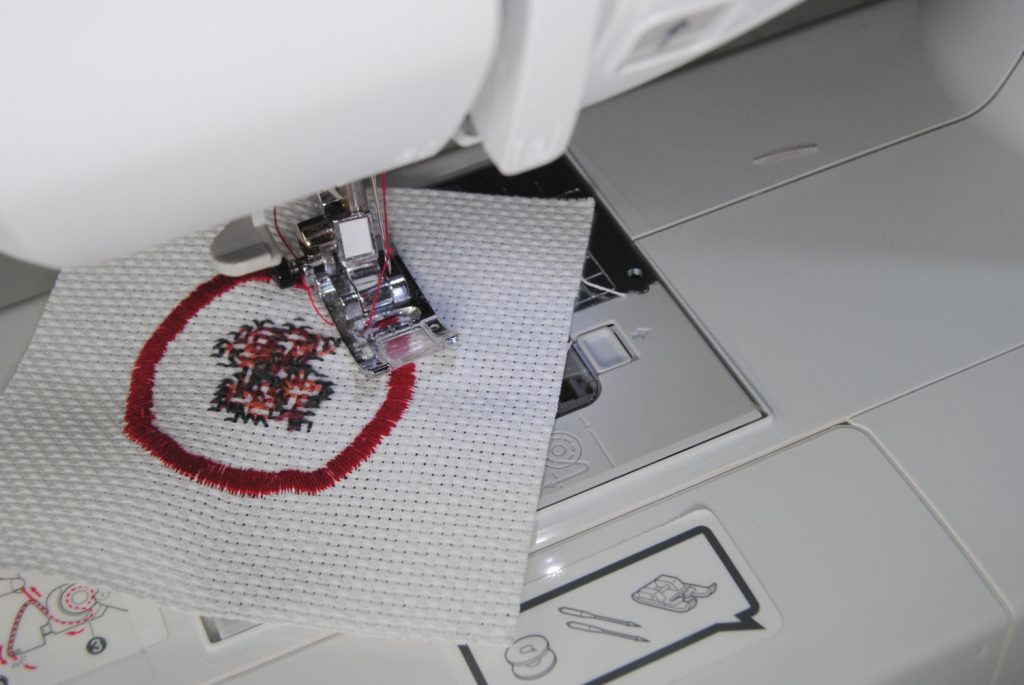
Awesome, that looks just like an iron-on patch! Let’s go ahead and cut it out.
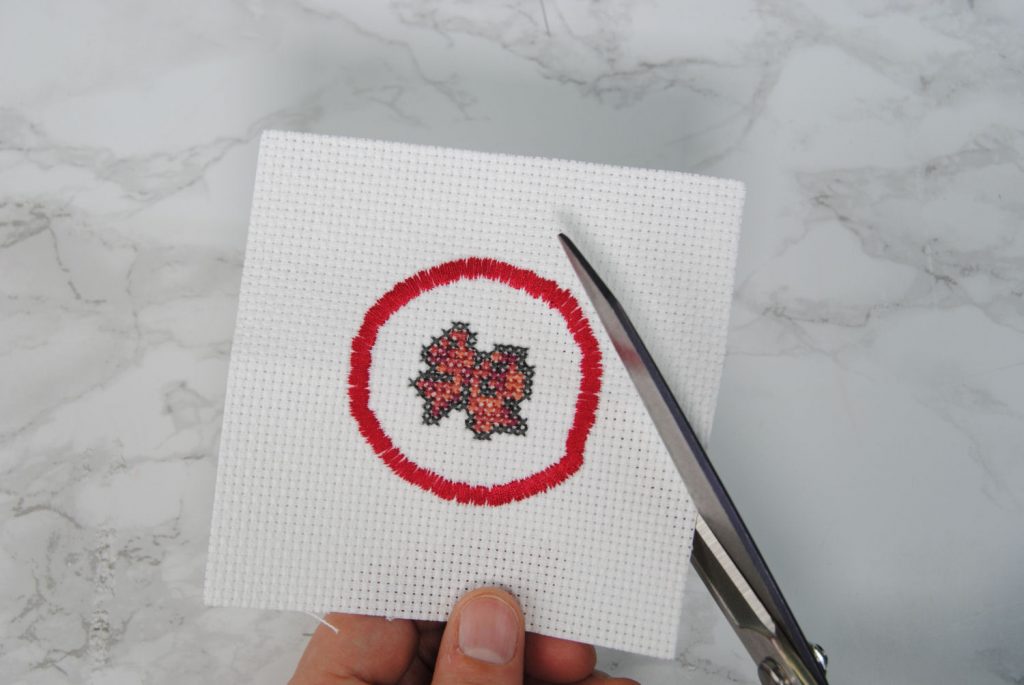
Oh. There’s still kind of an aida border, because if I cut any closer it will cut through the threads completely negating what I just did. Whoops.
I cut as close as I dared, and then went back over the edge with the machine again — A little better this time.
We’ll just have to call this close enough for now. There’s still a bit of a white border on one side, but… well this is just a test anyway, right?
Iron-On time!
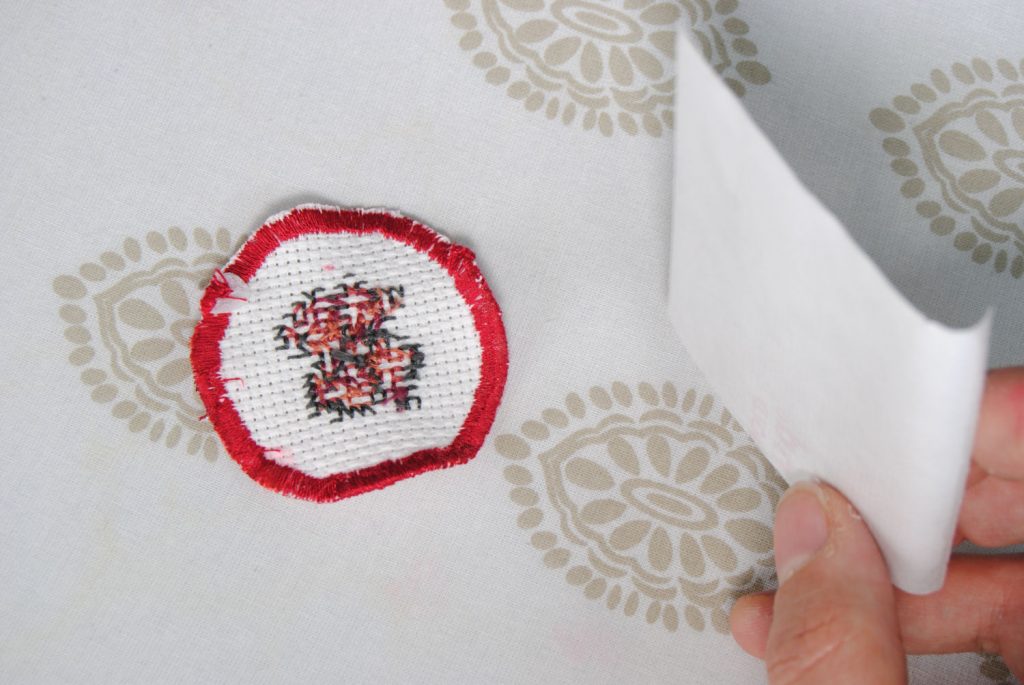
Following the instructions, I placed a square of heat n’ bond on the back of my “iron-on patch”, paper side up.
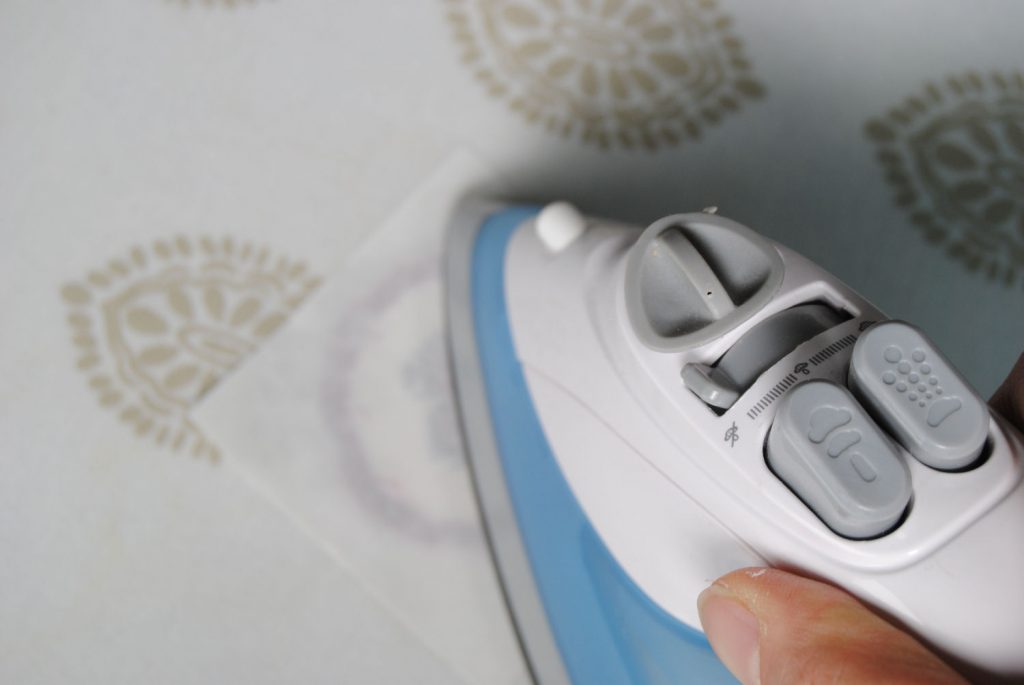
Using medium heat, and no steam, I ironed it in place as directed by the instructions.
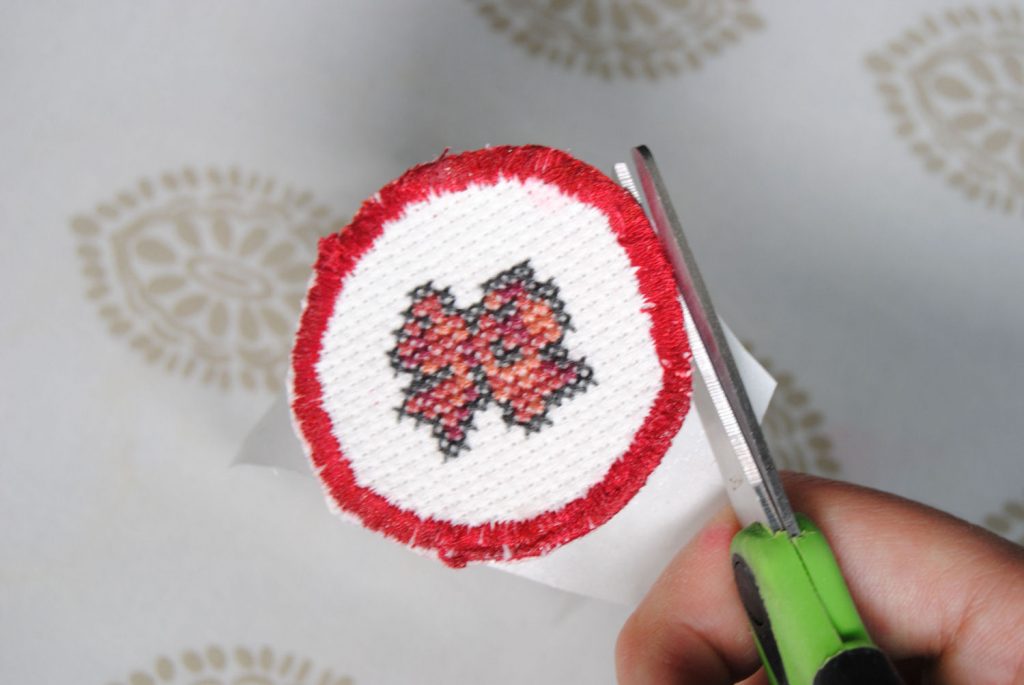
I carefully cut the extra paper, peeling it away just a little bit so I could cut it juuuust smaller than the patch.
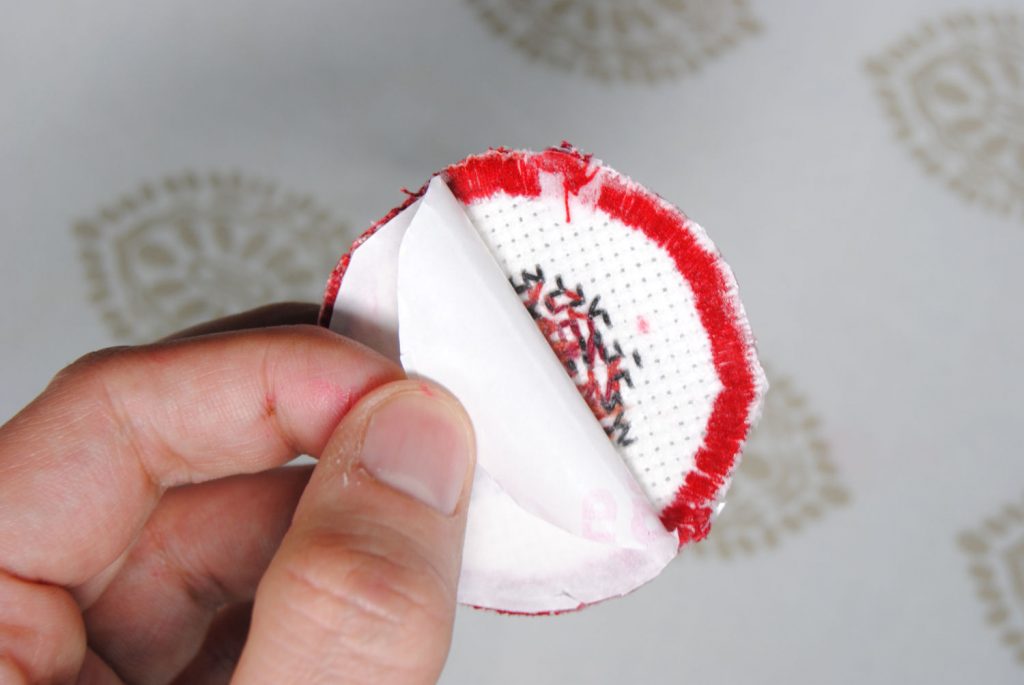
Finally, I peeled away the paper layer of the heat ‘n bond. Aaand we have ourselves an Iron-on patch! It’s hard to tell in the photos, but it’s a little glossy on the back just as you would expect.
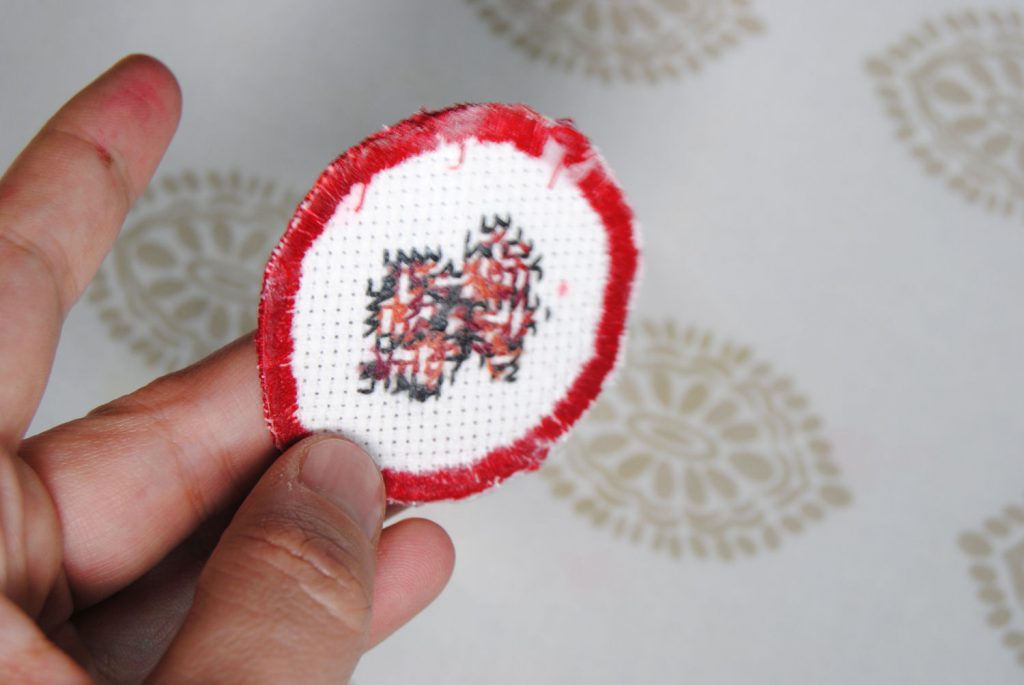
I then ironed it onto a scrap bit of fabric I forgot to take a photo of. But sure enough, it was now securely fastened to this random pink gingham I had. Great, it works!
All in all, a decent first attempt, and we learned some things about making the border — cut to size first, THEN add the border. Who knew?
Test done — let’s do the real thing!
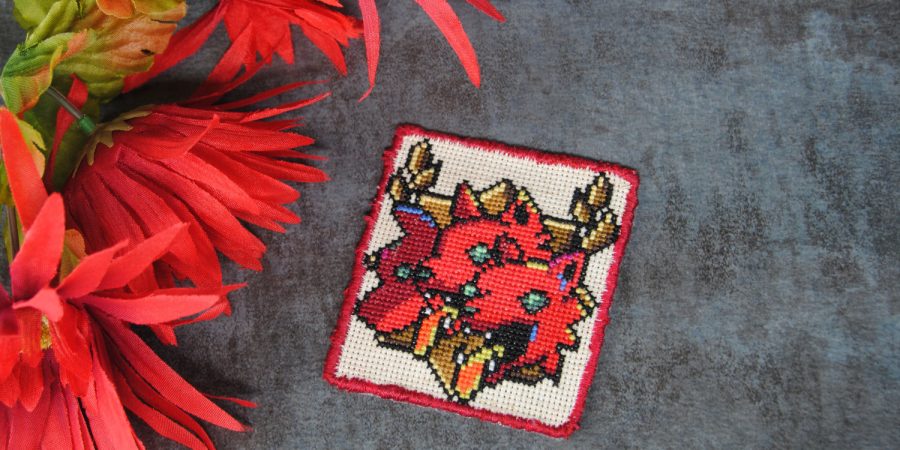
Feeling emboldened, I decided it was time to try my Cerberus. I wasn’t quite feeling adventurous enough to cut it to the shape of the design, so I opted for a rectangle around the pattern.
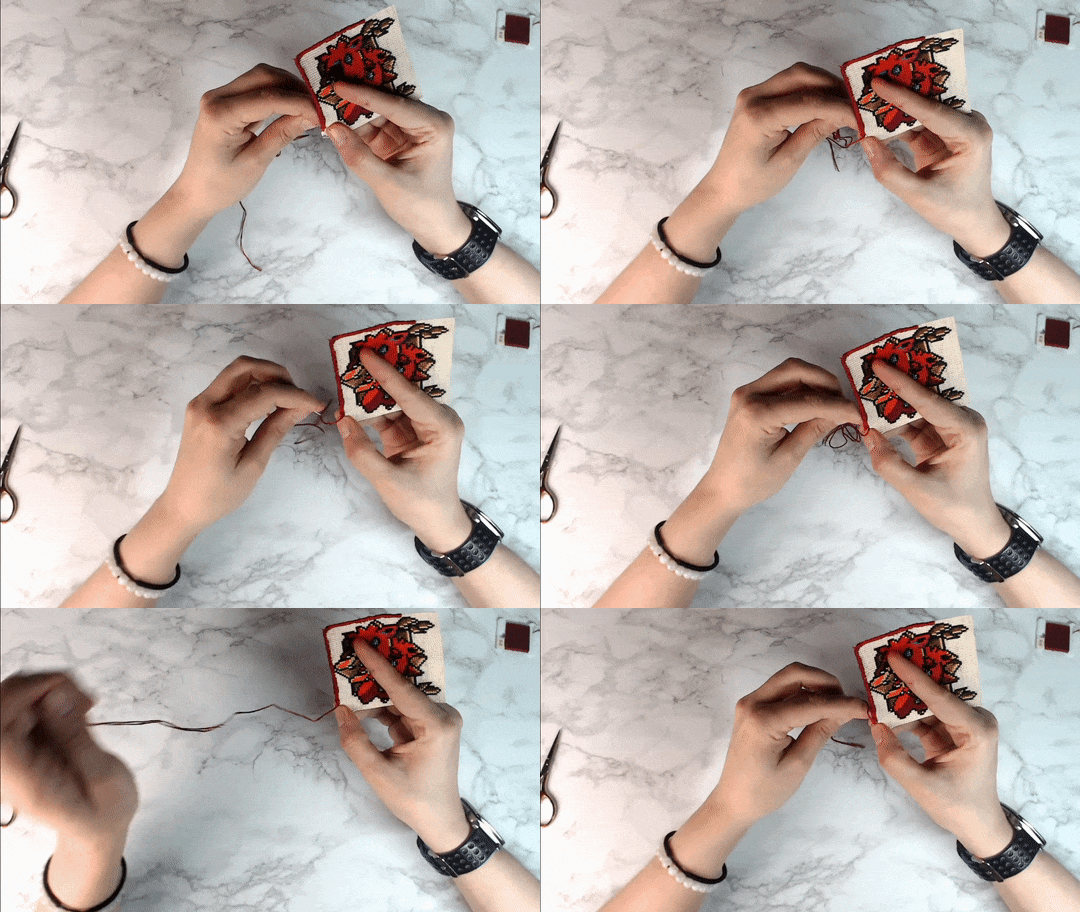
This time though, I decided to do it by hand! I tried using sewing thread at first, but it’s just so thin that even doubled up it was taking forever to do.
Instead I chose a matching red (816), and using 3 strands DMC I got to work. I stitched around the two squares on the edge of my project, stitching in every hole and halfway point. It still took me about an hour to get all the way around, but I do like how thick it looks in the end.
Following the same steps as before, I ironed on the heat ‘n bond and called it done.
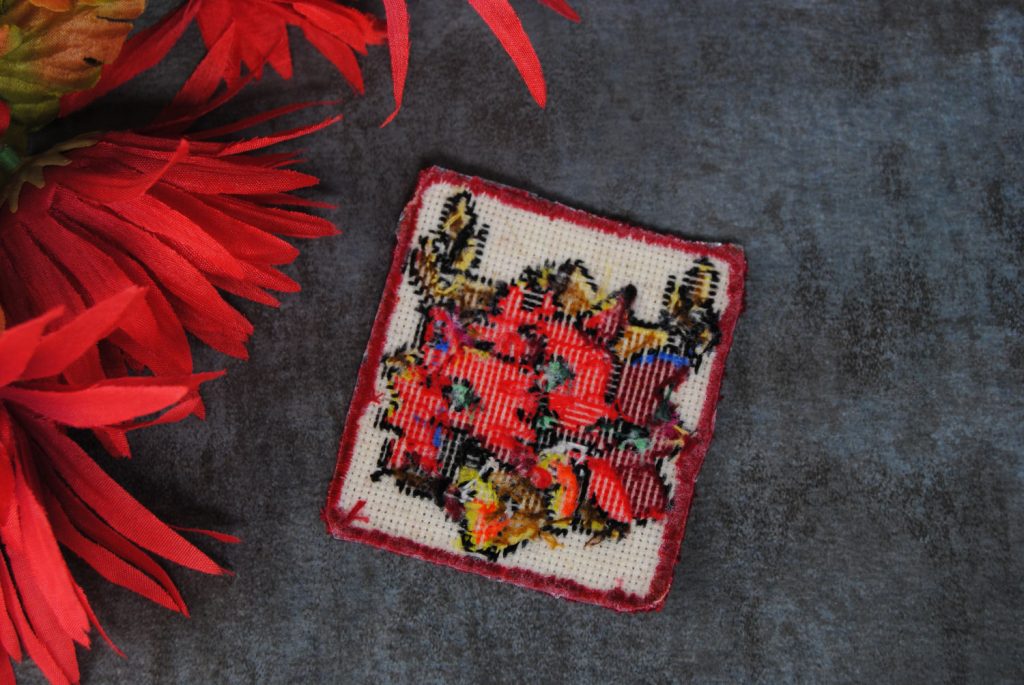
I still have no idea what I want to attach this Iron-on patch to. But if I ever pick up a denim jacket, it’s the first thing I’ll think of, I’m sure.
While he isn’t perfect, I am still pretty proud with how it came out, and would encourage you to give it a try if you’re interested in making your own patches!
It’s a pretty simple process once you get the hang of it, and I bet you could come up with all sorts of cool patches to cover your stuff with. Just. Y’know. Do a test first. Just in case.
Regardless, I’d love to see what you come up with!
