
Pin Drum Cross Stitch Finishing Tutorial
Pin drums are by no means a new type of finish. These guys have been around for ages, but mostly among the more traditional cross stitch communities. There’s a few tutorials out there already, and I pulled from several of them when I put together my first pin drum.
As always, there’s no single ‘right’ way to do this. In this post, I will detail the methods I used. But you should also check out some of the other tutorials and use whichever methods make most sense to you.
Here are some of the pin drum tutorials I found, for reference:
Now, let’s work through this project together!
This post may contain affiliate links. If you buy something using one of these links, I earn a small commission. However, there is no extra cost to you. Thanks for understanding! Learn more in my Disclosures & Privacy Policy.
Table of Contents
Materials
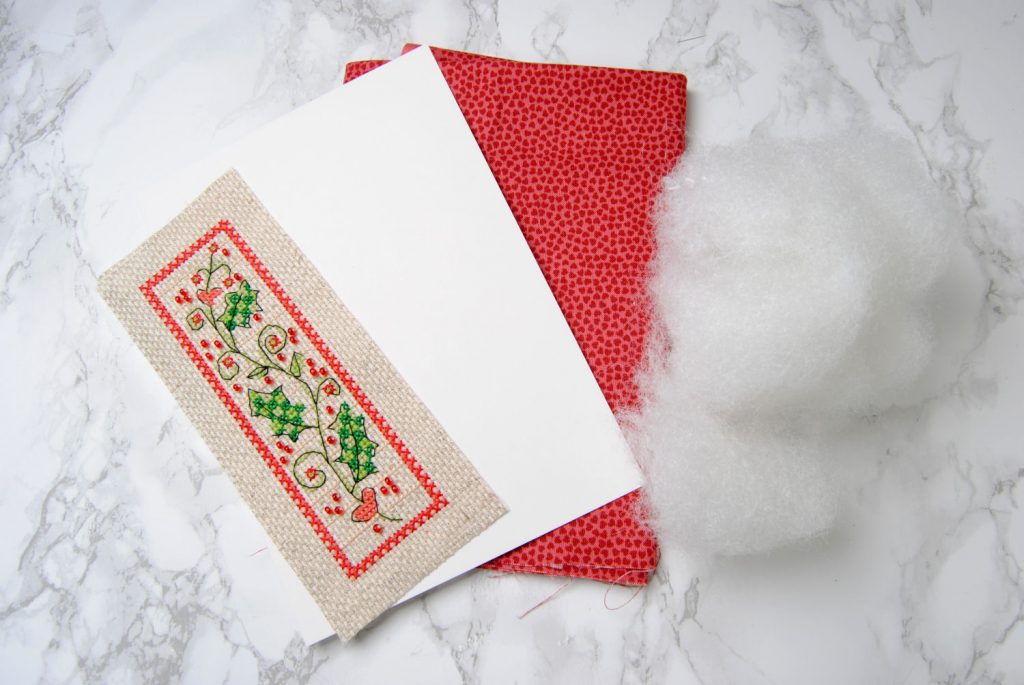
- A finished cross stitch design
- Mat board
- Complementary fabric
- Something to fill the drum with, such as PolyFil.
Your design should be a long rectangular pattern. I used a free bookmark design by Durene Jones, that I stitched as part of the Pixel Stitch RPG ‘Artist Studies’ quest for March 2020. This is the same design I used in my beading tutorial, as well.
The actual size doesn’t really matter though, you can make it taller or wider just by altering the dimensions of your design. In some of the other tutorials I linked you can see what it might look like if you used a longer design, making a wider drum. Or a taller, thicker design to make a much larger finished piece.
Prepare Your Cross Stitch
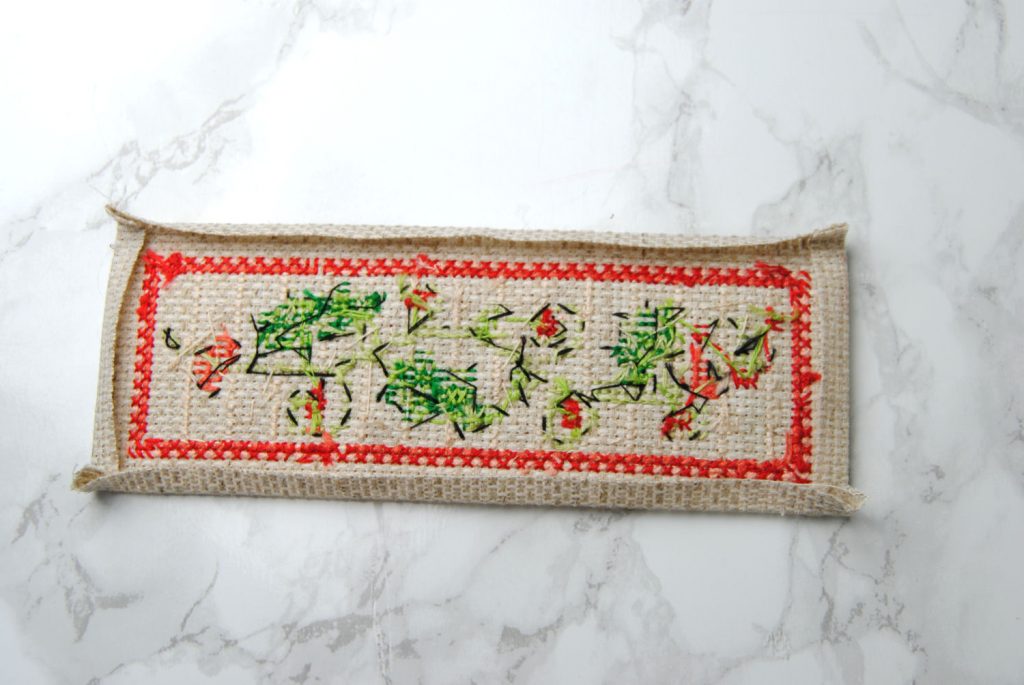
You can have larger or smaller borders around your stitch if you prefer. However, I decided to leave a 1/4″ border around the design visible on the finished drum.
I started by trimming my cross stitch to 1/2″ from the edge of the design. Then, I folded each of these sides over and ironed them to help them keep the crease.
Fold the stitch lengthwise, backside facing out. Stitch the ends together along that 1/4″ crease. Use a color thread that works with your design.
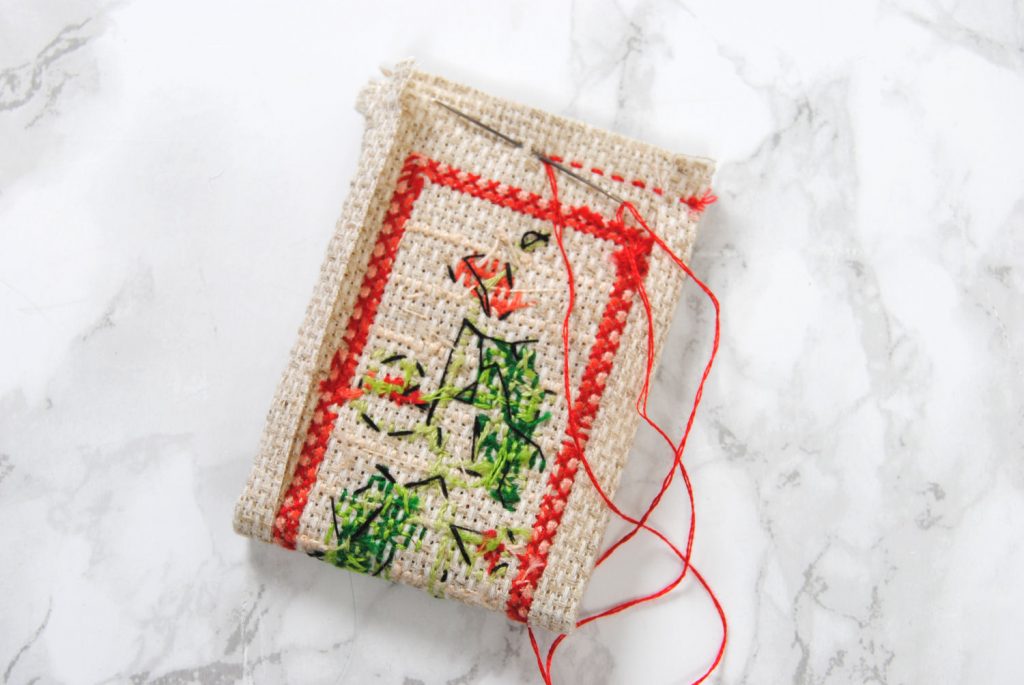
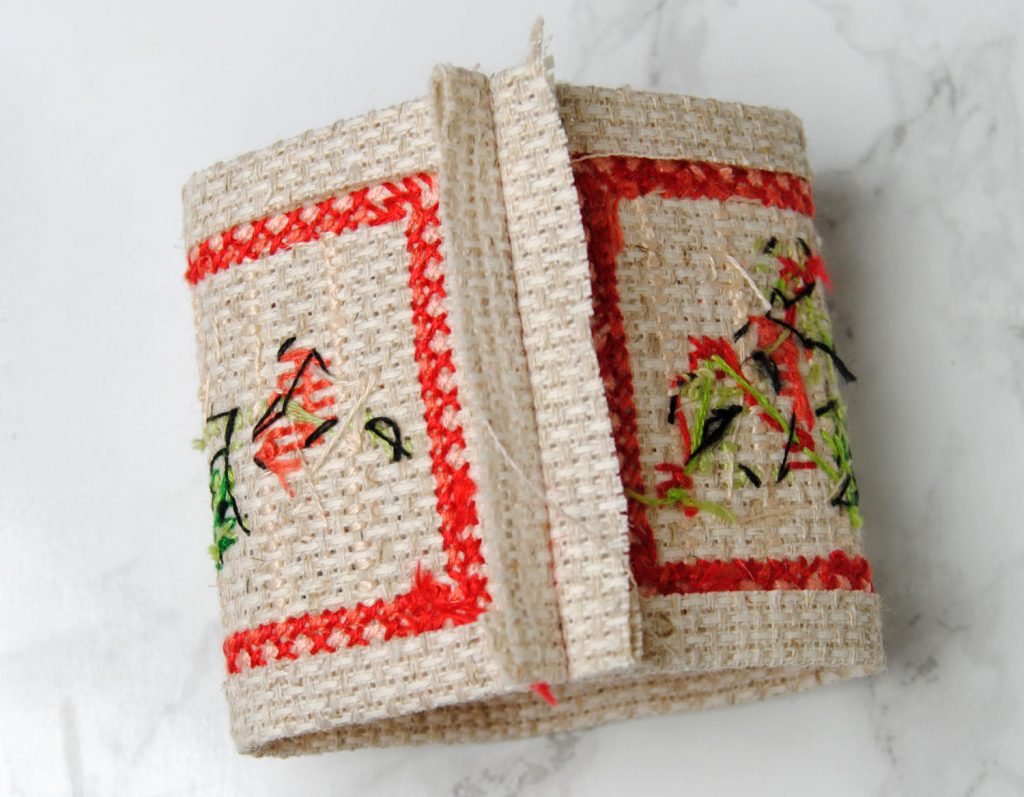
Flatten your seams, and iron them in place. Then turn the circle right side out.
Sizing the Ends

Now that you know the finished size of your pin drum, you’ll need to cut out two circles of matboard. You can either trace the inside of you drum, or find something of similar size to trace. Here, I used a bottle of Excedrin. It was just the right size to fit snugly inside the cylinder.
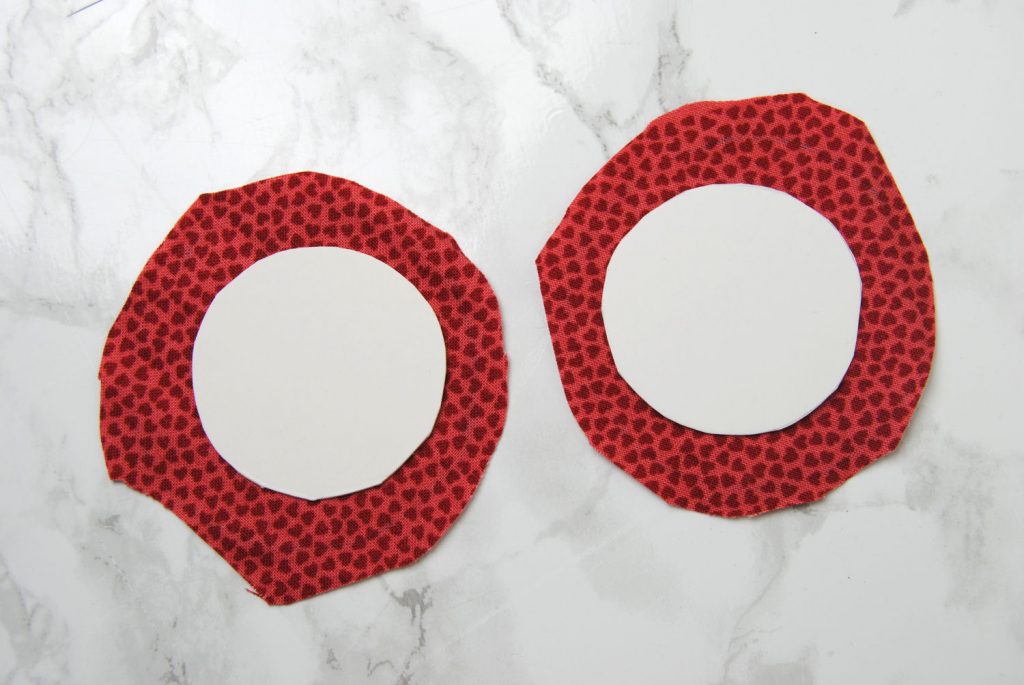
You’ll then need to cut some fabric circles. These don’t have to be particularly neat. Mine certainly weren’t. Just cut out some circles larger than your matboard ones. I left a 1/2″ border around them here.
Assembling the Ends of your Pin Drum
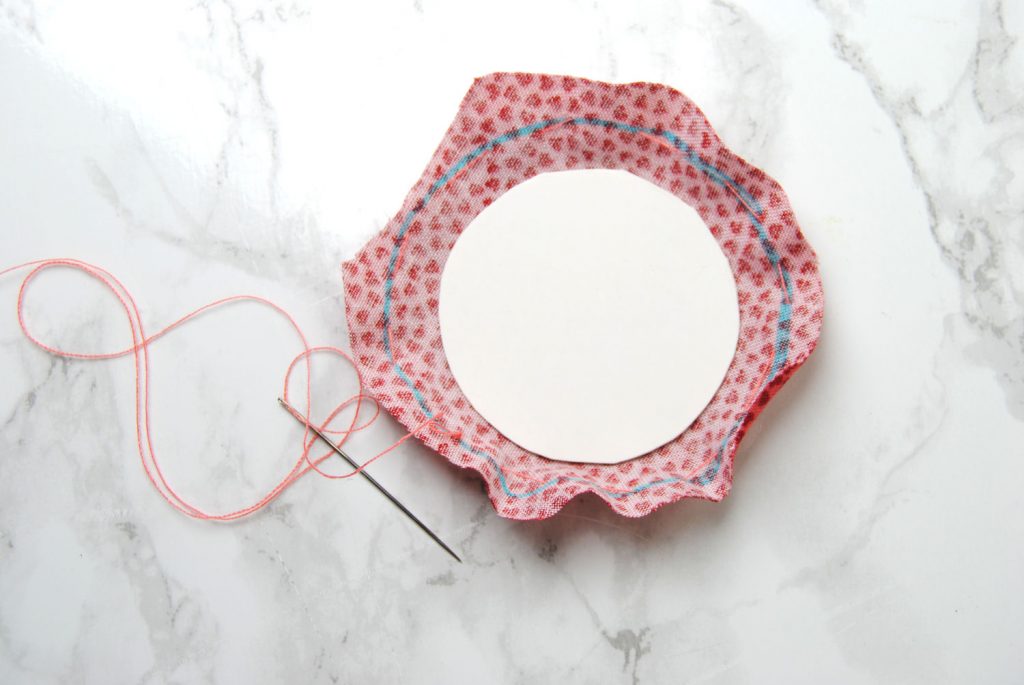
Take your first fabric circle and do a loose running stitch around the edges of the fabric. Don’t tie off your thread just yet. Here I marked it with an fabric marker just so you can see where my running stitch was, as I used a very similar colored thread.

Now pull the thread slowly to cinch the fabric around your matboard. If your fabric has a specific design you want centered, now’s the time to make any last minute adjustments to how it sits. This first piece will be the bottom of your drum though, so it won’t be visible that often.
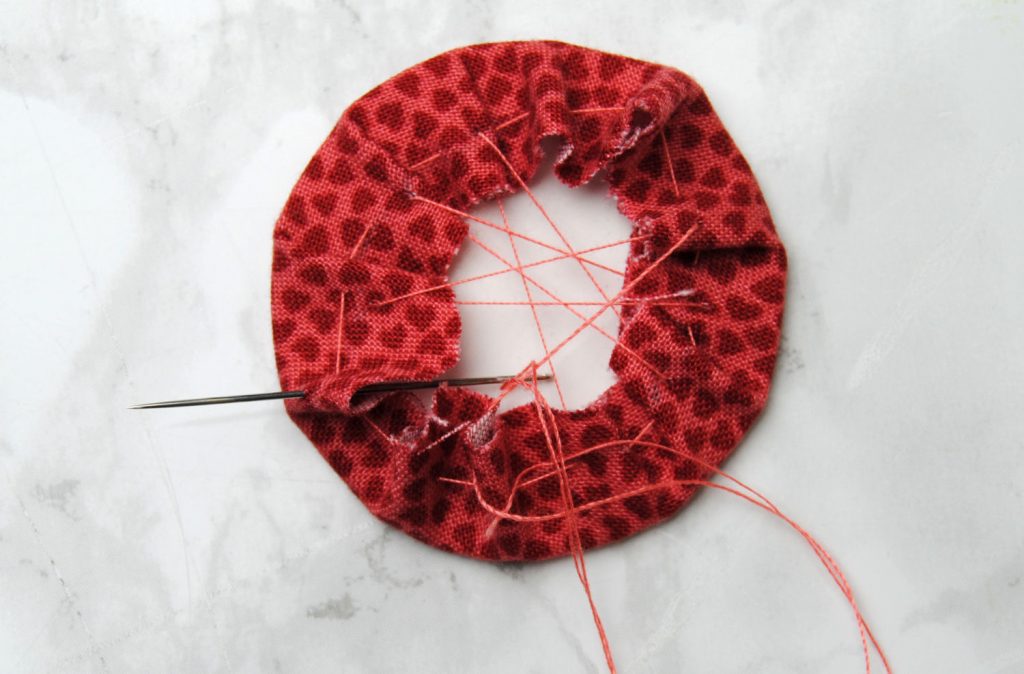
Now start stitching back and forth across the circle to secure the ends of your fabric in place. Make sure you pull it tight, but be gentle as you don’t want to bend the board or snap your thread.
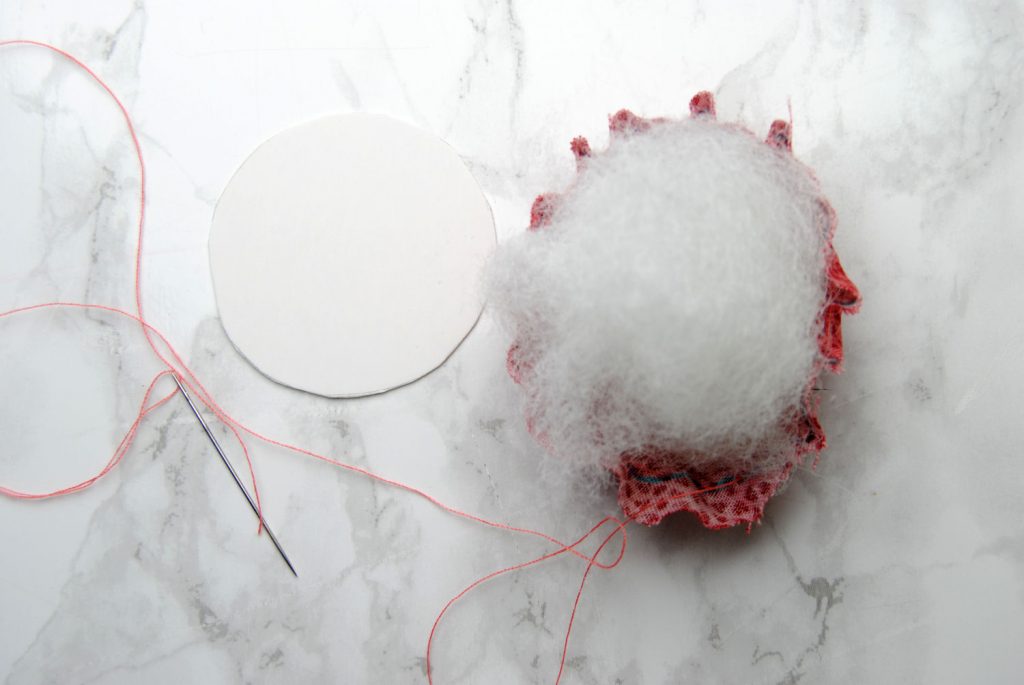
Now do the same thing for the other circle, but ad a ball of stuffing before you insert the matboard. The more stuffing the better, as this will be the dome on top you can stick pins or needles into. The matboard will keep your needles from going all the way into the drum itself and getting lost. However, you should have enough stuffing that the pins are able to go in far enough to stay in place.
You could use a stack of cotton batting circles, as well. See some of the other tutorials for some ideas here.
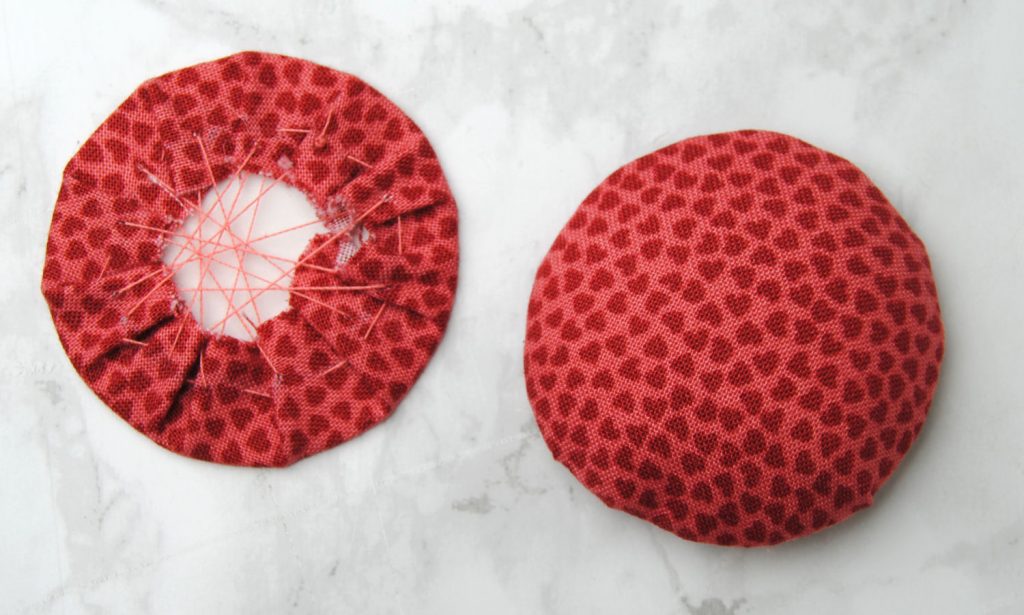
You should end up with a flat, bottom circle. And a domed top circle.
Attaching the Top and Bottom

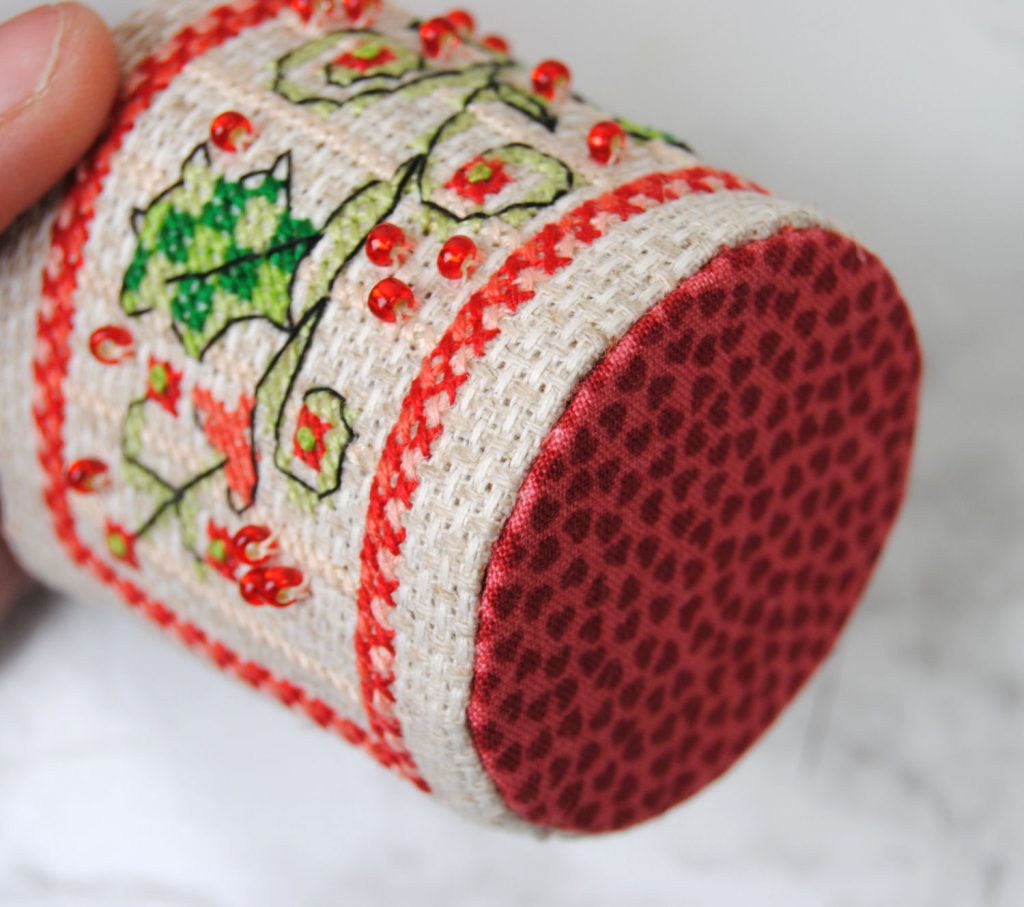
Now use a ladder stitch to attach the flat bottom piece to the edges of your cylinder. You’ll want to use a similarly colored thread so it blends in, but it should be a pretty invisible seam once you’re done.
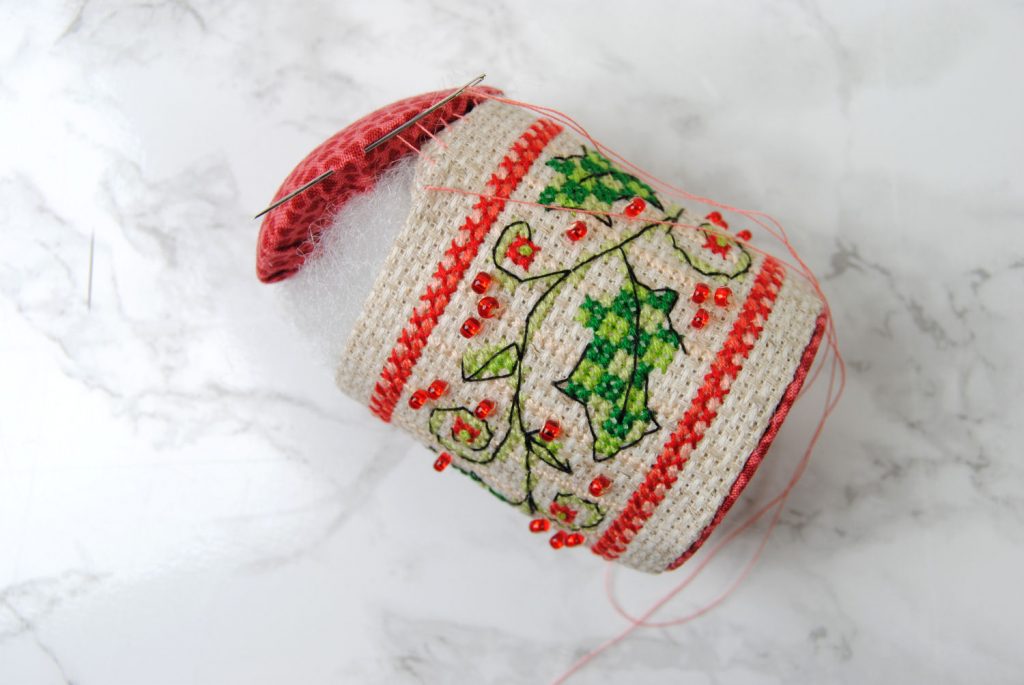
Fill the cylinder with your choice of stuffing. Use more than you think you need to. Cram it in there as tight as it will go, and then add a bit more for good measure. You don’t want your drum to slouch.
If it’s easier, you can start by half-attaching the top of the drum with the same ladder stitch. Then pack in more stuffing and finish stitching the top in place to keep it in place.
Once the top is stitched in place, your drum is technically done! Congrats! Wasn’t too hard, right?
If you’re like me though, you might like to decorate it a bit further. So let’s keep going.
Decorate Your Drum
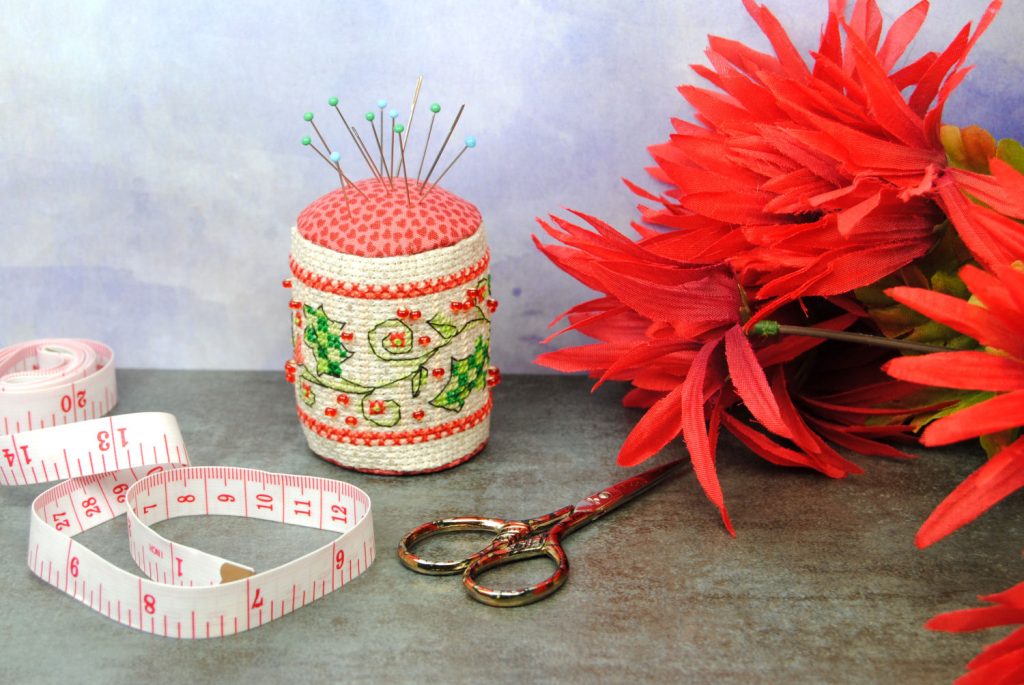
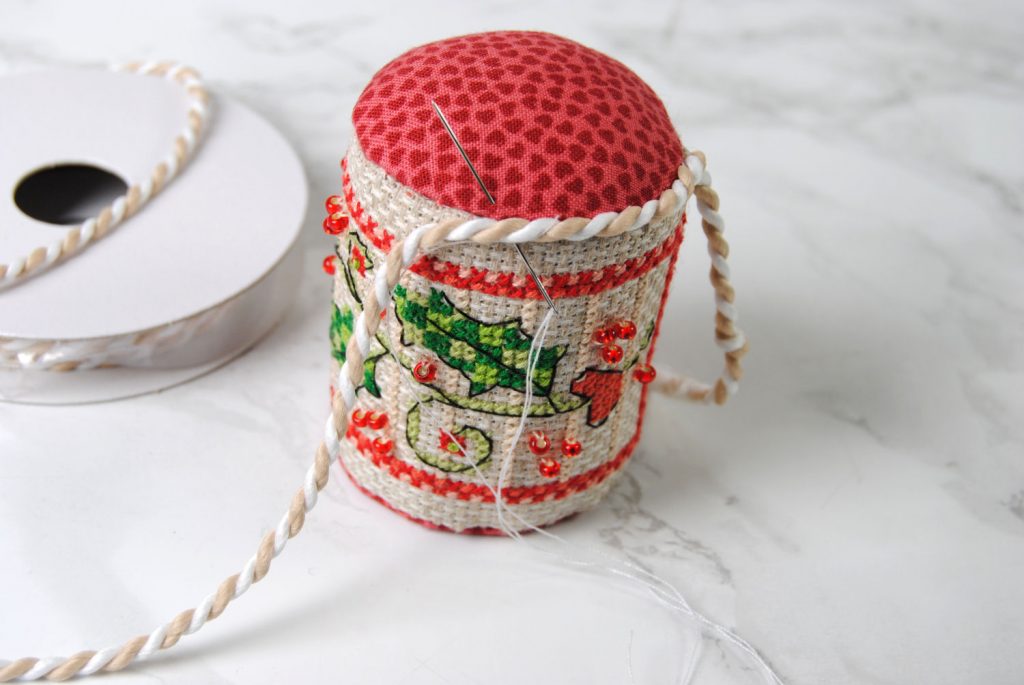
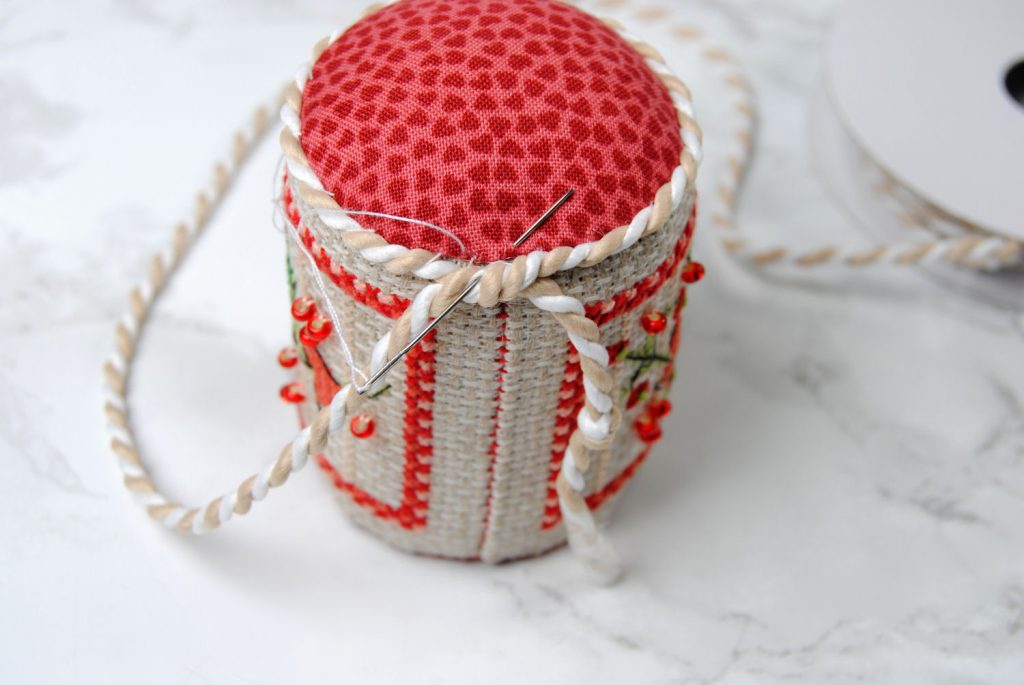
I decided I wanted to bring up some of the beige in the design to accent my drum. Take your cording and sew it along the edge of the top dome. Leave about 2″ of cord dangling at the back seam, then sew it all the way around the drum.
Once you get back around the side of the drum, tie the two ends in a knot together. Tie smaller knots at the ends of the cord as well
Sew the knot in place so you don’t have to worry about it coming loose.
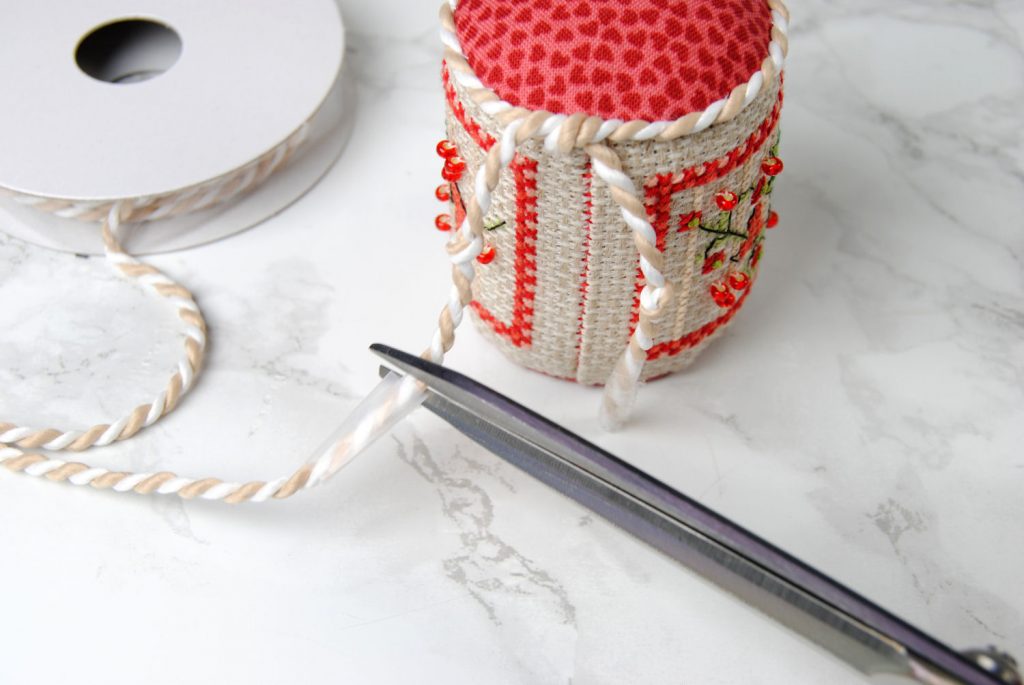
Before trimming off the rest of the braid, wrap a bit of scotch tape around the cord so it won’t unravel the cord for your next project. You can still see the tape that was on the end of the cord at the beginning. Trim this off as well.
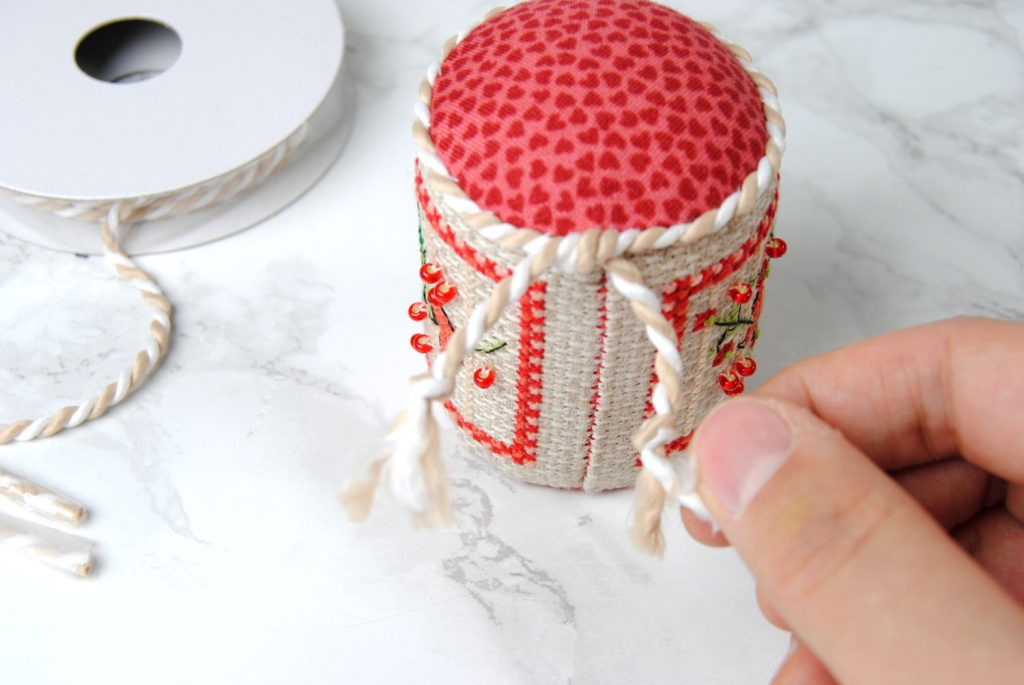
Now loosen the ends to make basic tassels. Use a comb to brush it out neatly if you have one.
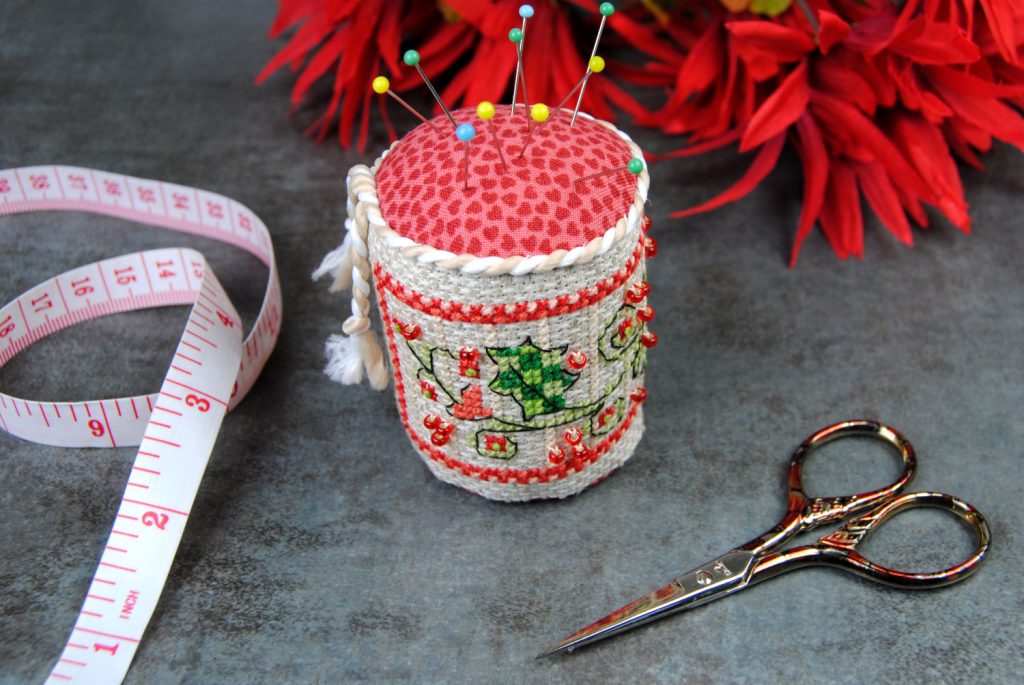
And there you are! Looks a bit more finished now, doesn’t it?
So what do you think? Will you be making a pin drum of your own? Or will you sticking to biscornu? Which do you like best?


