Omamori Tutorial – Cross Stitch Your Own Good Luck Charm
Before we get into how to make an omamori, let’s discuss what they actually are. Traditionally, they are amulets of protection available at Shinto shrines and Buddhist temples across Japan. These spiritual items often have prayers written inside them and made sacred through the use of ritual. For tourists, they are mainly viewed as a donation to the shrine being visited.
These charms typically have something written on them that you’re wanting to attract (Money, Love, etc). Or they might have something you want to be protected from, such as Oni, curses, or even bears.
All that said, modern commercialism has also taken over these now trendy charms and you can generic omamori shaped charms in stores across Japan and around the world. Some even featuring licensed characters such as Hello Kitty or Mickey Mouse.
Table of Contents
What inspired me to make my own
Ideally I’d get to travel to Japan or find a local shinto shrine and help support whatever temple I’d be purchasing a charm from. But not only is that unfeasible for many, but travel isn’t exactly the best idea in the last few years.
However, in my online travels I stumbled across some unique charm ideas. Specifically, these charms by enerjax that are meant to ward off art block or get you to actually complete craft projects.
Needless to say, these are both things I need in my life. These are acrylic charms and definitely not stuffed with prayers or blessed by a Shinto priest. But they are there to make you smile and encourage you, and that’s important too.
However, I also wanted something cross stitch related and decided to try my hand at making one myself. While brainstorming ideas, I recalled a stitcher I read about on a forum once who collected frog-themed wind chimes as a luck charm to ward off the dreaded stitchy frog. And that was that. I needed a charm to protect my projects from miscounts and needing to be ripped out.
And since it’s traditional to buy omamori at the beginning of the year, January seemed the best time to do just that.
This post may contain affiliate links. If you buy something using one of these links, I earn a small commission. However, there is no extra cost to you. Thanks for understanding! Learn more in my Disclosures & Privacy Policy.
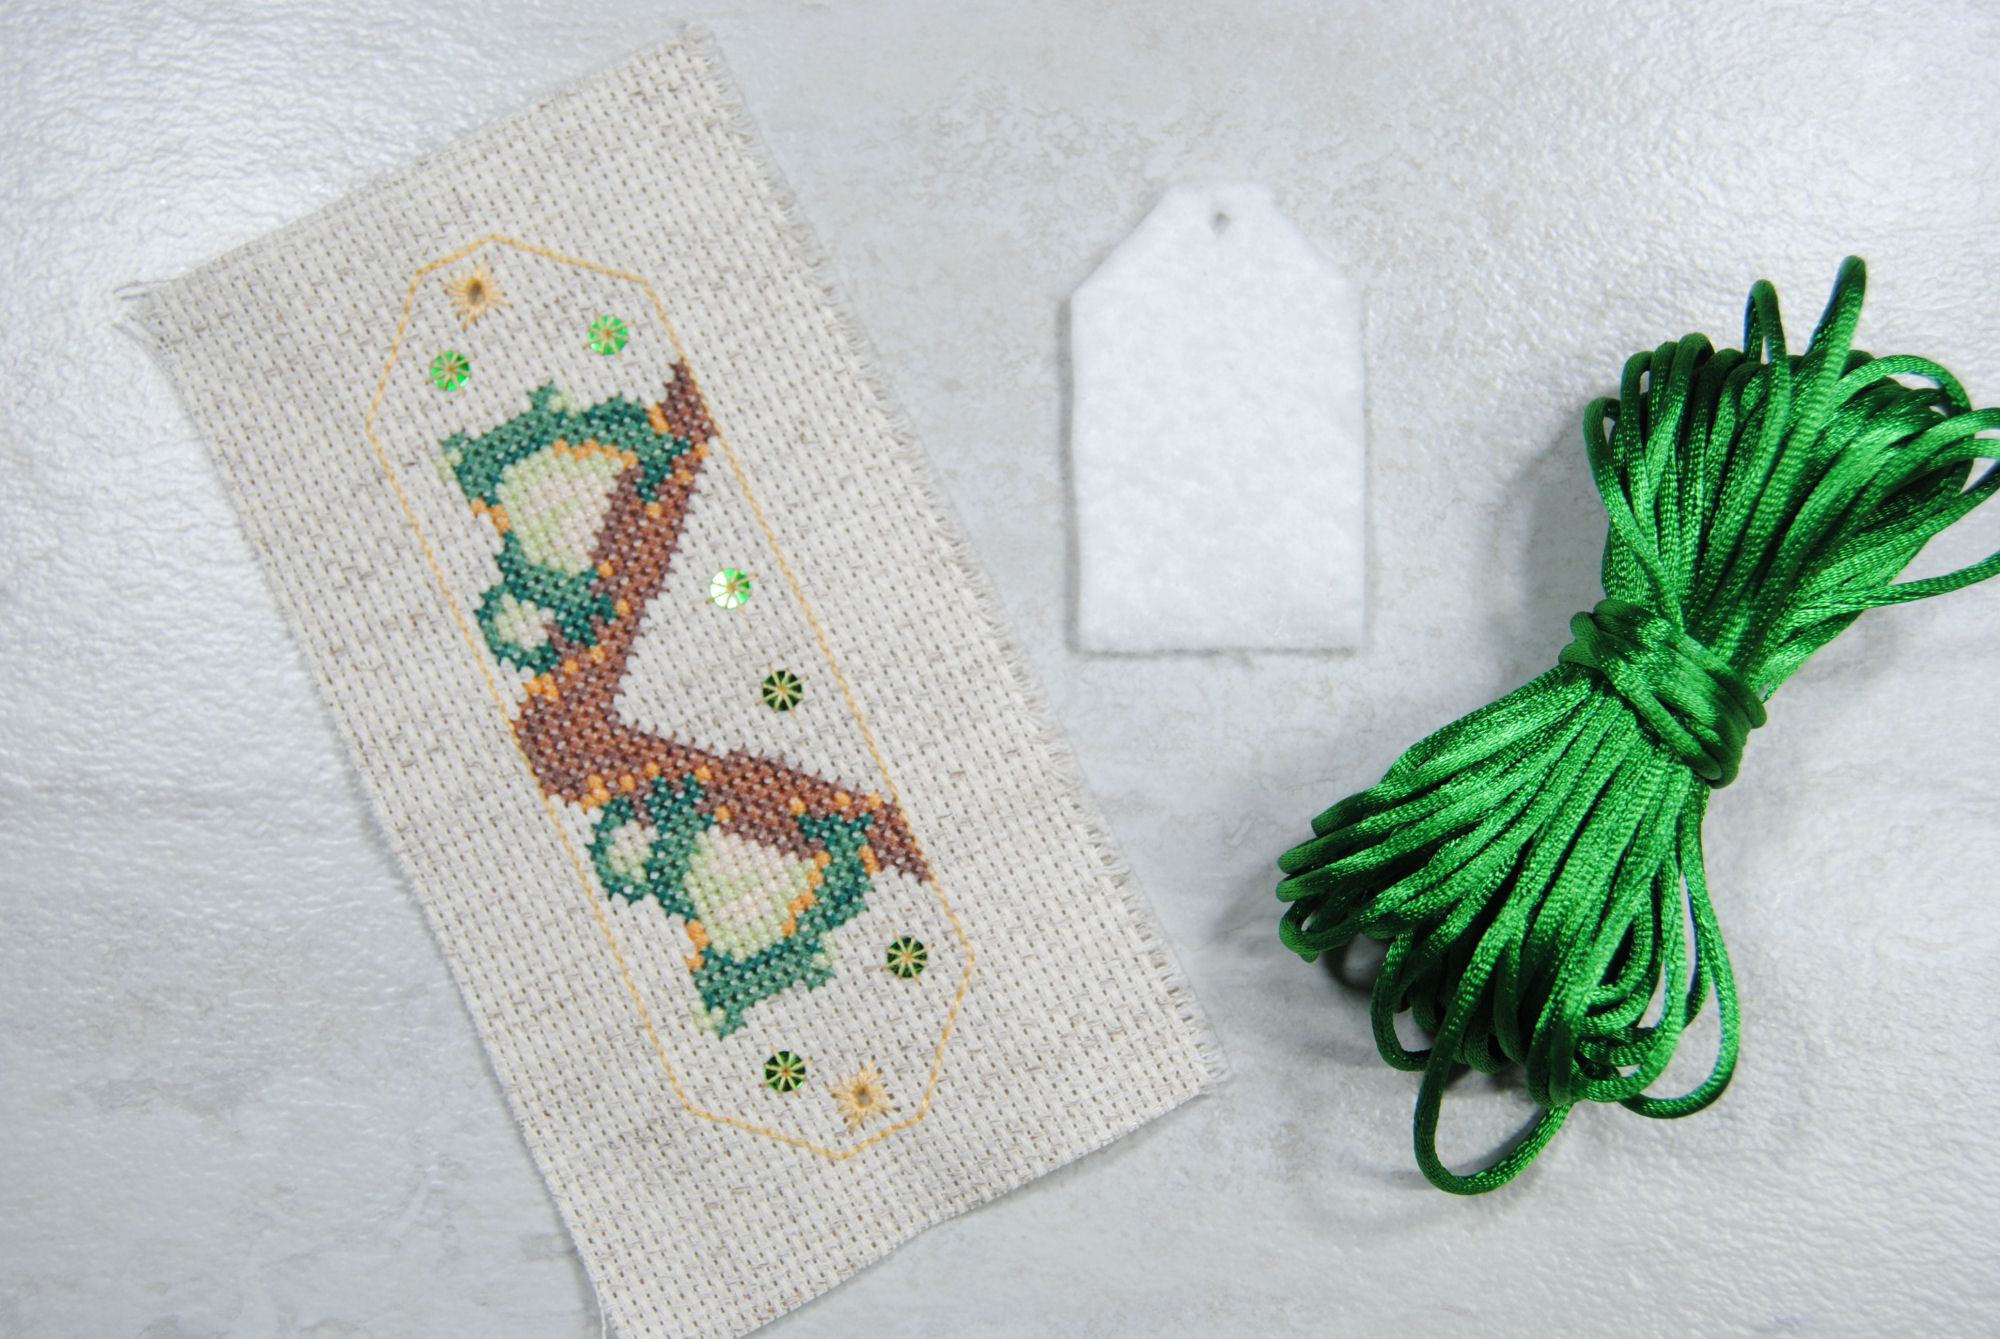
Materials
Design
You’ll want to stitch your design as a long version of the traditionally omamori shape. We’ll be folding it in half to create the charm, so any designs you stitch on there should be facing ‘up’ from the middle. You don’t have to stitch the same thing on both sides, however.
So you can easily create your own, here is the outline of my design. If you’re interested in the frog design I’m showing in my example, it is exclusively on my Patreon. This makes a charm that is about 2.5″ x 1.5″ (or about 6cm x 4cm) on 14 count aida. If you’d like a larger or smaller charm, be sure to scale appropriately or use a different count fabric.
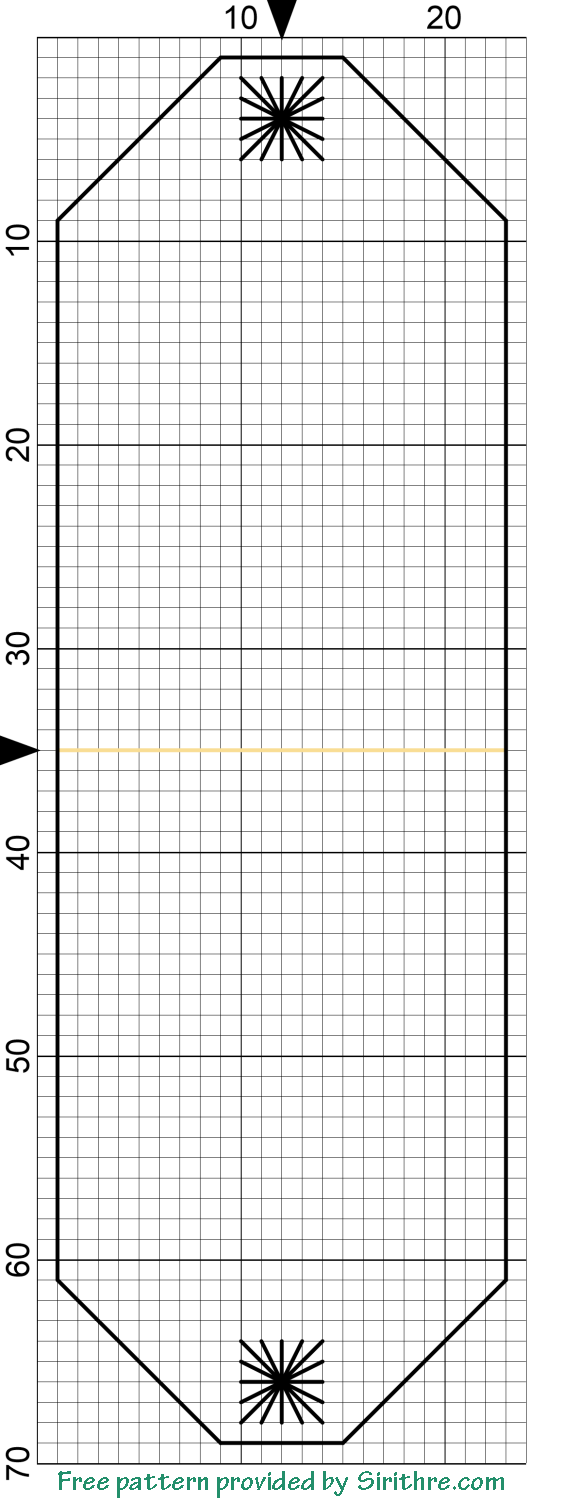
The most important part of this design is the eyelet at either end. As you stitch these, be sure to pull the stitches tight so that it creates a hole. This needs to be big enough to fit two widths of whatever cord you use.
Cord
Speaking of cord. You’ll want something to create that iconic omamori knot. I used some 2mm nylon cord I had left over from another project. However, it is a bit thick compared to my finished piece. You might choose to do this with a thinner cord for more balance.
Padding
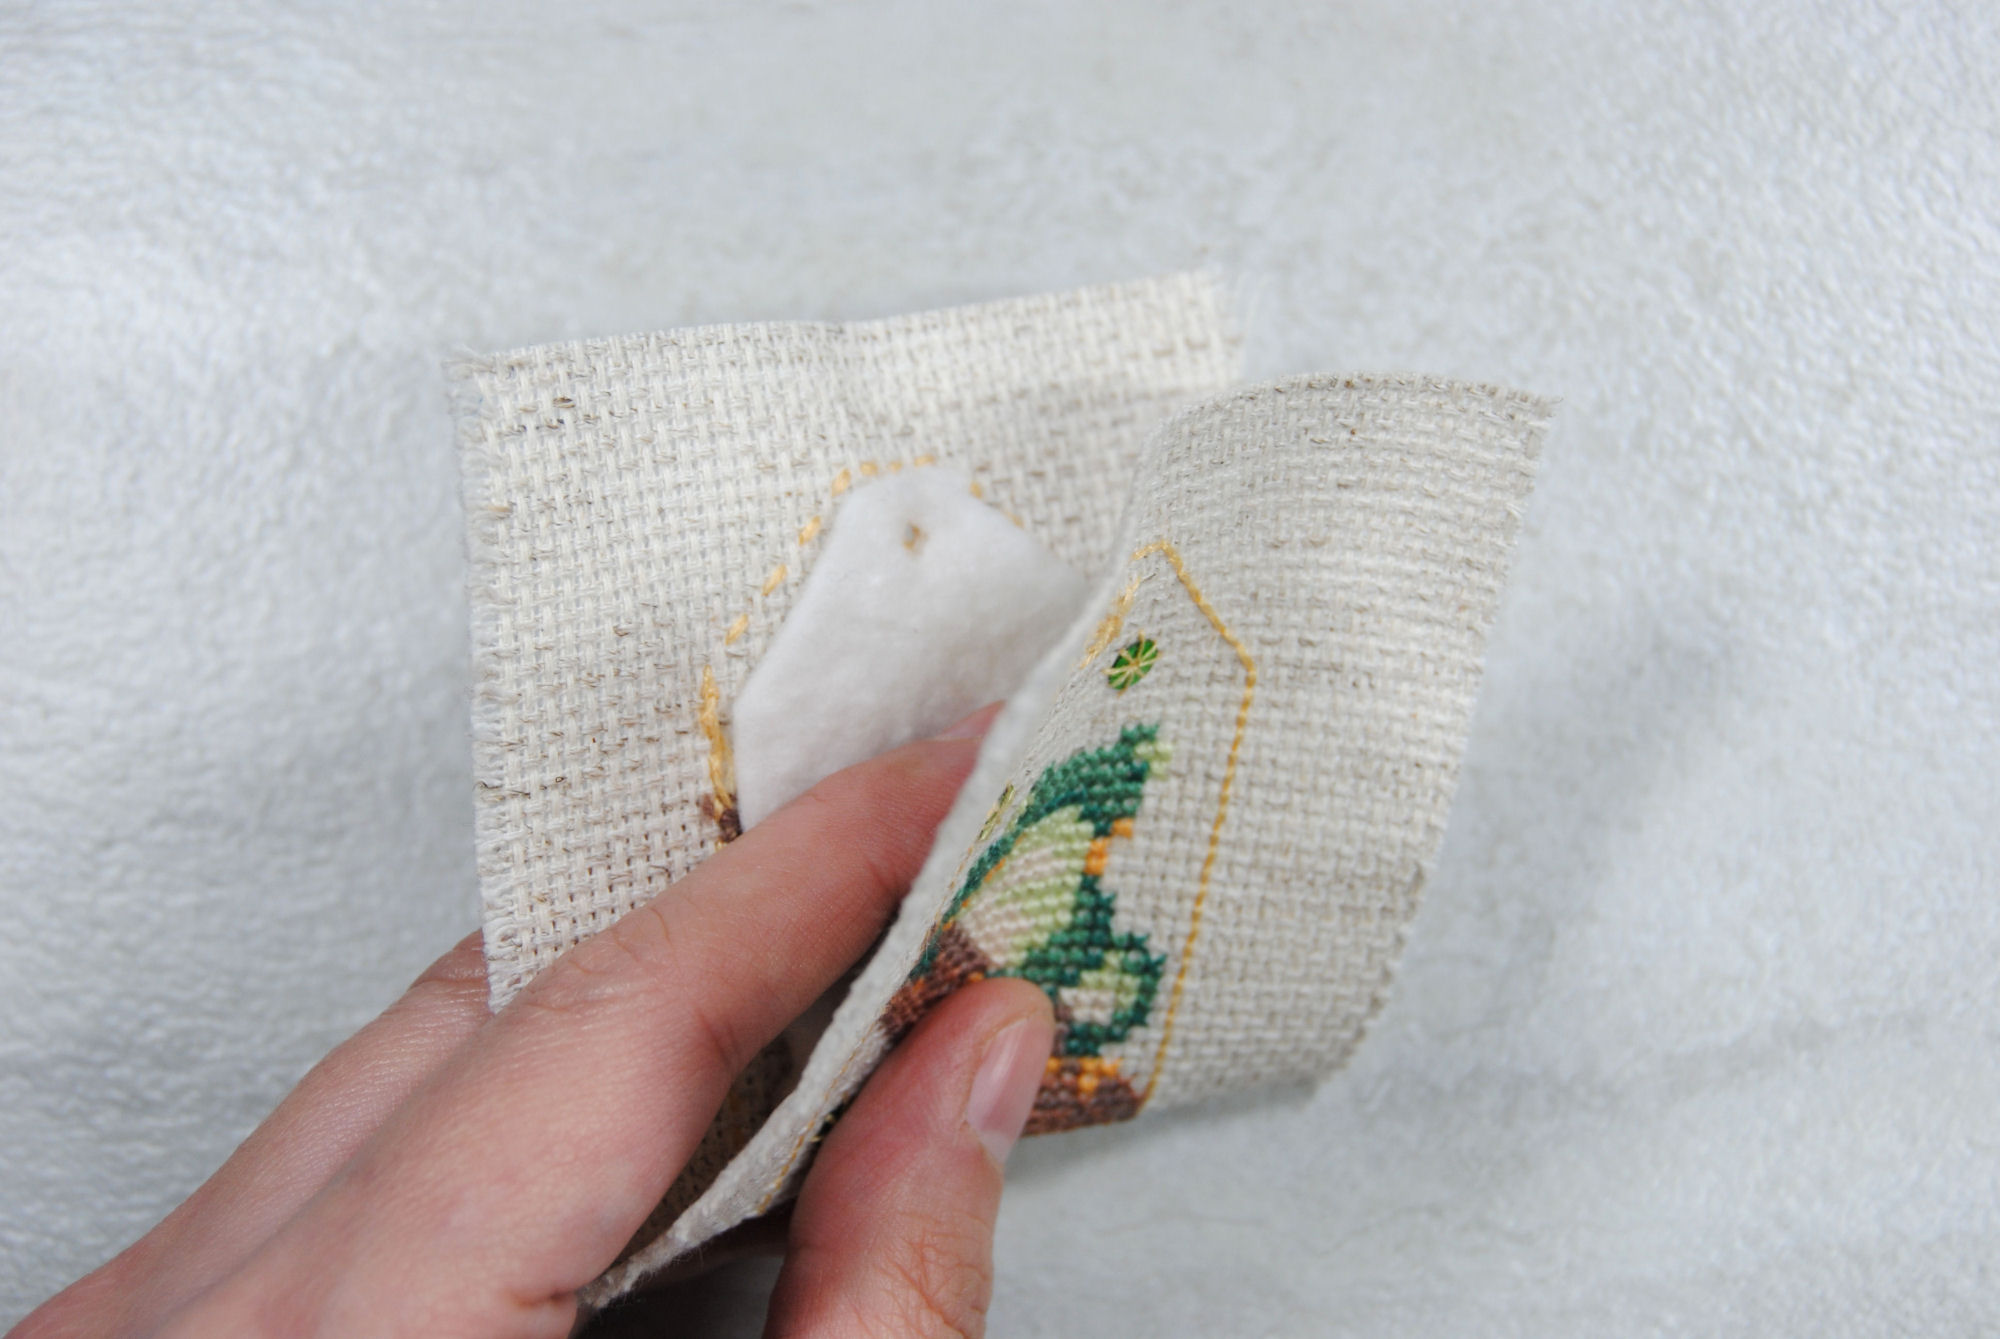
To add a bit of weight and make sure the charm didn’t feel flatter in the middle (since the sides would have the added bulk of folded back edges), I opted to include some padding. I used some cotton batting cut to size. I then used a seam ripper to stab a hole at the same place as my eyelets, and wiggled it around a little bit to widen the hole. To make sure the size is right, fold up your stitch and make sure the eyelets line up with the hole in your batting.
Trimming your edges
Once you’ve got everything together, it’s time to get started. You’ll want to trim your edges as close to the backstitch border as you’re comfortable. We’ll be stitching this up in a similar fashion to biscornu, if you’re familiar with that technique.

Mine is cut about 3 stitches away, as this particular fabric doesn’t fray much. If yours does, you may want to give yourself a bit more leeway.
At this point I also ironed it a bit before continuing to make sure the main creases were gone while I could still iron it from the back. I did not want to have to try ironing once assembled, as my design has sequins on it.
Assembling your Omamori
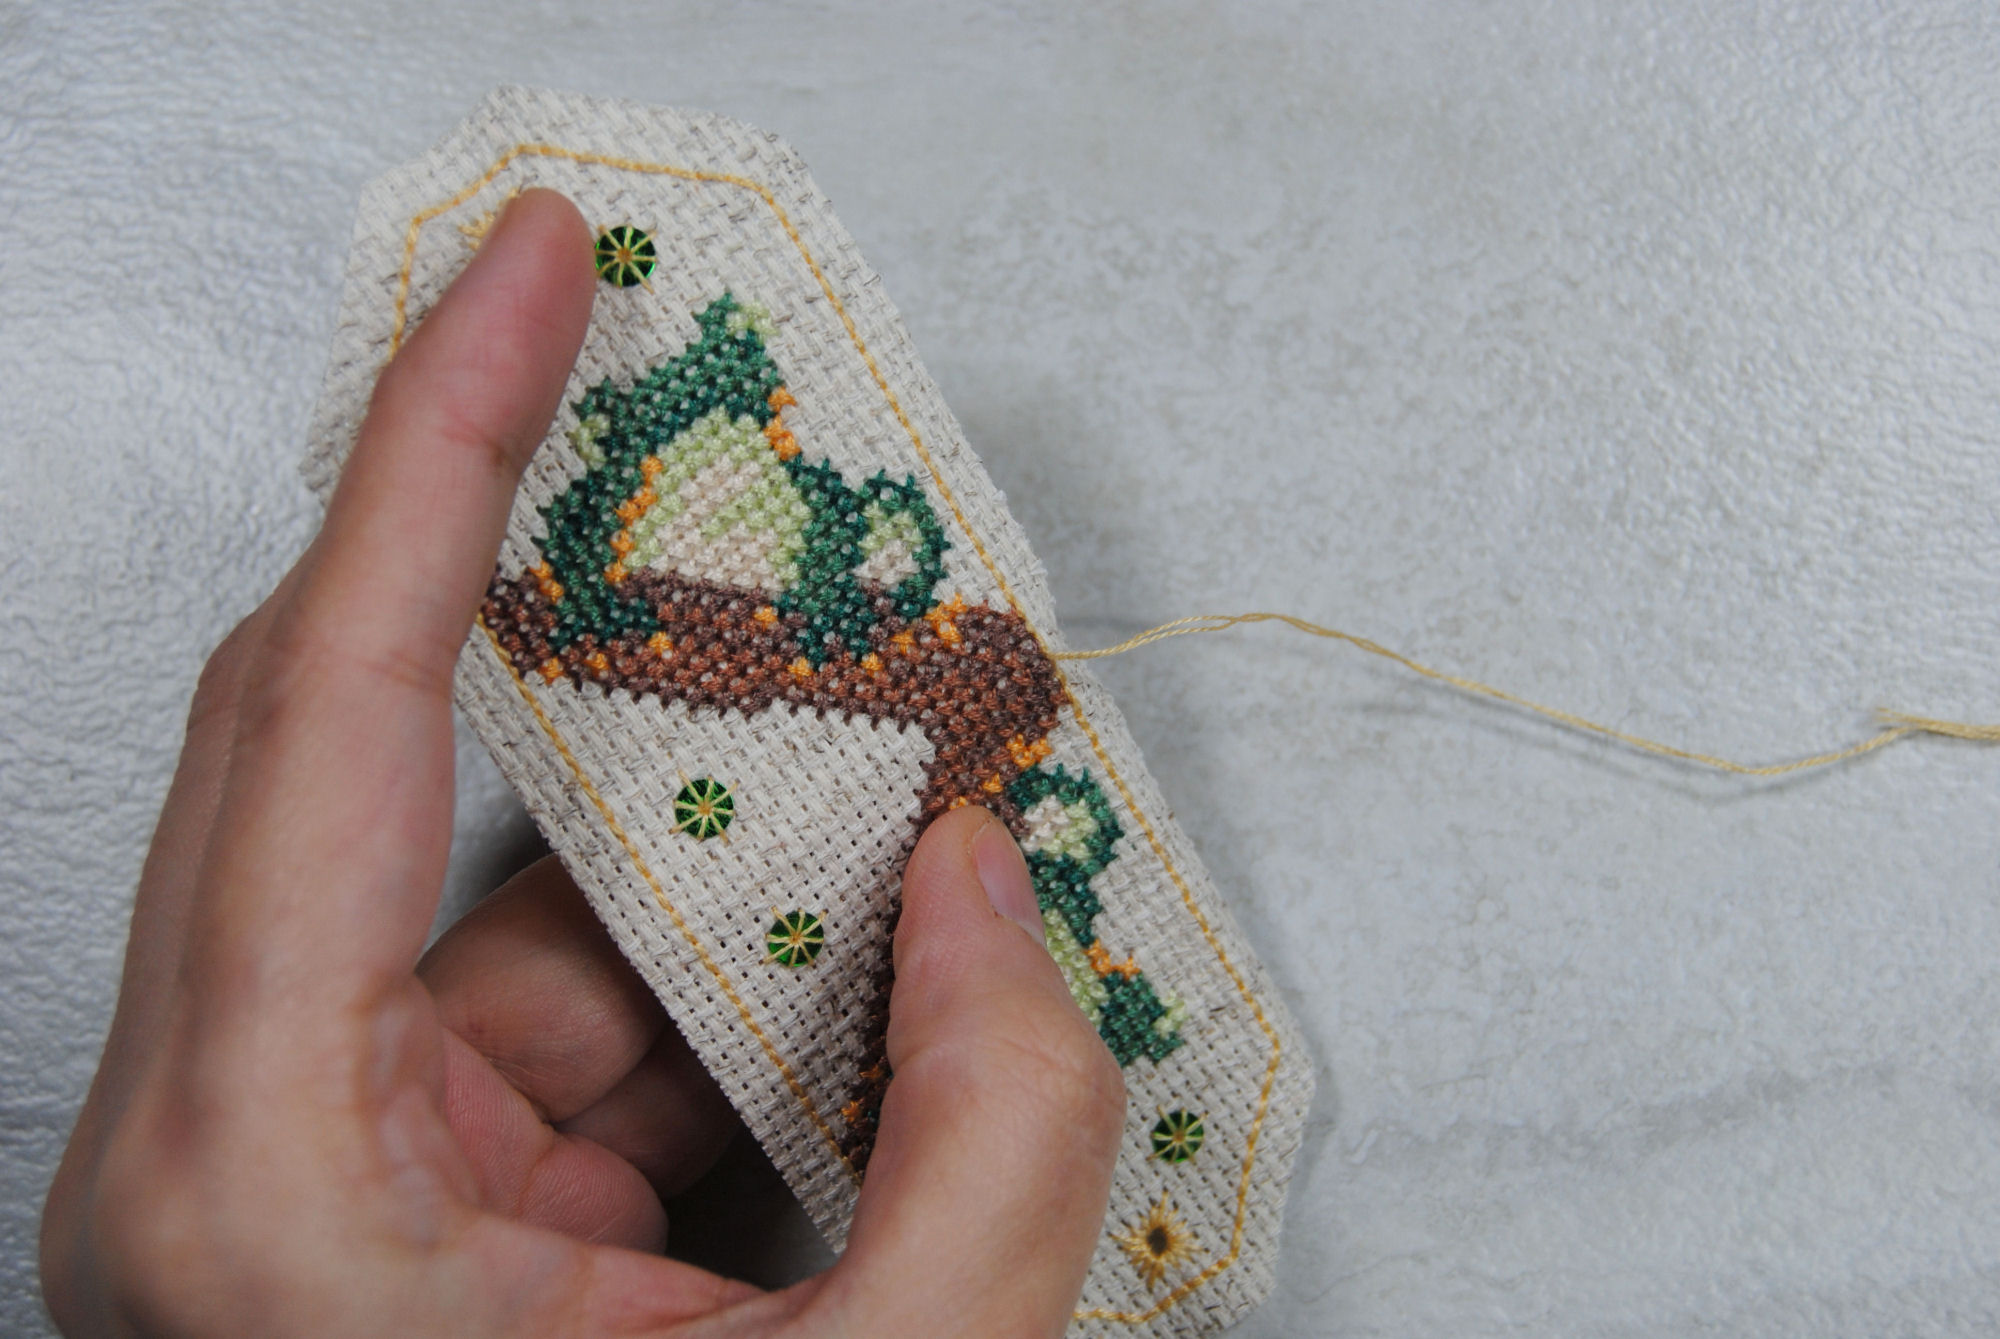
Using the same color as your backstitch, anchor your thread at the middle mark of one of the sides of the designs and come up from the center as shown above.
Fold the edge back to get it out of your way. If you’re using a stiffer fabric that will hold a crease, you may want to consider ironing this in place. But I’m stubborn and had already put the iron away, so I just continued as is.
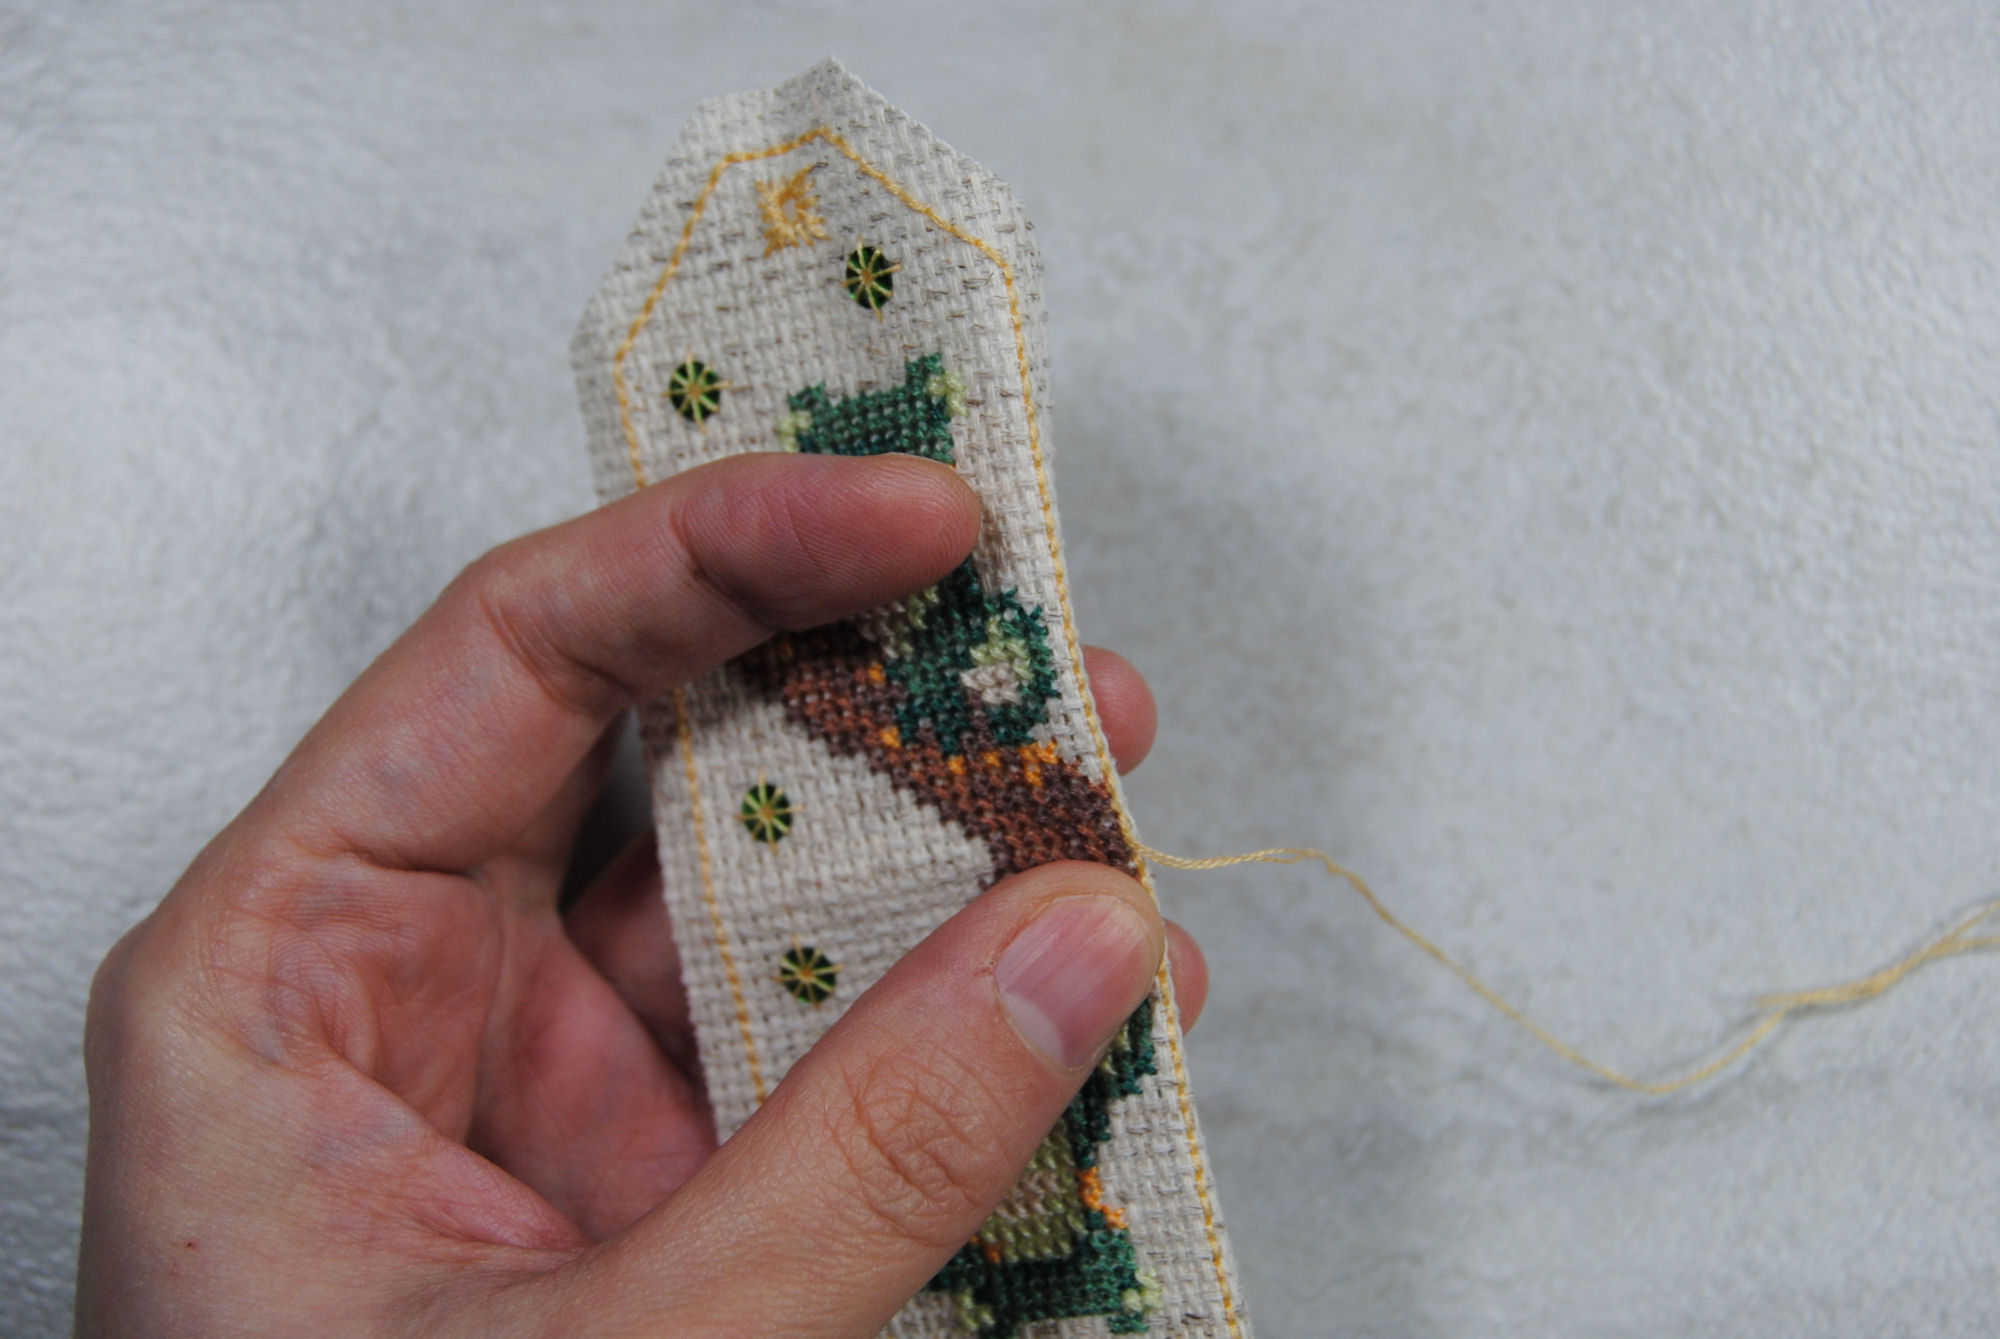
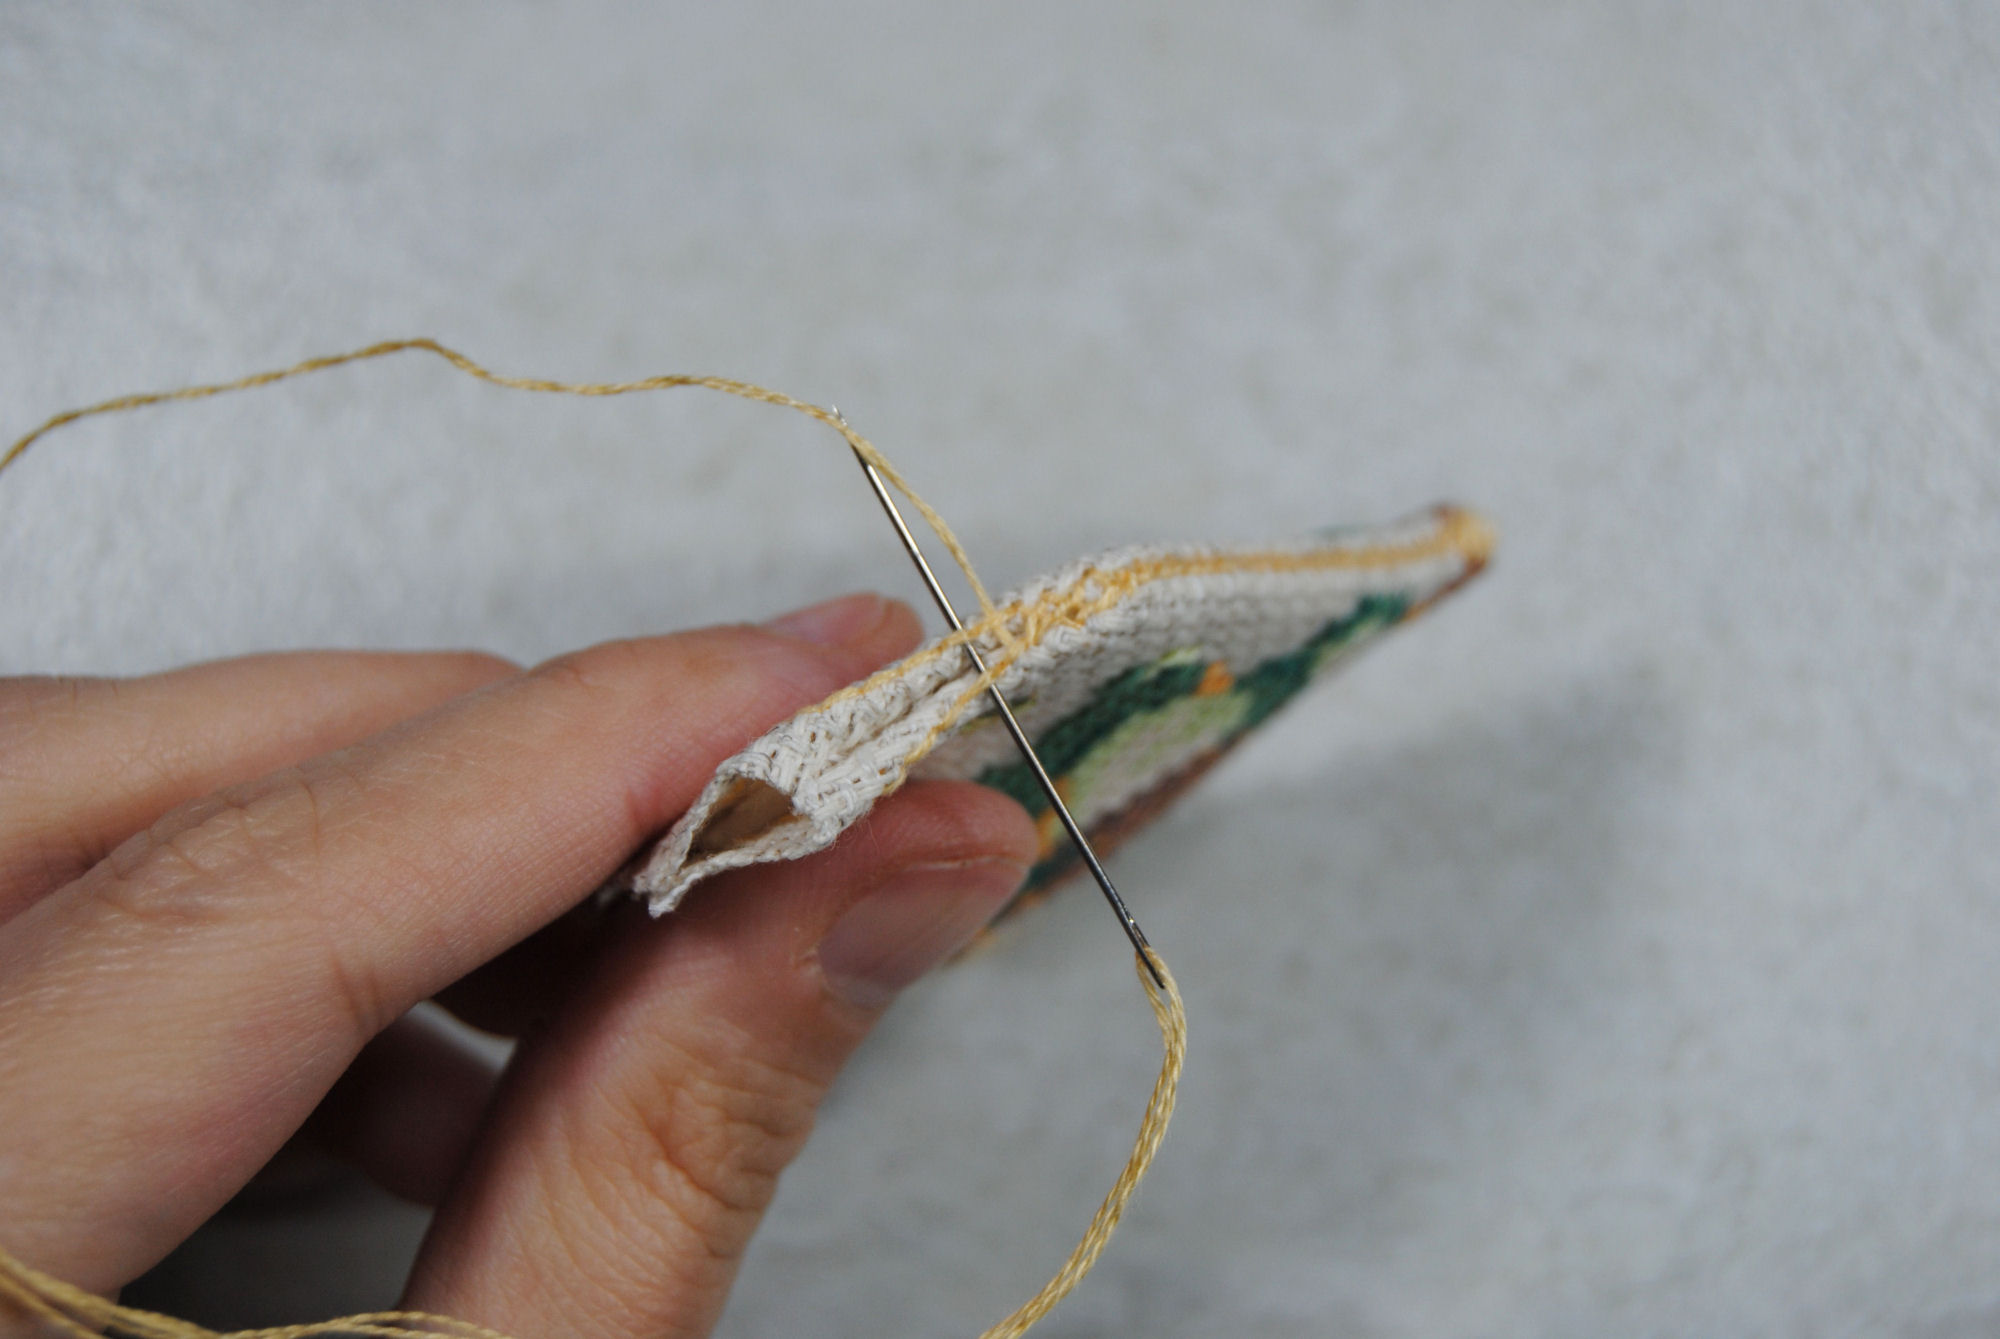
You can sandwich in your piece of padding now, or wait until you’re about half way and shimmy it in from the open side. Either way, you’ll start stitching across the two edges. You’ll note I’m not piercing the fabric, only stitching under the two backstitch lines.
At first they won’t want to come together as there’s a lot of excess fabric at that center fold. But as you get further up it’ll get easier, and you can pull your stitches tighter to compensate.
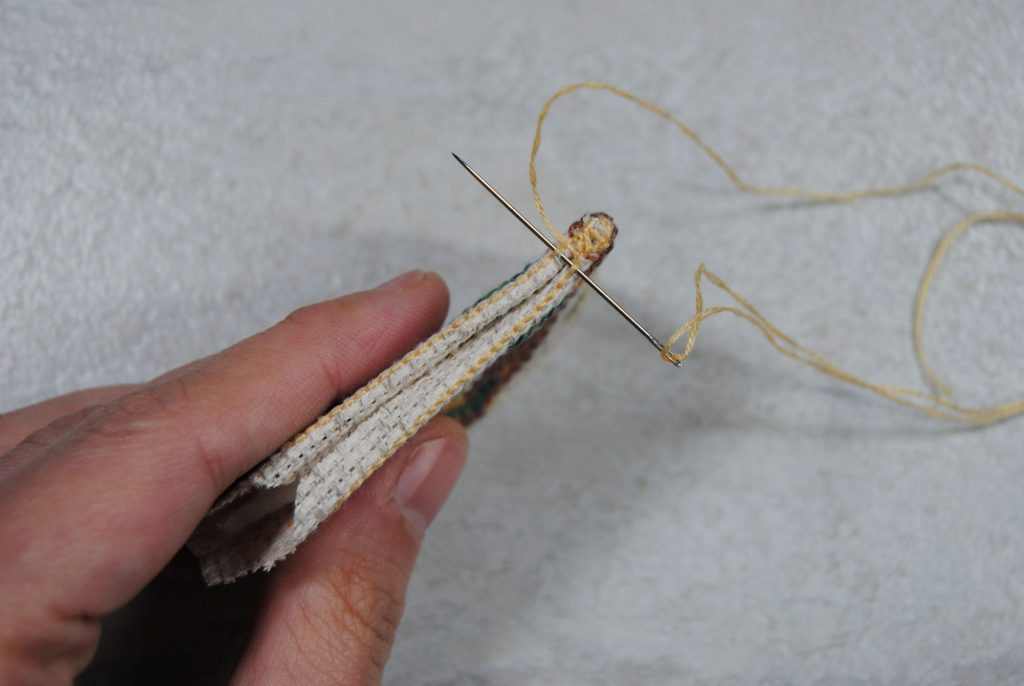
Keep on stitching even around the slight corners, tucking the edges of your fabric inside as you go.
Before you pass the center section, make sure any padding has the hole line up with the eyelets.

Keep going until you’ve gotten all the way around, then tuck the tail of your thread in and trim.
Creating an Omamori Knot
I am certainly not going to pretend I magically knew how to tie an omamori knot before going into this. Instead, here is the link to the YouTube video that I used to learn How to Tie a Japanese Omamori Knot. There’s no words, just music. So feel free to watch on mute. I found it pretty easy to follow, but could not even begin to explain this in words or still photos.
What I CAN tell you is that I started with a 30″ length of cord, folded in half. I could still probably stand to trim off a bit more afterwards. Best to start off with more than not enough, though.
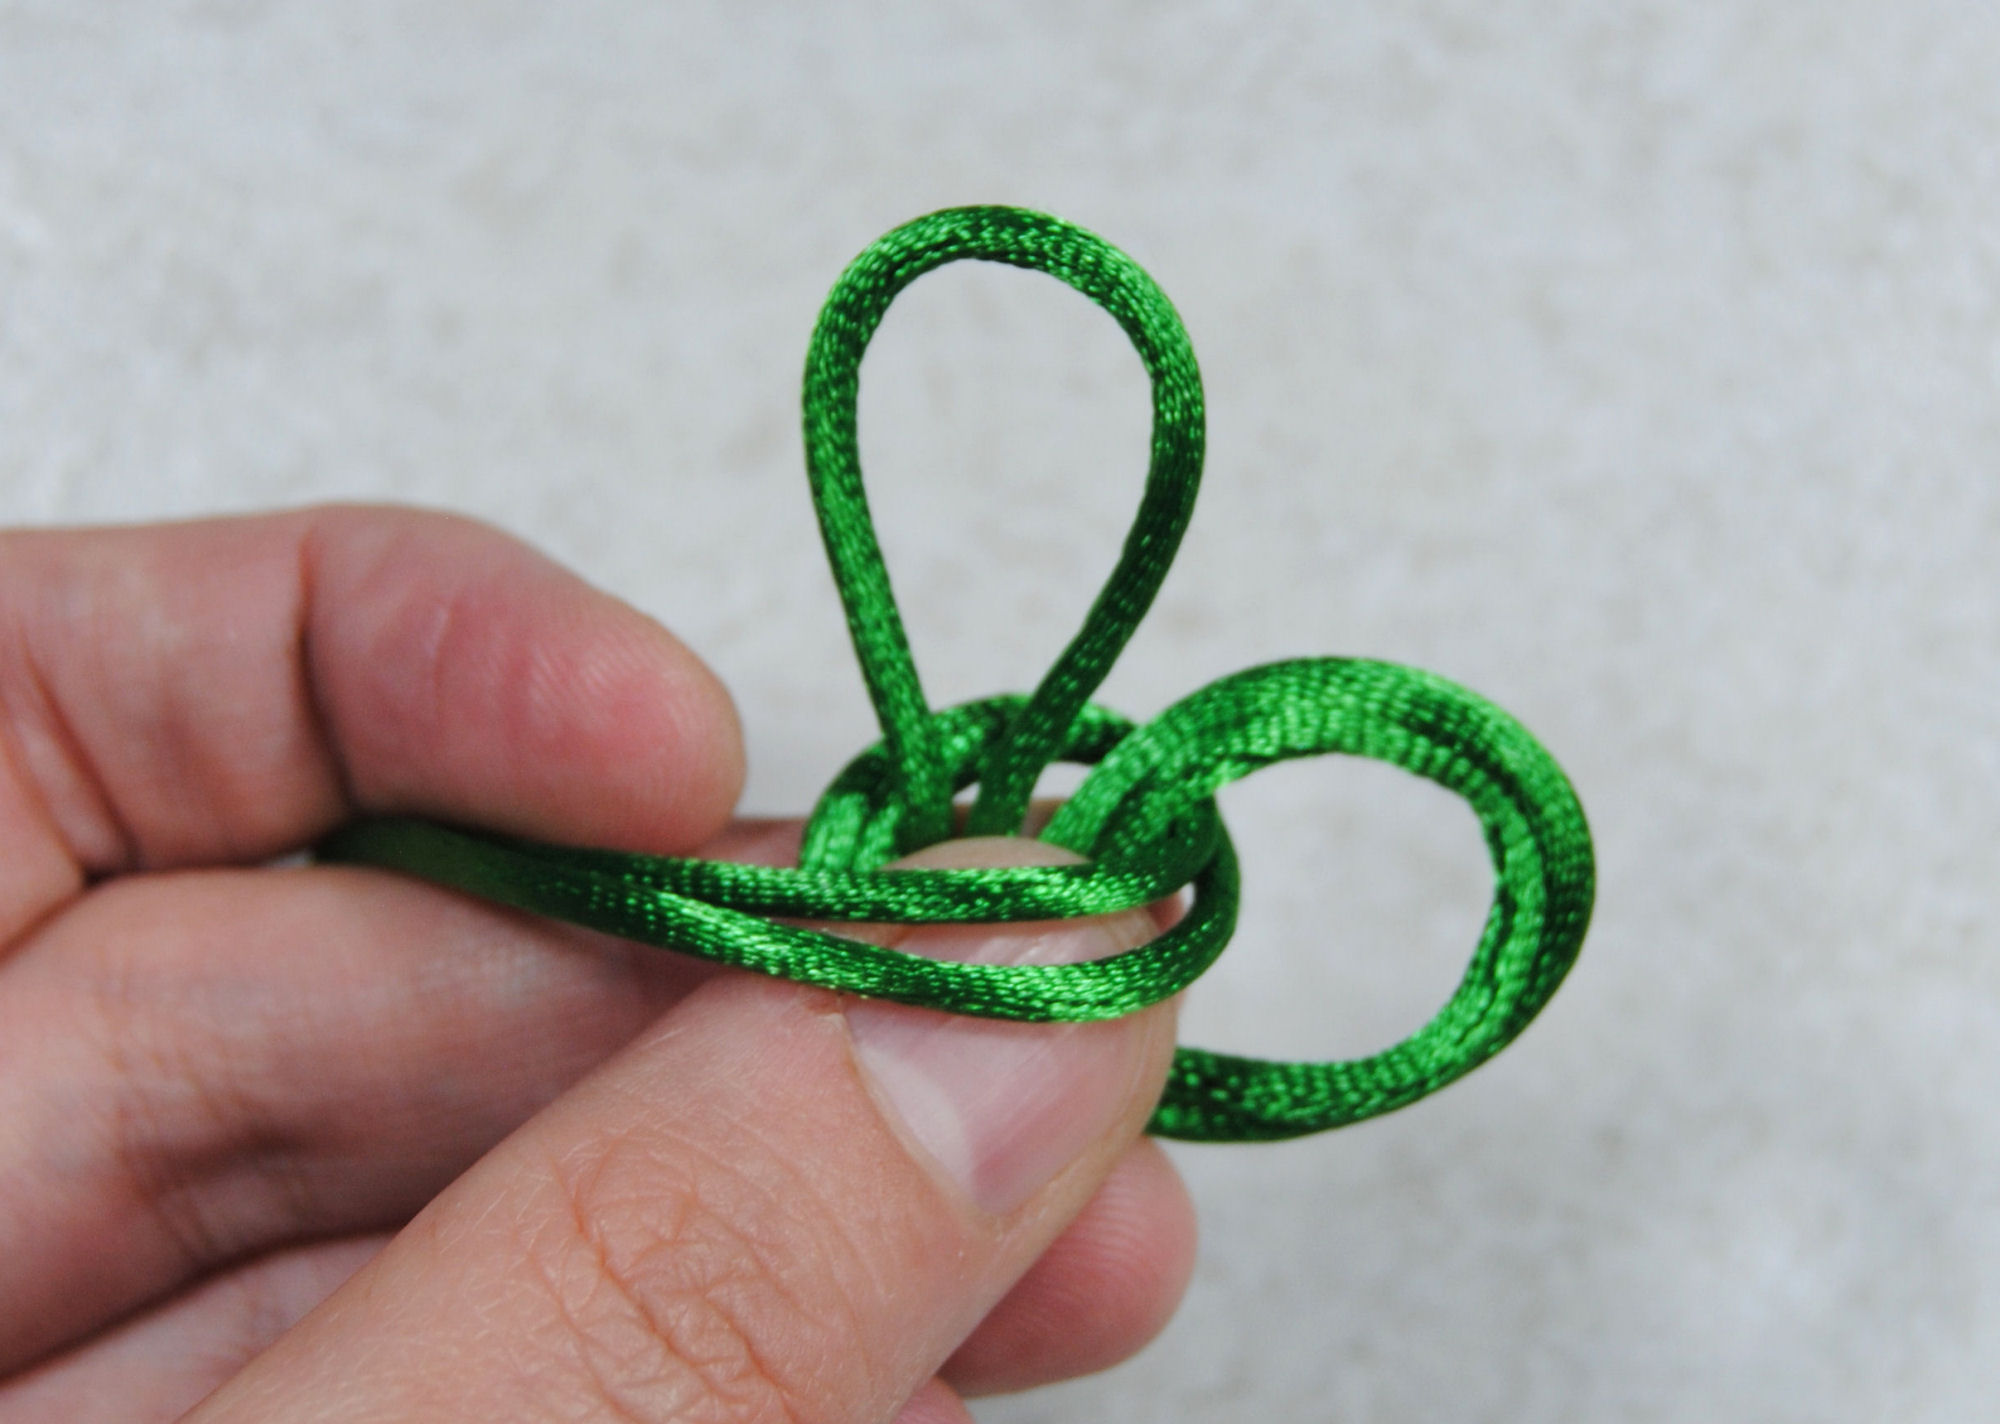
Here we are about halfway through the knotting process and I’m already confused.
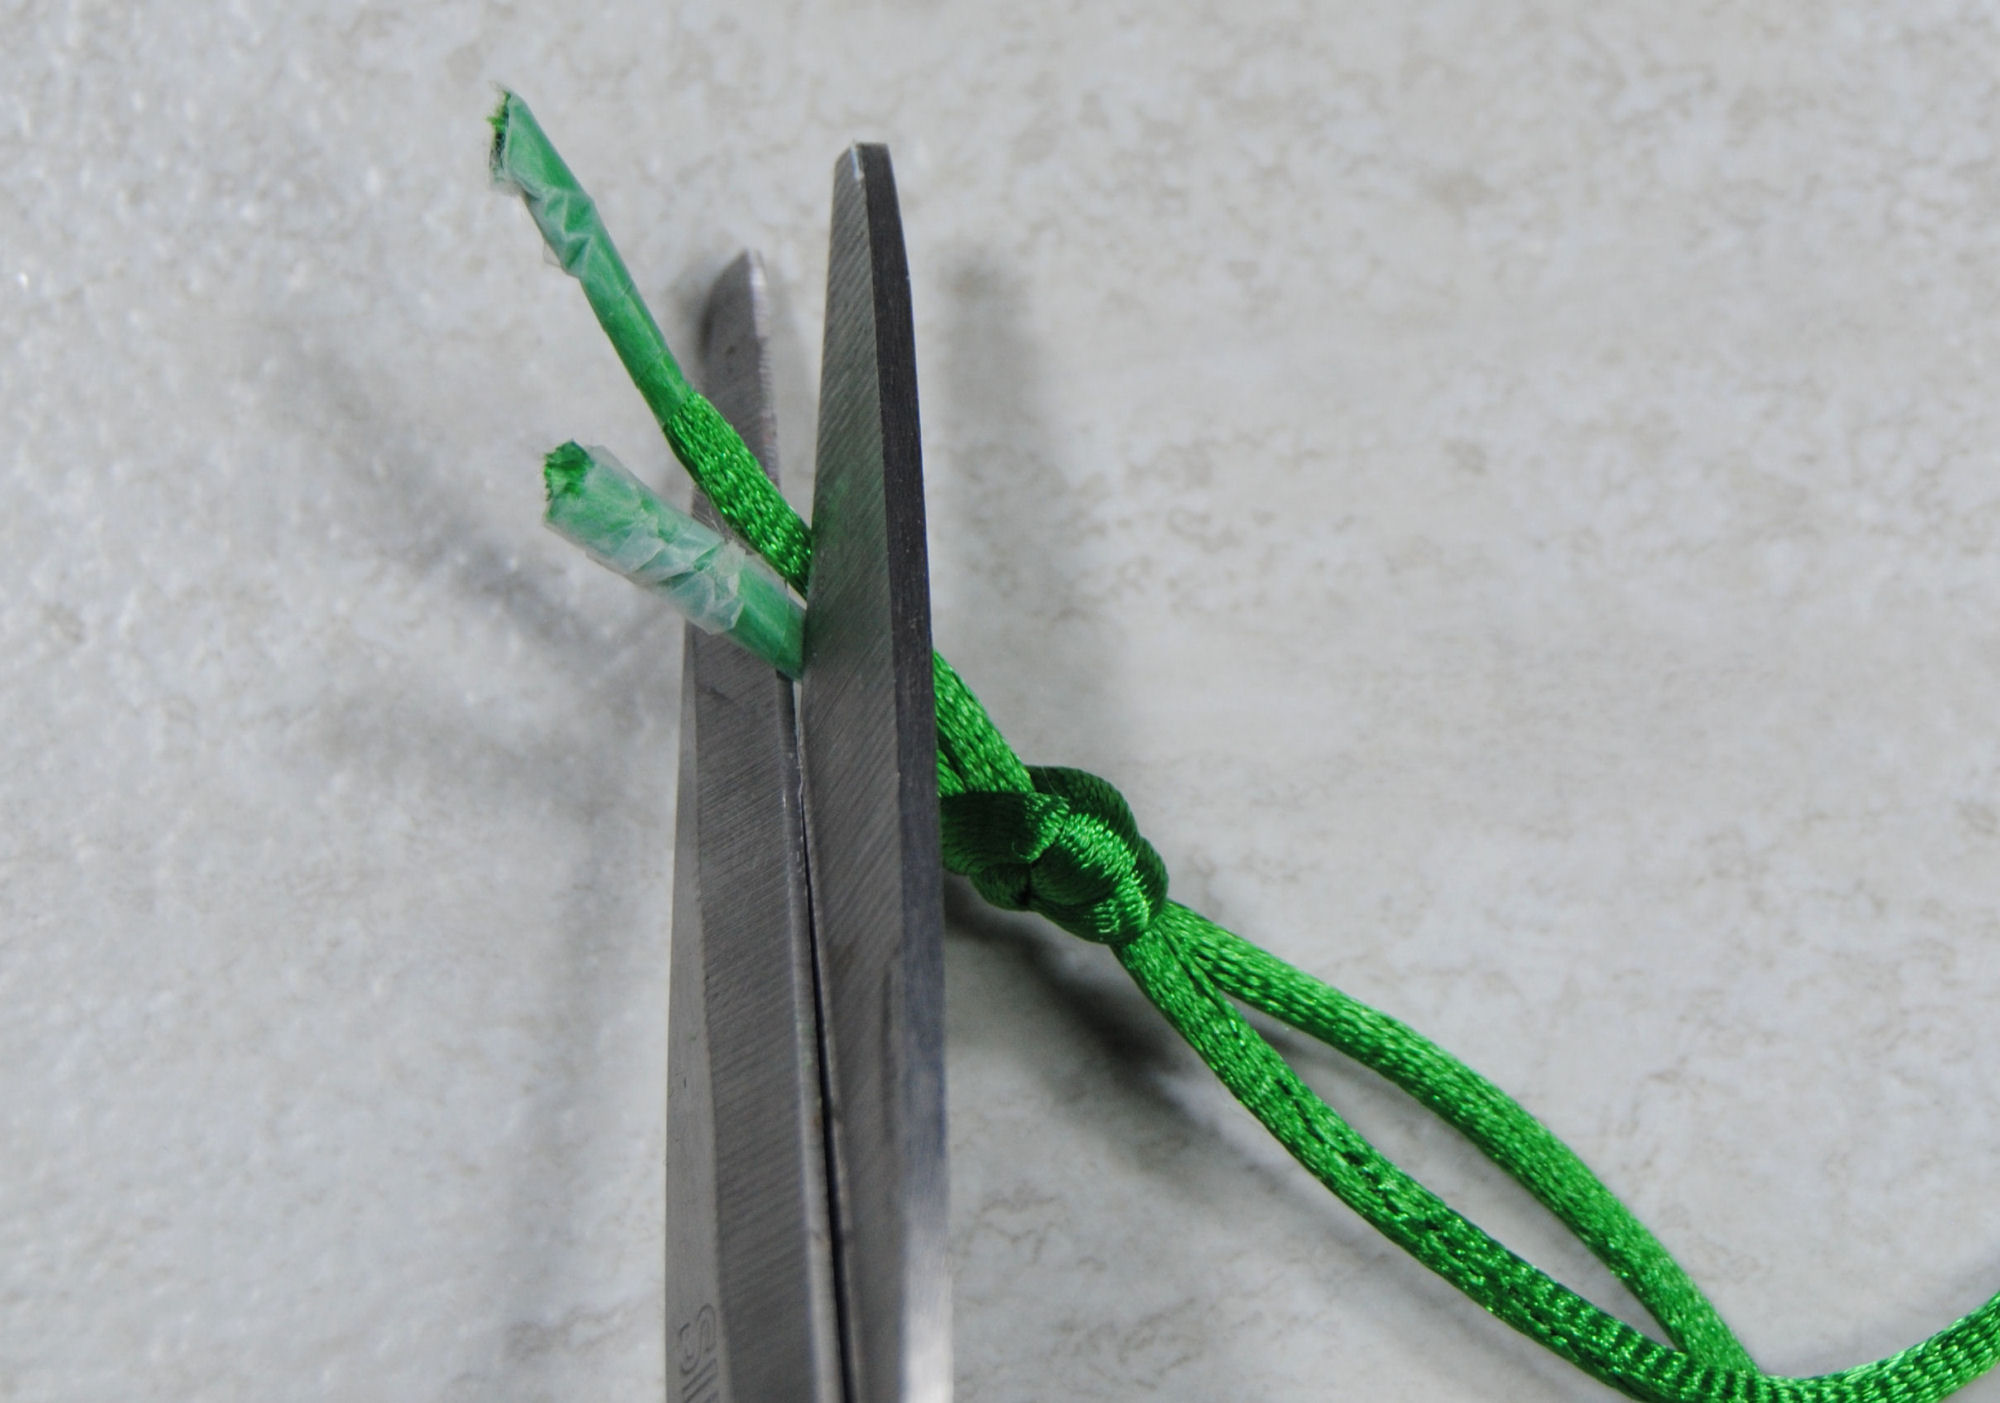
The other thing I can recommend, is that if you’re using silk cord like I am, you want it to stop fraying while you’re working on it. For the finished piece I used a lighter to burn the ends to keep them together. However, during assembly I needed a sharper edge to easily fit through the hole in my fabric.
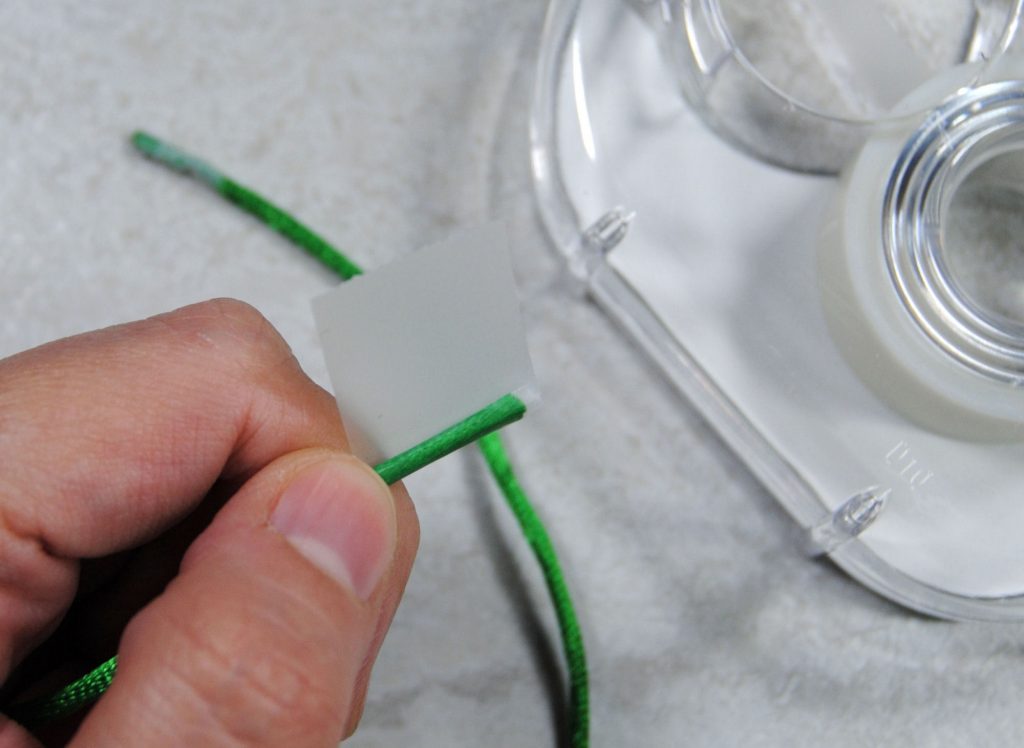
So instead, I wrapped the end of my cord in some scotch tape, then cut the tip off at an angle to create that sharper tip to feed through the eyelets.

Attaching the knot to your Omamori
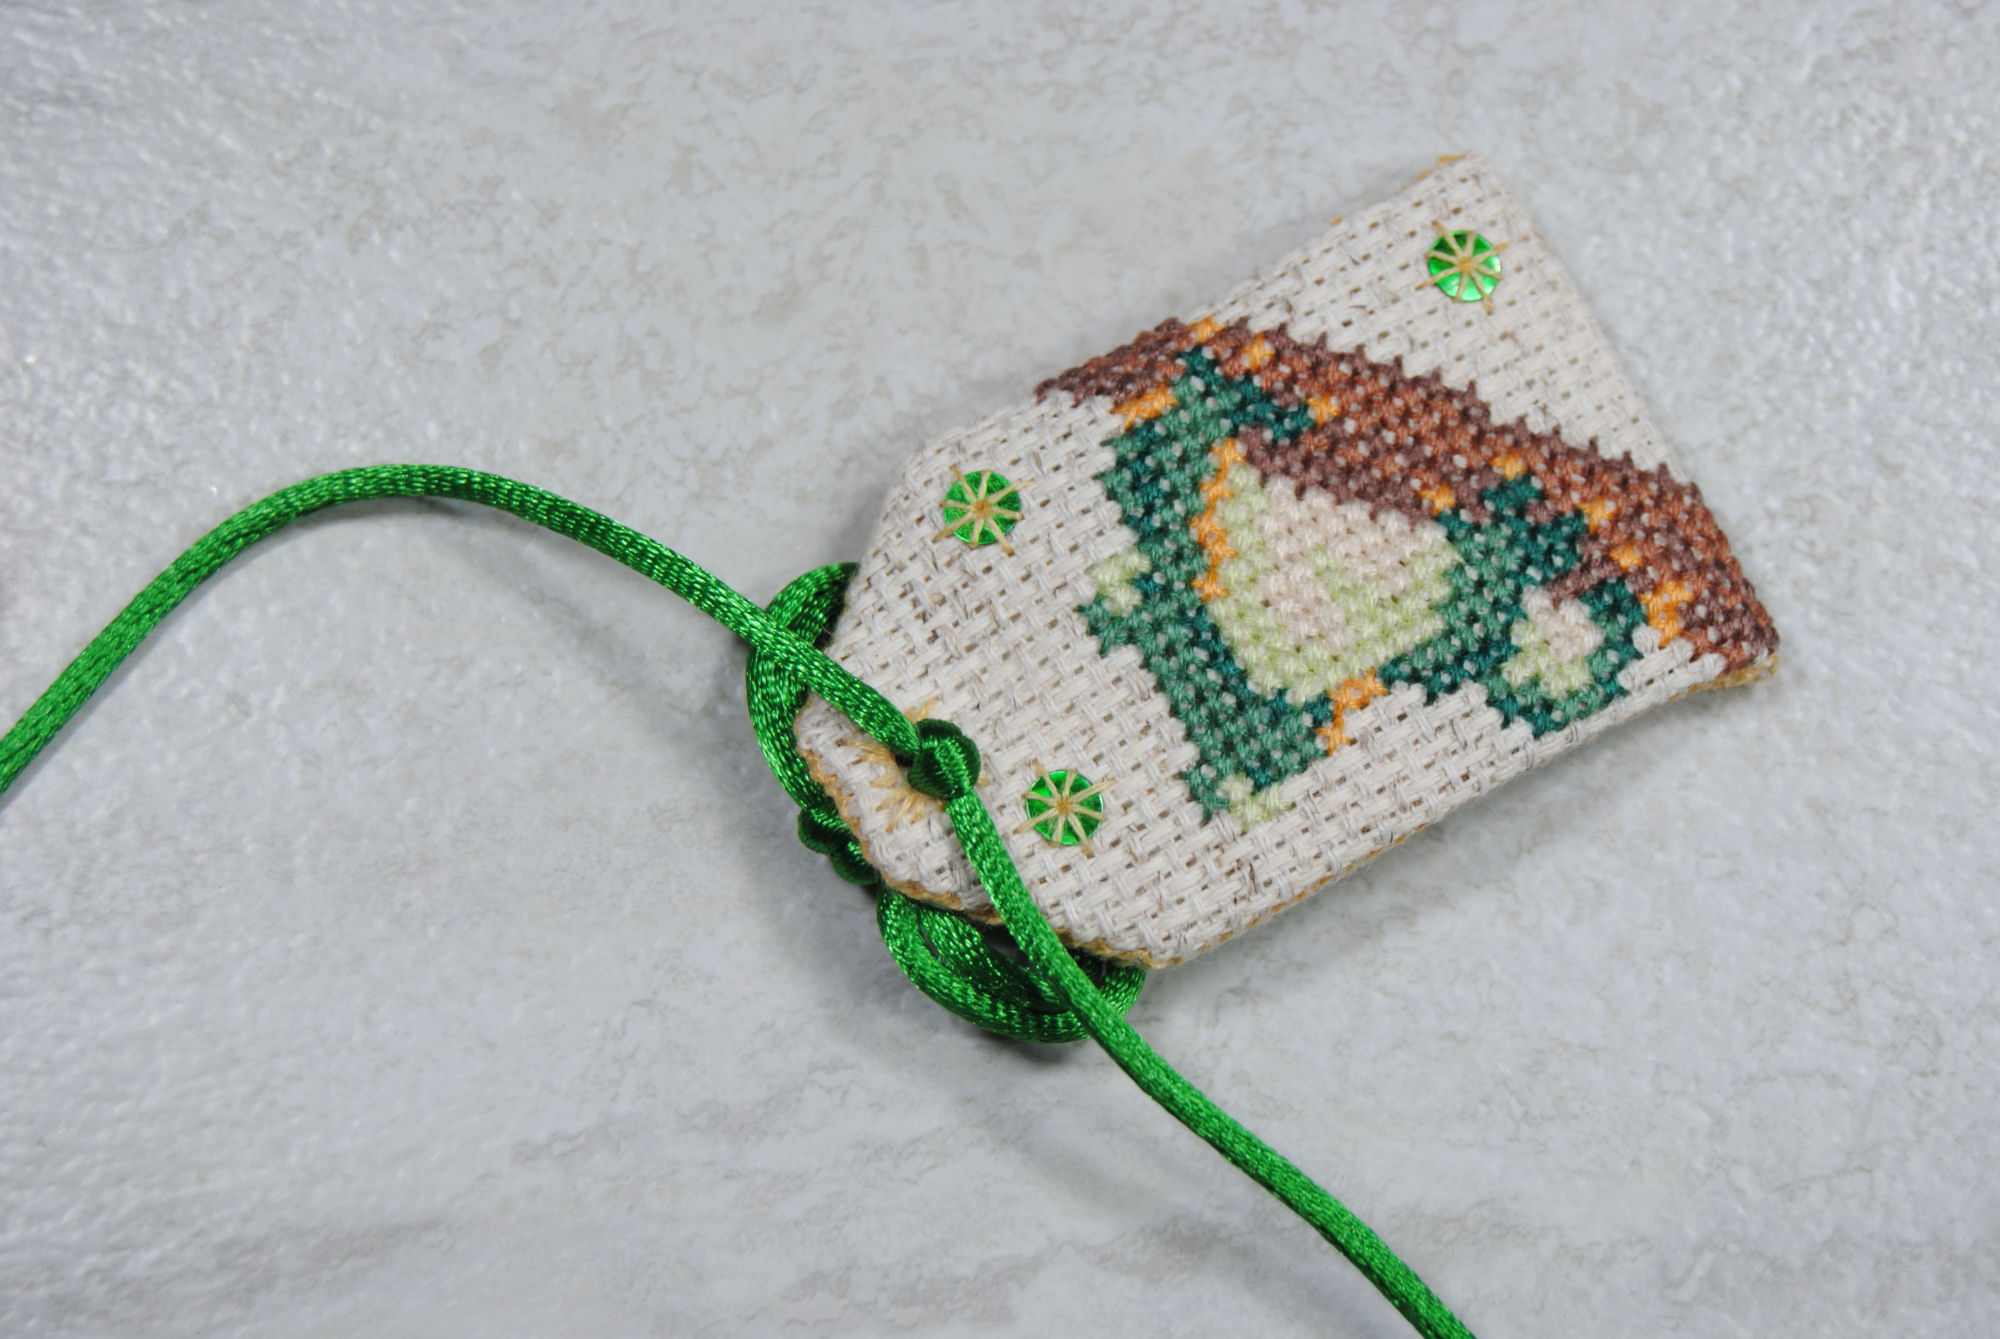
Finally, you’ll want to feed both ends of your cord through the front of your Omamori
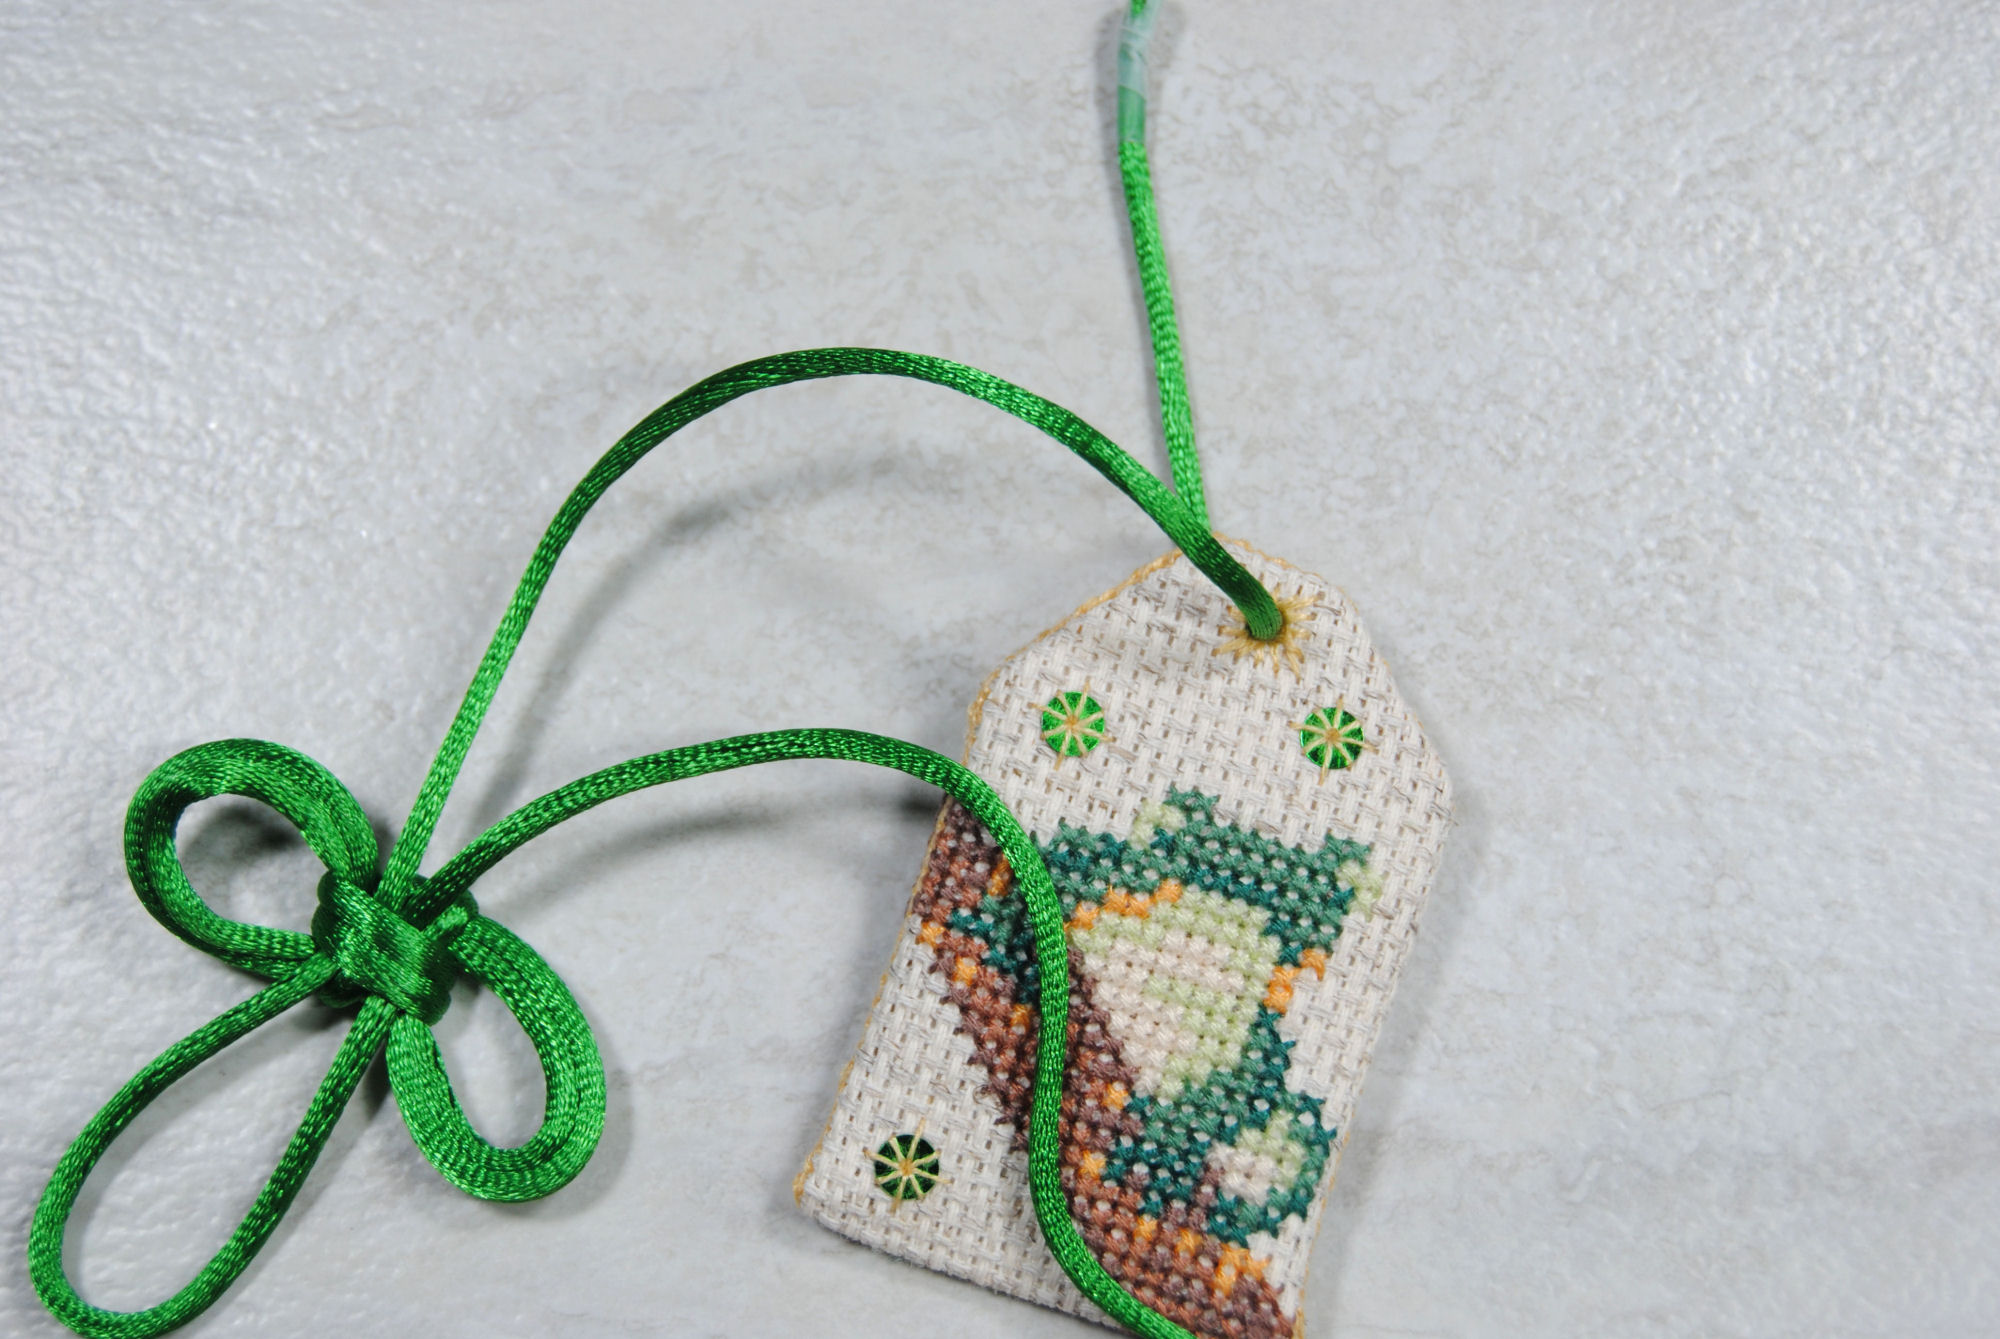
The sharpened tape end made it pretty easy to feed through even with the other end already taking up most of the hole.
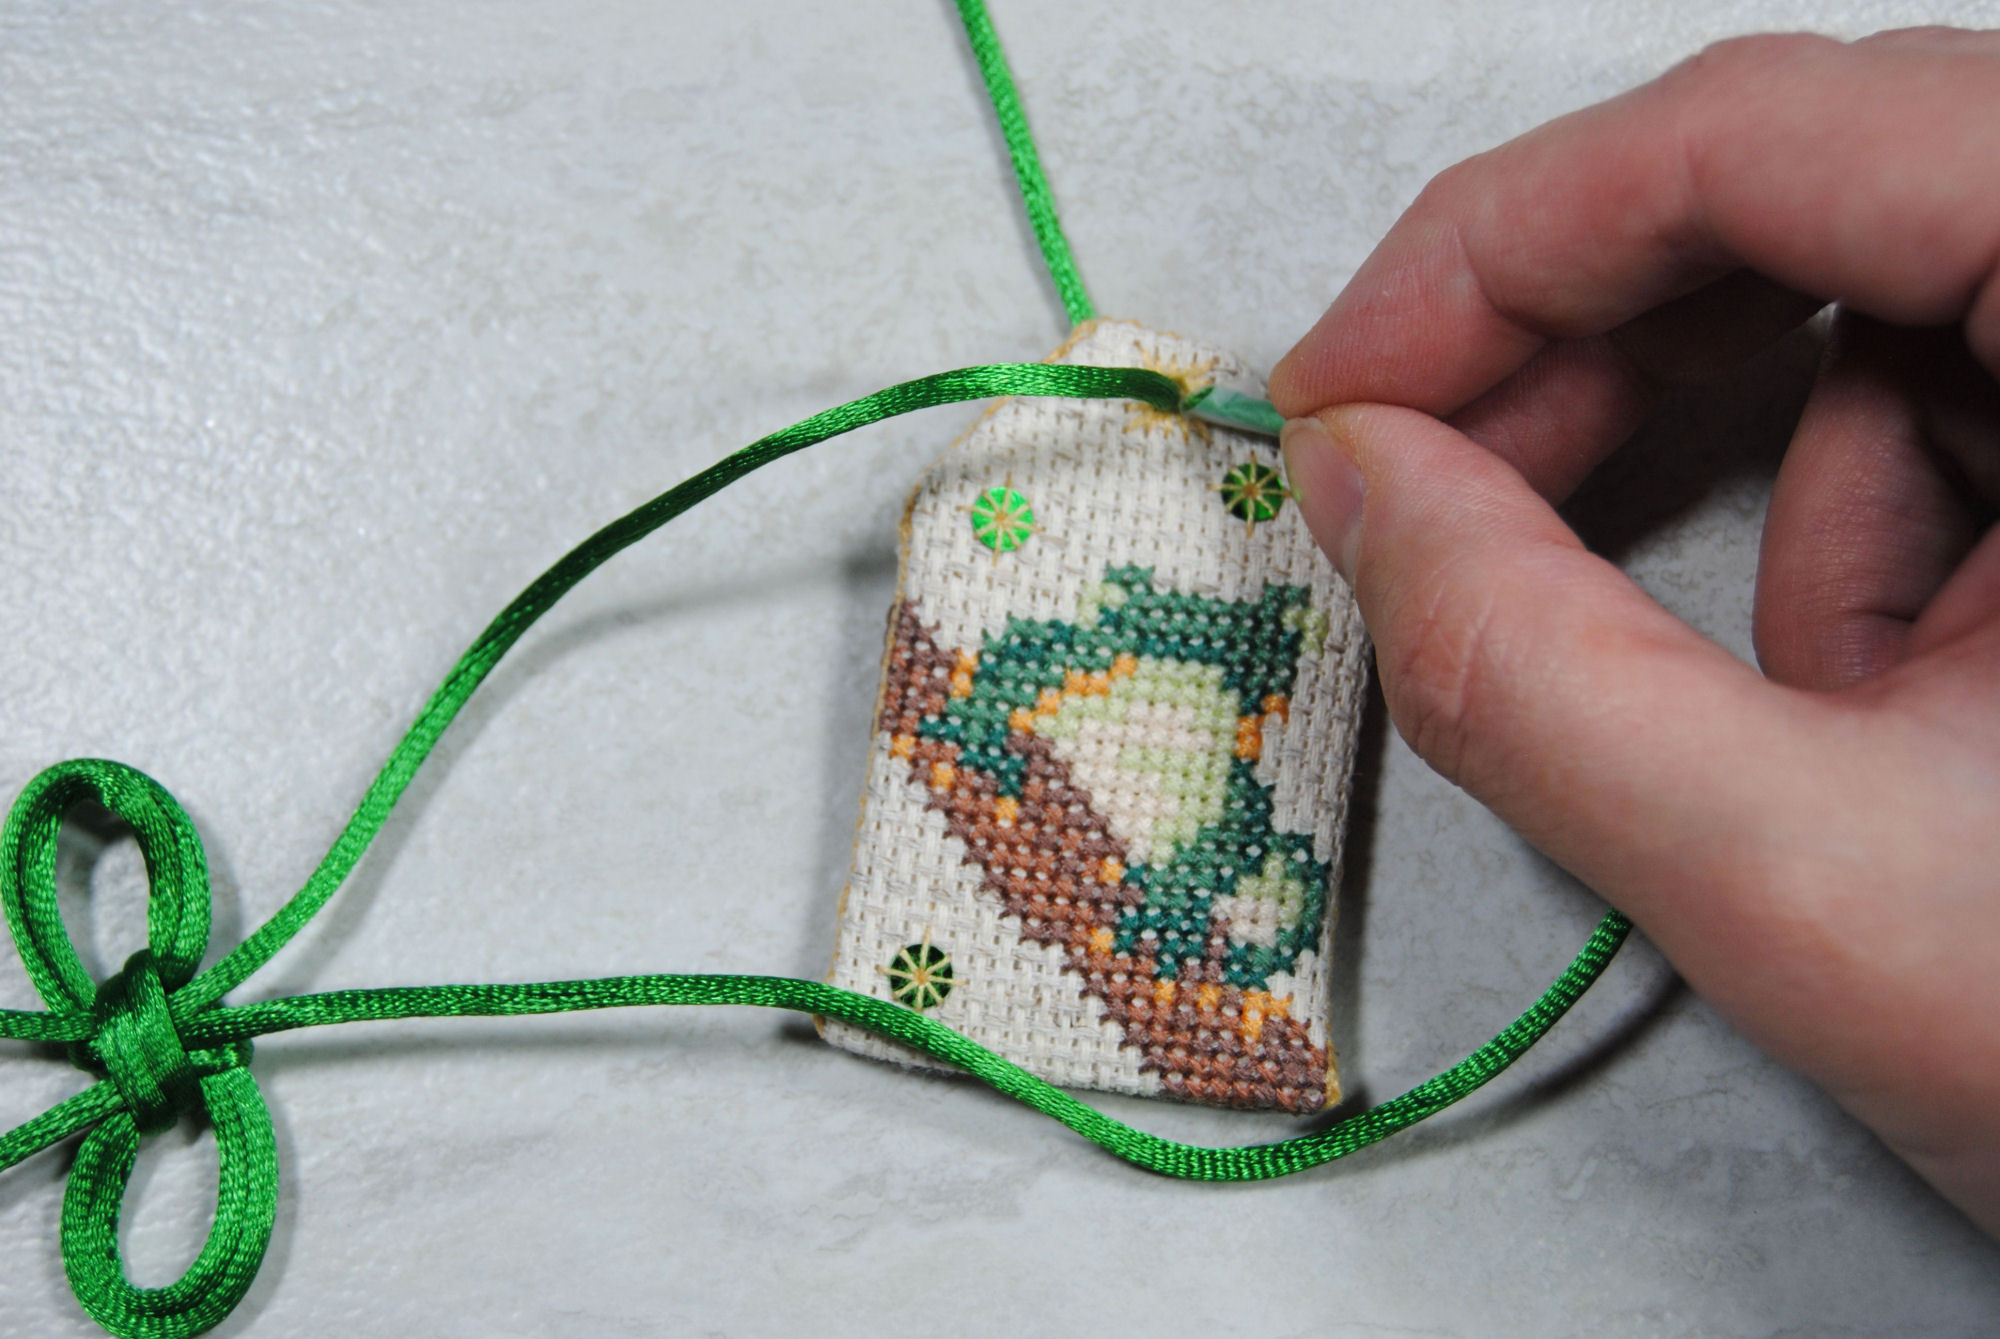
Now pull it through all the way so that your knot is right up against the front of your charm, then tie a basic knot on the back to make sure it can’t be pulled back through.
You can then tie a knot at the end of your cord, or at whatever length you actually want the charm to hang from. Trim off any tape, and if needed use a lighter to burn the tips lightly so they won’t fray.
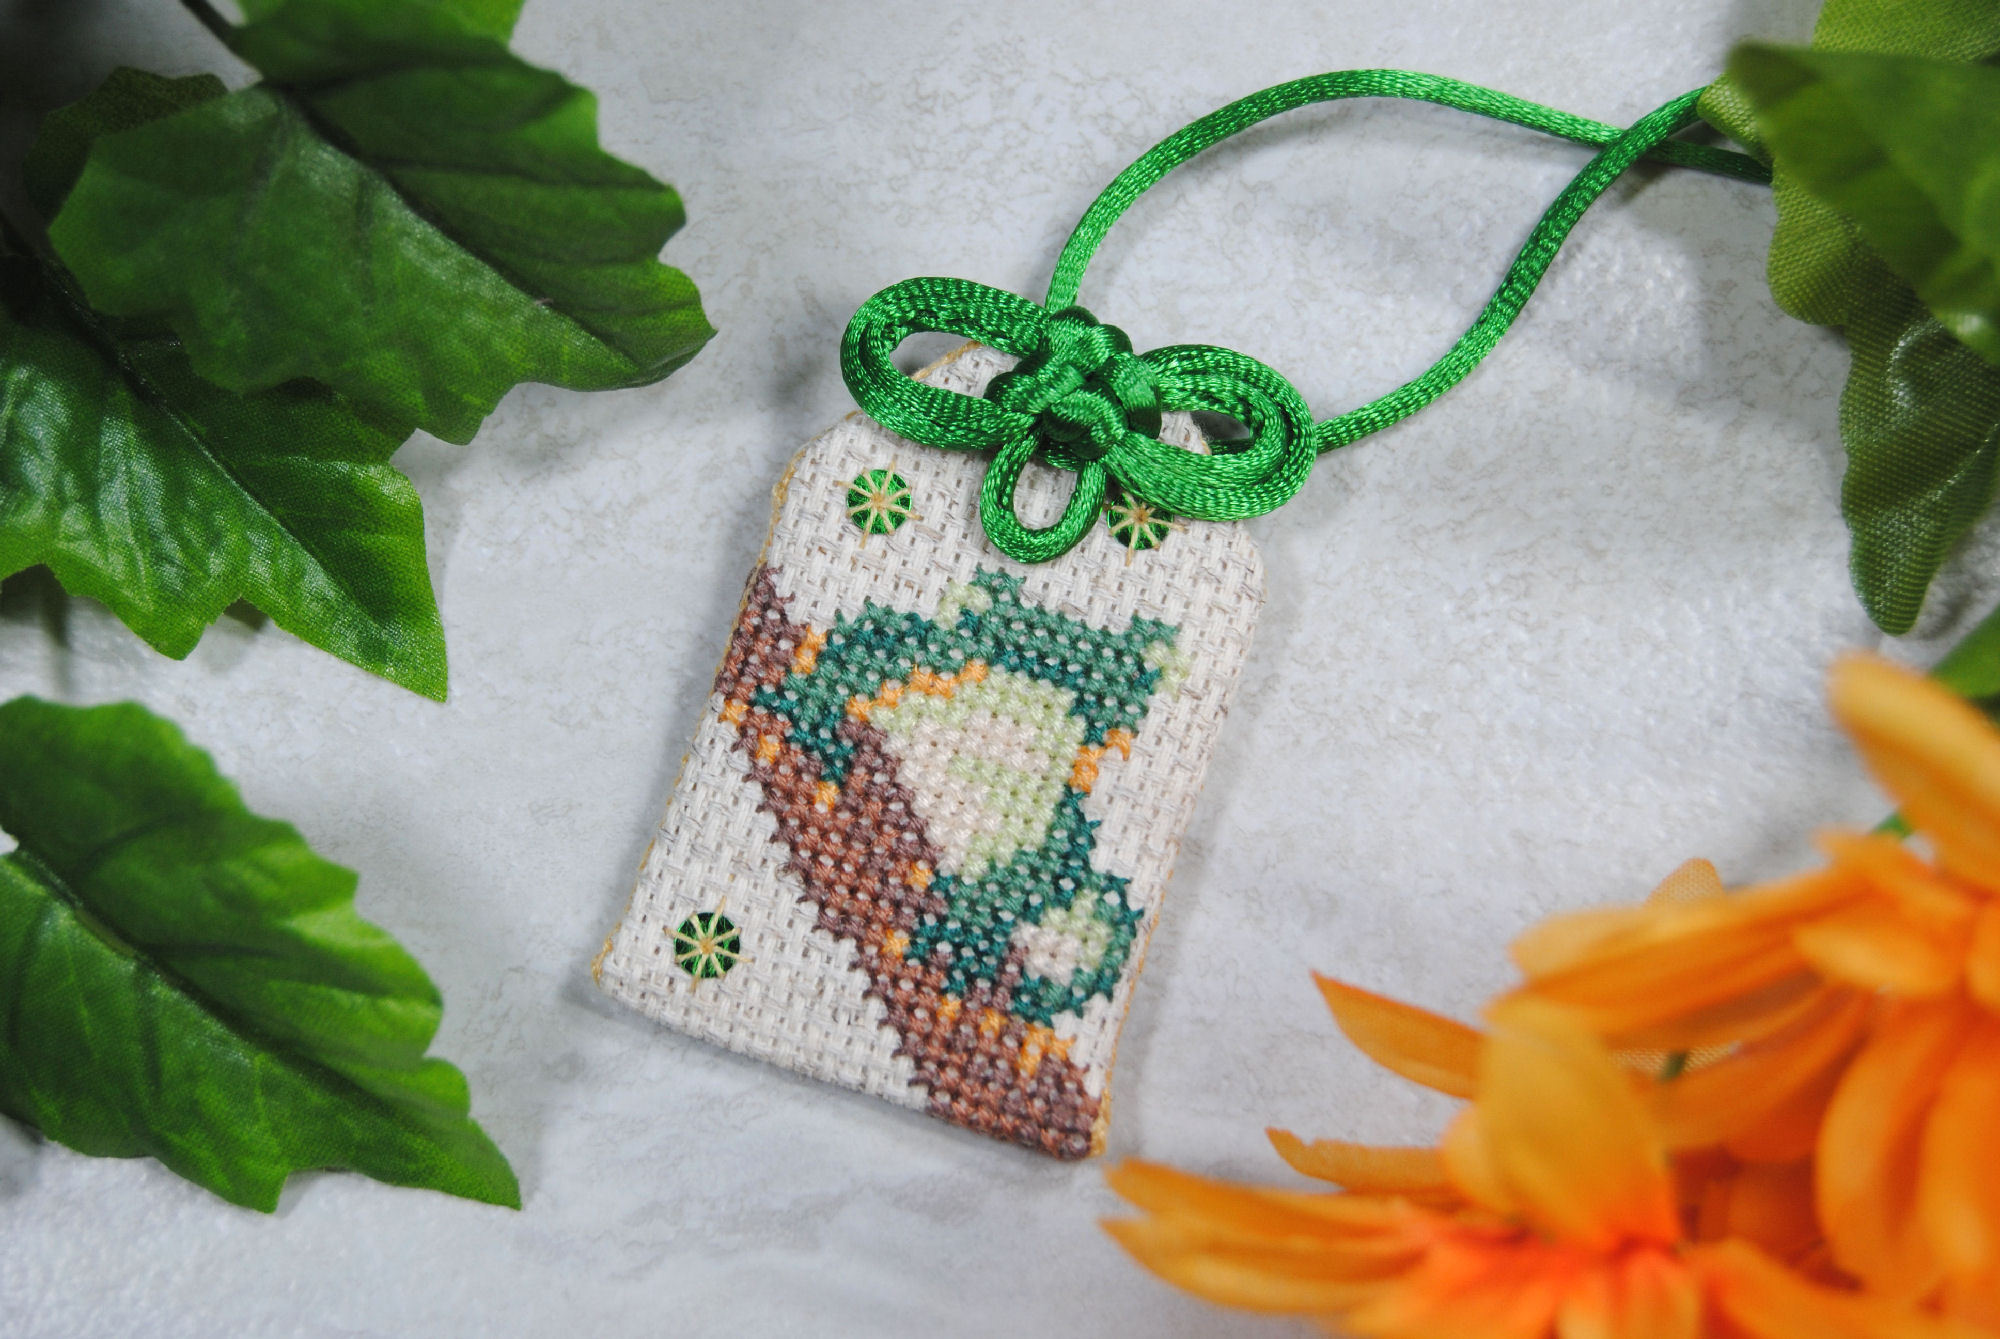
And You’re Done!
That’s it! You’ve made your first Omamori. These cute little charms would make lovely gifts, or can be a fun reminder of your goals for the year.

Of course, if you’re in Japan and/or have a local shrine or temple… consider stopping by and buying a charm to help support them. They are a unique part of Japanese culture and should be respected despite modern commercialism.


