Humbug Tutorial: Ornaments, Pin Cushions, or Scissor Fobs?
It is time once again for yet another cross stitch finishing technique! This time, the elusive humbug. Similar to the biscornu, it’s hard to tell what these are really designed to be, other than extremely adorable.
I’ve seen them used as pin cushions and christmas ornaments. If filled with rice or other heavier materials they have been used as pattern weights in the sewing world. Others make small ones and attach them to their scissors to make them harder to misplace. (But not impossible)
Whatever you decide your humbug will be purposed for, I am simply here to show you how to create this shape. This finish is by no means unique to me, and you can find numerous examples and patterns online by searching with the keyword ‘humbug’.
This post may contain affiliate links. If you buy something using one of these links, I earn a small commission. However, there is no extra cost to you. Thanks for understanding! Learn more in my Disclosures & Privacy Policy.
Table of Contents
Materials
- A rectangular cross stitch design, with a backstitch border.
- Something to fill it with, such as PolyFil, orts, rice, or whatever else you have on hand.
- Ribbon (optional)
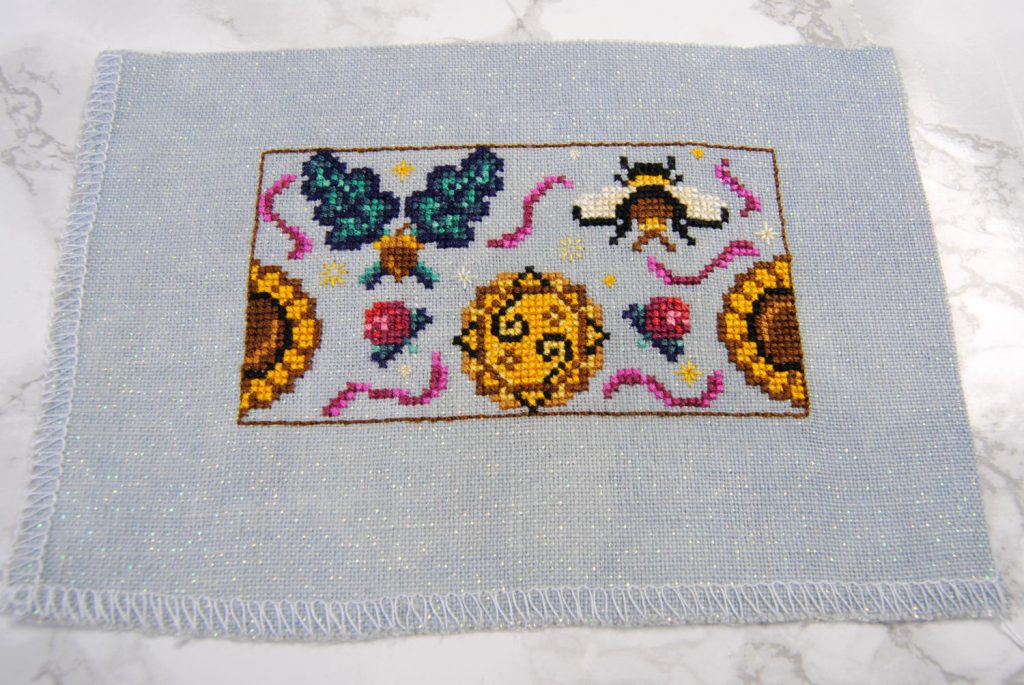
Unlike the biscornu, you need only one finished piece. This time however, it should be in a rectangular format. Roughly twice as wide as it is tall. In this example, I’ll be using a pattern I designed to turn into a humbug, at 75×40 stitches.
I stitched this over 2 on 36 count edinburgh in PictureThisPlus Crystal Dapple. Making the finished design roughly 4.2″x 2.2″. This makes for a fairly small humbug, around 2″ tall. If you’re wanting something larger, you’ll want to use a lower count or a larger design. My pattern is available on my Patreon or Etsy, if you’re interested.
Preparing your design
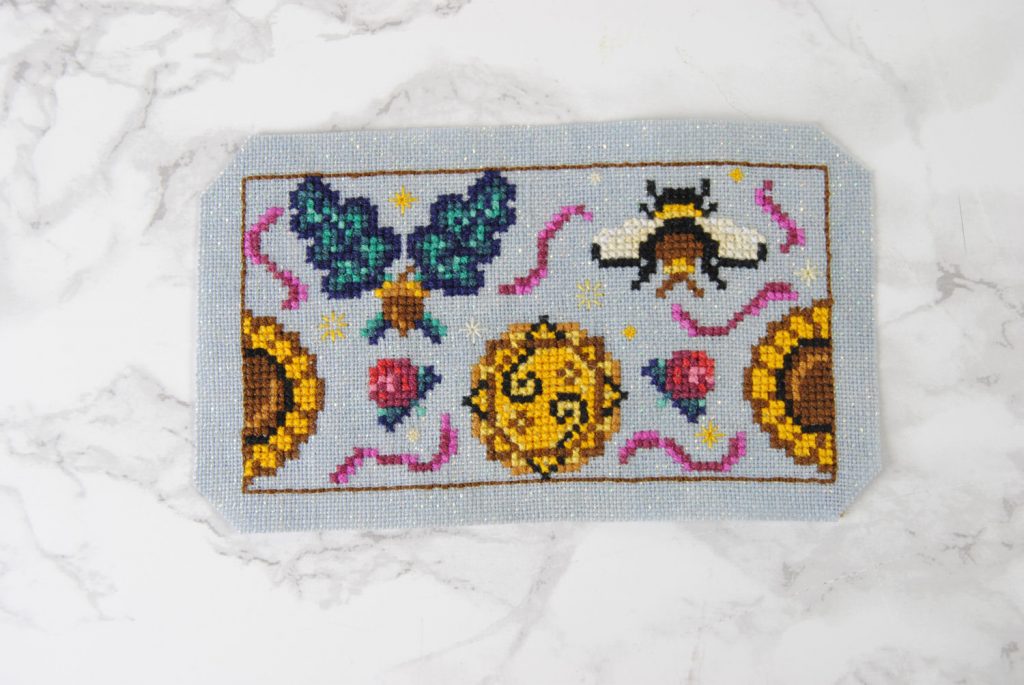
I had a fair amount of extra fabric on mine so that I could still fit it on my 6″ Q-snap while stitching. For the actual assembly though, I trim it down to about a 3/4″. You’ll note I also cut the corners at a diagonal, this will make it easier to stitch around the corners while assembling it.
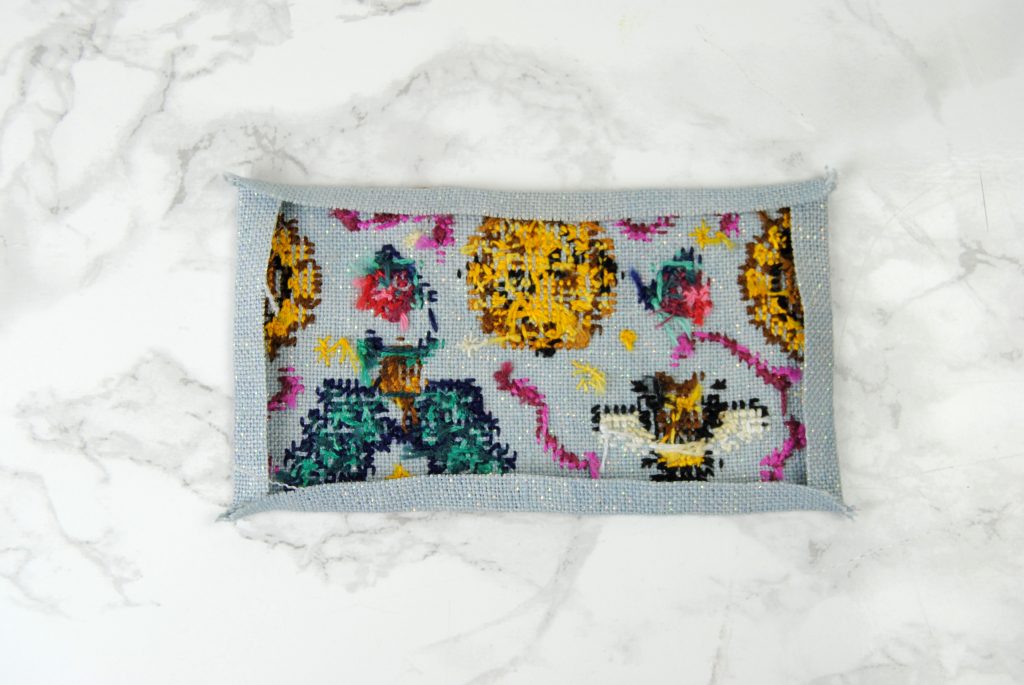
You’ll then fold those borders in and iron them down to make them easier to work with. Don’t fold the backstitch border over, you want that still on the ‘front’ with the design. But get as close to it as you can.
Assembling your Humbug
Once you’re ready to begin, load your needle with a strand or two of the same color you used for your border. I prefer using two strands, but if you want a slimmer edging you can use less.
Now loosely fold your design in half so that the two shorter ends are together. Don’t press the crease though, as that’ll be one of the faces of your humbug later and you won’t be able to iron it back out.
Stitching just under the backstitch edge, start sewing your two ends together.
You’re essentially doing a slipstitch using the backstitch as your achor here. Keep working all the way down that side.

Once you’ve finished stitching those ends together, you’ll end up with a cylinder of fabric. And now, it’s time to make a decision…
Choosing your faces
Essentially, the next part is to sew closed the ends of your cylinder, but in opposite directions. This creates the unique humbug shape. That said, it will look different depending on which way you do them. What I would recommend is to test both directions and see which one you prefer.
Below, I clipped the two ends together in opposite directions to try and show both options.
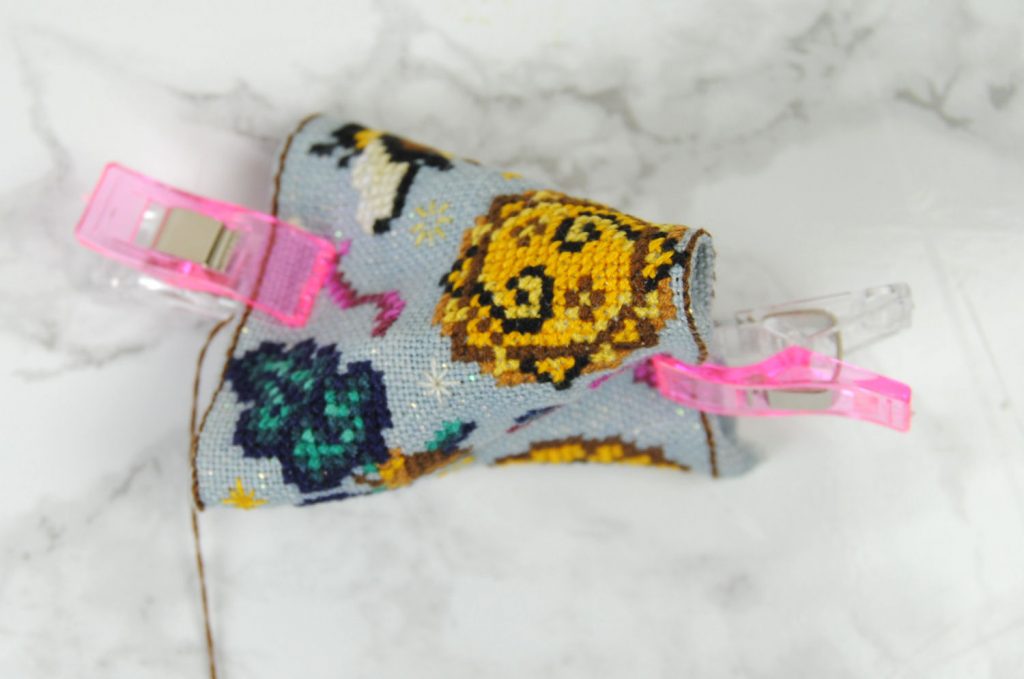

Ultimately, I decided that I wanted the designs to lay flat instead of on the corners. So I went with that second option and got to work.
Continue stitching
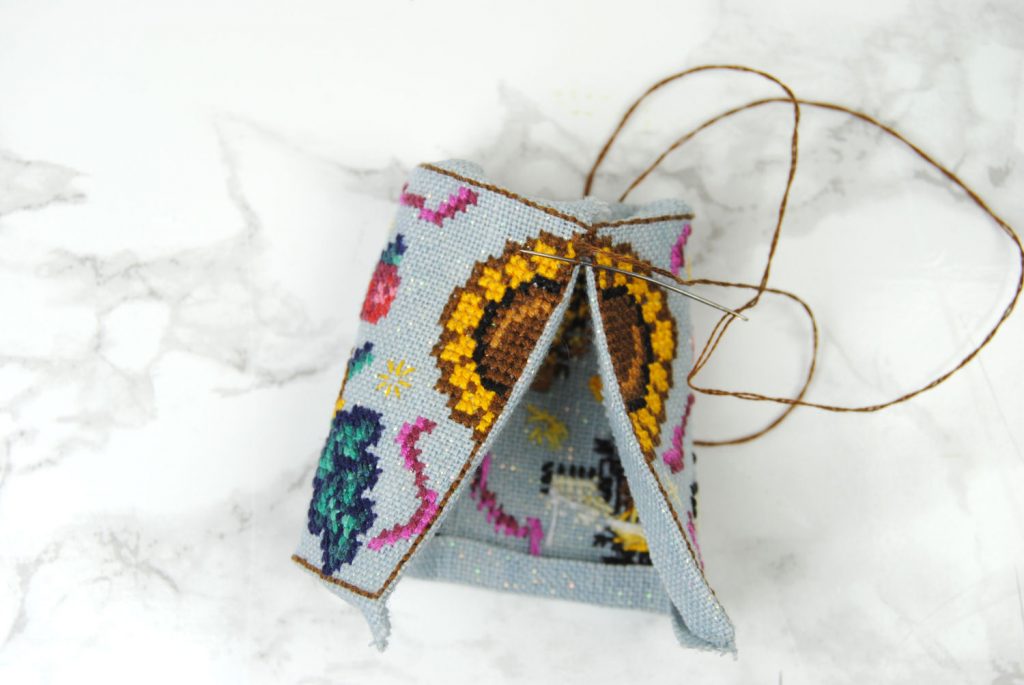
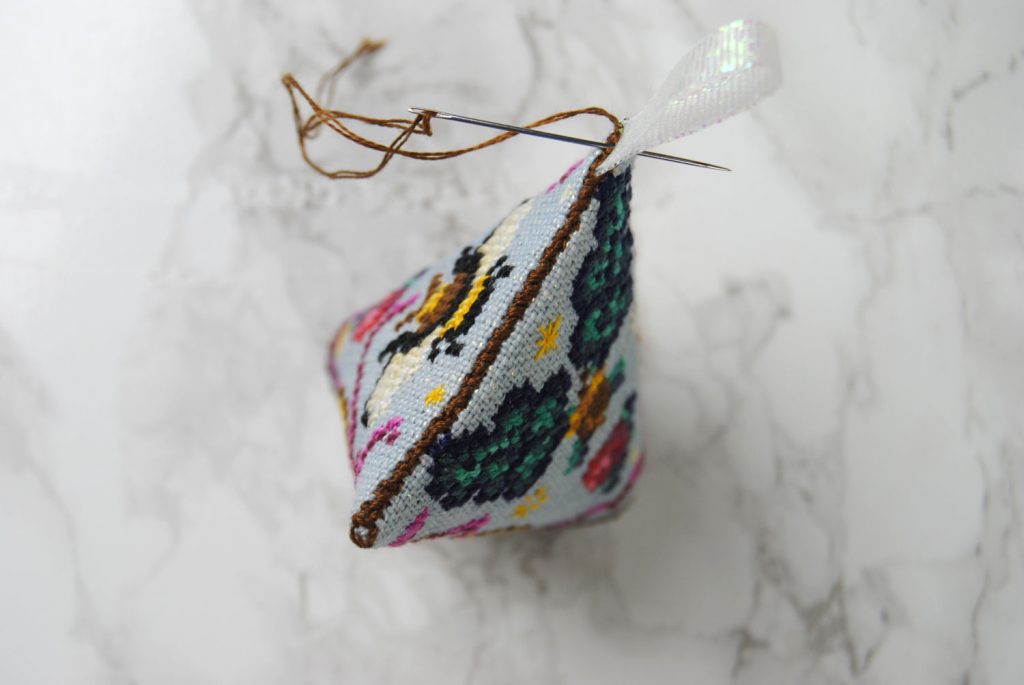
Now that you’ve decided how you want it to sit, you’ll want to decide if you want to attach a ribbon loop or cord. If so, you’ll want to do that side first. Whatever side you want it to hang from, start slipstitching your side together.
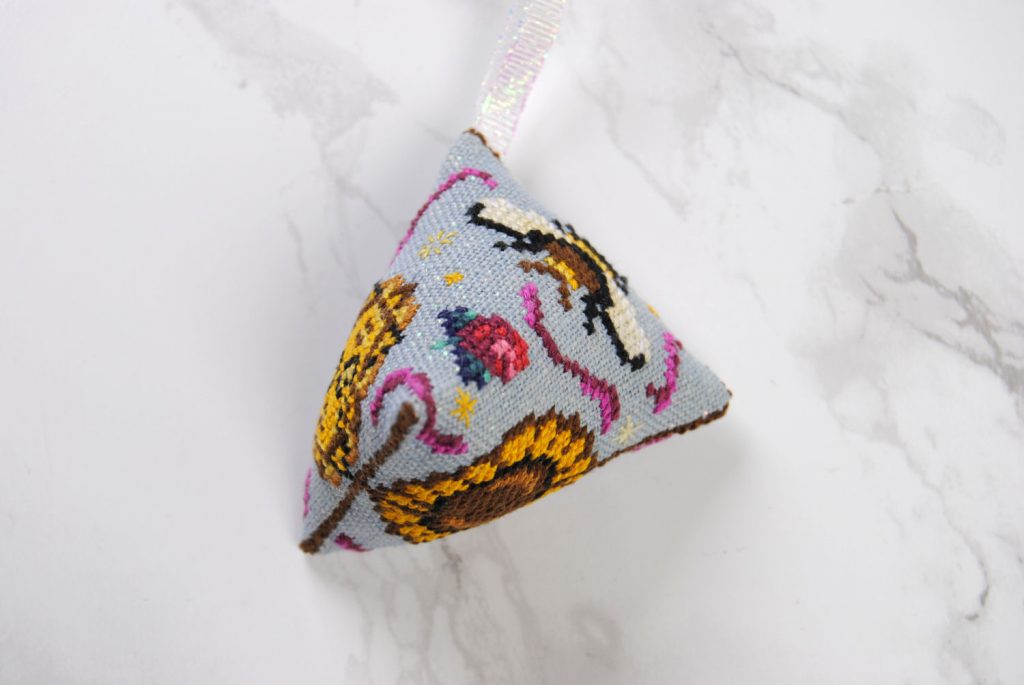
I chose to just do a simple ribbon loop. It’s an iridescent white so very hard to photograph, but goes lovely with the sparkliness of the fabric itself. I’ve also seen these done with lovely beaded cords or even chain!
You could choose to add your hanging in the middle of piece, or in one of the corners like I did. Just continue the normal slip stitch, but stab through your ribbon or hanging in the process.
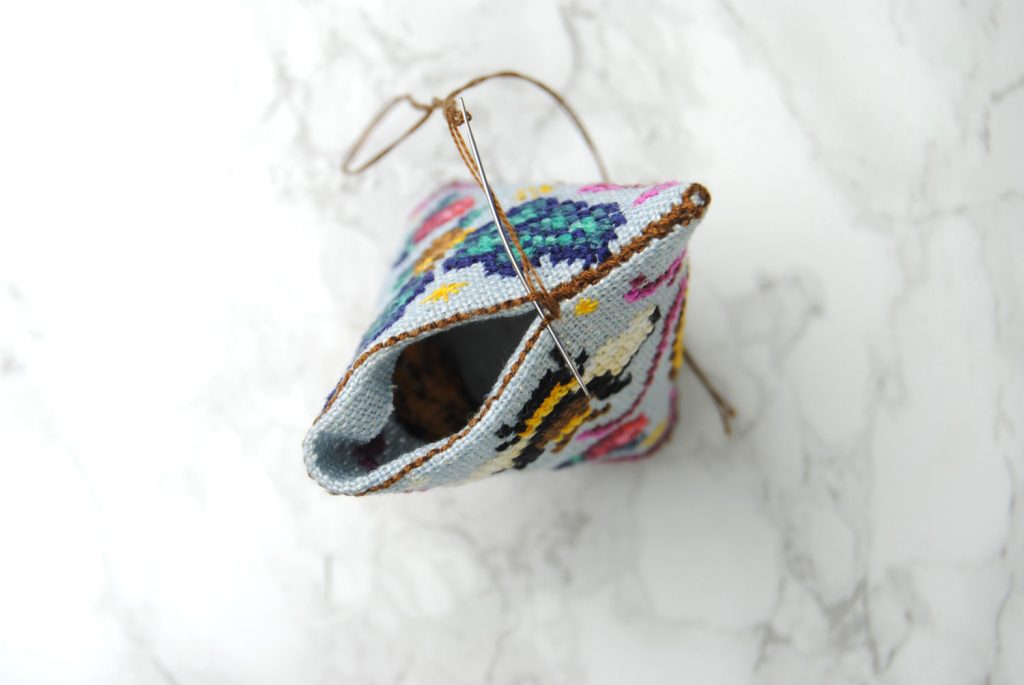
Finally, flip your humbug over and start stitching closed the final side. Again, you want this side folded in the opposite direction as your first. Otherwise it’ll just end up being a small square-ish pillow. Which would still be cute, but not the point of this tutorial.
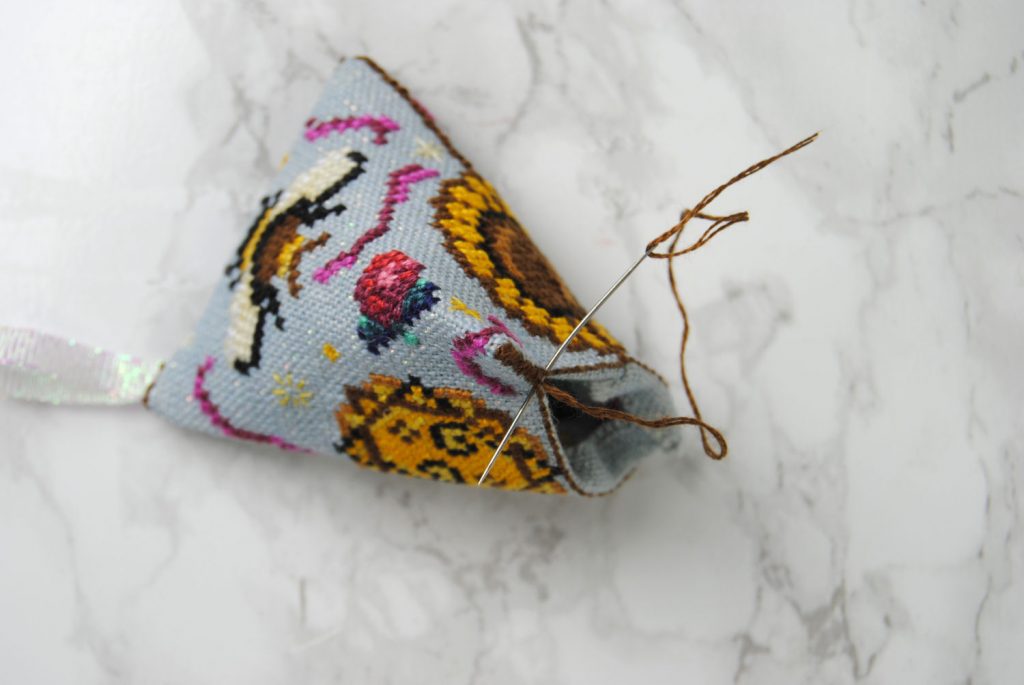
Filling your humbug
Before you finish stitching your last side, you’ll want to stuff it. I used just your basic PolyFil as I still have a ton of it on hand. If you want it heavier for use as a paper weight you could fill it with something like rice or crushed walnuts. If you want to recycle, you could use the ends of threads from your last few projects. Assuming you save them like I do for some reason…
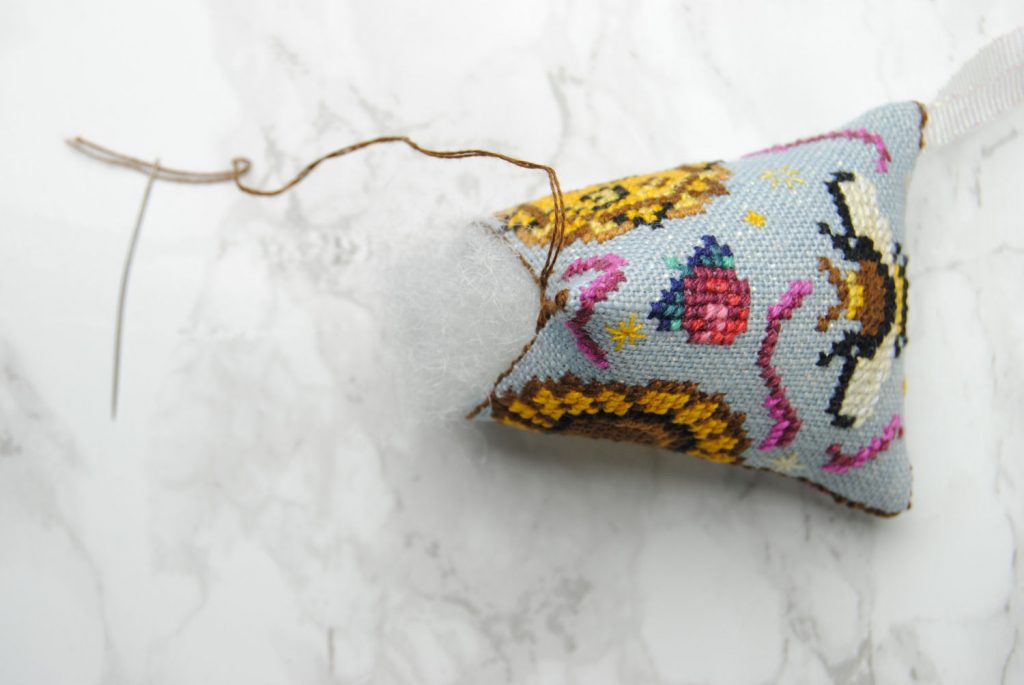
Use a chopstick or something thin to make sure the corners of your design get properly stuffed. You’ll want to stuff it enough to hold it’s shape, but not too much or your triangle will be a bit lumpy.
Sew the rest of that edge closed, carefully shoving your stuffing in as you go. You don’t want to have to deal with the stuffing trying to burst out at the same time you’re adding your hanging, which is why I recommended doing that first.

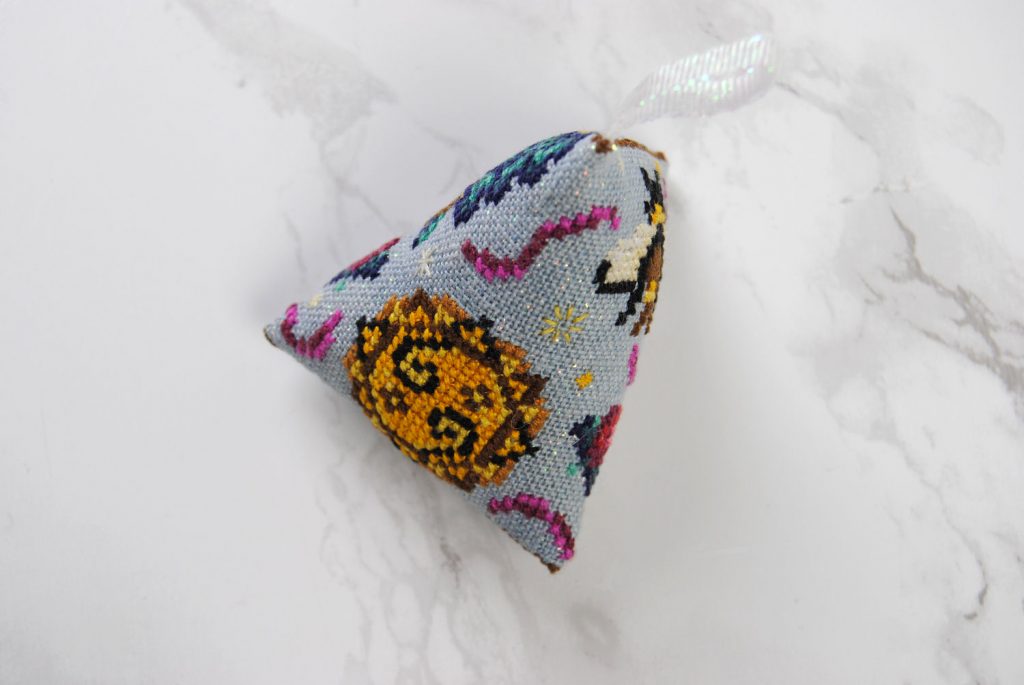
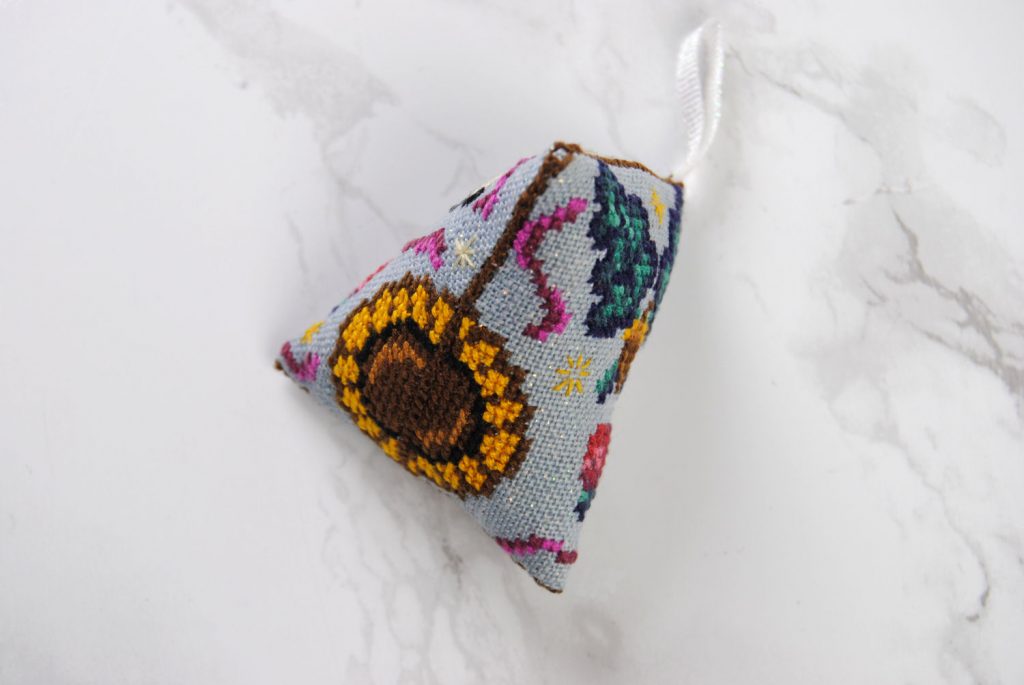
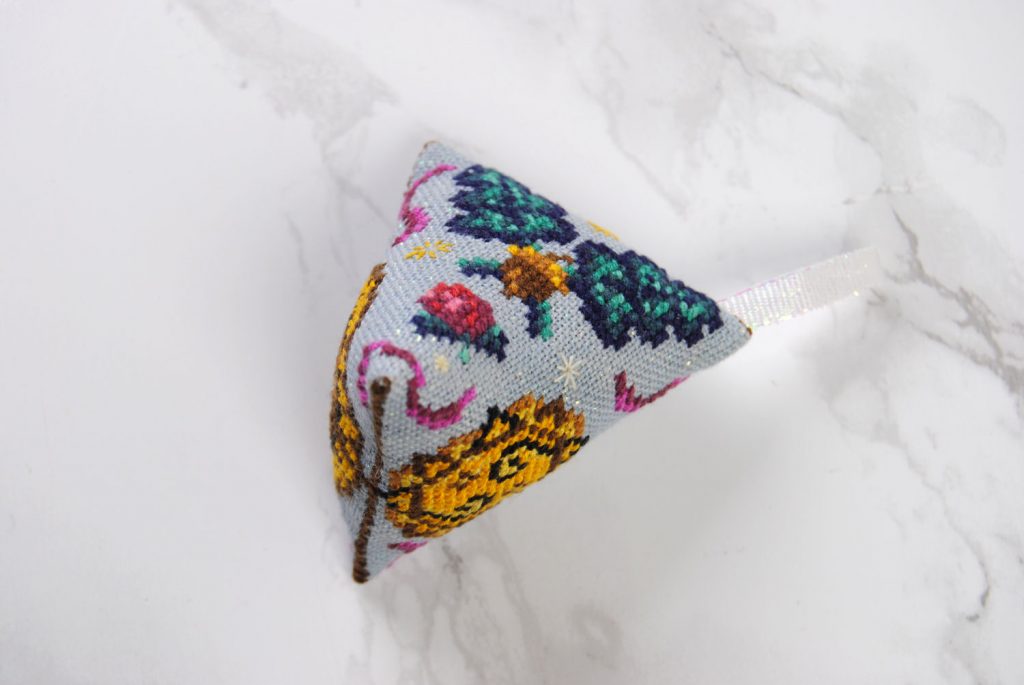
The finished humbug!
Once you’re done closing up that last side, that’s it! You have a humbug! You should have four unique sides. Which makes it… impossible to photograph fully without taking four photos. 😉