
Kool-Aid Dye – Coloring Cross Stitch Stitch Fabric At Home
Last month I posted about how I colored some aida with tea! It turned out pretty well, actually. I also dyed some fabric with Kool-Aid though, so I wanted to document my results with that as well. 🙂
As before, This is not a tutorial. I am not an expert and have little experience dyeing fabric. This is merely documentation on how I did it, and what my results were. If you plan to do this as well, I’d recommend doing some research on your own as well!
Table of Contents
Materials
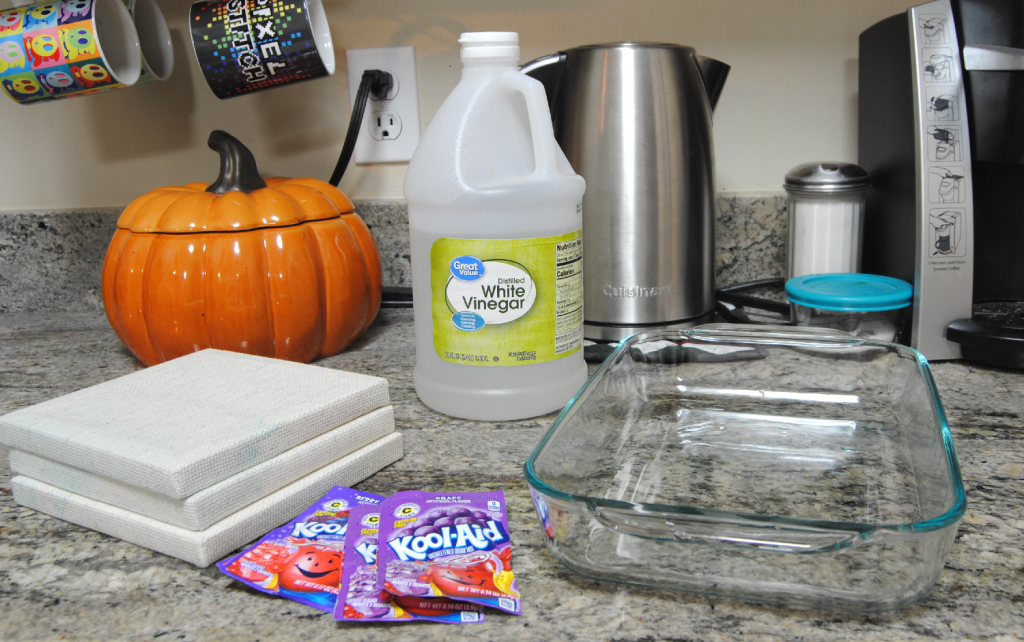
Fabric
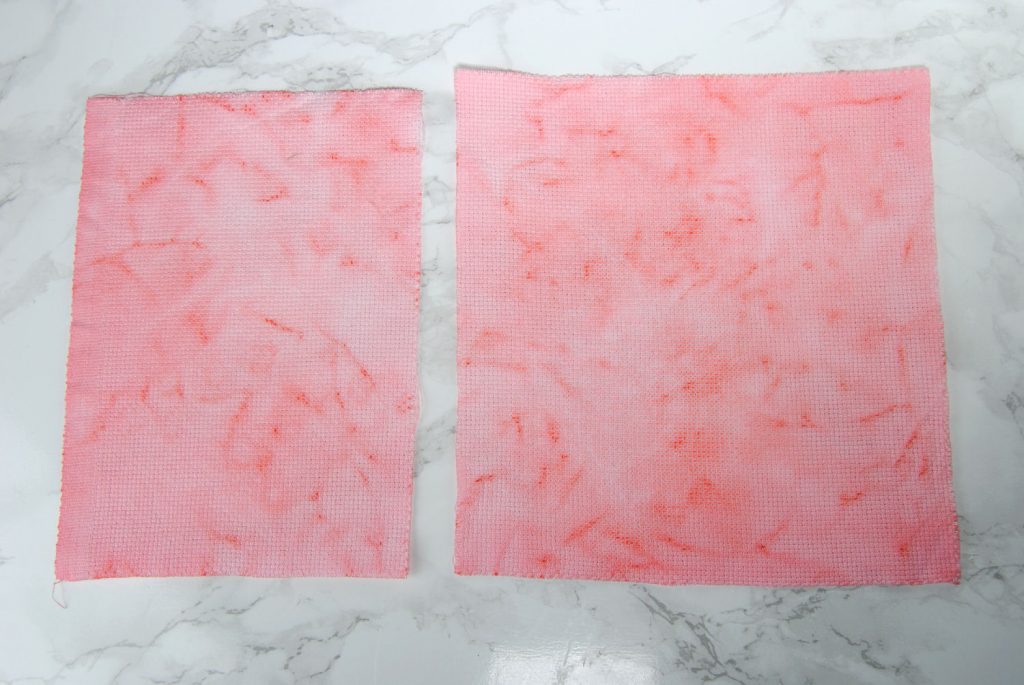
I used the another fabric square like the one I used last time, as well as some random 6″ square scraps of 14 count aida I had on hand from making kits.
Kool-Aid
On a whim I added some blue raspberry and grape Kool-aid to my grocery order last month. Apparently they were out of blue raspberry though, because I got ‘Berry Cherry’ instead. 🙁 Not quite the blue I was going for, but red will work just as well for this experiment!
For this batch, I used a single packet of Kool-Aid. Note that you’ll want to buy just the packets, not the canisters. The canisters are full of sugar, you don’t need that in your dye!
Vinegar
Contrary to popular belief, vinegar is not a mordant. It is however useful to balance out PH values. Granted, I did not have any way to accurately test PH for this, so I used formulas based on other people’s documentation of their experiments! Handy
Container
Since I’m once again using all food-safe materials, I pulled out my trusty casserole dish for this process.
Prepare the Kool-Aid Dye

Once again, I have no idea what I’m doing. However, based on my research I put together this basic formula;
- 1 packet of Kool-Aid
- 3/4 cup of water
- 1/4 cup of vinegar
Content in my knowledge that these materials are cheap enough that I don’t care if they get ruined, I carried on with just that.
Adding Fabric to the Mix
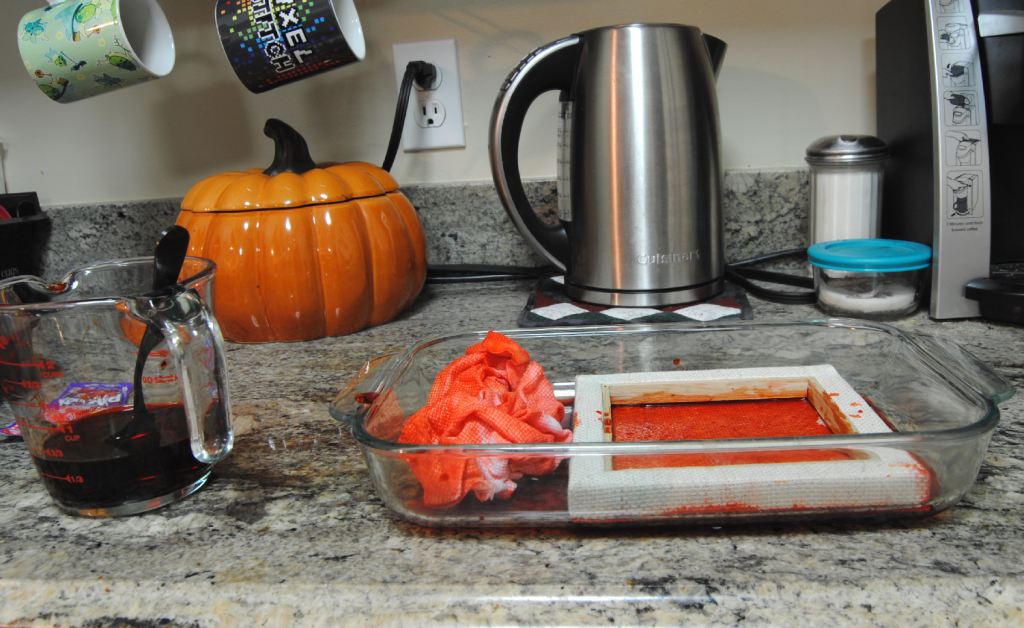
I poured in about half my mixture, and unceremoniously plopped my canvas and scrunched up aida squares into the mix. I poured a bit extra onto the tops of the balled-up fabric and poked them around a bit with no real idea of what I wanted from them.
Since I did not want to fully submerge the wadded fabric, I took some time to rotate the stretched canvas so the sides and back would get some color on them as well.
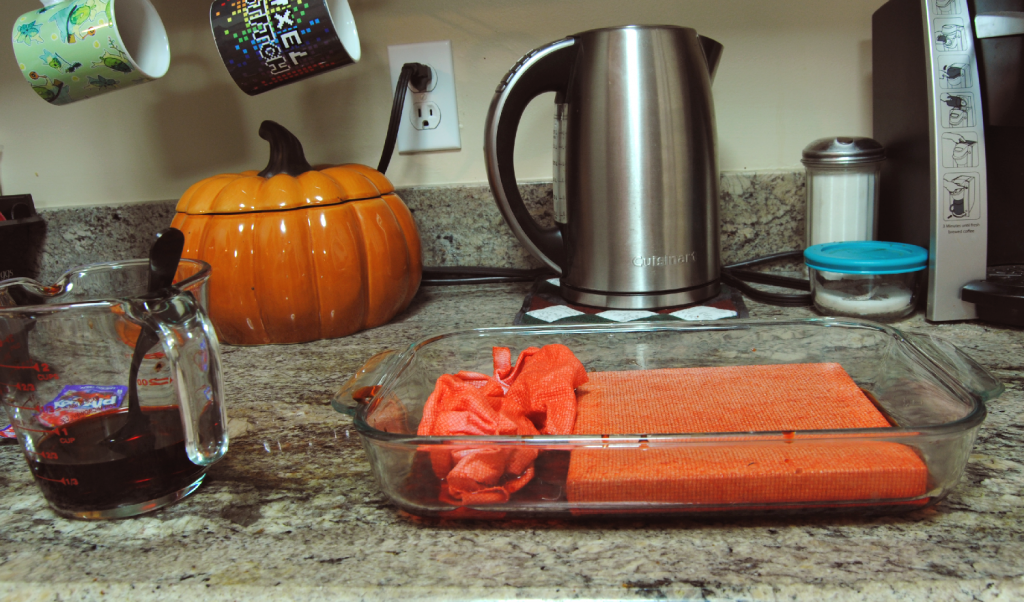
I did all this while preparing dinner so I’m not sure of the exact time they spent in there. Around an hour, if I had to guess.
At one point when I went to flip the canvas over again I forgot to use tongs. Consequently, my fingers were red for HOURS after.
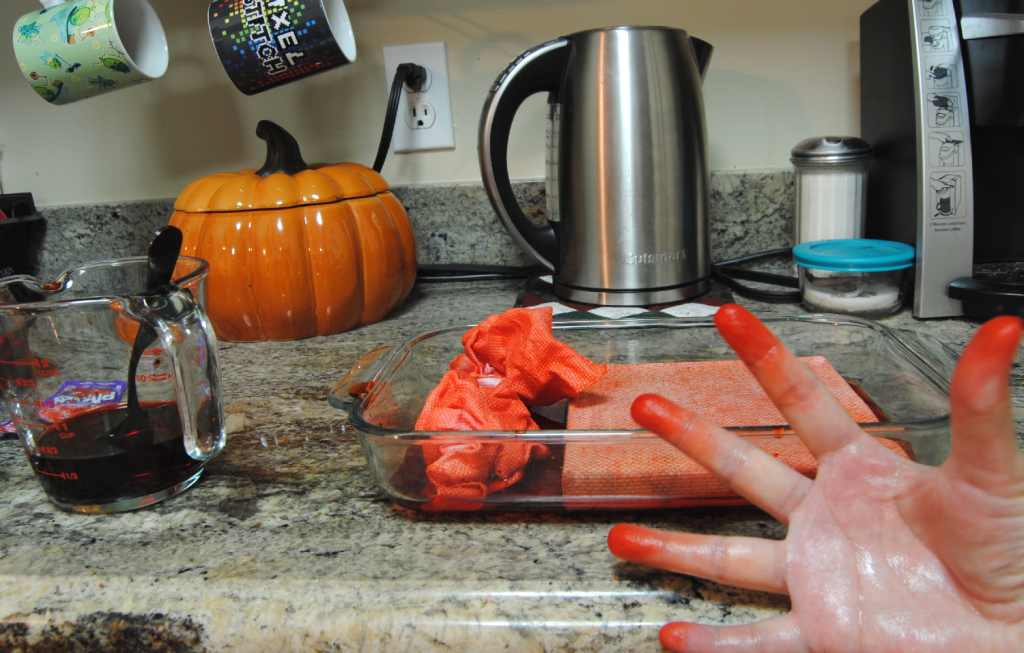
Kool-aid definitely stains and does not like to come off. That just proves it’s working, right?!
Rinsing off the Extra Color
After an arbitrary amount of time had passed (and my dinner was almost ready…) I soaked the fabric in a warm water wash. I didn’t take photos of the process because I was hungry and wanted to get on with it.
If you’d like to know what soapy water looks like, you can check out my blog on how to wash your finished cross stitch projects. But really, it’s literally just warm water with the tiniest drop of soap.
I then laid the fabric out to dry on a towel that I didn’t care about. (Just in case it got stained as well) Just like in the Tea dying blog.
Ironing the Wrinkles Out
Obviously the pre-stretched square didn’t need much ironing, but the extra aida squares sure did! I will note at this point that some of the extra color bled out a bit in ironing and stained my ironing board cover. Whoops!
I’m not too bothered by it, but if I had to guess this means it isn’t entirely color safe. I did try washing it again a couple times to see if it would bleed, but it didn’t seem to.
If I stitch something on this, I’d probably avoid washing it unless necessary. And even then would stick to cold water. Similarly, maybe I’ll remember to iron it on an old towel next time.
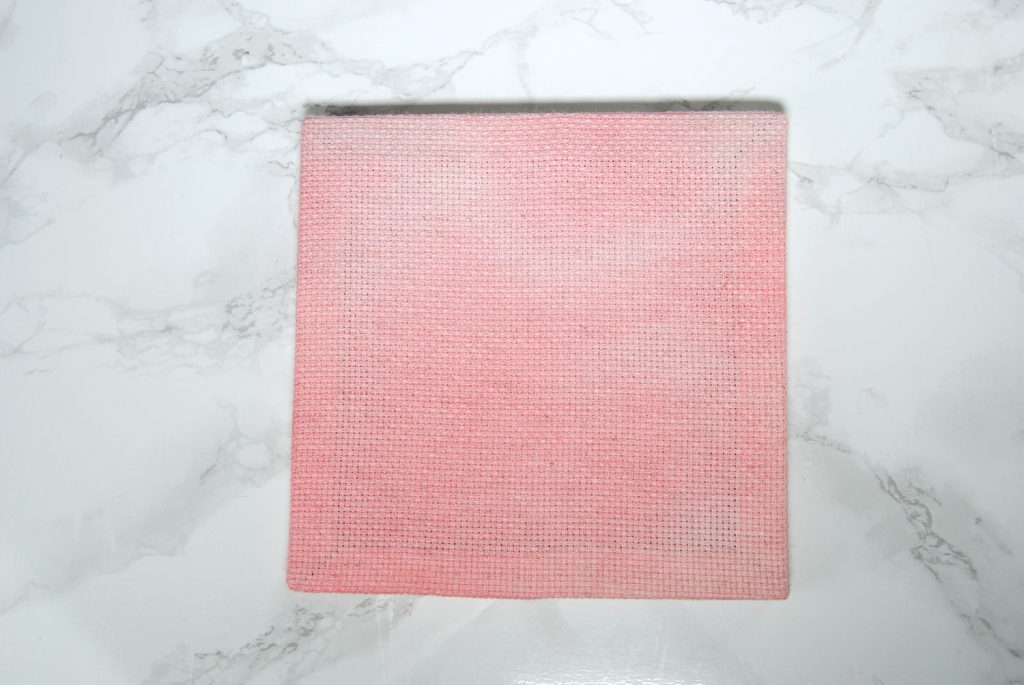
The Result
Overall though it was a fun learning experience and I’m pretty pleased with the outcome! I’m not too sure what I will stitch on them yet, as I really was planning on that blue. But maybe another time I’ll try again with different colors.
For now though, I can definitely say this is an inexpensive and effective way to color your own aida at home if you don’t mind it potentially staining a few other things in the process.
You Might Also Like:
Learning Sashiko as a Cross Stitcher
Design Challenge: Colors I’ve Never Used Before
