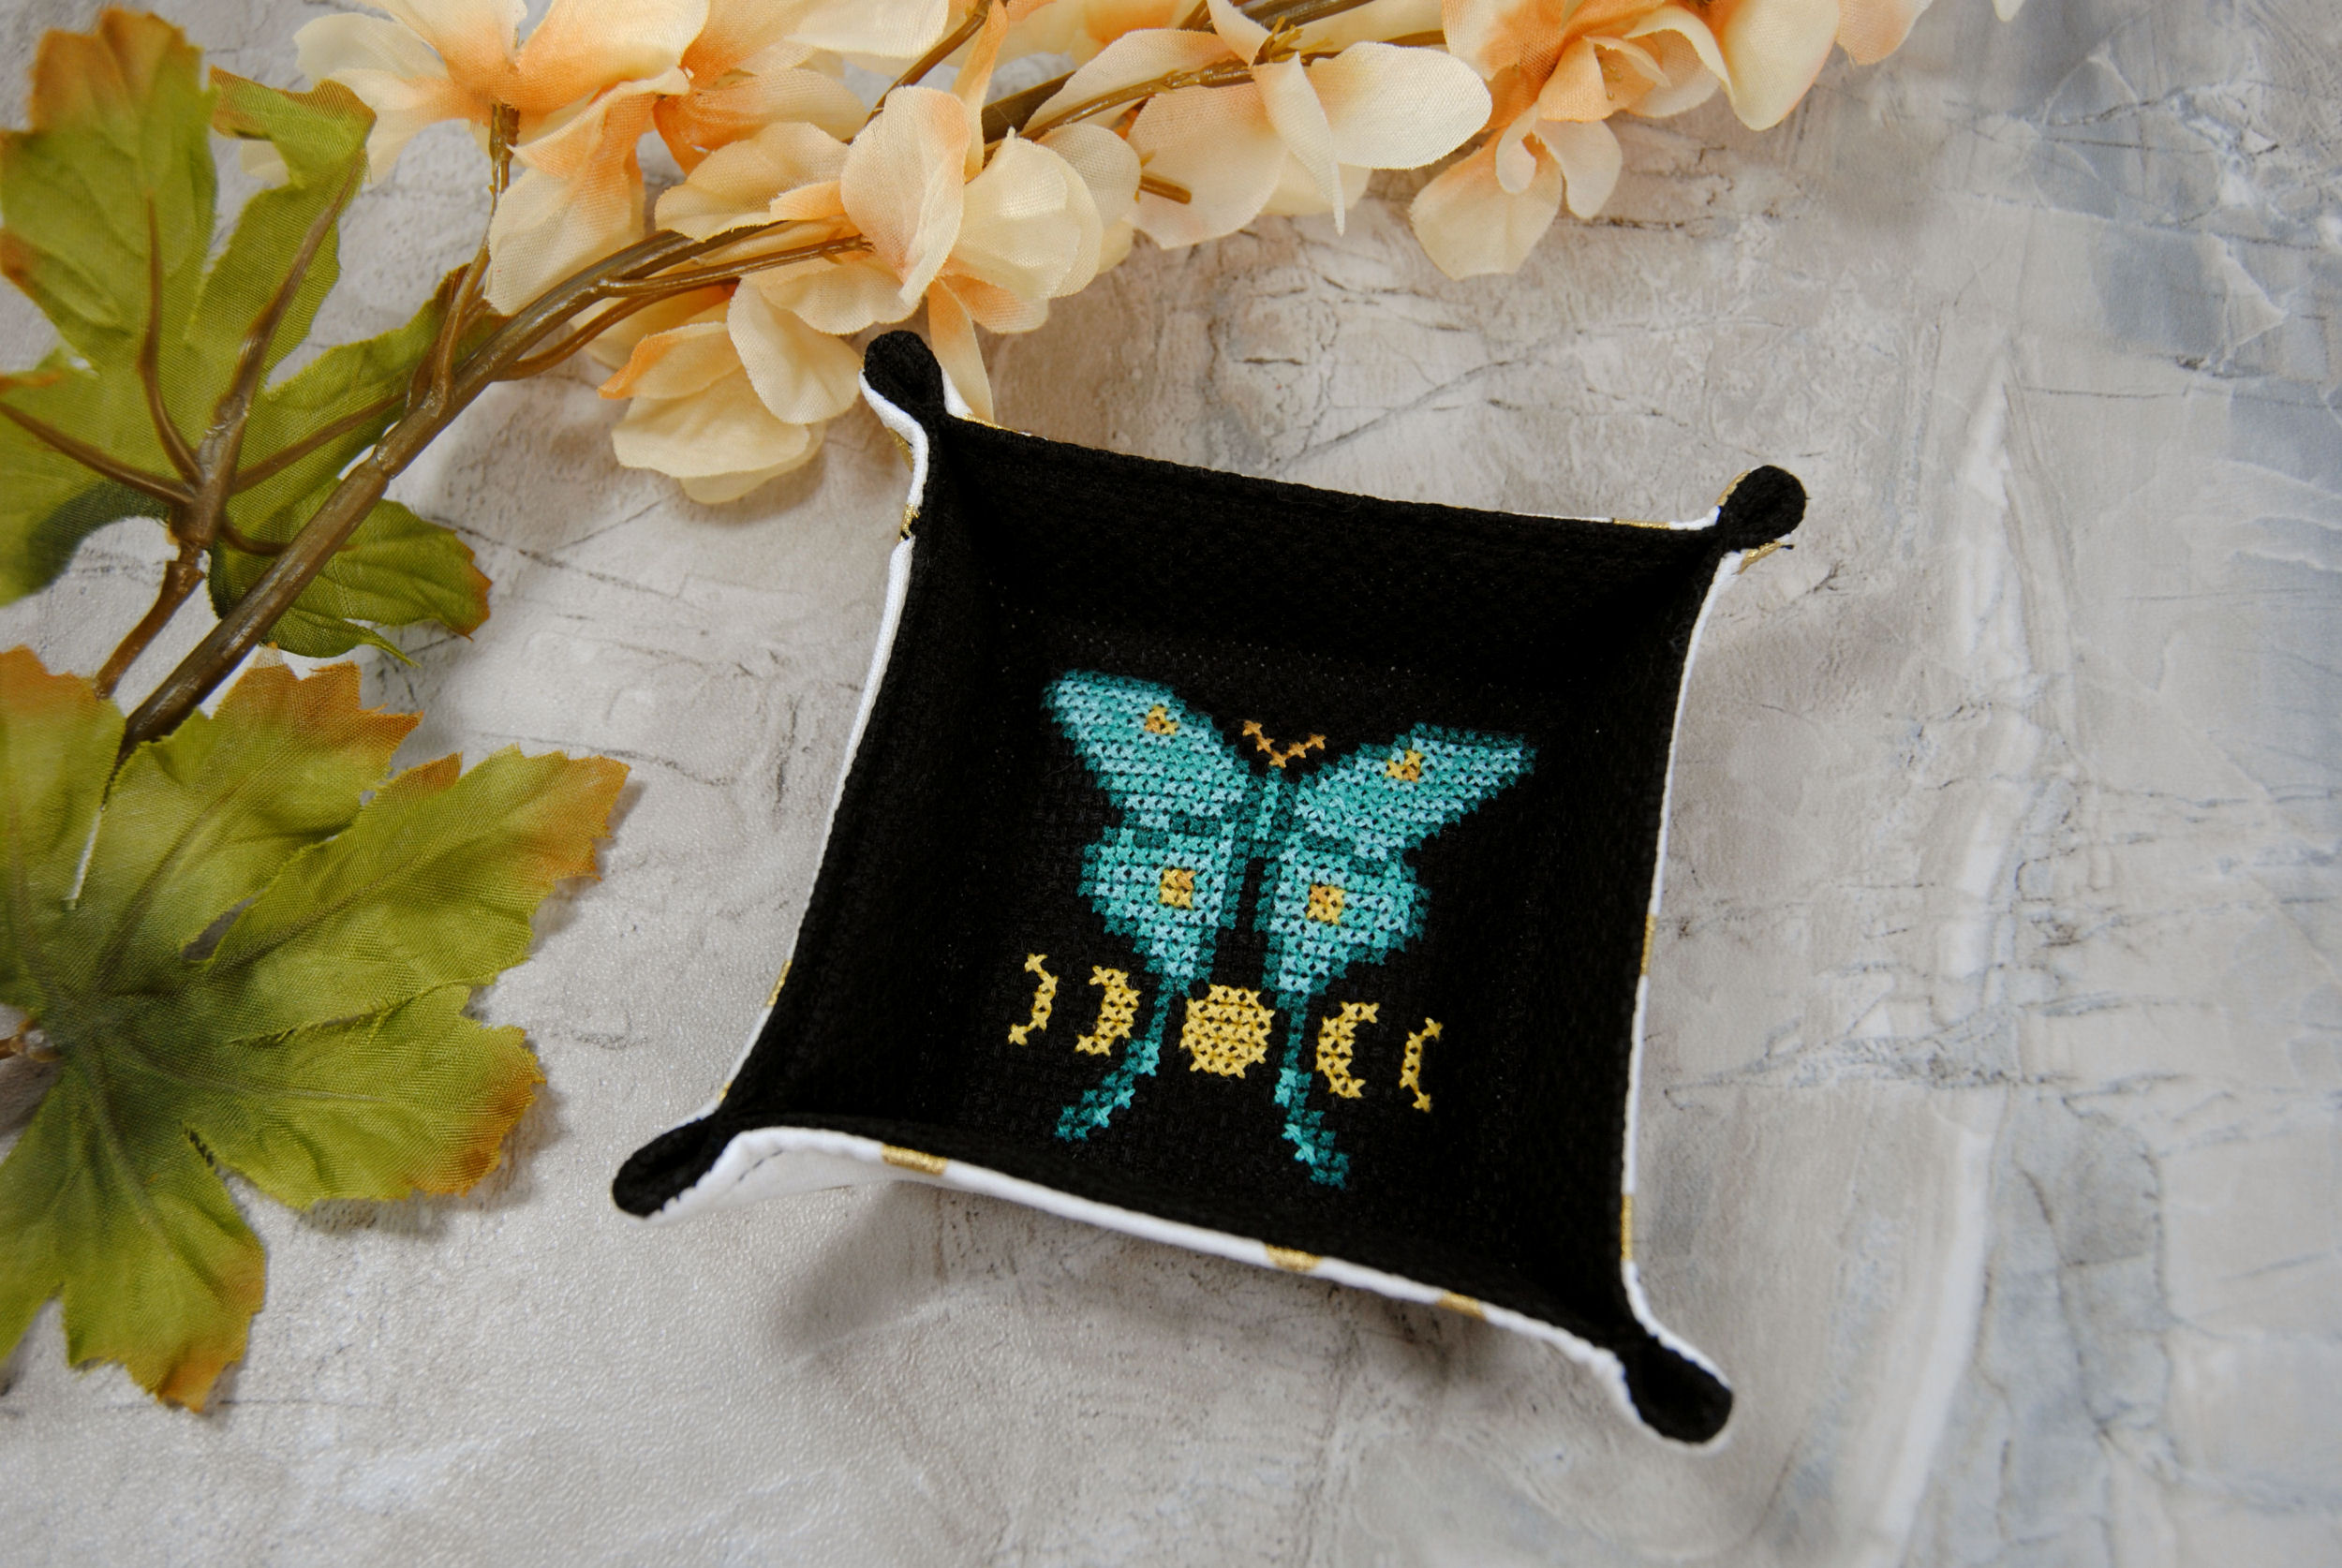
Fabric Tray with Cross Stitch – Decorative Trinket Trays
Hello! I’ve been wanting to make a cross stitch fabric tray for quite a while now, and it’s about time I get it done. I do want to preface this by saying this isn’t technically a tutorial, as I have no idea what I’m doing.
Instead, I’ll be following this tutorial by A Spoonful of Sugar and adapting it to fit a small cross stitch design. Hopefully by outlining my method for adapting cross stitch to the tray tutorial it will help you figure out what to do with that stitch you’re not sure how to finish.
I’m certainly not the first person to make a fabric tray out of a cross stitch, but I couldn’t find much online on HOW to do it. So let’s experiment and learn from my mistakes!
This post may contain affiliate links. If you buy something using one of these links, I earn a small commission. However, there is no extra cost to you. Thanks for understanding! Learn more in my Disclosures & Privacy Policy.
Table of Contents
What is a Fabric Tray For?
One of the main ways I use small fabric trays is when working with beads. They’re great to keep a beads in while you work so you can easily scoop them out with your needle. I go over that a bit in my How to Add Beads to Cross Stitch tutorial.
There are plenty of other ways to use them though, depending on their size. They make great trinket trays and jewelry dishes. I even keep one on my desk to hold my wonder clips.
Large hexagonal dice trays are basically fabric trays, though usually made with thicker materials like leathers. They even sell those with vinyl aida bottoms so you can stitch right on them.
Fabric Tray Tutorials
As I mentioned, this isn’t technically a tutorial. But more to explain how I adapted an online tutorial to work with cross stitch. I’m following the A Spoonful of Sugar tutorial. But here’s some of the lovely fabric tray tutorials I found during my research in case you want a different size or style of tray. Or simply want a video tutorial to work from.
Determining Measurements
Depending on the tutorial you’re following this might be really easy! For example, in the tutorial I’m following it advises you need a 5 inch square of fabric. So that’s how big I trimmed my aida.
Then, on step 3 it has you mark out a 2 1/2 inch square in the middle of the tray and stitch it to form the base. So I knew my cross stitch pattern would have to be 2 1/2 inches square.
If you’re not aware, cross stitch fabrics come in a variety of counts. But essentially “count” just translates to stitches per inch. So since I was using 16 count aida, I multiplied 16 by 2.5(inches) and got 40.
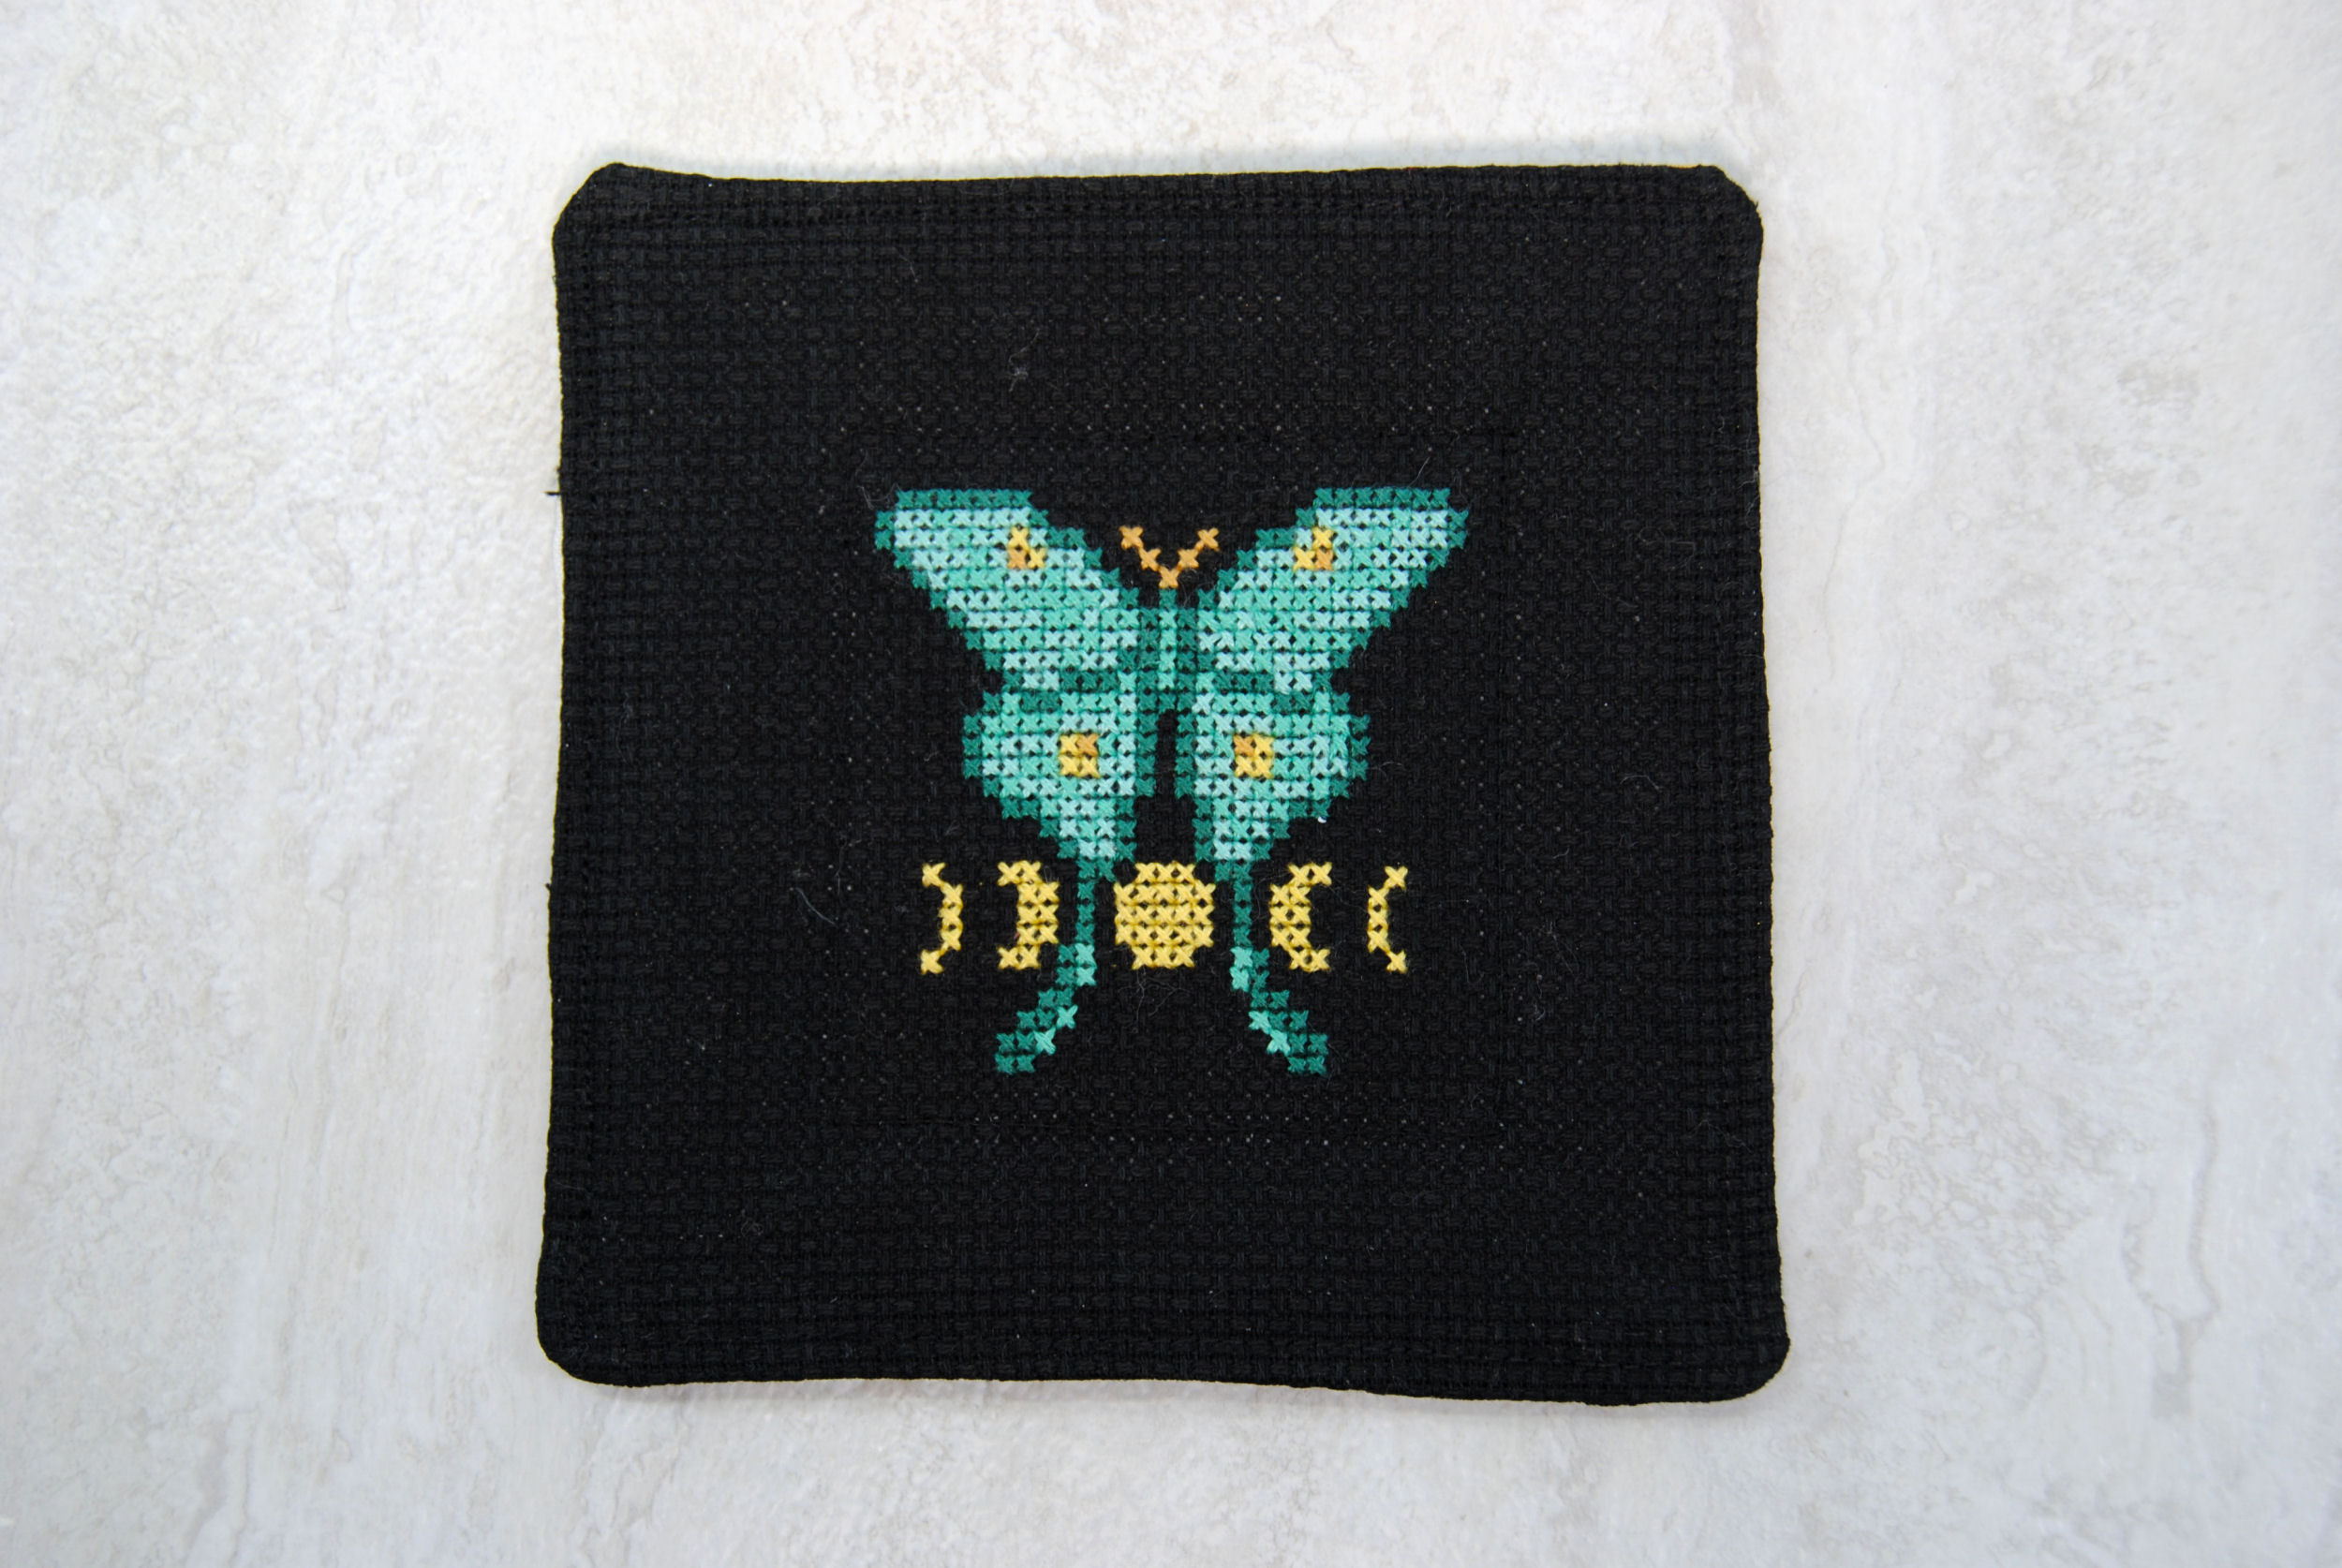
Thus, I’d want my pattern to be about about 40×40 stitches. I didn’t want it to go all the way up to the edge though, and I wanted my pattern to work for 14 count as well so I ended up making a cute little design within 31×31.

If your tutorial does not include these easy sizes or you’re making up the tray on the spot, the general idea is to take the initial size of the fabric you’re cutting and subtract the “walls” you’ll be folding up to get the measurement of the bottom square.
Alternatively, you could take an already finished cross stitch and use that as the measurement for the bottom of your tray, and then just make sure you have enough extra aida around the sides to fold up and also have some seam allowance. For mine, that equated to 1 1/4 inch on each side. With 1/4 inch of that being seam allowance. If you want the walls of your tray to be taller, add more to that border.
Sample Template
For the more visual among you, here is the general proportions you’re going for.
This template assumes 14 count, and the same sizes I calculated above. So 5″ square being 70×70. But the pattern area only being 2.5″ in the middle.
You can of course use the pattern I made for mine, which is free on my Ko-Fi.

Assembly Process
Finally, here I’ll be sharing photo walkthroughs of making my own tray. You’ll note my stitching isn’t straight or perfect. Yours shouldn’t have to be either! It’s a little rough, but still a very cute and functional tray.
Preparing Materials
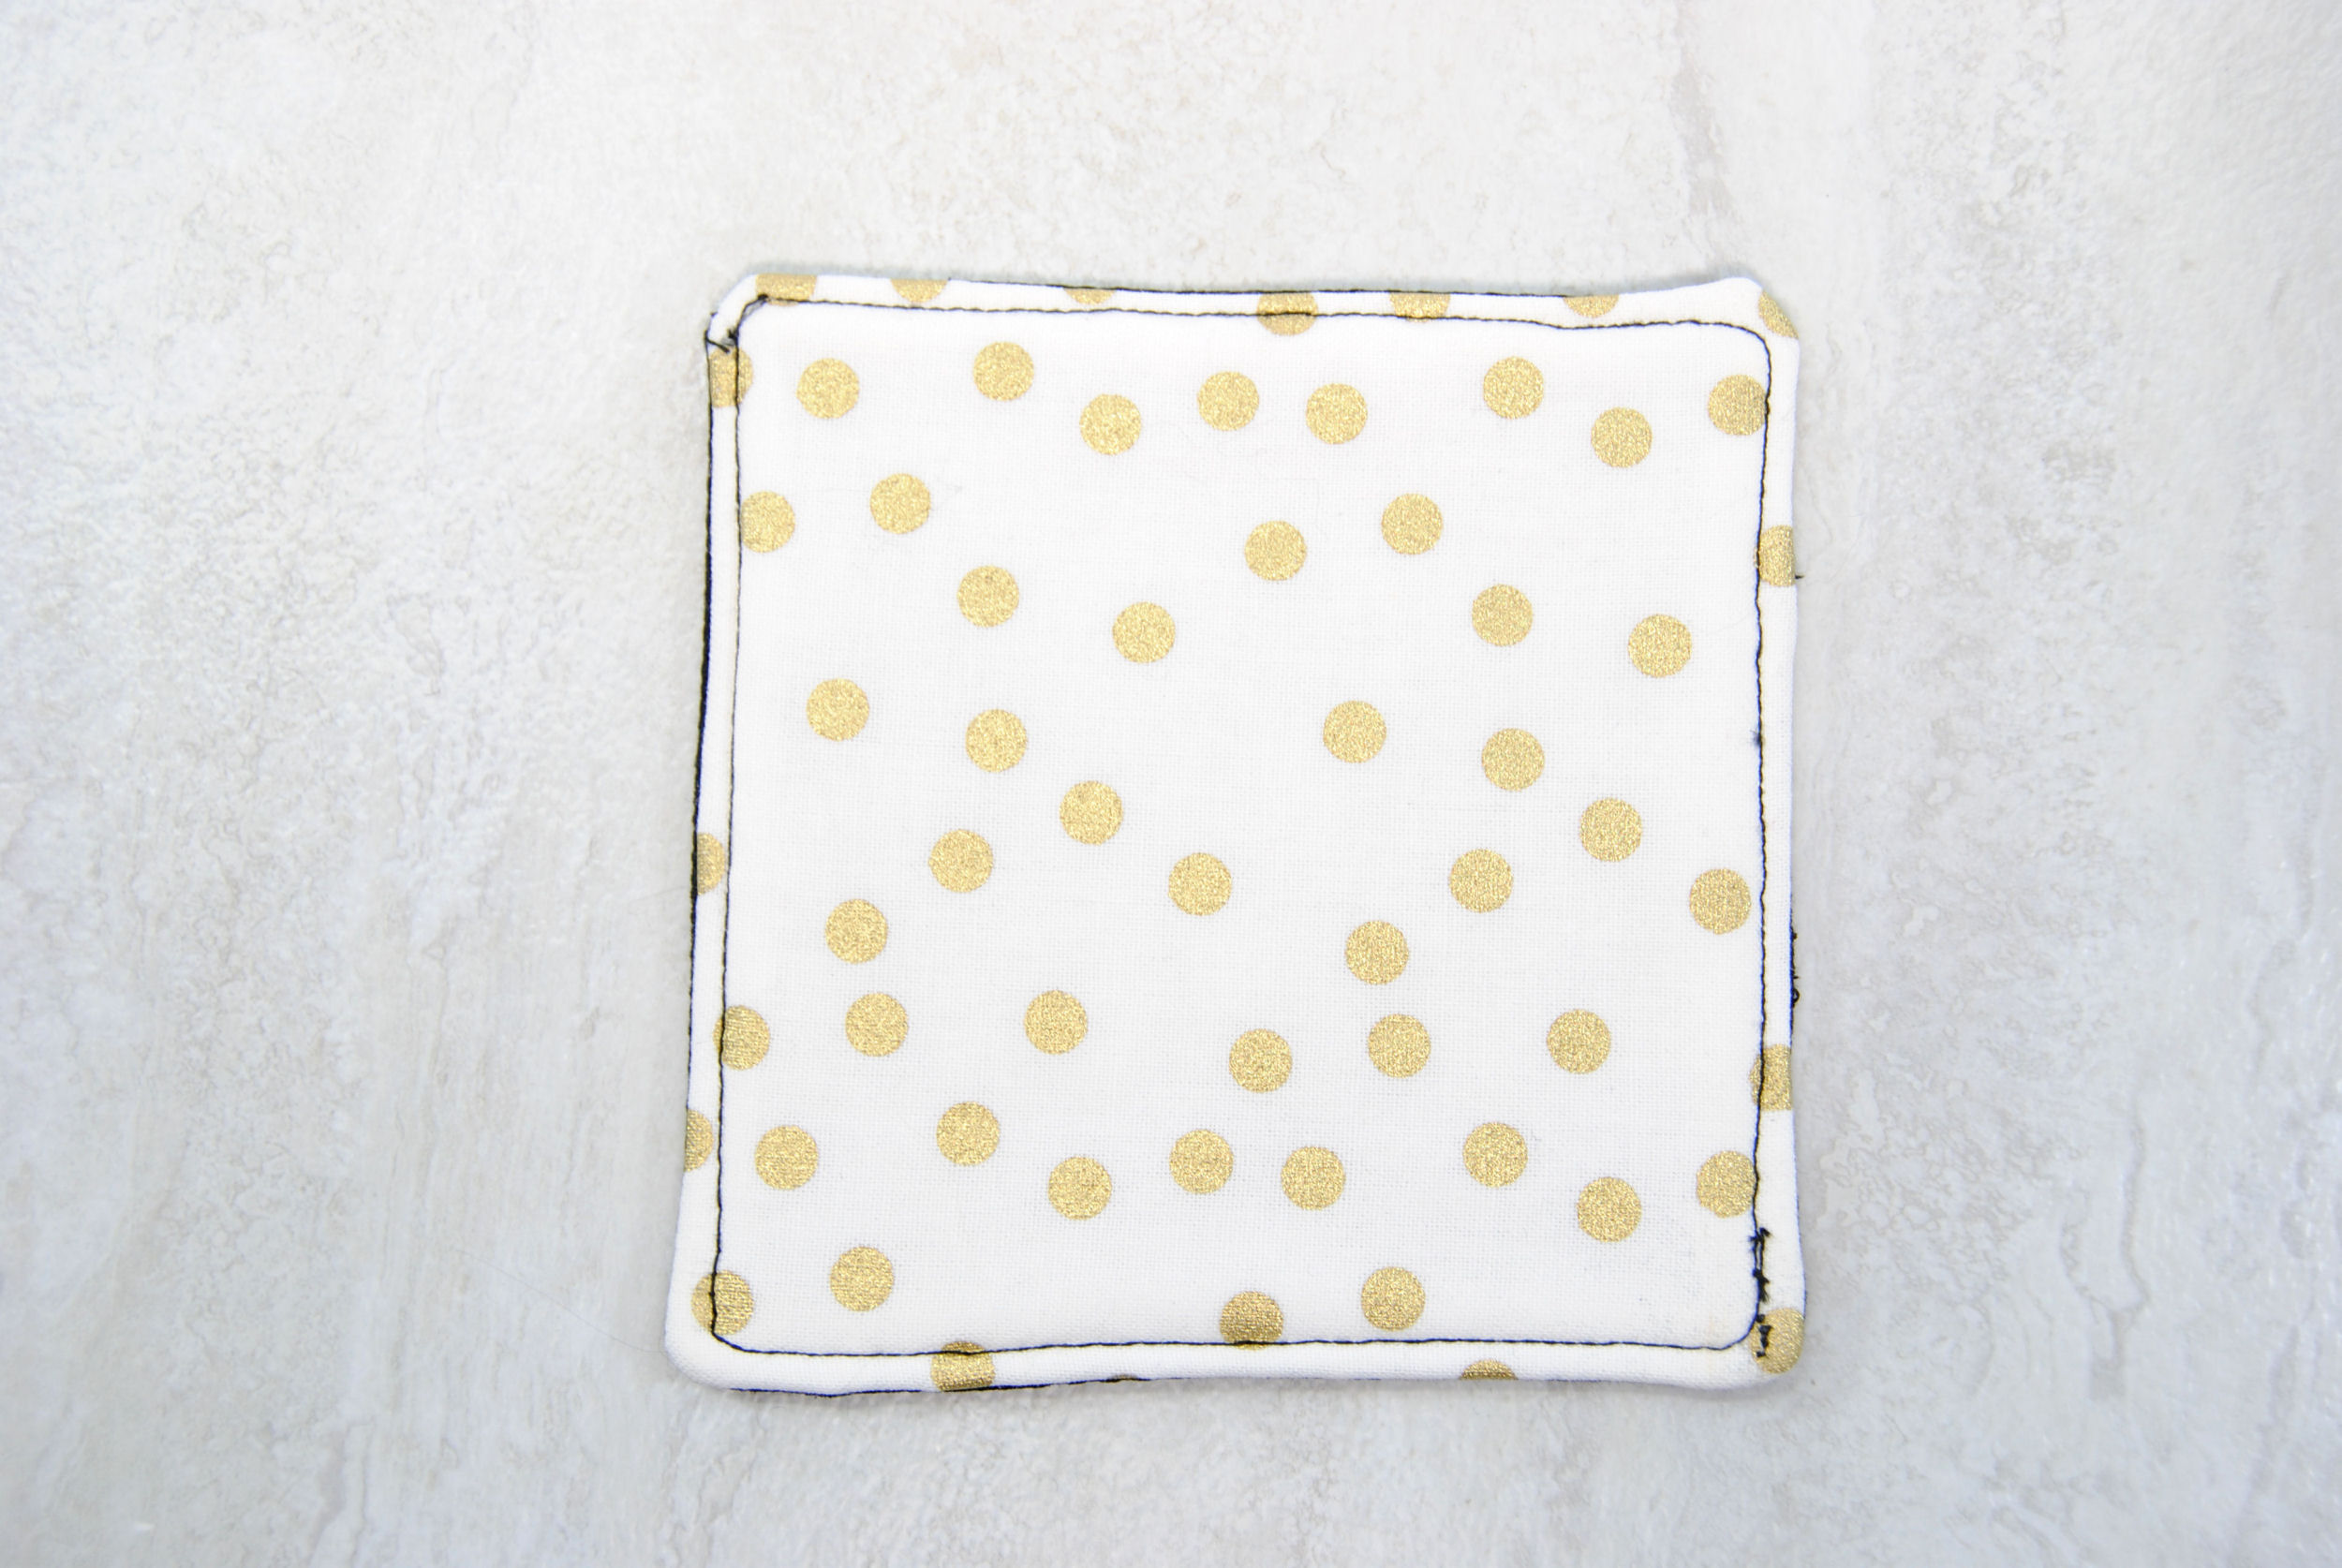
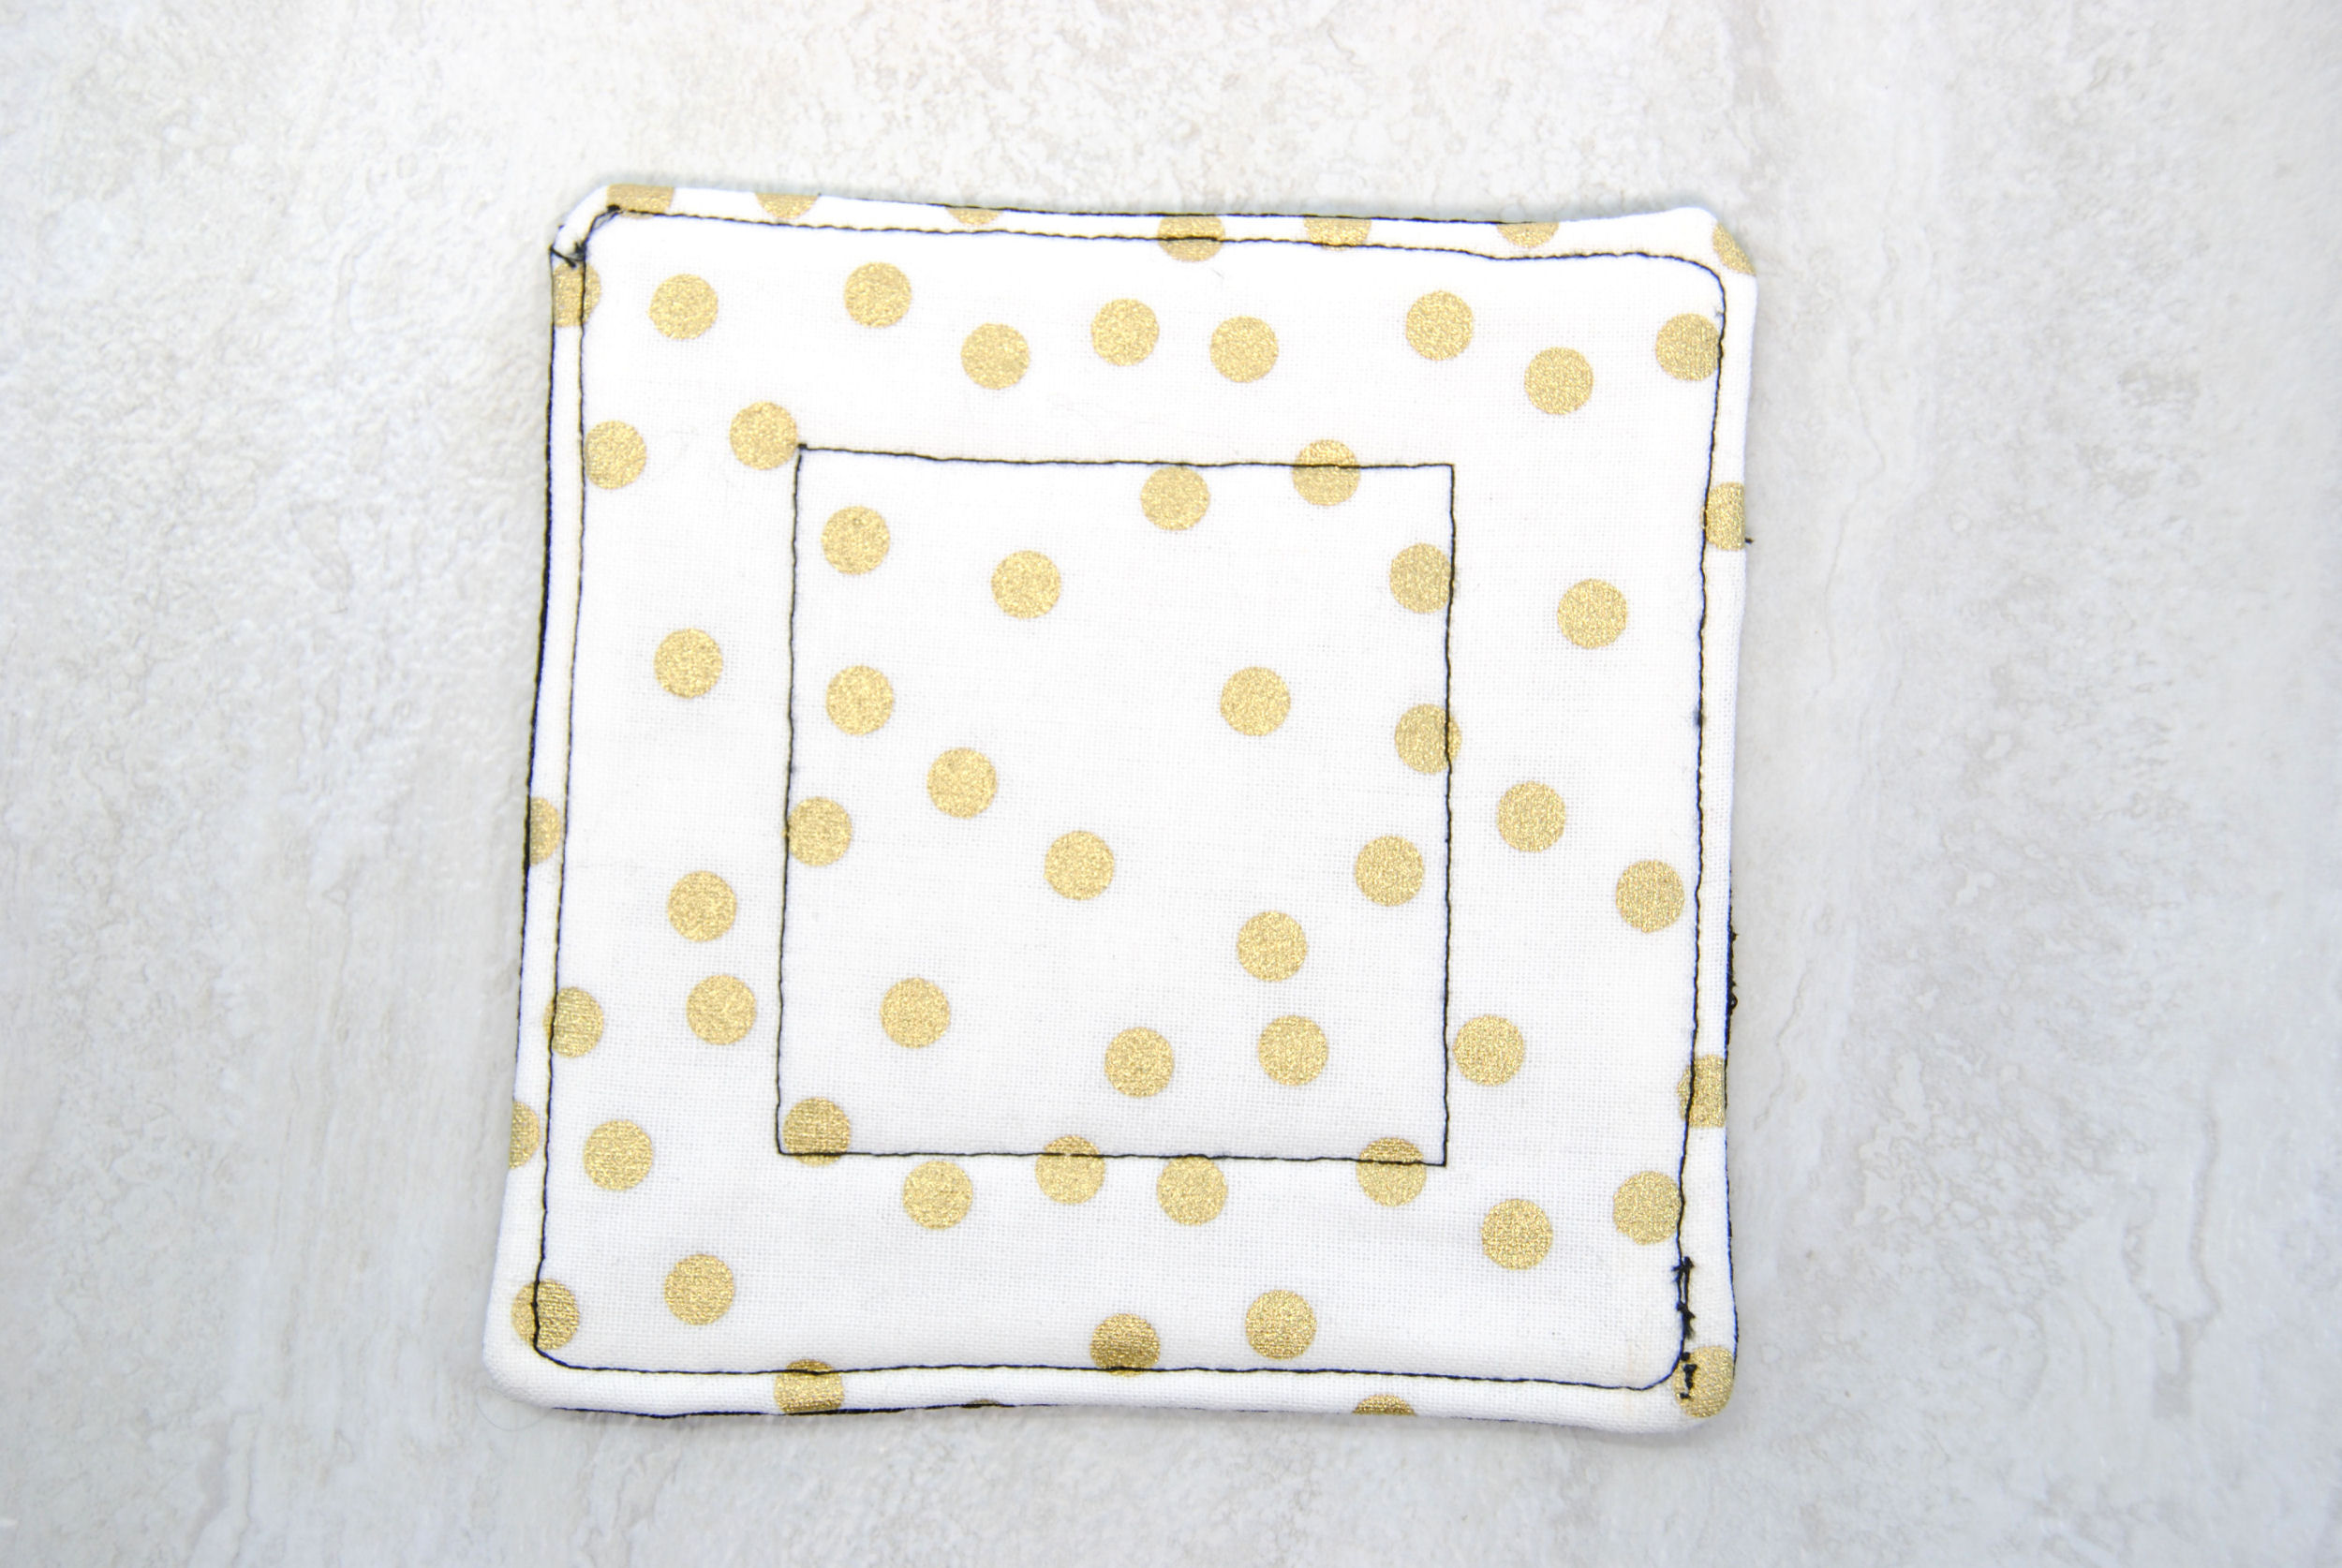
Following the tutorial, I cut 5″x5″ squares from my aida and stitched the design right in the center. I also cut a square of cotton batting and my backing fabric which is a cute gold polka dot.
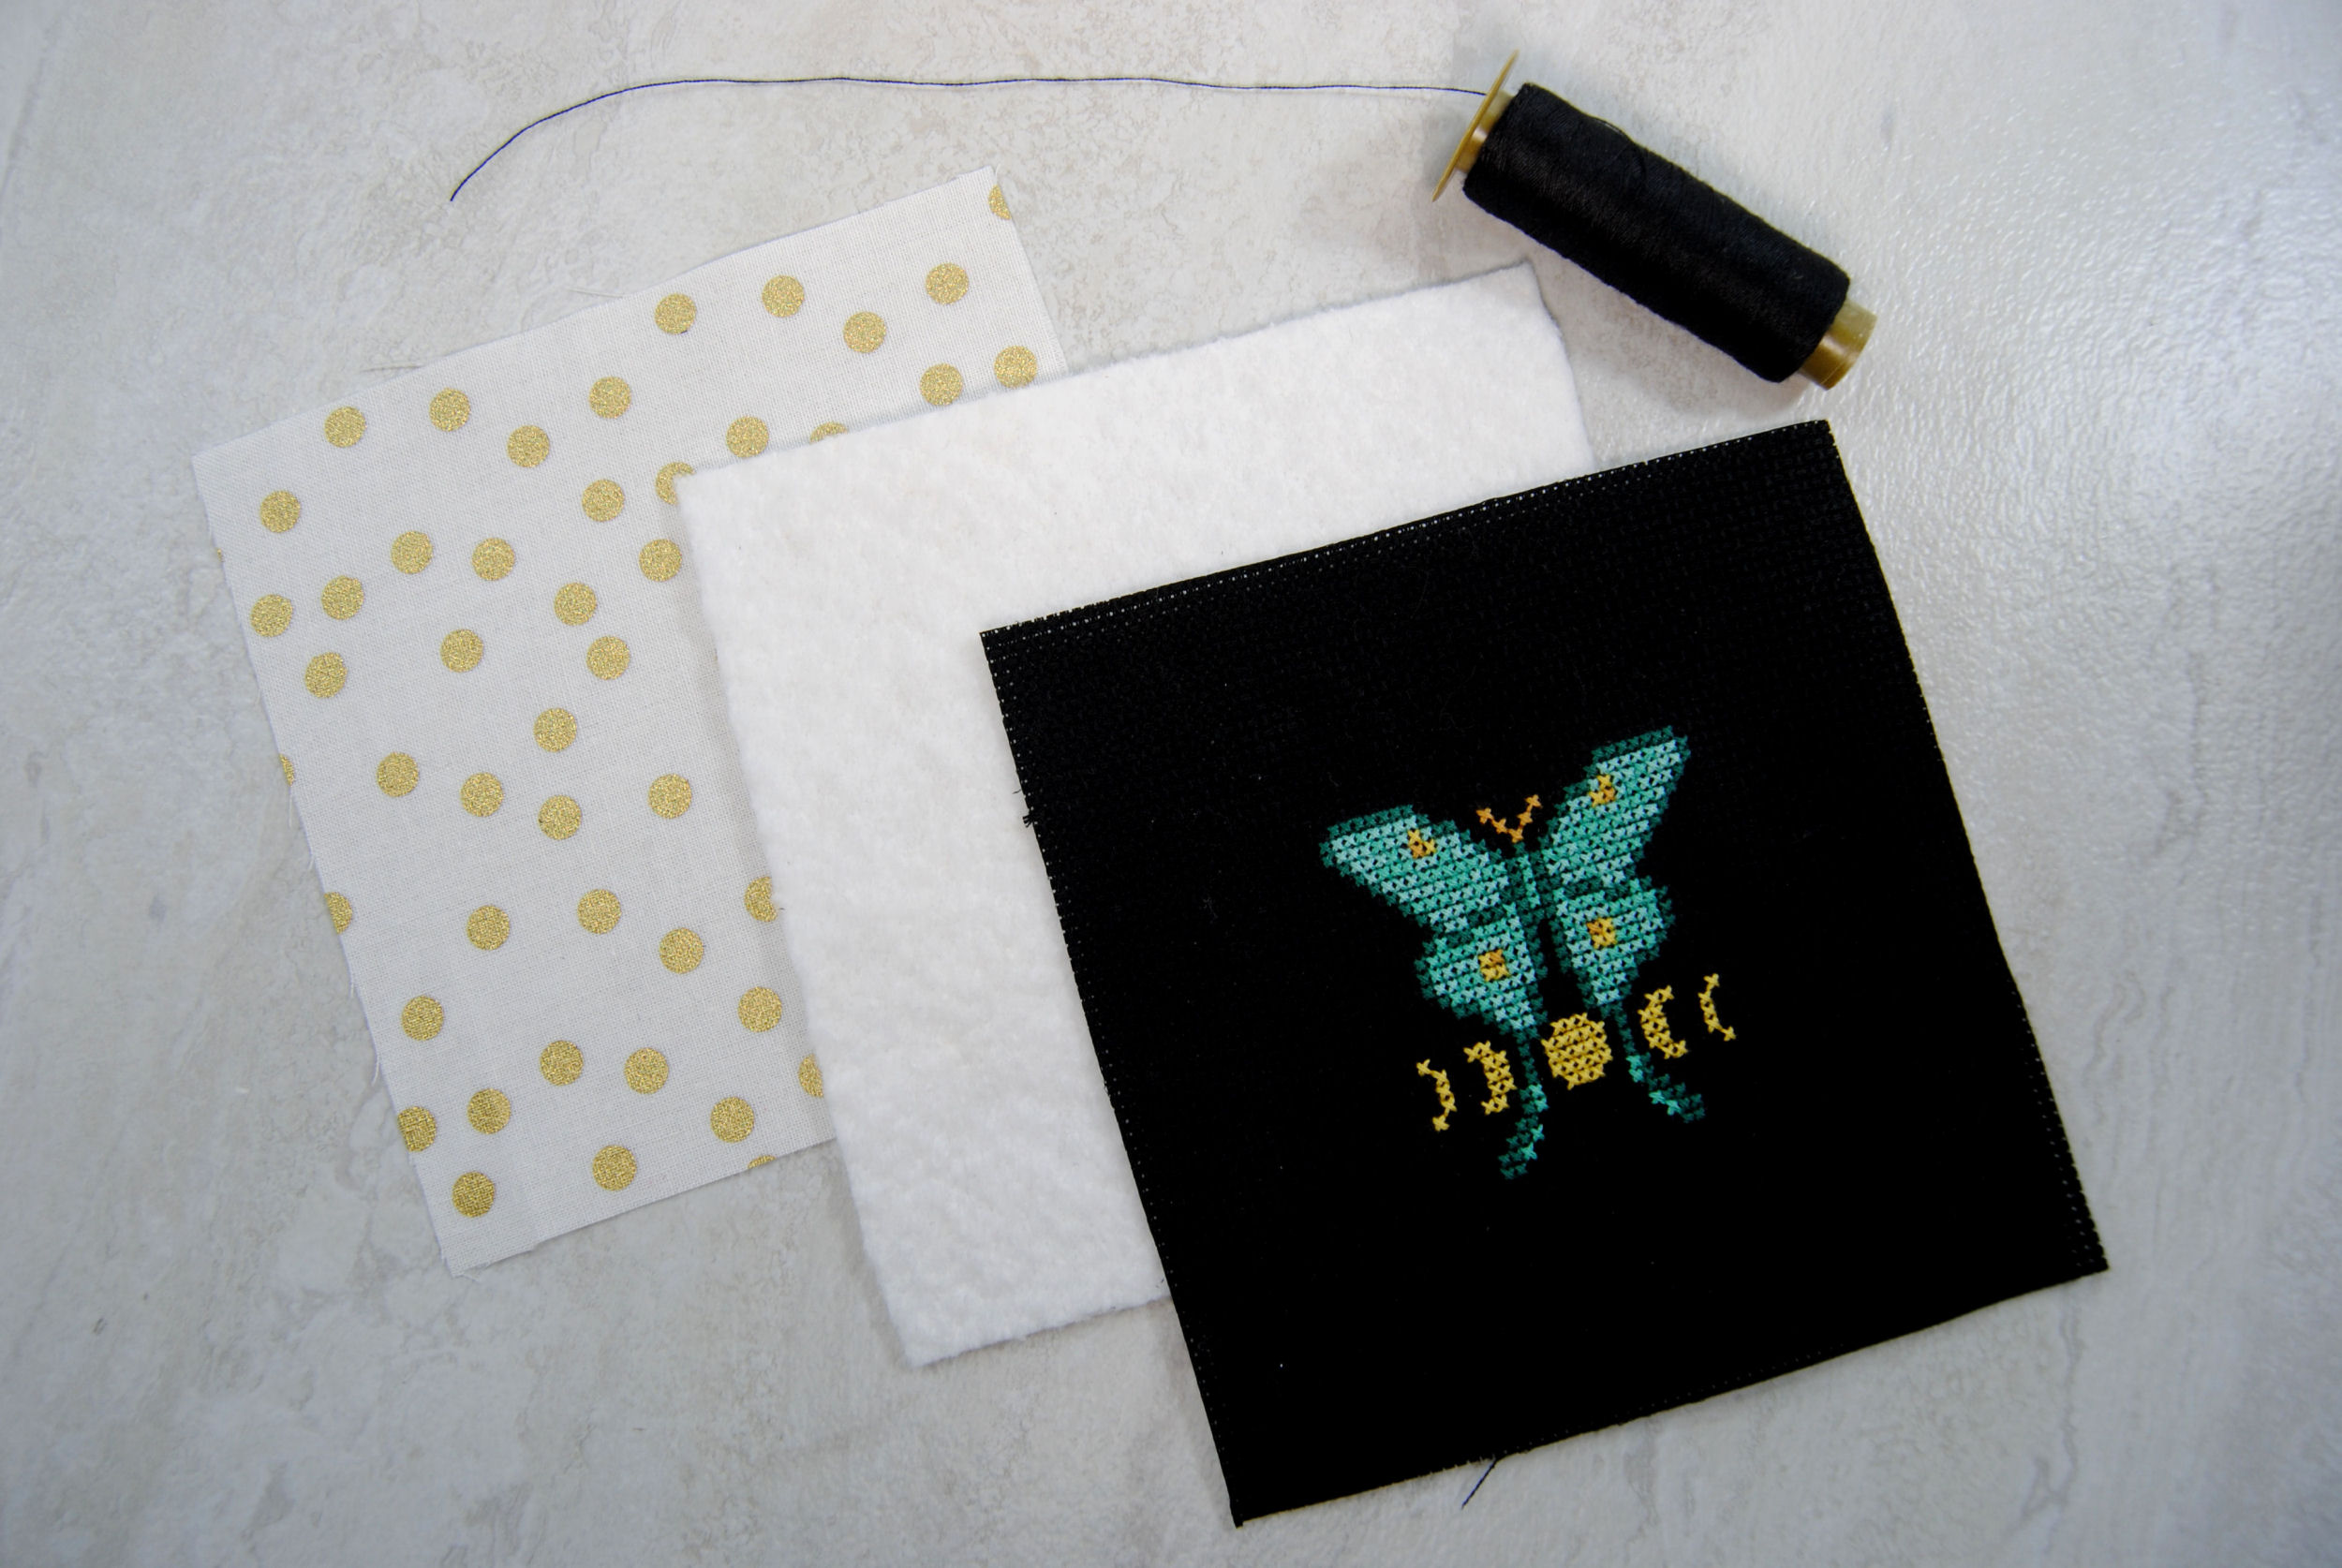
Per instructions, I laid out the cotton batting first. On top the backing material right side up. And lastly the cross stitch right side down.
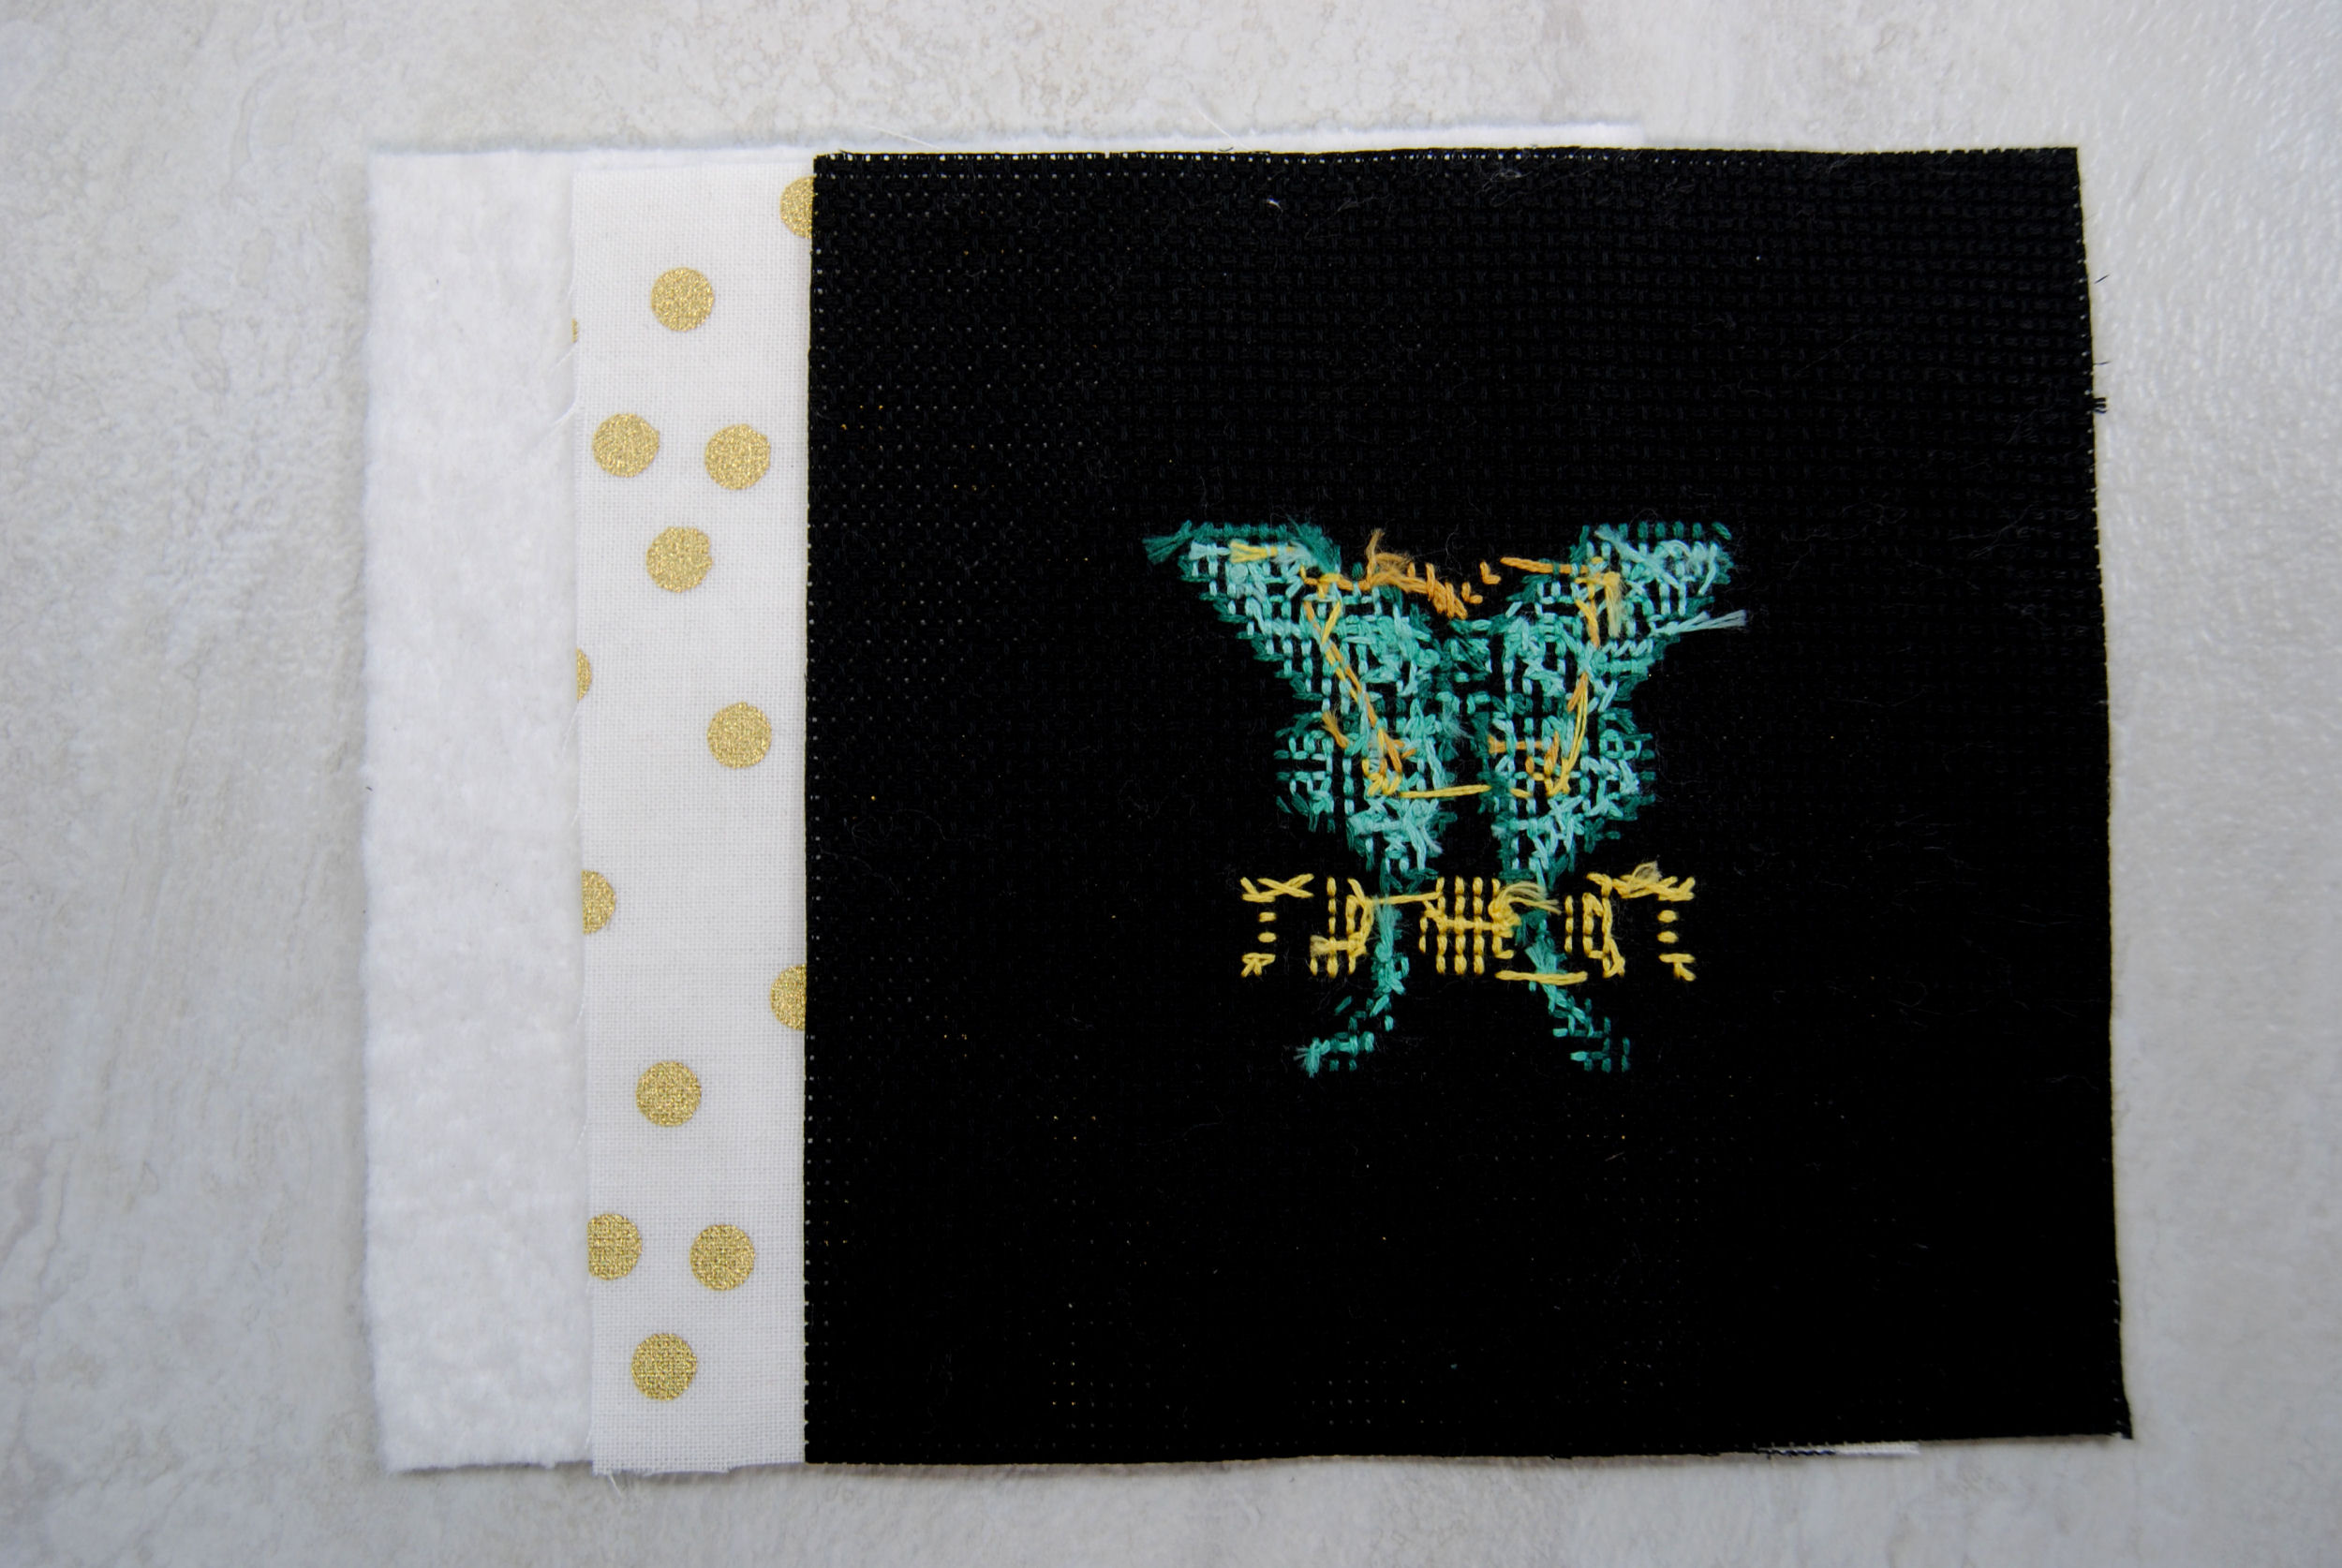
Then, ‘pinned’ them together using wonder clips to keep them from sliding around.

Initial Seam
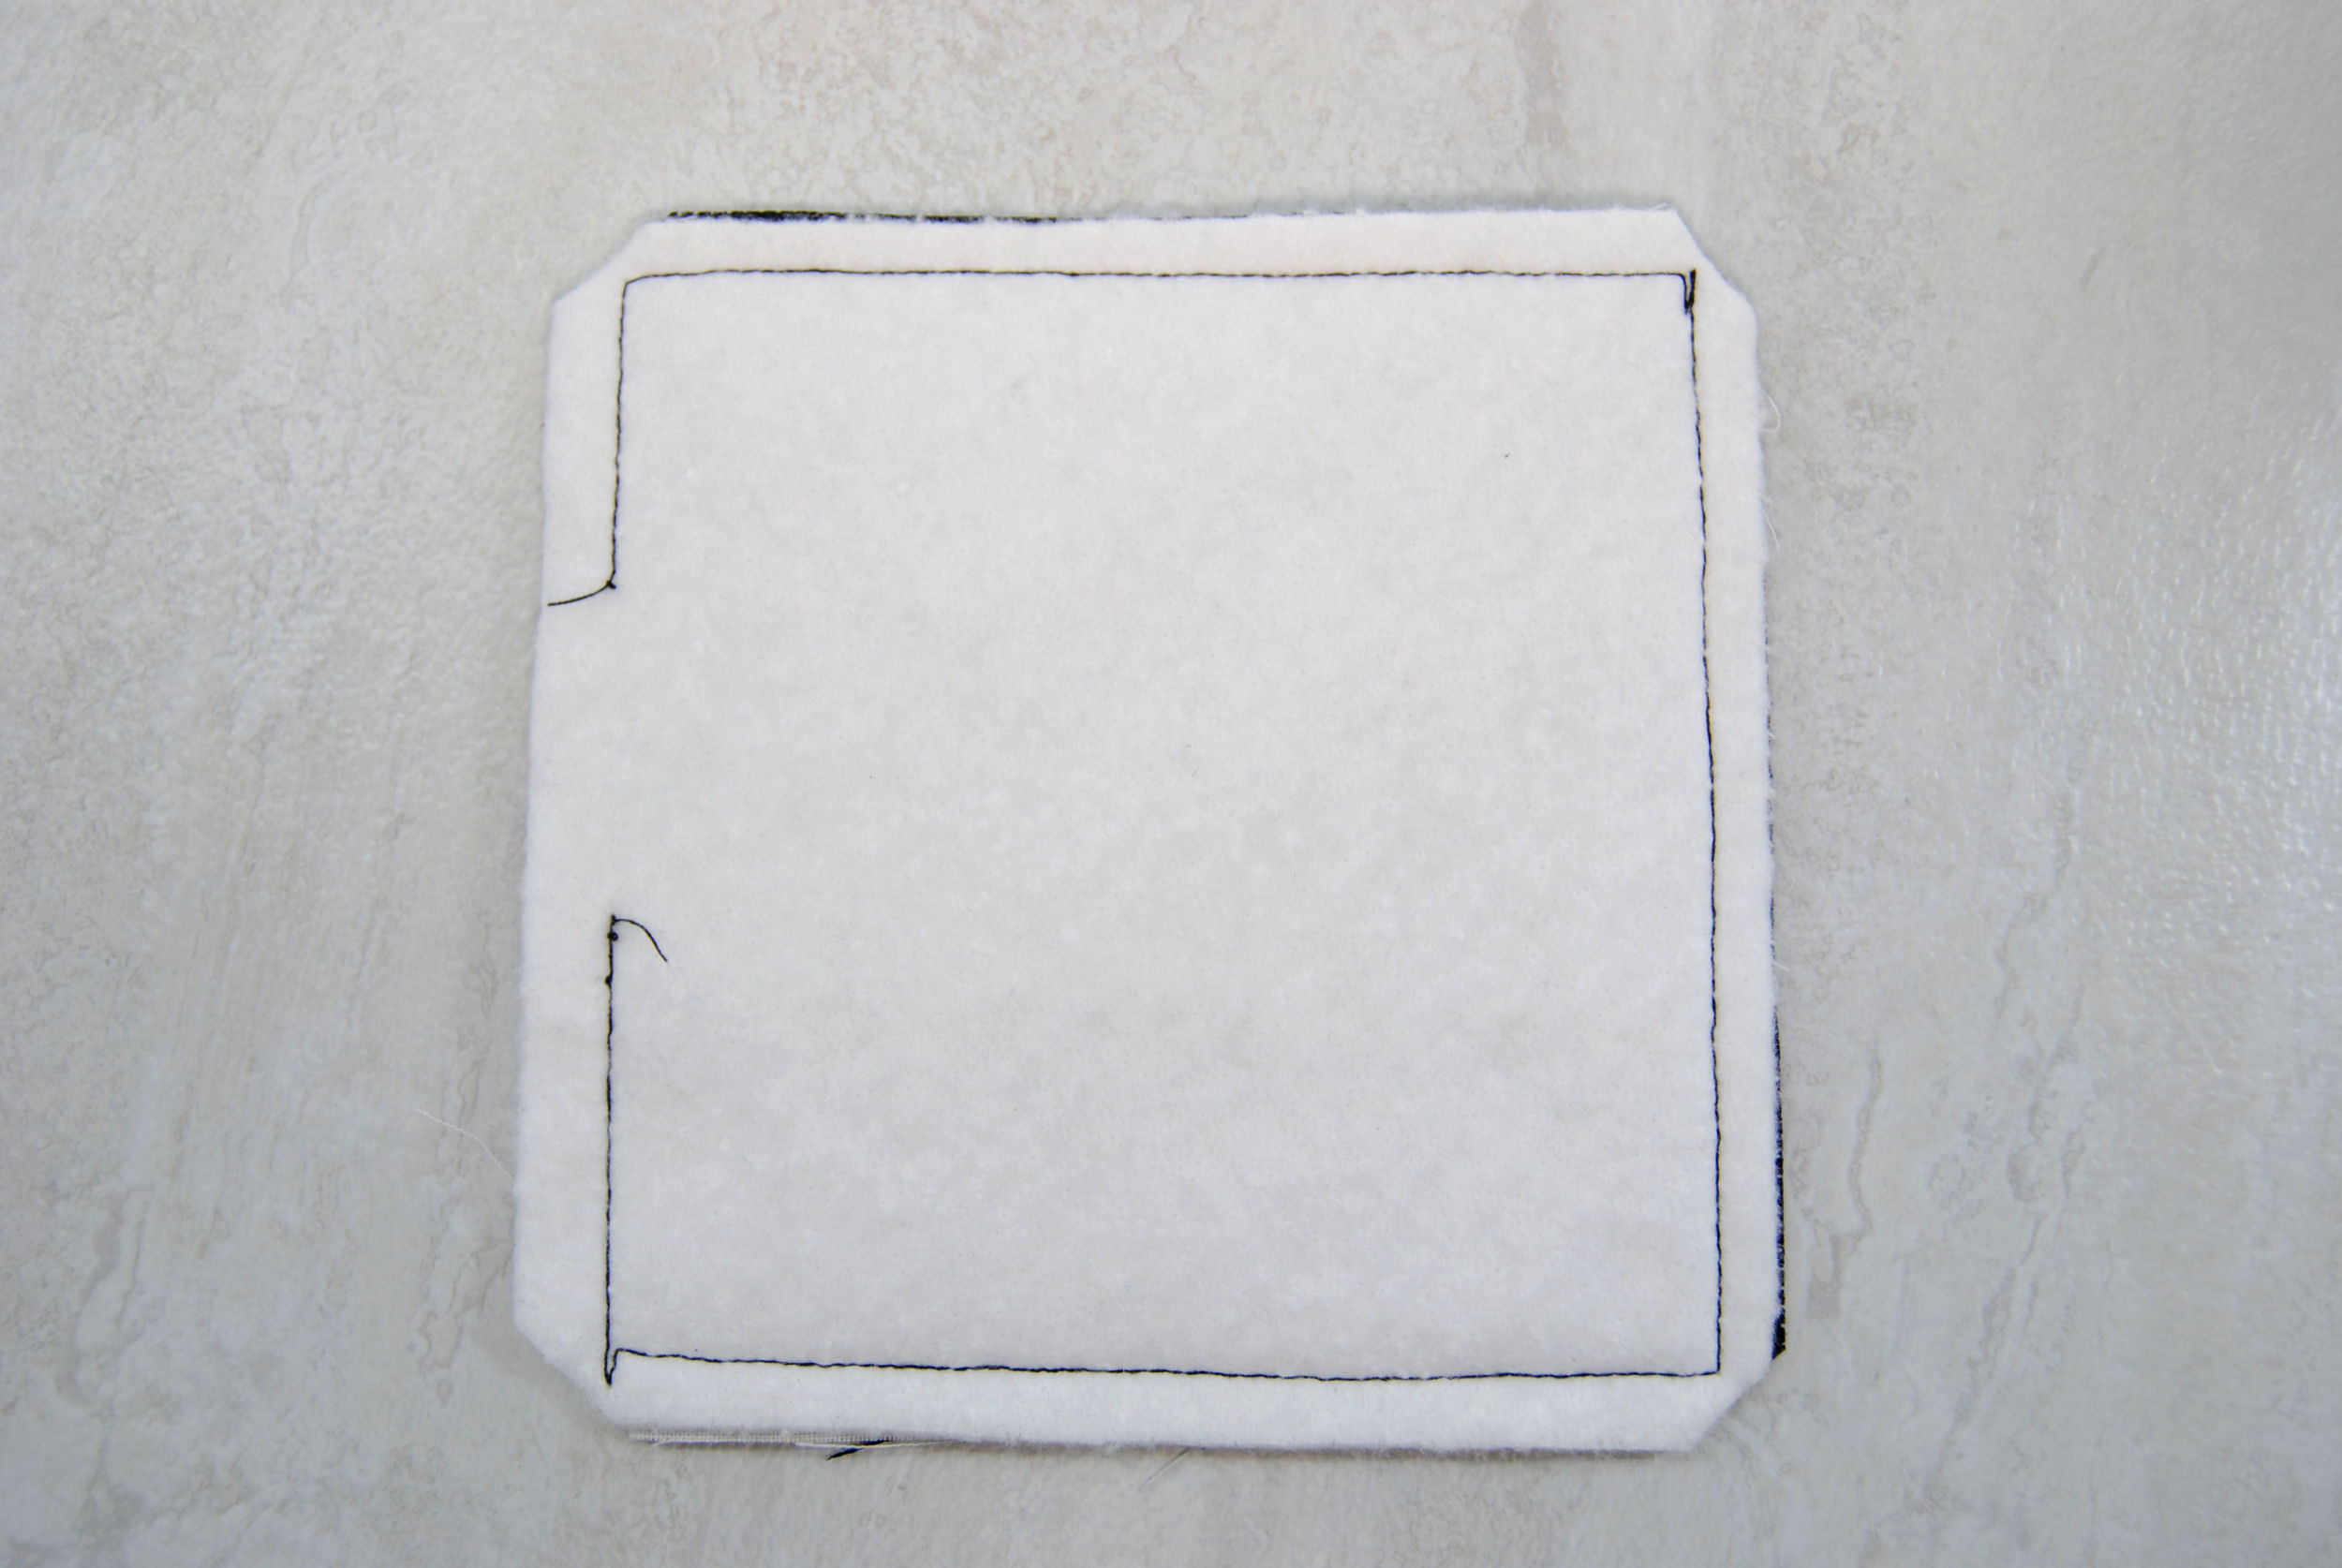
I flipped it over and did my initial seam around with a 1/4 inch seam from the batting side because it was a LOT easier to see what I was doing with black on white than if I had stitched over the black aida. Leaving a gap on one of the sides. Then trimmed off the corners to make it a bit easier to turn inside out.
Turning Inside Out
Reaching into the awkwardly small gap I pinched whatever I could reach and pulled until I had managed to turn this thing inside out.
Using a metal chopstick I had on hand I poked out the corners.

All that turning inside out made it… very wrinkled.
So after some ironing, I continued on.
Top Stitch Edge
Again, using the lighter side I topstitched around the edge. Holding in the folds of the gap to make sure it got stitched closed.
It’s uhhh not super straight And I’m not entirely sure what happened in the bottom right there, but it works.
Inner Tray Square
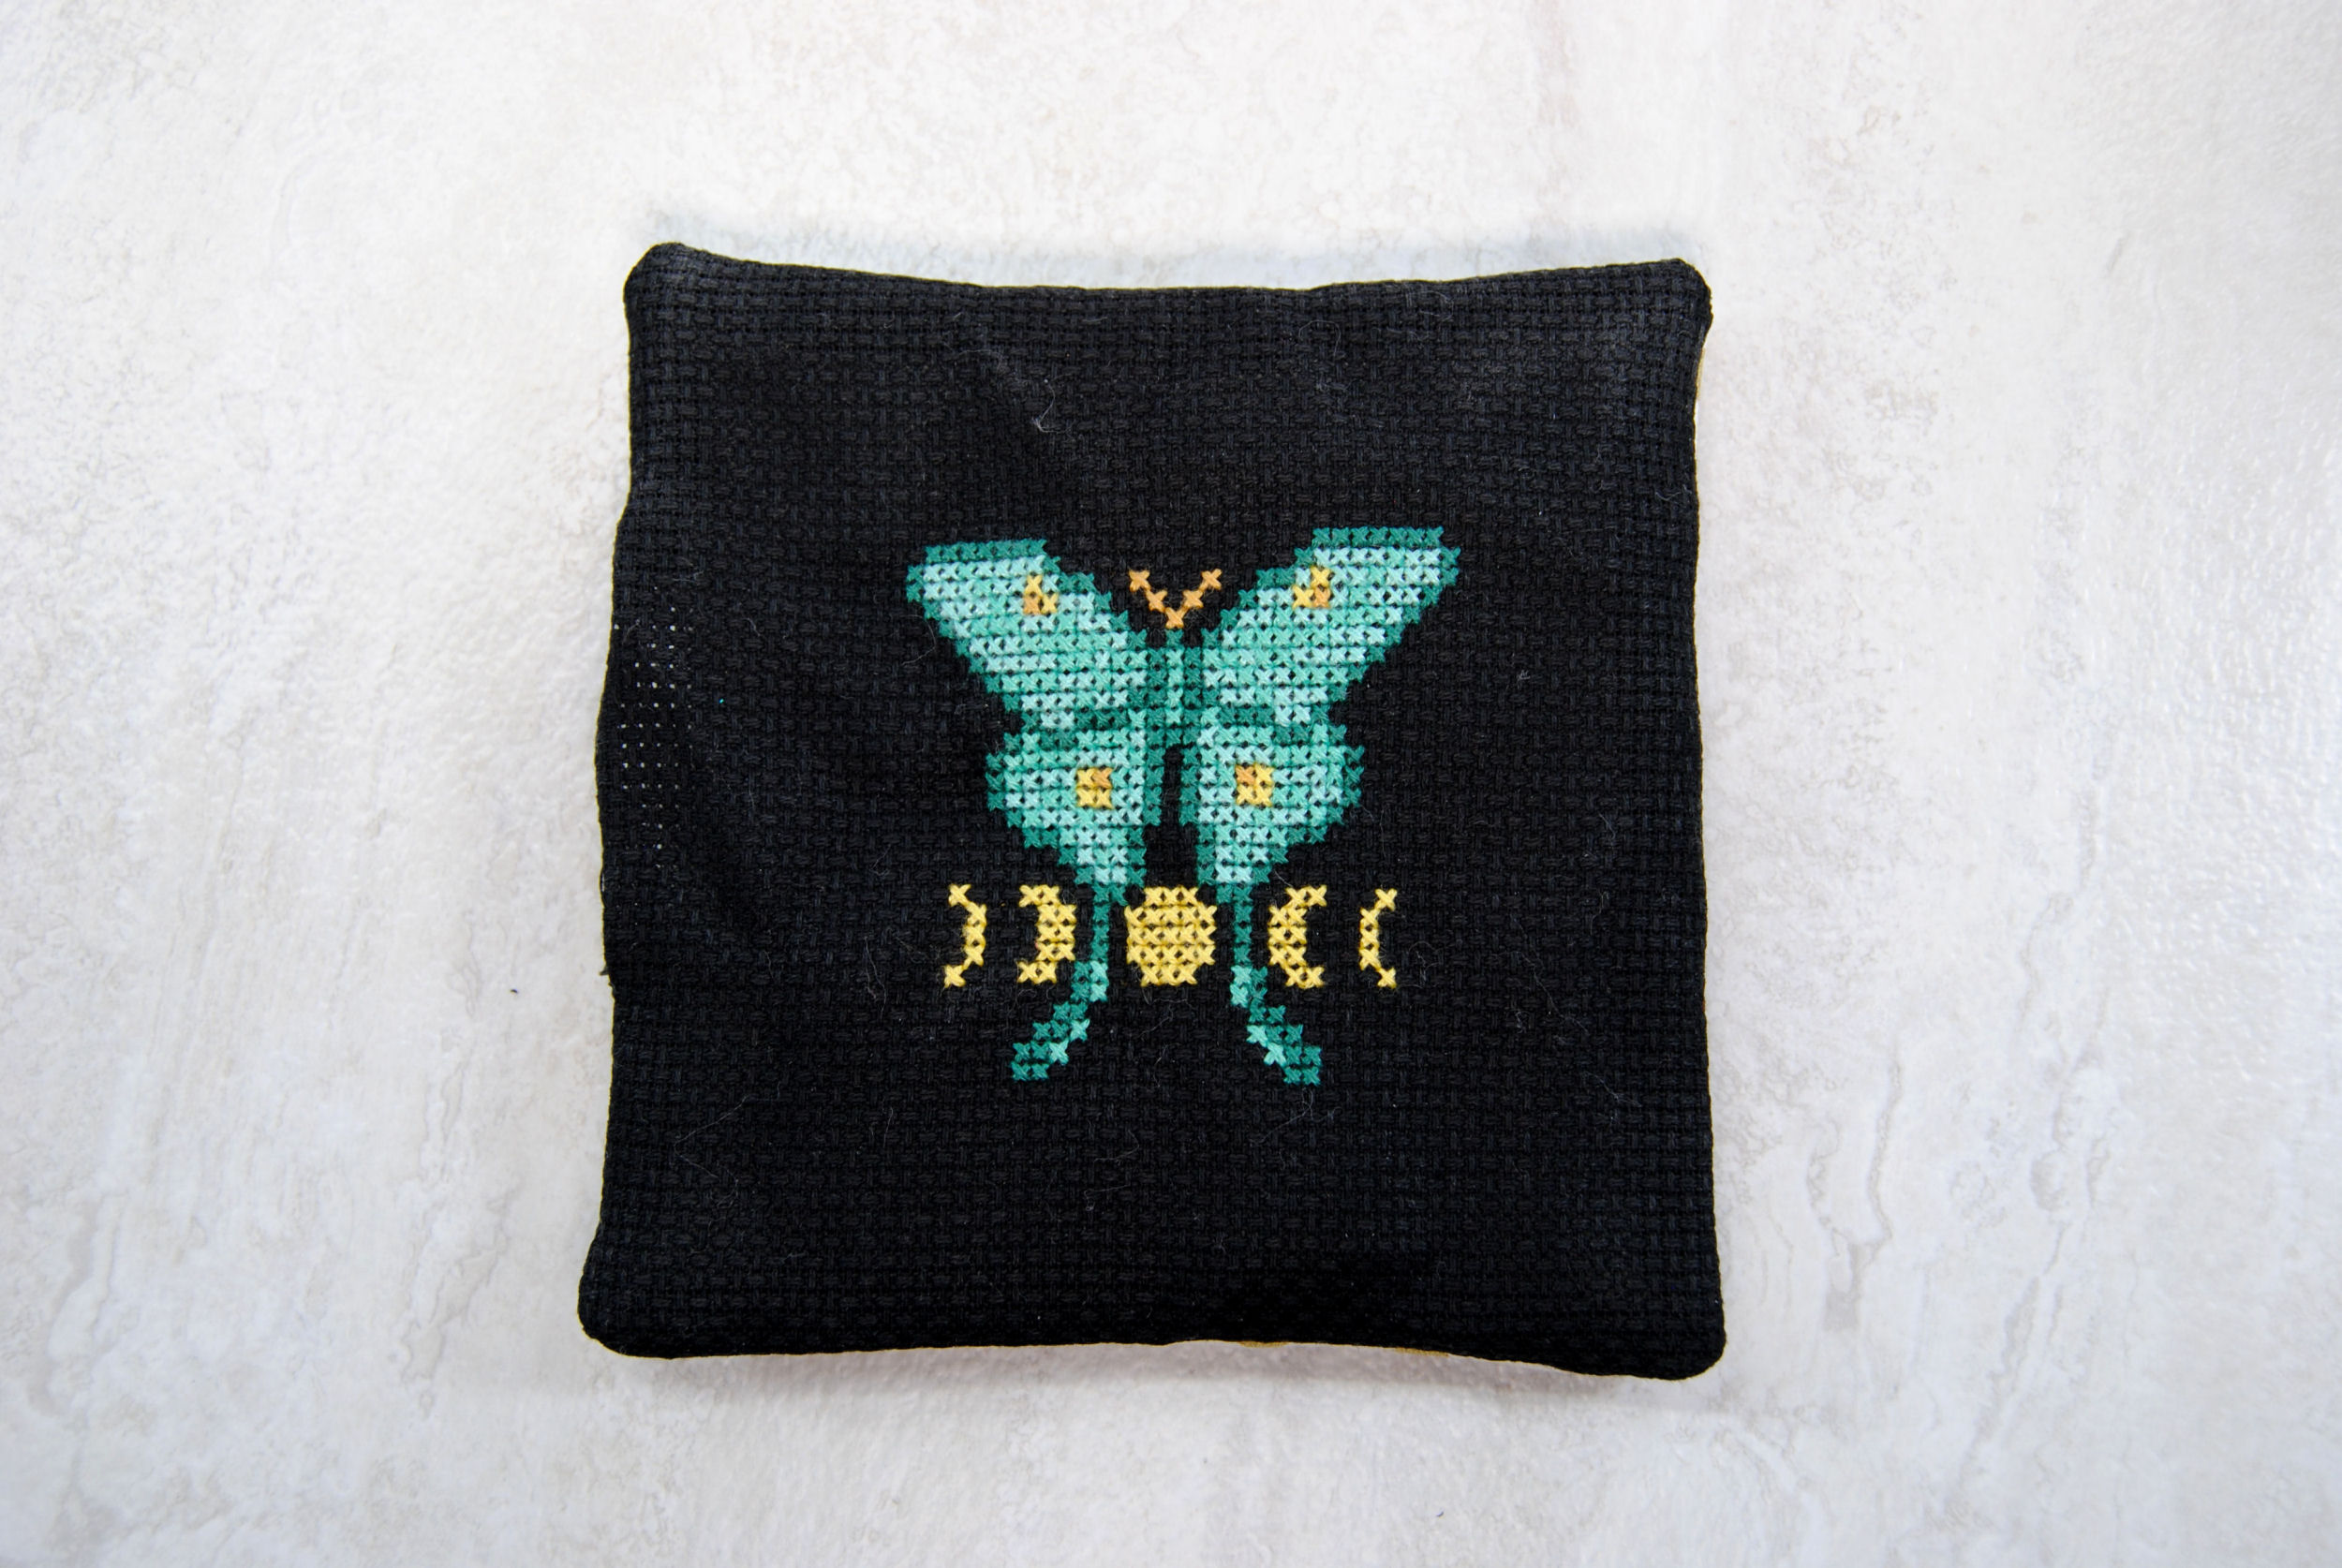
By now I had learned I wasn’t that great at keeping my stitching straight. So for the inner square, I got some better lighting and stitched from the top. This time slowly following the grooves of the aida to help keep me straight.
You can see that this square was MUCH straighter. So I take back what I said at the beginning about stitching from the back. Unless of course you can actually stitch in a straight line.
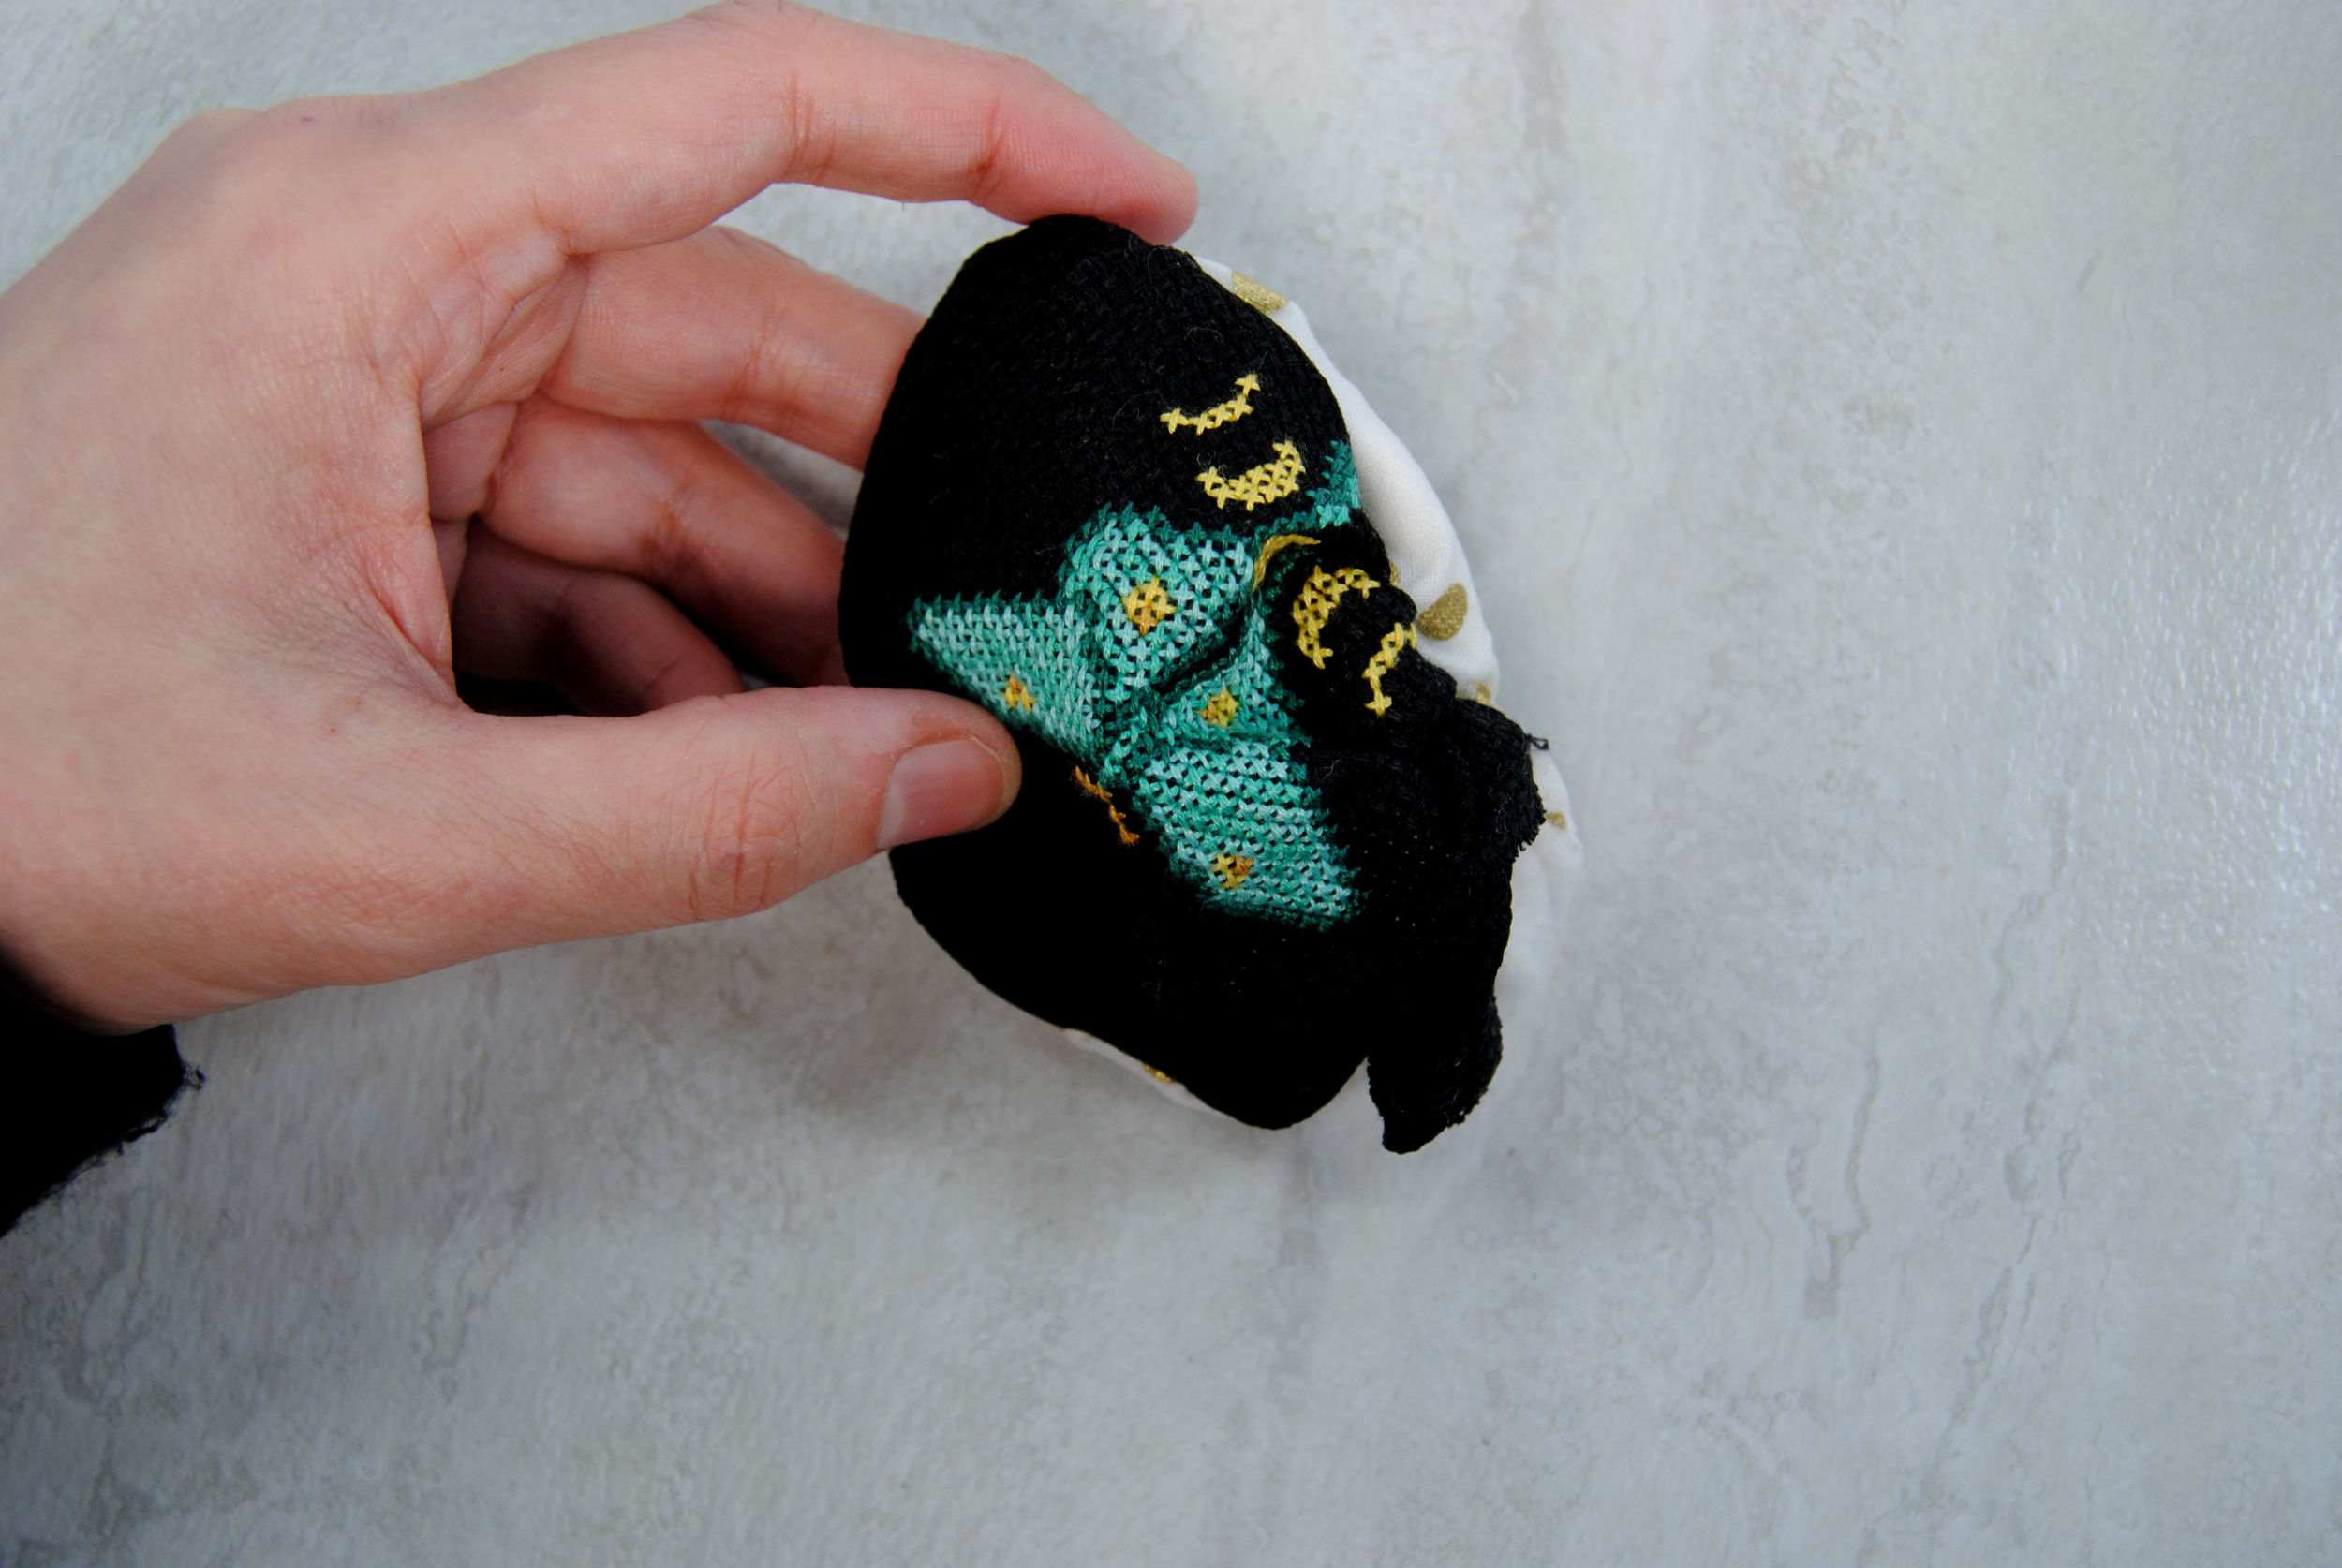
Folding Up the Corners
Lastly I pinched up the corner and stitched them closed at the top. I did see some tutorials would just machine sew that corner up. But I liked the cleaner look of this method, so I did it this way instead. I mention it just so you can decide for yourself if you want that extra seam.

Final Thoughts
If you’re a beginner at sewing, or don’t have a machine and will need to do this by hand… this is a great beginner project. Especially if you’re sewing by hand, as you can just use the aida as a guide and backstitch lines following the aida for all the seams!
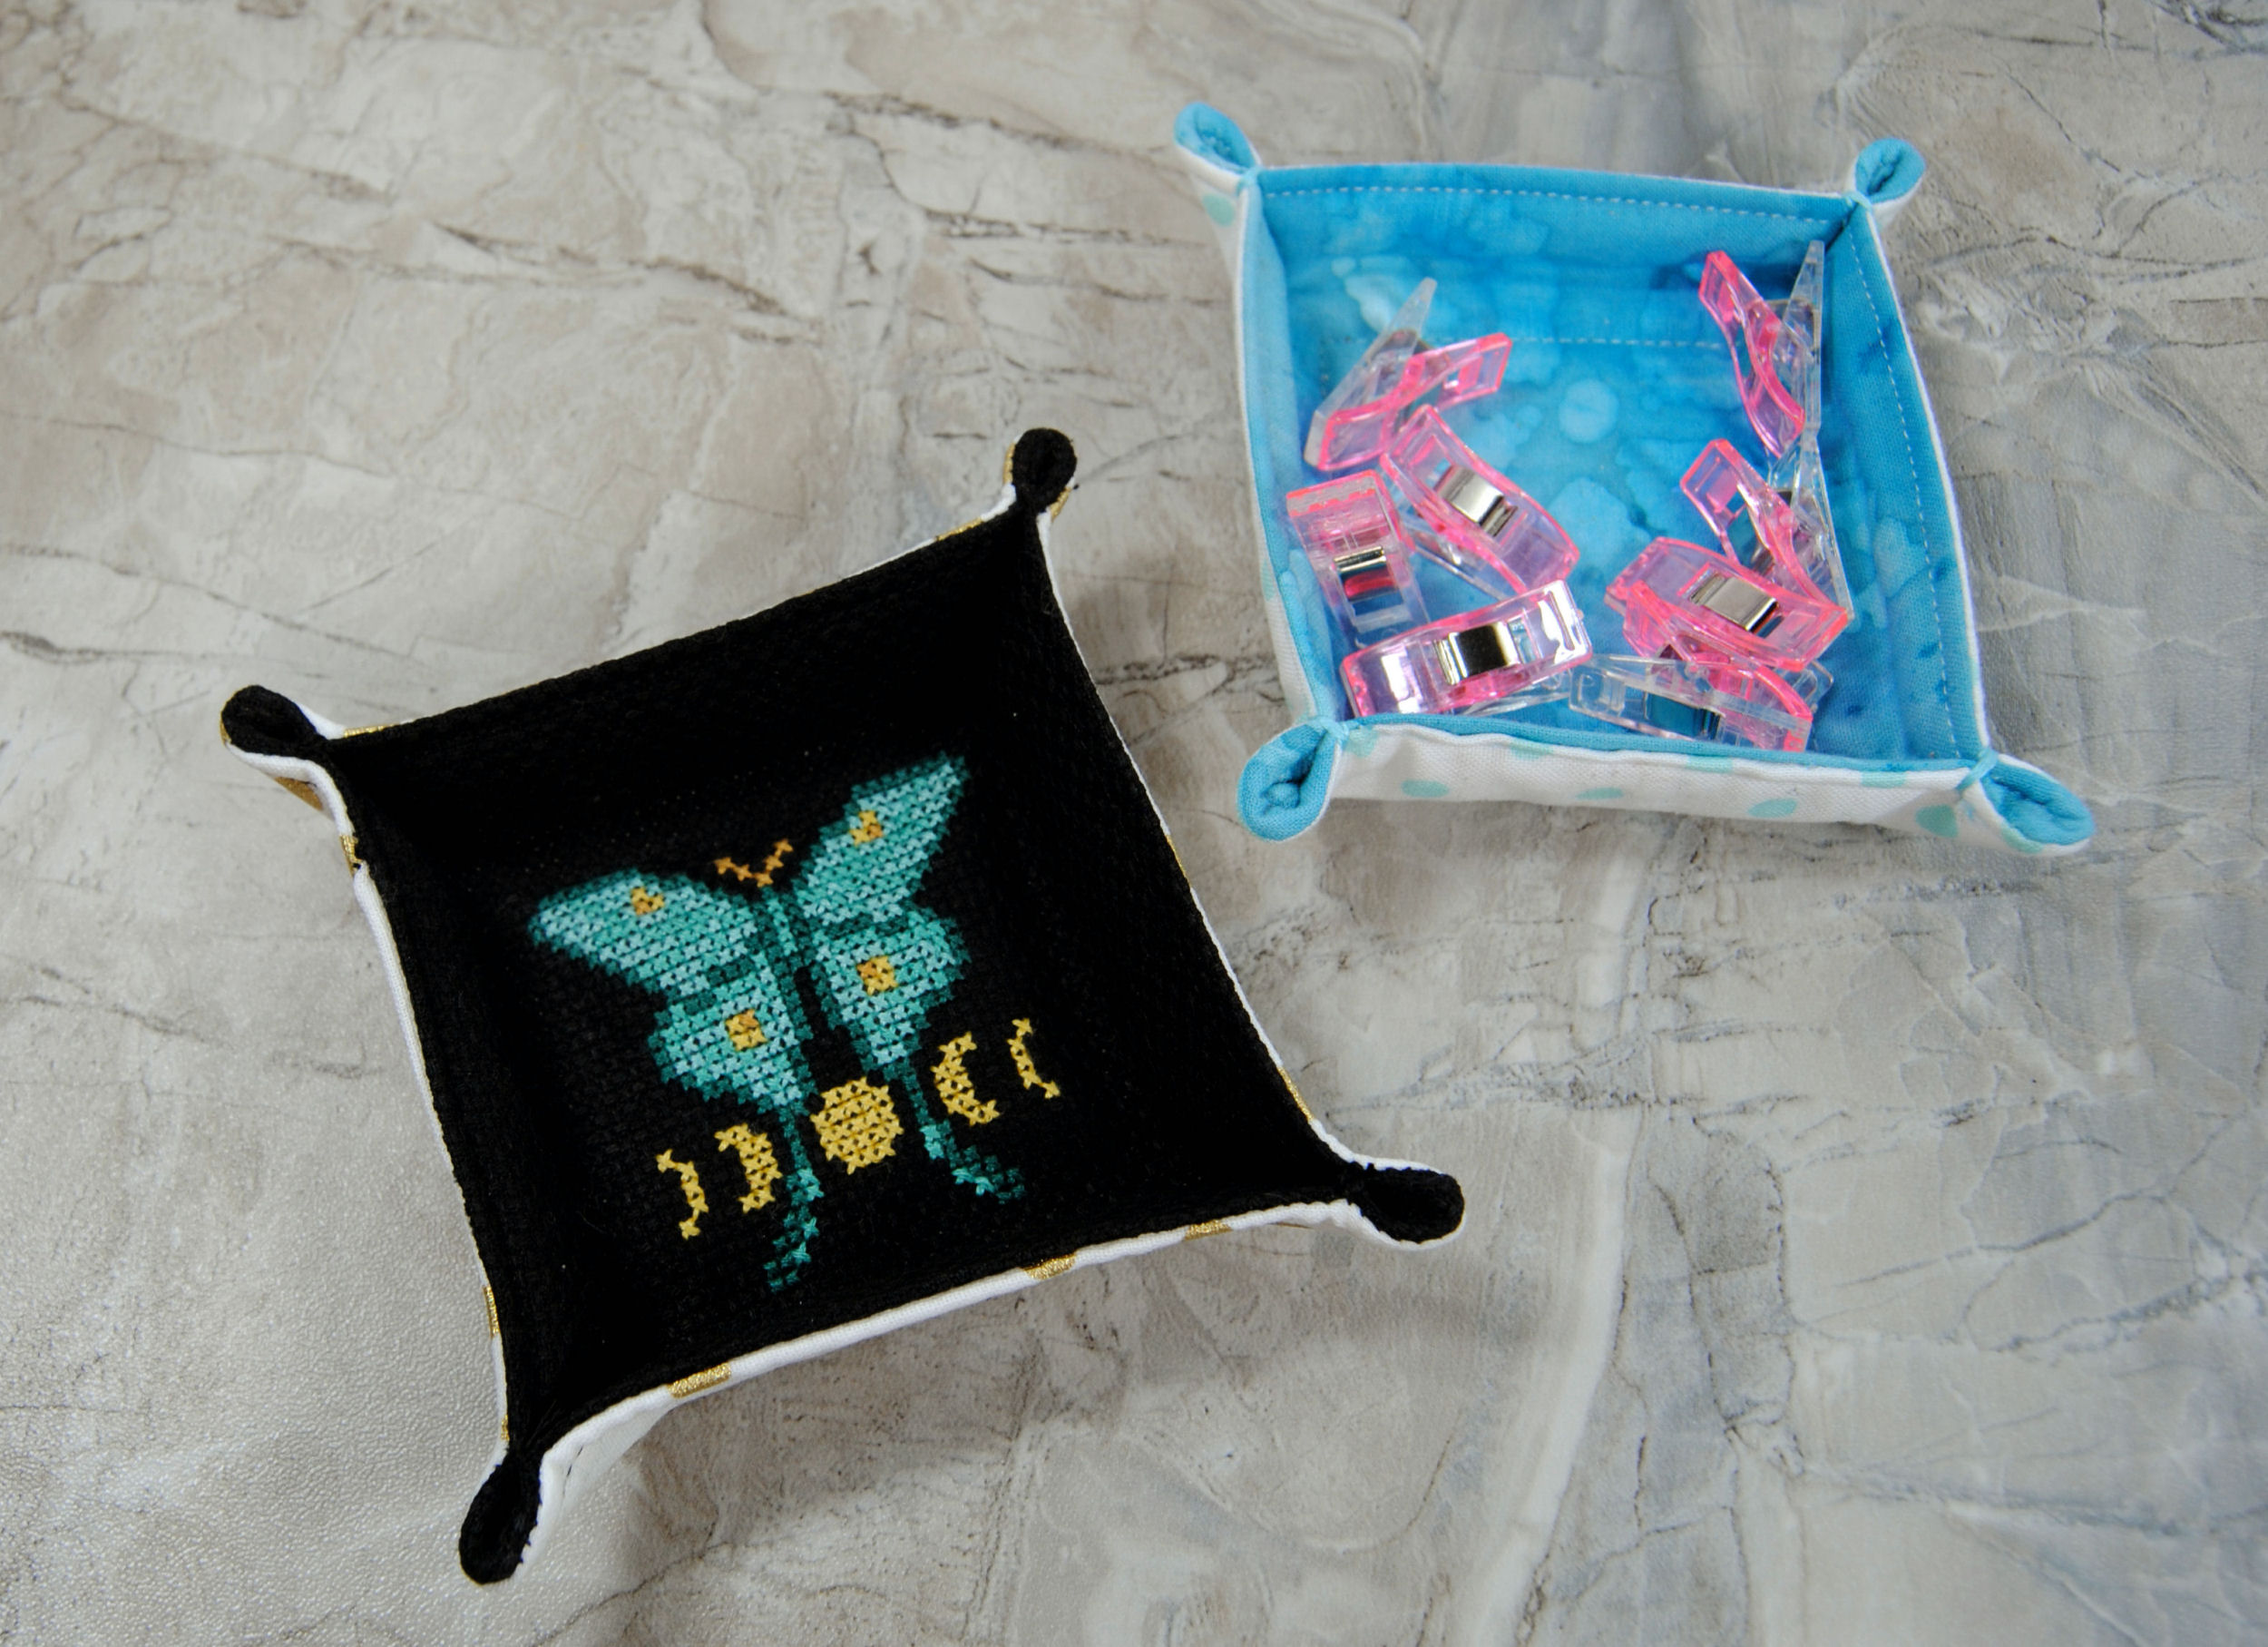
I’m a beginner as well (if you couldn’t tell) and had a lot of fun with this. I hope you won’t let being a beginner hold you back from trying this! You can always start with just some normal quilting fabric before ‘risking’ a finished stitch on this, of course. Which is what I had done with that blue one you see pictured here.


