Biscornu Tutorial : Making A Cross Stitch Pin Cushion
I just love making these finishing tutorials! So here’s one I’ve actually done before over on CrossStitch.Live. The cross stitch biscornu! I’ve learned some things since then, and taken fresh photos. So here we go! 🙂
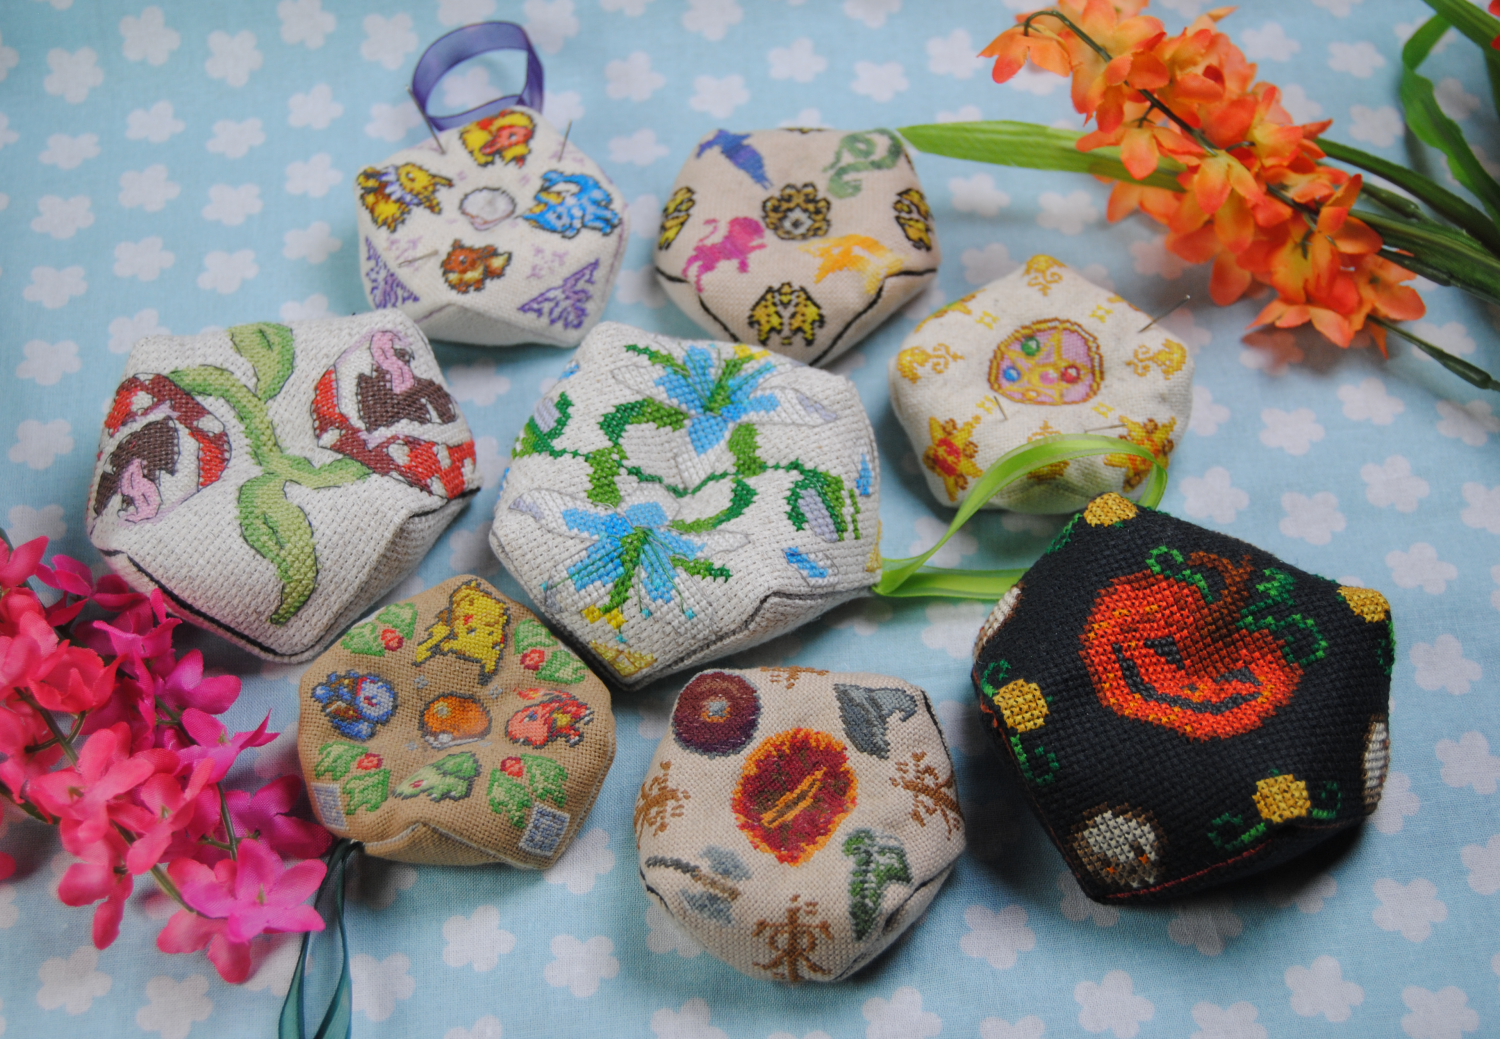
They make great little pin cushions. Make large ones for your desk; small ones for your travel box to keep your needles safe. Attach a ribbon and hang it as an ornament, or fill them with potpourri for a sweet little sachet. I’ve even seen over-sized ones as wedding ring pillows! Whatever you want do with them.
This post may contain affiliate links. If you buy something using one of these links, I earn a small commission. However, there is no extra cost to you. Thanks for understanding! Learn more in my Disclosures & Privacy Policy.
Prefer a video tutorial? I have one up on YouTube as well!
Table of Contents
Picking a Pattern
Basically, what you’re looking for is a perfectly square design. Or one that that you don’t mind adding some blank space or small motifs on a side to make it square. You can have two different designs for the top and bottom, use the same design, or leave the bottom blank!
The pattern I’ll be using in my photos is my own Quilt Biscornu design; available on both Patreon or Etsy. But I also have some free biscornu designs available.
If you’re working on 14 count and don’t want it to be huge, I’d recommend limiting yourself to around 50×50 stitches. This will still make a pillow around 3.5″ (9cm) big! If you’re stitching over one on 18 or 28 count, you can fit in a bit more detail in that same size though.

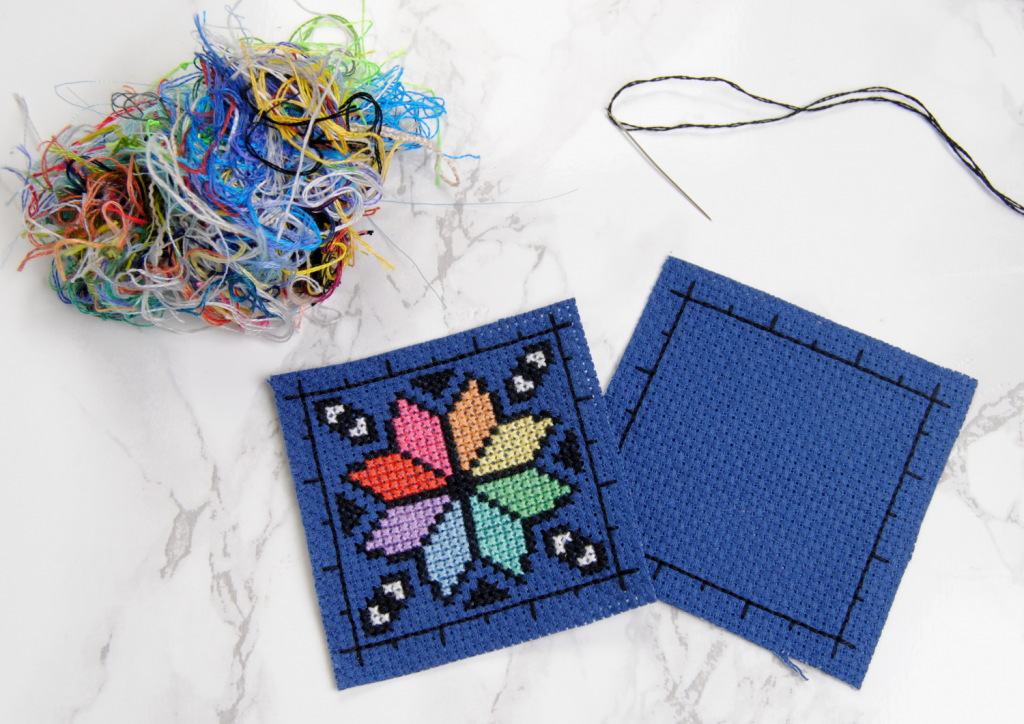
Backstitch a square onto your fabric. I prefer to do it before stitching my design, so I can also use it as a ruler. You’ll see in my photos below I’ve marked off every 5 and 10 stitches to help keep track of where I am on the design. This area will be completely hidden once you assemble your biscornu, so don’t worry! You can also choose to do the backstitch square after you finish stitching, if you prefer.
If you’re working on 28 count I’d recommend making your backstitch square over two squares so they’re not too small to work with later. Once you’re done, trim your squares as close as you feel comfortable. I usually have mine 4 squares from the edge on 14 count.
Materials
- Two matching squares of fabric, with a backstitch border.
- Something to fill the biscornu with, such as PolyFil, orts, steel wool, or even dryer lint!
- Decorative buttons (optional)
- Ribbon (optional)
Assembly
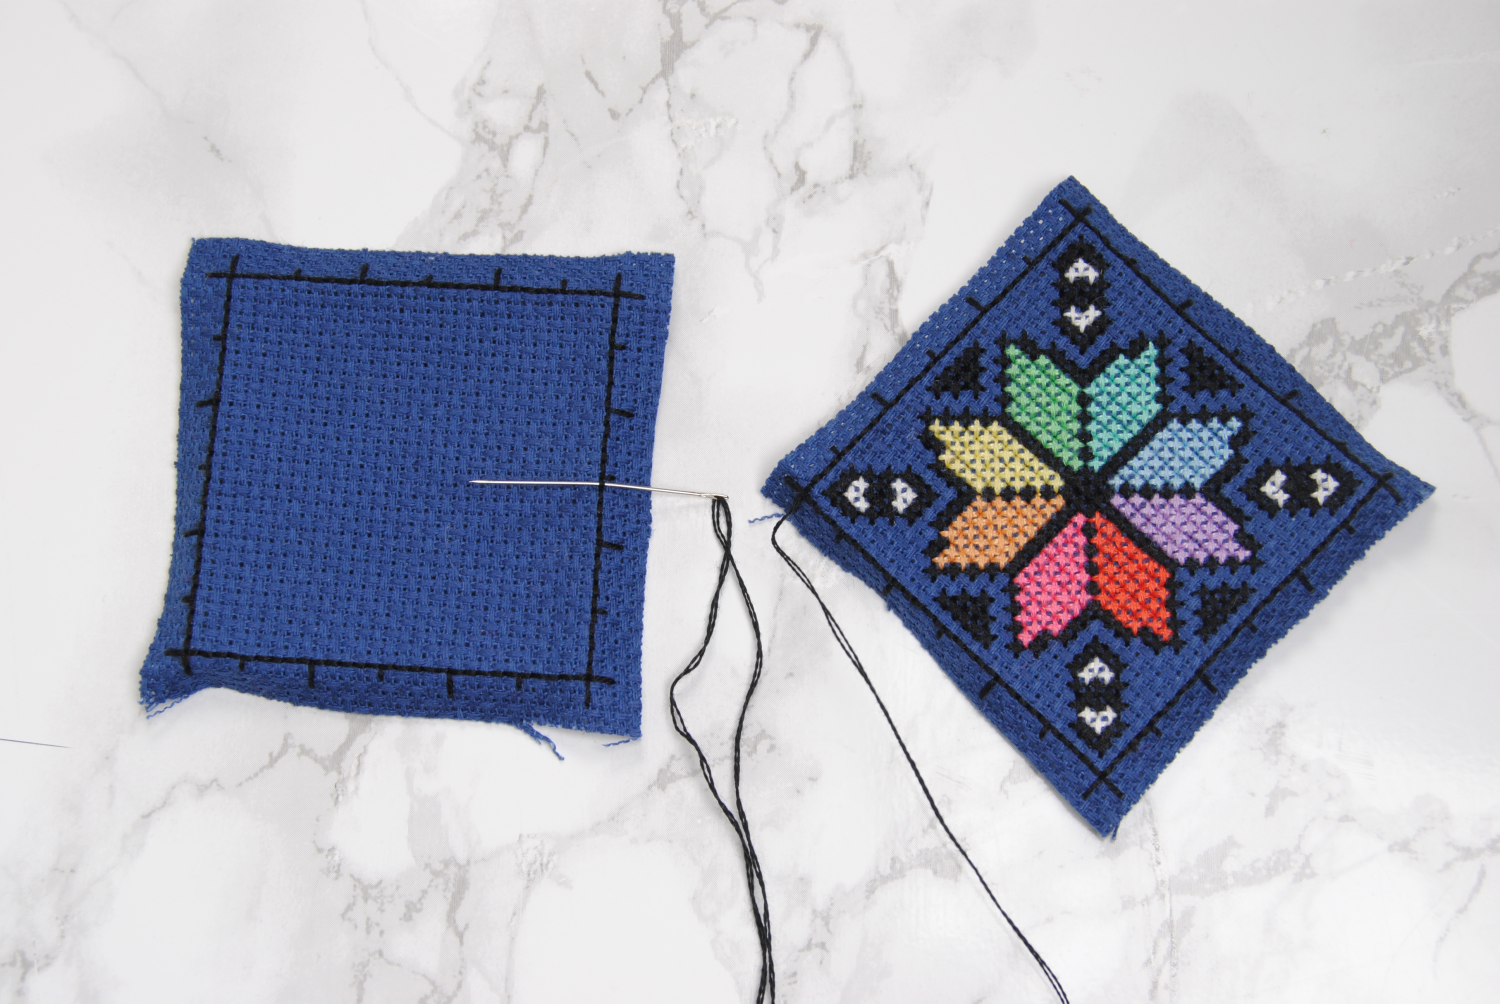
The concept is basically just to stitch the two squares together, with one of them turned at a 45 degree angle. This creates that unique biscornu shape.
Start by preparing your fabric. Fold the edges of the squares on the backstitch line. Iron them down if it helps keep them folded for easier assembly.
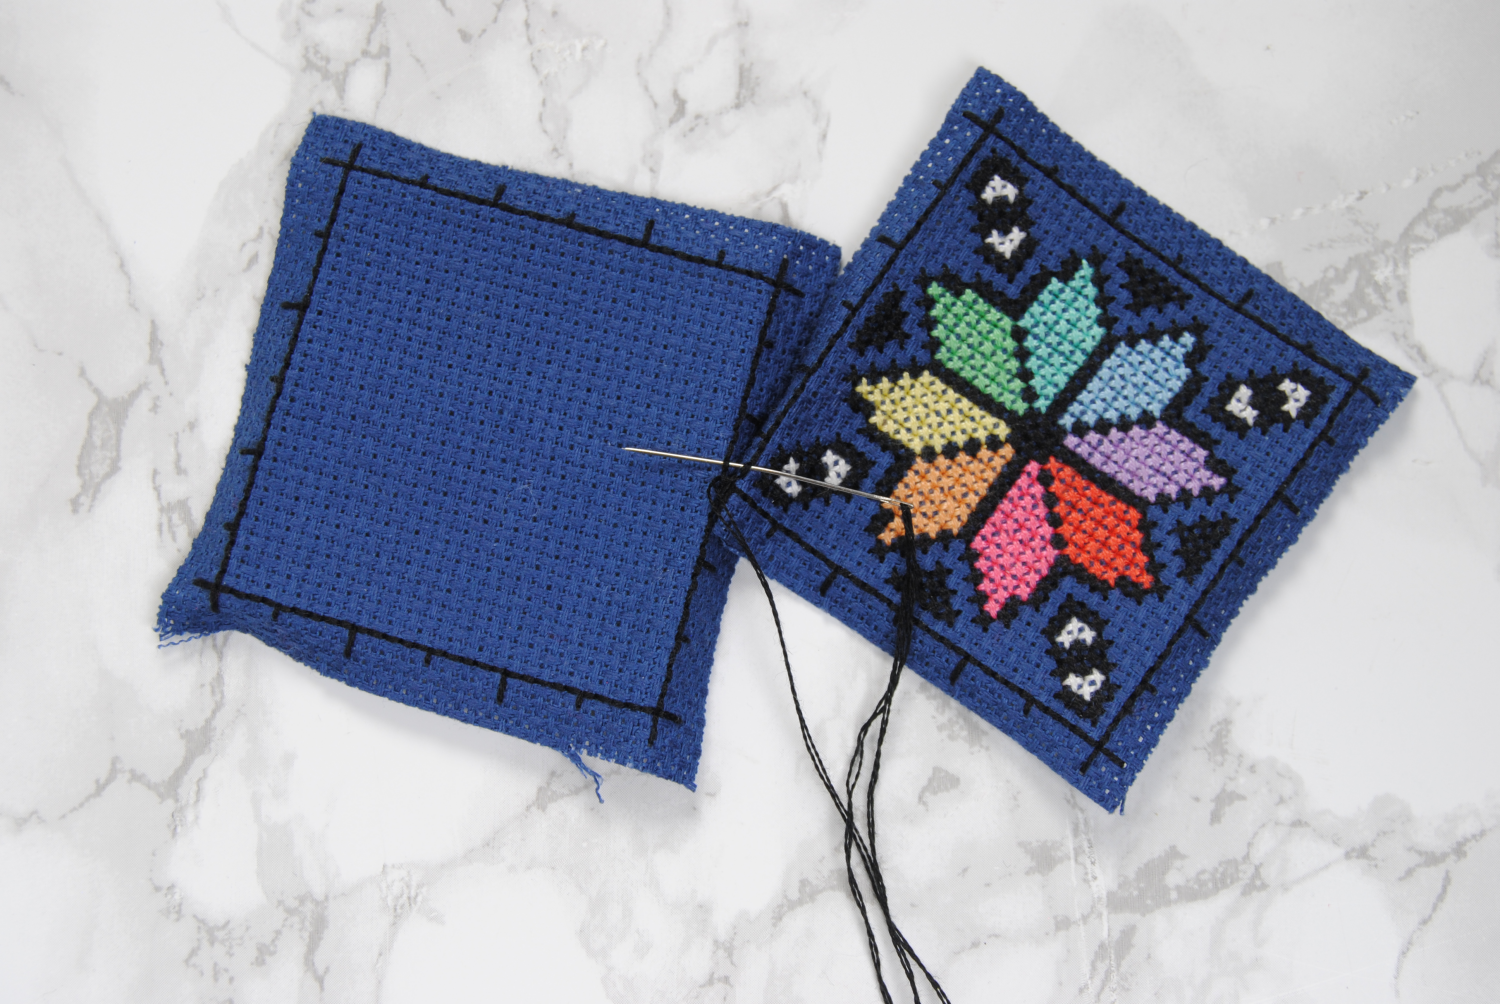
Bring up your needle from the very corner of your top square. Then find the center of one of the sides of your other square.
It does not matter if there is no exact center stitch. As long as both your squares have the same amount of stitches, it’ll all line up in the end. Just get as close to the center of your side as you can.
Sew under the backstitch and pull it together, folding the fabric edges under as you go. Now look back to the top square and sew under the backstitch of the next stitch in line, and then under the next stitch on your other square.
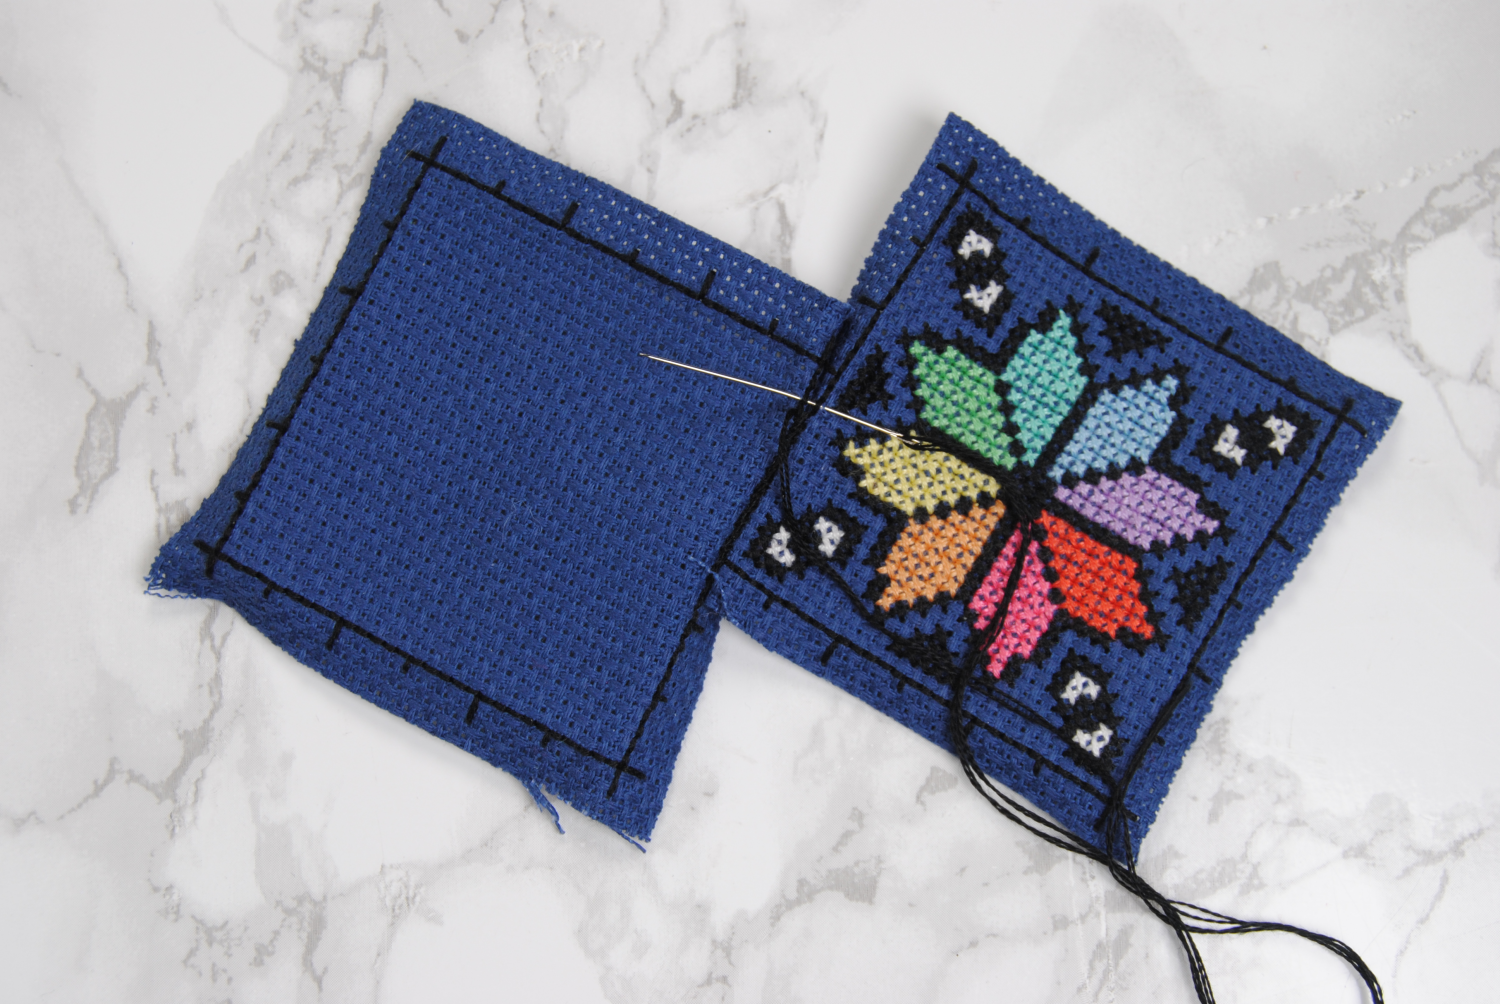
Keep going like this all the way around the edges of your biscornu. You should not be stitching into the fabric itself, only under the backstitching. Be careful to tuck in the edges, and be extra careful around corners, as they can be a bit tricky at first.
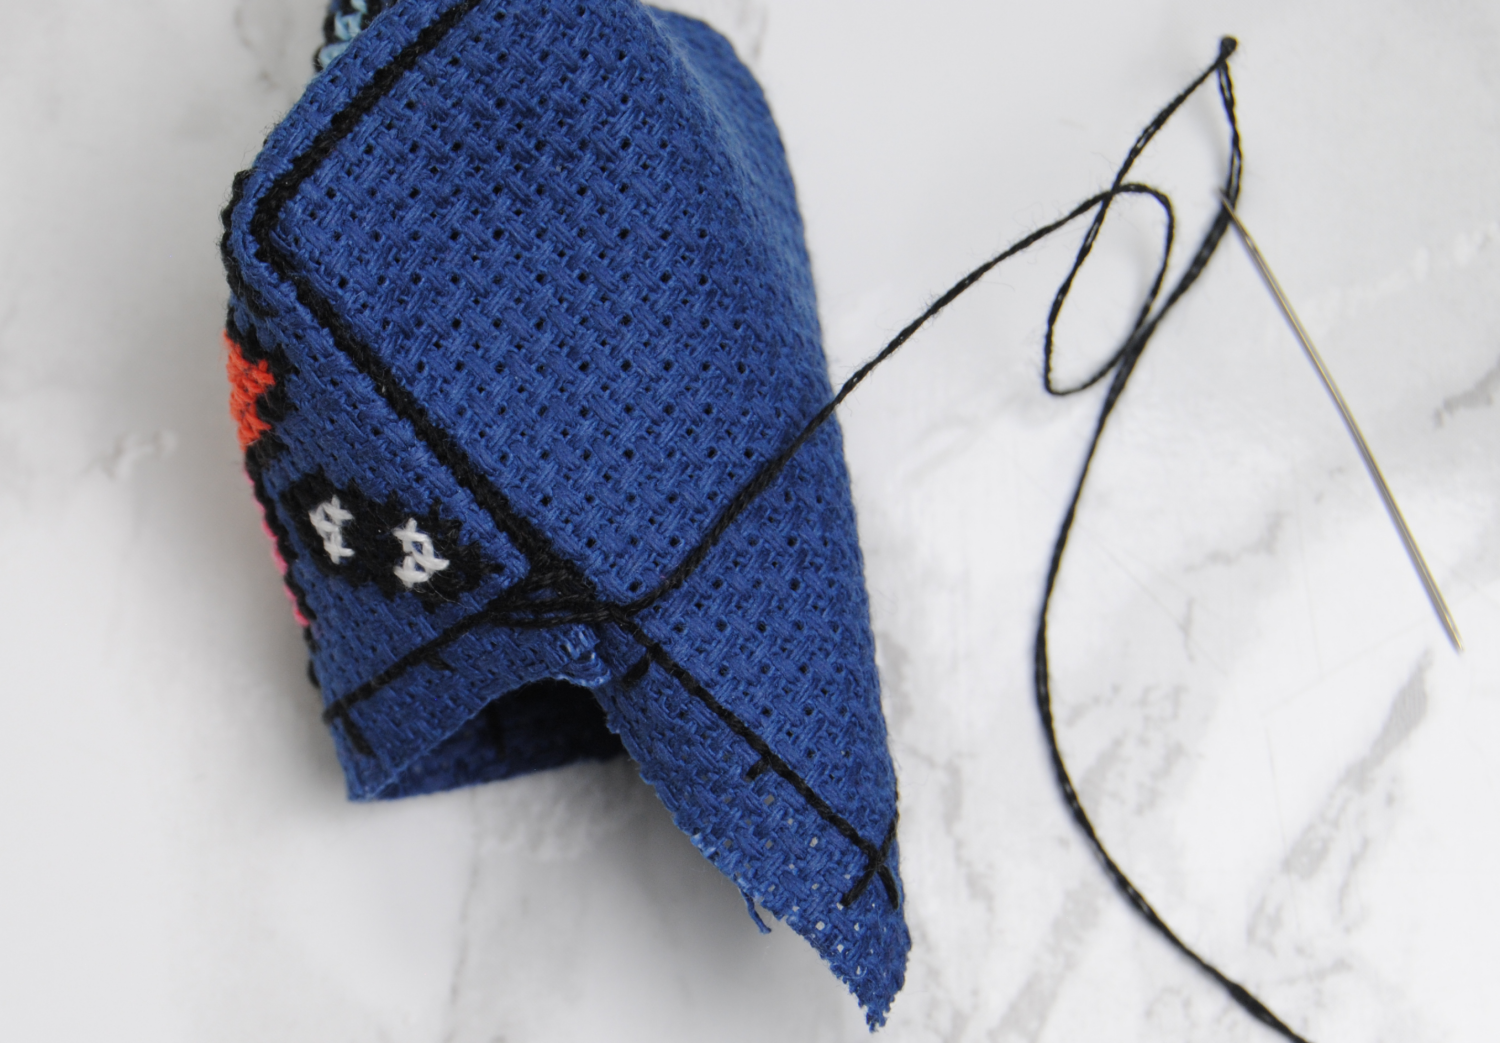
Getting around the corners
If it helps, you can queue up a couple stitches worth before pulling it tight. I find this especially helpful around corners, as seen below.
If you’re planning to attach a ribbon loop, I’d recommend doing that on your 2nd or third corner. You want to get used to corners first, but you also don’t want to be fighting with your filling on the last corner either.
The ribbon is optional, if you want to be able to hang it up on your pegboard or use it as a Christmas ornament.
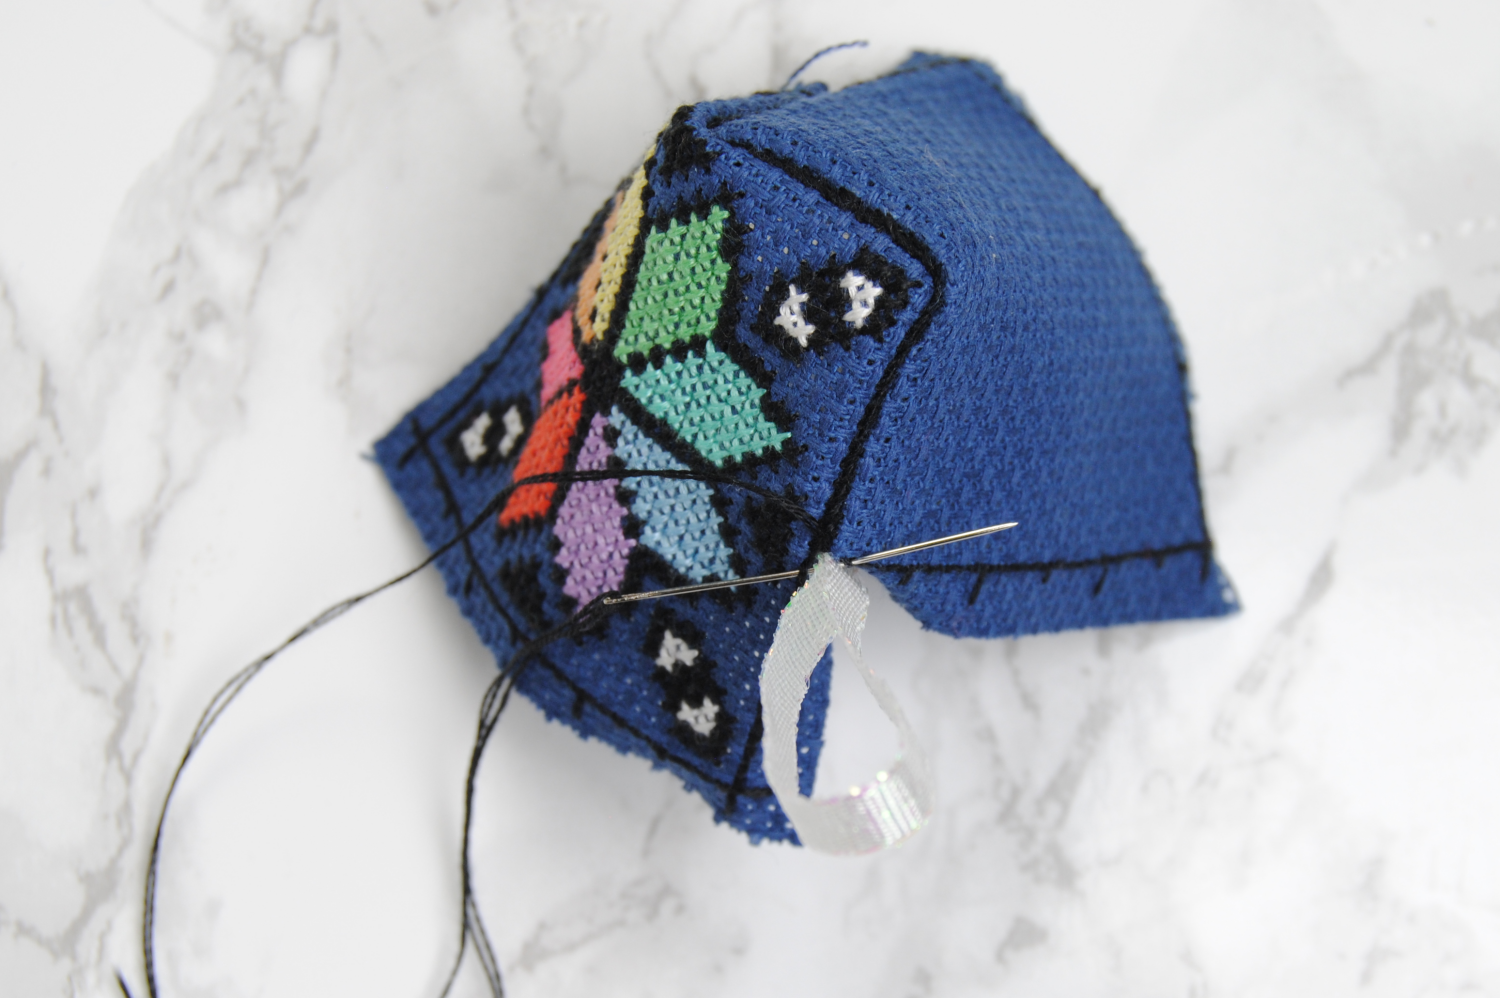
Just continue going under the backstitch as normal but stab through the ribbon on your way.
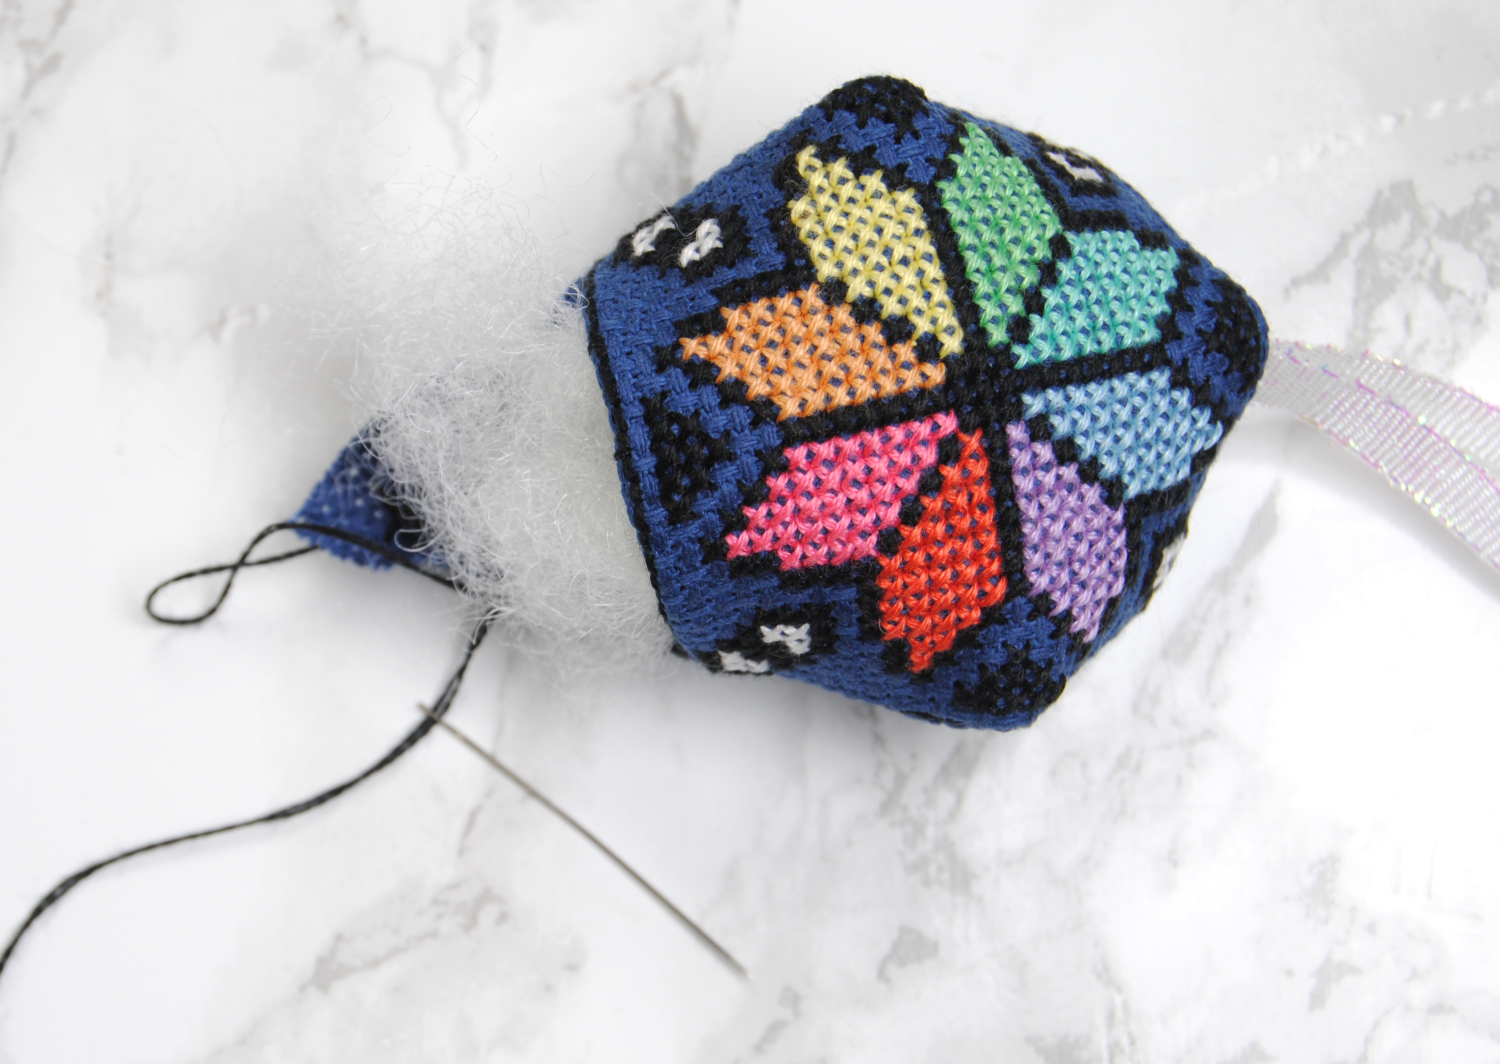
Once you get to your last two sides, you should fill your biscornu. I generally use PolyFil as I have a bag I bought ages ago and still haven’t managed to work through it. However you can use extra thread bits from your ORT jar, fill it with steel wool to keep your pins/needles sharp, or whatever else you have on hand.
If you’re using some form of soft stuffing, I recommend cramming more in there than you think you need. Until it is uncomfortably tight. They do tend to flatten over time and you want it to keep it’s shape. Use a chopstick or the end of a pen/pencil to get it all the way back into the corners while you’re at it.
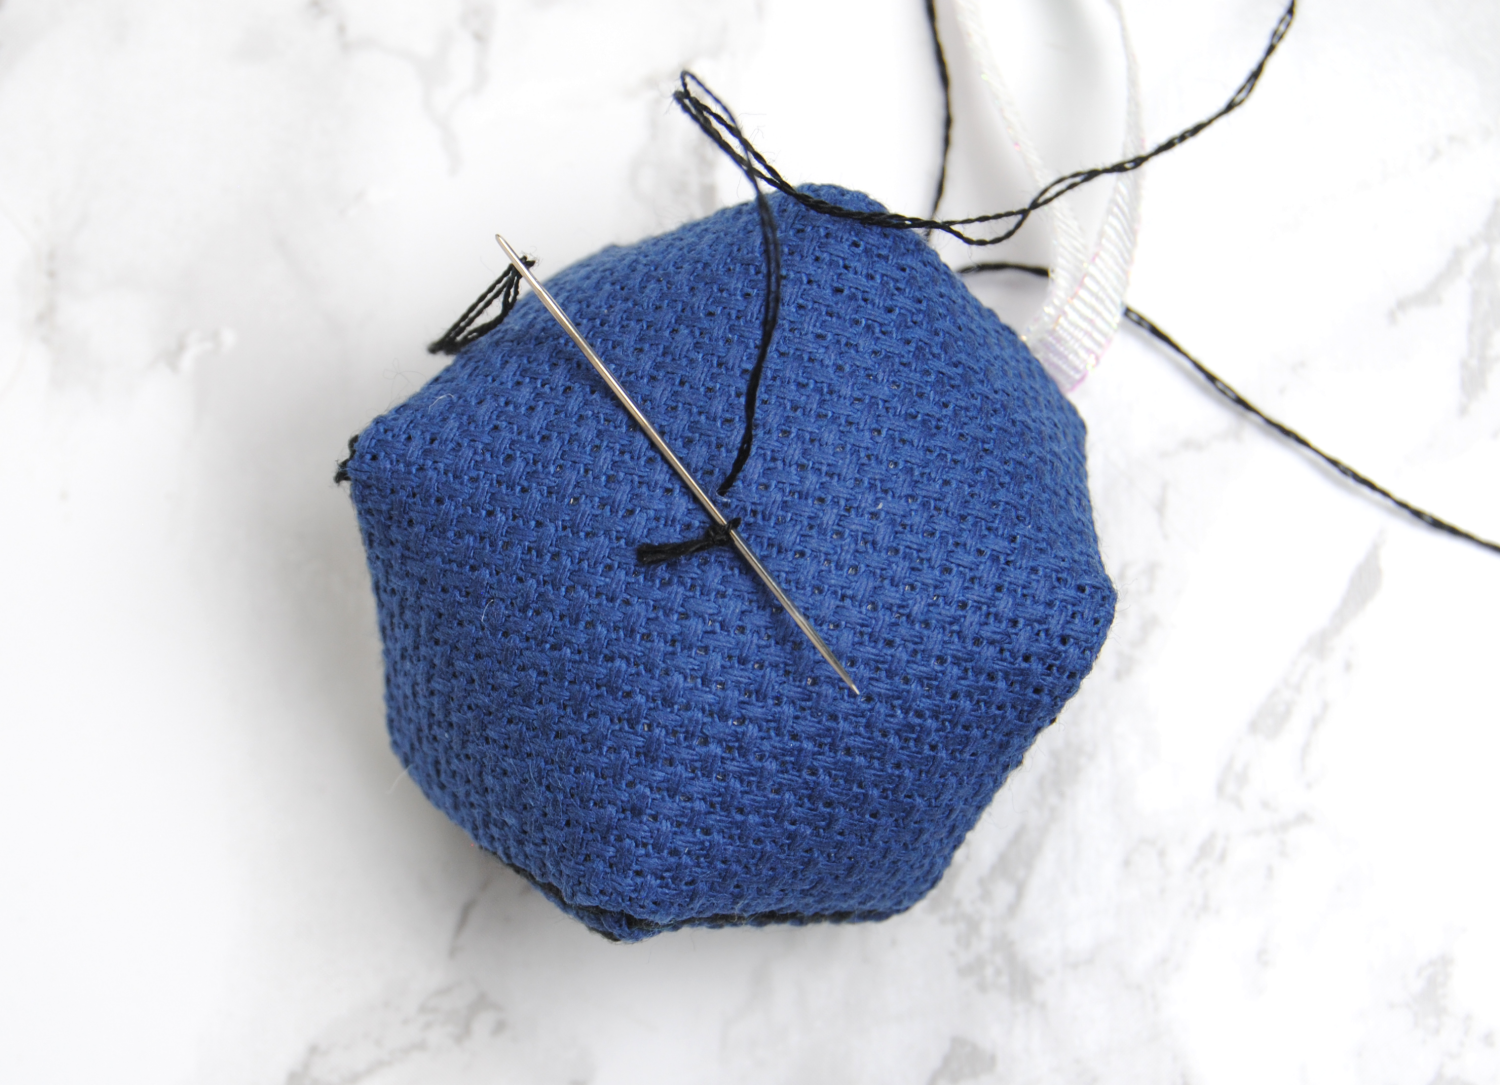
Finish sewing it up, tucking the stuffing in as you go. Then secure the ends of your thread through a couple of the stitches on the edge as needed.

Cinching the center
Once it’s all sewn up, we want to cinch it together in the middle to create that iconic biscornu shape. This is technically optional, and I definitely have ones I choose not to do this with. However, if you’re storing needles in these it helps them to not to get sucked in and lost inside! Pins typically have a ball or something else at the end to keep them from going all the way through, so it doesn’t matter as much if you’re using it as a traditional pin cushion.
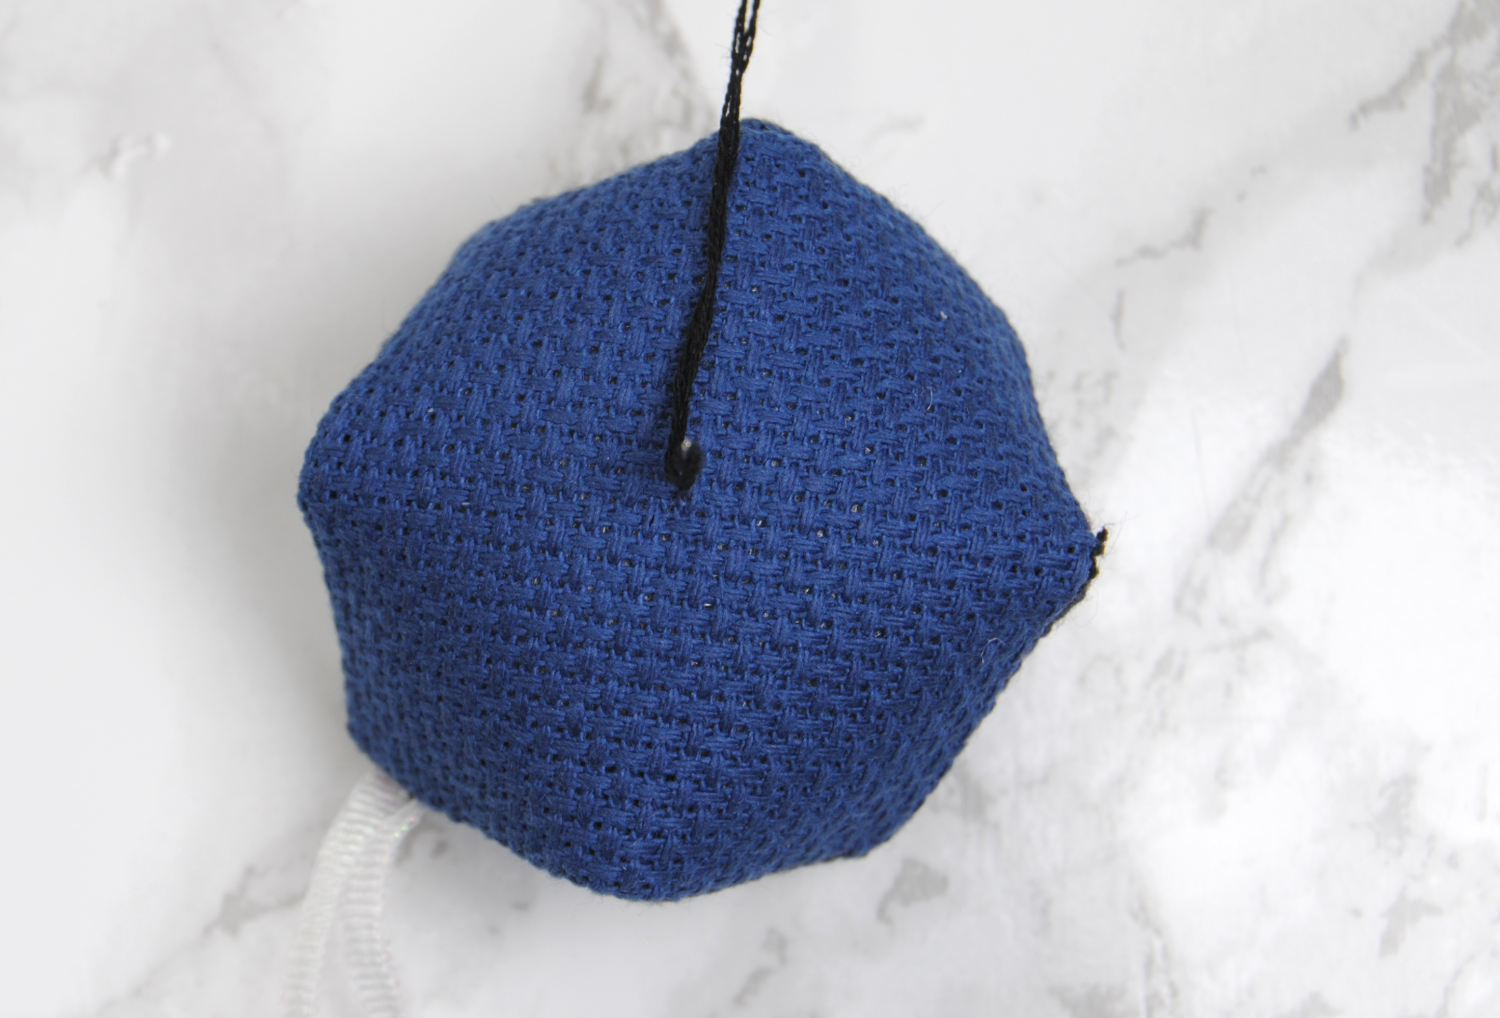
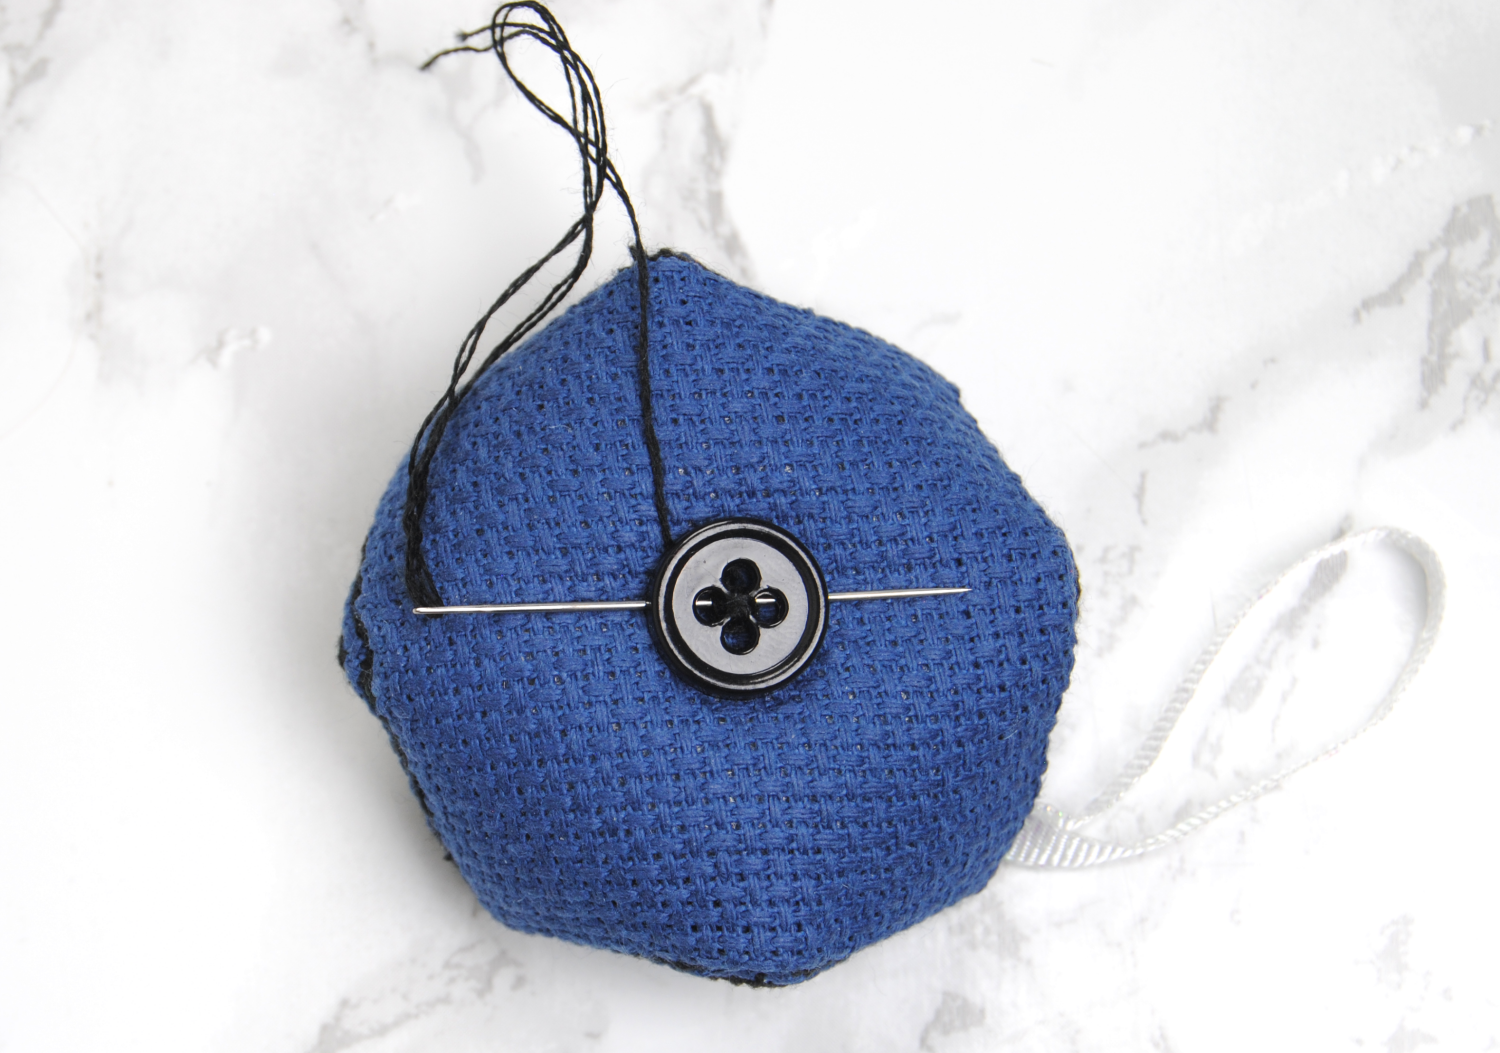
I start by knotting my thread, but you don’t have to. Find the center of the bottom piece and poke all the way through your biscornu to the top.
If your cross stitch designs have stitches in the center area, you can choose the same color thread so that it blends in. Especially if you’re not planning to add a button.
Go all the way through and back up once before adding the button for added security. If you’re not adding a button, just make a normal cross stitch in the center, repeating it twice for added security.
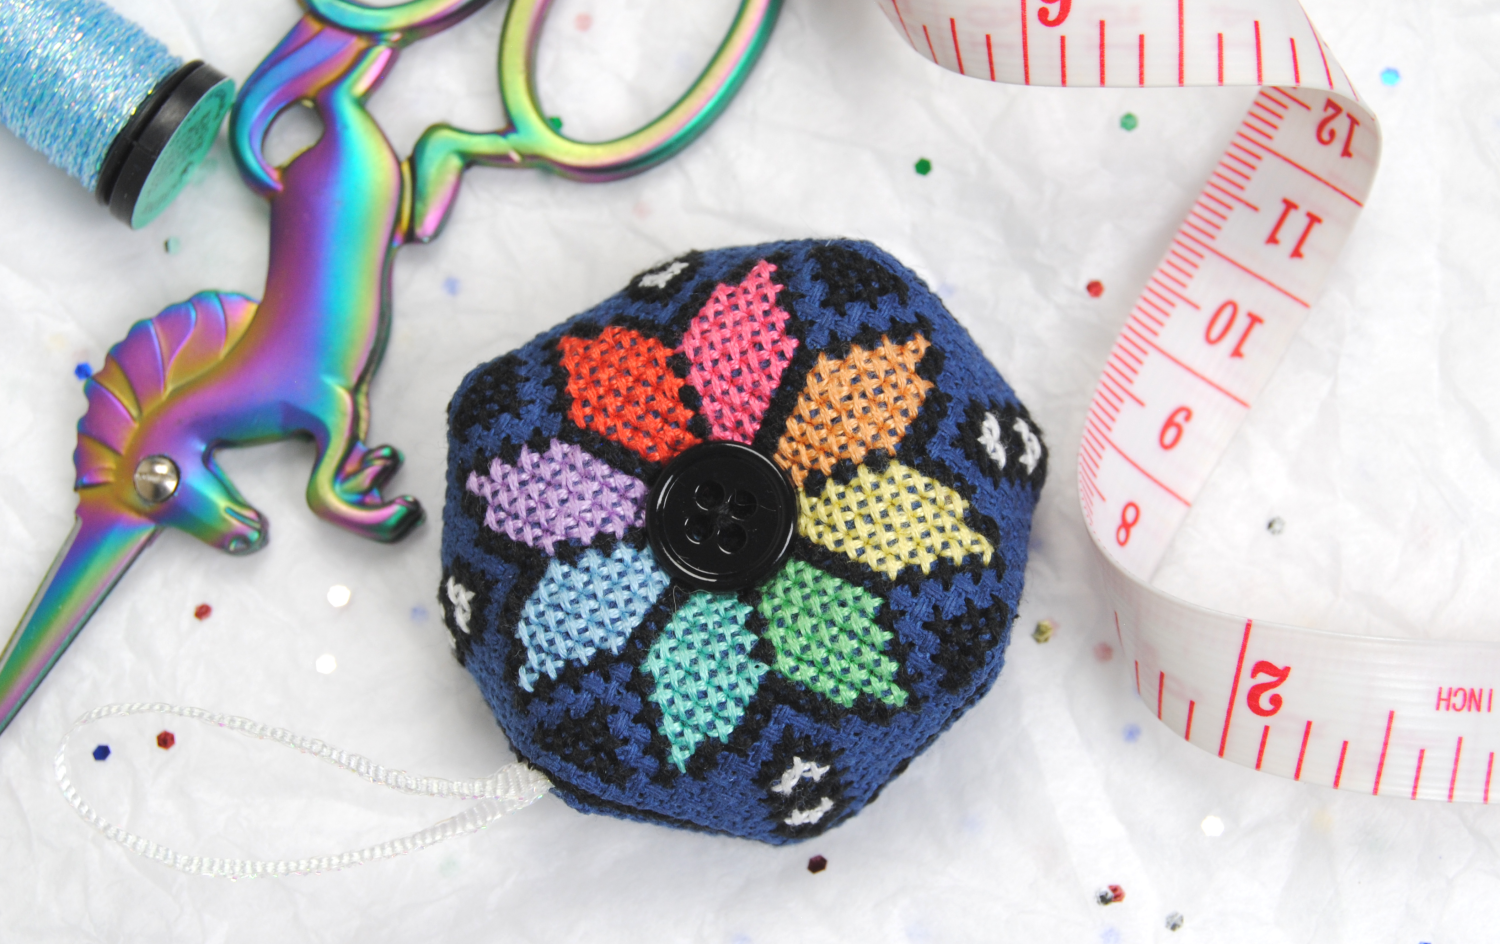
Decorative buttons
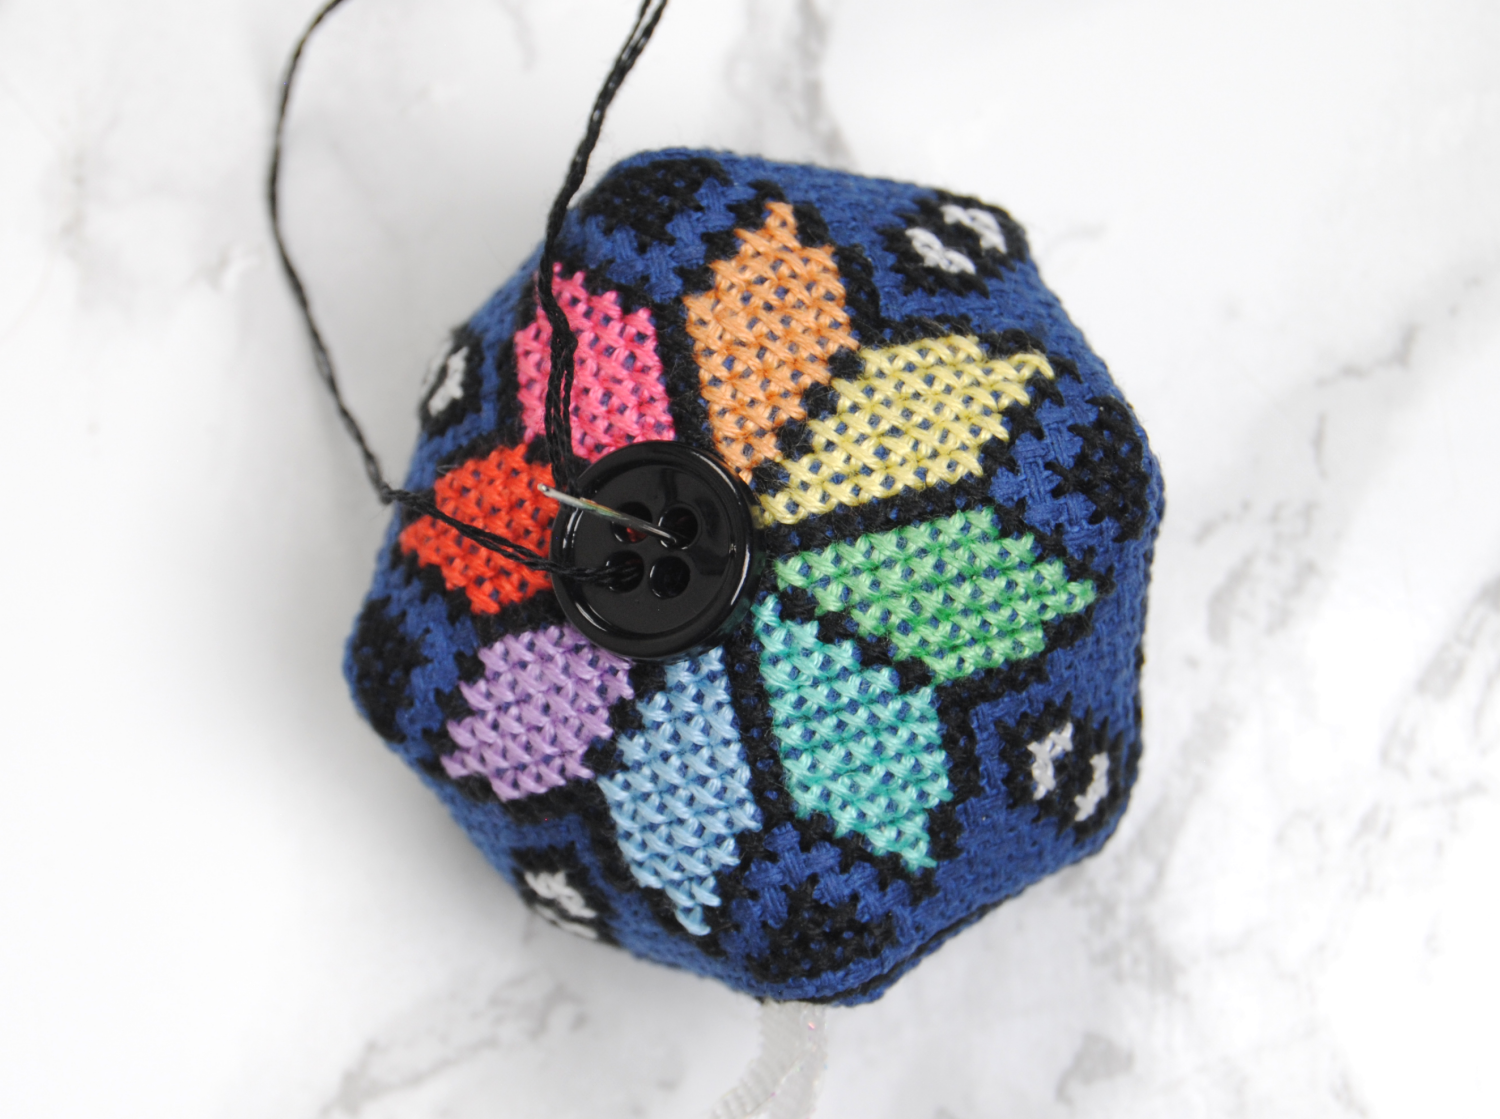
Then when you go back through run the needle between my two strands on the bottom to secure it. You could also use the loop start method for this instead of a knot.
Then attach the bottom button as well. Again, you don’t have to attach a button, but they can be a cute addition to your design.
You’ve now finished your first biscornu! Fair warning, they can get pretty addictive.
Once you’ve mastered the basic biscornu, maybe try your hand at a more advanced technique. You can make them with 15 sides! And then inverted. Or you could simply find new ways to embellish them, such as adding scalloped bead borders along the sides. Let your creativity go wild!