Fabric Ornament – Make your own Cross Stitched Lens Baubles
Hello again! I’m doing another Christmas ornament this week for you all. I already had all the materials on hand after last week’s quilted balls tutorial, so I went ahead and tried a different style. This time, we’re making another fabric ornament style that divides your ball into quarters or eights.
As before, I did not invent this technique. Like you, I searched for online tutorials to learn this technique. I found many different suggested methods and took tips from each that made sense to me and put them together. I’m documenting what I did for you all, but will link to the tutorials I used at the end. That way you can see some other perspectives and adjust your own process as needed.
This post may contain affiliate links. If you buy something using one of these links, I earn a small commission. However, there is no extra cost to you. Thanks for understanding! Learn more in my Disclosures & Privacy Policy.
Table of Contents
Materials
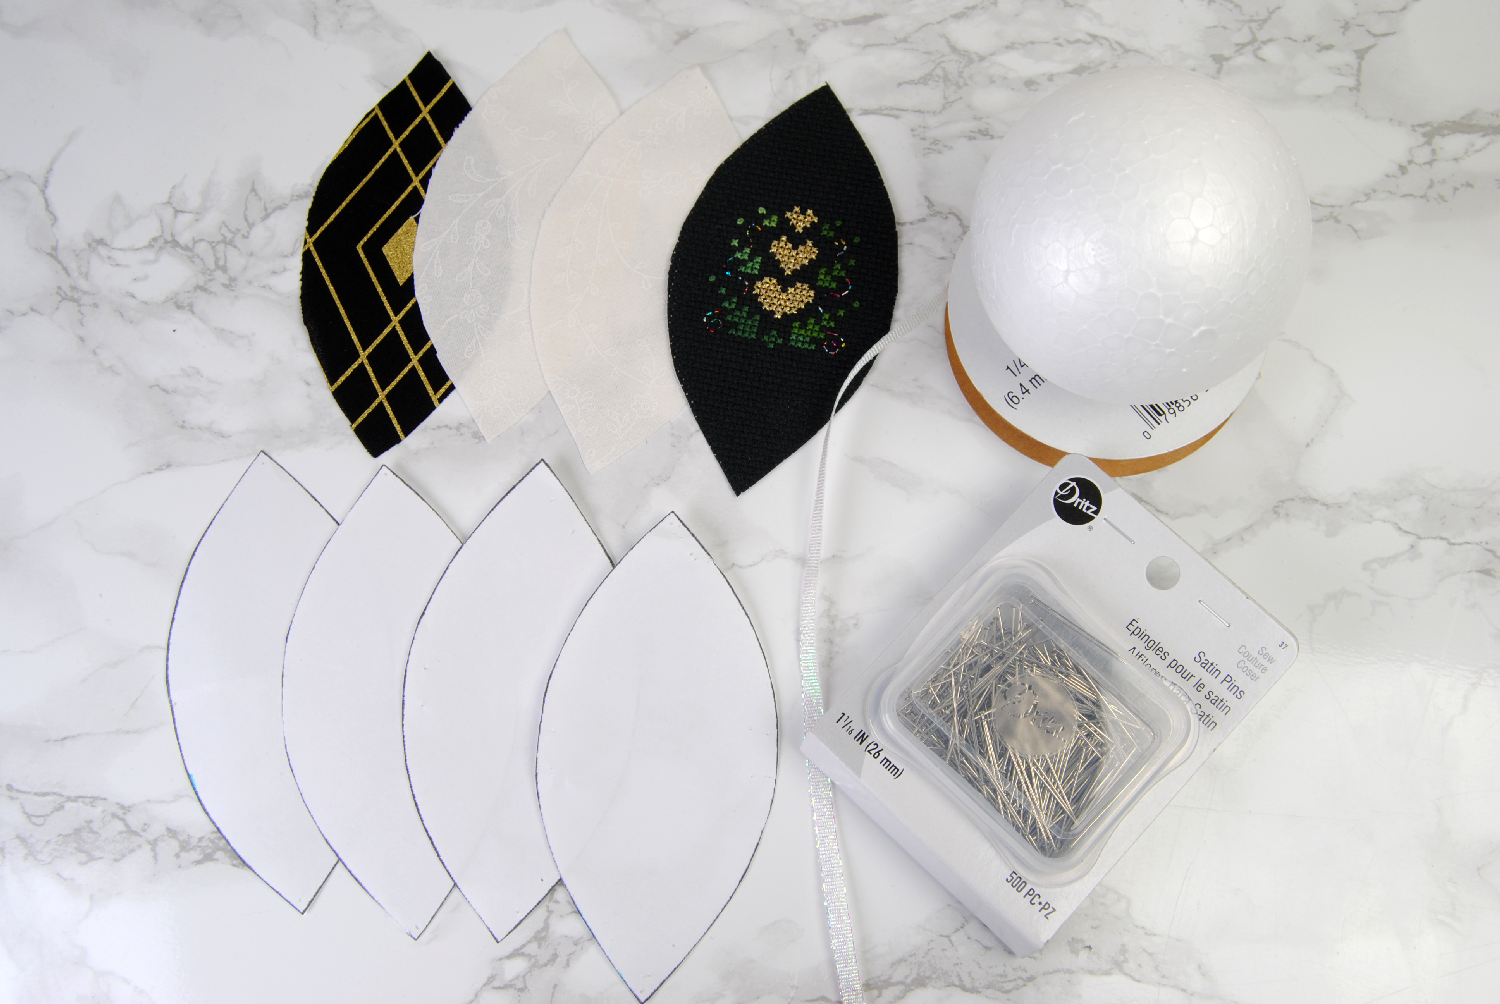
- Foam balls – I used 3″ (7.62cm) balls, but these can be done at any size. You’ll need to adjust your fabric templates accordingly.
- Straight Pins – Sometimes called Satin pins or Dressmaker pins. I used these to hold the fabric in place while I tucked it in. Not strictly necessary, but definitely useful.
- Fabric – I cut some lenses from some fat quarters I had laying around. Really, any fabric will do.
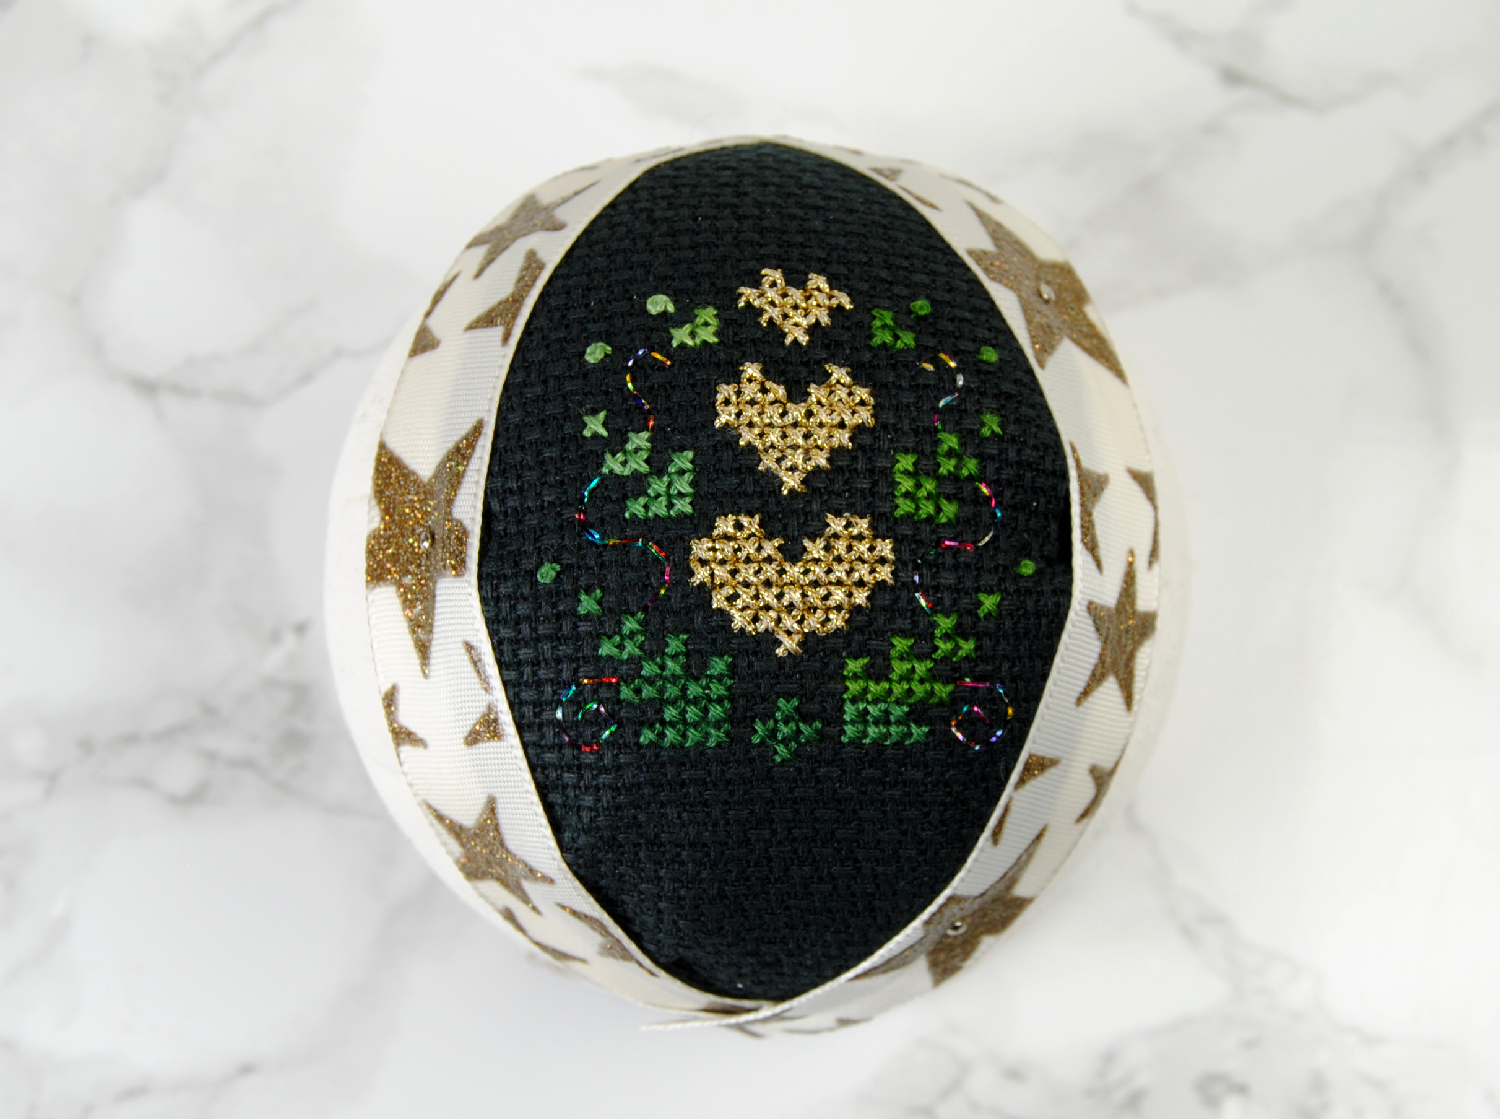
- Cross Stitch design – This should be a relatively small design. I only divided my ball into quarters, and my design was pretty snug at 28 stitches wide.
- Ribbon – As before, I used a 5/8″ (15mm) ribbon to hide my seams. This time with gold stars! I also used a 1/4″ (6mm) iridescent ribbon for the decoration on top.
- Lens template – I found this very useful set of lens templates; they have options for quarters, sixths, or eights. Be sure to adjust the pattern depending on the circumference of your ball.
- Knife – I used an exacto knife. In other tutorials I have seen people use the tips of scissors, butter knifes, and other such tools. Feel free to improvise.
Picking a Cross Stitch pattern
As before, my main concern is adapting these traditional methods to incorporate cross stitch. Since you can choose to divide up your foam ball several ways, the size will vary.
That said, measuring my 3″ (7.62cm) ball, I found it to have a circumference of just over 9 1/2″ (24cm). I planned to divide it into fourths so I’d have as much room for my cross stitch as possible. This way, each lens would be nearly 2.4″ (6cm) wide.
To make sure I had a little wiggle room, I narrowed down to 2″ . This was the perfect size for the 28-stitch design from my pendant tutorial. You can get it for free in that tutorial.
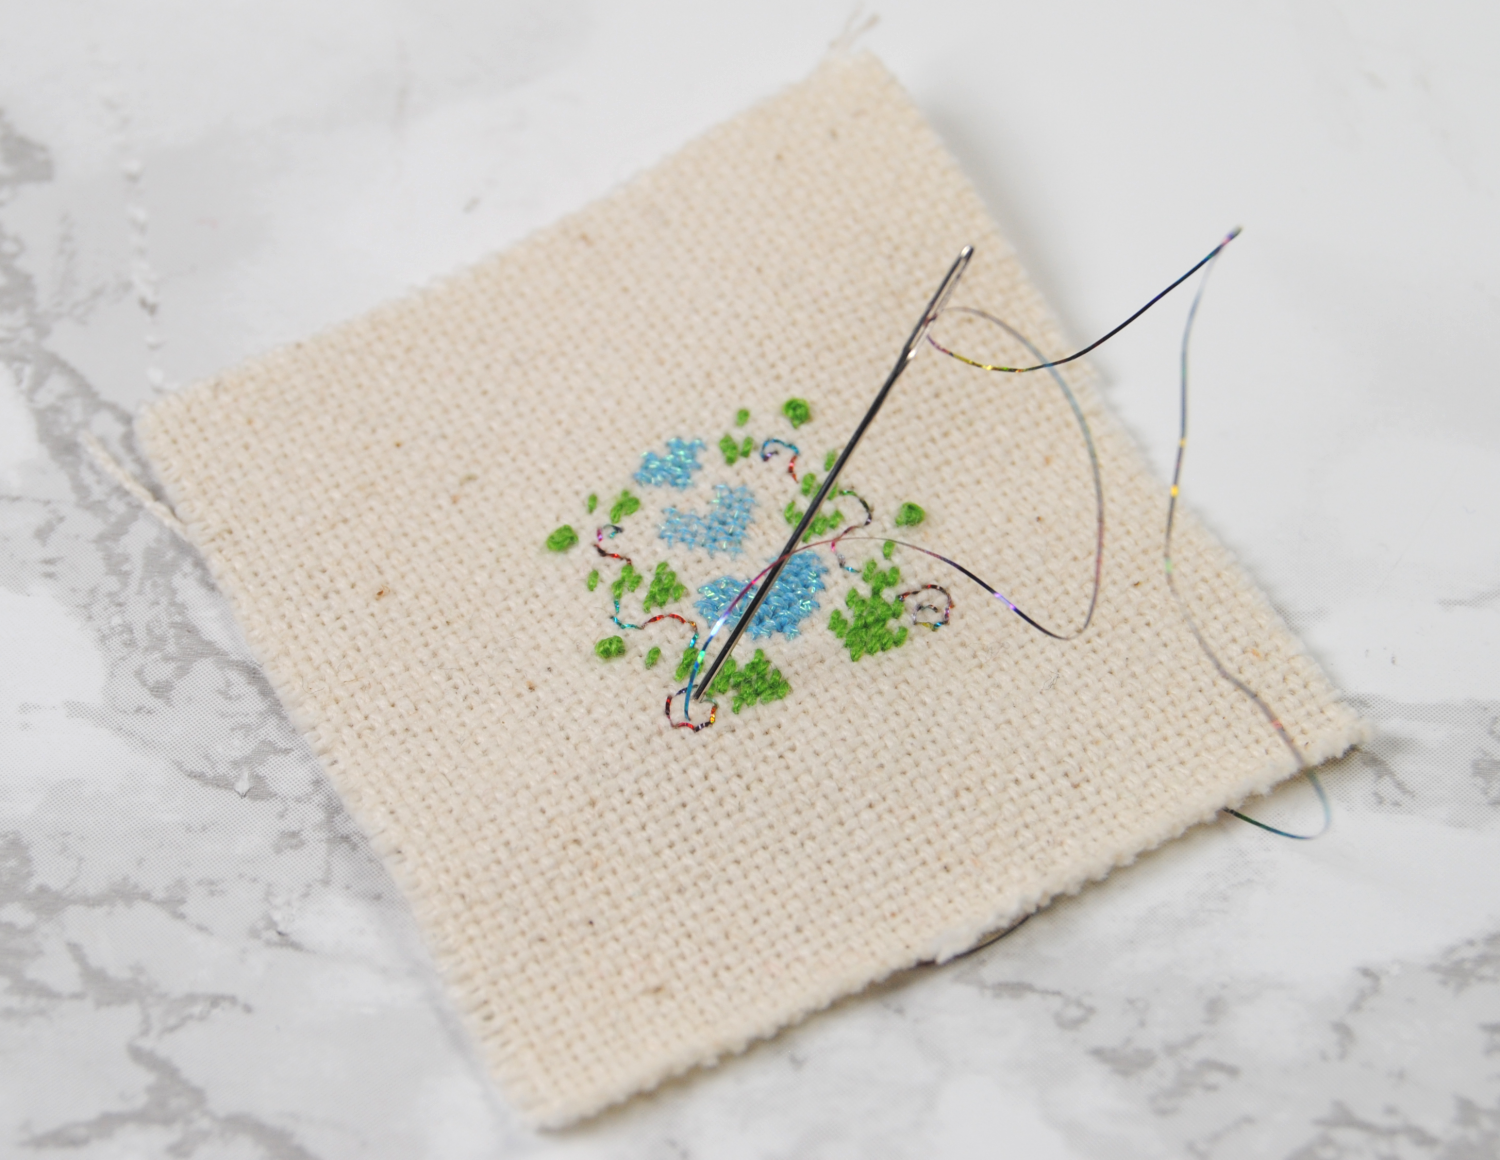
On 14 count fabric, this makes for a nice 2″ wide design that fit my lense perfectly. If you needed to fit in a larger design, you could use a higher count fabric as neeeded.
Cutting your fabric
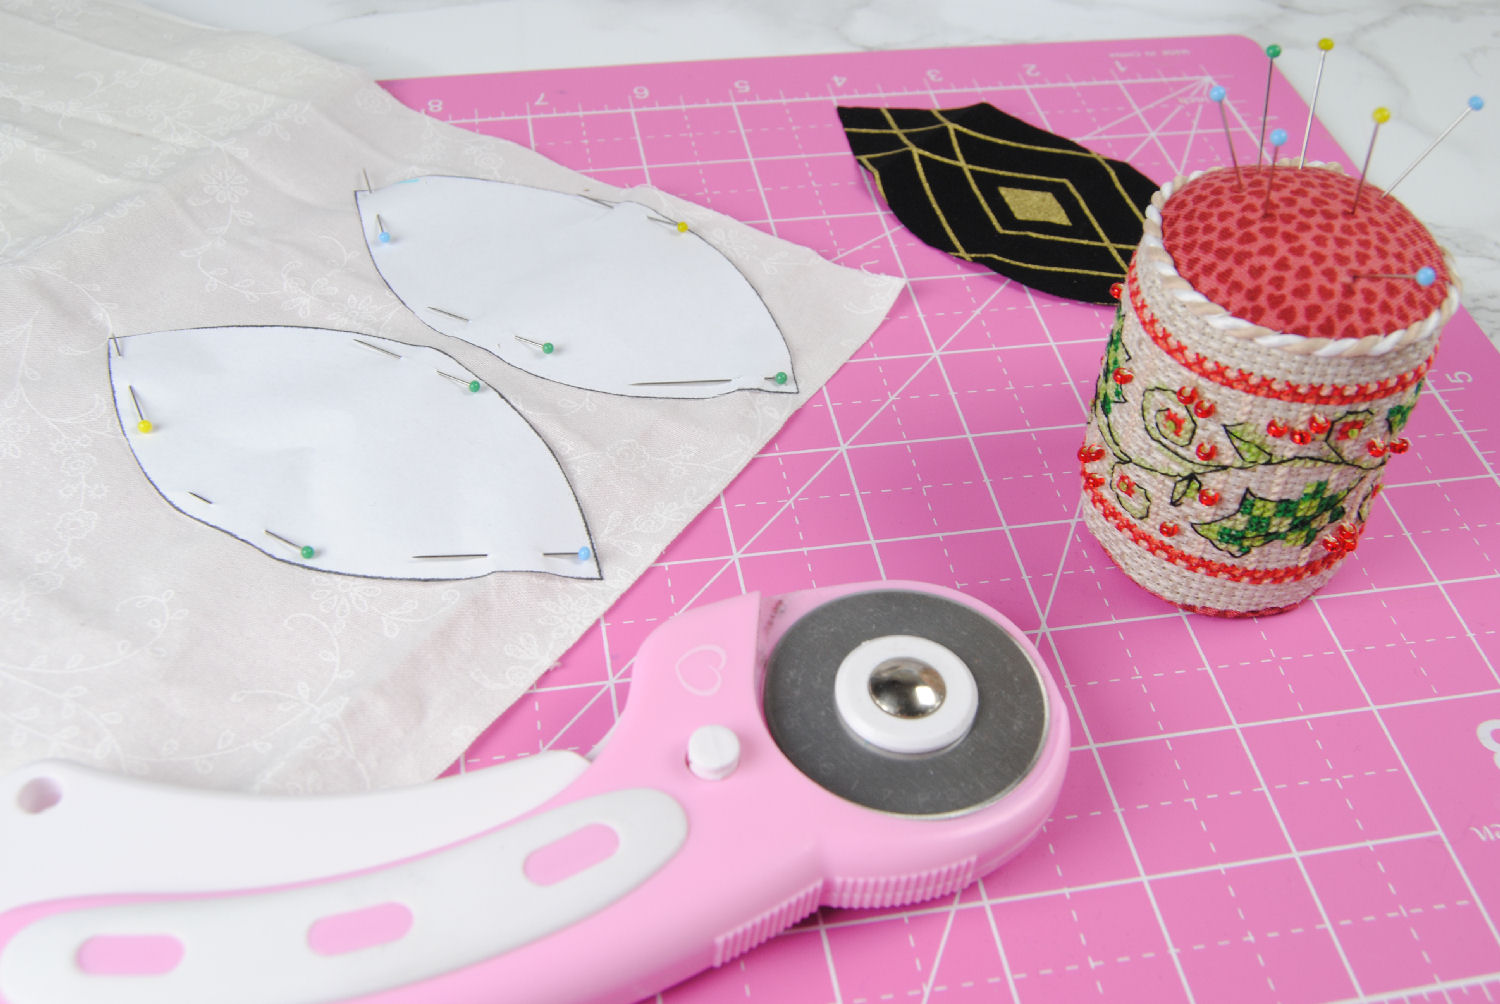
This part varies from tutorial to tutorial. Some just have you cut out large rectangles and you’ll cut away the excess later. Another had you make the template by tracing your ball onto paper. In the materials list I linked to some pre-made templates I printed out to use in mine.
Definitely check out the other tutorials to see which method works best for your particular project.
I will note that my black aida was particularly stiff. I wasn’t too concerned with it fraying and simply cut it to size. If your cross stitch is on a fabric more prone to unraveling at the edges, you may want to cut it larger than you think you’ll need. You can trim it down once it’s been neatly tucked into the foam.
Planning out your lenses
The first thing I did was pin my fabric lenses into place so I could see how they fit together and if I needed to change their size or position.
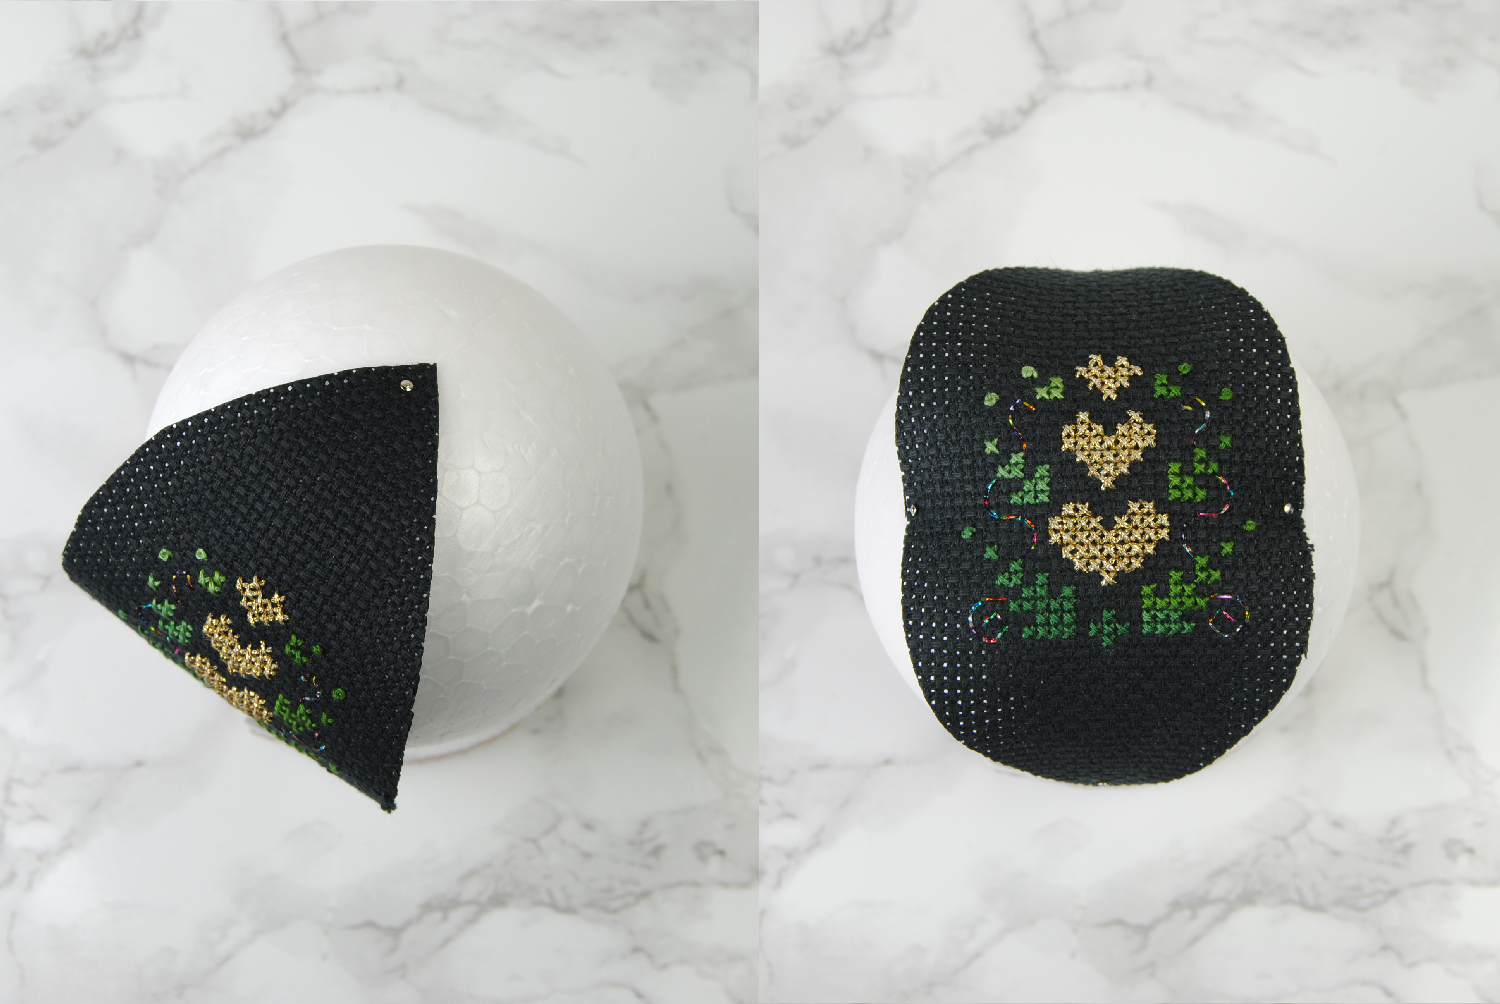
This is where those straight pins come in handy. Don’t worry about whether or not it lies flat, the gaps are expected.
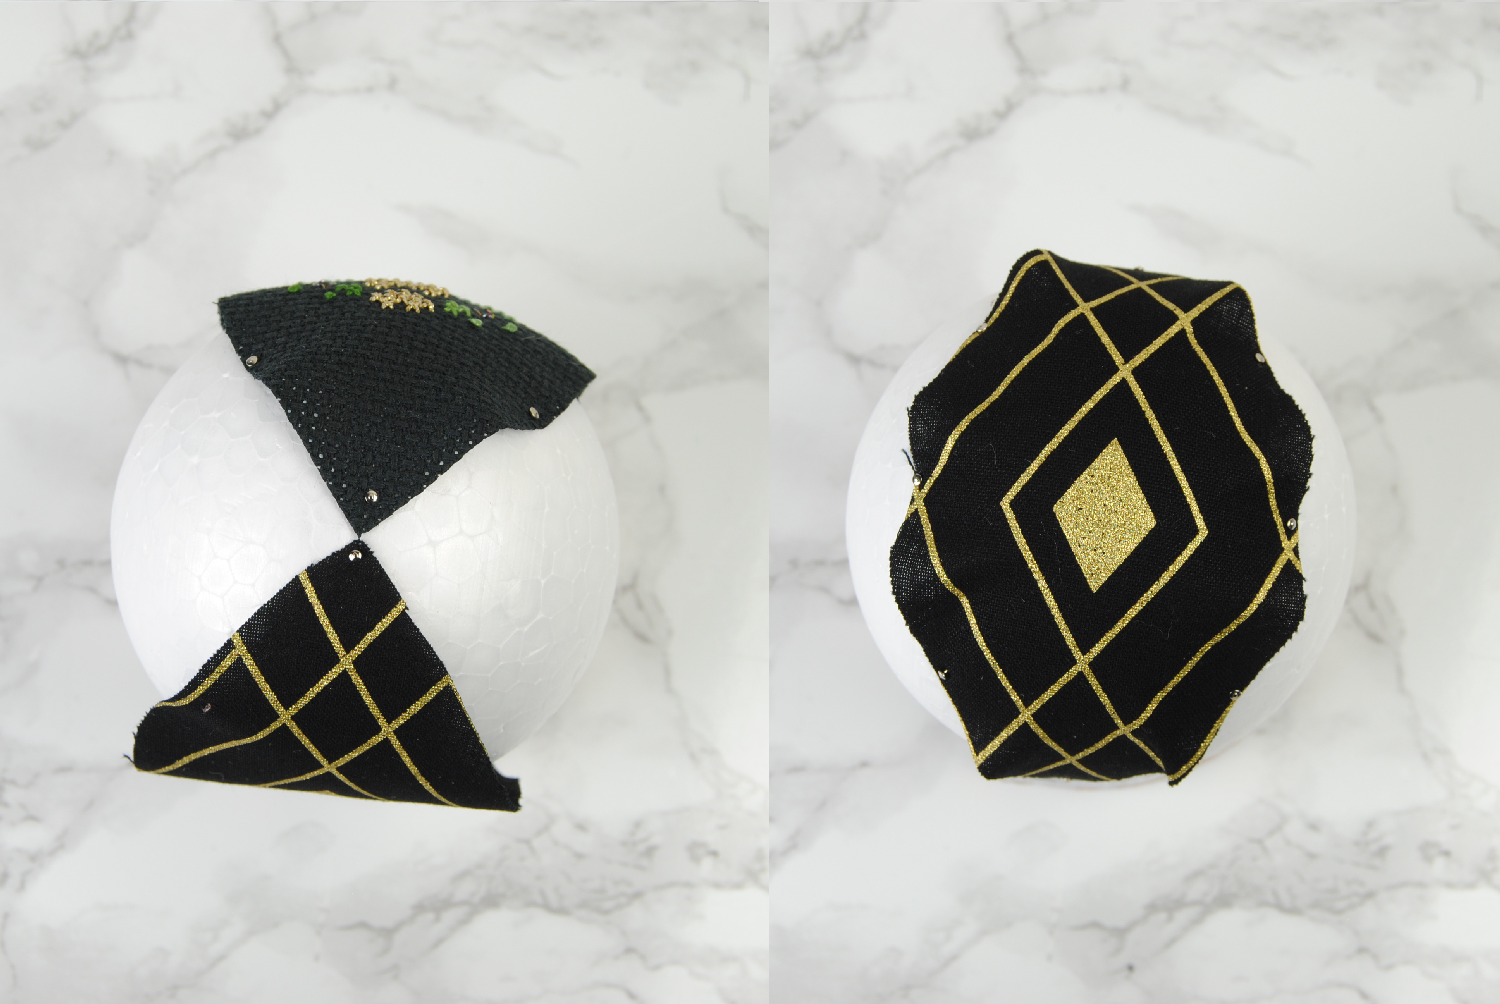
I put the opposite piece down next, making sure the tips lined up on both sides of the ball.
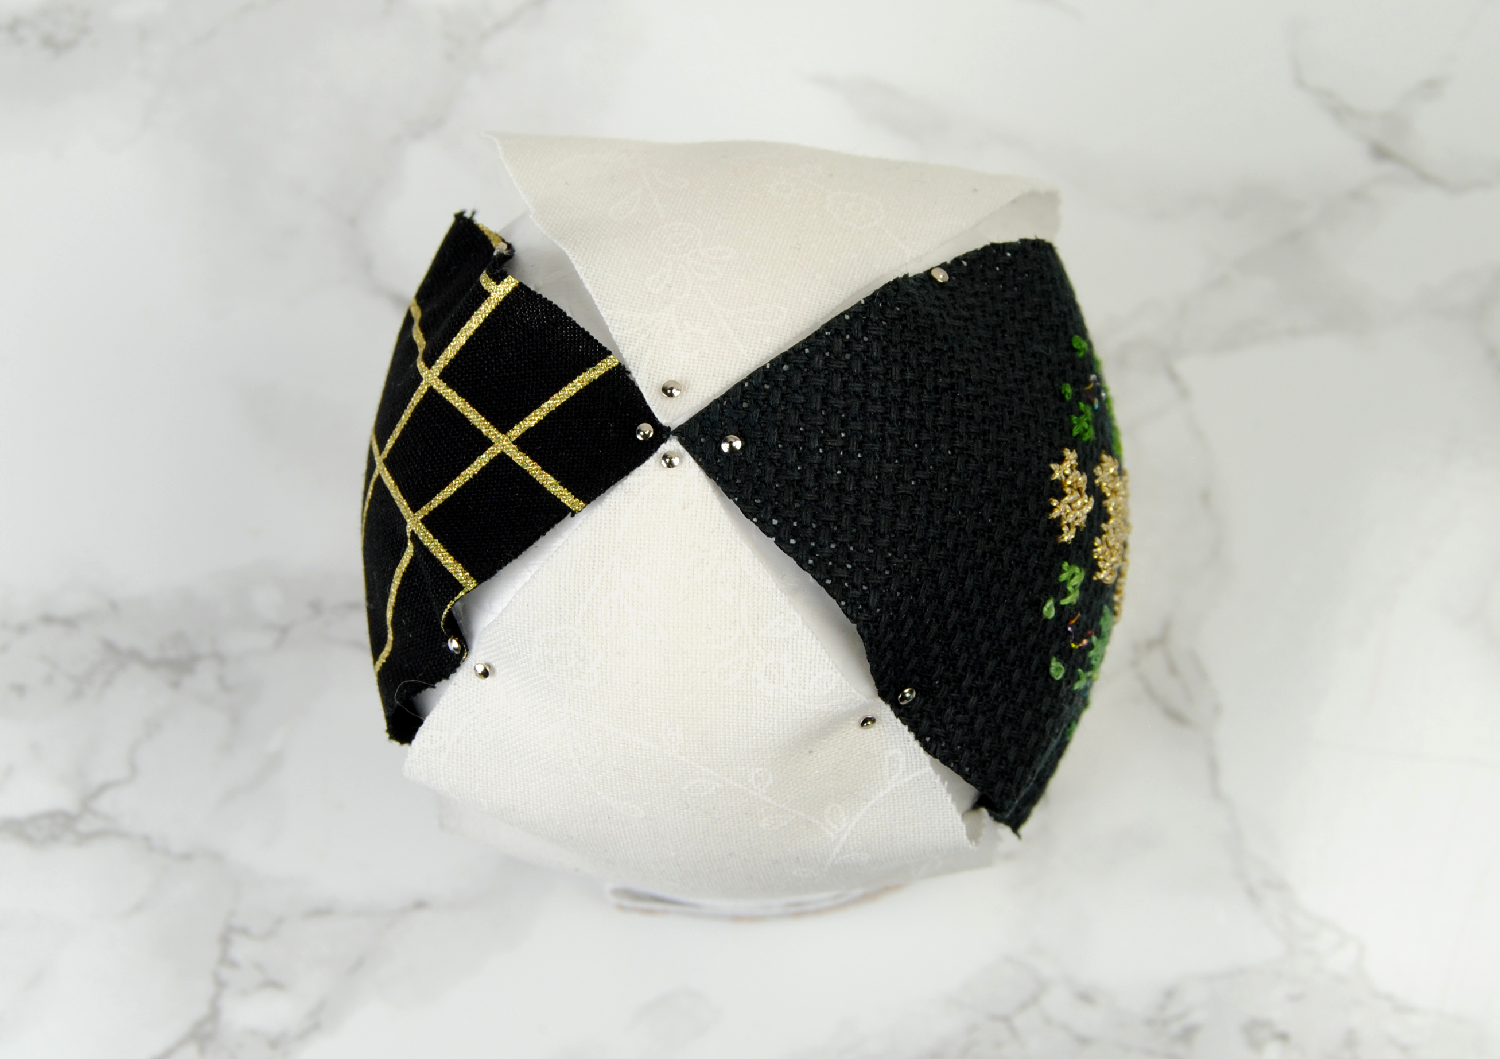
Lastly I made sure the other two sides fit as expected. They’re a little small, but that gap will be covered by ribbon anyway so it’s fine. This also gave me a look at the overall fabric ornament and one more chance to swap out fabrics if I didn’t like how it looked.
Tuck in the fabric
I had an exact knife handy for this next step, but you could easily use a number of things for this. The foam didn’t require much pressure to create a solid groove to tuck the fabric in.
In fact, this particular blade was incredibly dull and managed to push everything into the groove without cutting through the fabric at all.
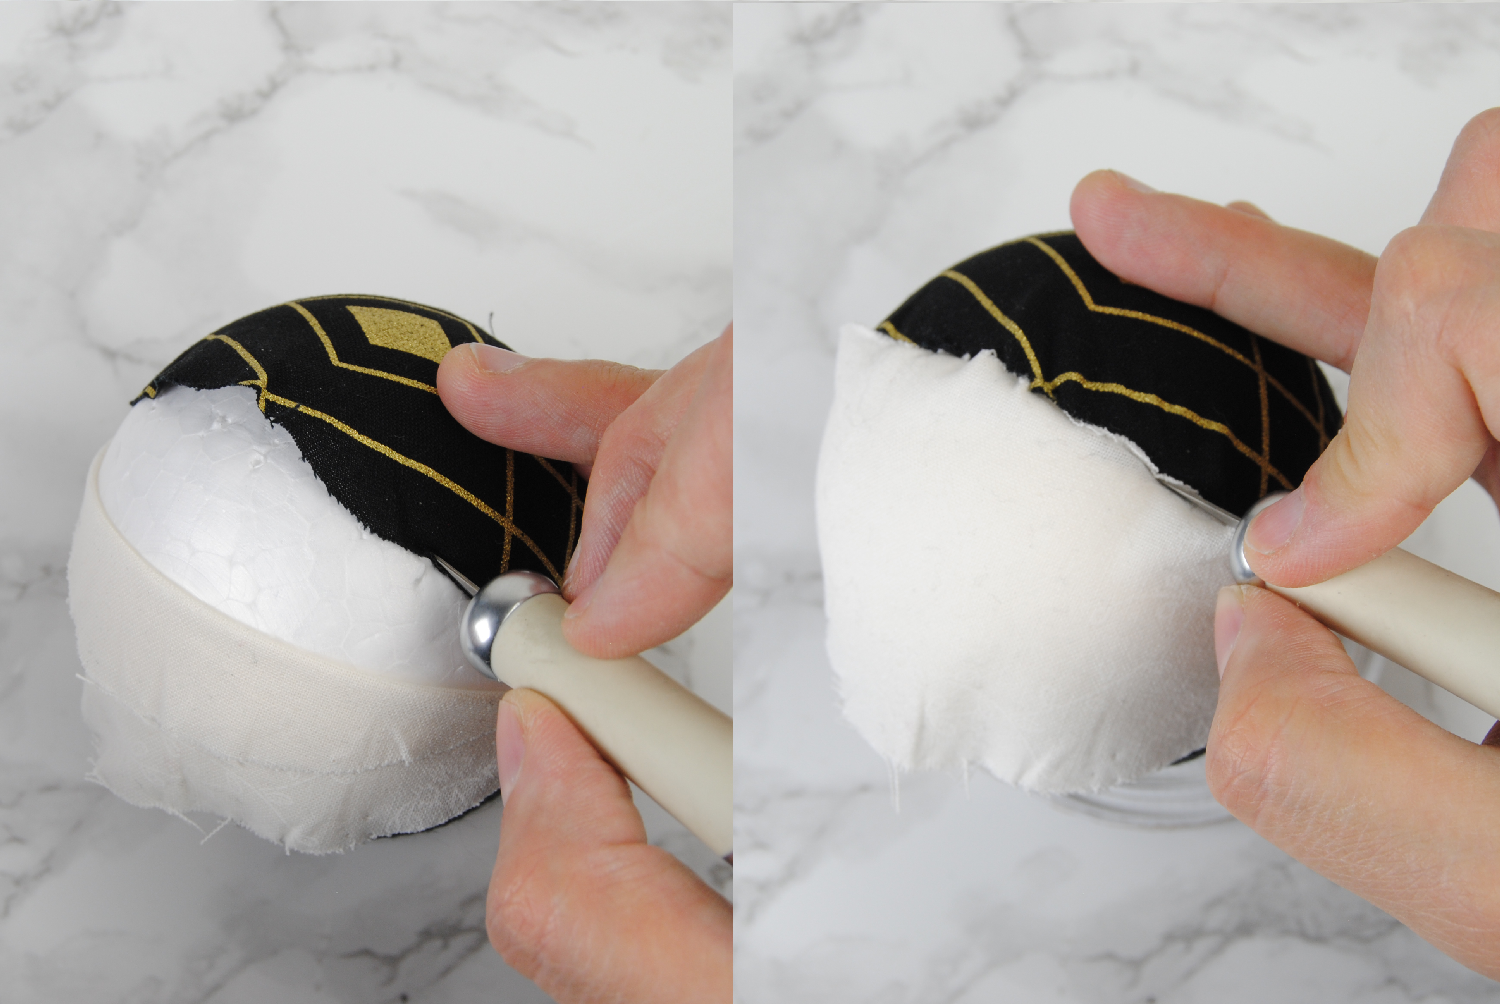
Essentially, the idea is to tuck the wavy edges of the fabric into the foam. That way you have a much smoother surface along the curve of your ball.
I struggled with this a bit and kind of forgot to take decent pictures along the way. The main thing I learned is that it doesn’t have to be tidy. I’ll be covering it up anyway.
In fact, once I’d tucked in the two sides across from each other, I covered it with ribbon before even moving on to the other two sets. You may notice this in the photos below.
Hiding the seams
Pinning my ribbon at the top, I wrapped it around the fabric ornament. Carefully hiding my crudely tucked seams in the process.
I probably could’ve used a darker ribbon so the black fabric wouldn’t shine through as much. But it doesn’t bother me too much, so I kept it as is.
When I got to the top, I folded the ribbon at an angle as if I was going to wrap the other half with the wrong side facing up. Then I folded it back across to make a semi seamless 90 degree turn. Hopefully the photos below show this turn well enough.
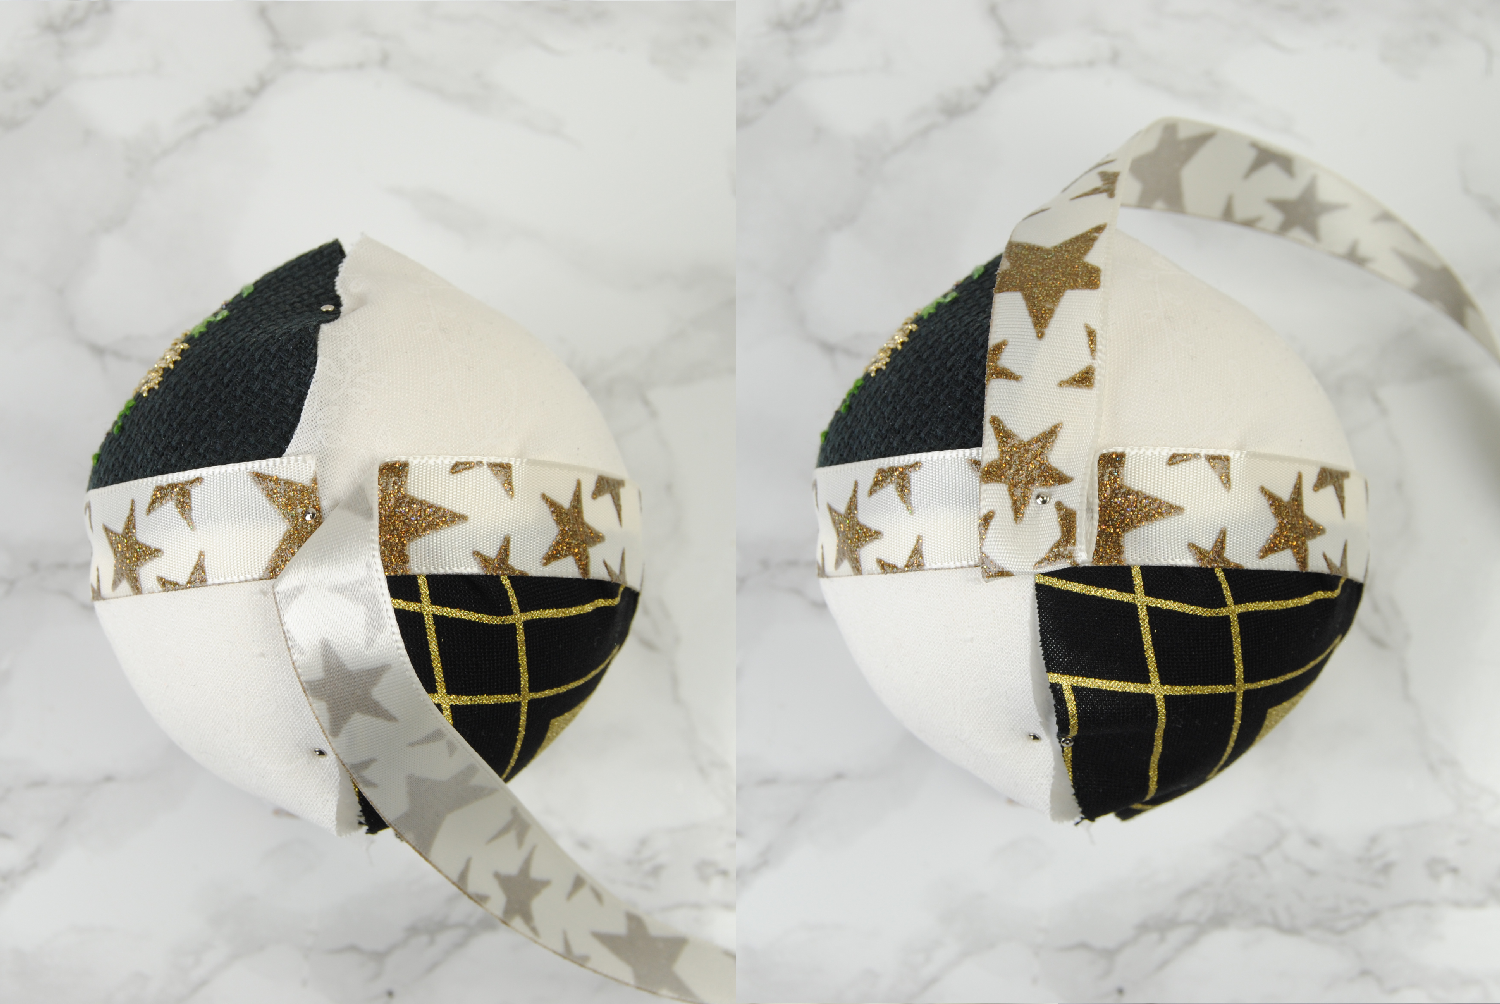
I then tucked in the remaining edges of my fabric, reclaiming my pins as I went to pin the ribbon in place over the seams instead.
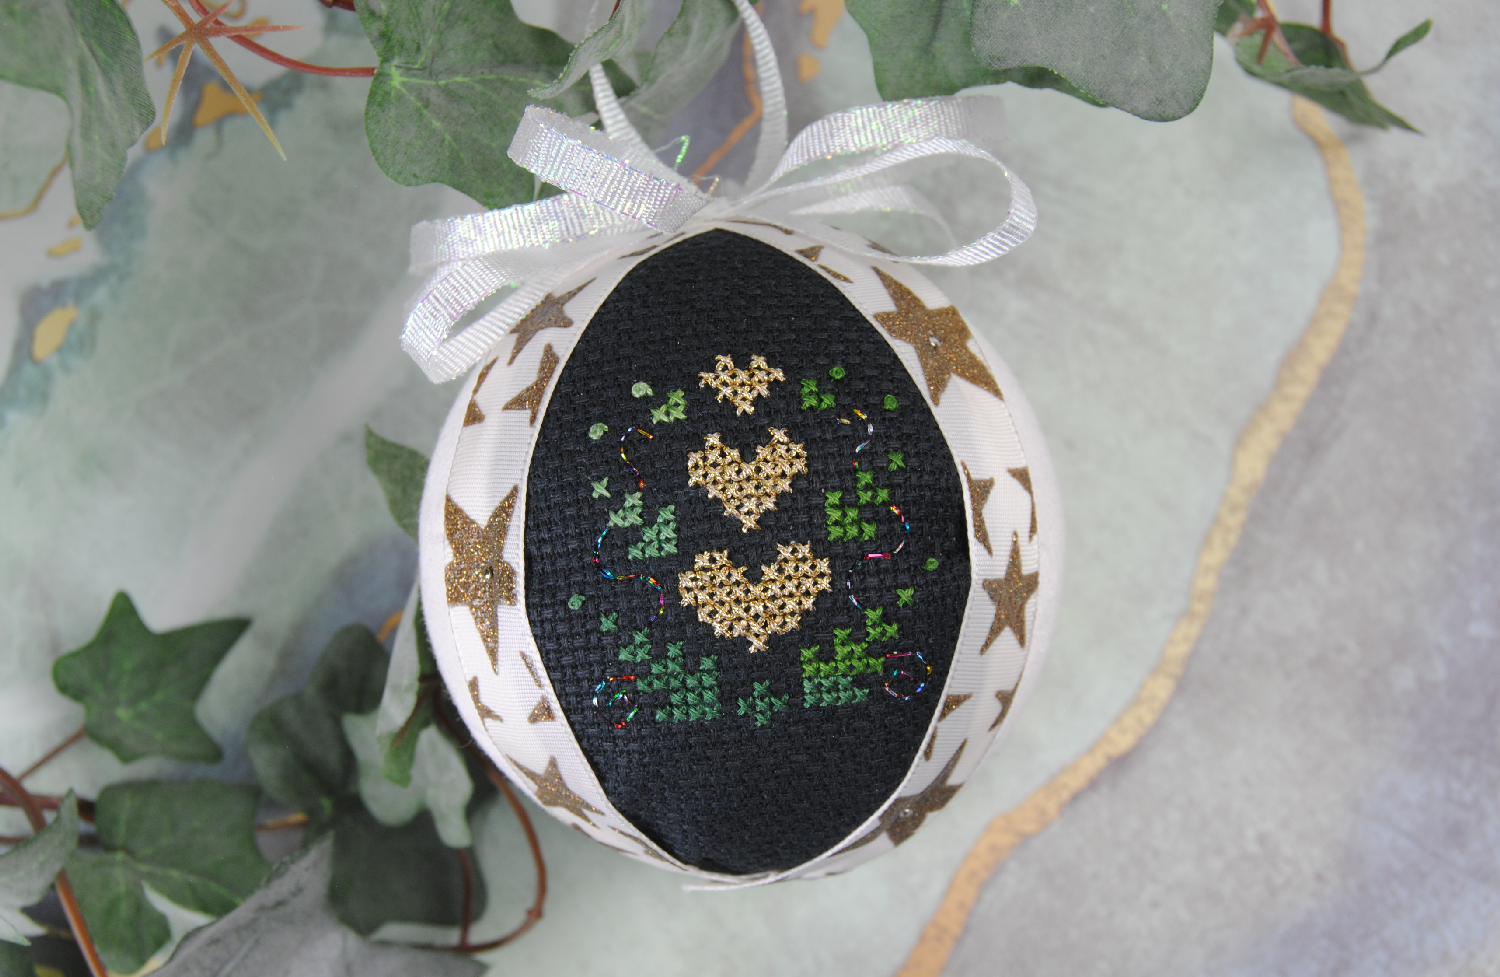
Finishing your fabric ornament
At this point I was running out of my allotted craft time, and hastily made a bunch of loops of the iridescent ribbon and plonked it on top unceremoniously.
But you know what? I still love how this fabric ornament turned out. I know this wasn’t as in-depth a tutorial as I usually try to do, but I hope it inspired you to try your own baubles this year.
References used
As I mentioned earlier, I mostly followed tutorials to get this far. I’d like to share them with you now and give them the credit they deserve. Please do check them out as they all do things a little differently and some of their methods might make more sense to you than my example.
Adornos Navideños con Porex – Okay, this one’s in Spanish. Which I speak, but you may not. That said, google translate is a thing and the photos are very clear, so it’s still worth a look. Plus, bonus wreath tutorial! (scroll down halfway for the baubles.)
Tucked Fabric Christmas Ornament – One that doesn’t use a lense template at all and just kinda cuts the fabric to shape once it’s tucked in!
Christmas Craft Tutorial – Fabric Covered Polystyrene Balls – Video tutorial! Sort of. It’s really not. Just pictures with captions and no sound. But it does show you a method of making your own lense templates


