Biscornu Bottoms: Use Up Those Fabric Scraps
I don’t usually do anything special for my bicornu bottoms. Typically it’s just a blank piece of the same fabric I stitched the top with. Maybe something small in the corners. But as they tend to sit on my desk as pin cushions I don’t want much on the backside that will just be hidden anyway.
Especially when using expensive hand dyed fabrics. I don’t want to ‘waste’ that fabric on a bare biscornu bottom! So here’s an alternative I’ve seen around and a quick guide on how to accomplish it. Finish your biscornu with quilting cotton or whatever scrap fabric you have on hand!
This post may contain affiliate links. If you buy something using one of these links, I earn a small commission. However, there is no extra cost to you. Thanks for understanding! Learn more in my Disclosures & Privacy Policy.
If you’re not familiar with what a biscornu is, I have a tutorial on how to make a biscornu that covers the standard assembly process. They make great pin cushions, ornaments, satchets, and ring pillows. Once you’ve gotten the basics down, let’s move on to making your biscornu more unique!
Table of Contents
Materials
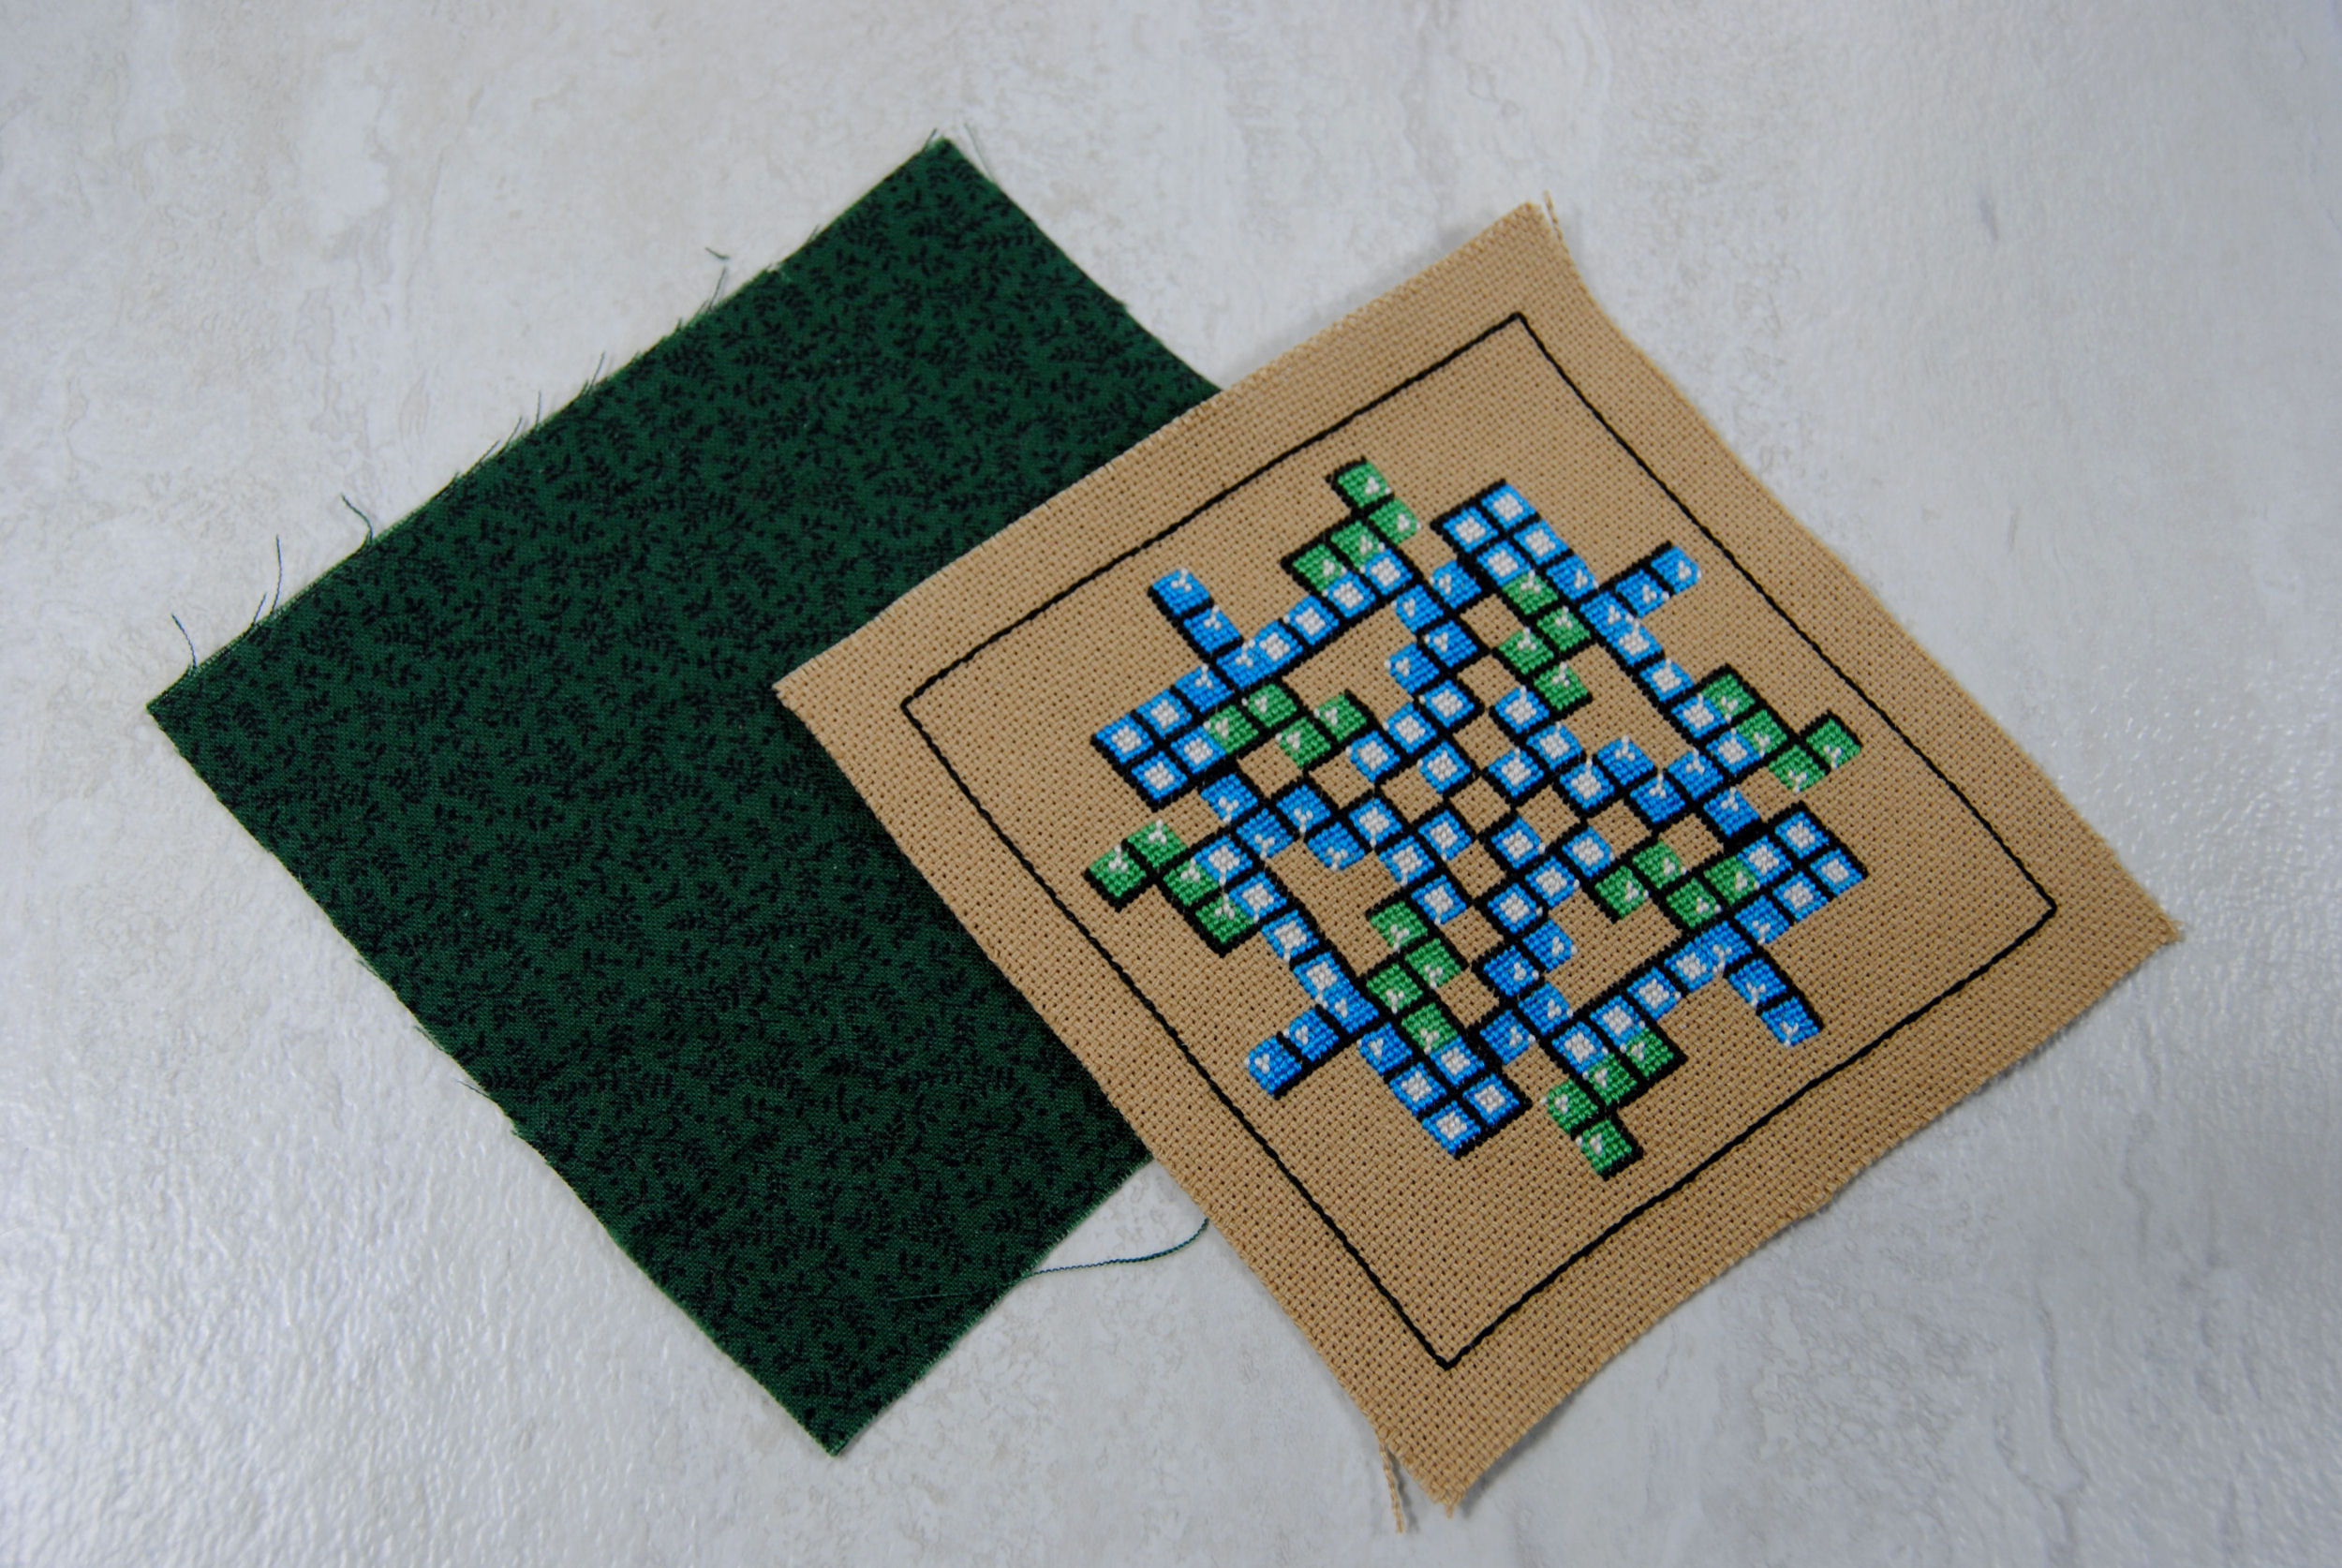
Much like a standard biscornu you’ll need a backstitch square with some form of cross stitched pattern within, cut out with a small fabric margin. Okay, technically you don’t. You could just do cotton fabric for both ends. But you’re on a cross stitch site so I’ll assume at least the top is cross stitched. Or possibly embroidered.
Either way, you’ll need a second square of your chosen backing fabric in the same size as your top design.
You’ll also need needle and thread, and optionally an iron. A decorative button or ribbon for hanging are also optional.
Ironing your backing
The first step is to resize your cotton square to fit the backstitch square on your top piece.
Lay your stitched top piece on the table and place on top of it the cotton square with right side facing down. Then fold in the edges until you match up with the backstitch square. It’ll look something like this.
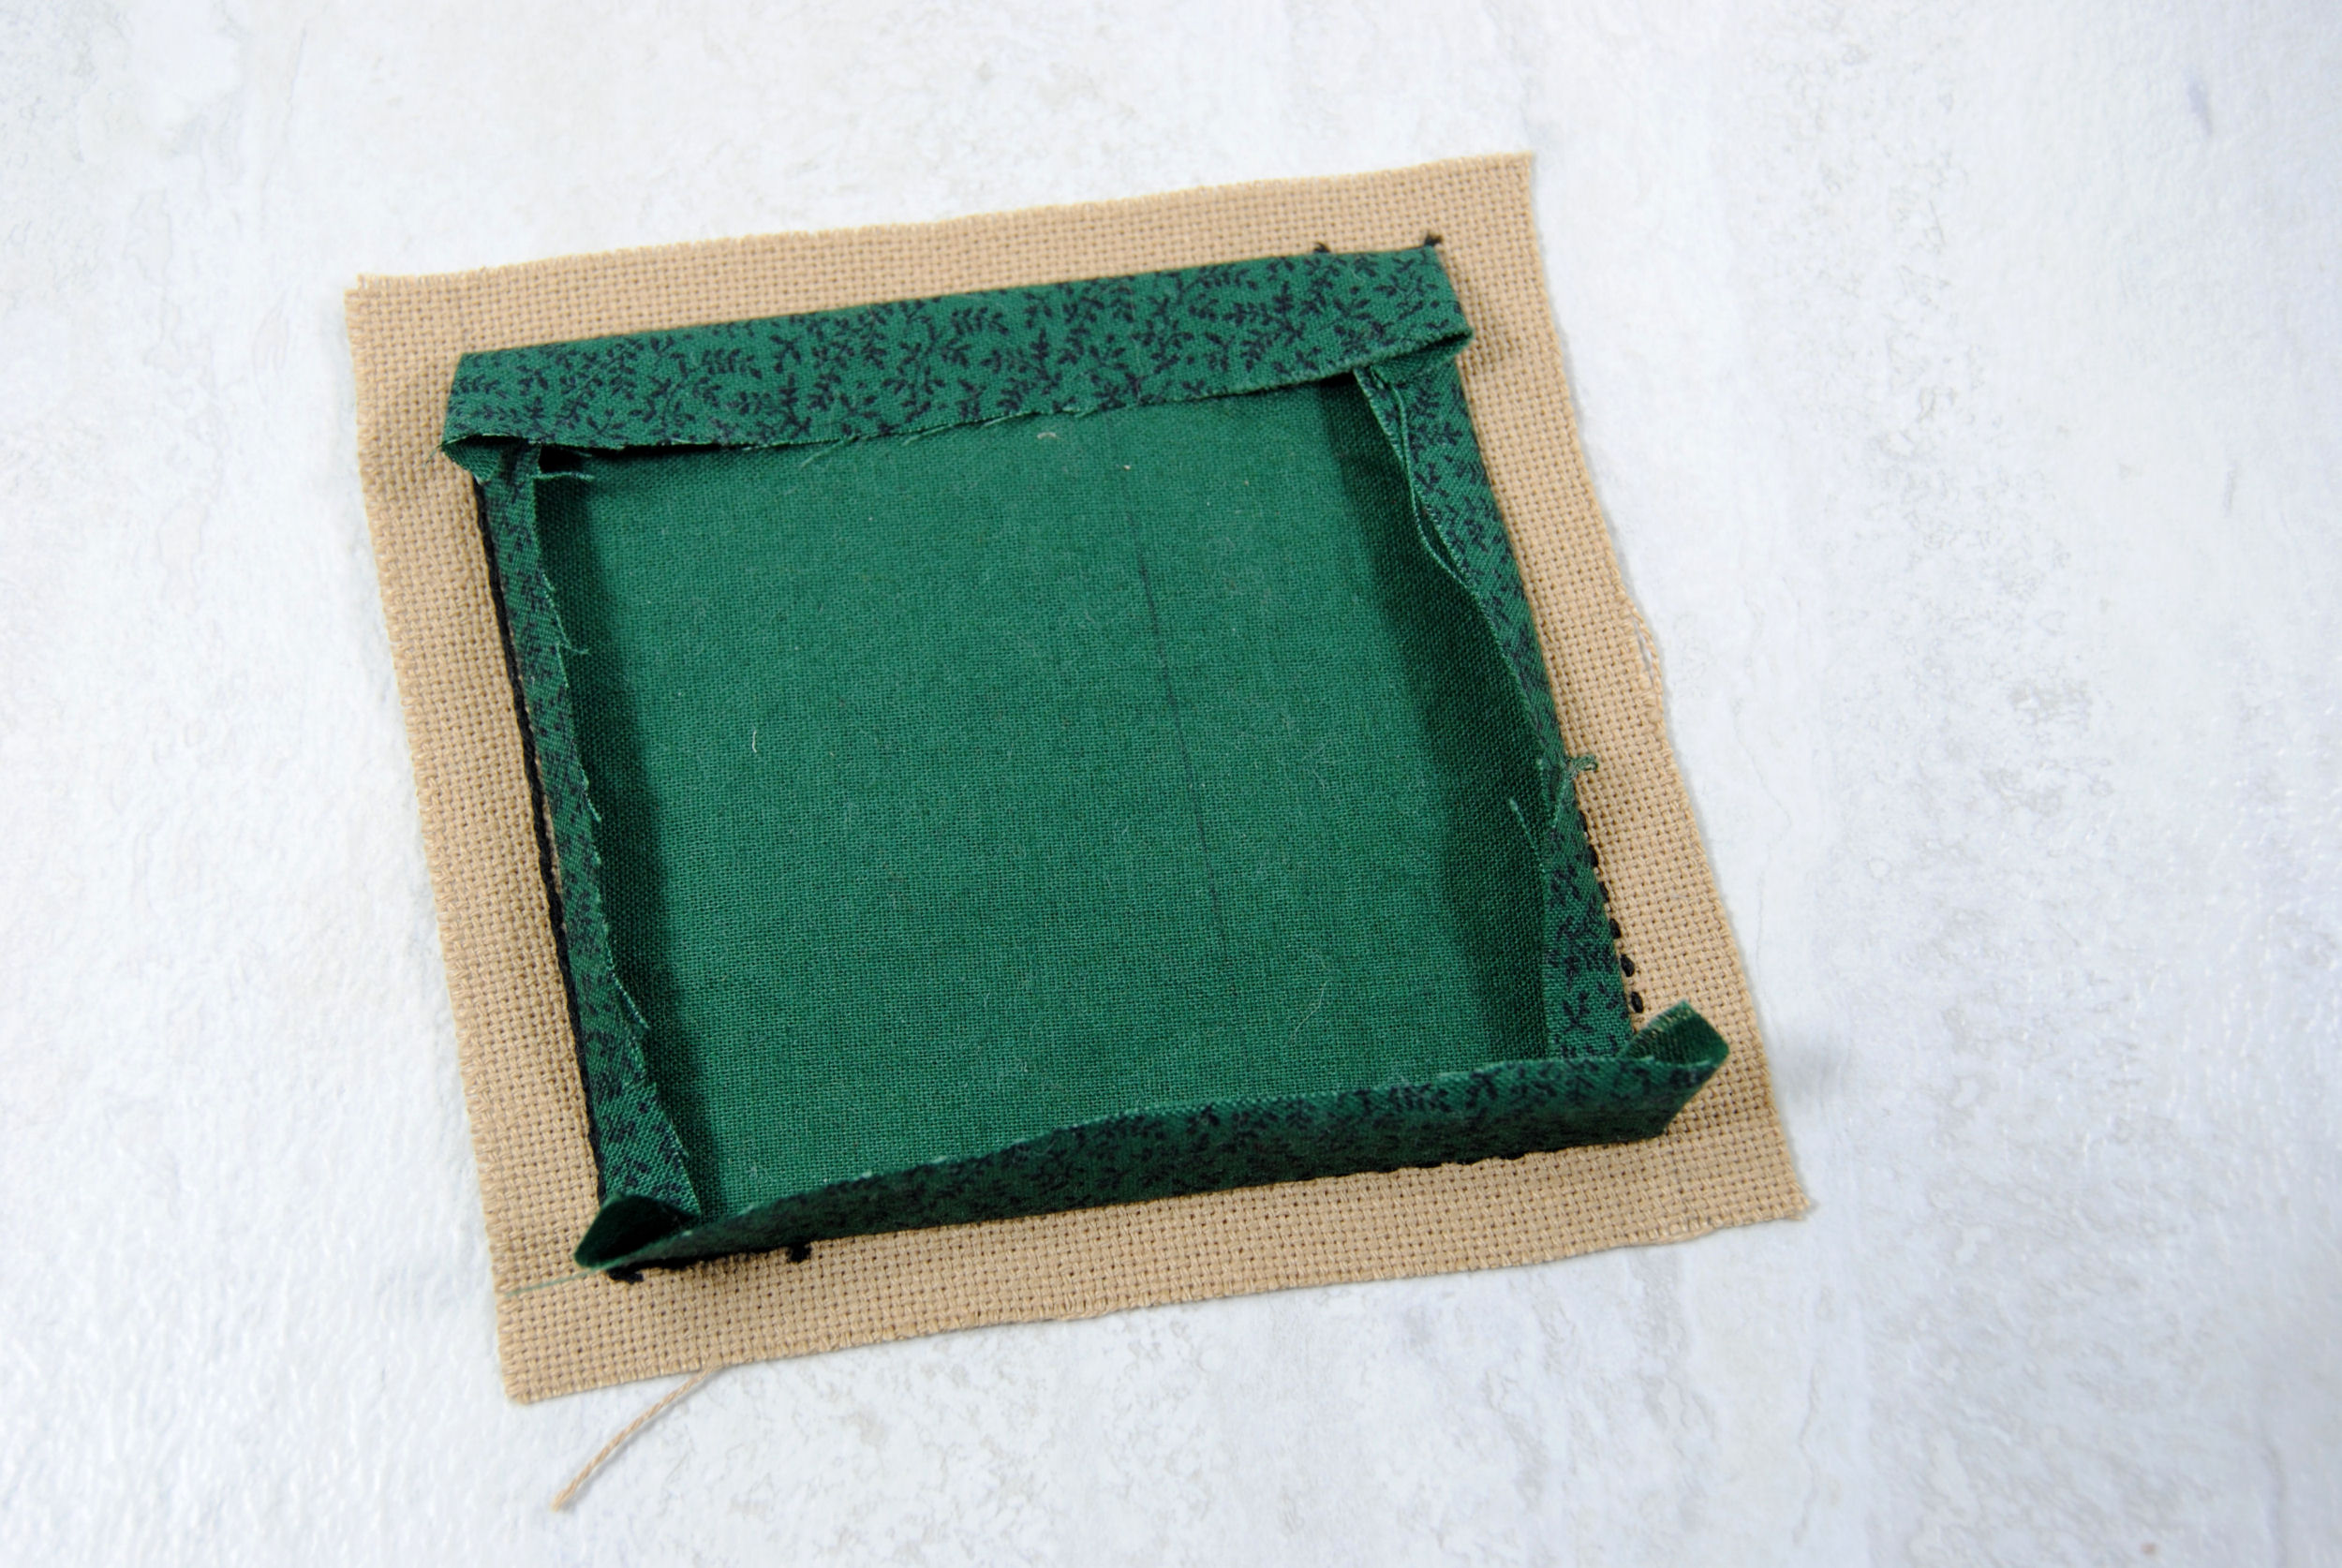
If you can, iron that crease to make it easier to work with. But you can also run your nail or a card across the edge to make that crease a little sturdier if you don’t have an iron on hand.
Starting to stitch
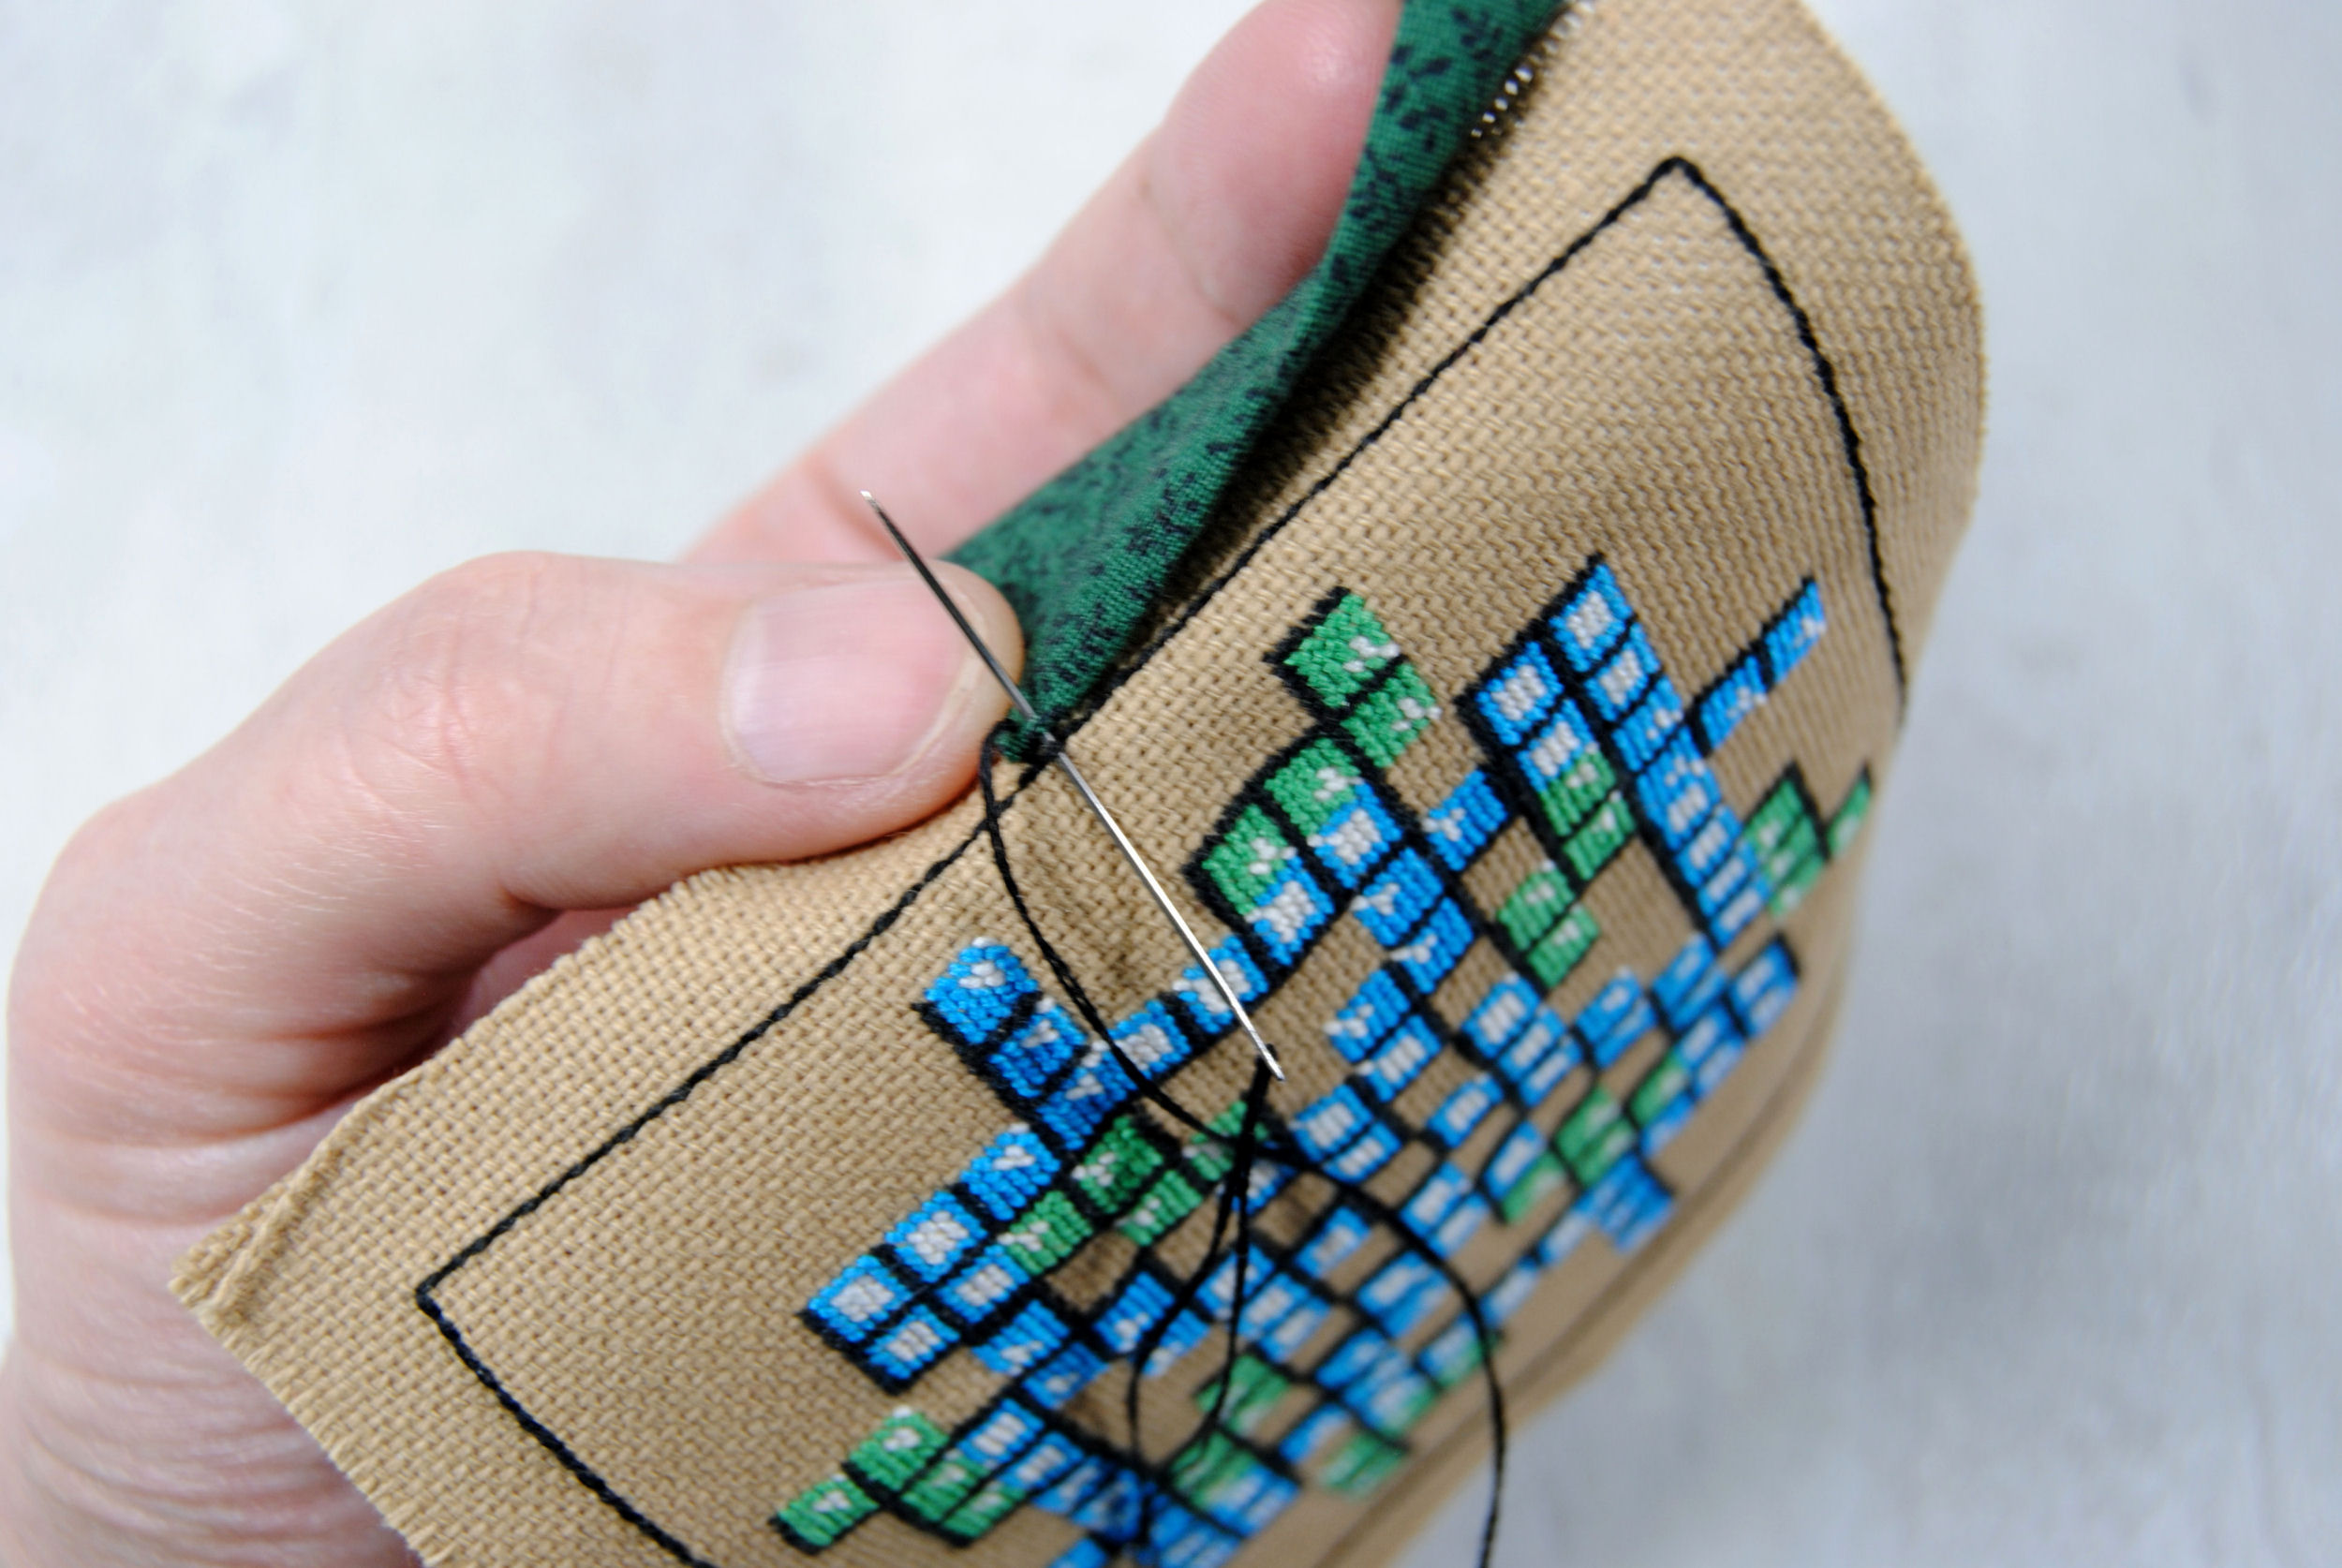
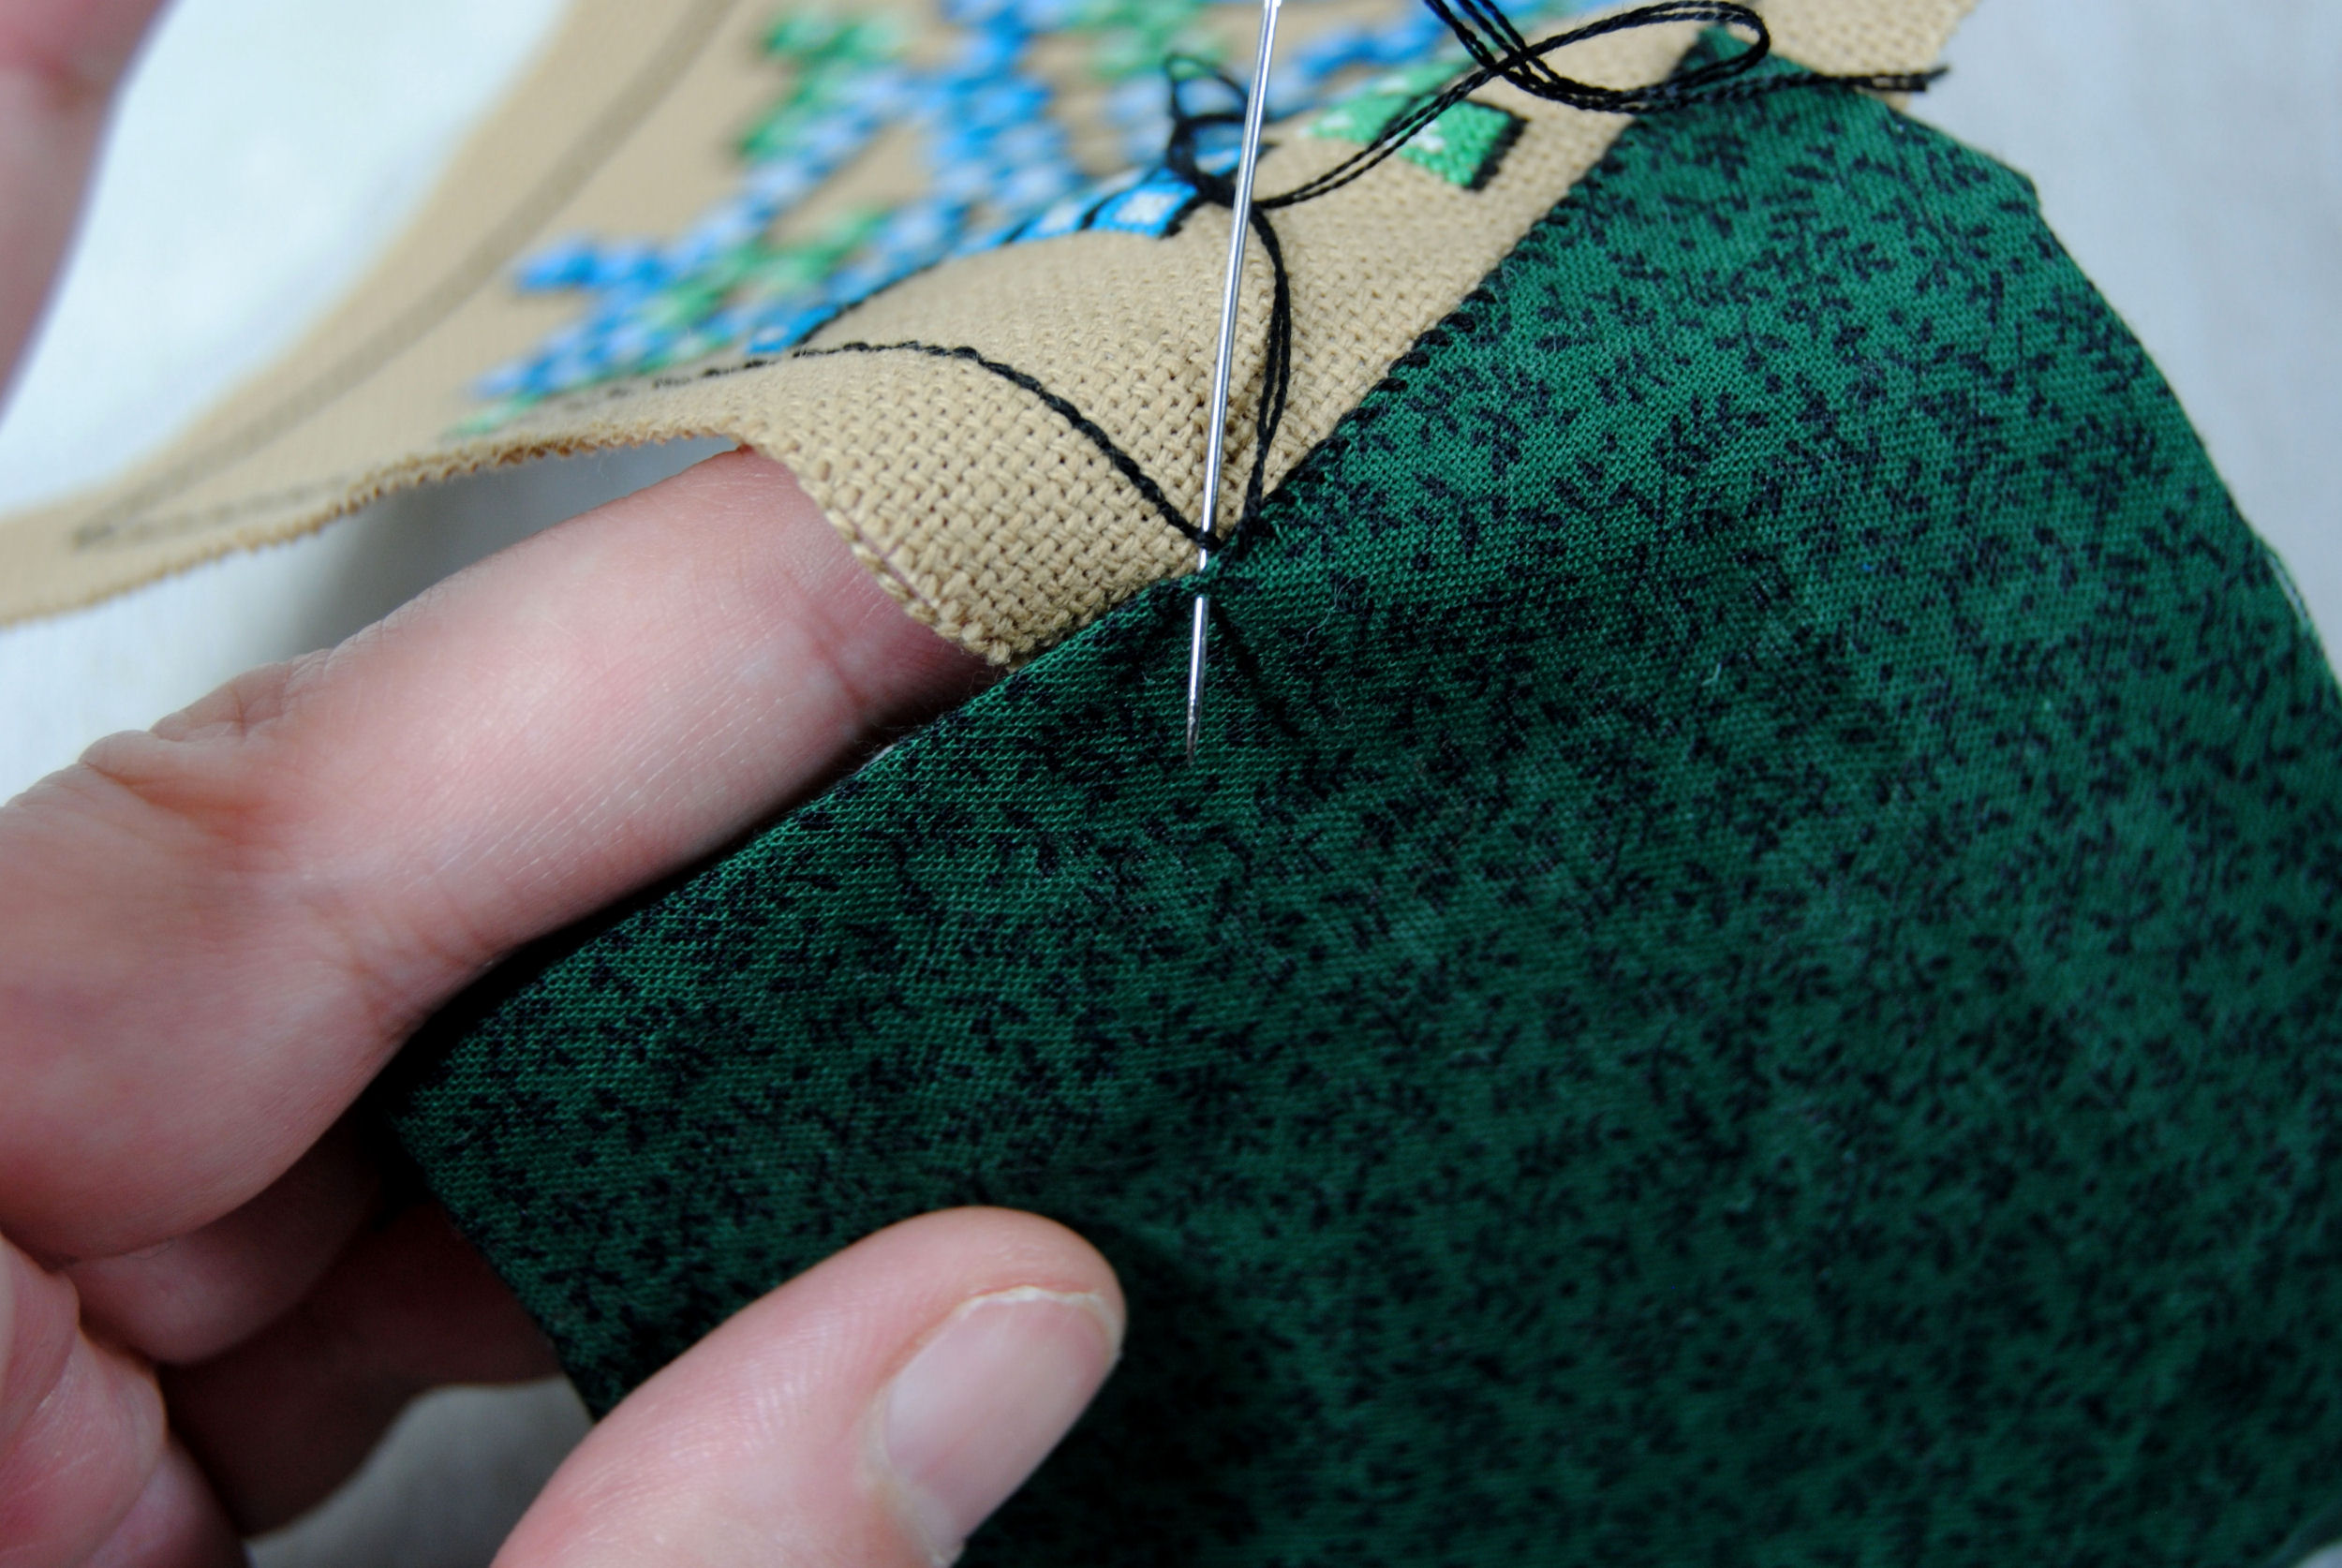
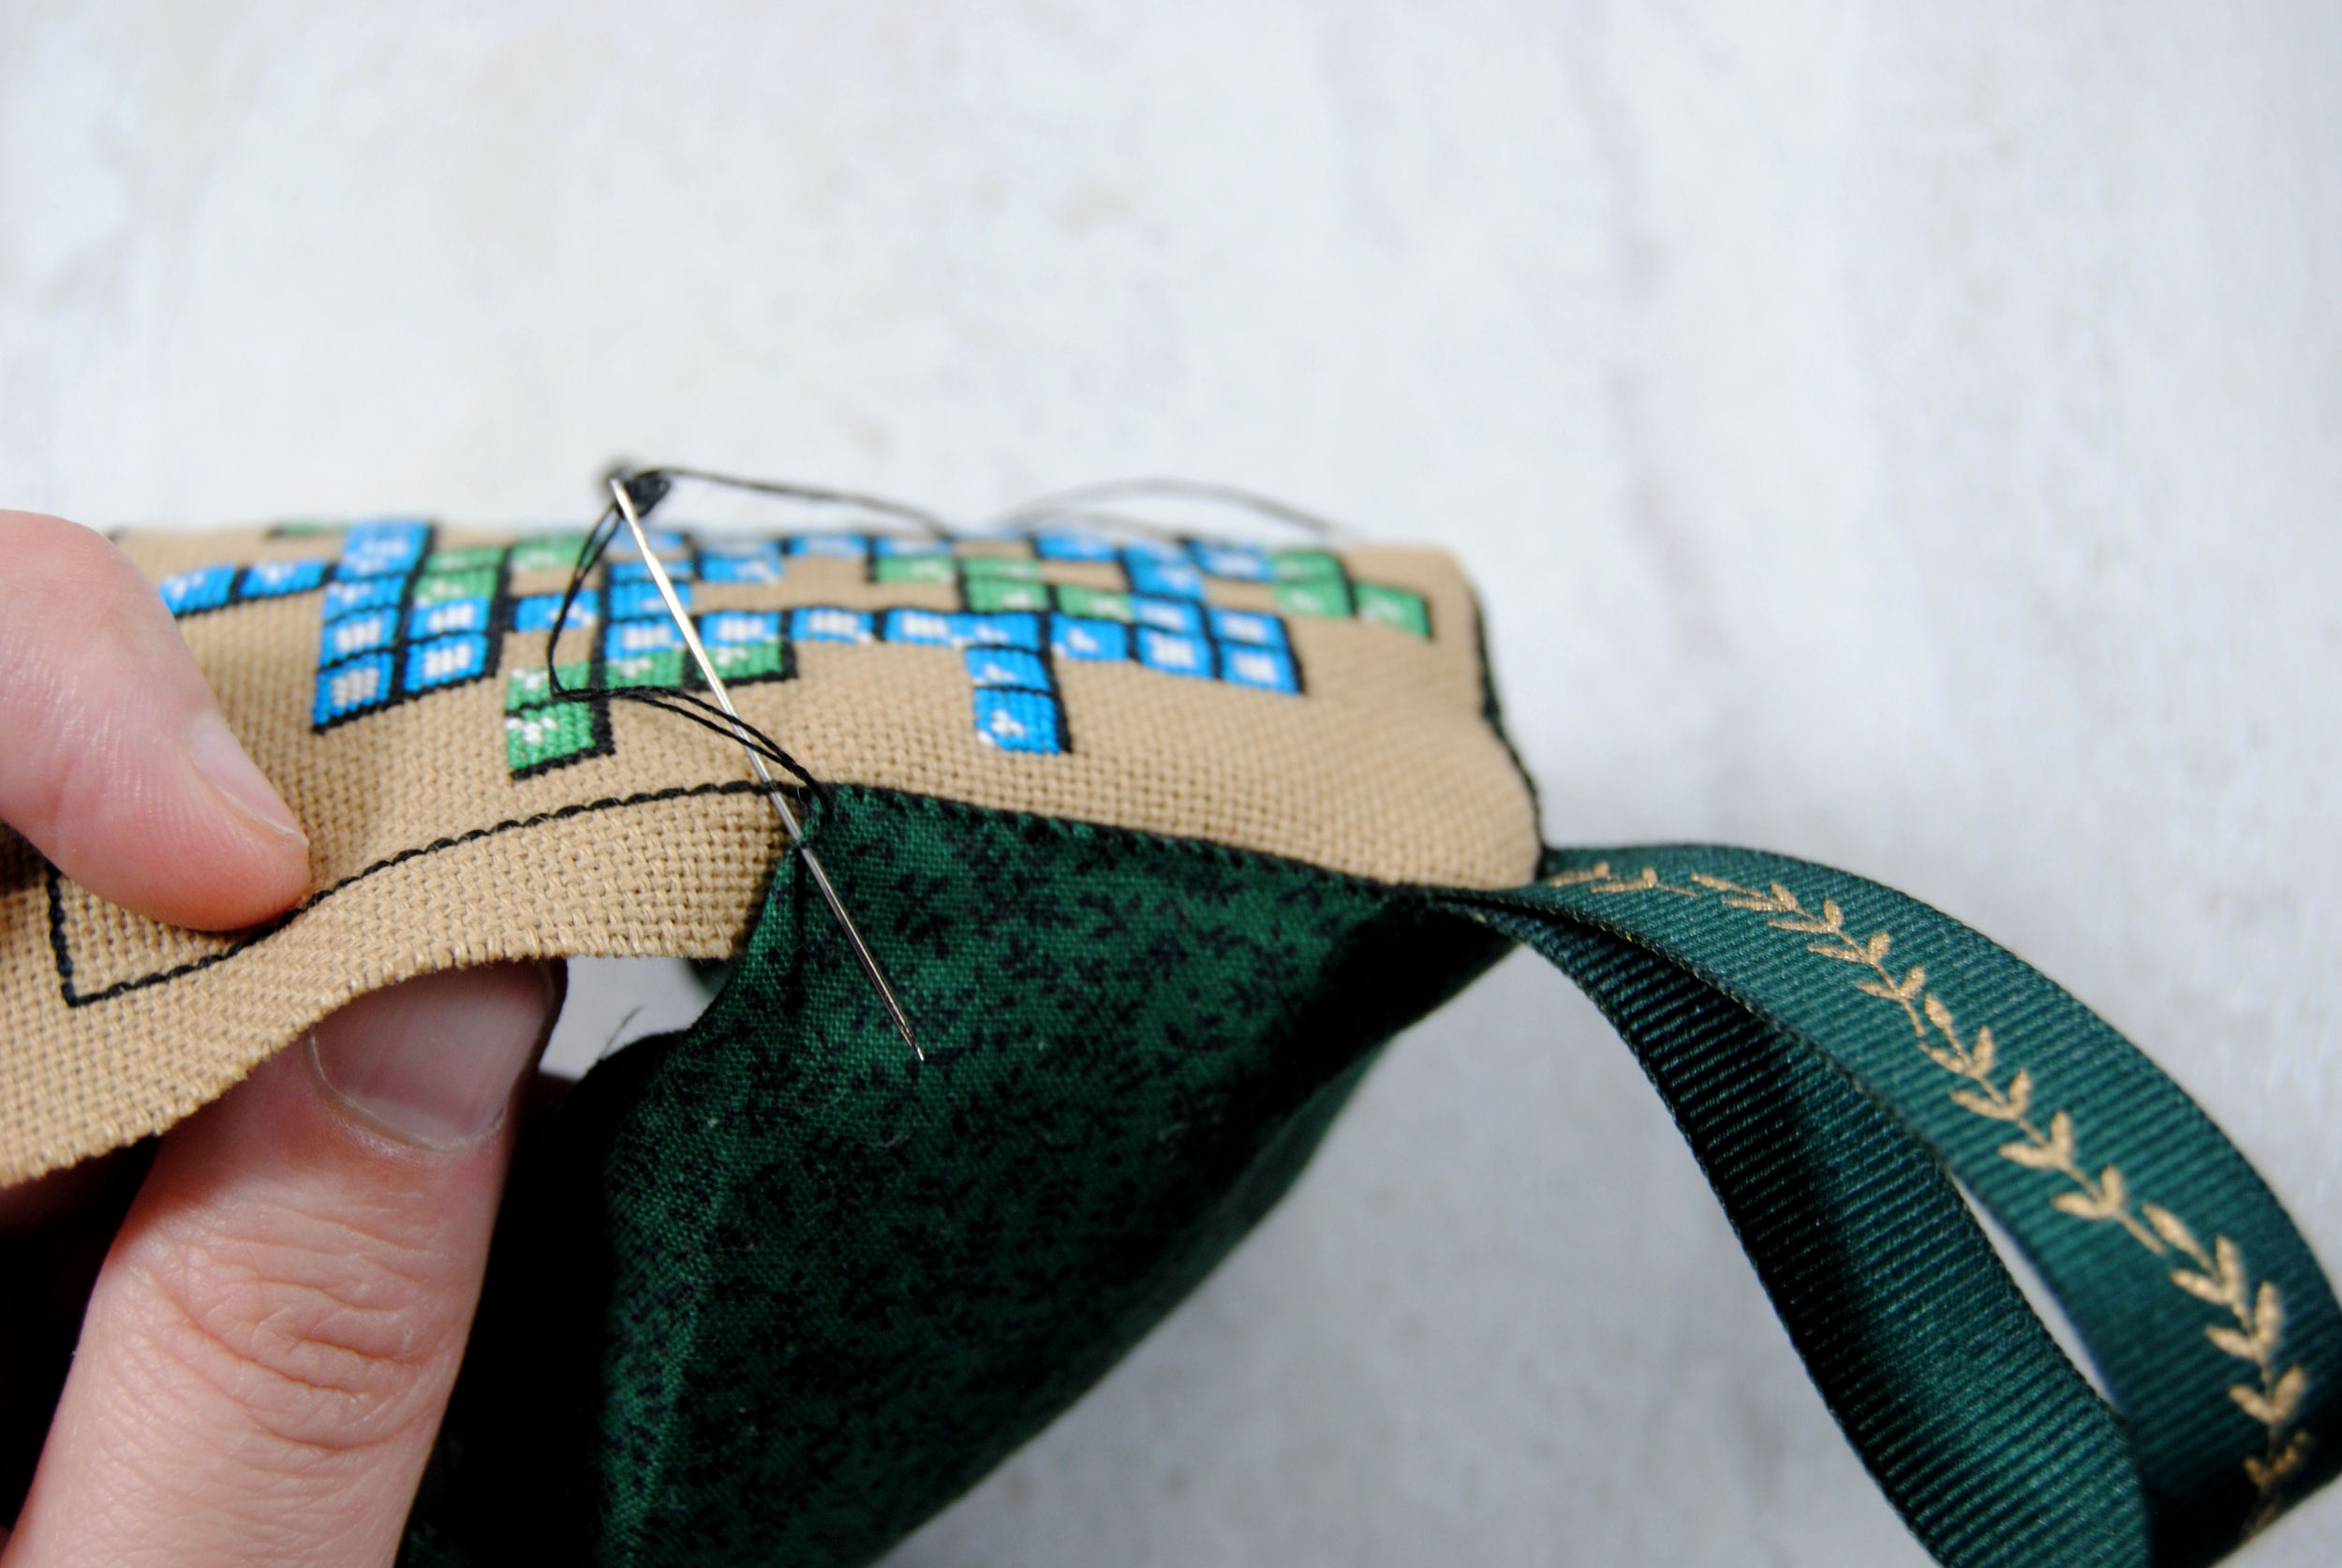
Typically with biscornu you’re running your needle under backstitch on both the top and bottom. Instead, you only have that on the top side and have to pierce the bottom fabric. If you have one, using a sharp needle will help make this easier.
Start with a corner of the bottom fabric and line it up with the middle of one of the sides of your top piece. Anchoring your thread on the back, pass your needle under the backstitch of the top and through the edge of the fabric of the bottom.
I’m doing a whip stitch here, but if you wanted that seam to be more ‘invisible’ you could use a ladder stitch instead.
You’ll note I pierce pretty close to the edge of the fabric. But you want it at least far enough in so it’s secure and won’t rip out. Keep working up that edge in the same manner.
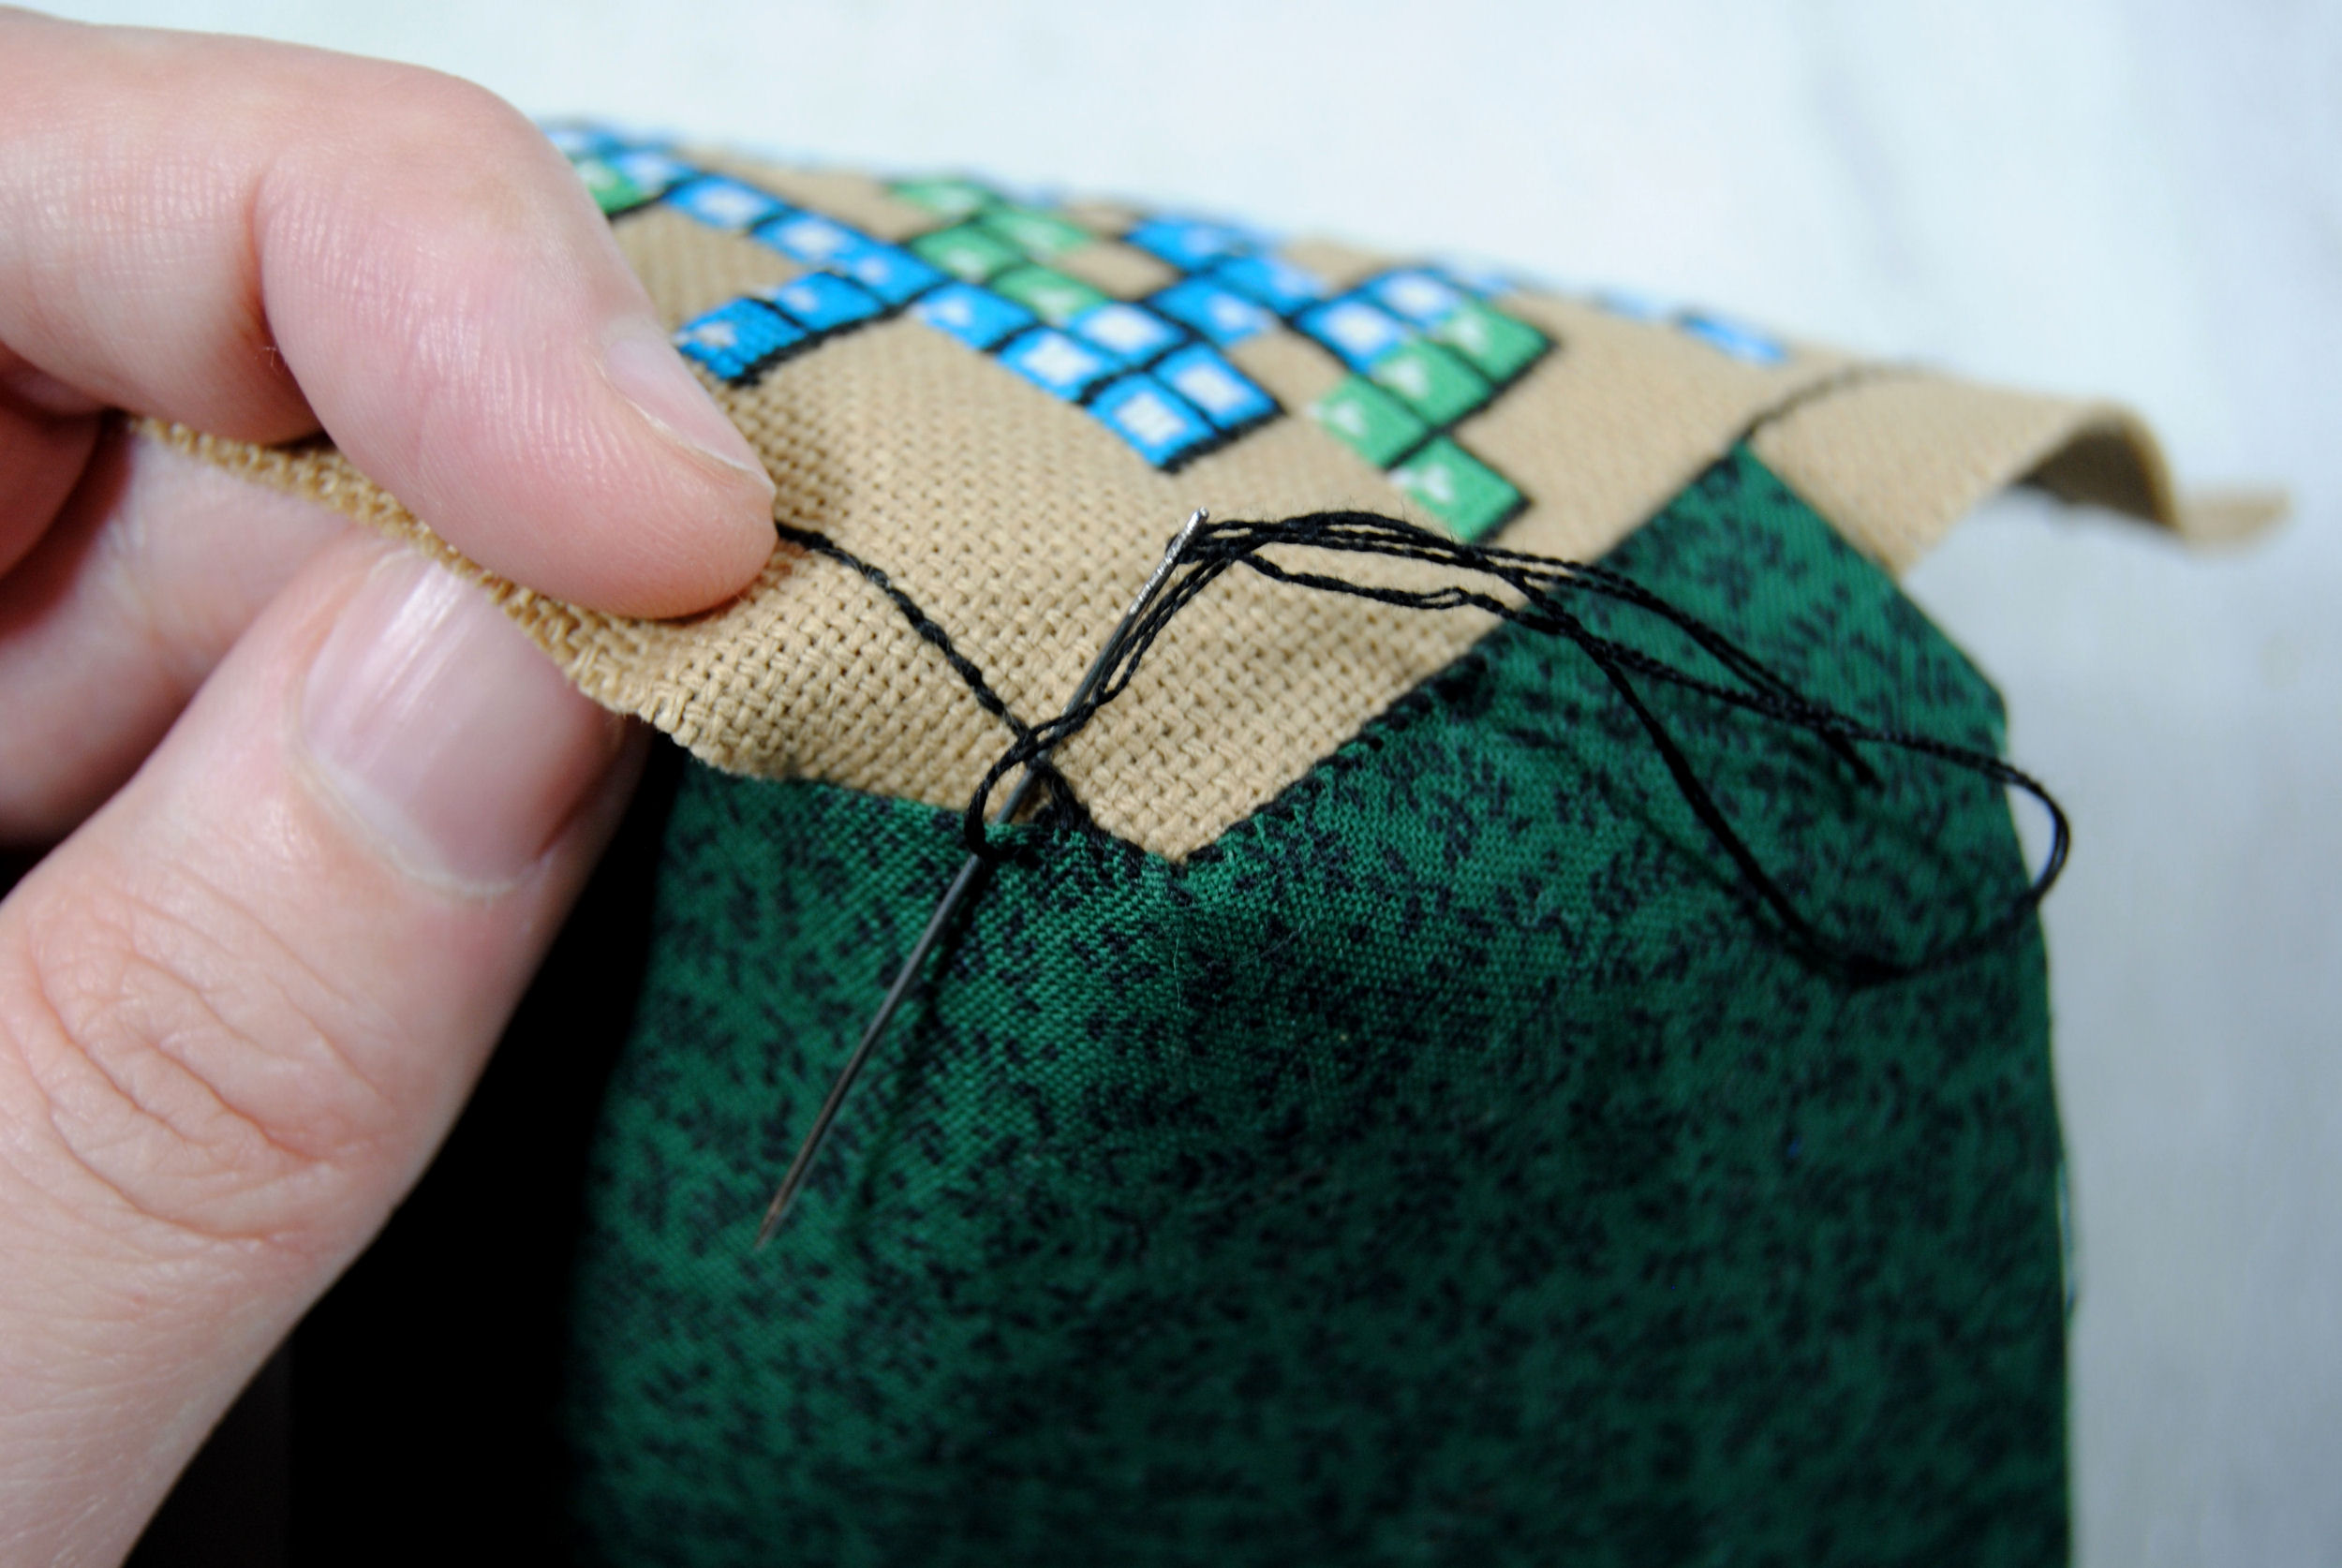
Rather than a straight shot it may look more diagonal along the edge. In the following photo I’ve turned it around so you can see the corner turn.
Note that since you don’t have backstitch to keep you lined up you’ll have to pay more attention to your stitches on the backing fabric to keep them evenly spaced apart. Once you reach that first corner you should be halfway around the first side of your backing fabric.
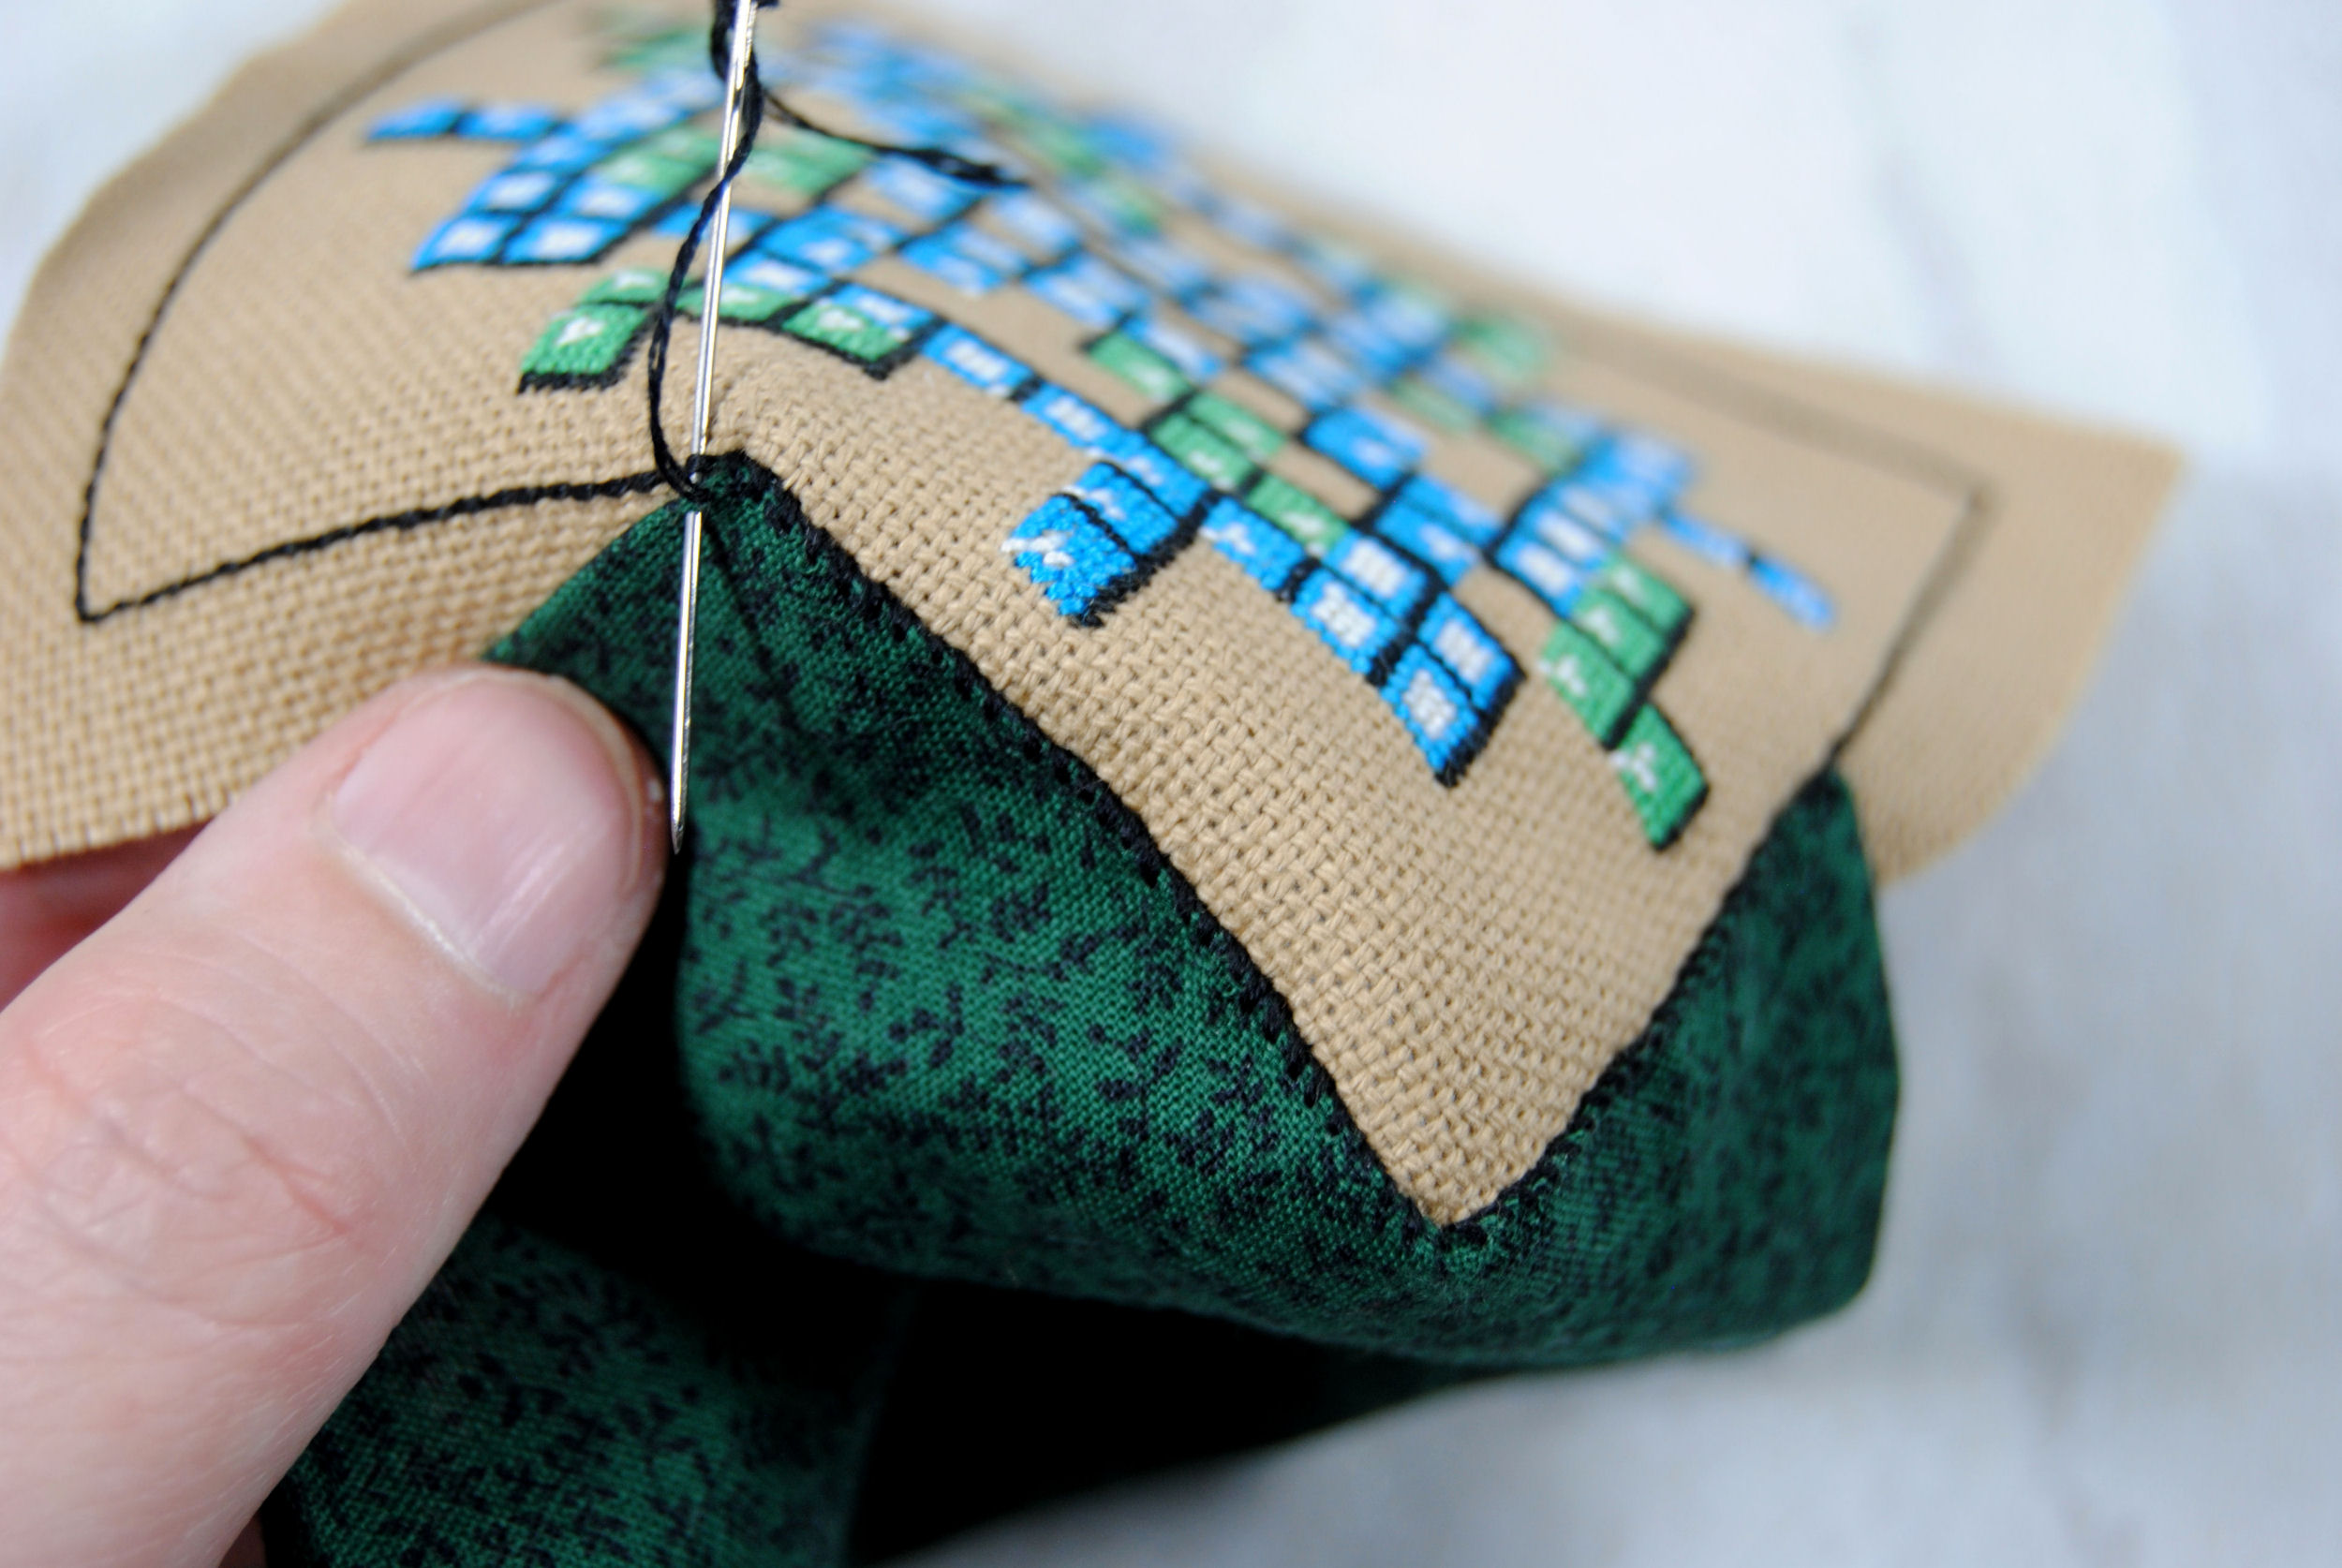
As with all biscornu, take it slow around that corner as they can be a bit finnicky.
Once you reach the next corner of your backing fabric it should be roughly lined up with the middle of the flat side of your top. This is what makes that unique shape.
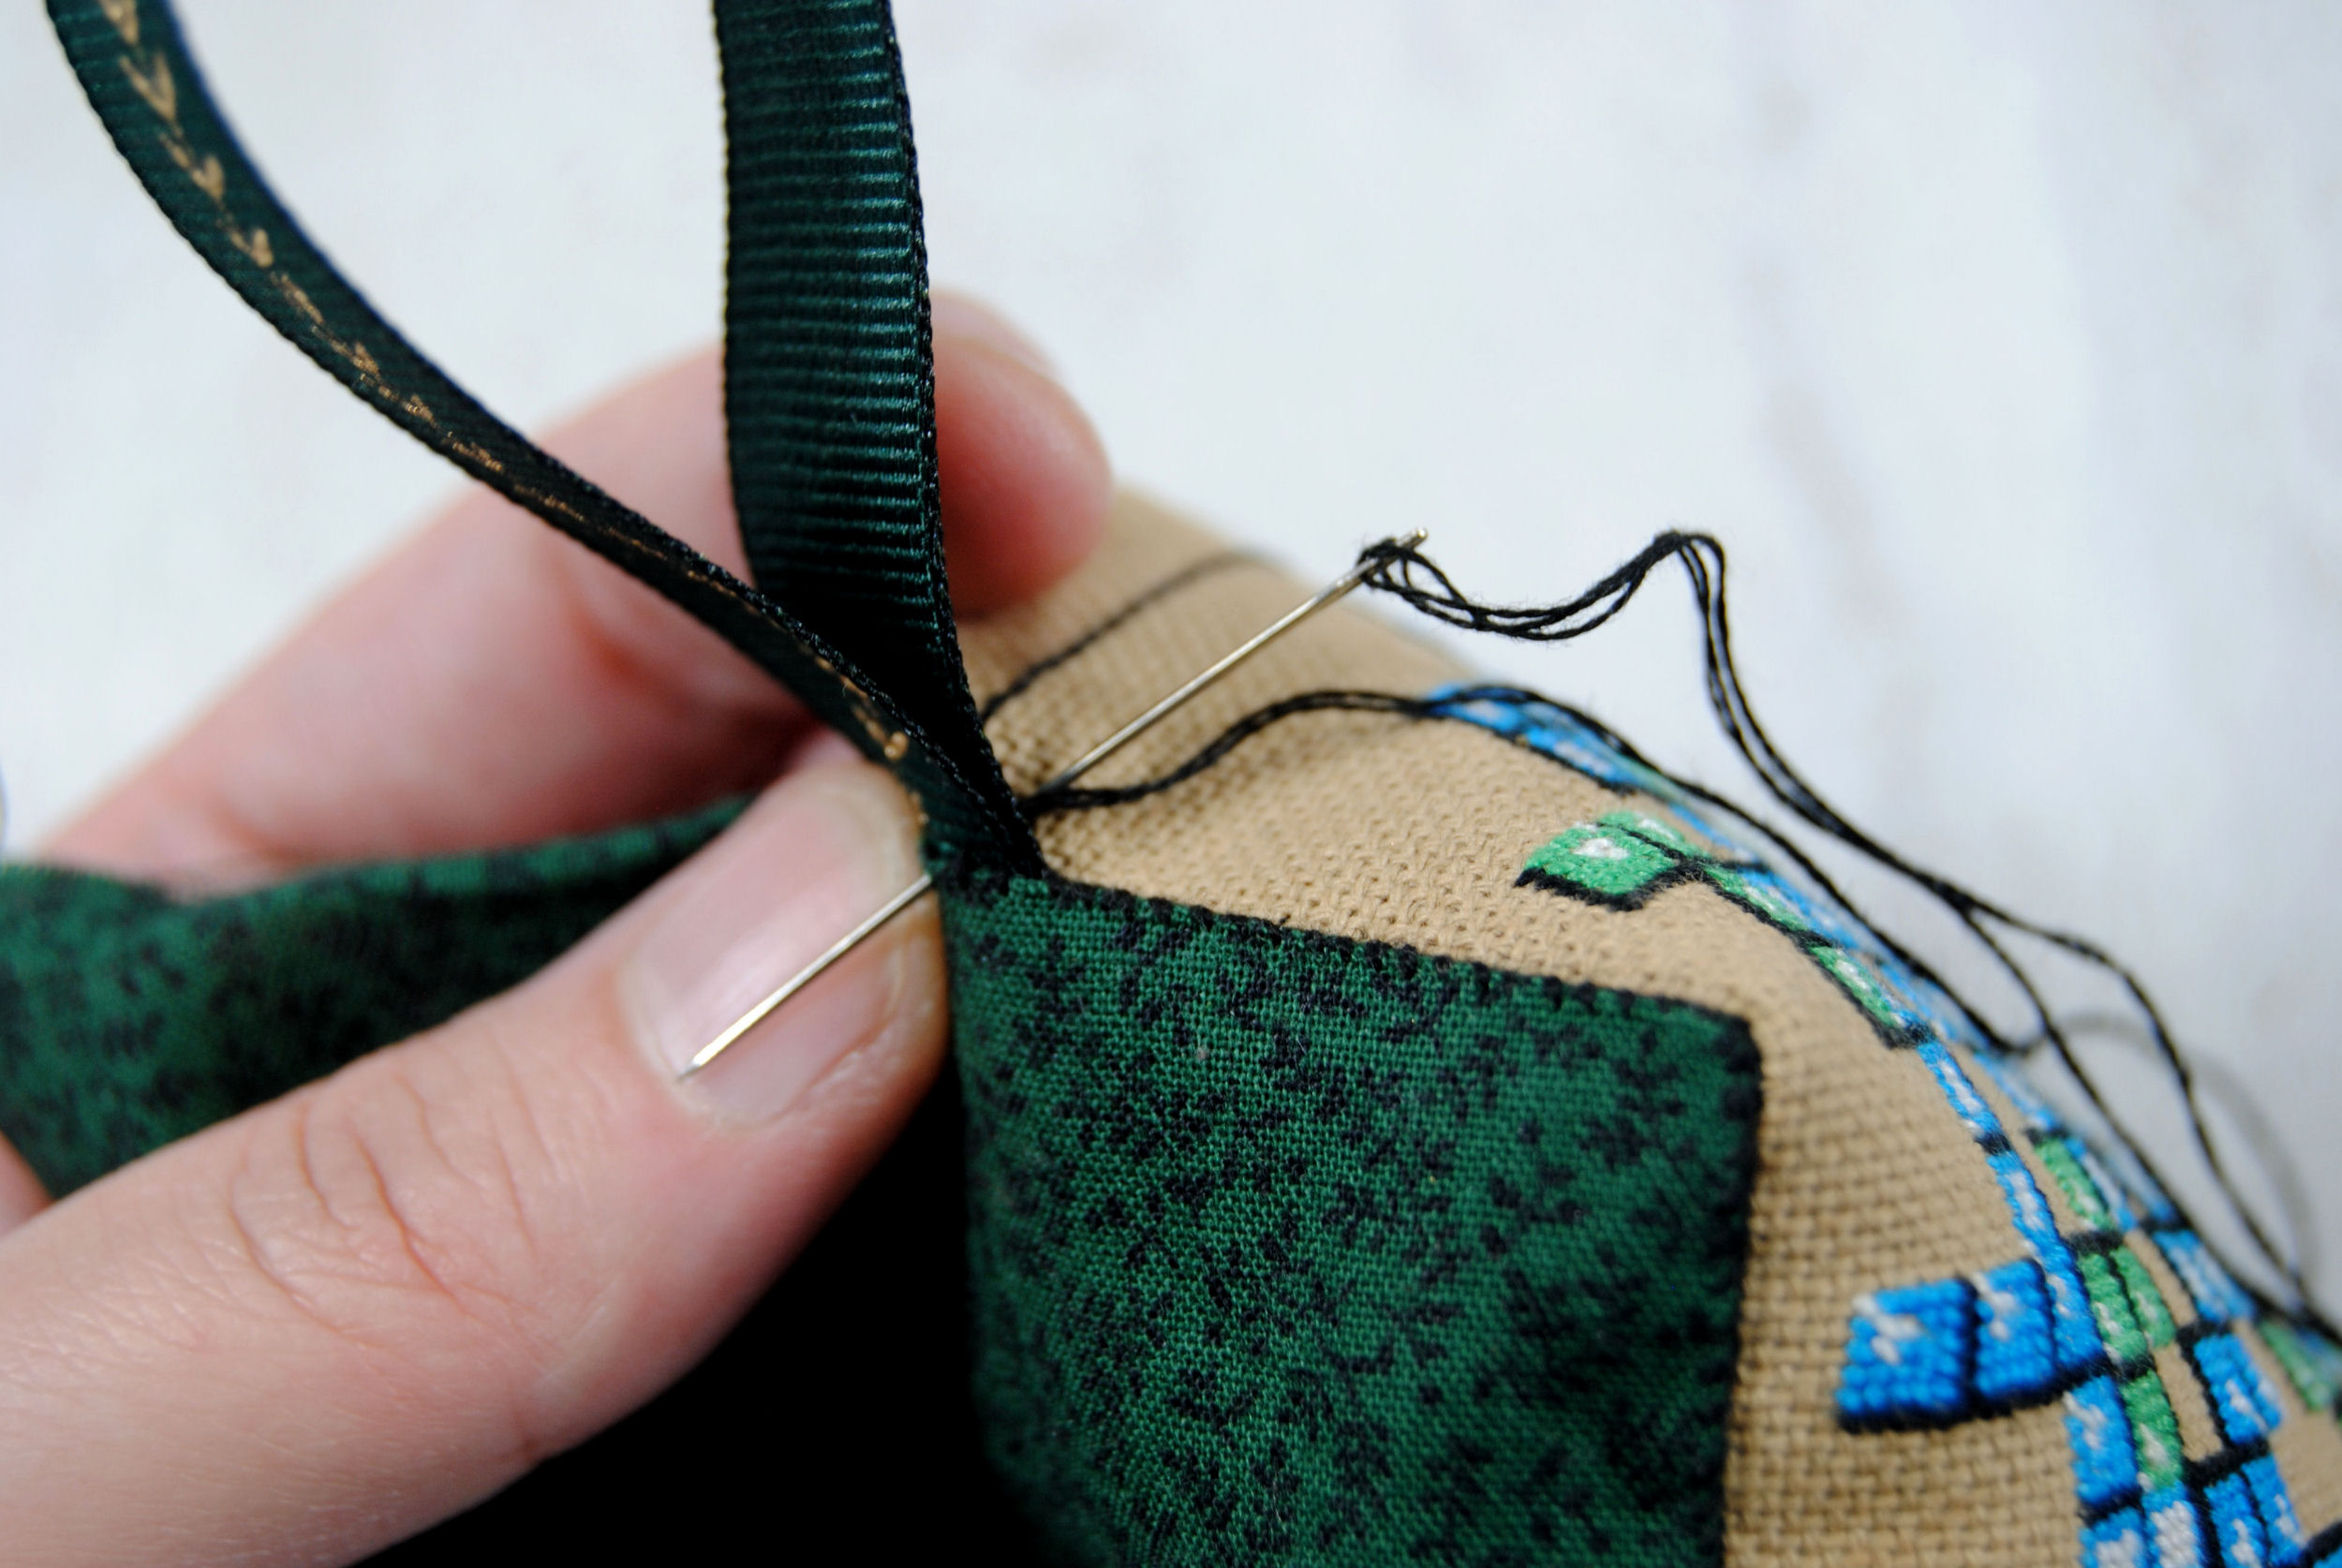
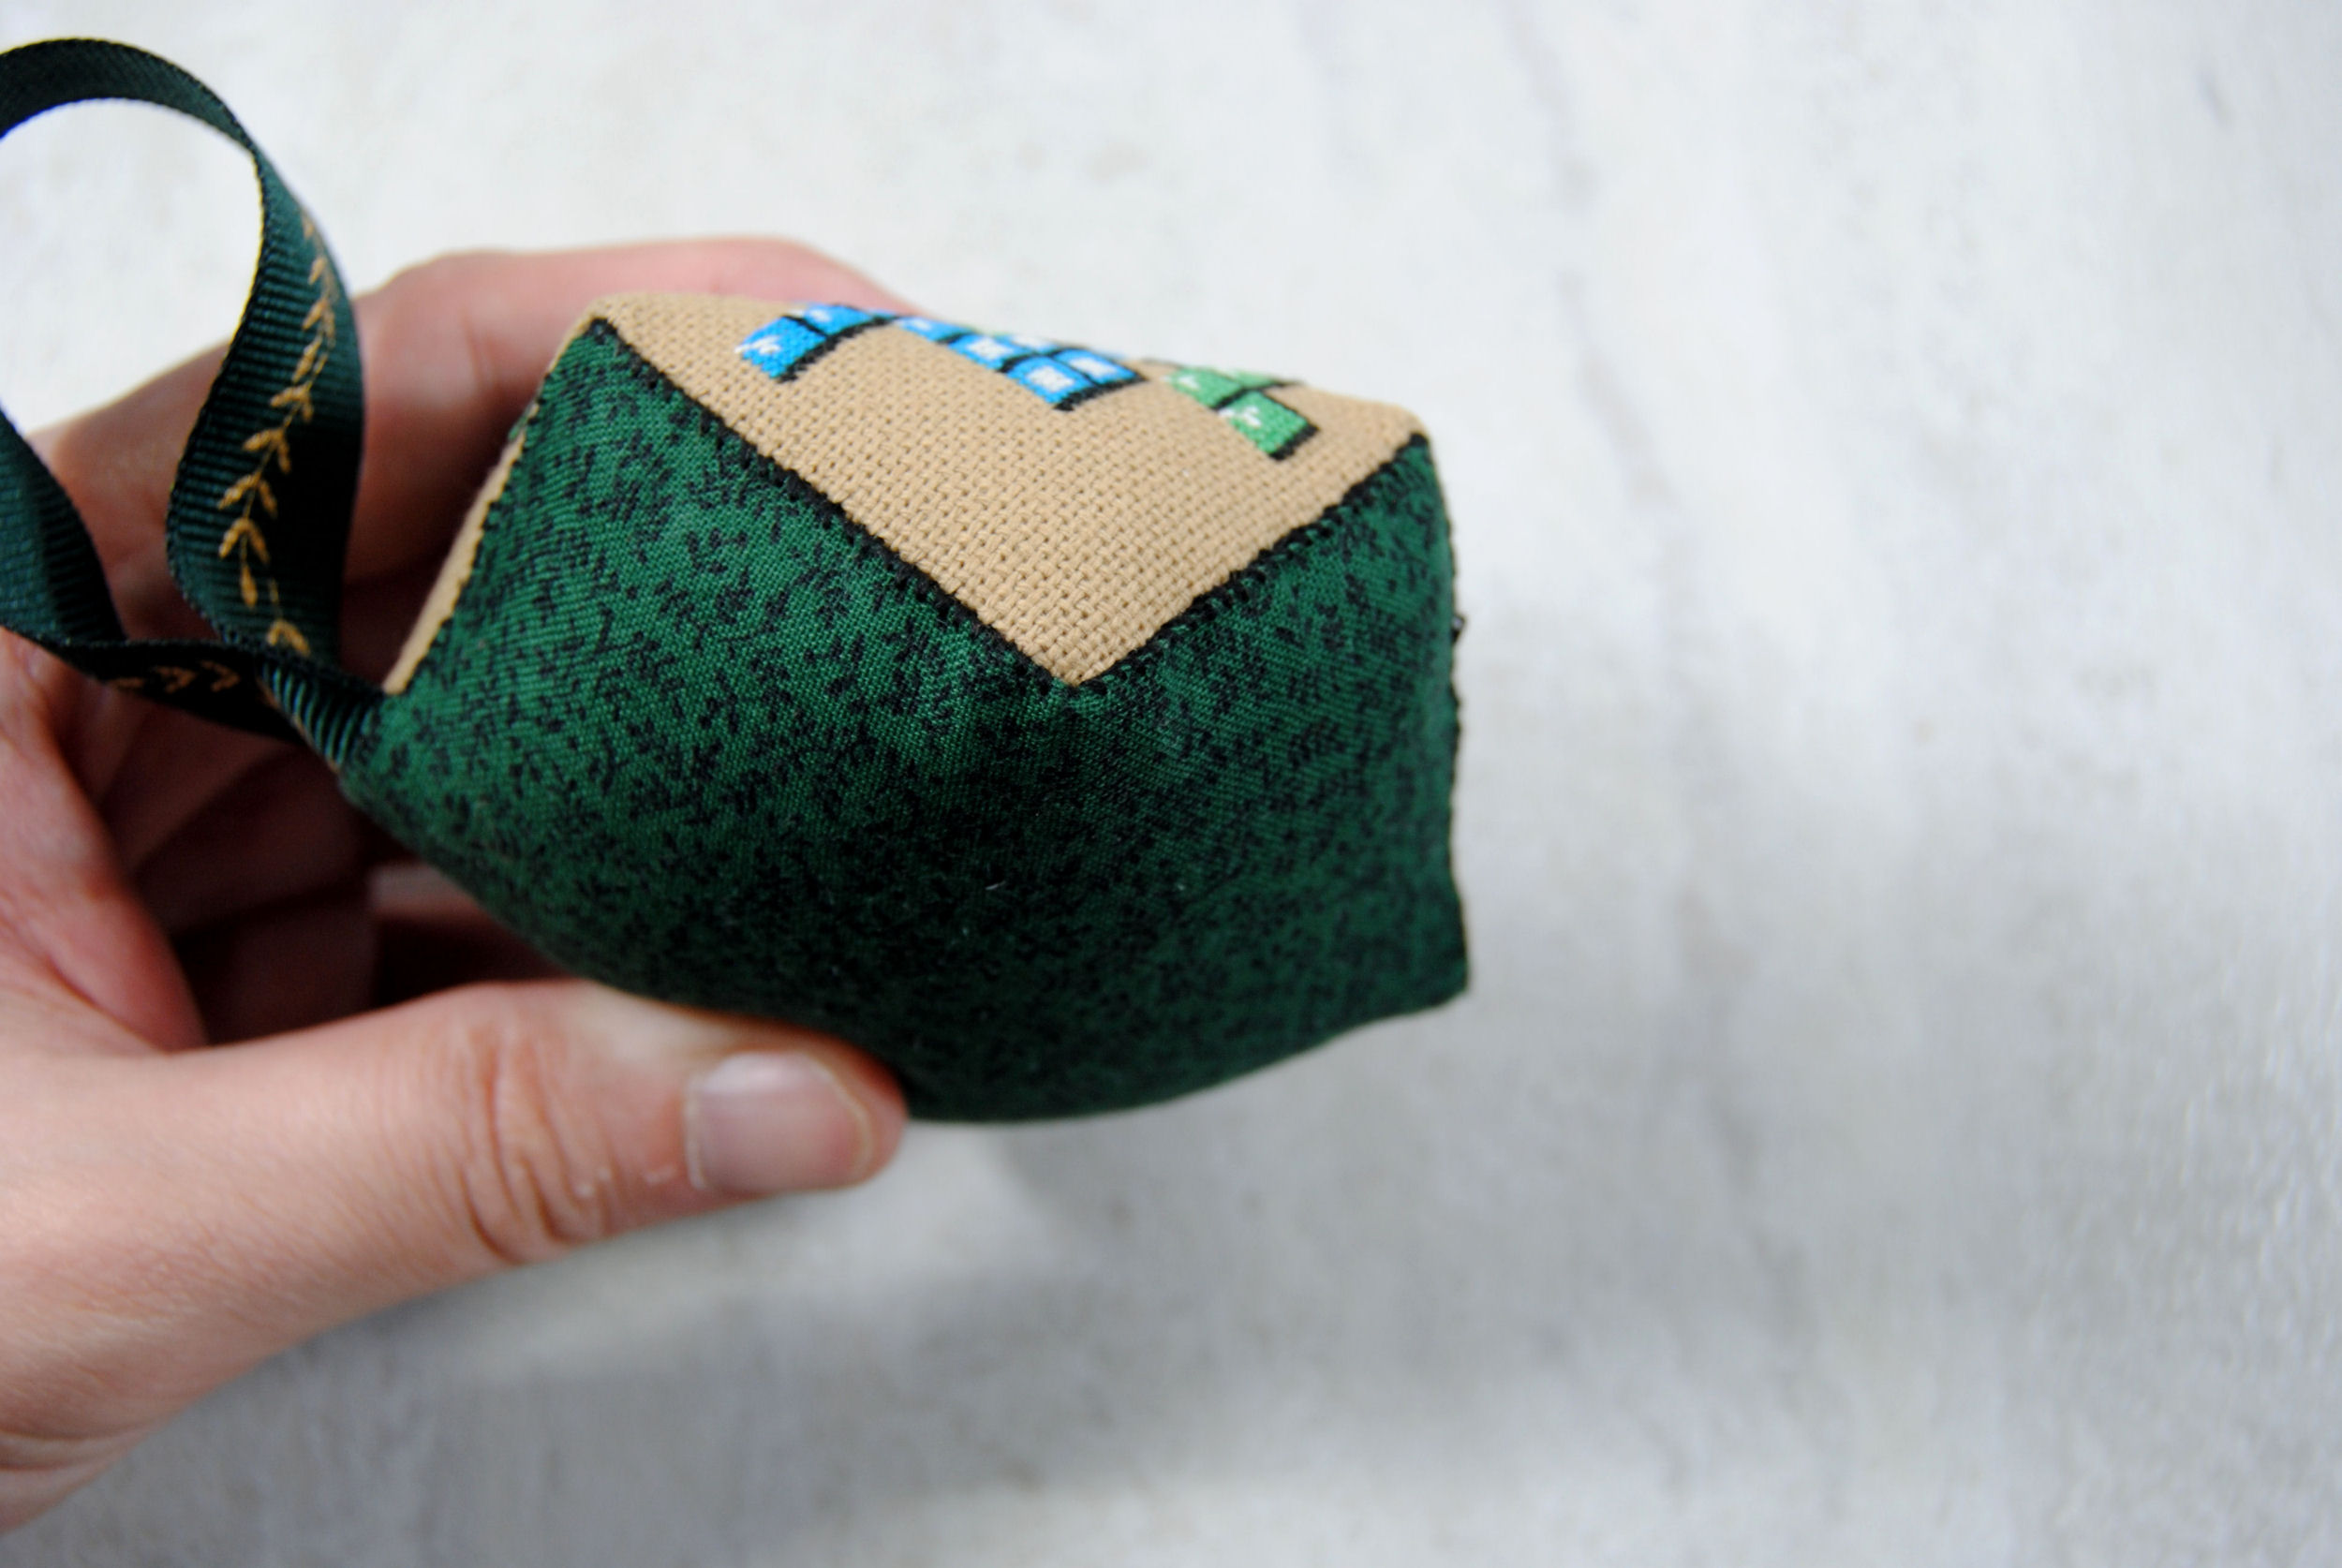
Adding a Ribbon
Keep going for a bit like this. If you’re planning to add a ribbon to hang it from as an ornament, you’ll want to do that before you get all the way around. It gets a little trickier once you’ve added stuffing, so take care of it early.
Just slip the ends of a ribbon loop in between your stitching and pierce through the backstitch, ribbon, and the backing fabric.
Once you’ve gotten past that ribbon, keep going until there’s just one or two sides left to stitch up.
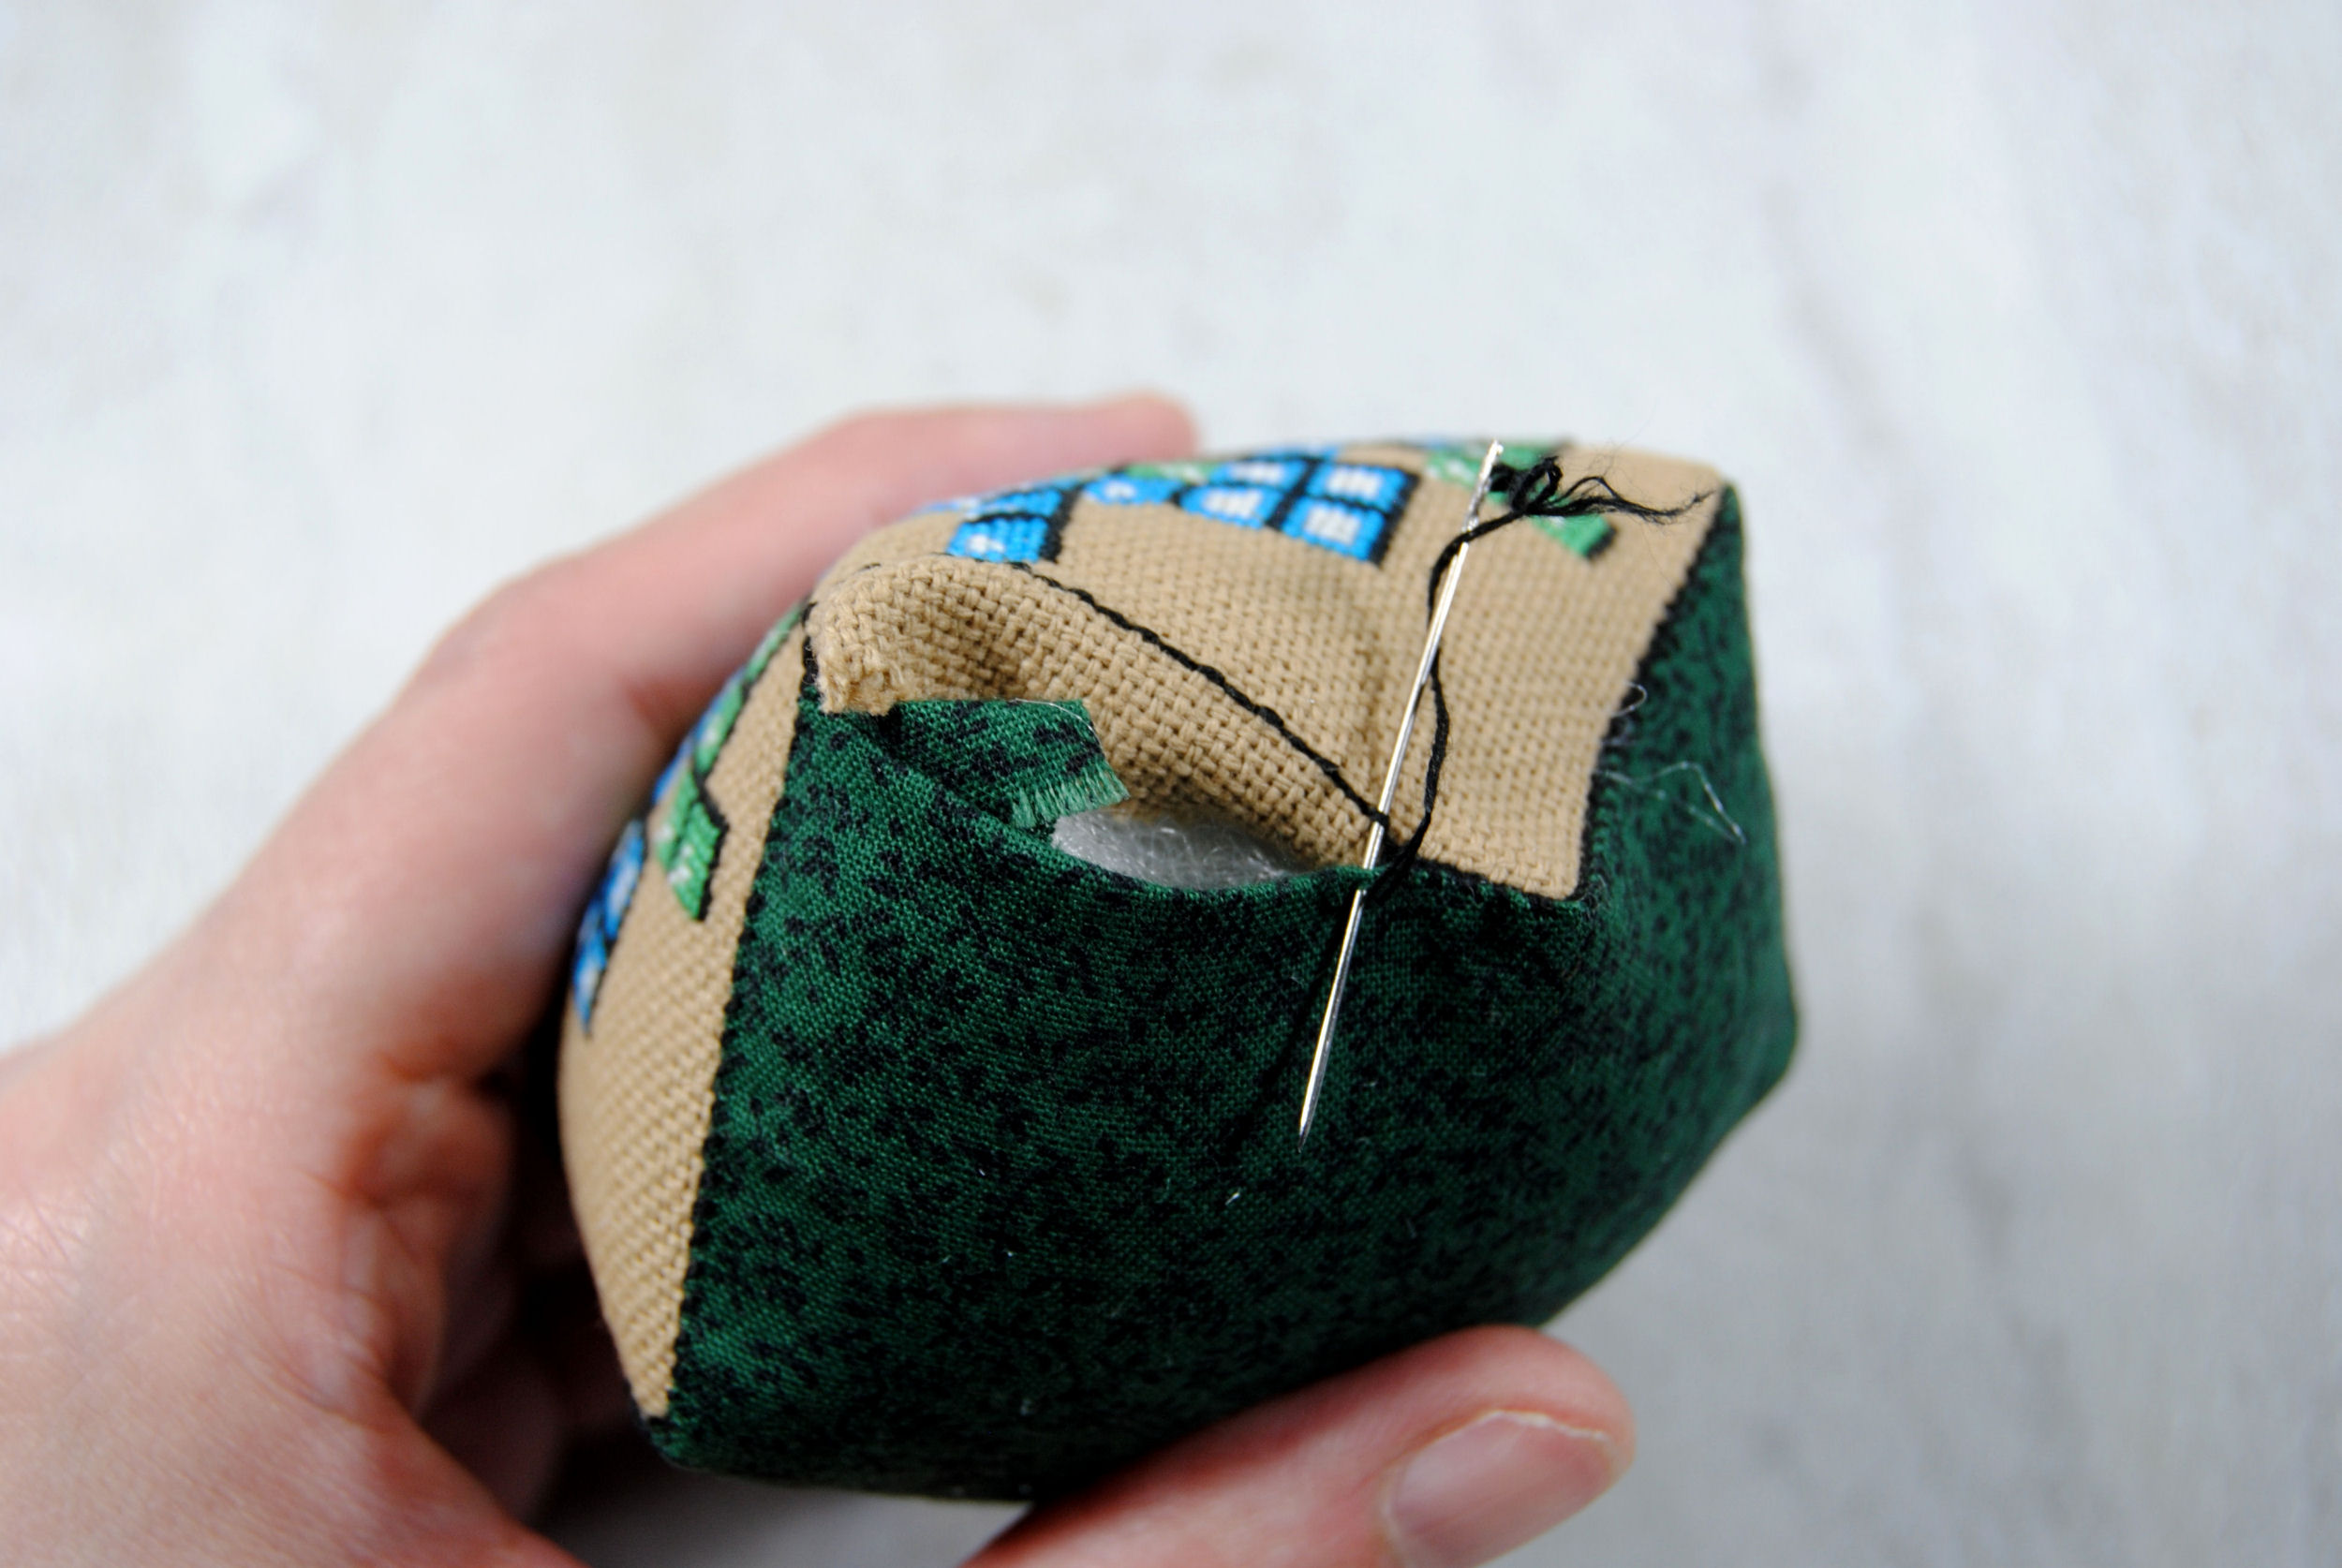
Stuffing Your Biscornu
Once you get to your last two sides, you should fill your biscornu before stitching up that last little bit.
I generally use PolyFil as I have a bag I bought ages ago and still haven’t managed to work through it. However you can use extra thread bits from your ORT jar, fill it with steel wool to keep your pins/needles sharp, or whatever else you have on hand.
If you’re using some form of soft stuffing, I recommend cramming more in there than you think you need. Keep going until it is uncomfortably tight. They do tend to flatten over time and you will want it to keep its shape. Use a chopstick or the end of a pen/pencil to get it all the way back into the corners. Then, completely forget to take a photo of this part and keep stitching.
Cinching the middle
Okay so you’ve finally stitched up the last side. It looks great! Now what?
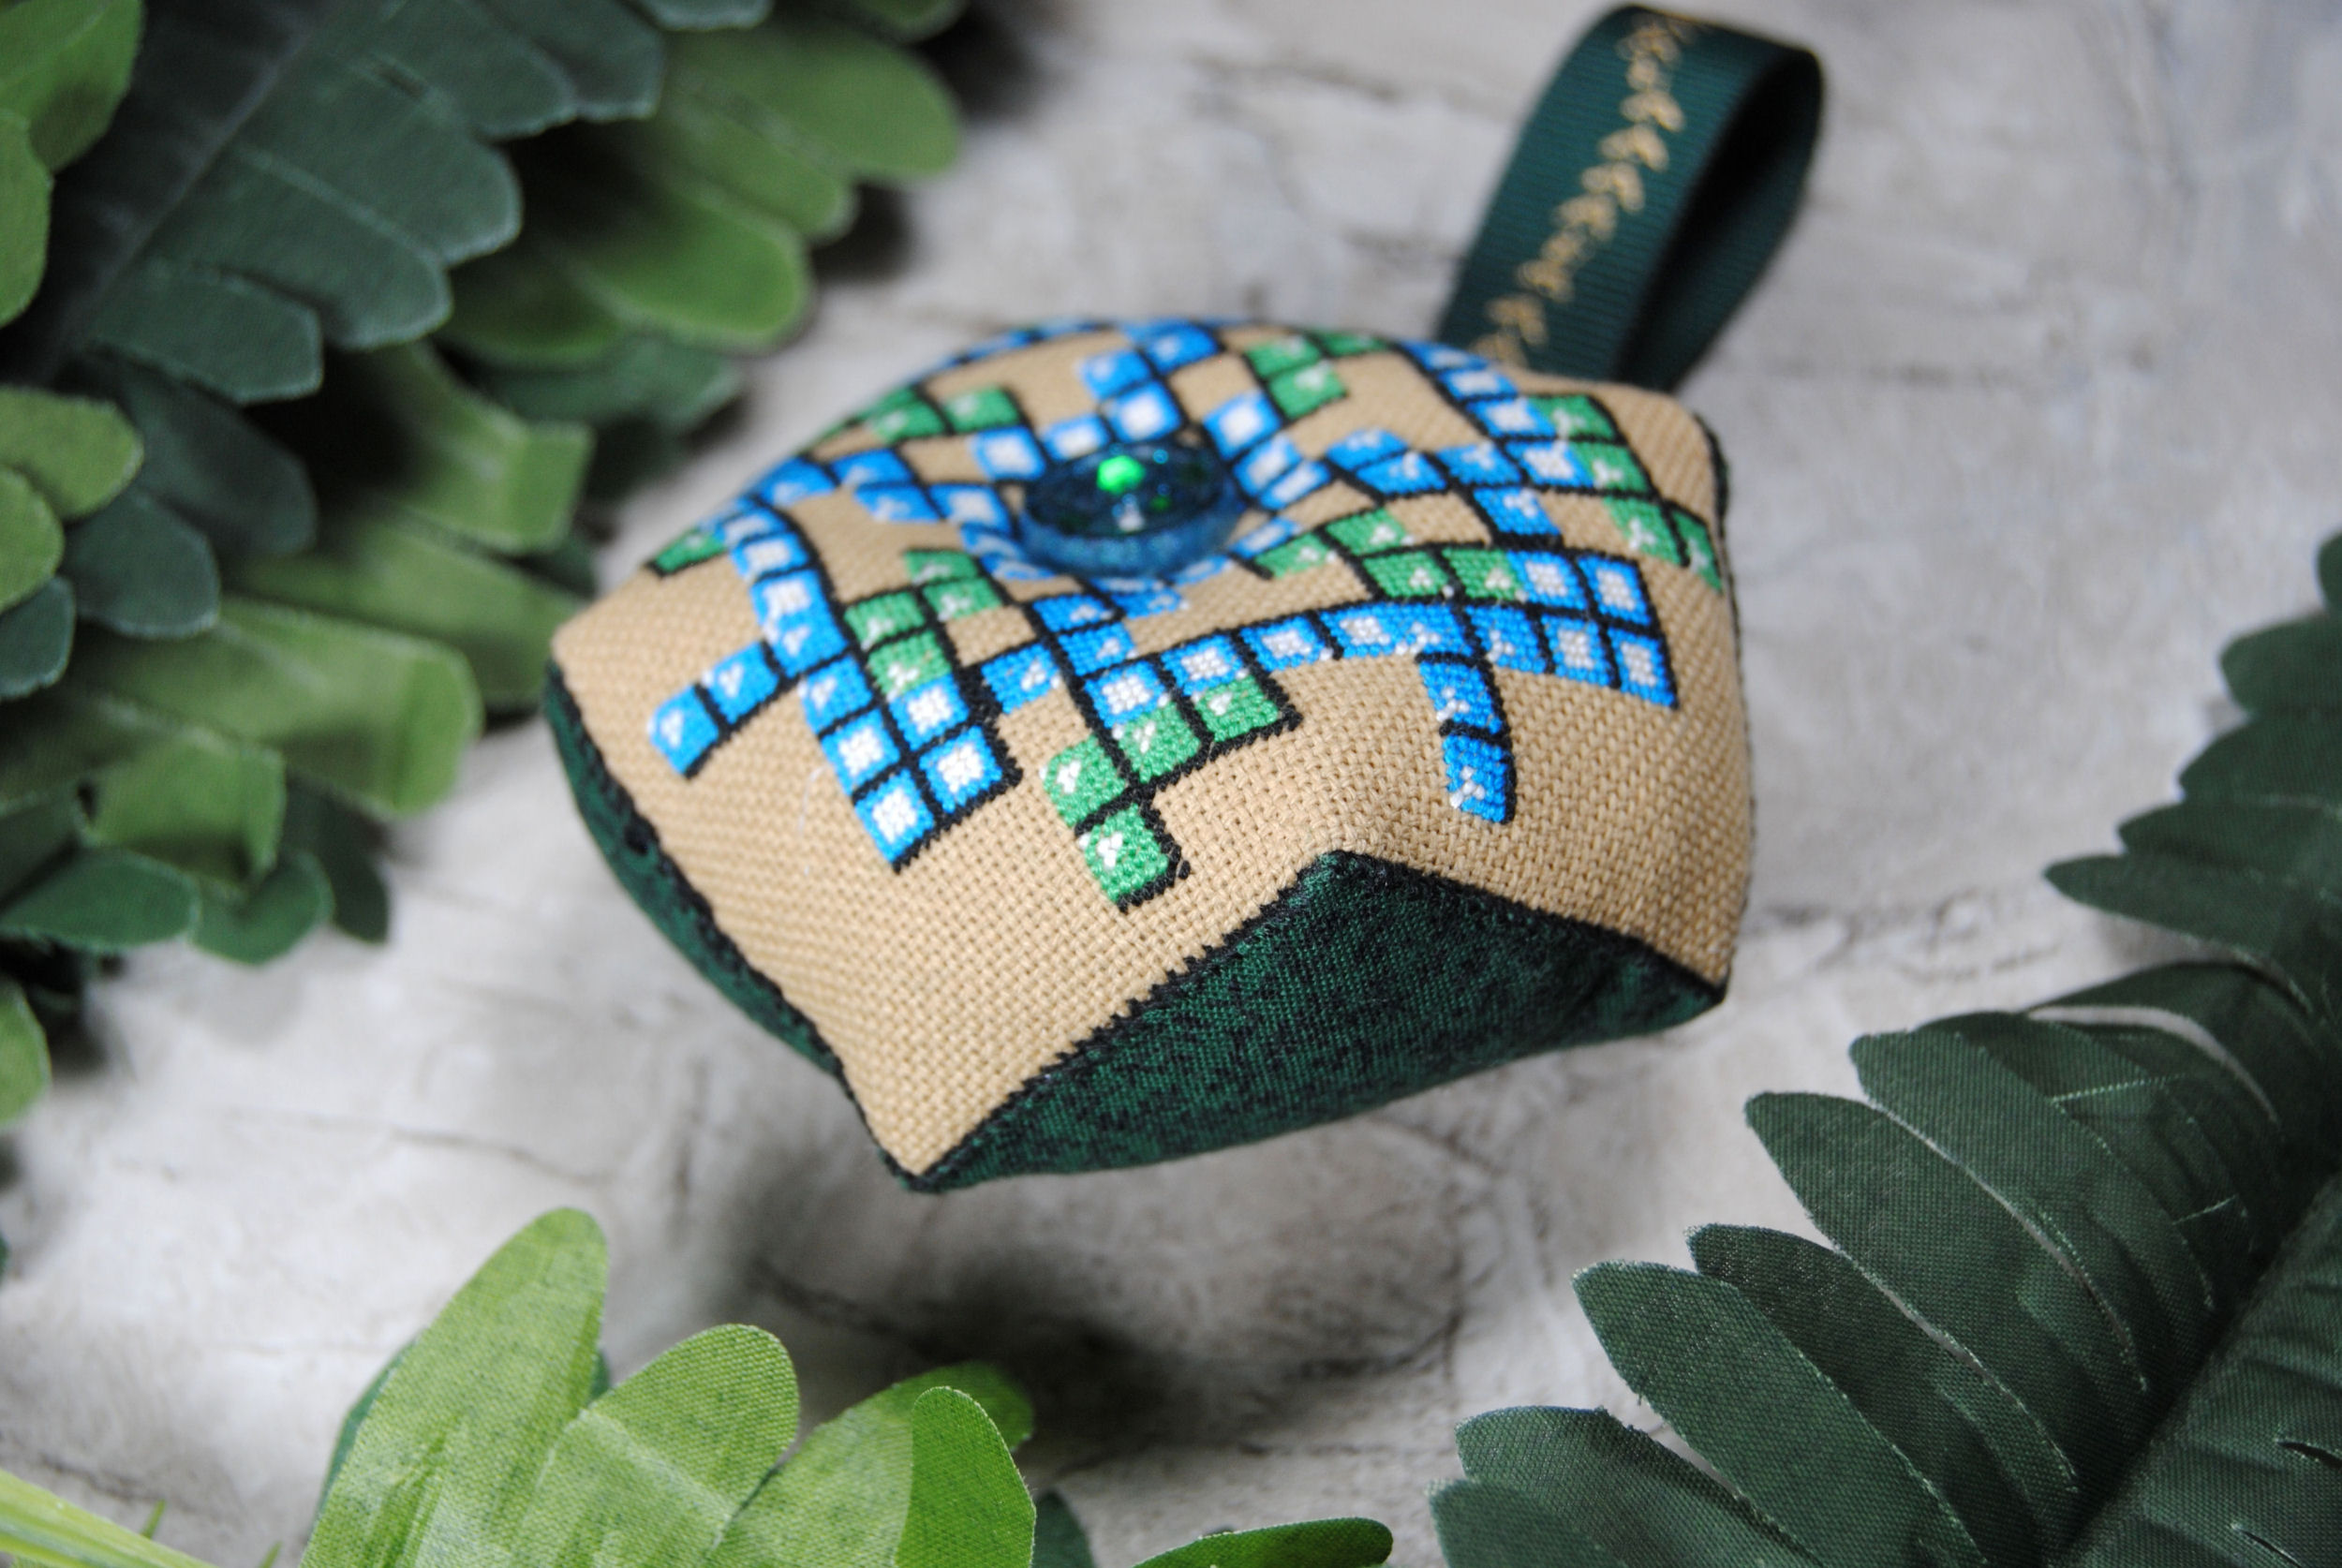
Well, you can absolutely stop there. This is already an adorable pin cushion! But many biscornu you see online will likely be cinched with a button.
You don’t have to cinch it at all if you don’t want to, and even if you do you don’t need a button to make it a biscornu. You could just stitch the center together without buttons. I went over the button step in a little more detail in my main biscornu tutorial if you need a refresher.
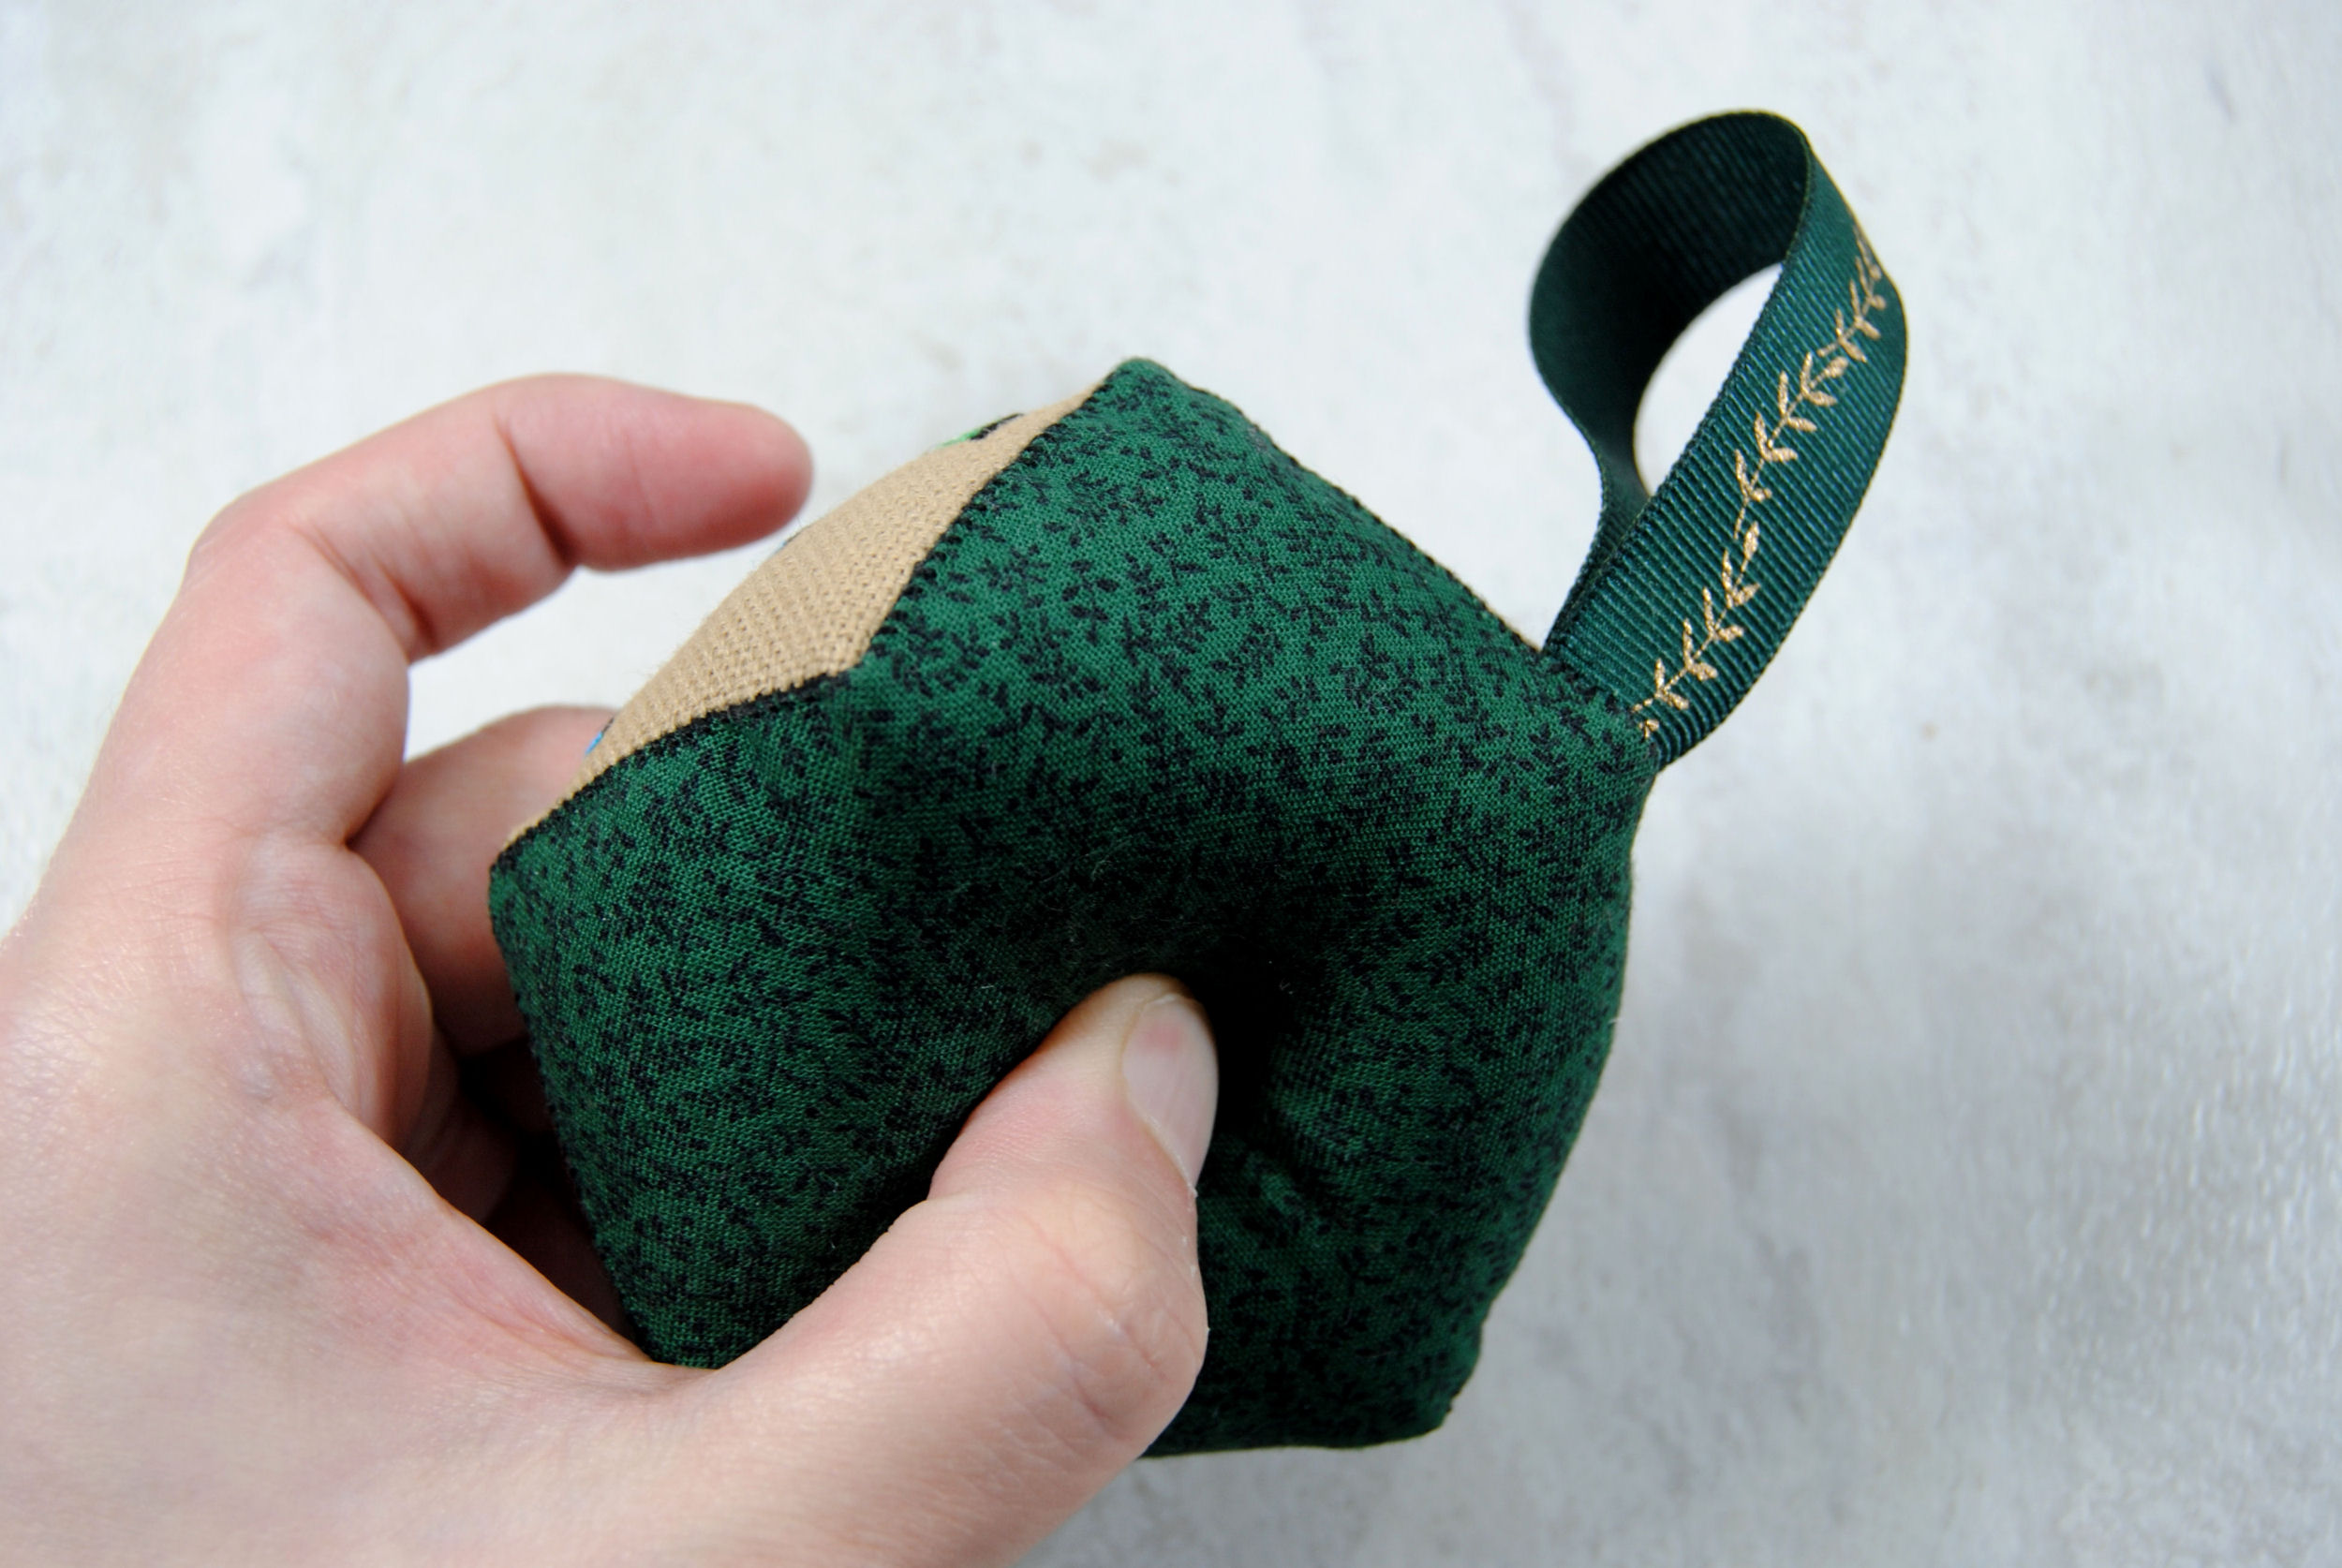
If you want to, pinch the biscornu in the center then stitch straight through the center. Stitch on a matching button if you like. And you’re done! Look how hecking cute it came out! 🙂 You’ll probably be seeing this finish from me much more in the future!