Cross Stitch on Wood : Working with Wooden Canvas
I’ve only done cross stitch on wood a handful of times, but every time I do I get tons of questions as to where I got the canvas, what it’s like, what tips do I have, etc. So today we’ll be going over what I know about it. I by no means am an expert on the subject, but we can learn a little bit about it together!
This post may contain affiliate links. If you buy something using one of these links, I earn a small commission. However, there is no extra cost to you. Thanks for understanding! Learn more in my Disclosures & Privacy Policy.
Table of Contents
Why Cross Stitch on Wood?
First off, why on earth would you want to stitch on wood? My main answer for that is going to be WHY NOT? Maybe you just want to do something different. Shake things up. Try new materials. You could just as easily stitch on metal instead. Or stitch on plastic. Or any number of other materials. Wood just seems to be the most common and easiest to start with, so that’s what we’ll be talking about today.
Another reason you might want to stitch on wood is for the sturdiness. If you want a nice thick canvas that will retain its shape to hang on your wall or wear, wood has you covered.
You might also want to stitch on wood just for the aesthetic. It makes for a really neat effect, really. Especially if you allow the wood grain to show through as the “background” of your design.
The ability to embellish your canvas can be a draw as well. Think of it as working with mixed media.
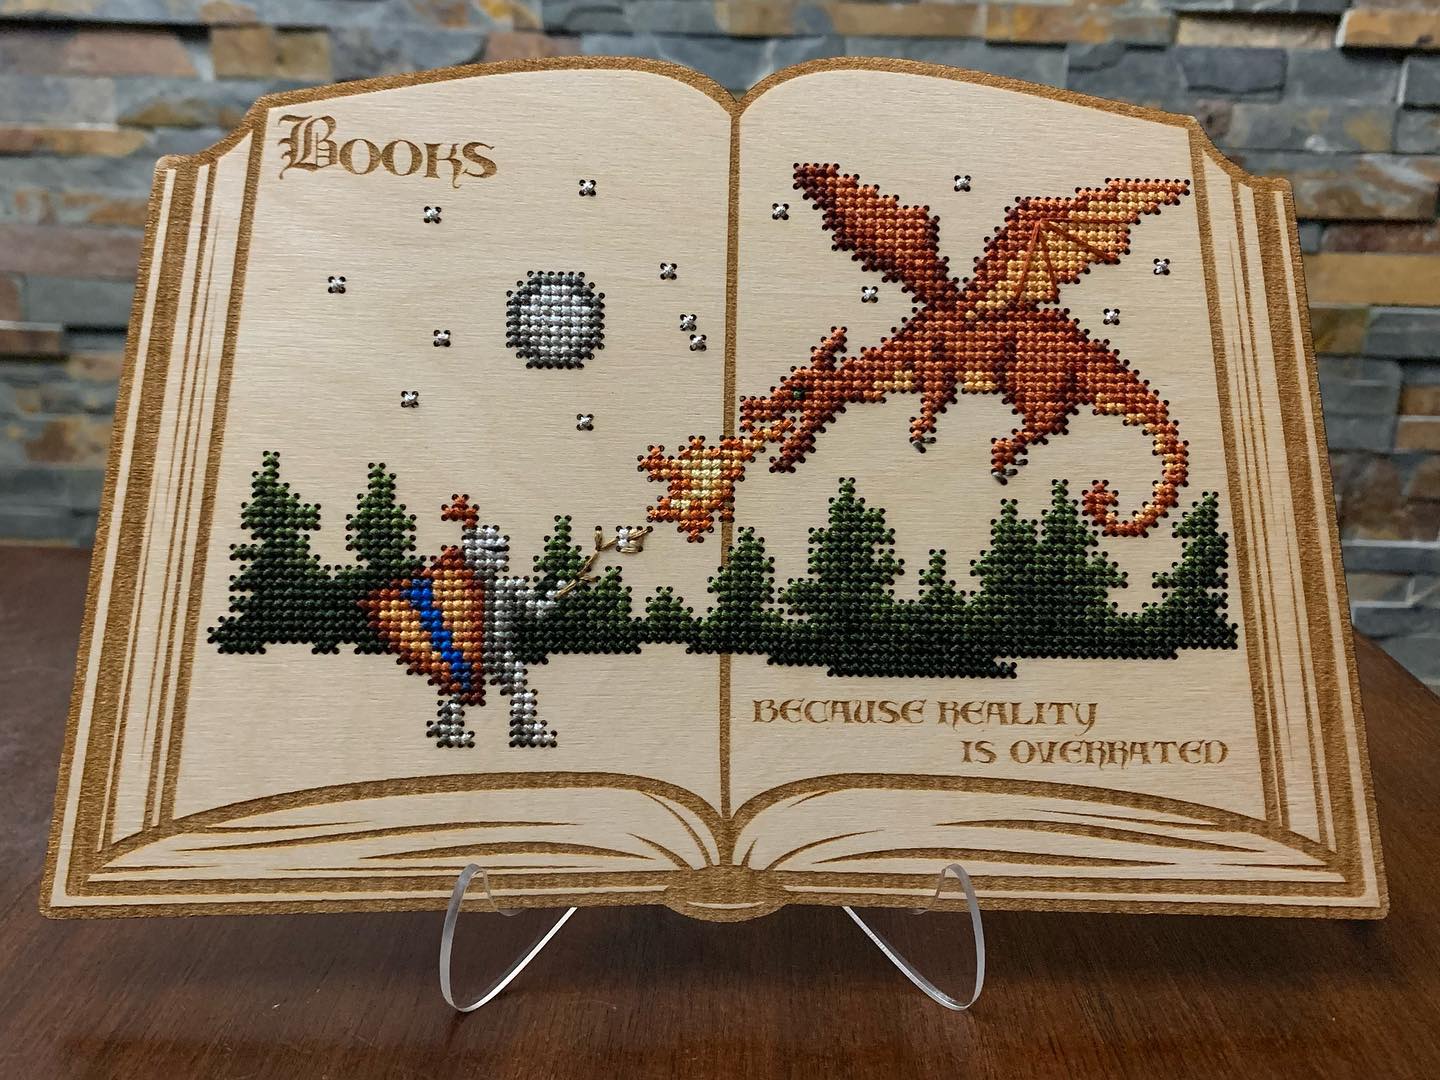
For example, this book stitched by @april.alameda on Instagram not only has cross stitch, but also features the details of the woodcut pages and the engraved quote.
Wooden Items
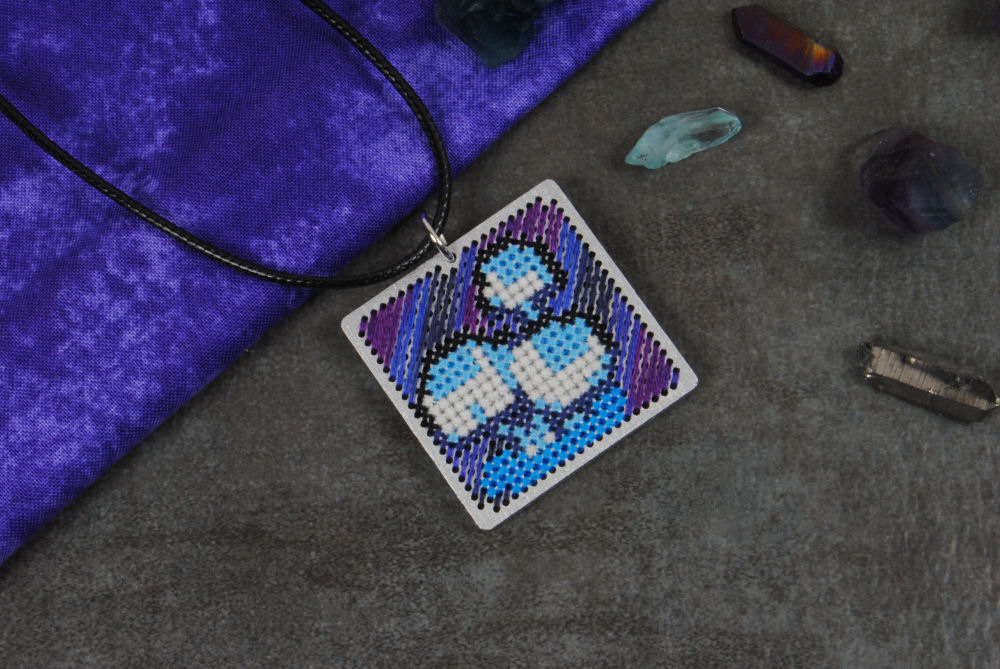
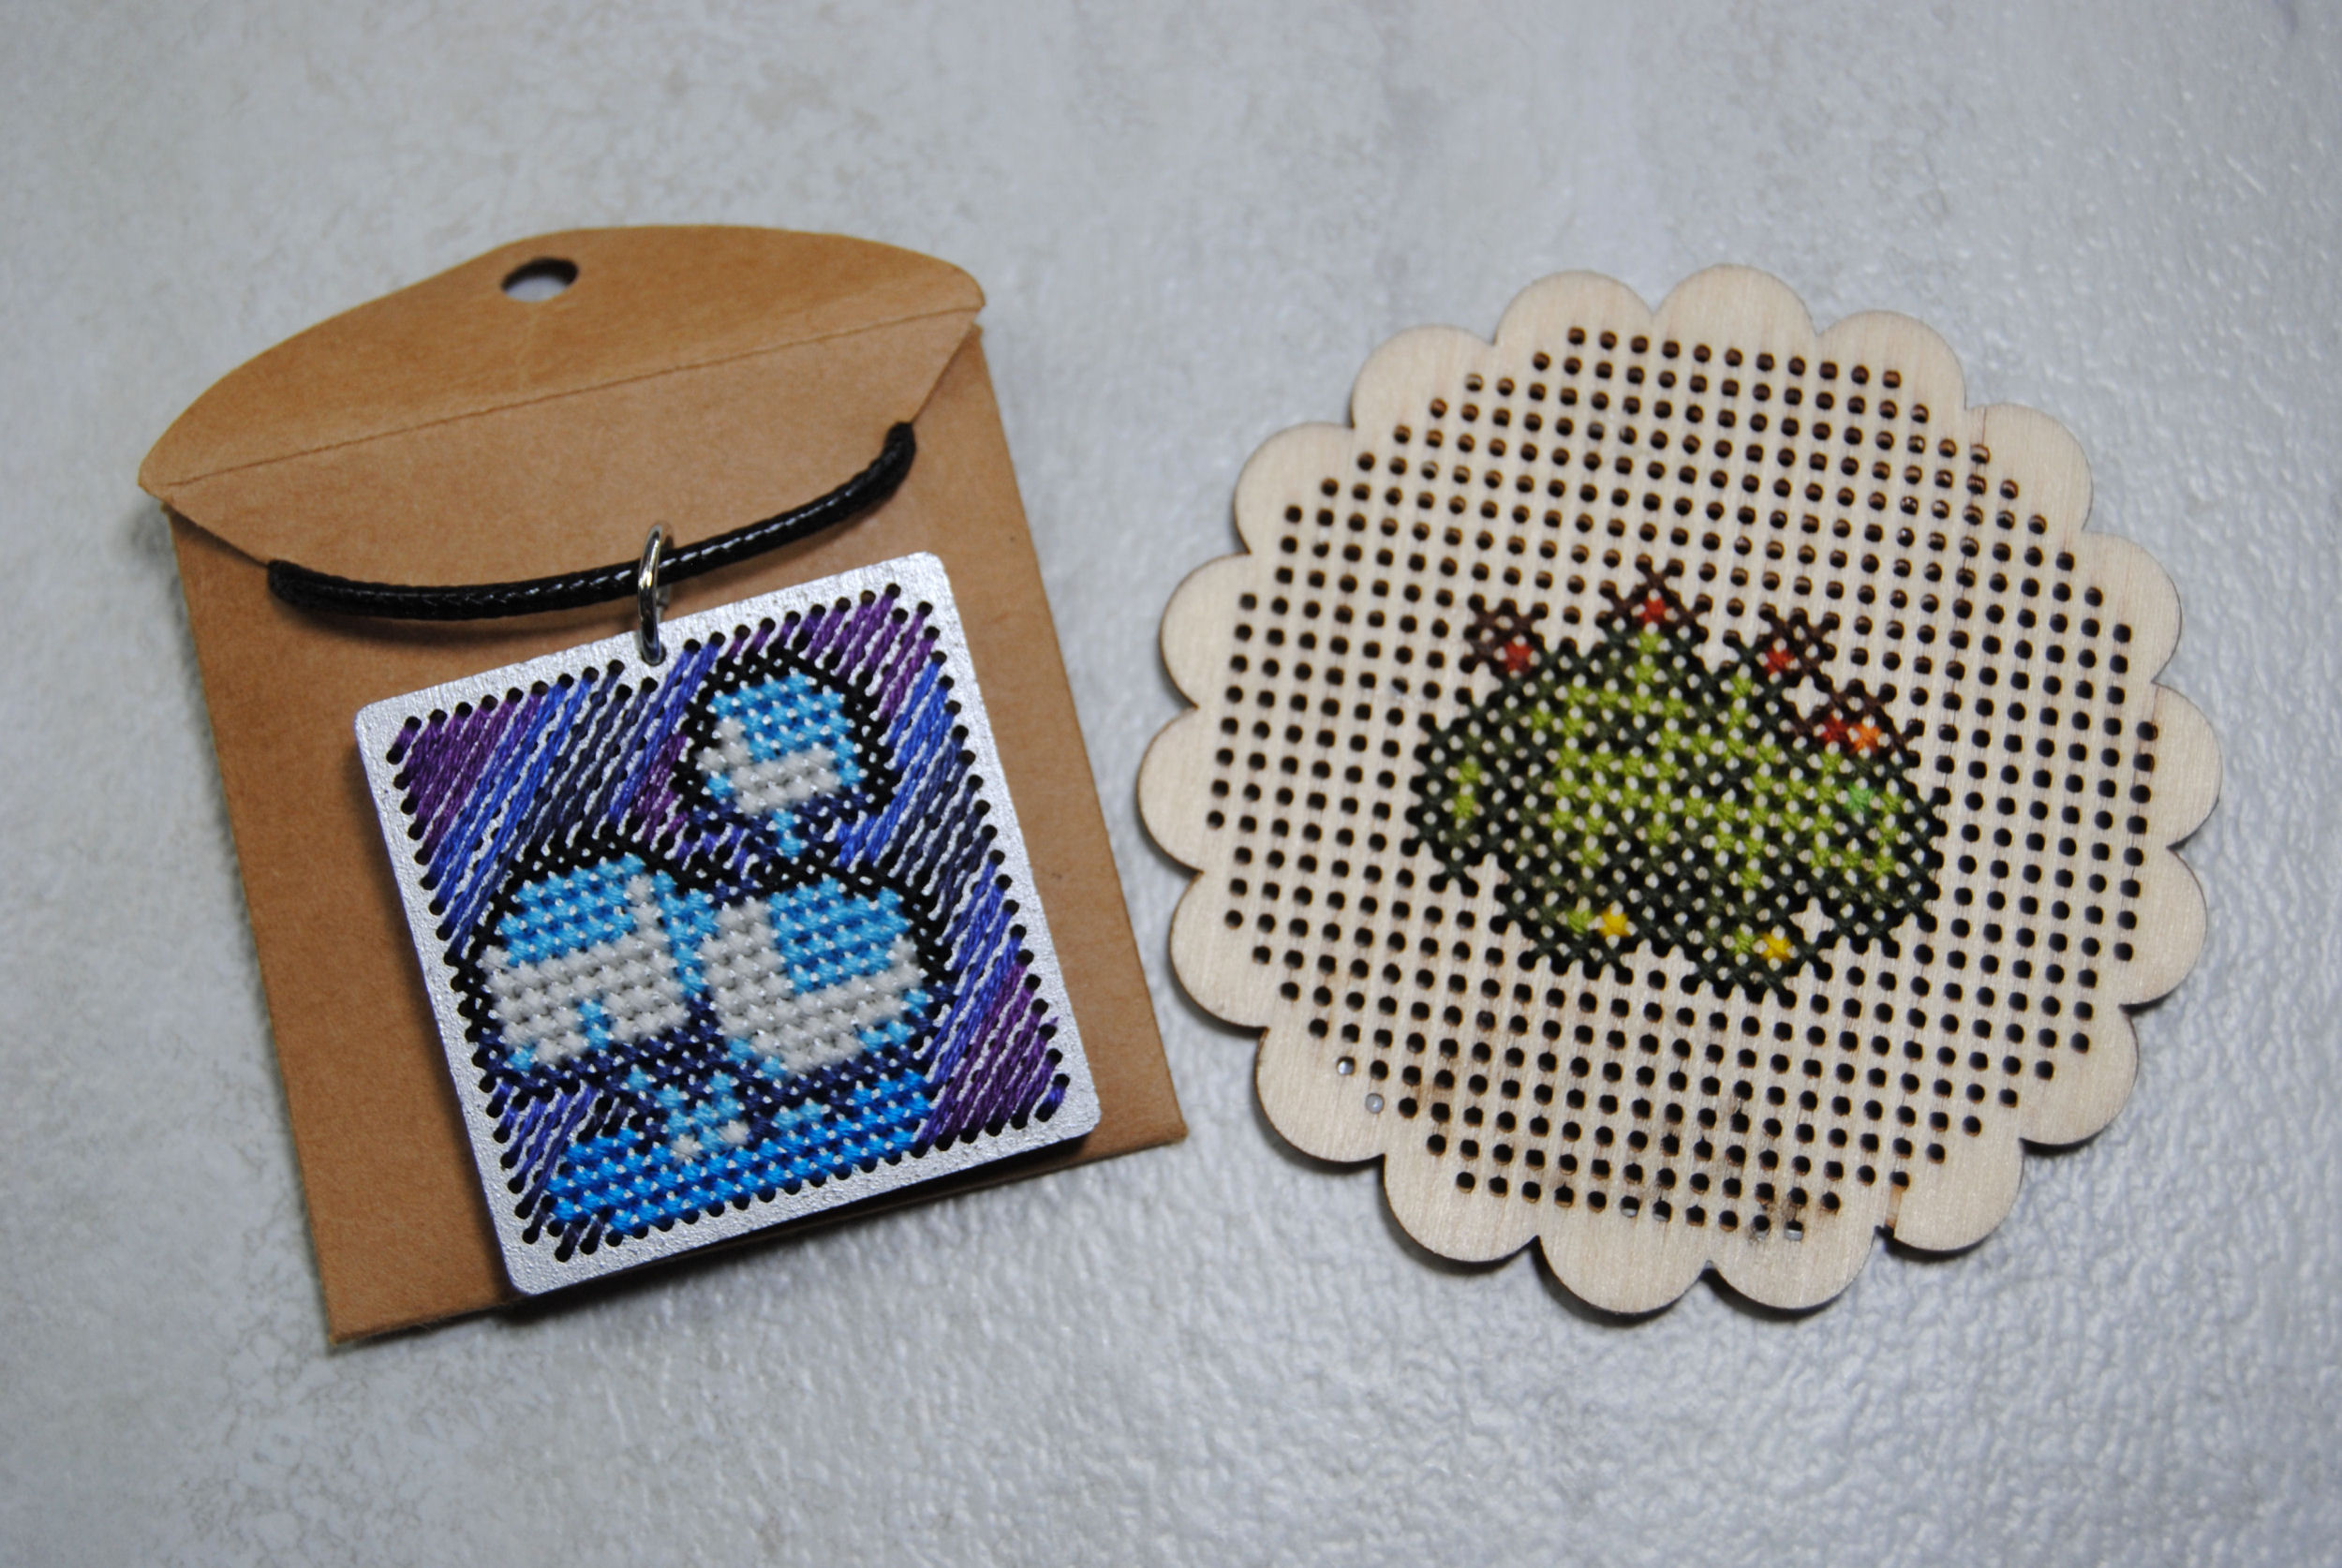
What kinds of things can you make with cross stitch on wood, you ask? Well the most common item I see are small pendants or hanging ornaments. This is likely because it’s easier to produce, kit, and ship.
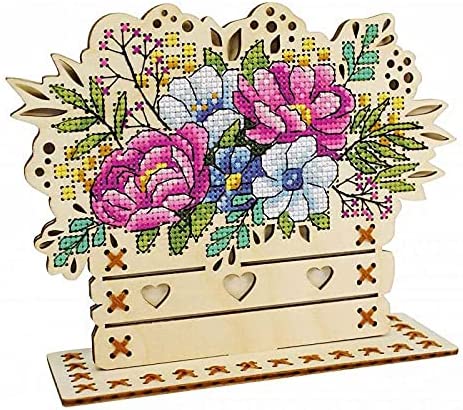
But I’ve also seen things like jewelry, bookmarks, boxes, large wall hangings, and decorative standees.
Heck, there used to be a company making wooden purses decorated with cross stitch. They don’t seem to be in business anymore, but their instagram is still an ok source of inspiration.
Basically, anything you can make out of wood you can also embellish with cross stitch. I even found these cool halloween thread organizers while researching for this article!
Buying Wooden Blanks
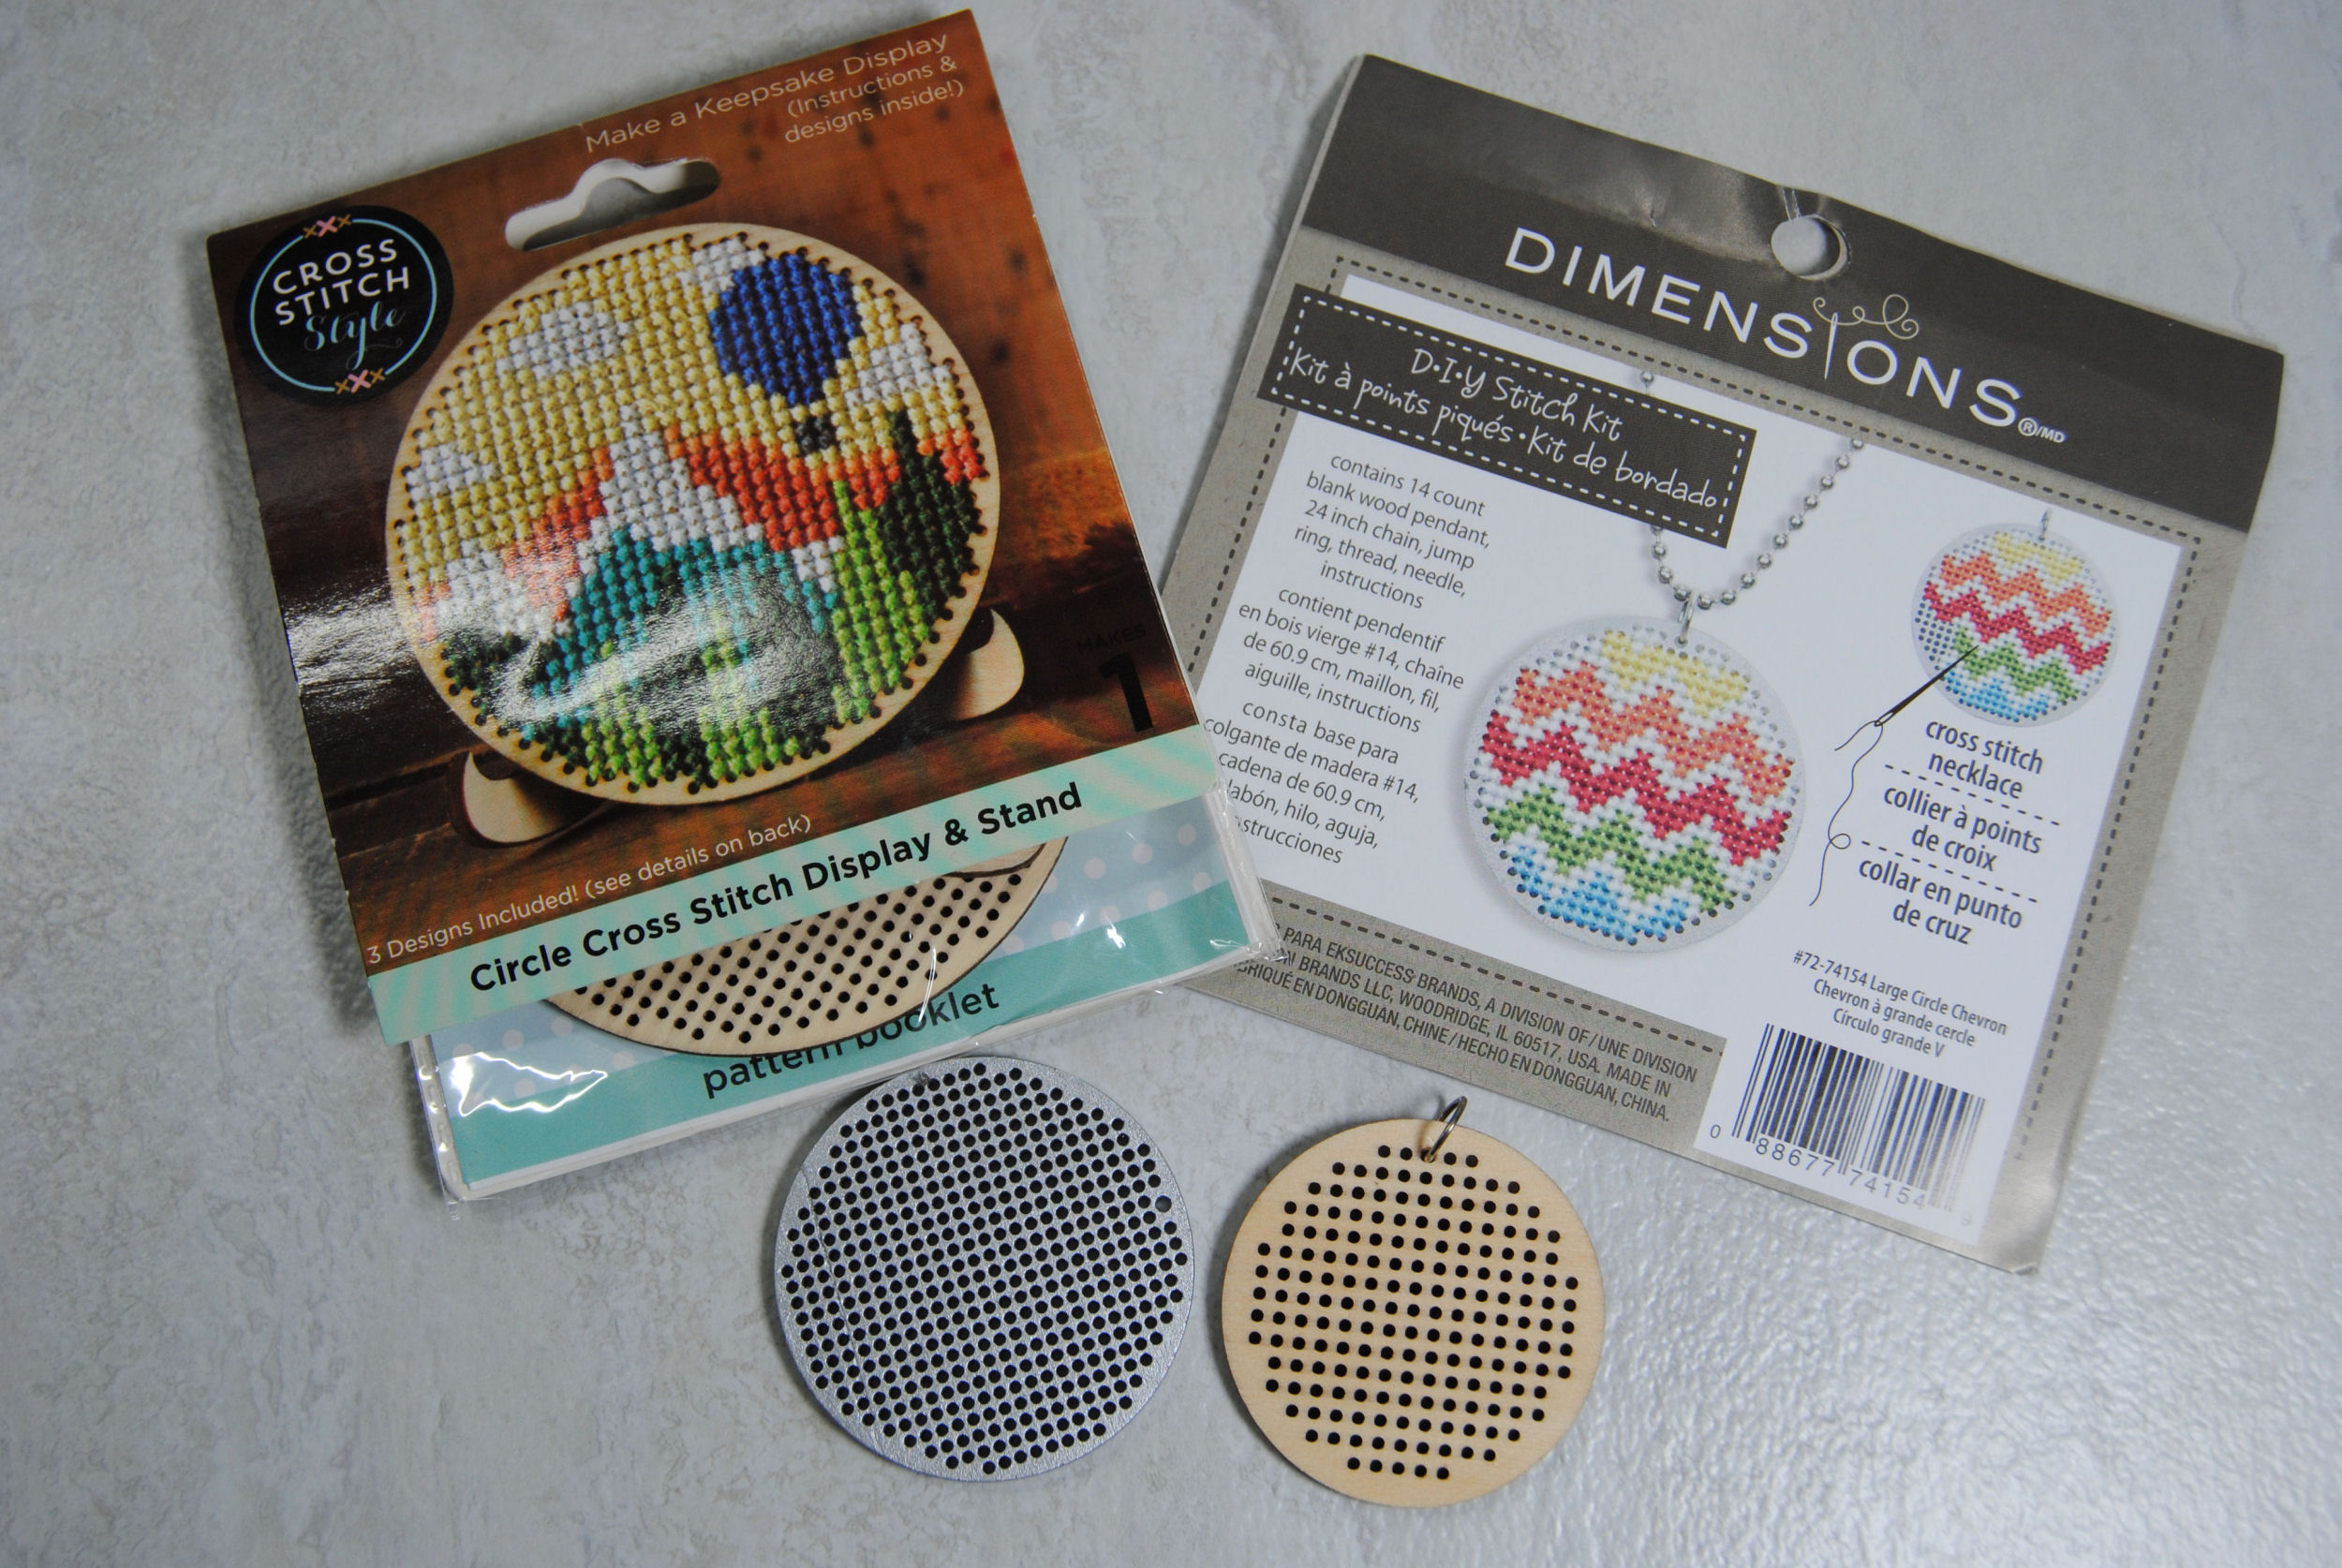
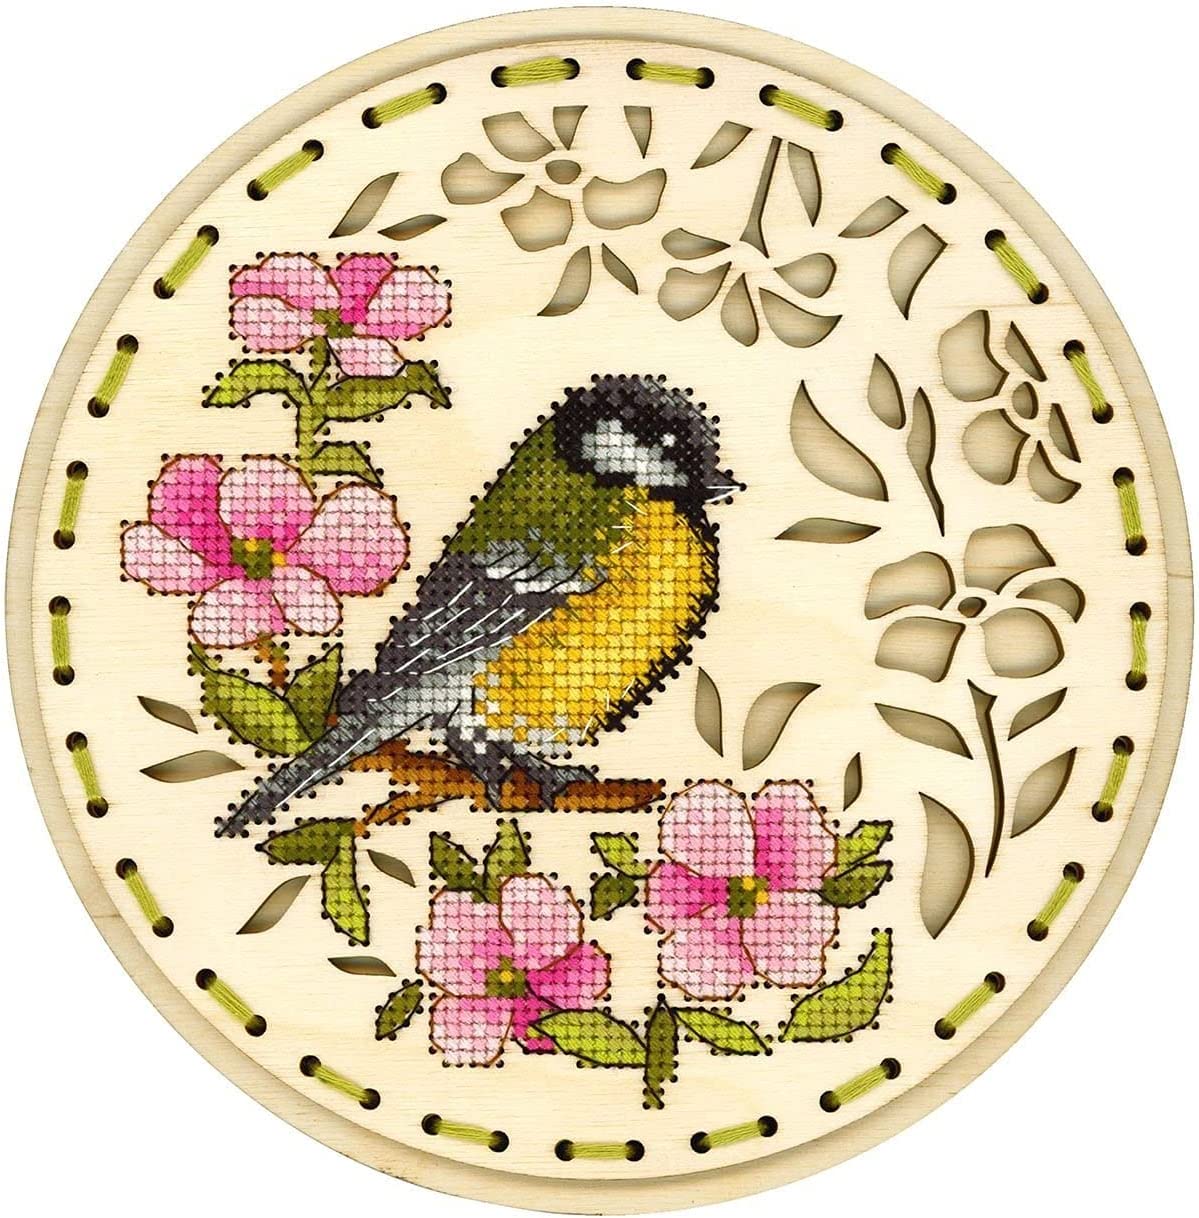
There are mainstream kits out there, such as the Dimensions ornaments, wooden boxes or pendants. The “Cross Stitch Style” brand also has some wooden kits, but as these are mainly sold at Hobby Lobby I refuse to link to them.
Regardless, mainstream brands aren’t gonna have a lot to choose from and they tend to be basic shapes like circles and squares.
But of course, the internet is more than happy to provide. There’s plenty of small businesses on Etsy that offer much more variety. From Rainbows to garden gnomes. You’ll find stamps, pumpkins, butterflies, and pretty much everything in between.
Make Your Own Wooden Blanks
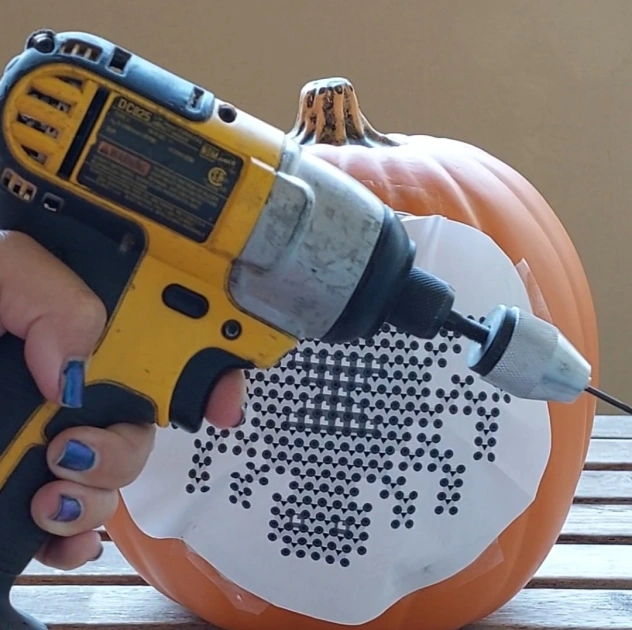
Want to make your own blanks instead? The most basic DIY method is just to grab some graph paper and a drill. Mark out the boxes that will actually have stitches in them. Tape the paper to your piece of wood. And then drill through the corners of each box that will be used. Jess (@CraftingGeek) has a great tutorial she made for doing this same process for cross stitching on a craft pumpkin.
Another method is to make use of a laser cutter. If you have a laser cutter at home or have access to one, I am incredibly jealous of you. As I do not, I do not have any good advice for designing your own. Sorry. However, I do know that people sell laser cut files that will allow you to cut your own. So that may be a good place to start searching.
Patterns for Wooden Blanks
Most packaged wooden blanks come with a pattern. And there are designers who make cross stitch patterns for wooden blanks specifically. But what if they’re not your style?
If you’re making your own wooden blanks, then you can pick out a design first and just cut the holes to match. But how do you go about designing a pattern for a pre-made base?
Unfortunately, there’s not an easy way to do this. You’re gonna have to do some counting.
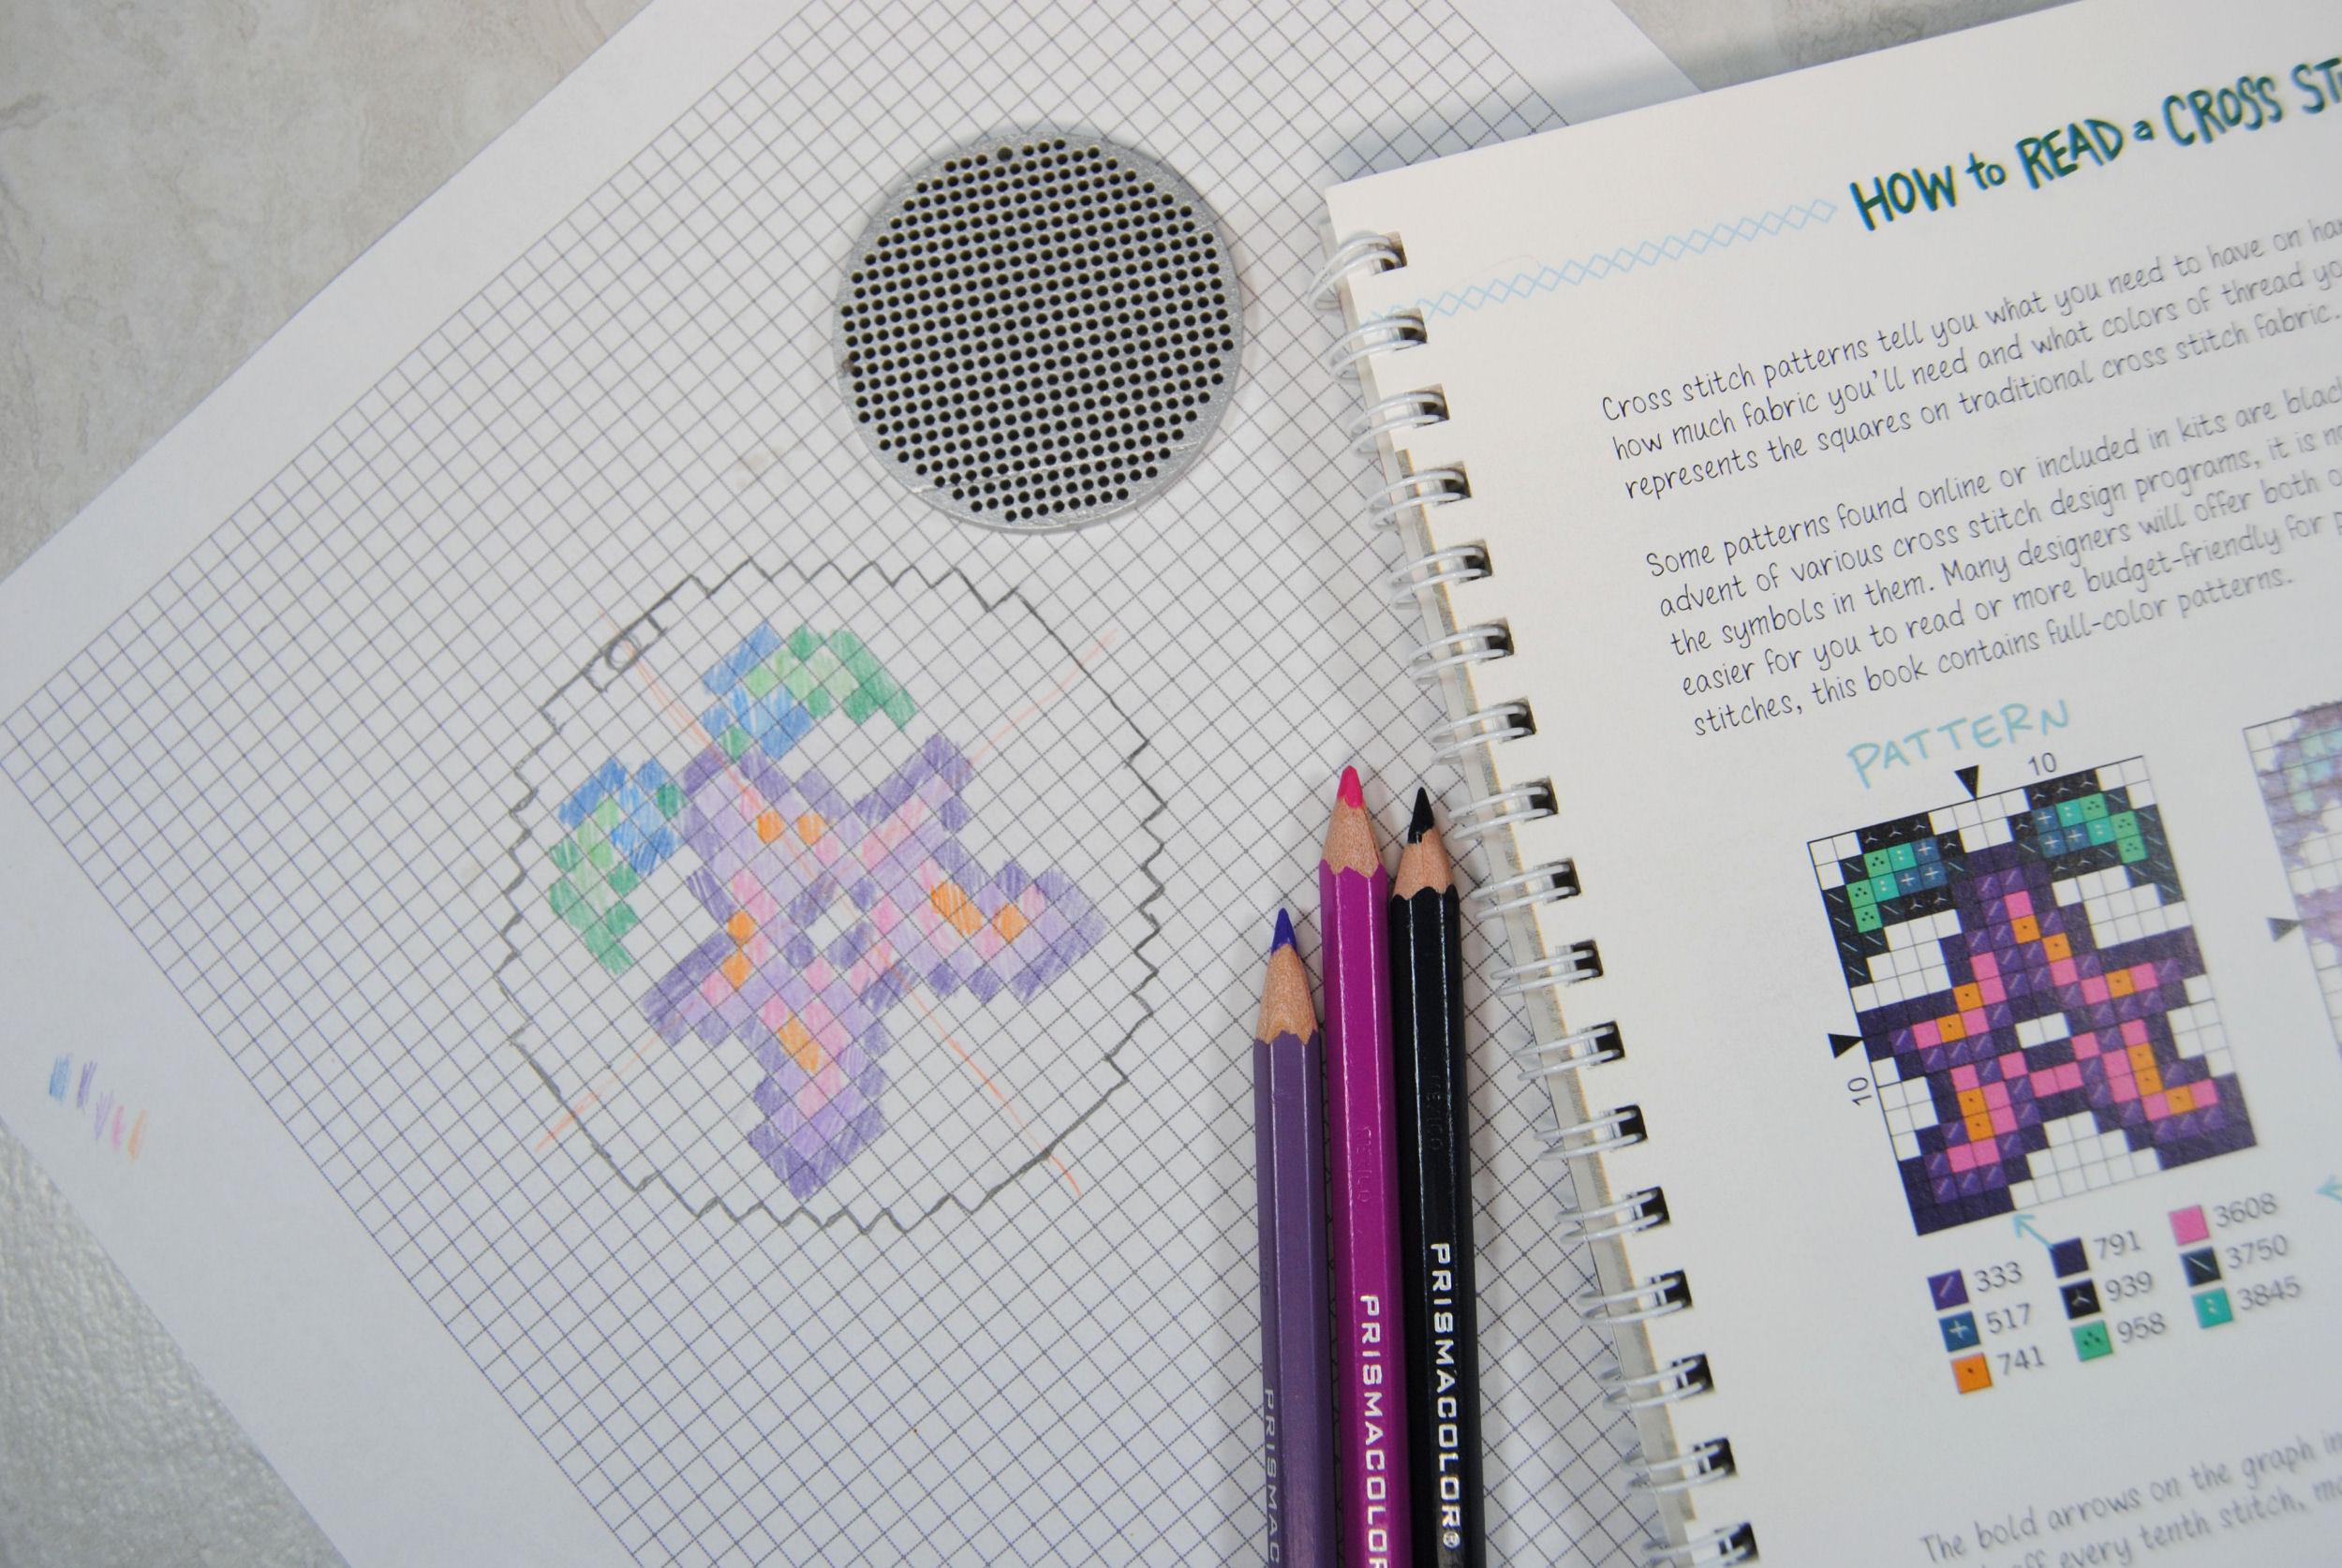
The best way I’ve found to do this is to get yourself some graph paper or your favorite cross stitch program and just draw the outline of your shape first. Then design within that space.
Even if you’re not designing your own, knowing the size limit you have gives you the information you need to pick out existing patterns, such as the small items from my Stardew Valley Cross Stitch Guide.
The main thing you want to do is avoid specialty stitches. Quarter stitches and the like. Just like plastic canvas, you can’t really stitch between the stitches so you’re gonna have to replace most specialty stitches with standard cross stitch. Which you CAN do. But could be a lot of decisions to make depending on the design.
If your pattern has backstitch, double check that none of the backstitch lands ‘between’ a stitch. This is a problem for many backstitch heavy designs as they’re typically made with higher count fabrics where you’re likely to be stitching over 2.
Patterns like Craftigurumi’s mini designs which are designed both to be small and workable on plastic canvas are a great place to start. Most also feature low color count, which is especially nice when it comes to trying to keep your back clean if you’re not planning on backing your wood.
Tips for Stitching on Wood
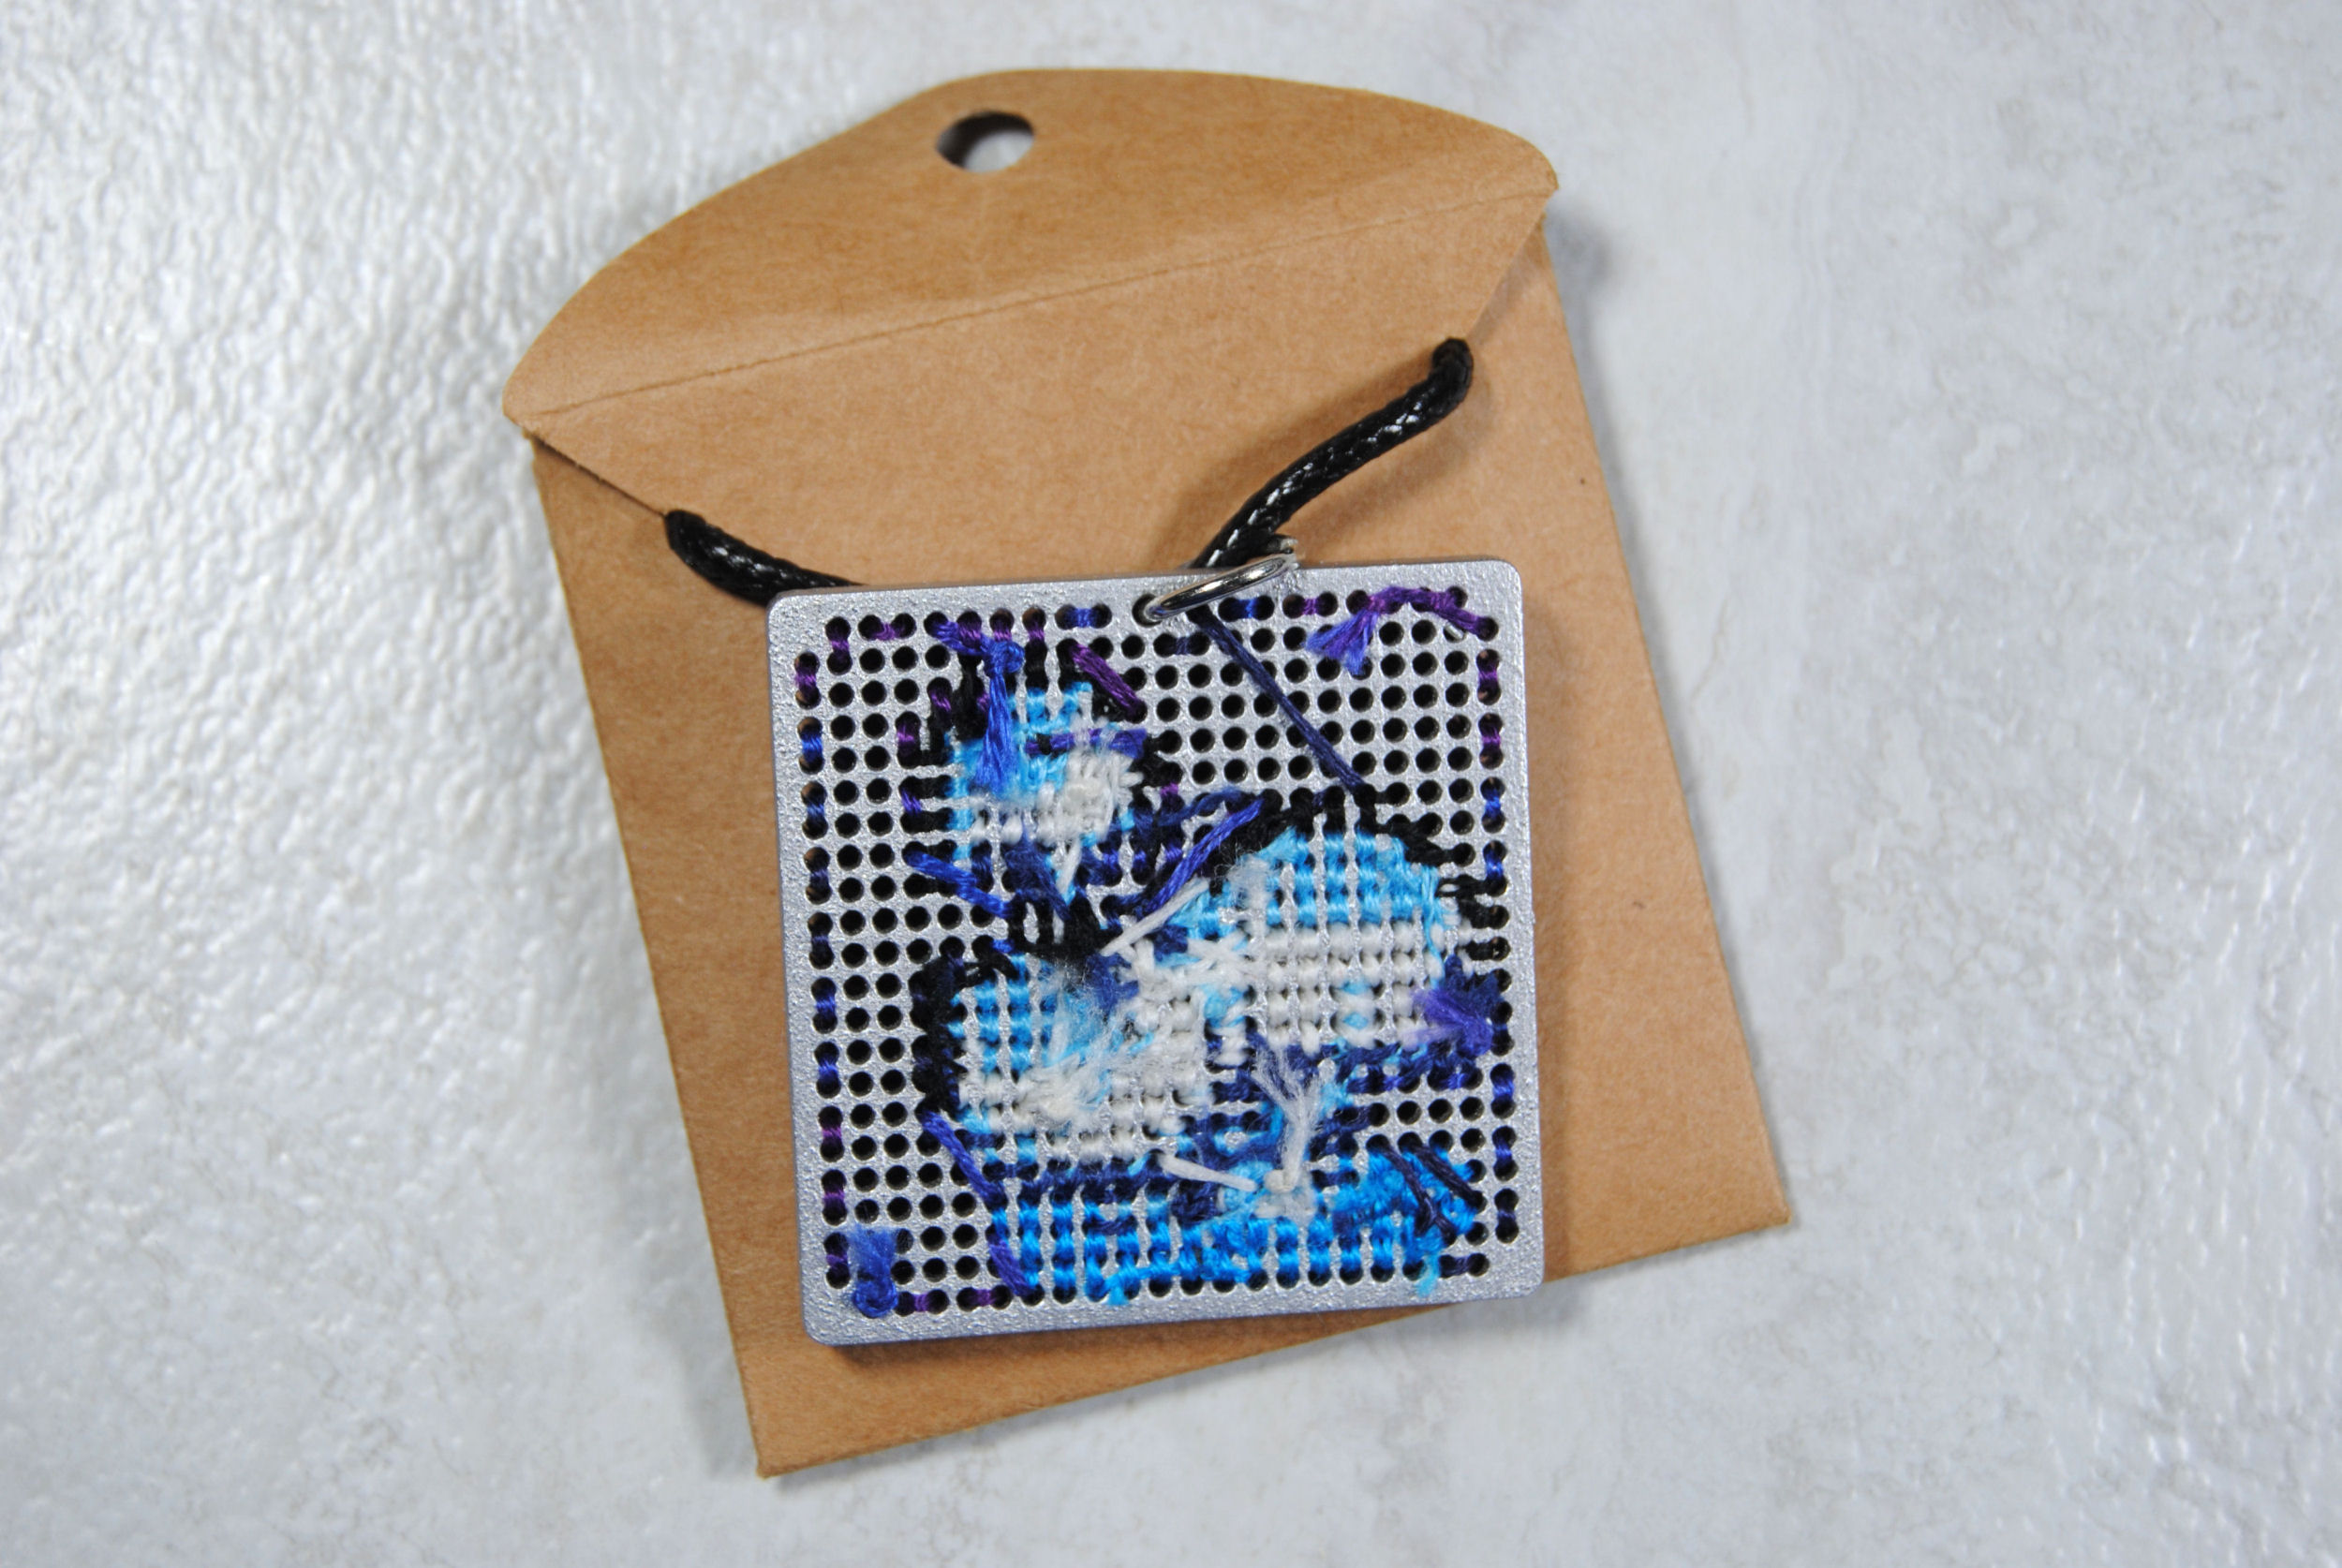
Got your pattern? Great! Before you start stitching I highly recommend finding a blunt needle. You don’t need to pierce anything. They don’t need to be sharp. I’ve found that since the thick, rigid wood makes it so you absolutely have to go perfectly vertically through the holes. Which also means however many years of muscle memory you have of cross stitching in fabric is gonna fight you every step of the way and you are likely to expect the needle to be at a different angle than it actually is. This is how you accidentally stab yourself. I don’t even recommend sharps for plastic canvas, which is much more bendy!
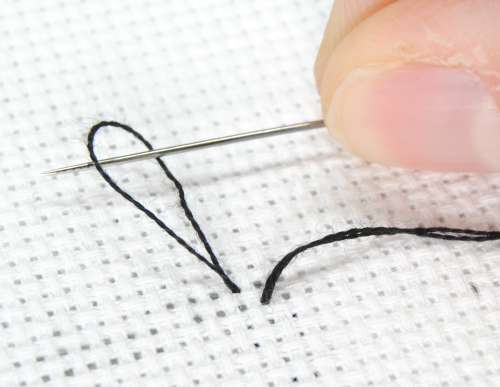
When you do get started, consider using the loop start method to anchor your threads. That way your stitches are secured strongly and you don’t have to worry about them coming loose.
Stitch a little looser than you might normally, as the wood is not flexible at all and you’ll have a hard time tucking your needle behind your stitches to finish off your threads as well.
As mentioned before, with wood being very rigid you’ll be stitching straight up and down. So don’t be surprised if it takes longer to stitch something than you’d expect. Take your time and don’t rush it.
Filling in the Background
Lastly, consider using needlepoint designs to fill in the “background” of your design if your pattern doesn’t go all the way to the edges of your blank.
Not only will this take a lot less time thank stitching each individual square, but the texture difference will help your cross stitched design stand out even more.
Above, I used a variegated thread stitched along the diagonals to give those glowing mushrooms a simple background. A bit nicer looking than that plain wood background that dino got.
I used the same technique below on this leather cuff, but in small squares in alternating directions:

You can also use specialty threads like glow in the dark or metallic threads on wood. But the same annoying issues you encounter with it on fabric will be present on wood. So if you already struggle stitching with it on aida, I don’t recommend it.

Backing your Design
I personally am a fan of letting the back show. There’s something uniquely beautiful about the chaotic nature of cross stitch backs that I don’t think we should have to hide.
However, if you absolutely do not want to look at your back, there’s a few ways around it.
Just like with plastic canvas you can stitch felt or another fabric onto the back by backstitching around the edges of your design.
I’ve also seen people use self-adhesive felt to cover up the backs of their designs, like this wooden box.

If you’re making your own wooden blanks you might also consider making an identical shape but with only the holes on the outside edge, so you can stitch them together.
For example, this wooden cross stitch kit I found on Amazon comes with a flat wooden backing. The side with the cross stitch also has some wood cut elements to give a very interesting 3-D effect.
Whatever you decide to do, stitching on wood can be a really fun break from our normal stitching routines. So give it a try and see if you like it! 🙂


