
Can You Cross Stitch on a Plane? How to Check Airline Regulations
Here’s a question I (used to) see a lot. Can you cross stitch / do embroidery on a plane?
Well the answer varies incredibly. It varies from country to country, of course. But also from airline to airline, and airport to airport! Generally speaking, though: Within the US, yes. Probably. Internationally, results may vary.
Disclaimer: I live in the US and haven’t been out of the country in 15+ years, so I can’t really speak for other countries. I have done some research online and will share with you my findings, but I would recommend checking your own airline and airport regulations before flying.
I also started researching this in… January 2020. Which might explain why I didn’t get around to publishing this until now. Hopefully, most of you aren’t doing much travelling. But when you do, here’s what to keep in mind when it comes to bringing crafts to work on mid flight!
This post may contain affiliate links. If you buy something using one of these links, I earn a small commission. However, there is no extra cost to you. Thanks for understanding! Learn more in my Disclosures & Privacy Policy.
Table of Contents
United States TSA Regulations
Let’s start with TSA Guildines. Many have concerns about getting their needles or scissors through the security check long before you even get on the plane.
For each of these, I will link to the TSA.gov regulation regarding these items.
- Sewing Needles – Allowed in Carry On. Knitting needles and ‘Needlepoint Tools’ are mentioned as well.
- Scissors – Allowed in Carry On if they are less than 4 inches from the pivot point. That means most of your small embroidery scissors are going to be allowed.
- Circular Thread Cutters – Not allowed. This is often listed as a suggestion to bring instead of scissors, but they are specifically prohibited in TSA guidelines. If you’re not sure what I’m referring to, here’s an example.
- Nail Clippers – The other frequent scissor substitute I see suggested are nail clippers. They are allowed in Carry On. They’re annoying to work with, but will do in a pinch.
- Seam Rippers – I could not find any regulations referring to seam rippers anywhere. I personally have not had issues flying with a seam ripper within the USA. Your results may vary.
What if TSA Stops You Anyway?
The TSA site says the following:
“The final decision rests with the TSA officer on whether an item is allowed through the checkpoint.”
If you get stopped by a TSA officer despite following these regulations, be polite. Bring up the site, or have the regulation printed out in advance. Make it clear you did your research and are genuinely surprised there’s an issue. Be nice. They’re not going to change their mind if you piss them off.
I would recommend keeping these potentially flagged items safely packaged, and in plain sight. Cover your scissor tips with a sheath. Keep your needles in a clear container, so it’s immediately apparent what they are. Don’t bring your favorite scissors, just in case.
Don’t try and hide the fact you’re carrying these items. If possible, keep them separate and put them in the bin with your shoes and tiny liquid containers. That way the TSA agent doesn’t feel the need to dig through your bags to find out what flagged their X-Ray. You can always put them back into your purse or backpack before getting on the plane.
Airline Regulations
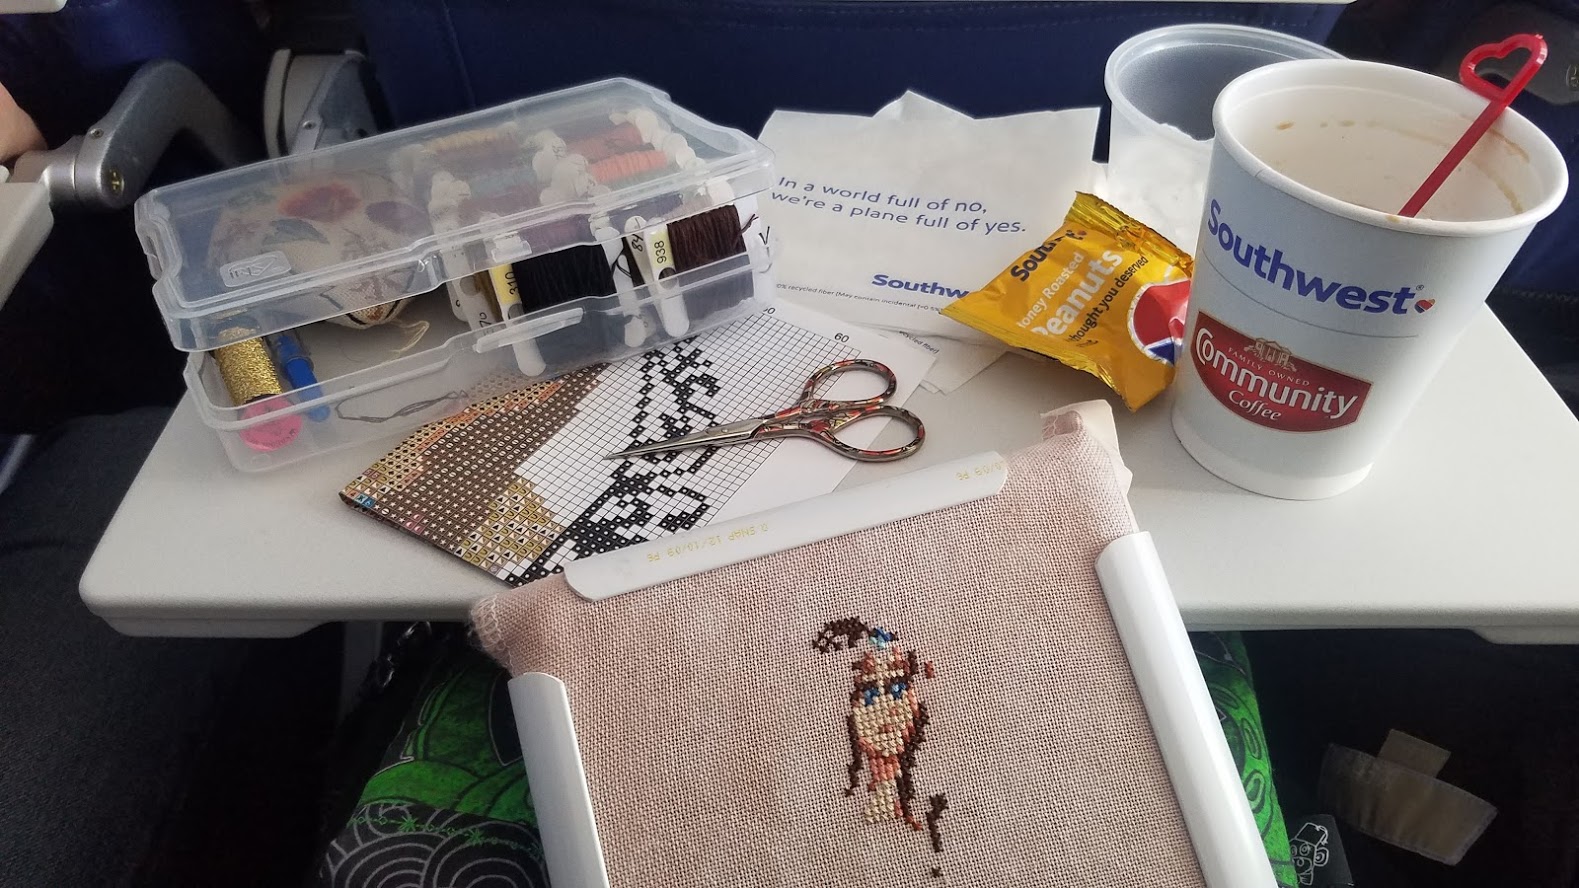
I am not going to look up every single airline regulations, but I will try to get the most common ones. I generally fly Southwest because I’m poor, but have never had an issue with domestic flights. Any time I fly, I bring a cross stitch project to keep my anxiety at bay.
Regulations can vary from airline to airline, so it’s best to check just in case. Even if you get through TSA, a specific airline may ask you to put them away once you’re on the plane. Here’s the most common ones, but be sure to check your airline’s site if it’s not listed here.
- Southwest – Their site just links straight to TSA guidelines, implying they allow anything TSA does.
- Spirit – Again just refers you to TSA.gov.
- Delta – Refers you TSA.gov.
- United – Doesn’t really say one way or another.
- American Airlines – Scissors OK up to 4 inches.
International Regulations
International flights don’t always agree on what is allowed. If you’re flying out of the country, make sure you can get back without issue, too. Check the regulations for any of the countries and airlines you’ll be using on your entire trip in advance.
Check the specific airports you’ll be flying from, as well. Auckland Airport, for example, specifically bans both nail clippers and scissors.
I’m not going to research literally every country and airline out there for you. And regulations can change, so be sure to double check current guidelines even if I’ve listed them here. That said, these are the ones that came up in my research, or were mentioned by community members on Discord. I’ve linked to these guidelines as reference.
Country-specific Government Sites
- Australia – Blades less than 6cm long
- New Zealand – Scissors no longer than 6cm.
- Hong Kong – Under 6cm as measured from the fulcrum.
- European Union – Scissors no longer than 6cm OK.
International Airlines
- Air France – Specifically prohibits needles and scissors.
- Aeroloft – Allows scissors under 60 mm blades.
- Air New Zealand – All scissors prohibited.
- Air Canada – Refers you to CATSA, which says scissors with blades 6cm (2.4in) or less. Also says Sewing needles OK.
- British Airways – Scissors OK less than 6cm. Sewing needles not listed.
- Virgin Australia – Scissors OK under 6cm long blades.
Packing your Project
Okay, so you’ve determined your scissors will make it through the gates. Now what? How do you package it all in a way that is convenient to bring out and work on in a tiny cramped seat.
There’s a ton of different ways to package your stuff, but I’ll give you a few examples based on what I’ve found most convenient. I mentioned these items briefly in my Thread Organization post as well.
I recommend sticking to a fairly small to medium sized project, as you generally don’t have a lot of elbow room. Unless you’re lucky enough to have an aisle to yourself or are flying first class.
What to Bring
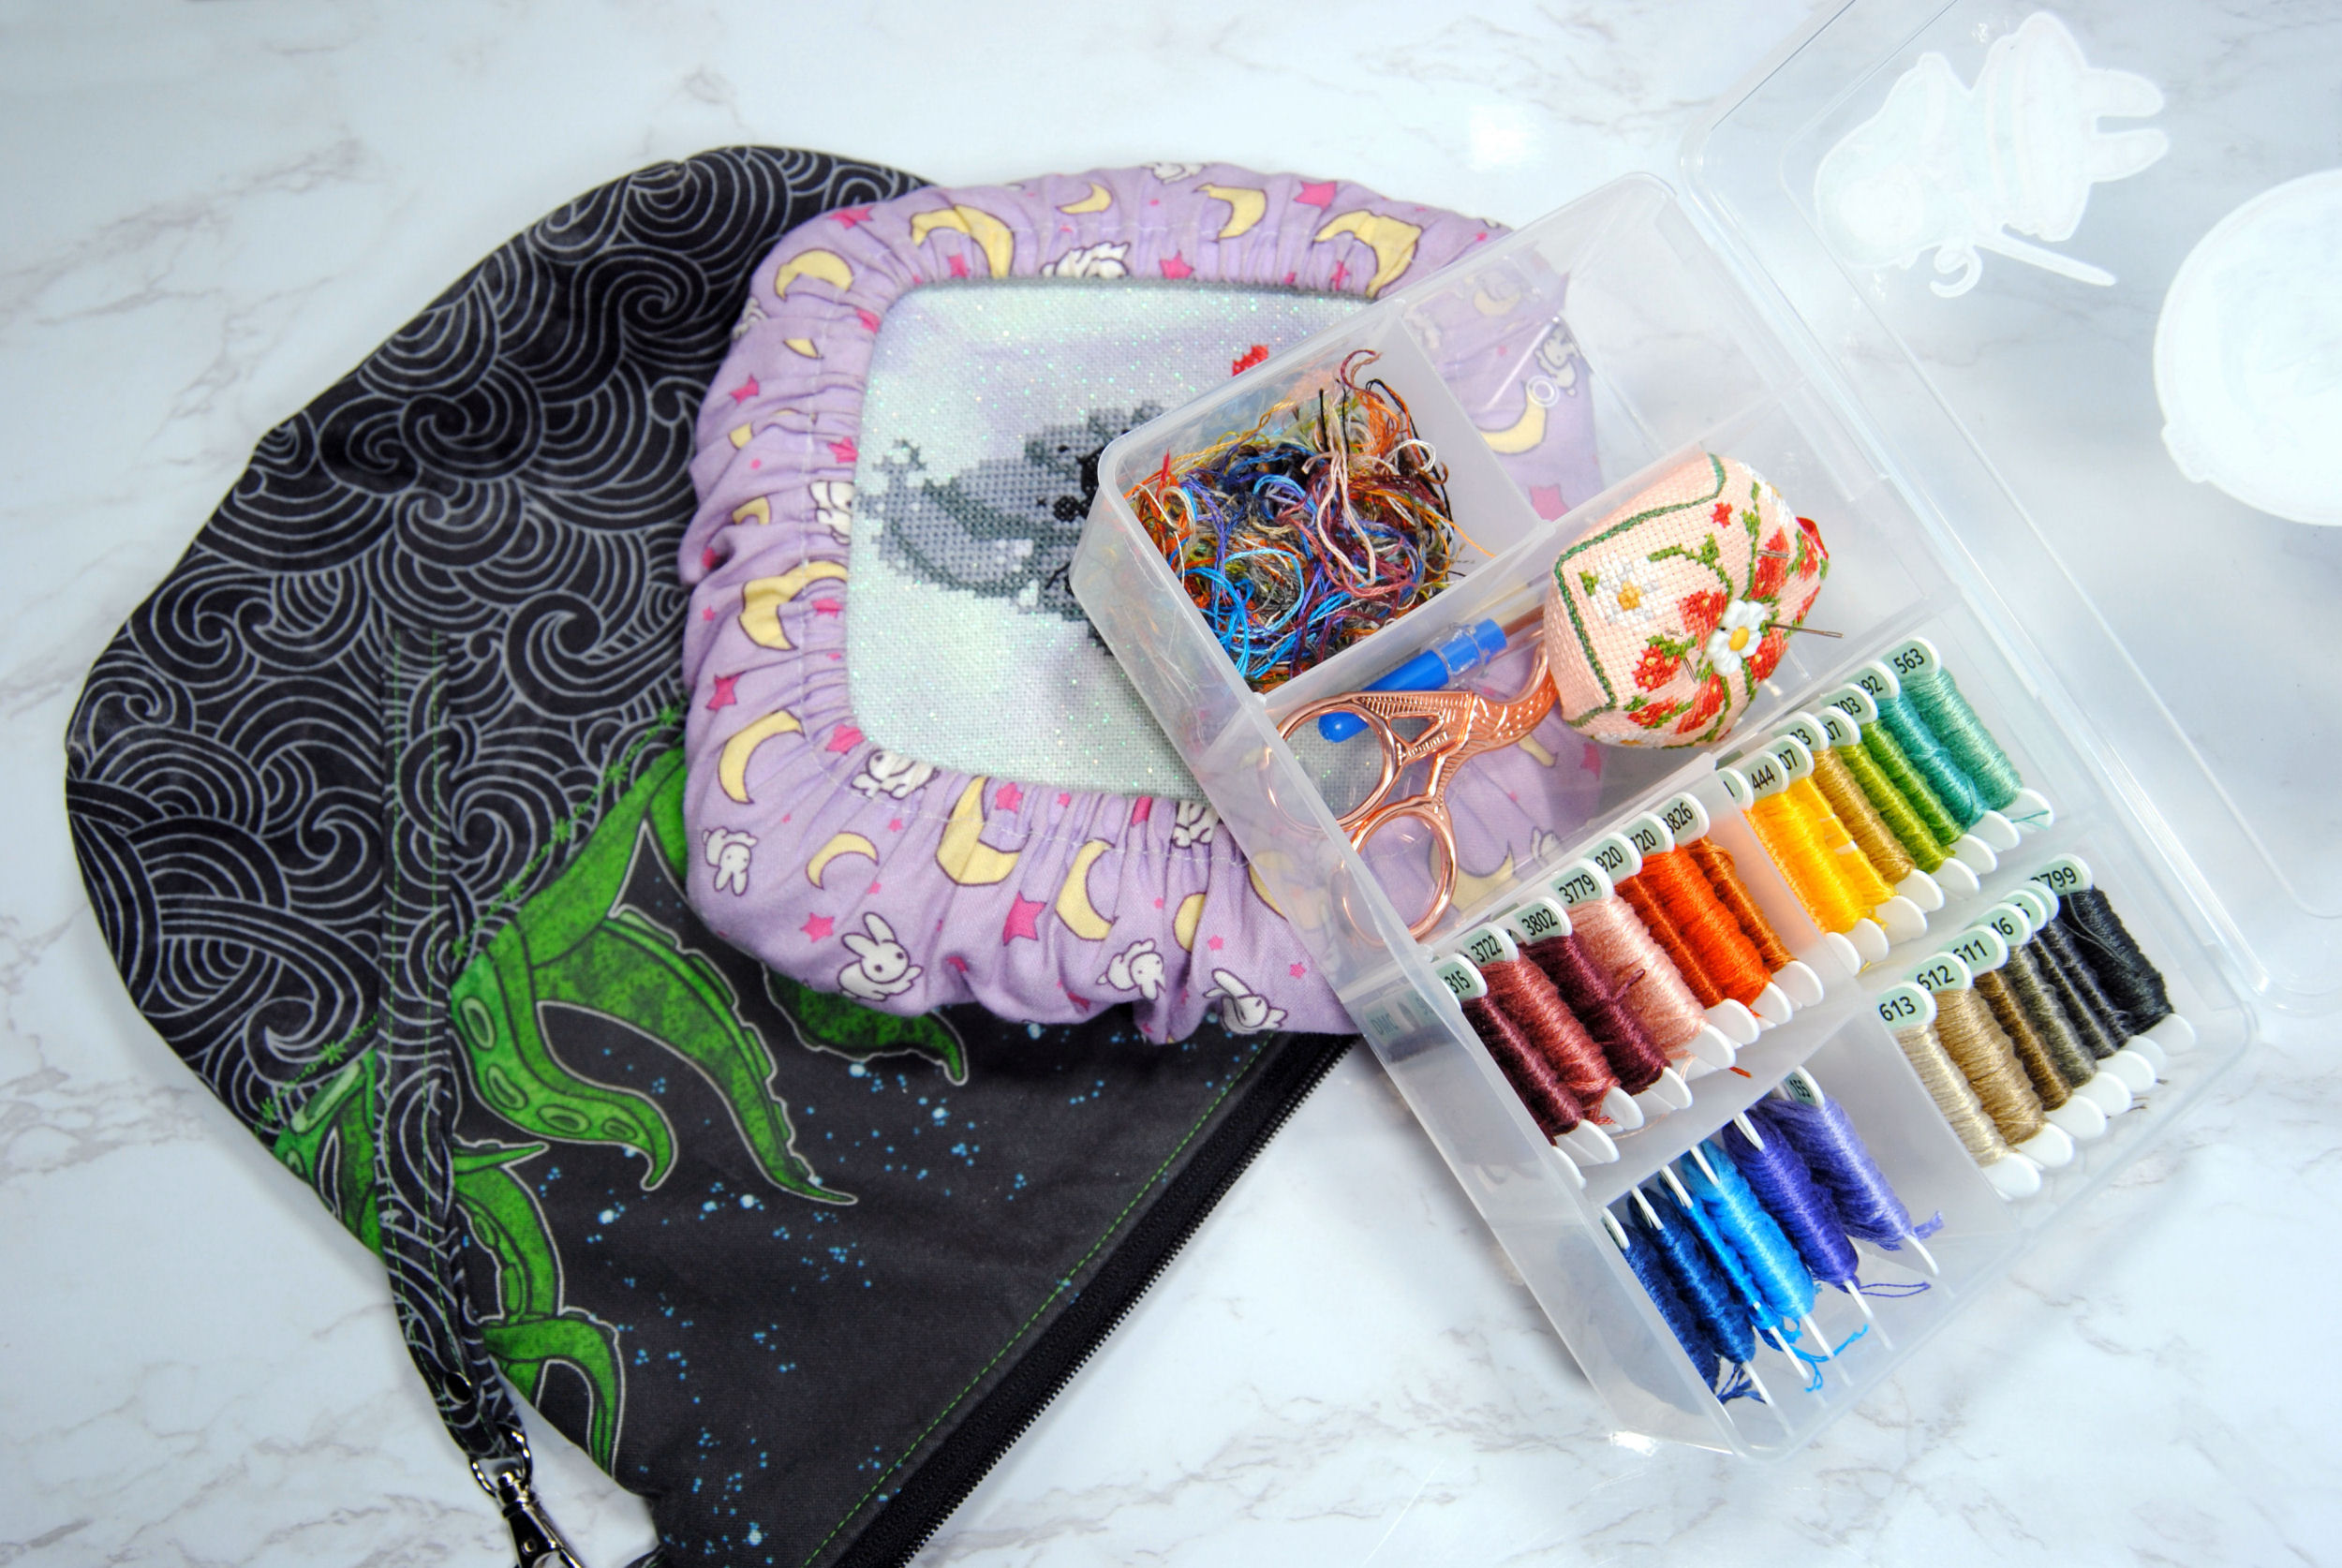
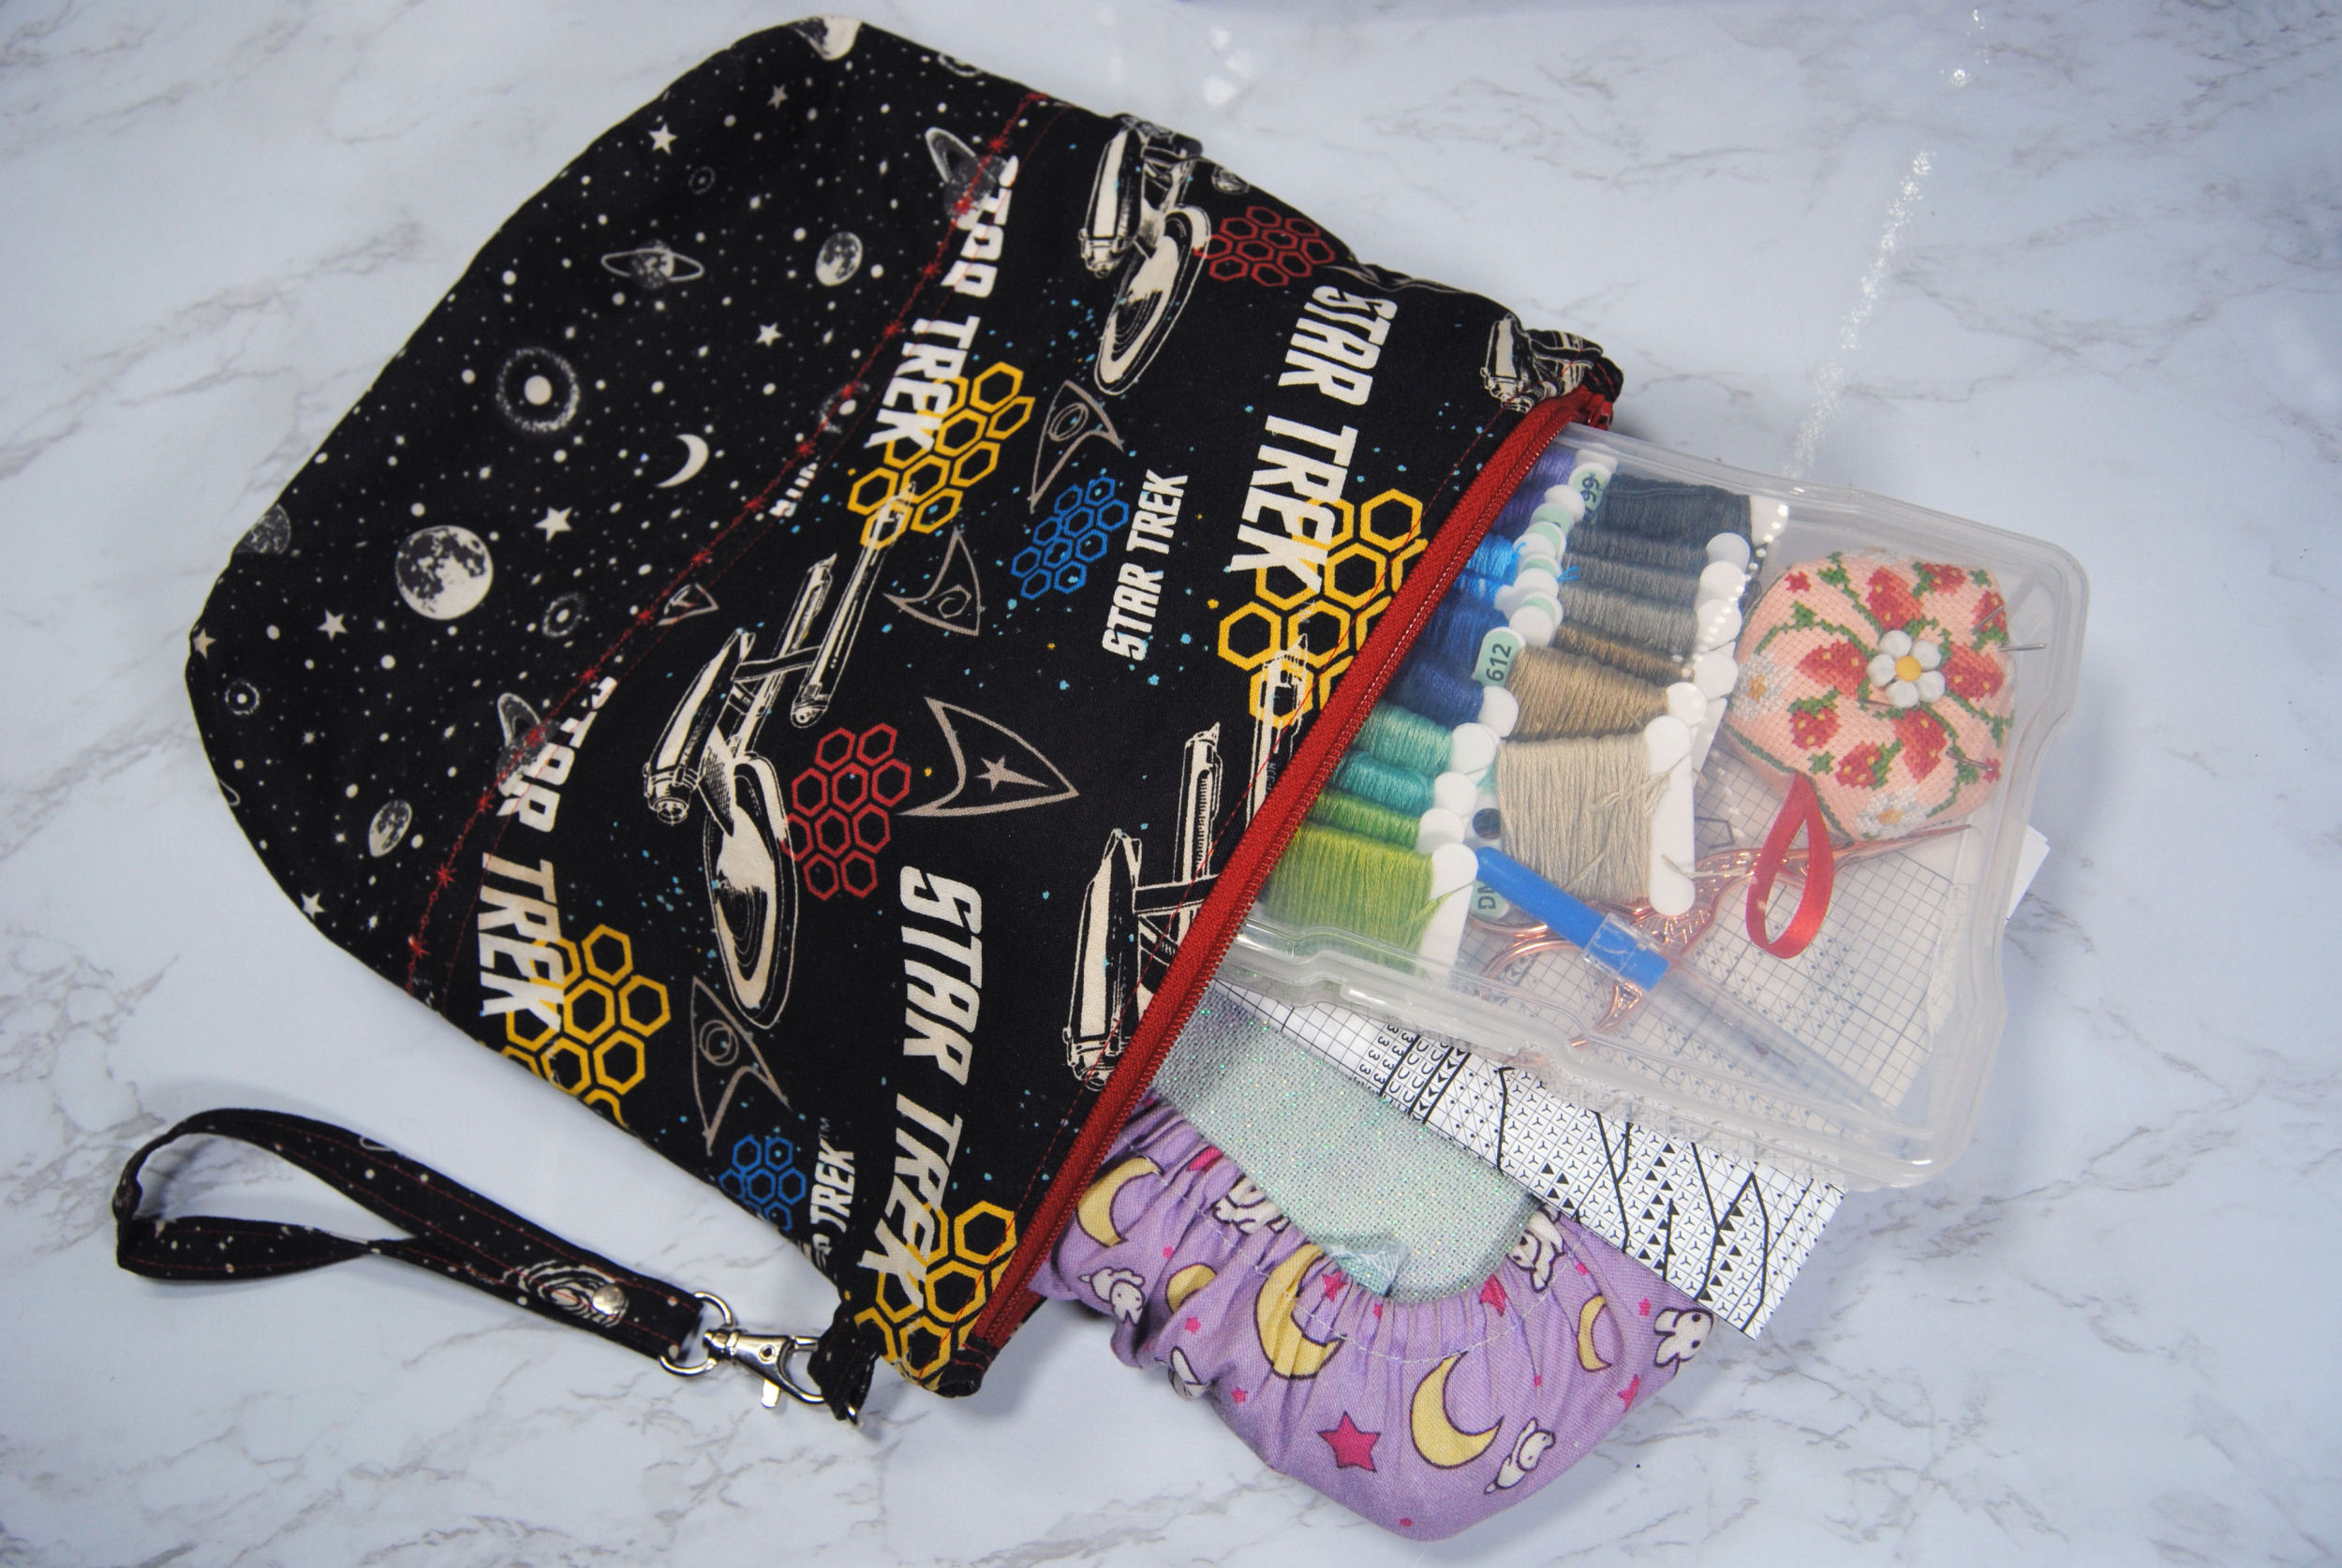
- Project bag – Pick a bag just barely large enough to hold your Q-snap or Hoop and your thread box. You don’t want to take up a lot of room either in your bag or on the tiny plane table. Mine is from the Etsy shop CraftyLikeAMonkey.
- Thread Box – Depending on how many colors I need, I’ll either being a photo box, or a mini thread box. (This particular mini box has been out of stock for a while, but I’m leaving the link in just in case they restock!)
- Scissors – I tend to bring my normal embroidery scissors, but I also have these tiny sheathed ones with 2.5cm blades as backup. In the header image you can see I have brought even larger scissors onto a plane without issues.
- Needles – I just keep a small biscornu in my box with needles stabbed into it, and have not had issues. But a clear needle tube is probably best for both safety and visibility
- Seam Ripper – I did not find any regulations that specify whether or not seam rippers are OK. I personally have never been stopped from bringing them on board a plane (in the US). Your results may vary, but they’re pretty cheap to replace. Regardless, let’s hope you never have to frog mid-flight. Turbulence does not help. But you may want them with you if you miscount and need to pull things out once you get settled at your destination.
- Pattern – I normally work my patterns from my computer or cellphone. When travelling however, the last thing you want to do is drain your phone battery. Print out a copy of your pattern when possible. Or bring battery backups.
Have any tips or have you been denied bringing your materials on a specific airline? Let me know! I’d love to grow this list to be a useful resource for the community as a whole.
You Might Also Like:
Cross Stitch Handmade Gift Ideas
Fraying Fabric – Various Ways to Deal With It
