Grime Guard / Q-Snap Cozy: Make Your Own With a Fat Quarter
Hello stitchers! Today we’ll be talking about how to make a grime guard for your Q-Snap. There are plenty of tutorials for these out there already but I do a poll on my Patreon every month for what I should write about, and this is what was voted on! So I’m going to try and add my own insight here, and as usual overexplain everything.
If you’re more of a video person, I did make a video of me making a Q-snap cover… with a twist. That one is made from English Paper Piecing! It’s a similar process, so if you need a visual of anything in this tutorial it may be of help still. But it was definitely a bit more complicated than the plain fabric one I’ll be explaining in this article.
This post may contain affiliate links. If you buy something using one of these links, I earn a small commission. However, there is no extra cost to you. Thanks for understanding! Learn more in my Disclosures & Privacy Policy.
Table of Contents
Why a Fat Quarter?
Why am I specifically making a grime guard with a fat quarter? Well, part of my goals this year is to work through through or get rid of a fair amount of my craft stash. And the fabric I have in largest supply is fat quarters. A lot have been chopped up for backings for flat ornaments or other small projects, so many aren’t even a full quarter! So I’d like to try and use some of those up.
The other reason is because if you’re new to sewing you may not HAVE a stash. And starting small with a standard fat quarter is going to (hopefully) encourage you to give it a try. They can be very inexpensive and easy to find in craft stores or even stores like Wal-Mart. And they come in SO many cute prints you are guaranteed to find something that fits your style. I’ve seen fat quarters for as low as $1 in clearance bins.
Will they be high quality fabric? Probably not. Will they be great practice, fully functional, and adorable? Absolutely! So let’s first talk about why you might to make one.
Why Use a Grime Guard?
Okay, but what even IS a grime guard, anyway?
Basically, it’s a bit of fabric that wraps around your Q-Snap, hoop, or scroll frame and is held in place by the elastic along the edge. Here’s one I got from SleepingLunaDesigns:
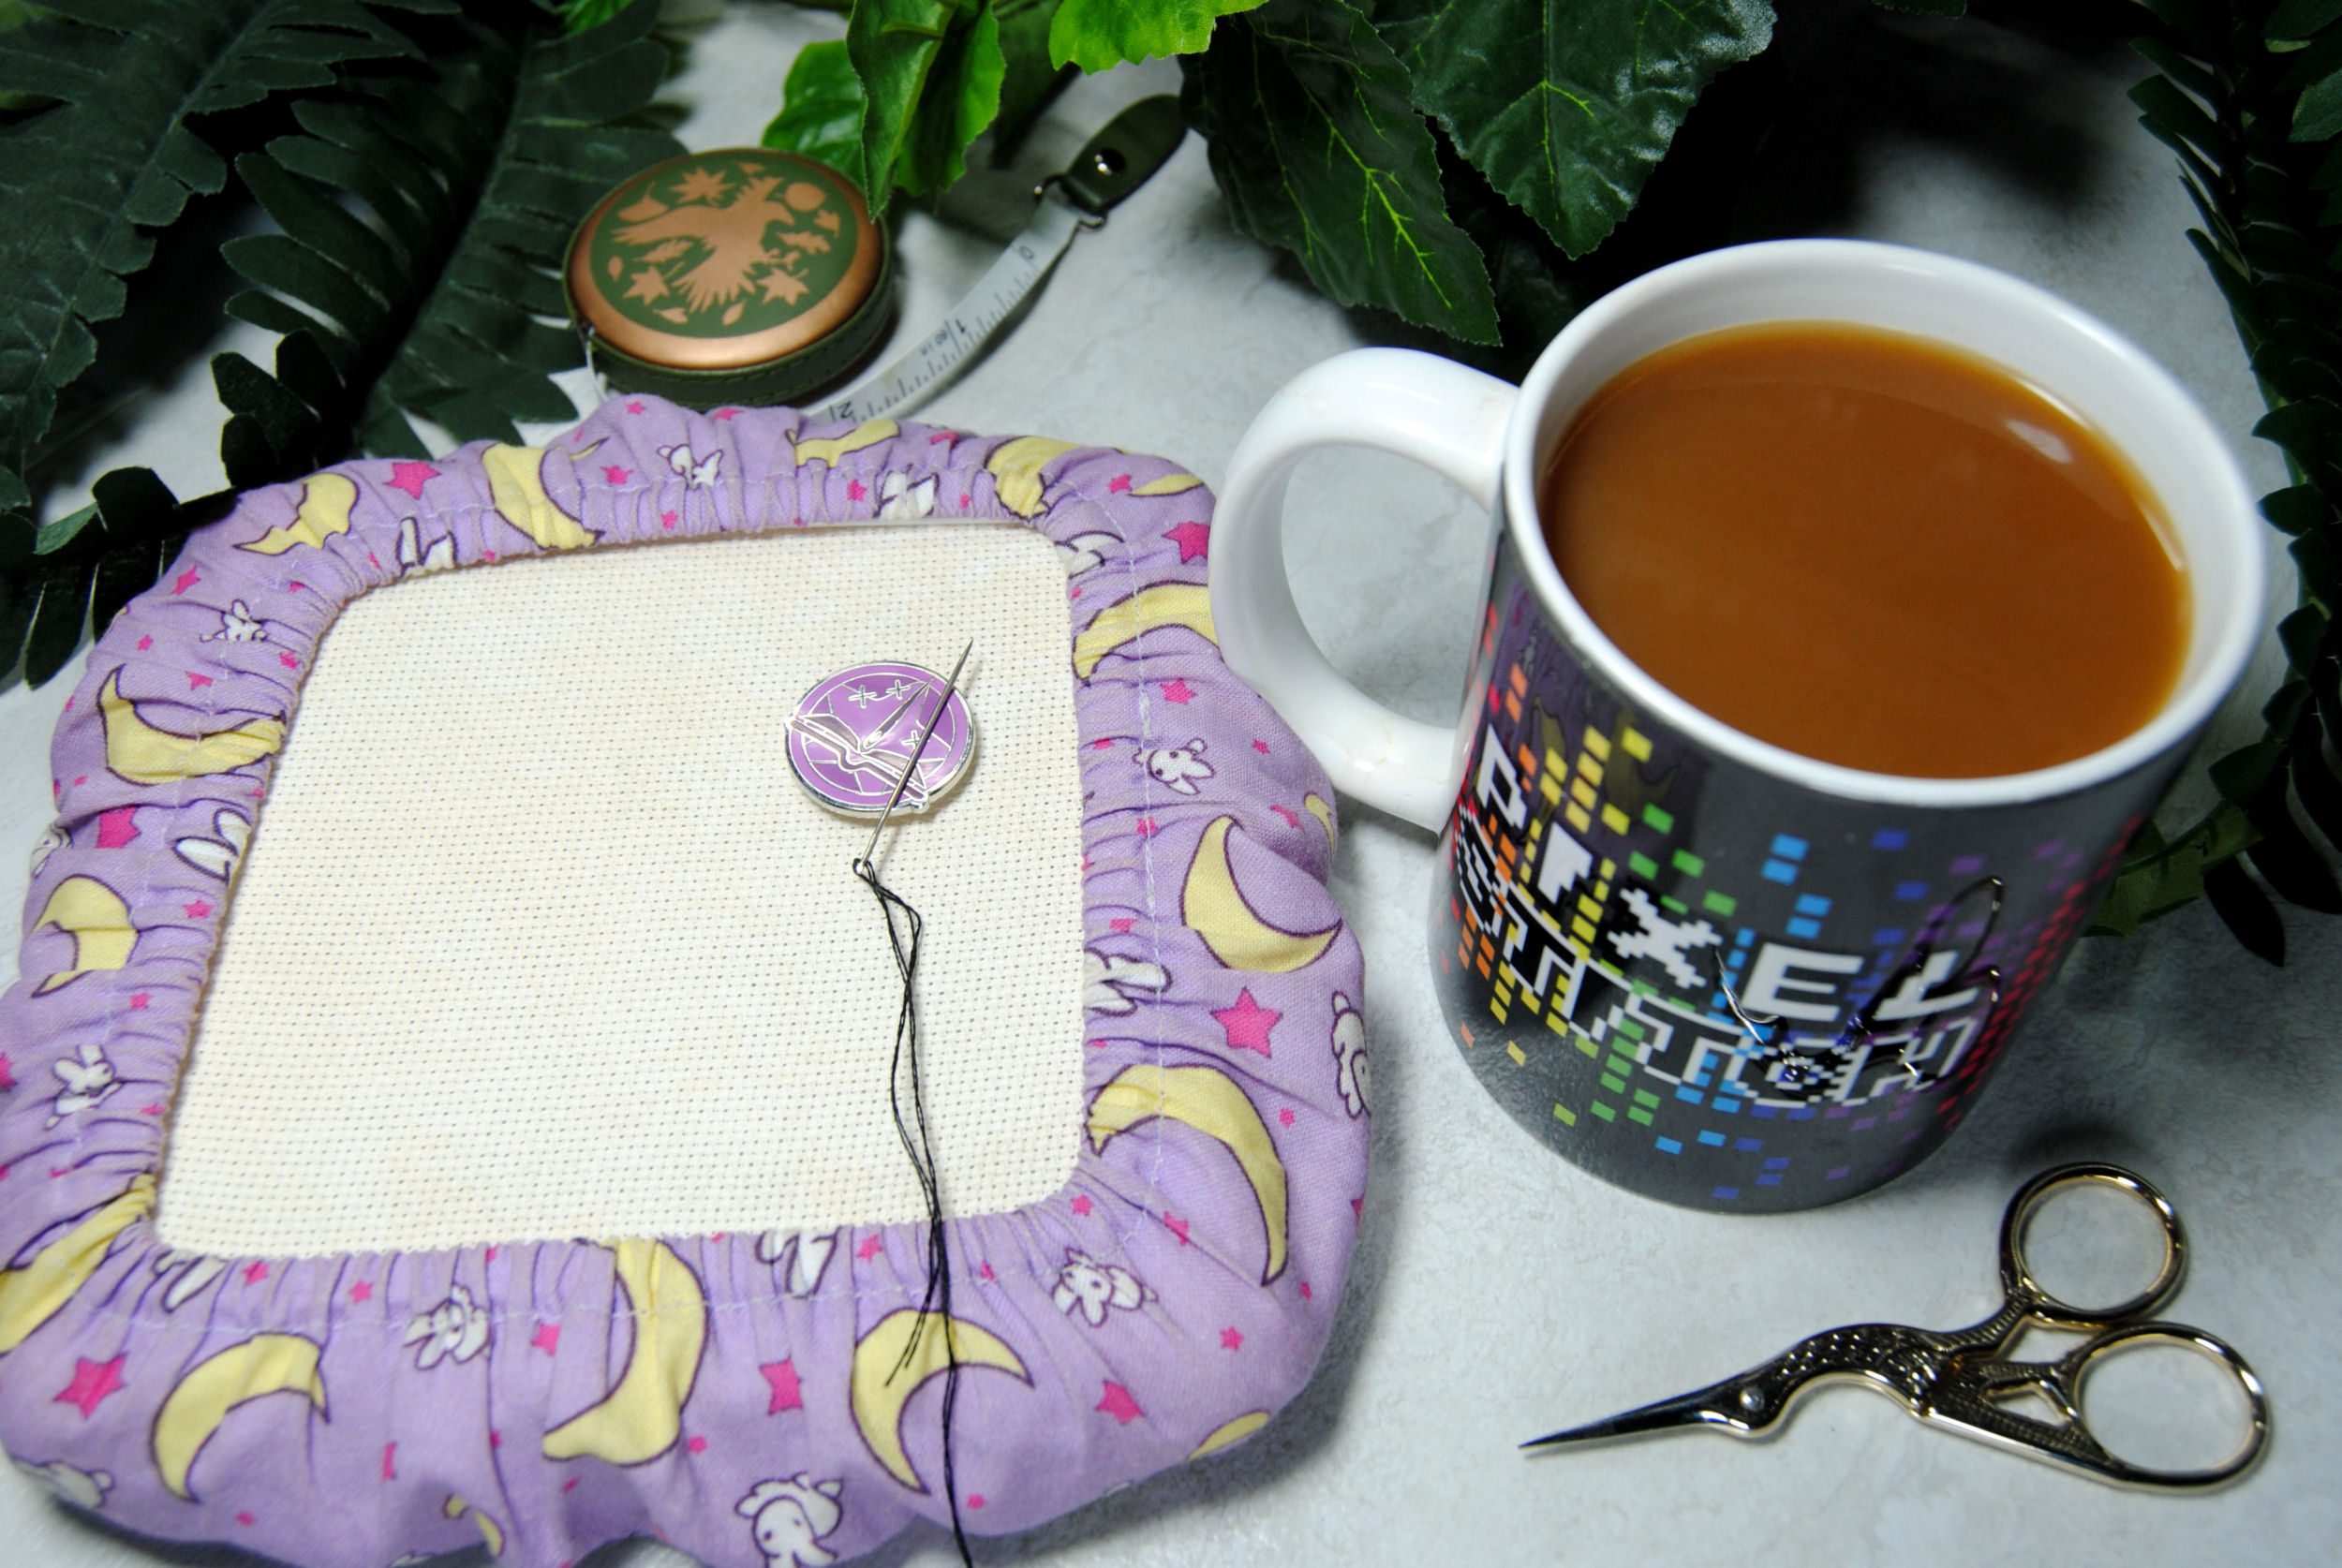
Disclaimer: This photo was taken for instagram and that coffee was immediately moved as far away from my project as I could.
But why do you need one? Well quite honestly: you don’t. However they can be pretty nice to have. Some of the reasons I’ve seen people use them are as follows:
- To keep grime off your project. Specifically the oils from your hand holding the project. I haven’t had too much issue with this myself, but if it gives me an excuse to not have to wash my project, I’m all for it.
- Managing excess fabric. This one I definitely like. Whether you get a baggy grime guard to contain a lot of fabric, or just have enough for covering the random bits of aida that poke out from the corners of the Qsnap.
- Holding Needles. Ok yes that is what needleminders are for. But if you don’t have one you can easily just tuck your needle into the edge of your grime guard in a pinch.
- They’re pretty. I mean, super cute. You can make them in any fabric so it’s really easy to match your style. They’re just nice to look at. They make you smile. Really that’s all that’s needed for a project to be worth it.
The Various Names For Grime Guards
I wasn’t sure where to put this exactly, but I just want to point out that people call this thing we’re talking about many different things.
Grime Guard is the one I hear most often, as that can be used whether you’re putting one on a Q-Snap or a hoop. But here’s some of the other fun names I’ve seen them referred to as:
These are a bit more frame specific, whether you use a Q-Snap, Hoop, or Scroll Frame. But they’re all essentially the same thing. Naturally there are a few differences based on the shape of your frame.
Q-Snap Cozies
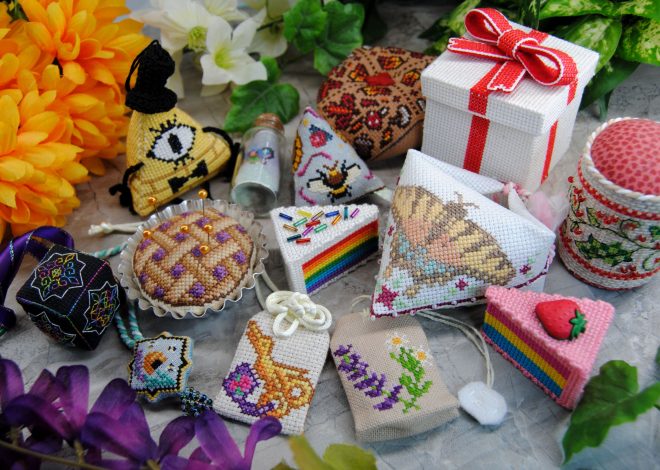
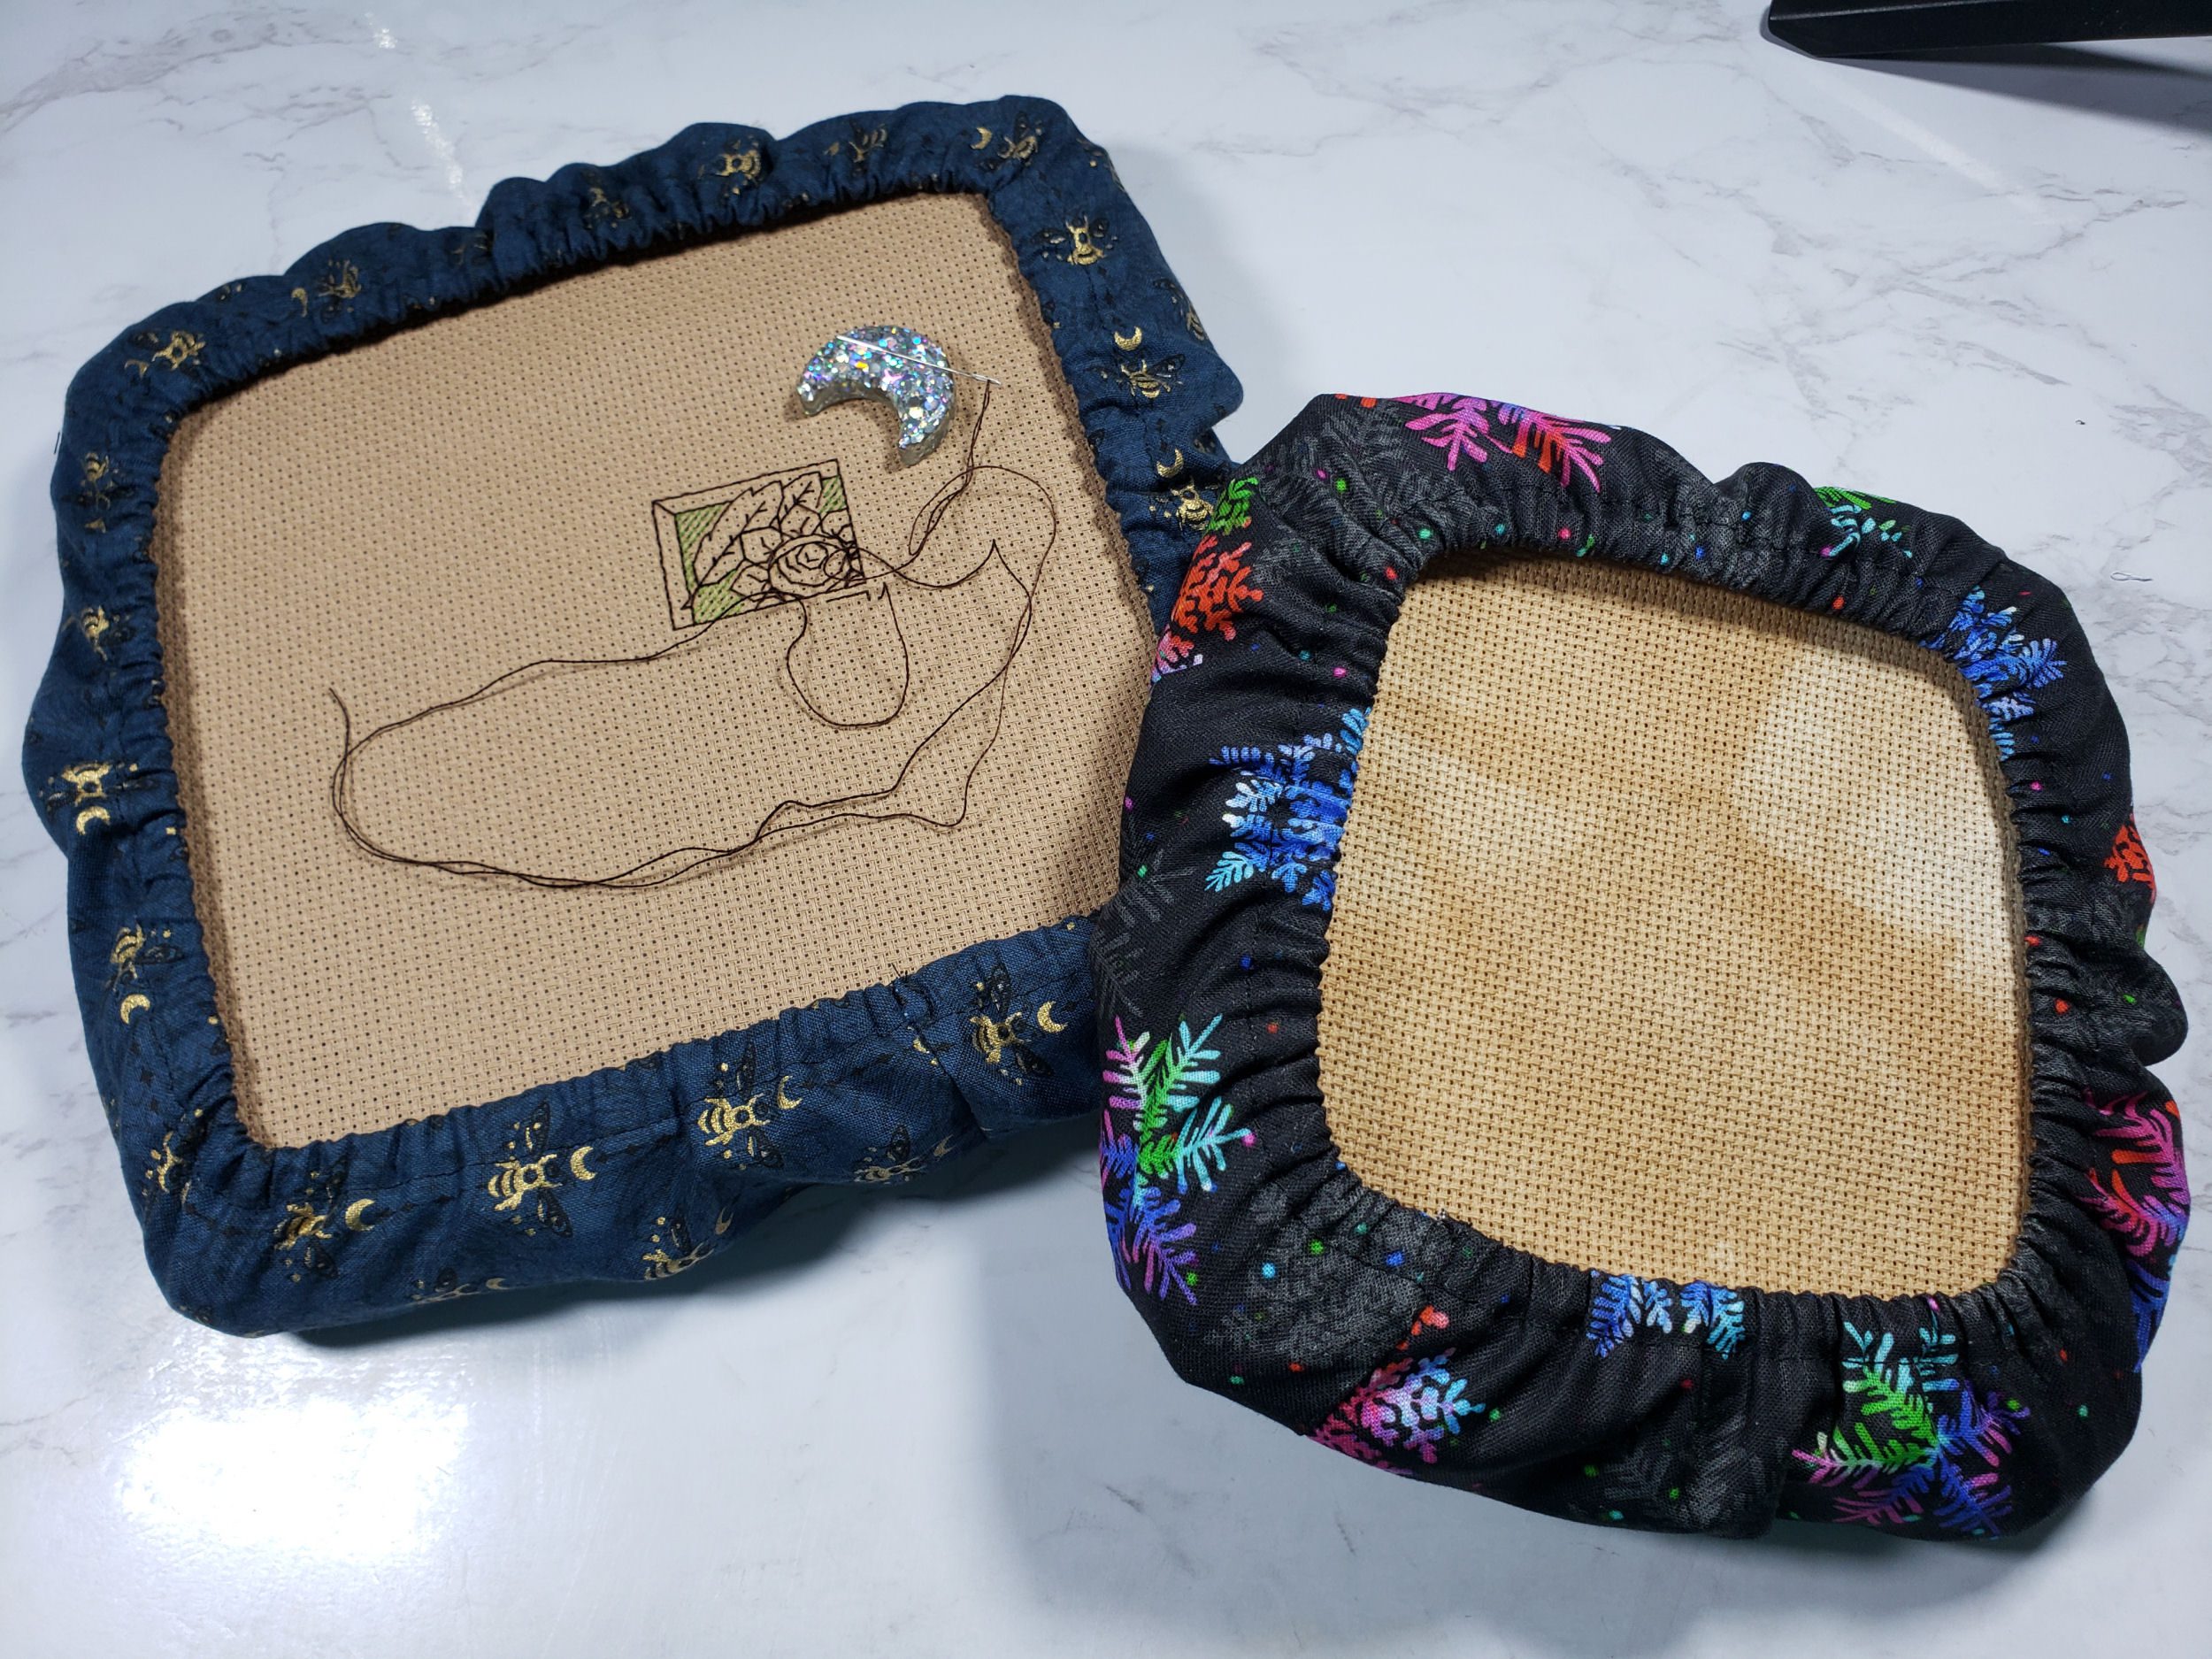
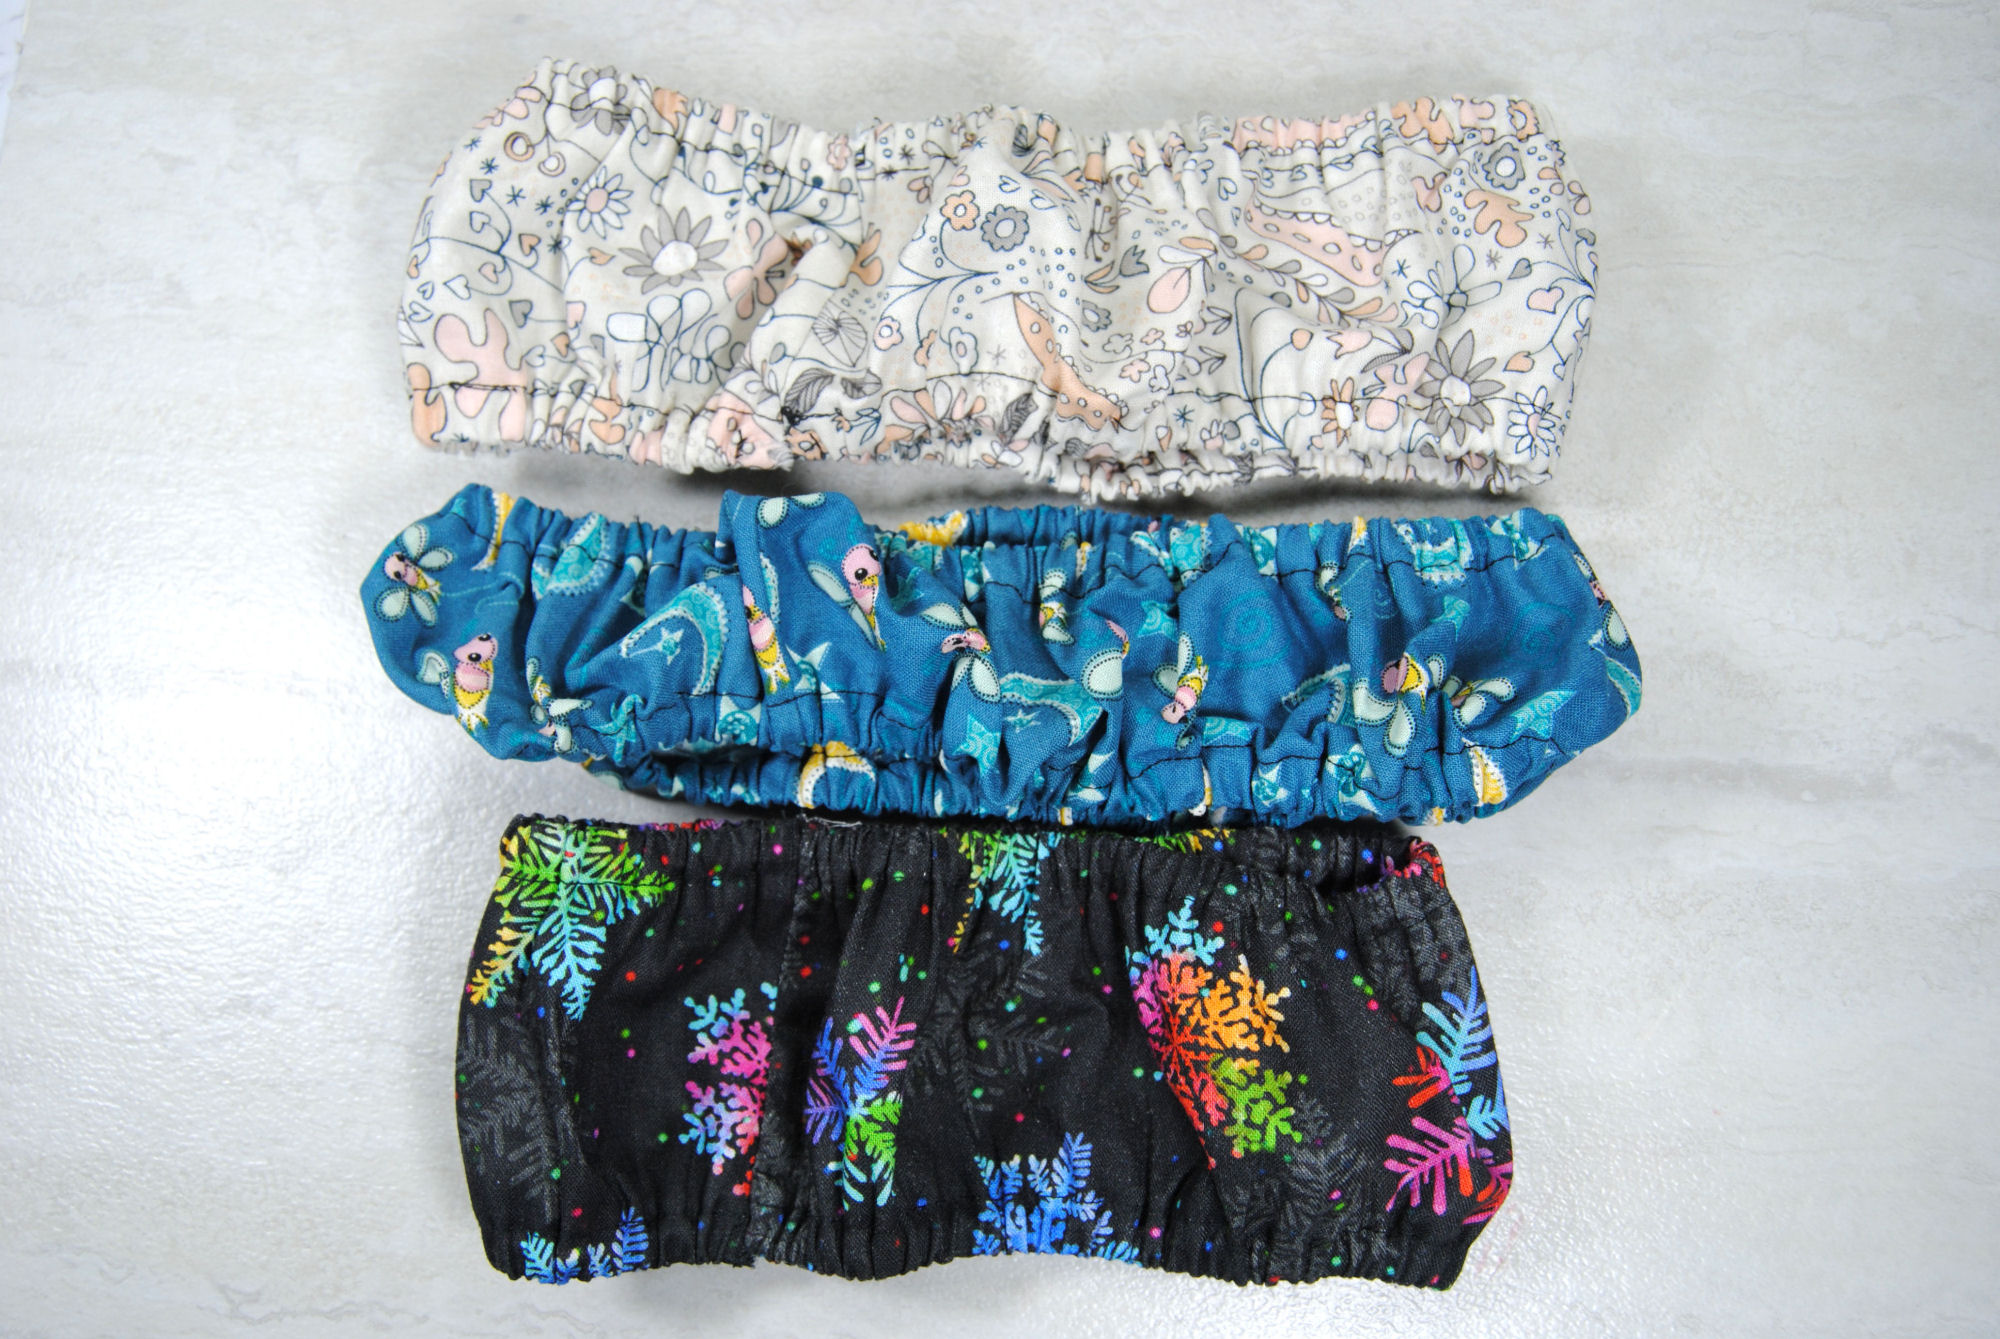
Q-Snaps have become quite popular over the years, so naturally Q-snap grime guards are quite popular as well. These are the main ones you’ll find other tutorials for online. Here’s a few I’ve made for my own use:
Hoop Huggies / Hoop Skirts
While Q-snap cozies work well on hoops too, you typically want shorter elastic so it cinches tighter. You also want your grime guard to be less wide, as hoops tend to be much thinner than the bulky Q-Snap.
So if you’re making a grime guard for a hoop but following a Q-snap tutorial like this one, be sure to make those adjustments. It may require a bit of trial an error to figure out what works best for you.
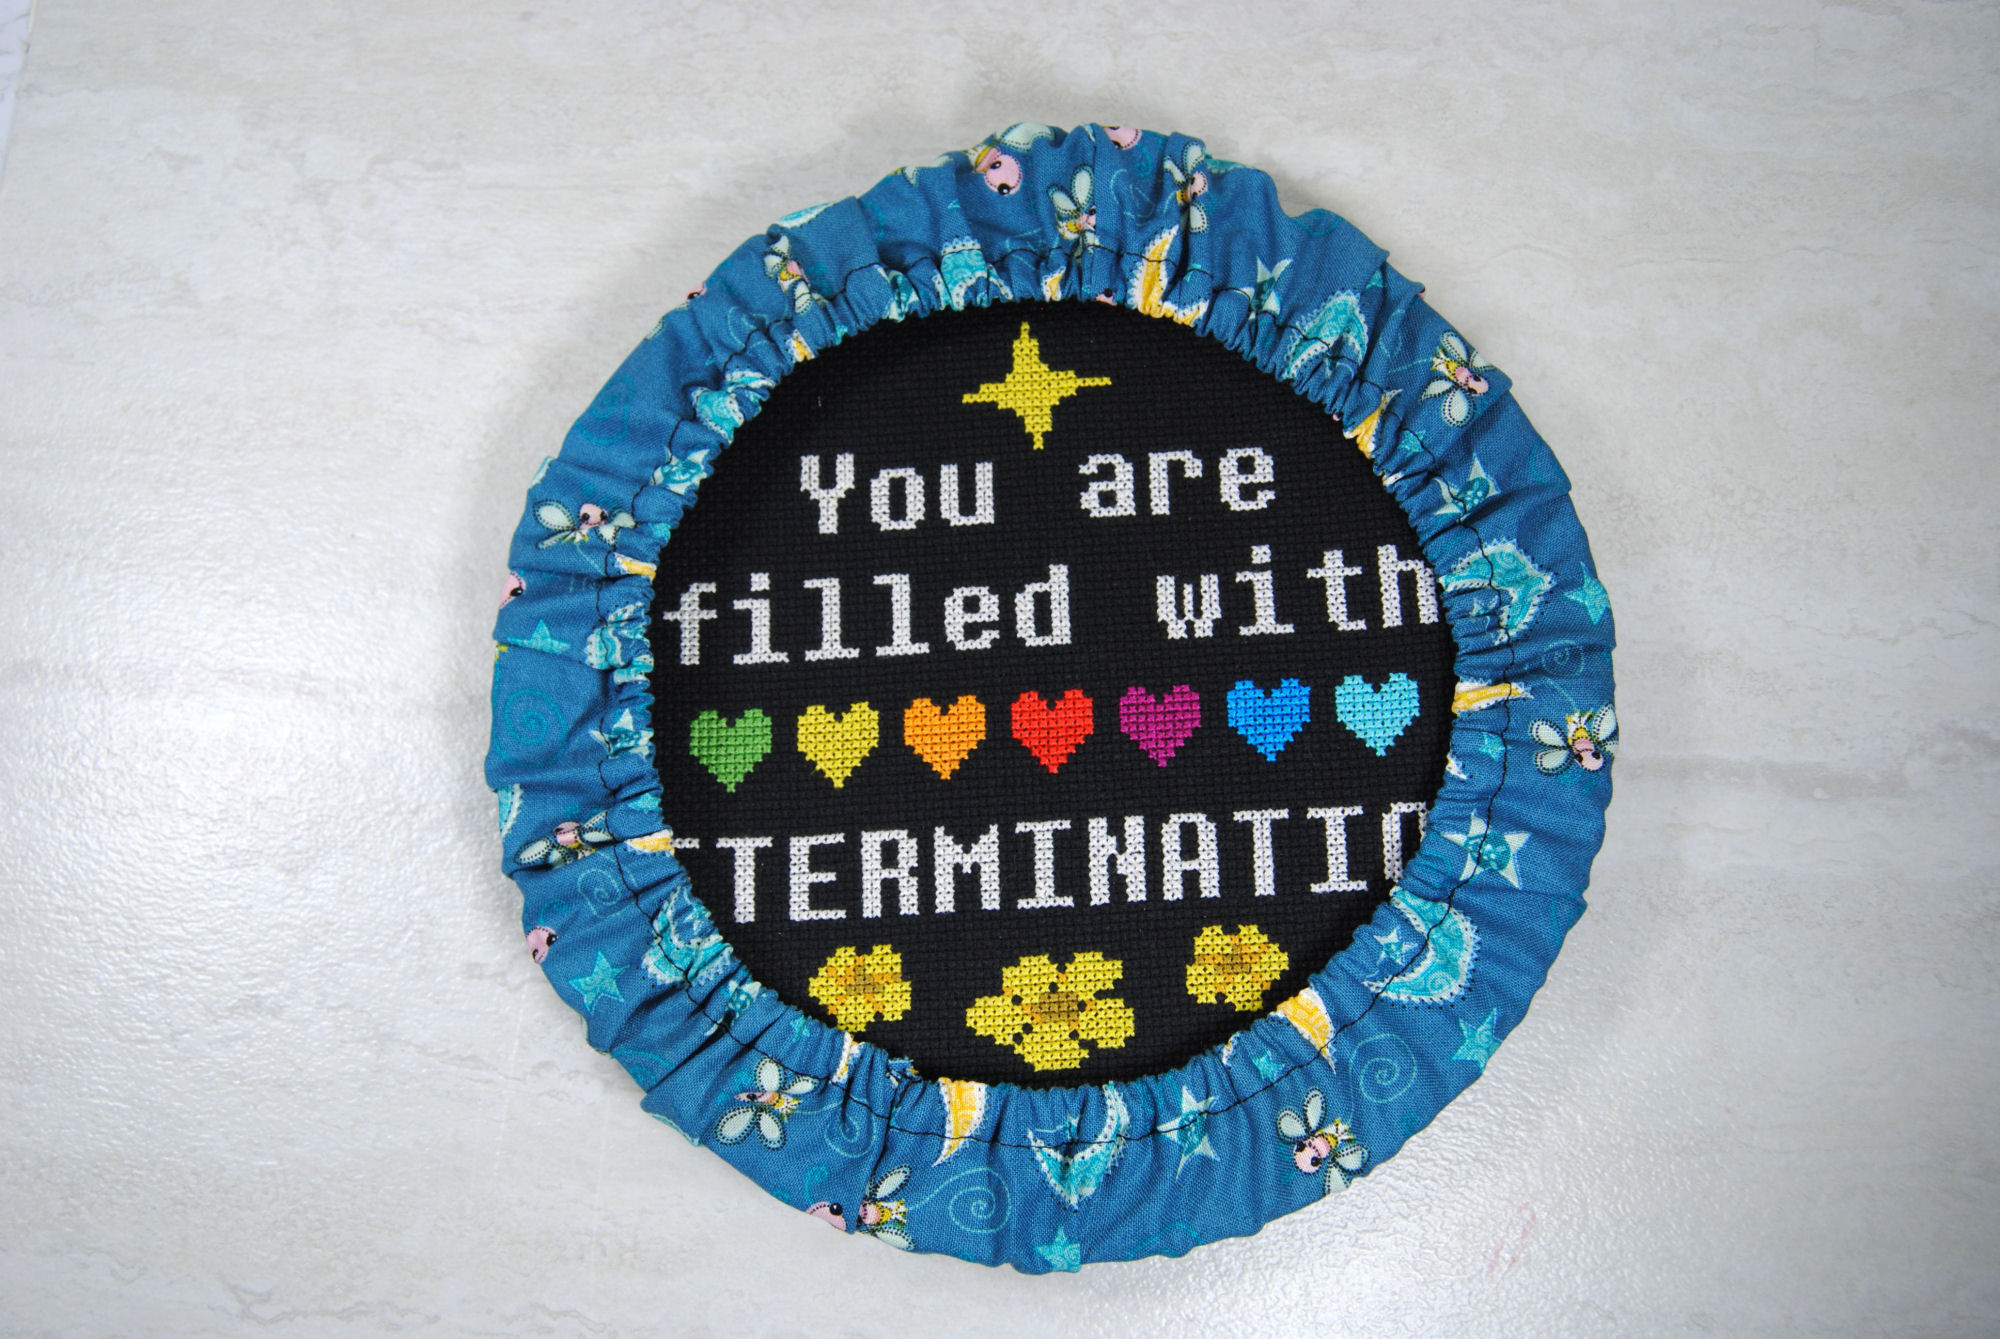
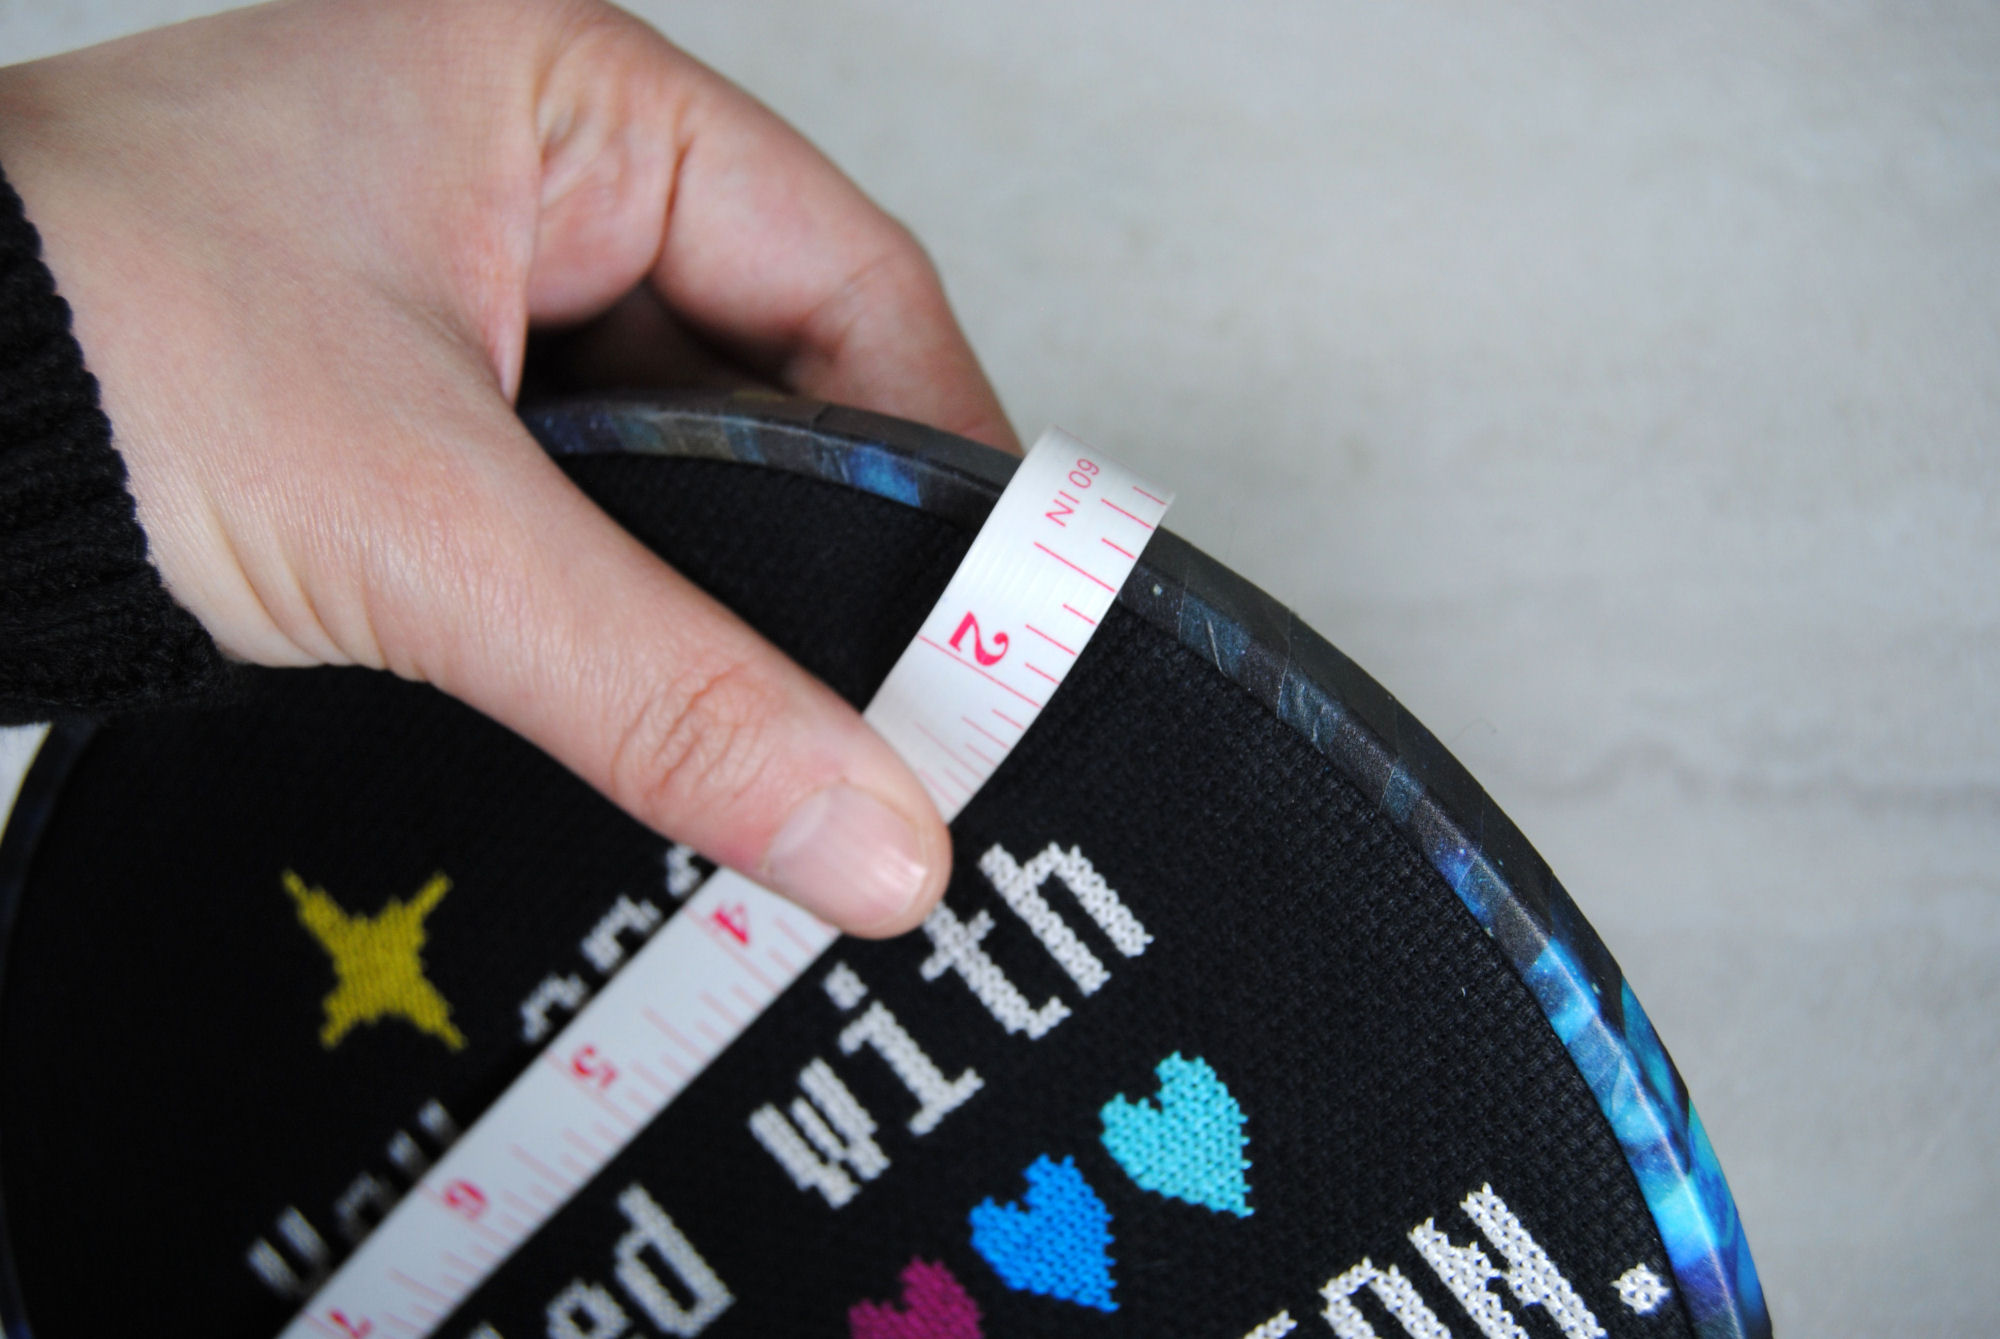
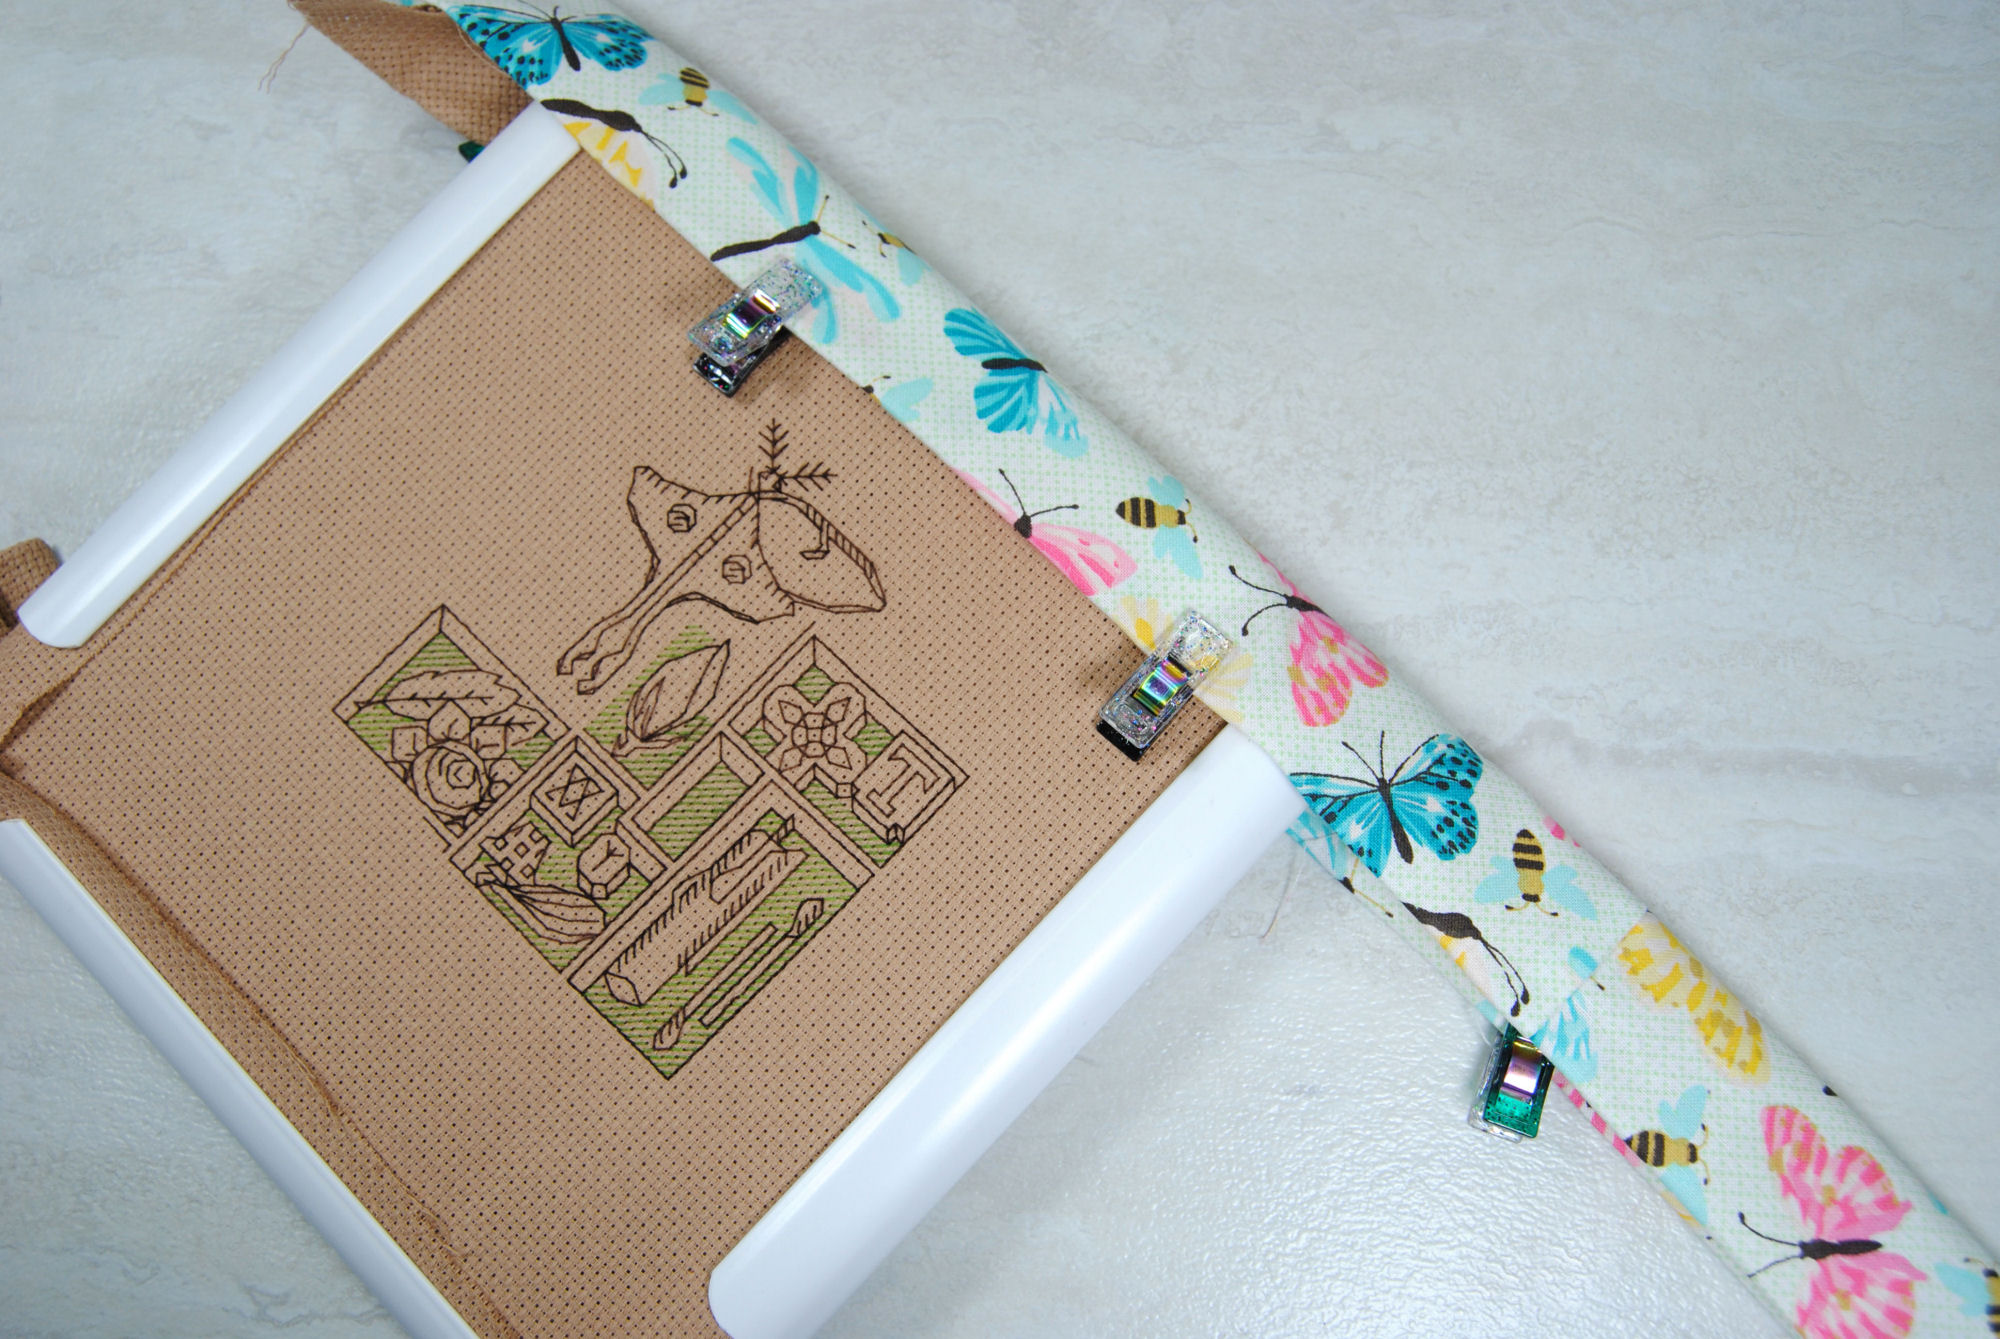
I don’t use hoops as much, so I don’t have a WIP to show you right now, so here’s a finished hoop with a grime guard tossed on for the visual:
Scroll Frame Covers
Finally, scroll frames also get their own grime guards! I will admit I don’t really use scroll frames all that much, so I will refer to… the only scroll frame specific tutorial I could find.
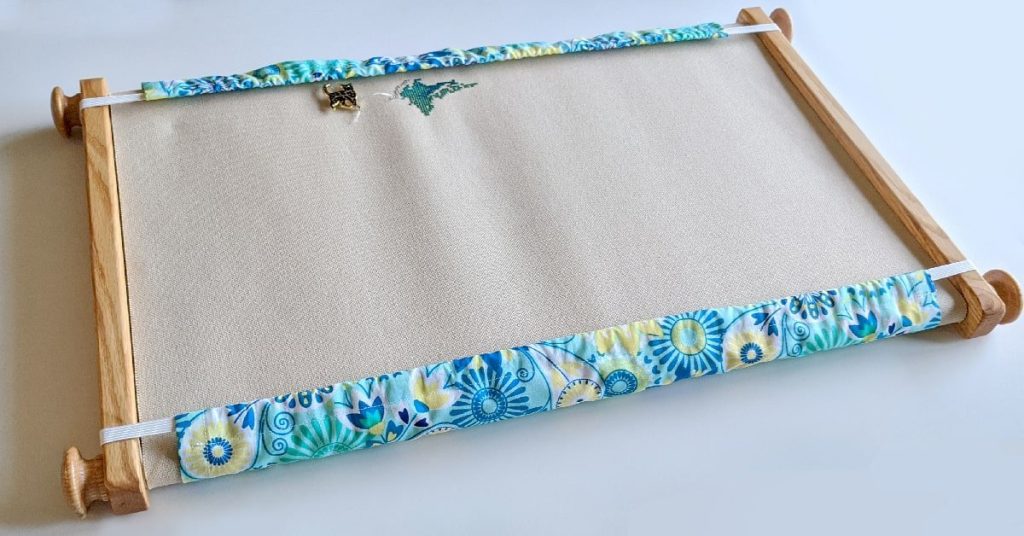
Check out that tutorial for a few more details. But from looking at the only photo they posted, you can see that it’s essentially the same process. Except you’re making two long strips of fabric rather than a full circle. And the elastic is stitched together so that it loops over the bars of the scroll frame instead.
Subjective Preferences
Just like almost everything in this hobby, people have a ton of different preferences for their grime guards. Here’s some of the things to consider:
- Stretchyness: Some prefer the elastic to be shorter so it cinches tighter. Others prefer it to be a bit looser to make it easier to take on and off.
- Grime Guard Width: There are those who prefer wide grime guards so they can stuff away the excess fabric of a larger project. While others prefer thinner ones so it’s just covering the frame itself and not cutting into the stitching area.
- Fabric Type: Got sensory preferences? No problem! While a lot of the ones sold are made from quilting cotton, nothing’s stopping you from making a soft plush one that feels nicer to hold.
Where you can buy a grime guard
Don’t want to make your own? Etsy is gonna be your main go-to for personalized grime guards. Especially since you can filter by location and find people local to you to cut down on shipping costs.
Even if you DO make your own, different sellers will have access to different fabrics so it’s always worth a look if you’ve got a specific style and aren’t finding that ‘perfect’ fabric.
Here’s some great examples to start with:
- CrossedInStitchesUSA – Q-Snap Grime Guards
- ImpressiveStyle – Includes customized nameplates!
- WickysDen – for the UK folks
Online stitchy shops such as 123Stitch have them available as well, but typically a random fabric pattern and you don’t get to choose.
Need something local? Your Local Needlework Shop may carry them. If not, try your local automotive store and look at steering wheel covers. Not the rubber ones, but the plain fabric ones with elastic. They’re very similar and will work in a pinch.
Benefits of Making Your Own Grime Guard
Etsy is going to get you the widest range of fabrics available for ready made grime guards. But each of those sellers is going to have their own preferences for their grime guards.
You can of course message individual sellers as they’re often happy to make adjustments for you, but it can take some trial and error to figure out your preferences to even know what to ask for. If they pre-make their grime guards and you need a special size they may not have more of that fabric to fulfil your request.
So here’s some of the things to consider:
Personalized Frame Size
Q-Snaps can be combined to make unique sizes. While you’ll typically find grime guards available for 8×8 and 11×11, you’ll have less choices if you turned yours into two 8×11 Q-snaps instead.
Personalized Bagginess
As mentioned earlier, everyone has preferences on how much ‘bagginess’ they prefer in a grime guard. I prefer mine thinner so it’s not obscuring any of the stitching area. But then I stitch mostly small and midsized patterns so I don’t have a lot of excess fabric to wrangle. Being able to adjust per project how wide you need it to be to comfortably hold your excess fabric is quite nice.
Choose Your Own Fabric
While there are a lot of options out there for grime guards, there are infinitely more choices when it comes to fabric prints. From the cheap fat quarters at Wal-Mart to custom printed fabrics from your favorite online artist. Or even your own work! You could have grime guards that match the theme of your current project, one for each season, etc.
If you’ve never looked through the Spoonflower pattern library, prepare to be overwhelmed with choice.
Confidence/Pride in Your Work
Making something yourself just… hits different. You get that rush when looking at it. The “I made that.” pride. Even if some of the stitching comes out wonky. Sometimes especially if it’s wonky. Like looking back on your first project and seeing how far you’ve come.
And small projects like this can help build confidence to tackle other projects. It’s an invaluable experience.
Price Difference
Buying from others is great. Support small businesses. But also you’re paying for their time. So if your budget is tight it might be better spent buying clearance fabrics and investing your own time instead.
Of course, making it yourself could also be MORE expensive depending on how much you value your time, or if you want higher quality fabrics. Those businesses can get bulk discounts on fancy fabrics, while you might be paying retail. Plus it will take them less time to make the thing as they’ve already done it dozens of times and may make them in an assembly line type process.
Shipping Costs
This goes for both finished grime guards and online fabric shops — don’t forget about shipping. While I don’t think anyone will ever have an emergency need for a same-day grime guard, having to wait for shipping can certainly be a deterrent for some. Not to mention having to pay for said shipping, especially internationally.
Measuring your frame
Alight, enough rambling. Let’s make this thing. What do you actually need? Unfortunately that means we first need to do some math.
I’m going to focus here on the Q-snap math, but then also note how that might differ for hoops or scroll frames.
Q-Snap Math
There’s 3 different measurements we need here. Take them one at a time. I apologize in advance for anyone not in the US as I’ll be using freedom units for now. I’ll do some conversions in my example measurements, but this first part is to show you how to GET said measurements, so use whatever it says on your measuring tape.
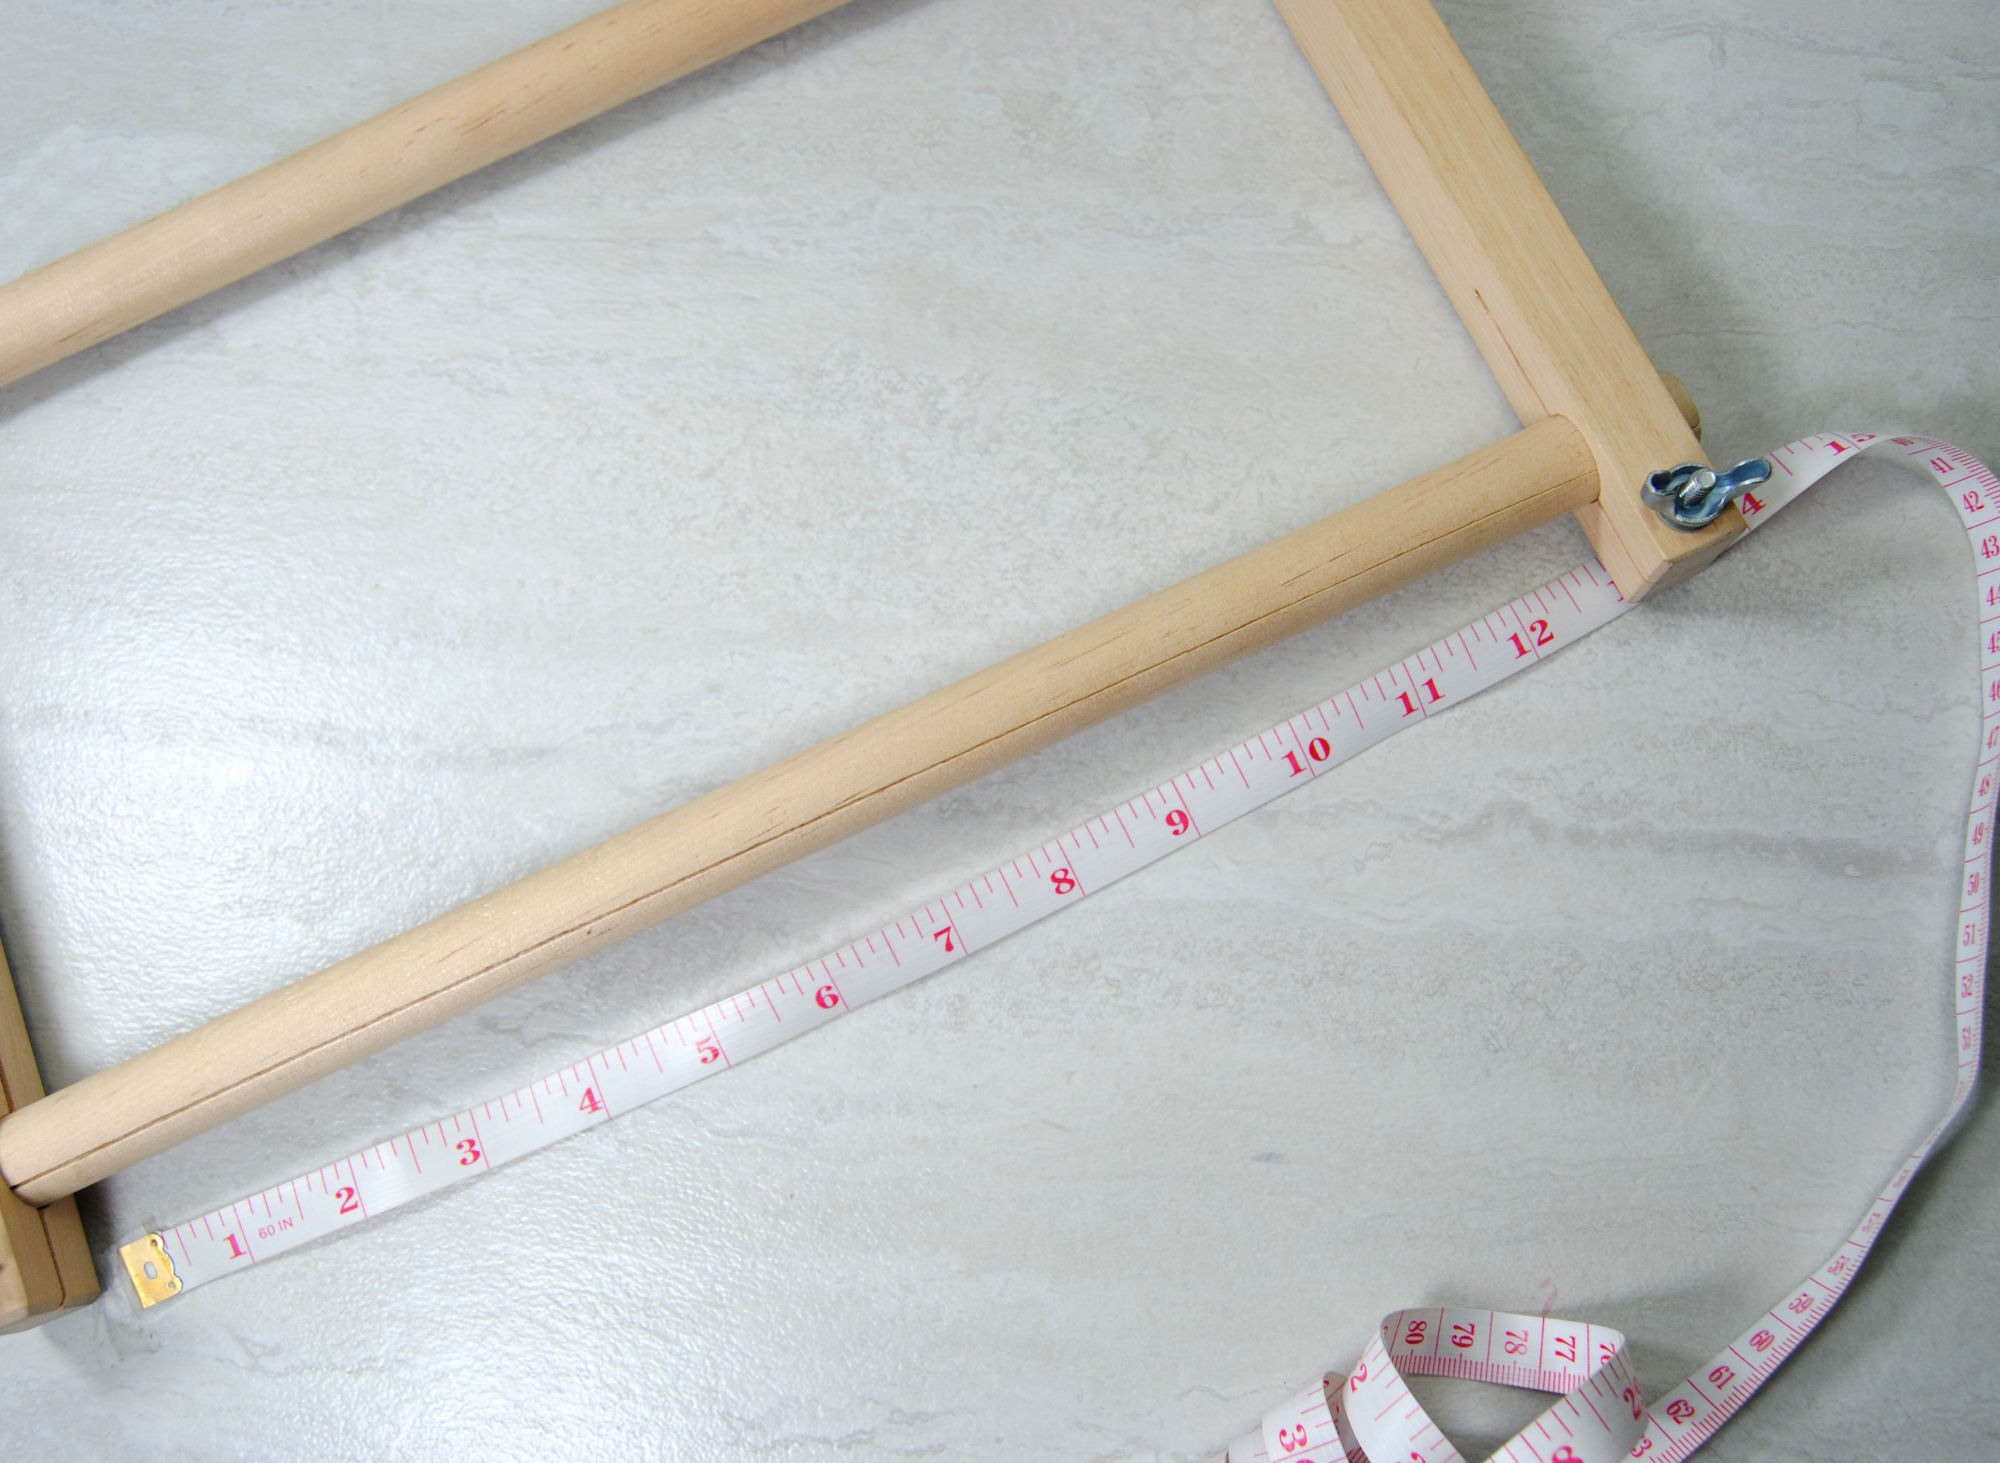
Measuring the Width
Let’s start with the width of your grime guard. You’ll want to measure around one of the sides of your Q-snap with a measuring tape. If you don’t have measuring tape, you can use some string or scrap fabric to wrap around your frame, cut it to length, and then measure it with a straight ruler after.
Hold that measuring tape a bit loose so the grime guard isn’t too tight. If you have your project already on the Q-snap even better, as you can see exactly how loose you need it to be to contain any rolled up excess fabric.
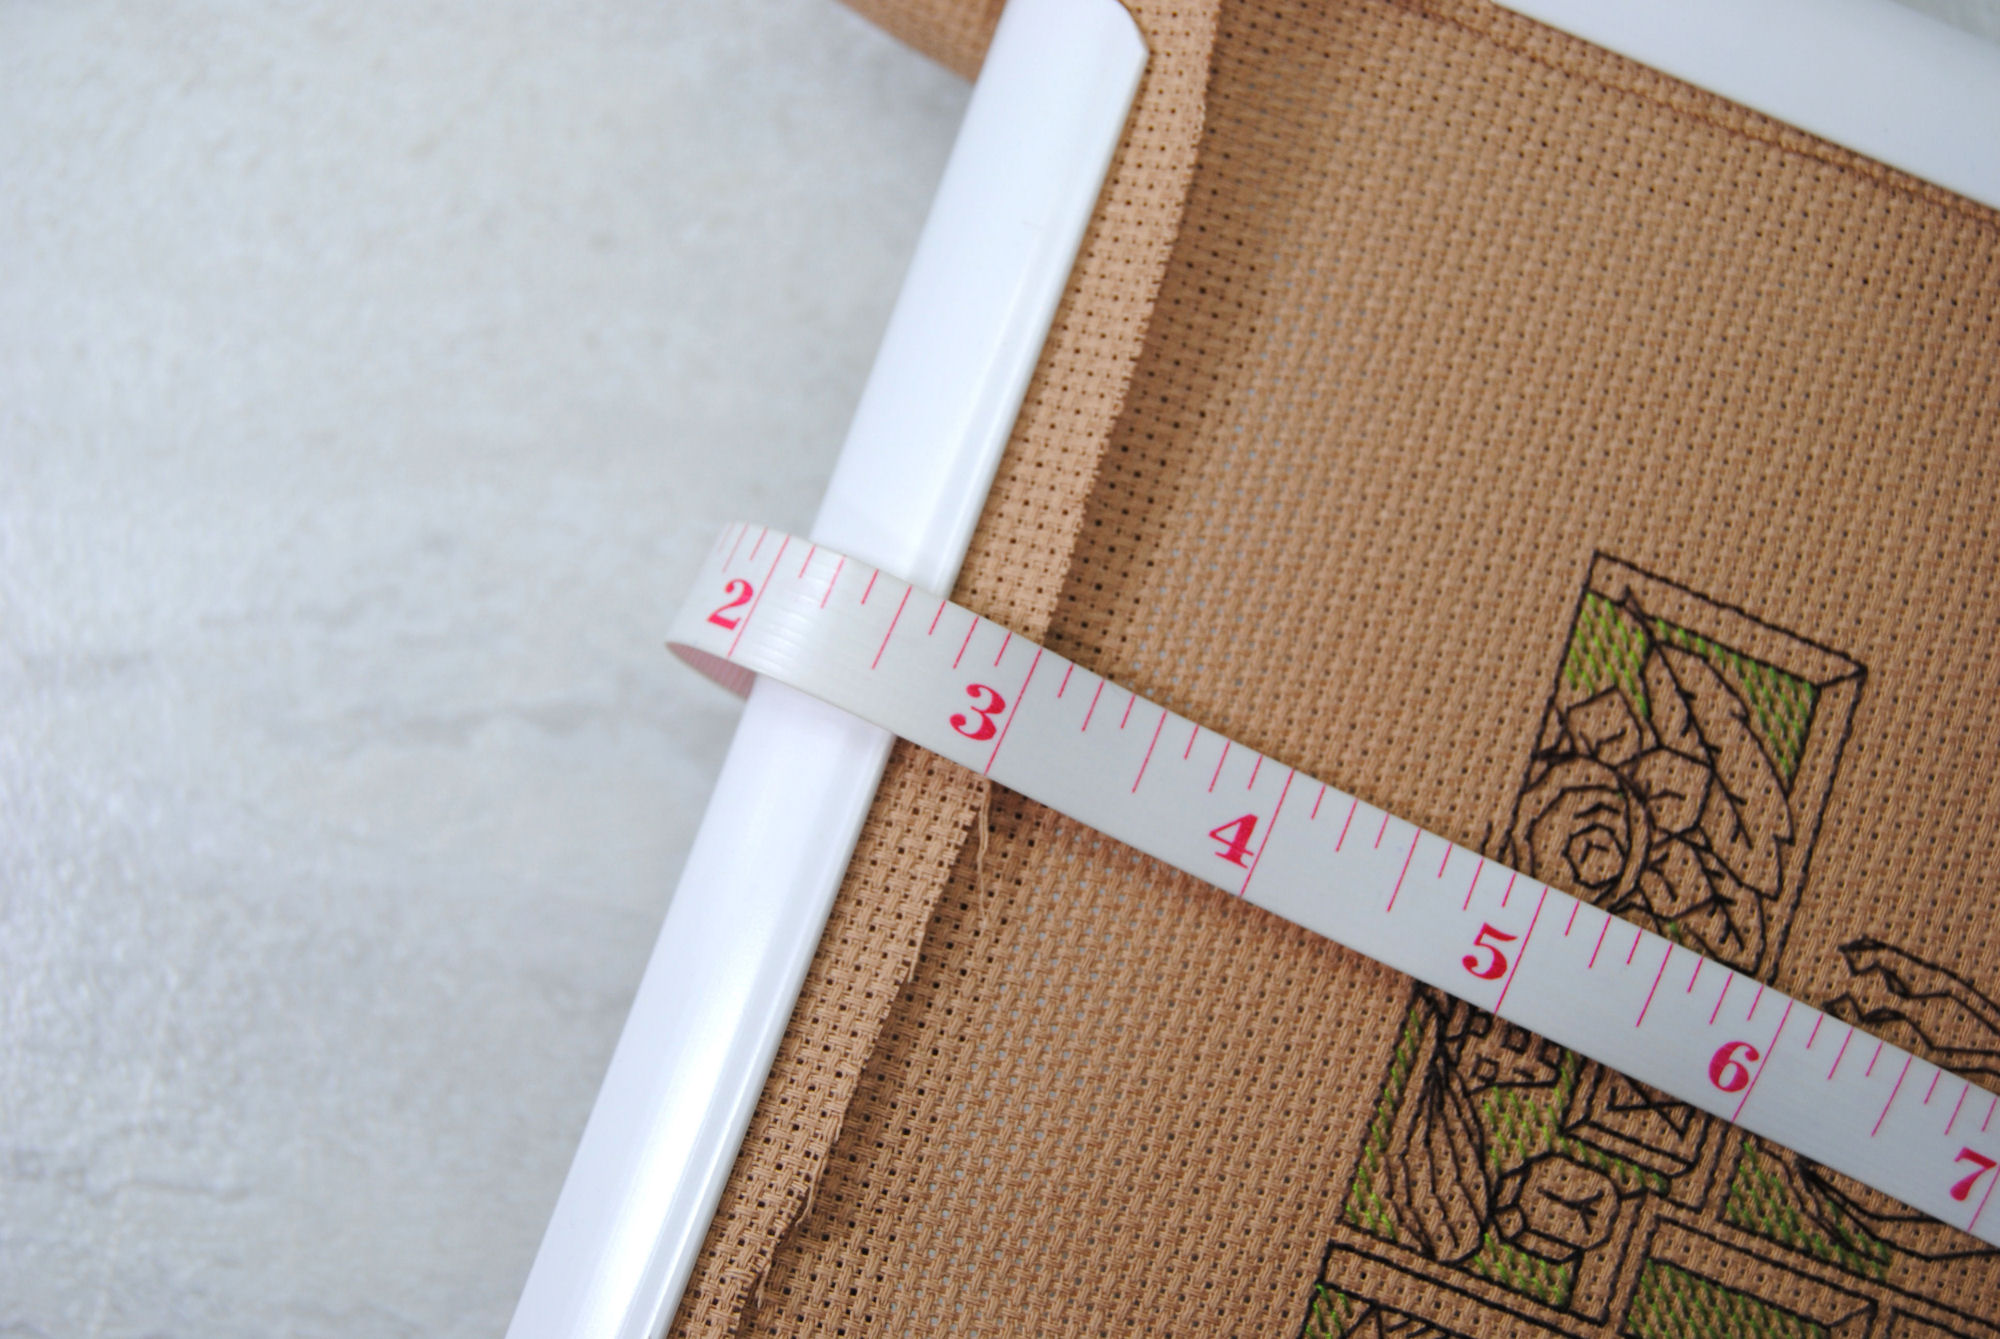
Then add 2″ (5cm) to whatever that measurement is. 2″ inches total. That’s a 1/4″ inside hem on both sides and, 1/2″ to fold over and create each channel. But we’ll discuss what that means during the assembly process. My personal sweet spot here is 5″ total, which will be reduced to 3″ around once it’s all stitched up.
Measuring Circumference
Next, measure around the full circumference of your Q-snap. Pretty straight forward if you have square ones, as it’s just 4 times one side. As an example, a 6″ qsnap is 24″ all the way around.
However, you also want to add some ease to make it easier to take on and off and to once again account for any excess fabric you’re storing in the grime guard. I measure with my WIP clipped in so it can account for the extra fabric I have bunched in at the corners.
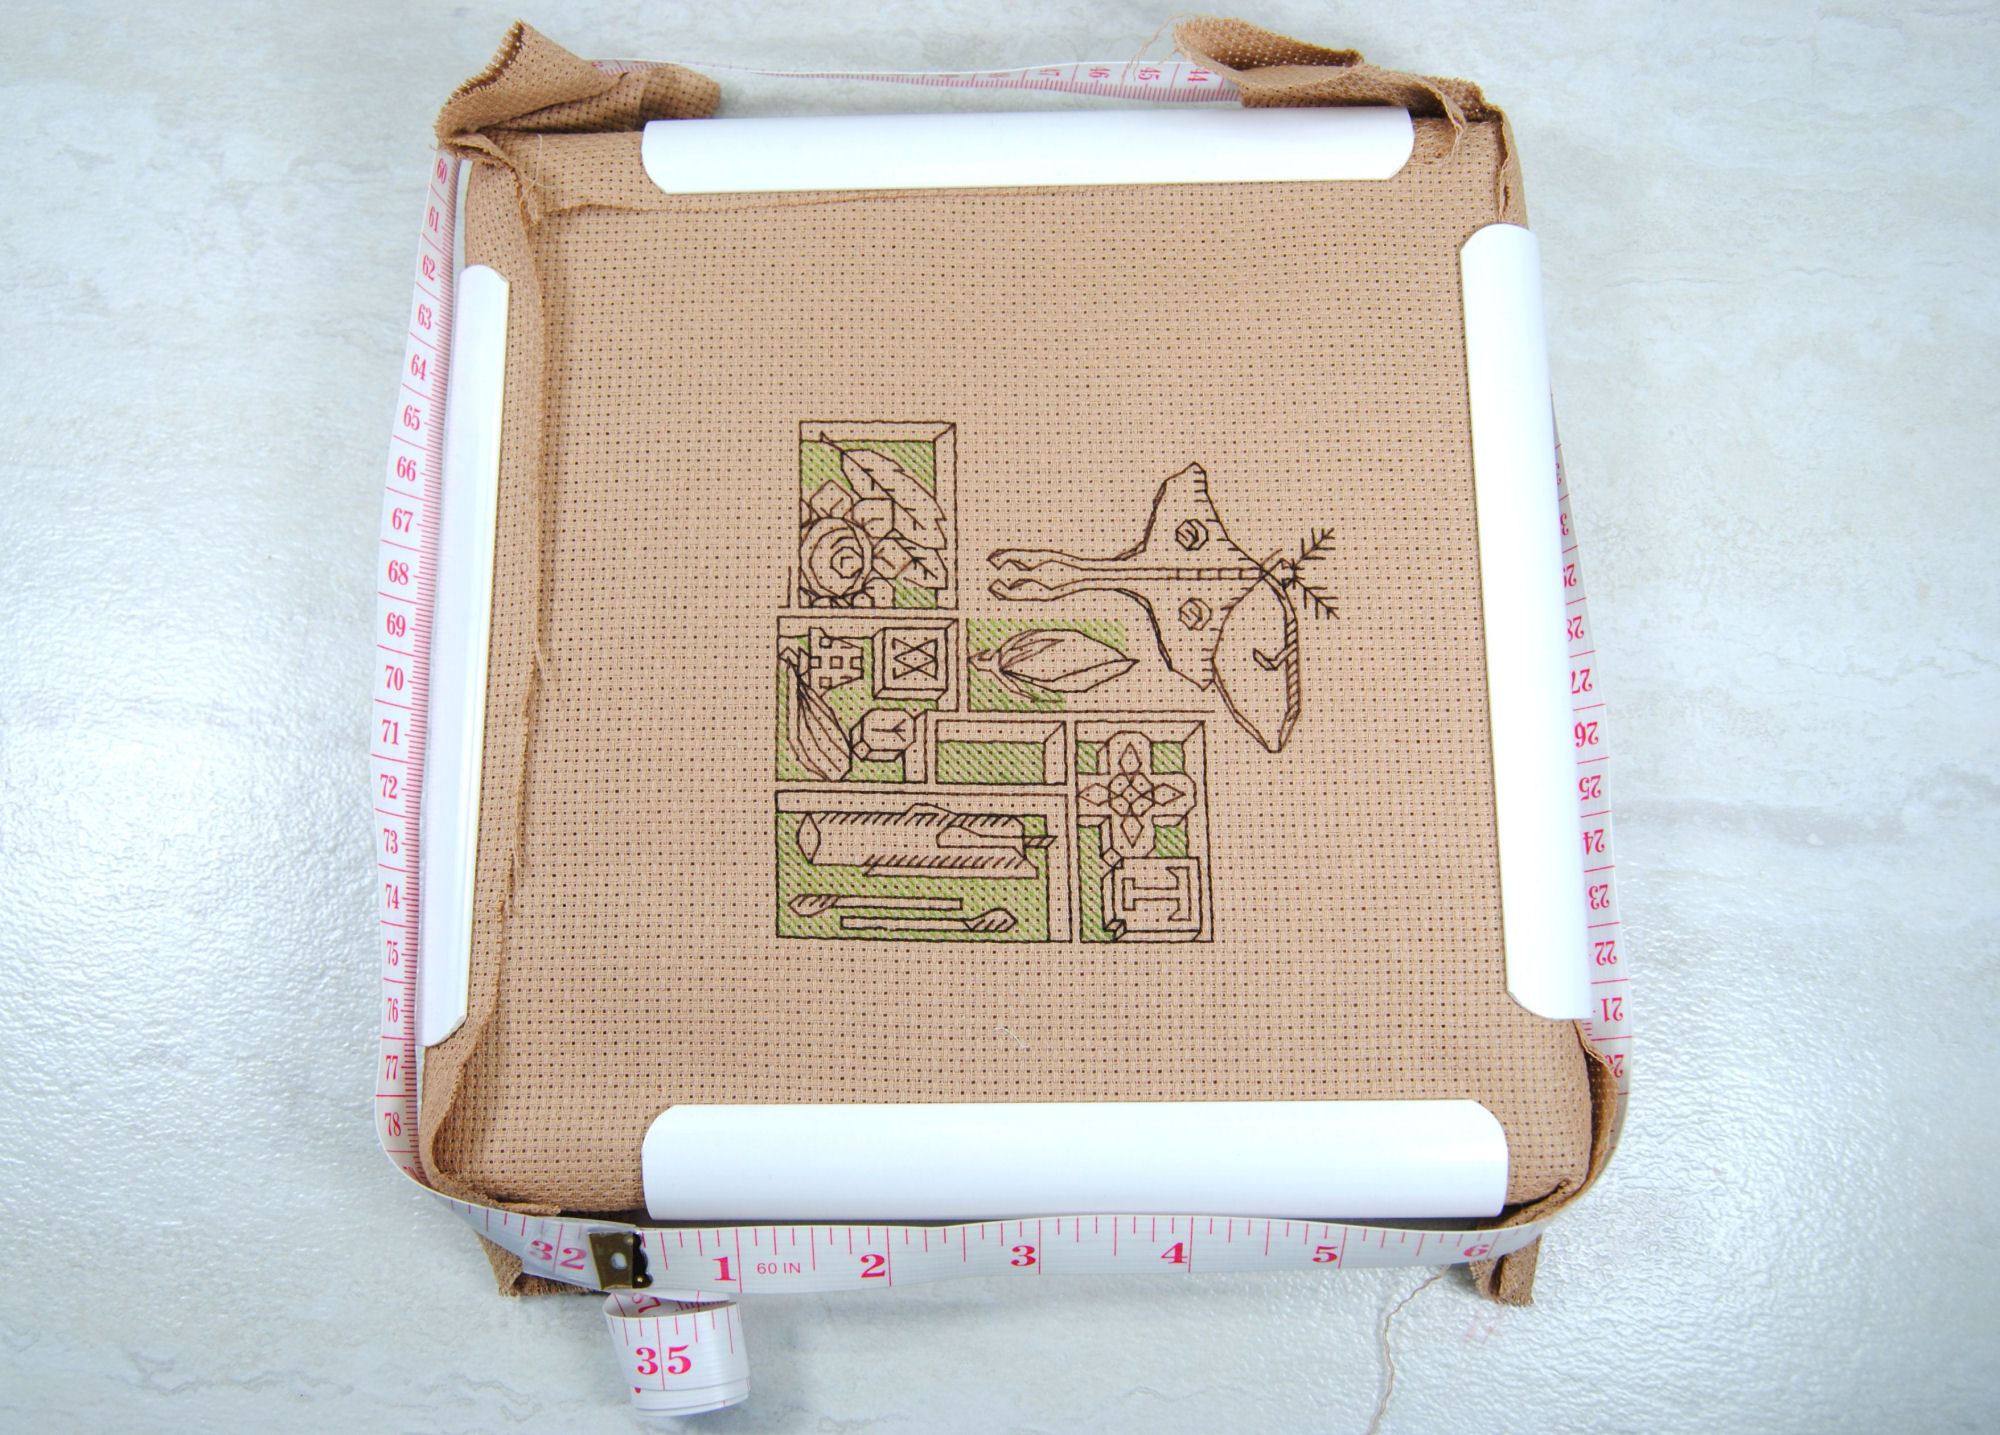
My sweet spot seems to be an extra 4″, but your results may vary. So for that 6″ example, I’ll use a 28″ length of fabric. If you’re not sure, err on the side of extra fabric. It’s much easier to adjust a finished grime guard to be smaller than if you needed to go back an add extra fabric.
Calculating Elastic Length
Finally, for the elastic you want a little over half the circumference of your Q-snap. Since we’ve already added ease to the measurement above, you can just half that. If you find your grime guard is a little too loose for your liking, try reducing the elastic length the next time.
Remember when purchasing elastic that you need two lengths of elastic in whatever length you measured here.
Example Measurements
Here’s the measurements I use for my own, in freedom units. But again, your preferences may vary.
- 6″ Q-snap – 28″ x 5″ // 14″ Elastic
- 8″ Q-snap – 36″ x 5″ // 18″ Elastic
- 11″ Q-snap – 48″ x 5″ // 24″ Elastic
Here they are again in measurements that make more sense to the rest of the world
- 15cm Q-Snap – 70cm x 13cm // 35cm Elastic
- 20cm Q-Snap – 91cm x 13cm // 45cm Elastic
- 28cm Q-Snap – 122cm x 13cm // 61cm Elastic
These measurements can also be fudged a little bit if needed. For example, for one fabric I only had 34.5″ of length rather than 36″. I went ahead and made an 8″ cover at that length instead of trying to attach an extra 1.5″ at the end somehow. And it fits just fine, if a little tighter than my others.
Hoop Math
If you’re making one for a hoop you’ll want to take a similar loose measurement around the circumference of your hoop.
The main difference though will be in how far into the hoop you want it to wrap around, as hoops tend to be much thinner than Q-Snaps. Don’t forget to add the 2″ for the channels though.
Scroll Frame Math
Similar again here too. You want the width of your bars inside the clamps, as well as a loose measure of how much you want it to wrap over said bars with that 2″ extra.
You’ll need more elastic for this kind of grime guard as you’re essentially making two separate covers. It’s probably easier to measure with the elastic you’ll be using itself. Use a safety pin to make a loop of elastic about the size you think you need, then test it on the assembled scroll frame.
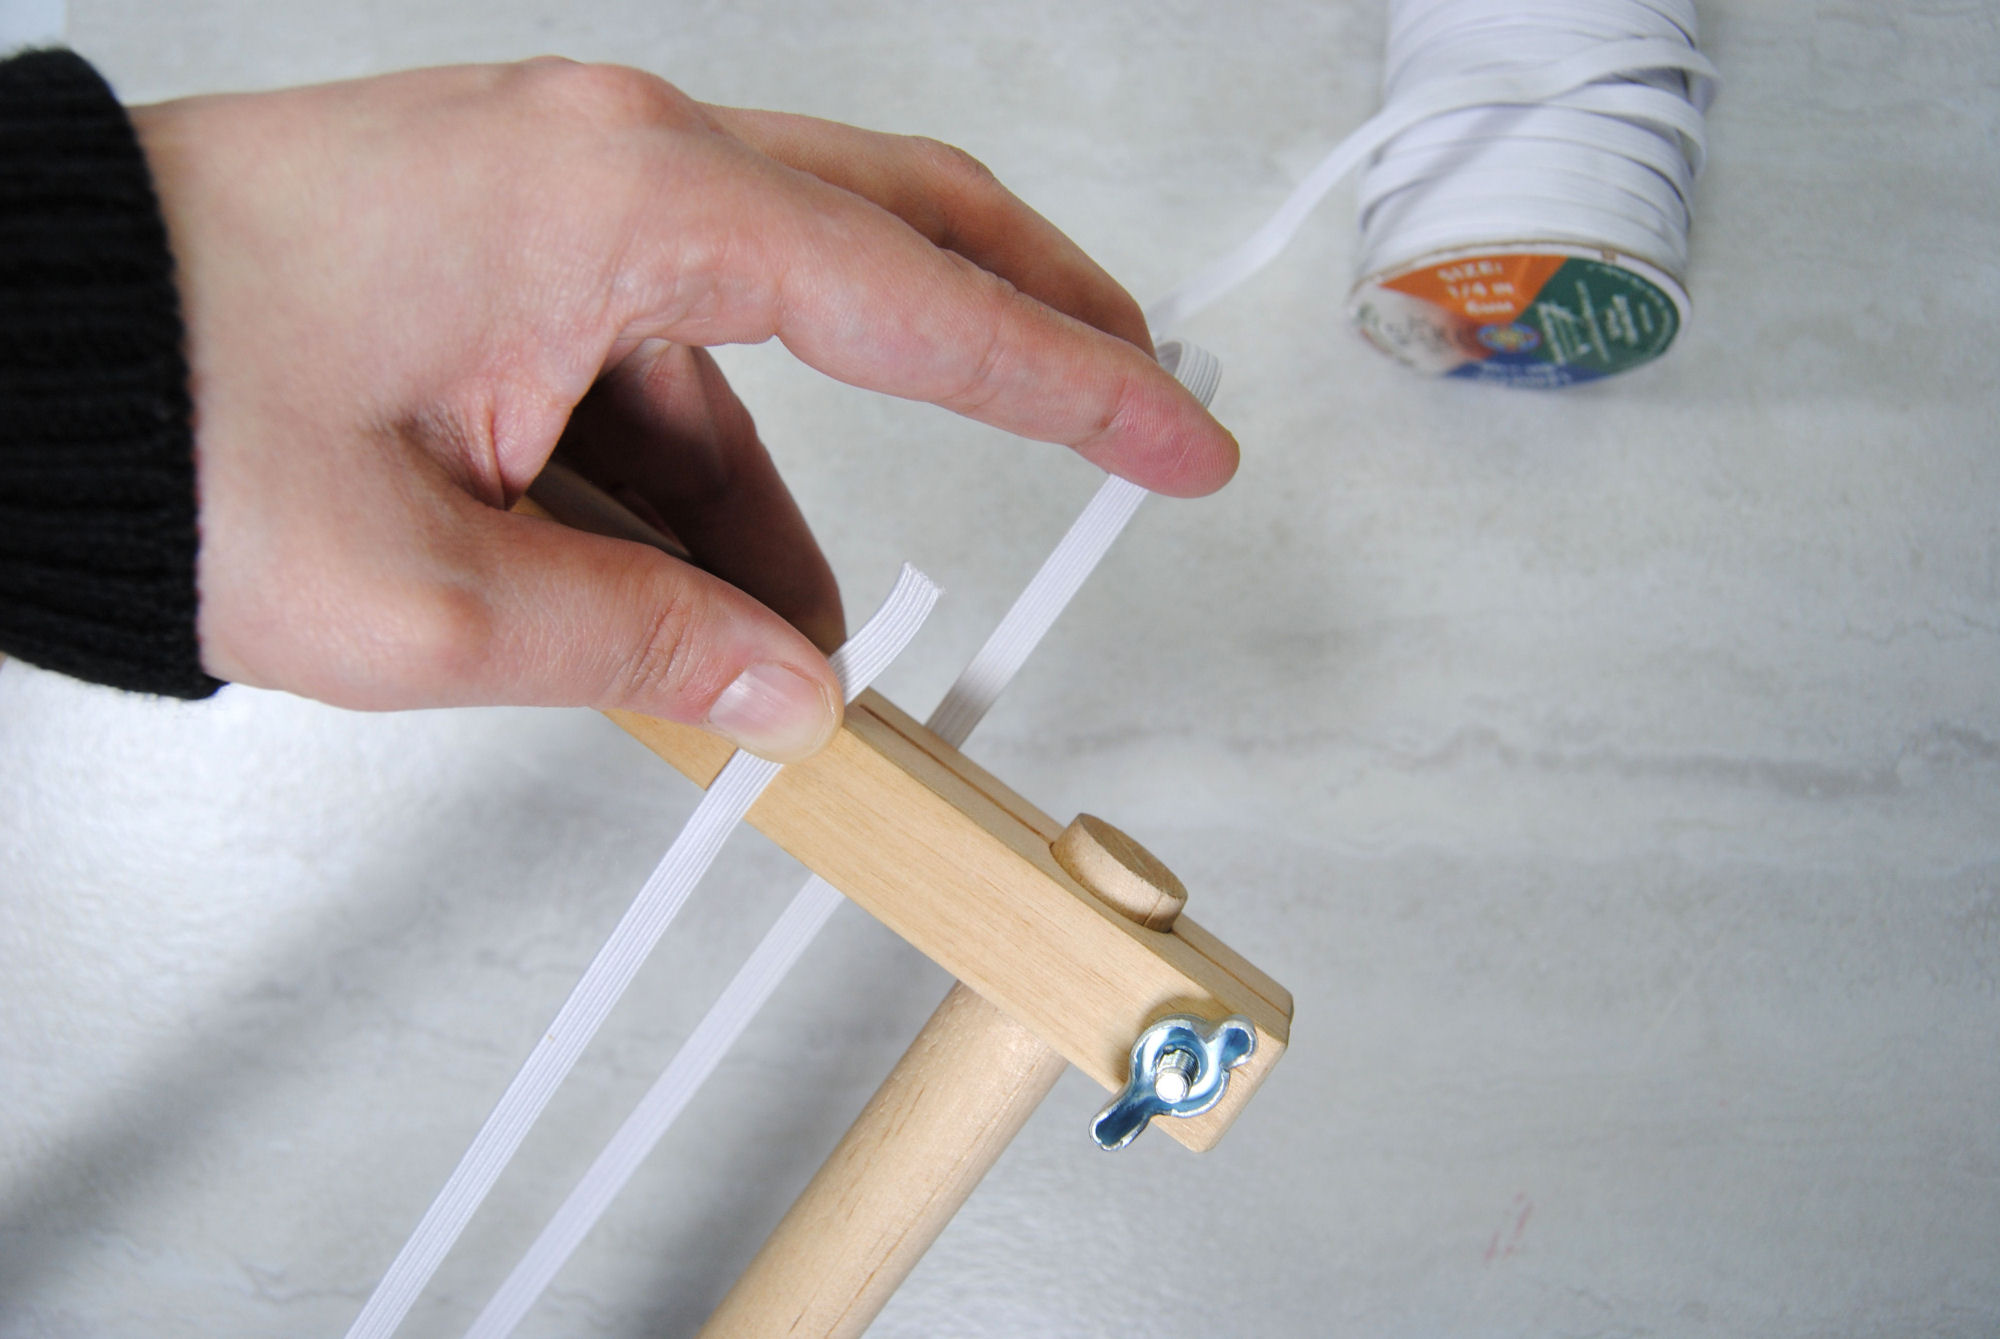
You want it to be able to stretch enough to get it on and off easily, but tight enough that it will stay on by itself.
Materials Needed
Alright, got your measurements? Here’s all the materials you need. Yep, just 5 things.
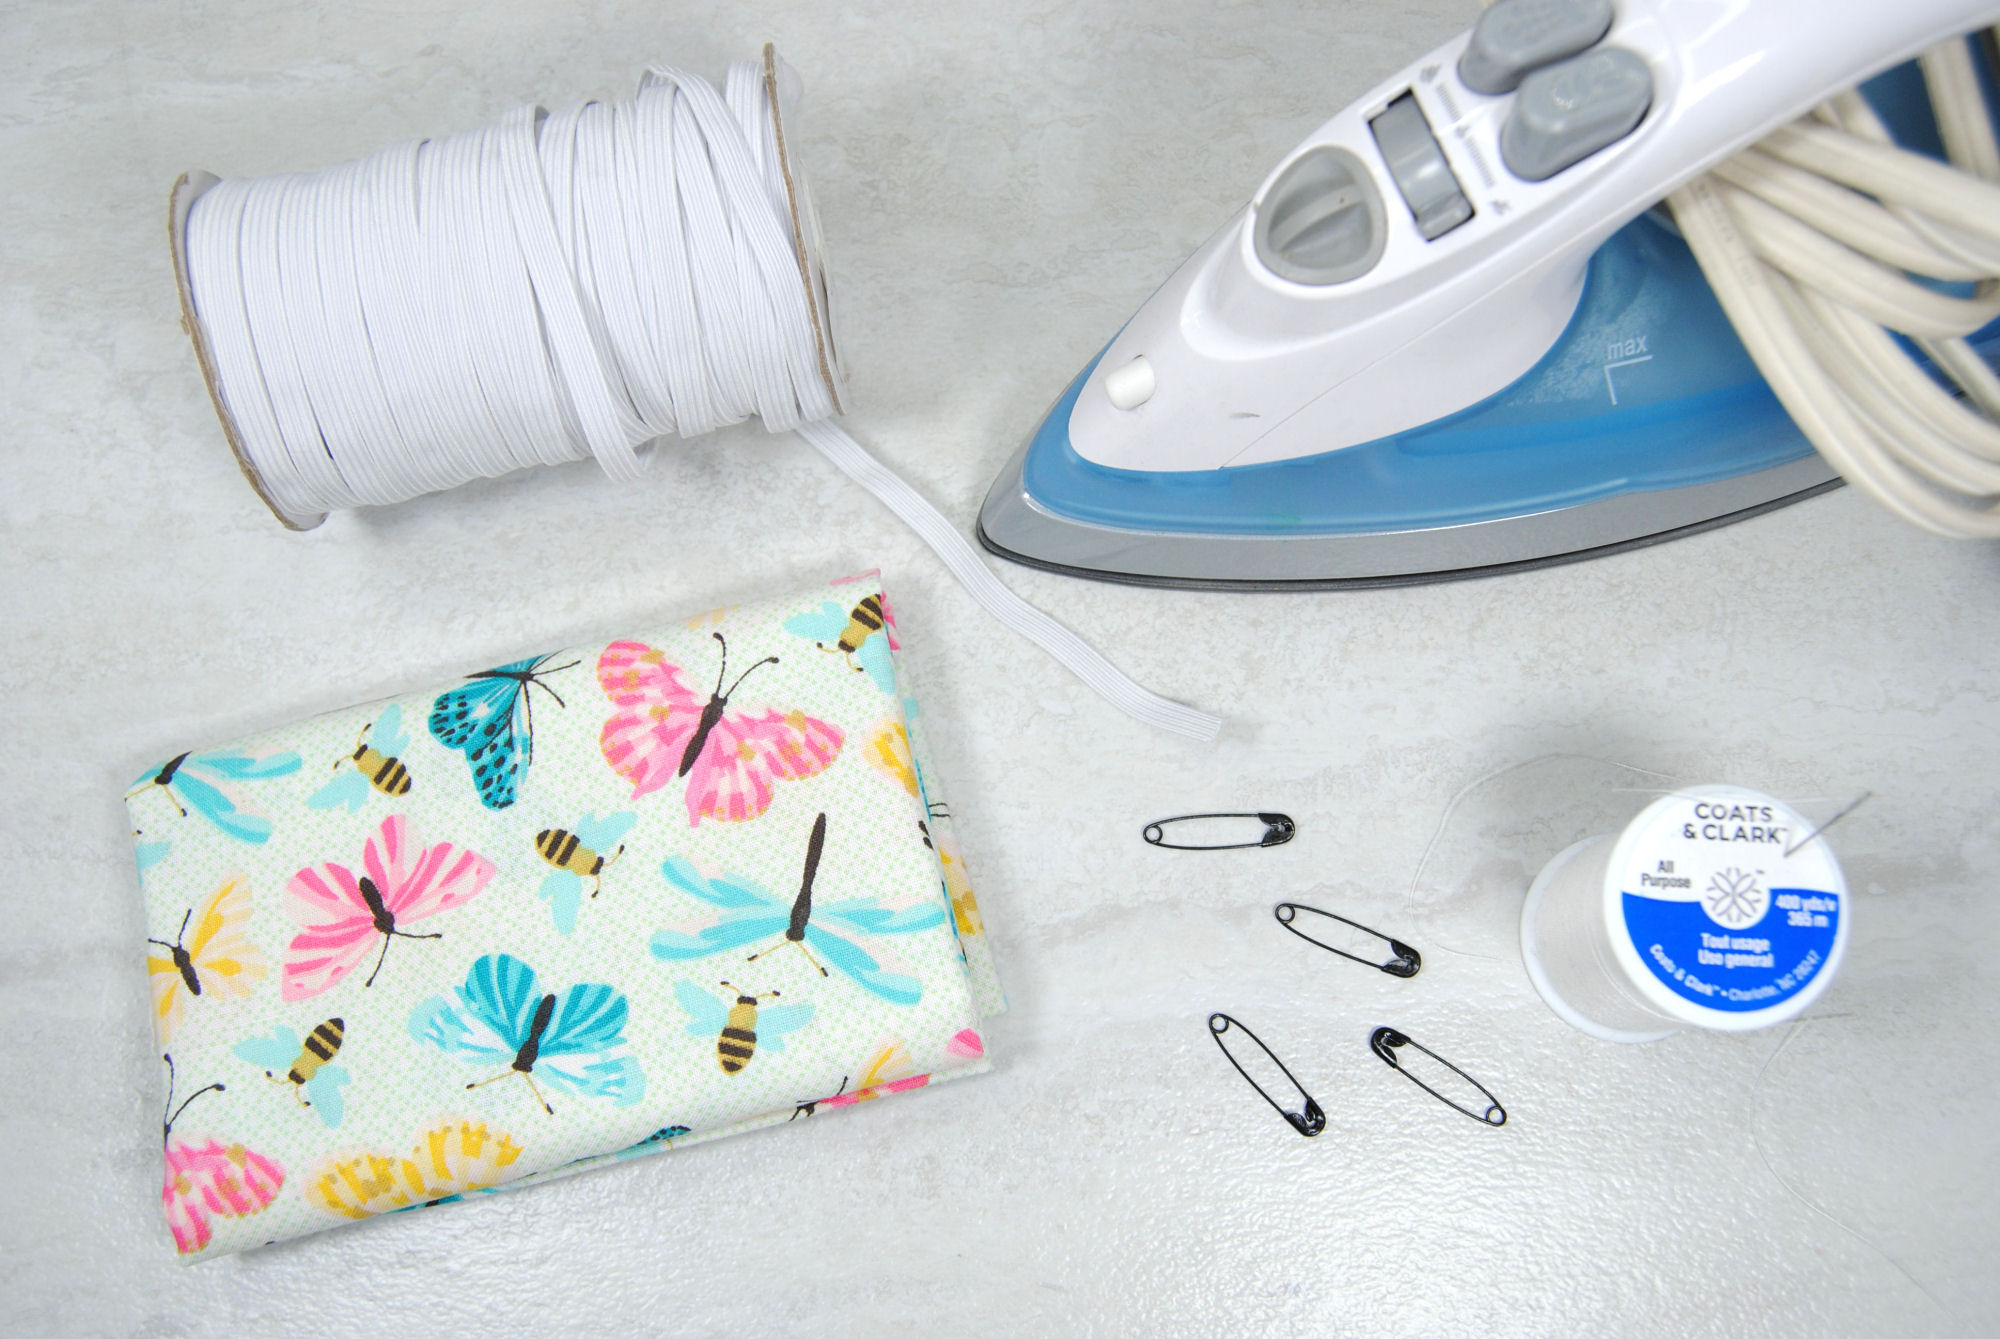
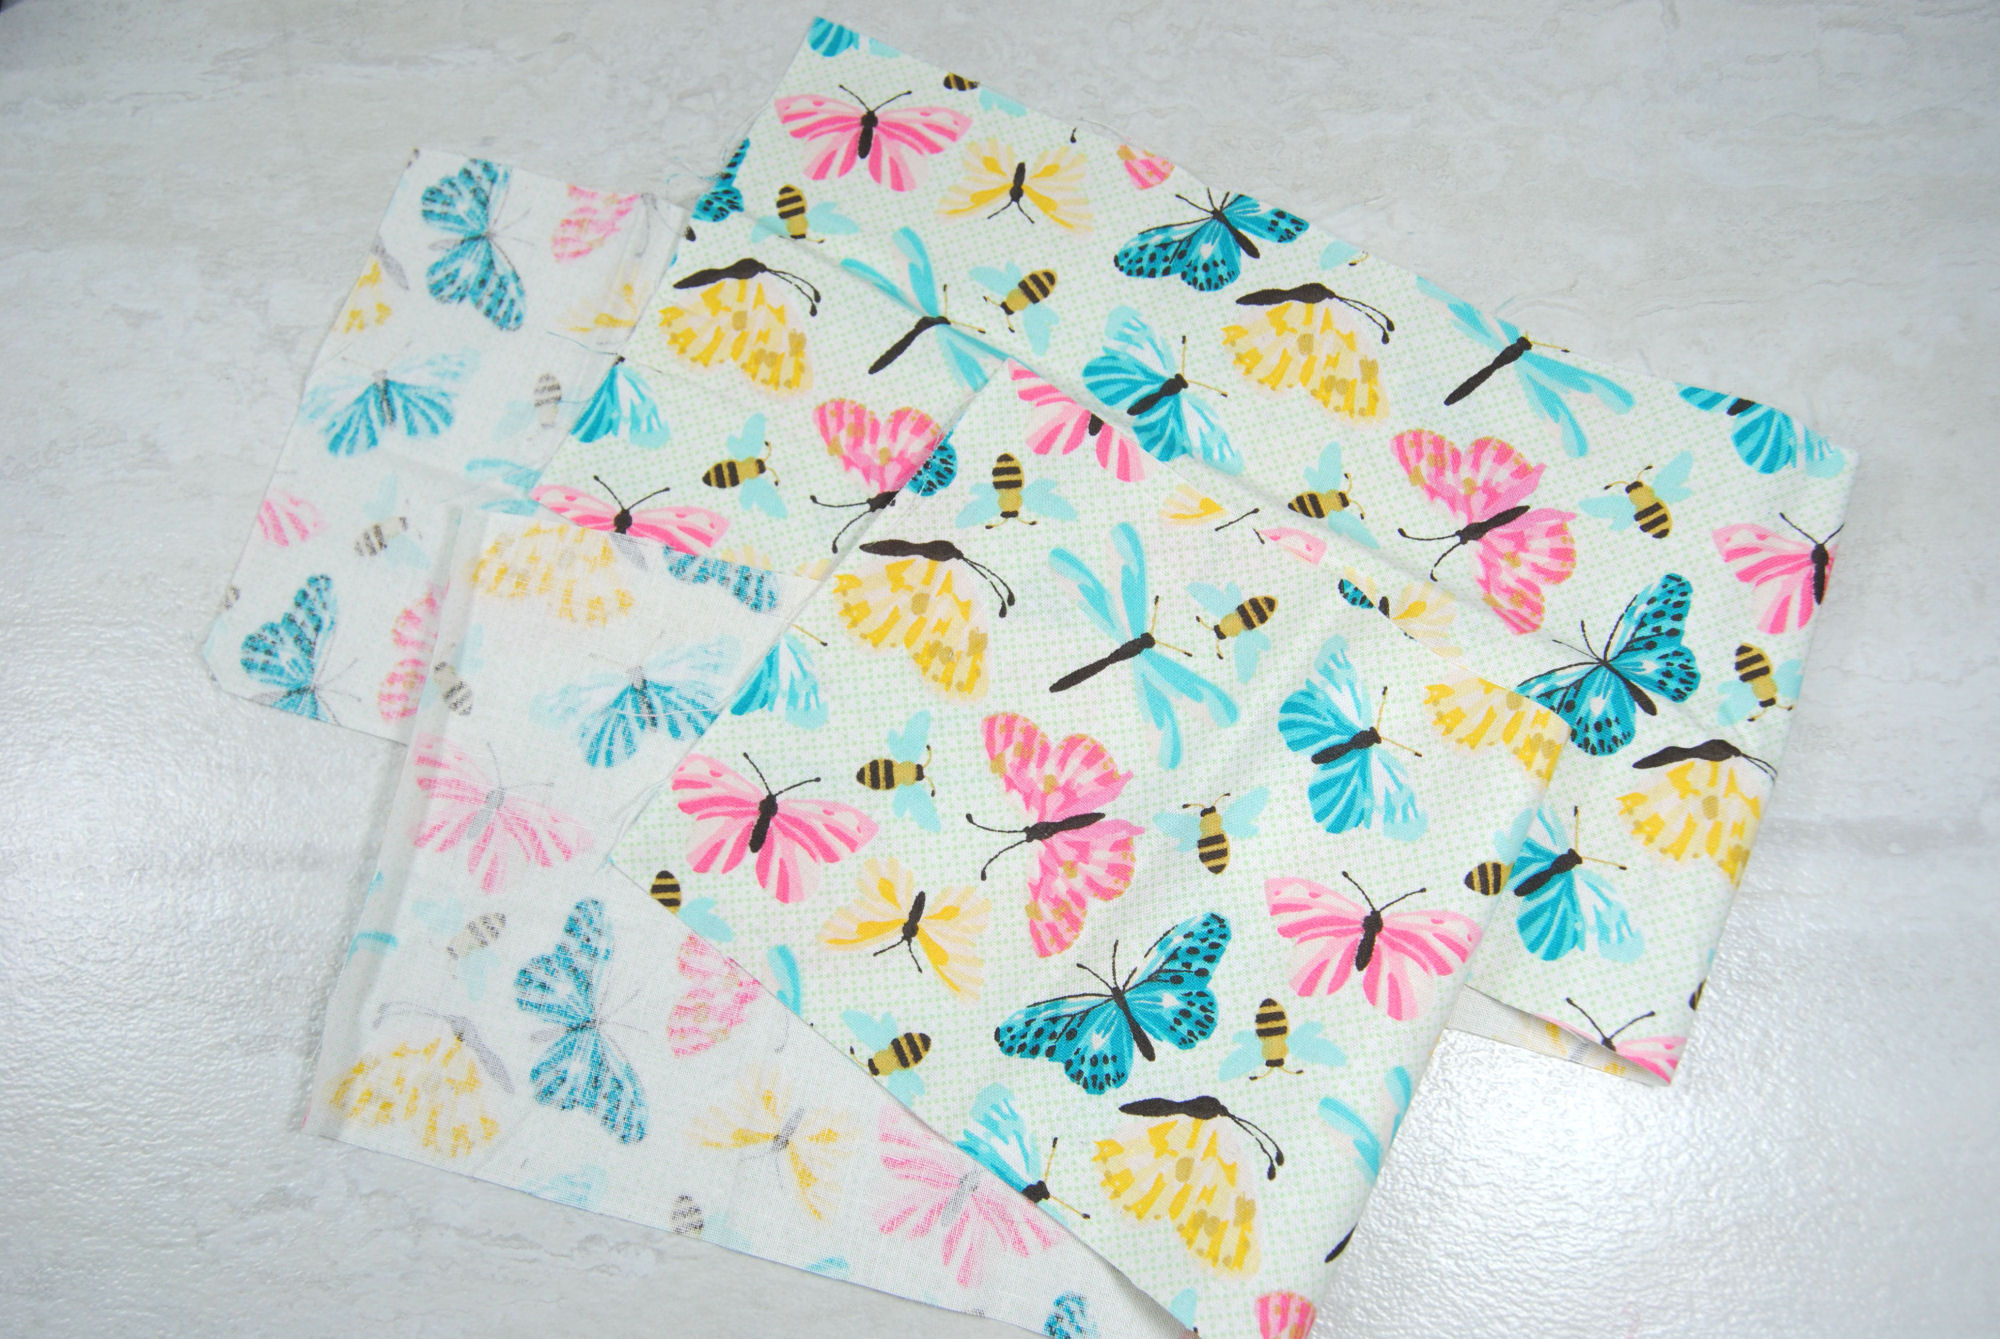
- Fabric. A fat quarter or larger. You can actually make about two cozies from a single fat quarter sometimes, depending on the measurements you put together above. The official size of a fat quarter is 18″ x 22″ (50cm x 53cm), but sometimes they’re a little bigger or smaller depending on how they’re manufactured. Mine was from a clearance bin at Joann.
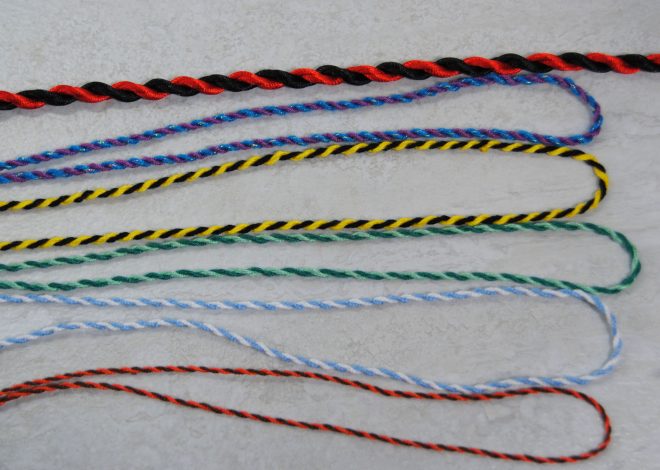
- 1/4 inch / 6mm elastic cord. The length depends on your Q-snap as we calculated above. A yard is plenty if you’re just making one grime guard to start with.
- Sewing machine OR Needle & Thread. If you do not have a machine this can 100% be done by hand and is even a small enough project to not take forever. You want sewing thread though, not embroidery thread. It’ll work, but it won’t be as strong and may break easier from the repeated stress of taking it on and off your Q-snap or hoop.
- Small safety pins. Even just one is enough, but having 2-4 is even better. This is mainly just to make it easier to feed your elastic through the fabric channels we’ll be making.
- An Iron. Doesn’t have to be a fancy one, and you can probably manage without one if you need to, but it will make your life much easier.
Grime Guard Assembly
Fabric Prep
The downside to using a fat quarter is that it’s not going to be long enough to fully wrap around your frame. Even a 6″ Q-snap needs ~28″ / 70cm of fabric length. While a Fat quarter is only 22″ / 53cm. So we’ll need to cut and piece some fabric together to get the full length needed.
That said, if you were buying off a bolt that’s typically around 42″ wide, so you’d still need to do this if you were making a larger grime guard for an 11″ Q-Snap, so this is a good skill to have regardless.
Cut 1-2 Long Strips
Start with your ‘width’ measurement from earlier. Mine is 5″ / 13cm.
Cut a strip of that width from the longest side of your fabric. Measure that length. Mine is 22″ / 56cm.
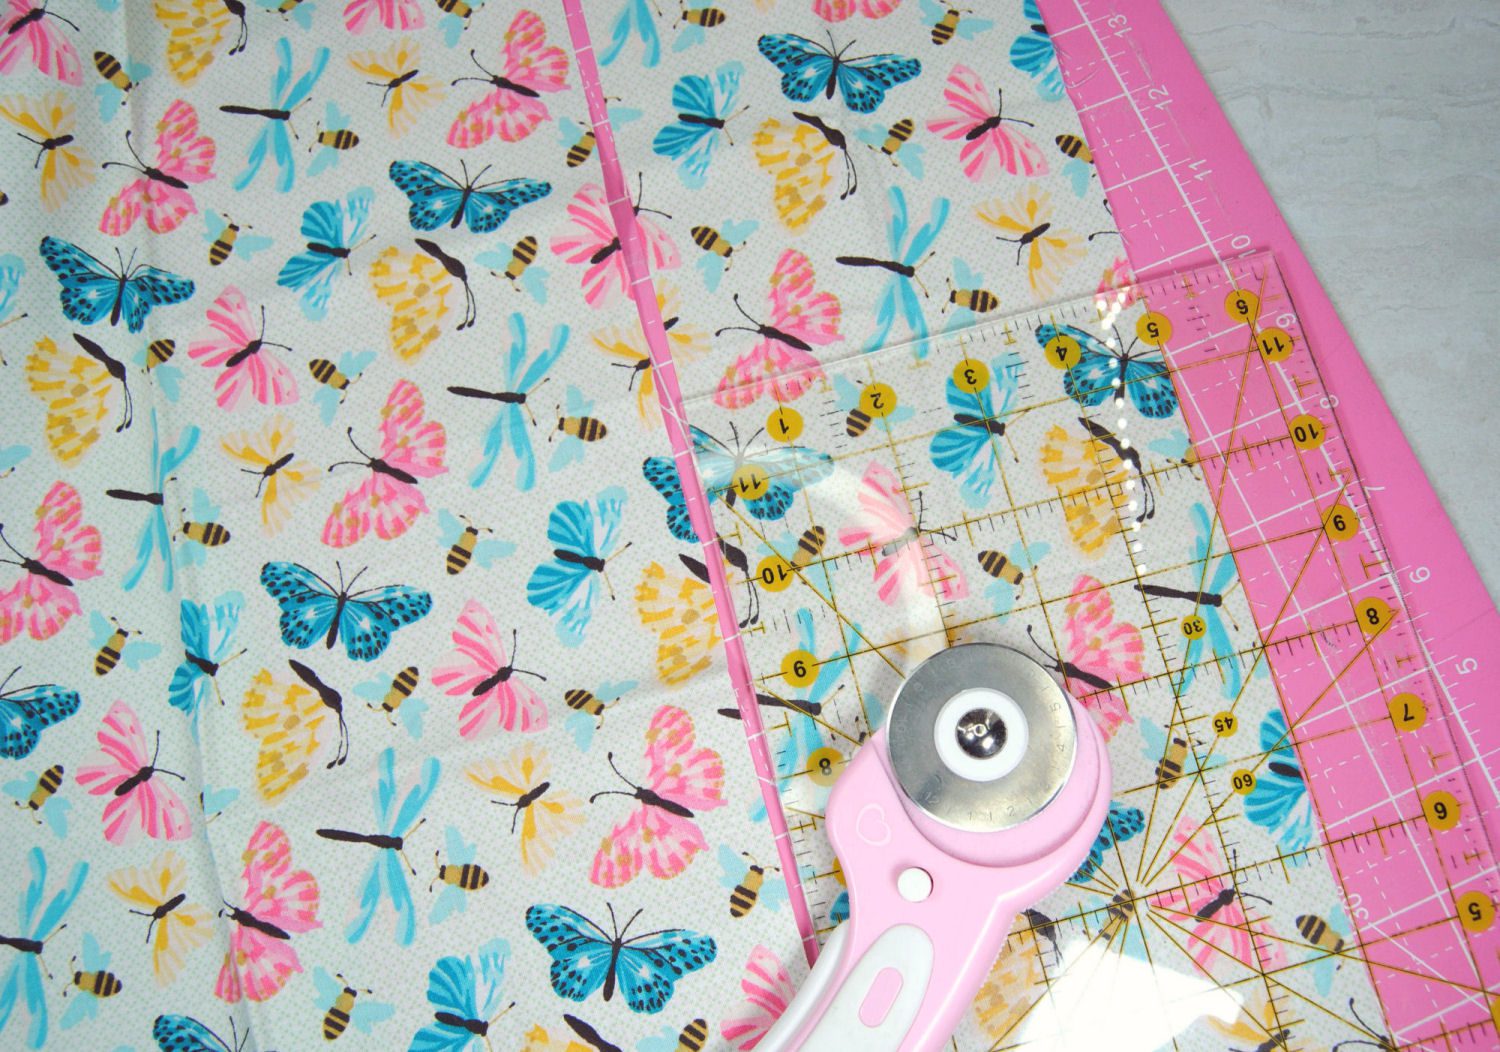
I need 36″ / 91cm for my 8″ / 20cm Q-snap, so I’ll need an additional 14″ / 36cm. But we’ll need to attach those together so we’ll include an extra 1/2″ / 1cm so we can sew them together.
So my second strip will be 5″ / 13cm wide and 14.5″ / 37cm long. Or I could just cut a second full 22″ / 56cm, sew them together, and then trim off the excess. Whichever you prefer.
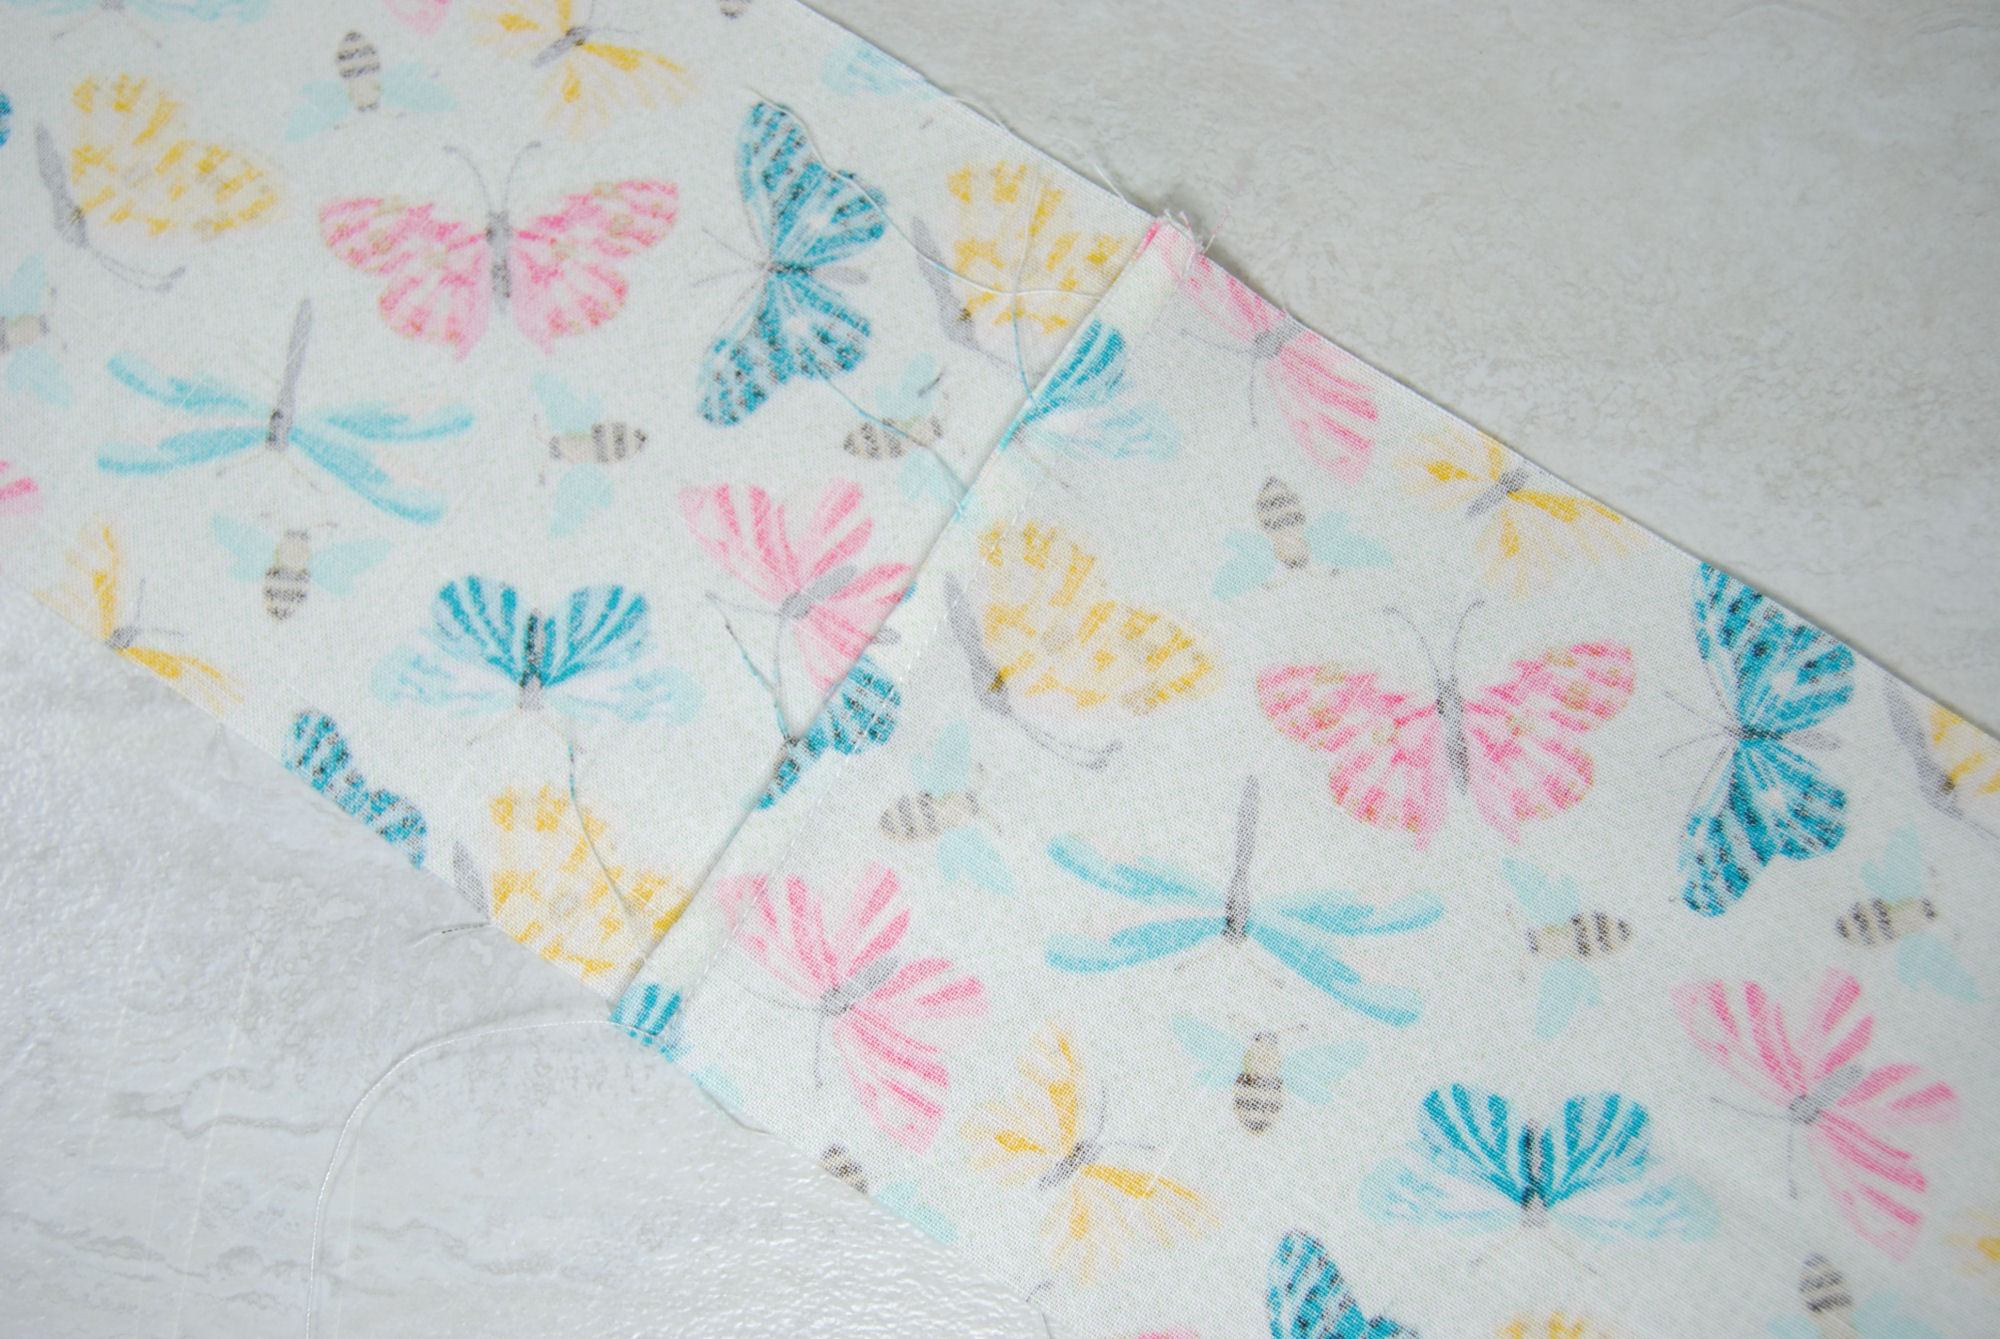
Then stitch the two strips together with a 1/4″ / 0.5cm seam allowance to make one long strip.
Then press that little flap of fabric over to one side with your iron so that it’s flat. It will absolutely get in your way when you try to feed your elastic through later if you don’t.
Inside Hem
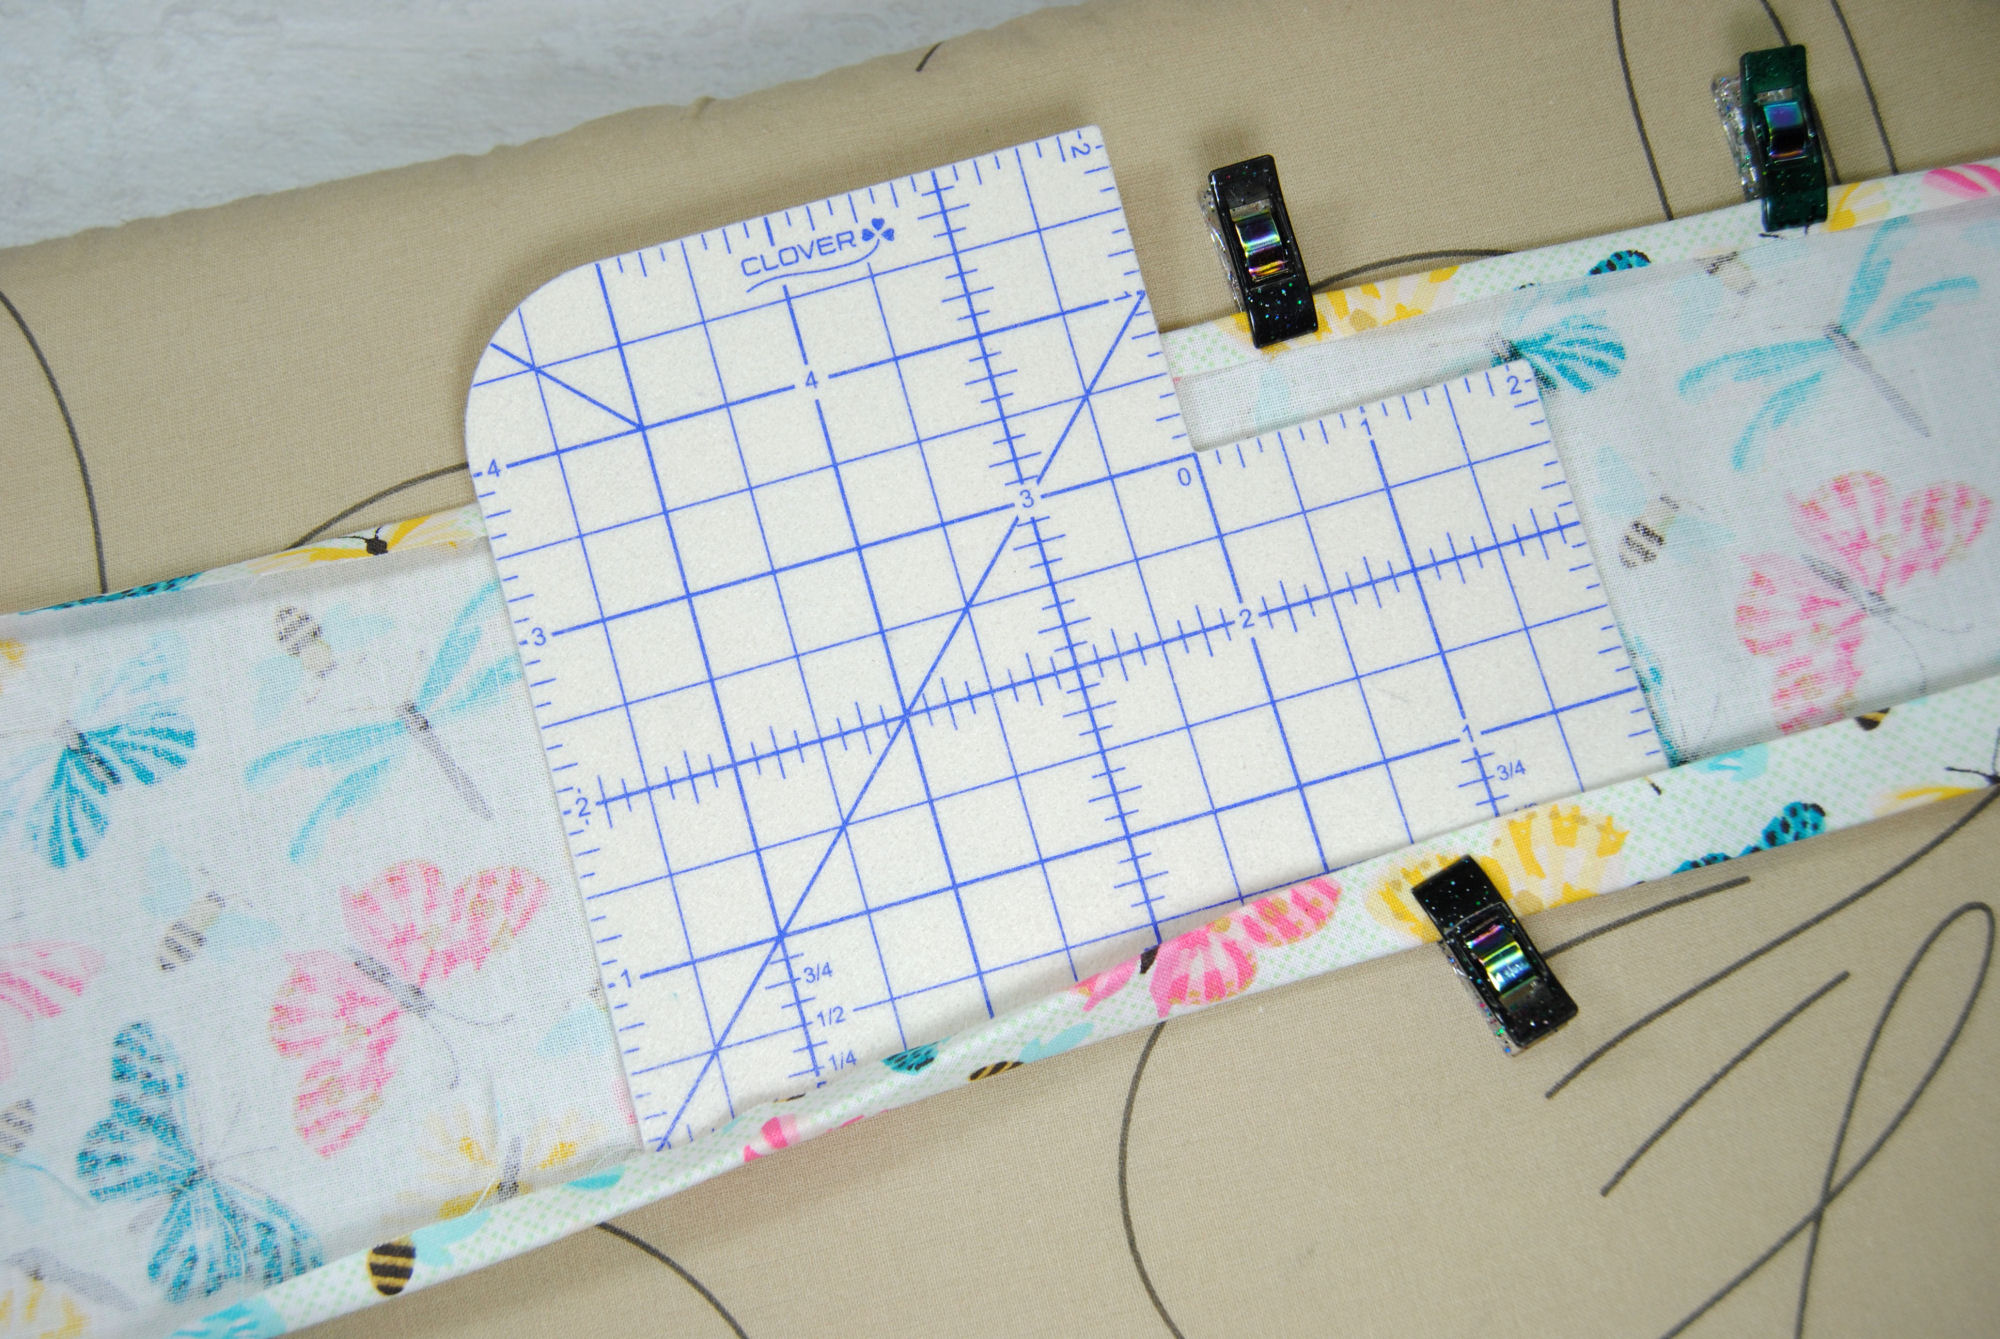
You’ll then need to start creating the channels by folding over the edges of your fabric twice. Start by folding the long sides over 1/4″ / 0.5cm. We won’t be stitching this down, this is just to create a clean edge on the inside of your grime guard. Press the fold in place with your iron as you go to make it easier to work with.
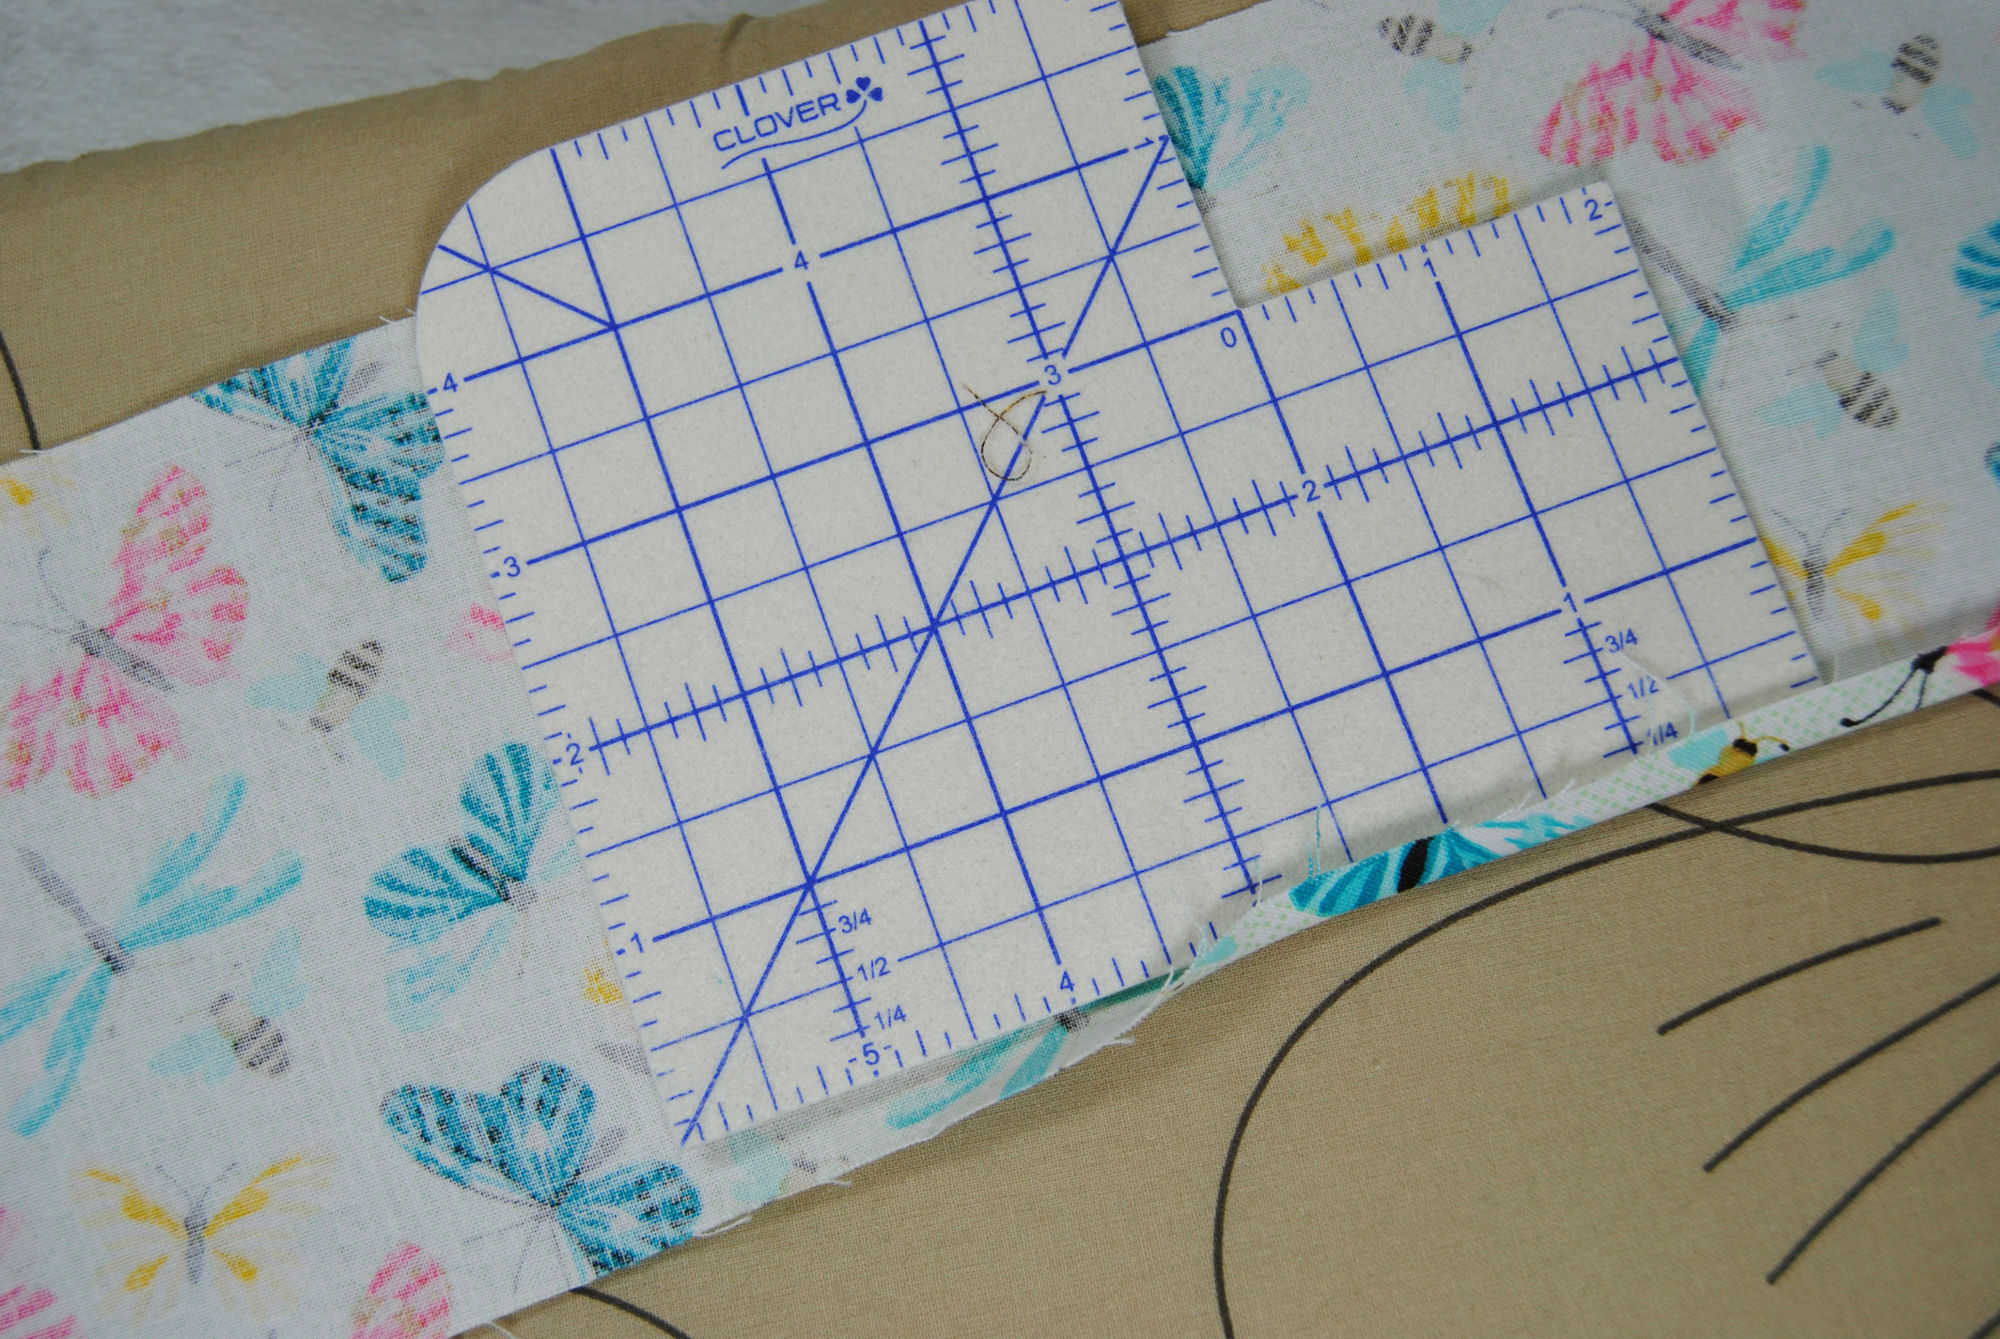
I have a ruler that’s safe to iron on that makes this process easier. But it’s not absolutely necessary.
One thing I’ve done before is using a ruler and a heat-erase pen, drawing a line down the INSIDE of the fabric, and use that as a guide to fold to.
Pressing the Channels
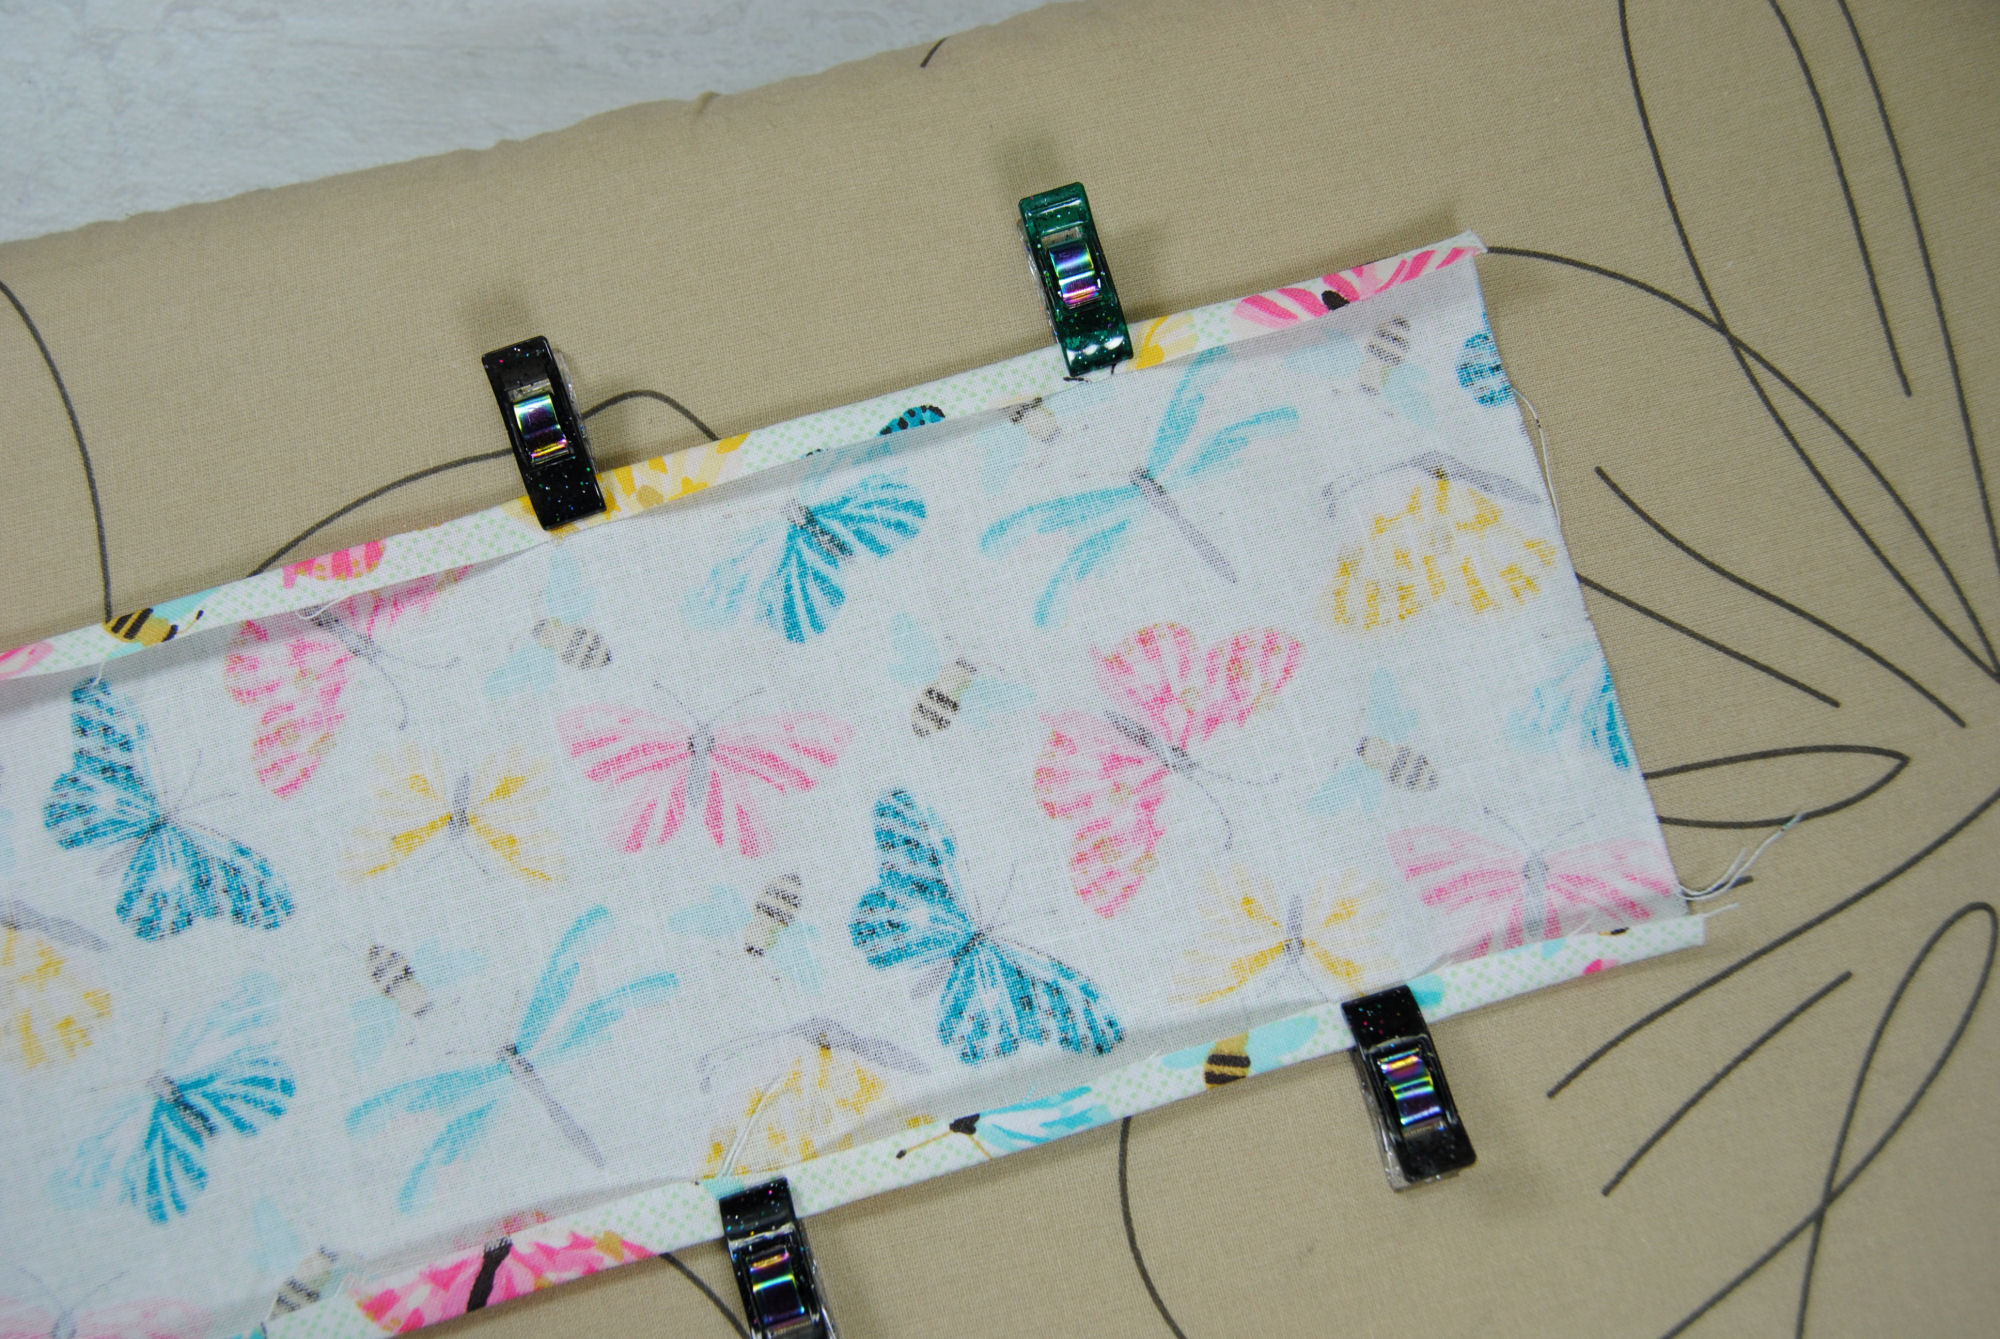
Now that those are folded in we want to fold it in again, this time by 1/2″ / 1cm. Press as you go so that it stays in place for you to sew down shortly. If needed, you can also use pins or sewing clips to hold these folds in place for you. Especially if you don’t have an iron to press the seams with.
Before you proceed to stitching, take a moment to wrap it around the side of your Q-snap and confirm if that’s the final width you want. Too baggy? Fold that channel in just a bit more. Too thin? You might have to undo those channels and use a 1/8″ hem on the inside instead.
Stitching the Channels
With all that folding and pressing finally out of the way, we’ll be stitching those channels down by stitching just along that inside fold. About 1/8″ in from the edge. That’s, uh, 0.3cm? As long as you have enough room for the 1/4″ / 0.5cm elastic to fit in the channel you should be good.
Feeding Elastic Through
Once those are both sewn down you need to feed a length of elastic through both channels.
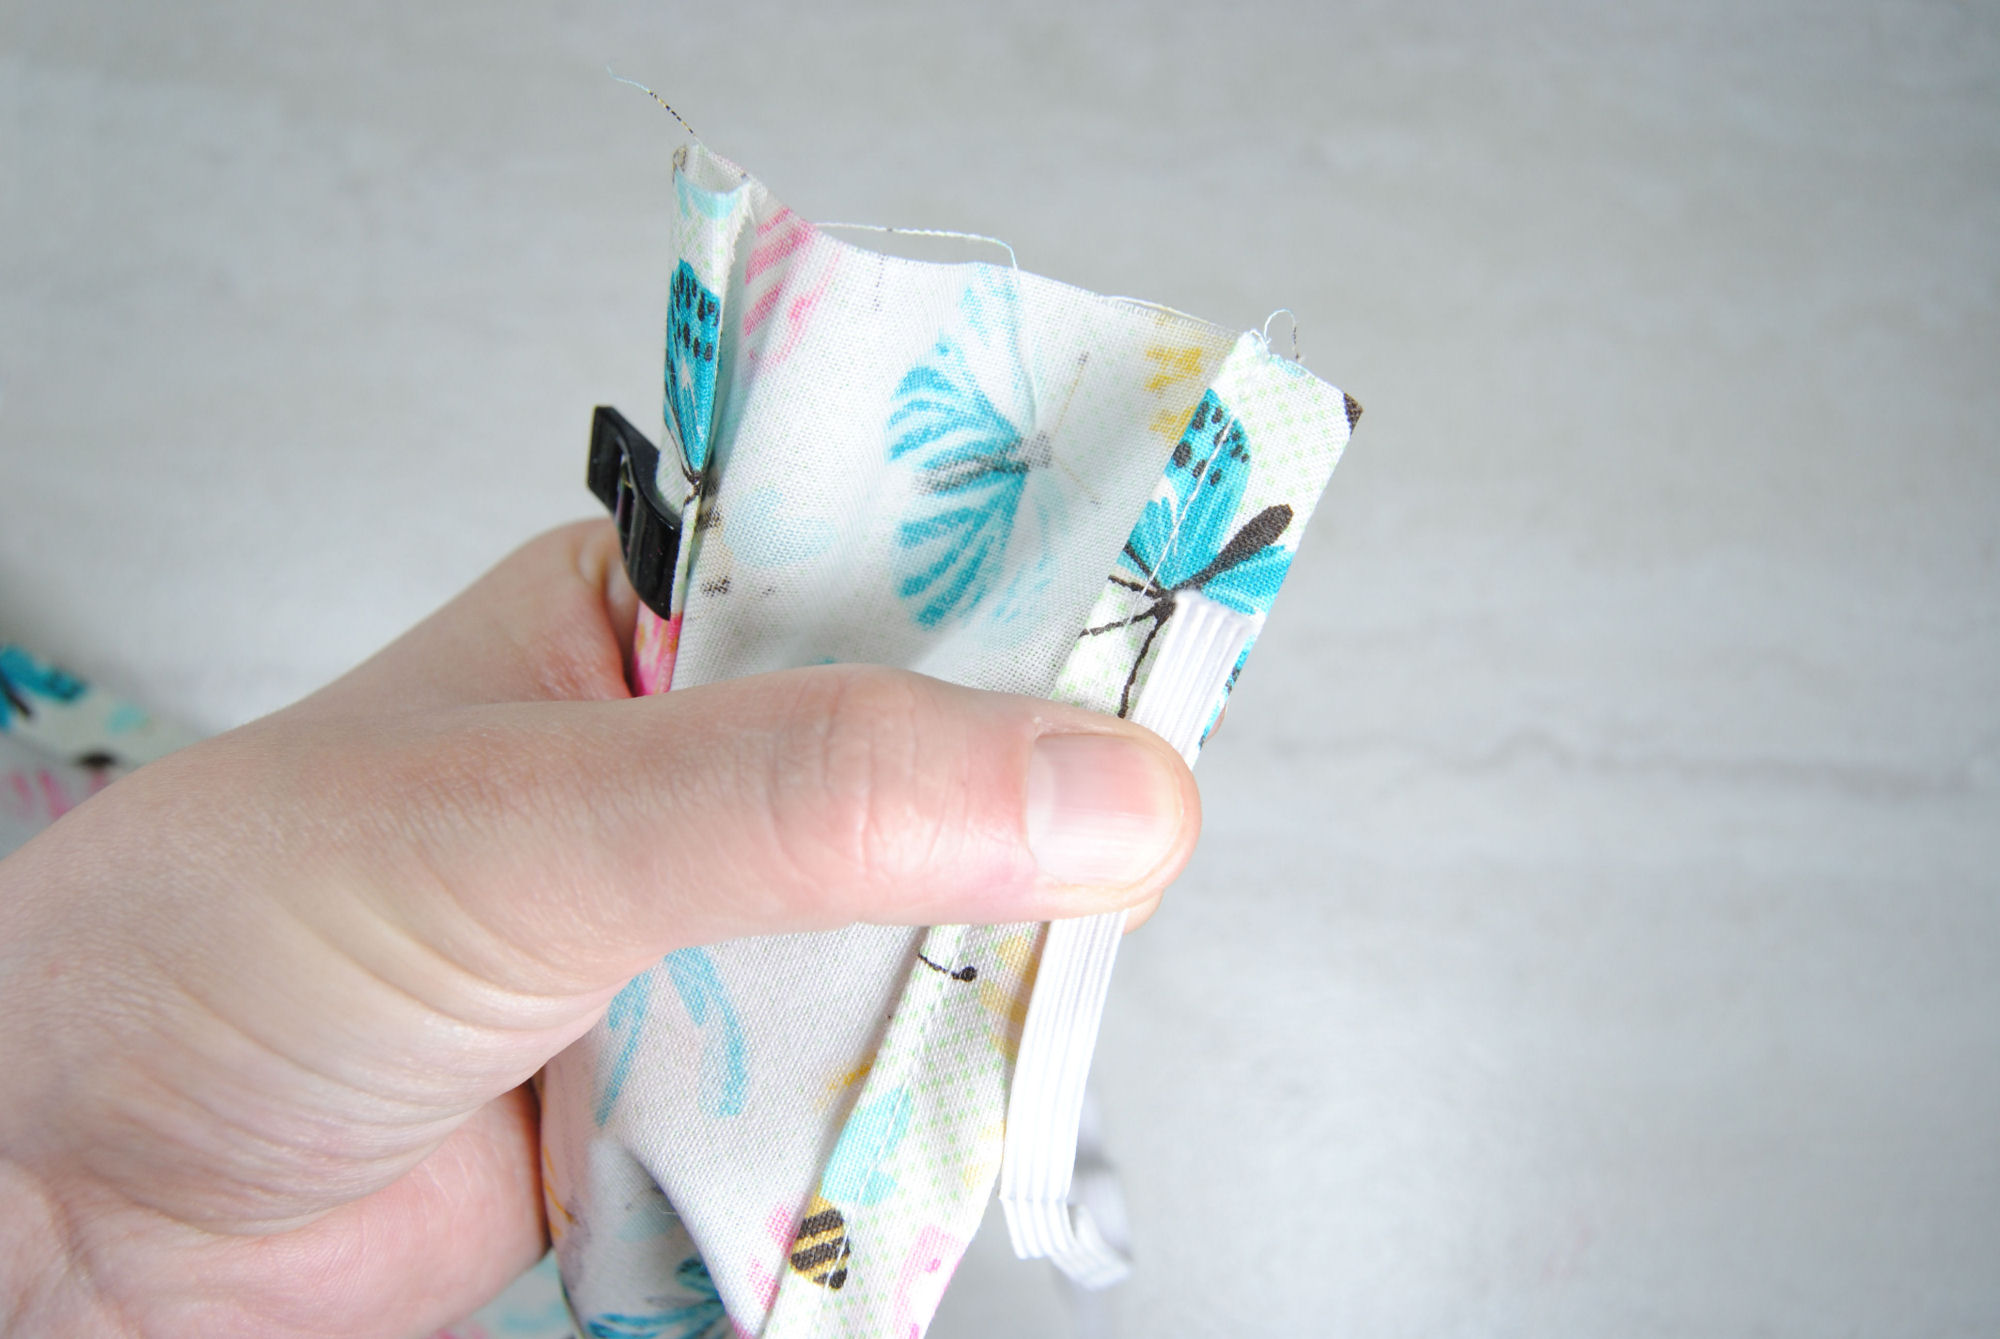
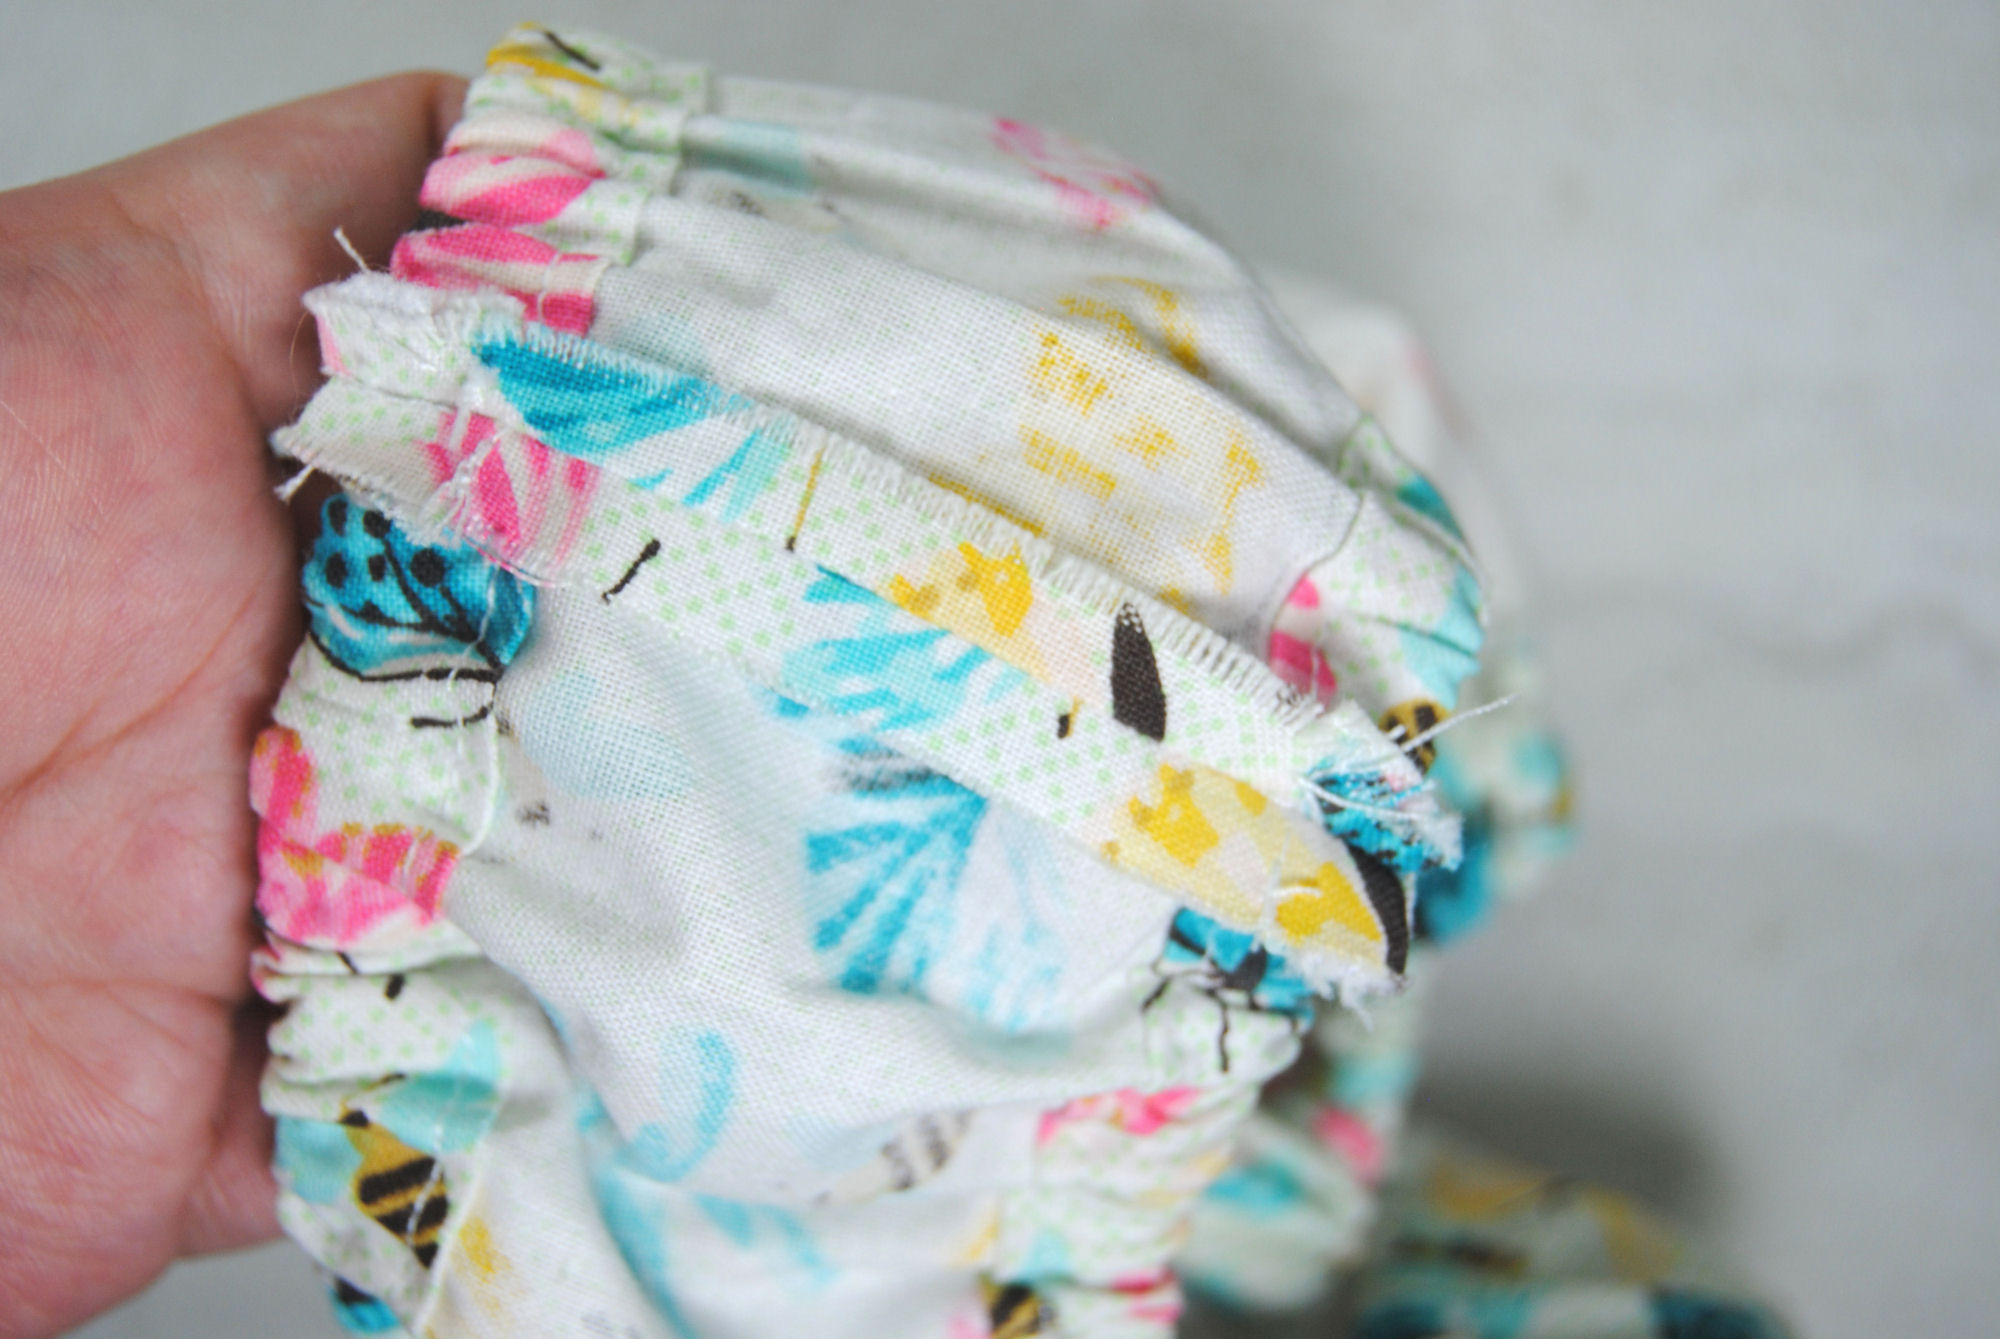
Remember that little flap of fabric from when you stitched your two strips together? You’ll want to feed in your elastic from the side this flap is pointing away from. This is hard for me to describe, so take a look what I mean in this photo. When you’re running the safety pin down the channel you do not want it to be able to ‘catch’ on that little flap on the inside of your tube. If you forgot this step and got stuck, just do some wiggling around in there. It’s still doable, just more annoying tbh.
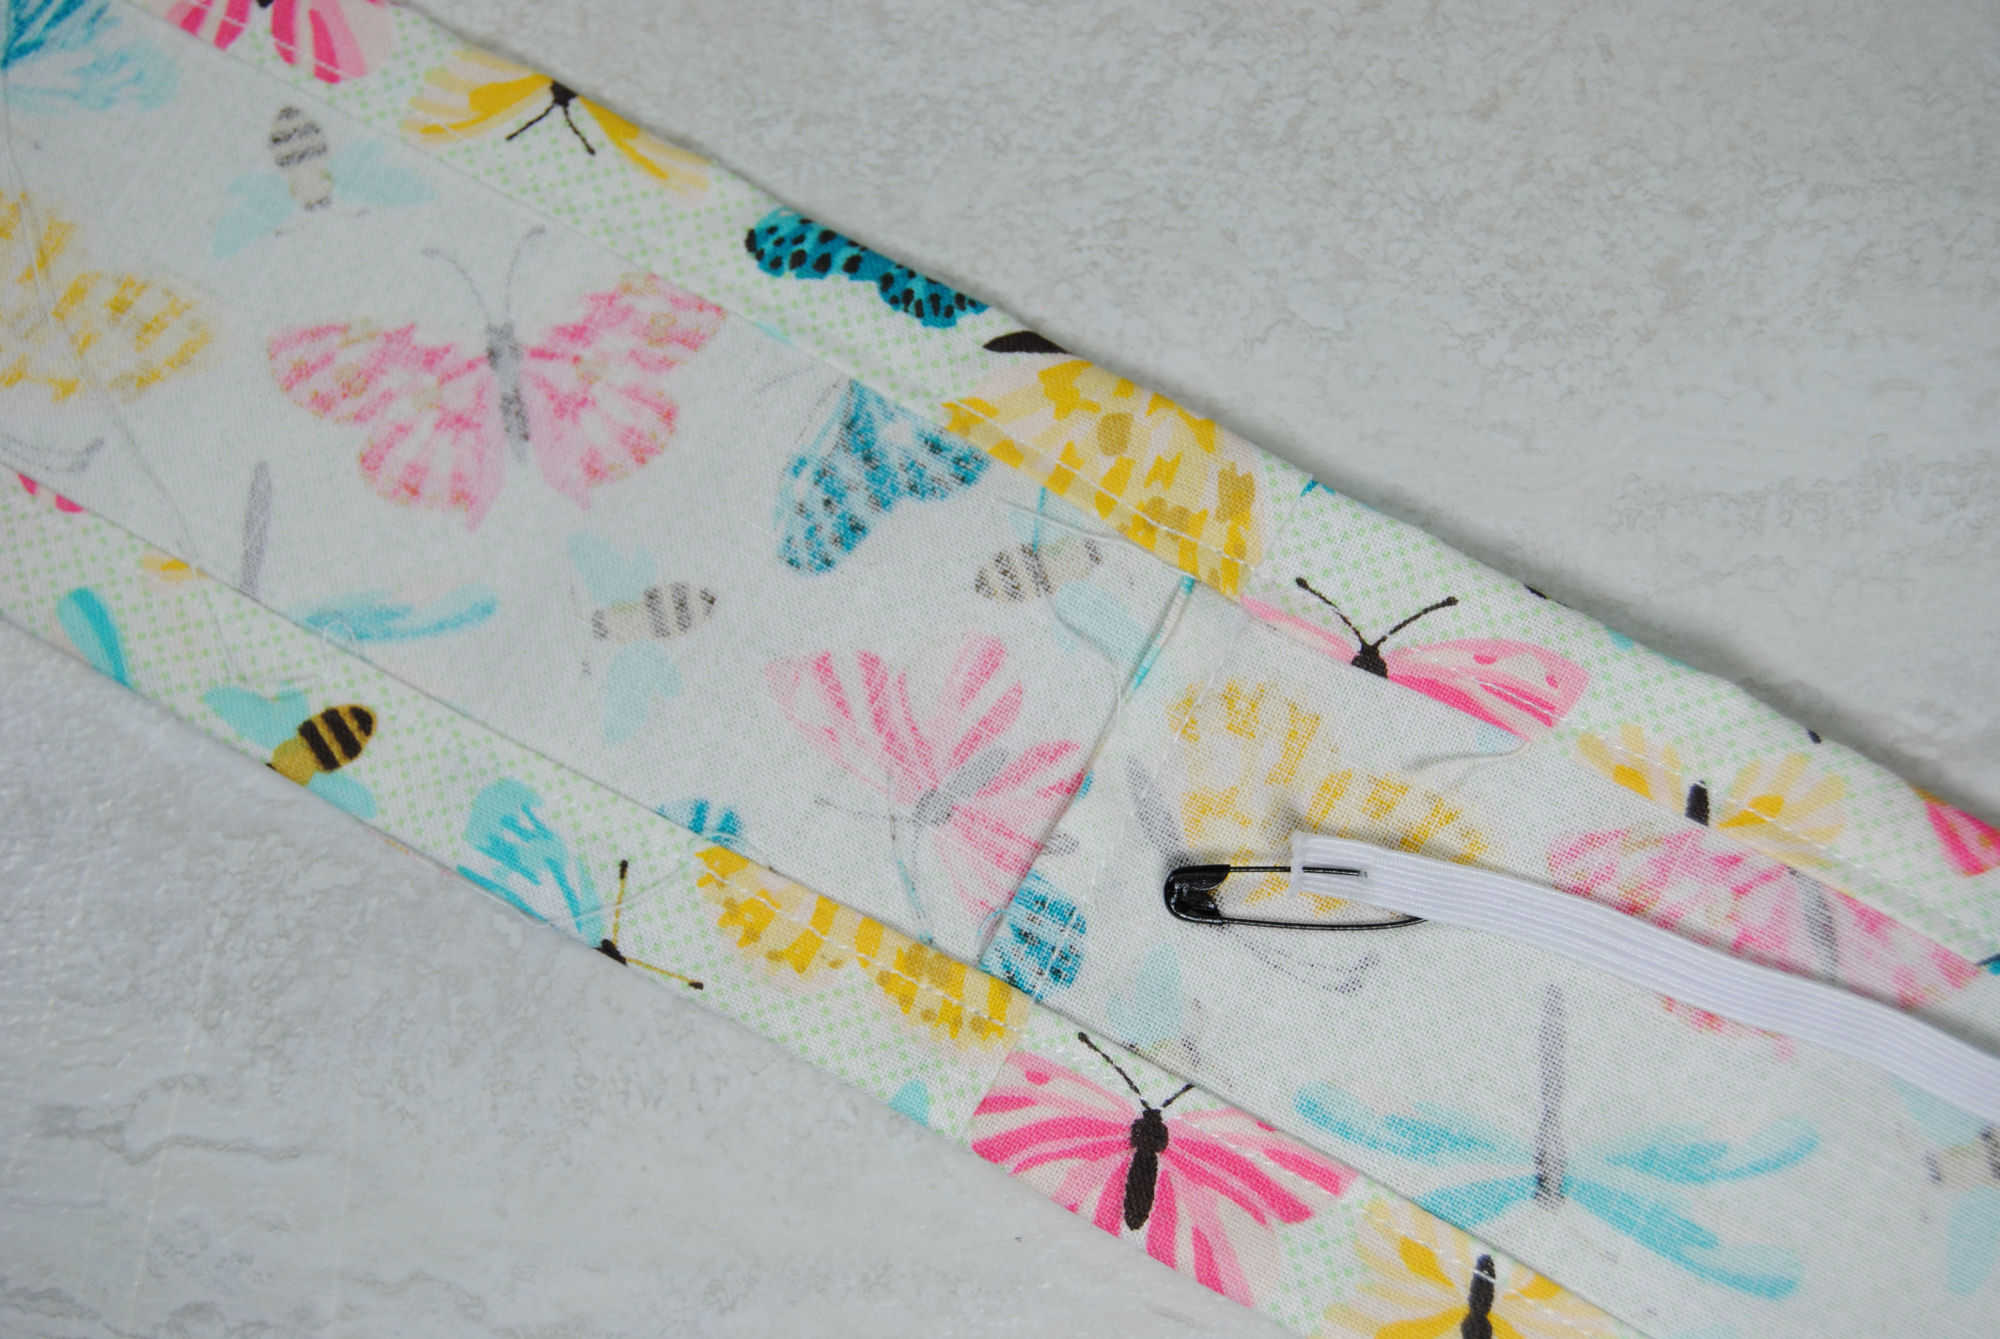
Anyway, either pin one end of the elastic to the inside of the channel, or stitch it in place if you want it a bit more secure. Then, attach a safety pin to the other end of your elastic and start feeding it through the channel.
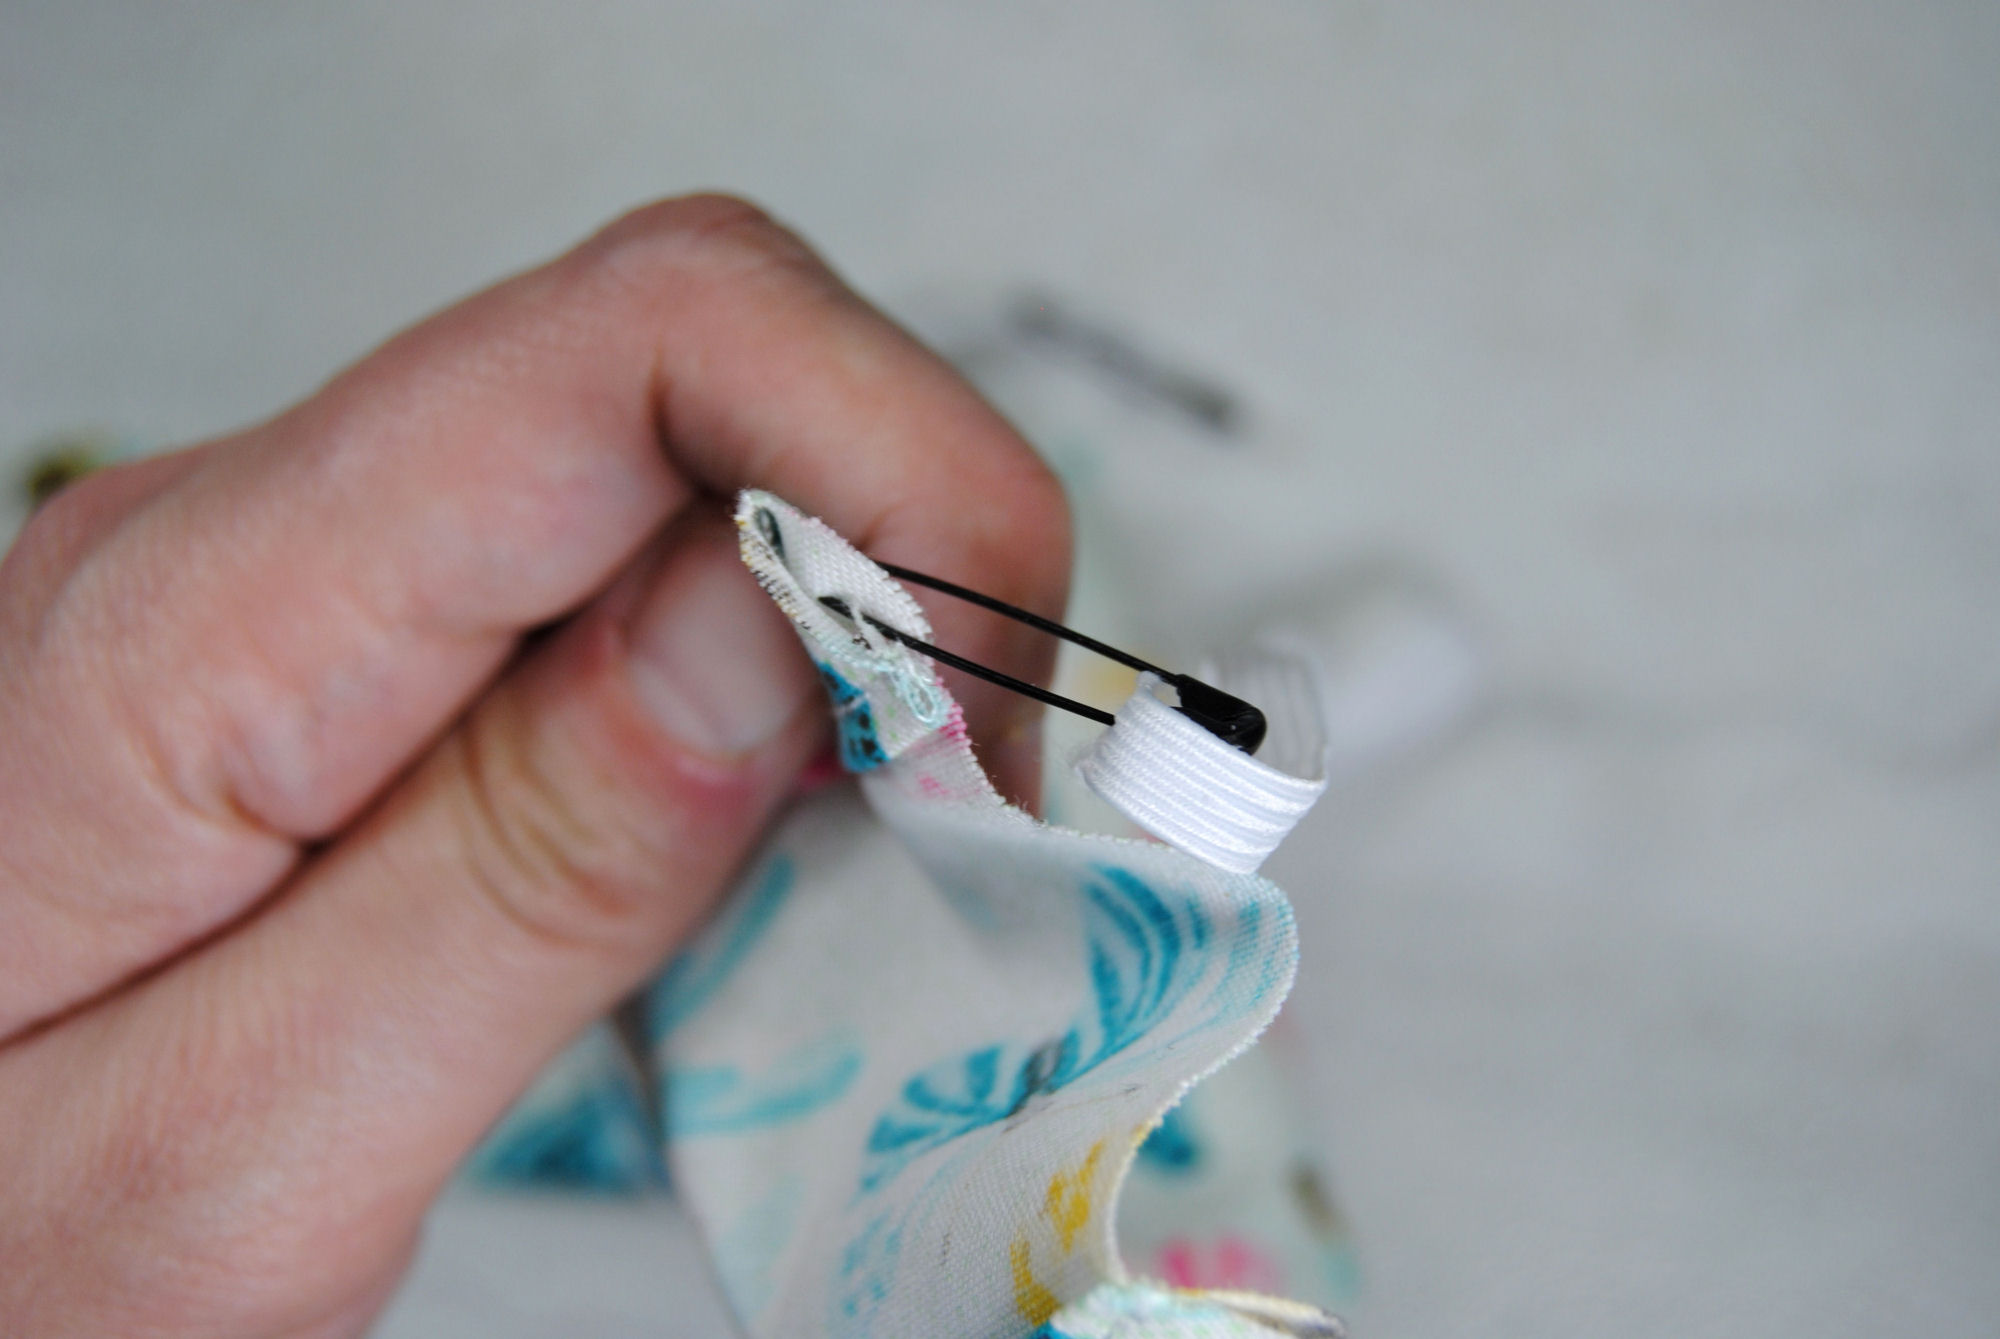
Push it along with your nail, scrunch up the fabric as needed. Your fabric should be twice as long as the elastic, so it will absolutely need to be scrunched up to get all the way through.
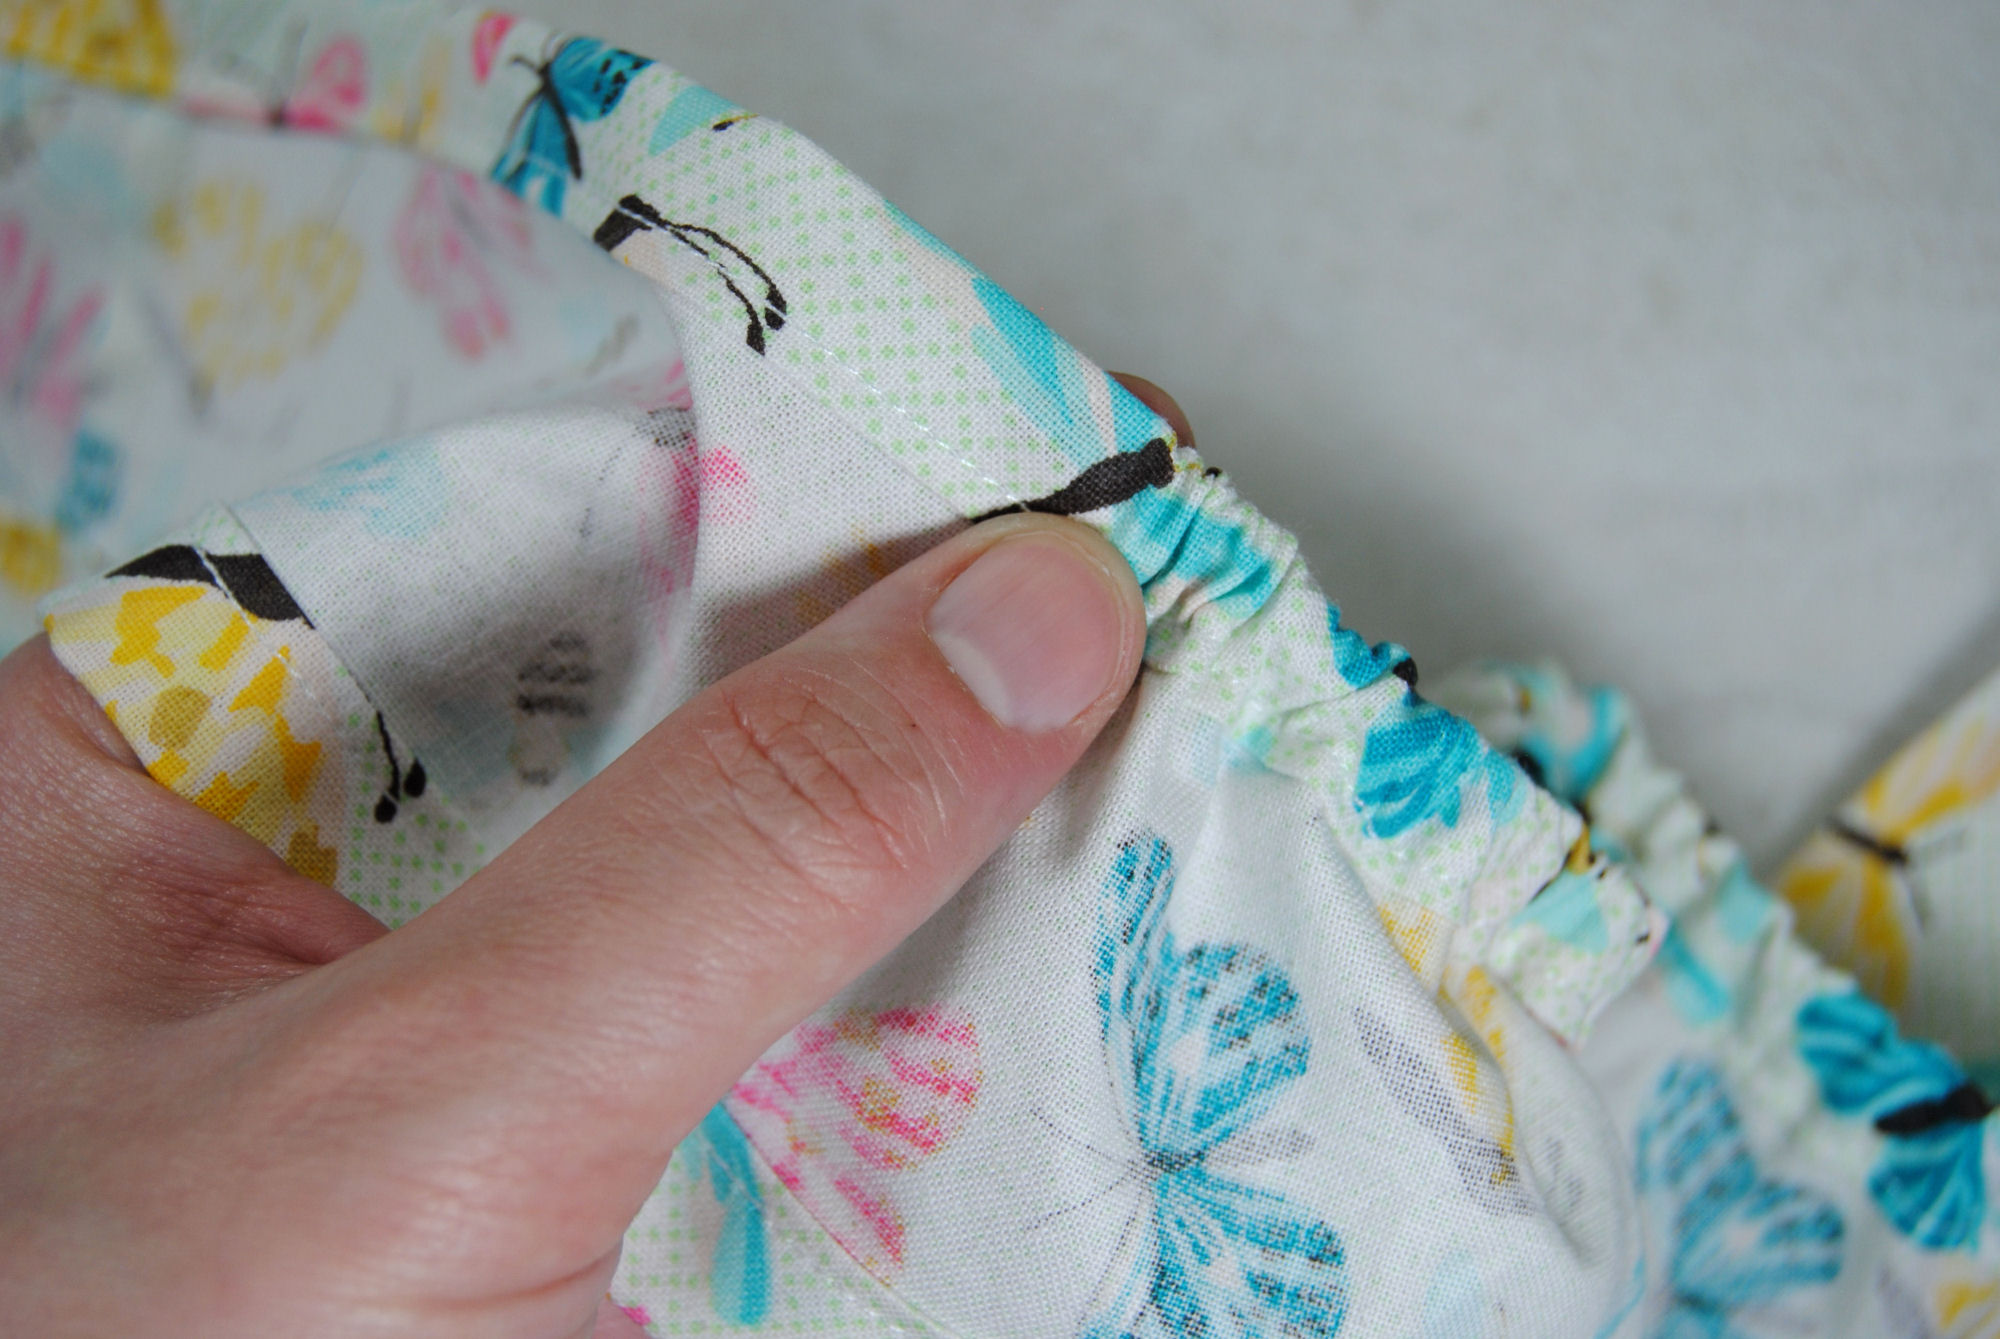
Once on the other side, pin or sew that elastic down on the edge of your fabric so it doesn’t snap back into the channel. Spend some time stretching it out, moving it around and getting the elastic settled so it’s not all bunched up on one side.
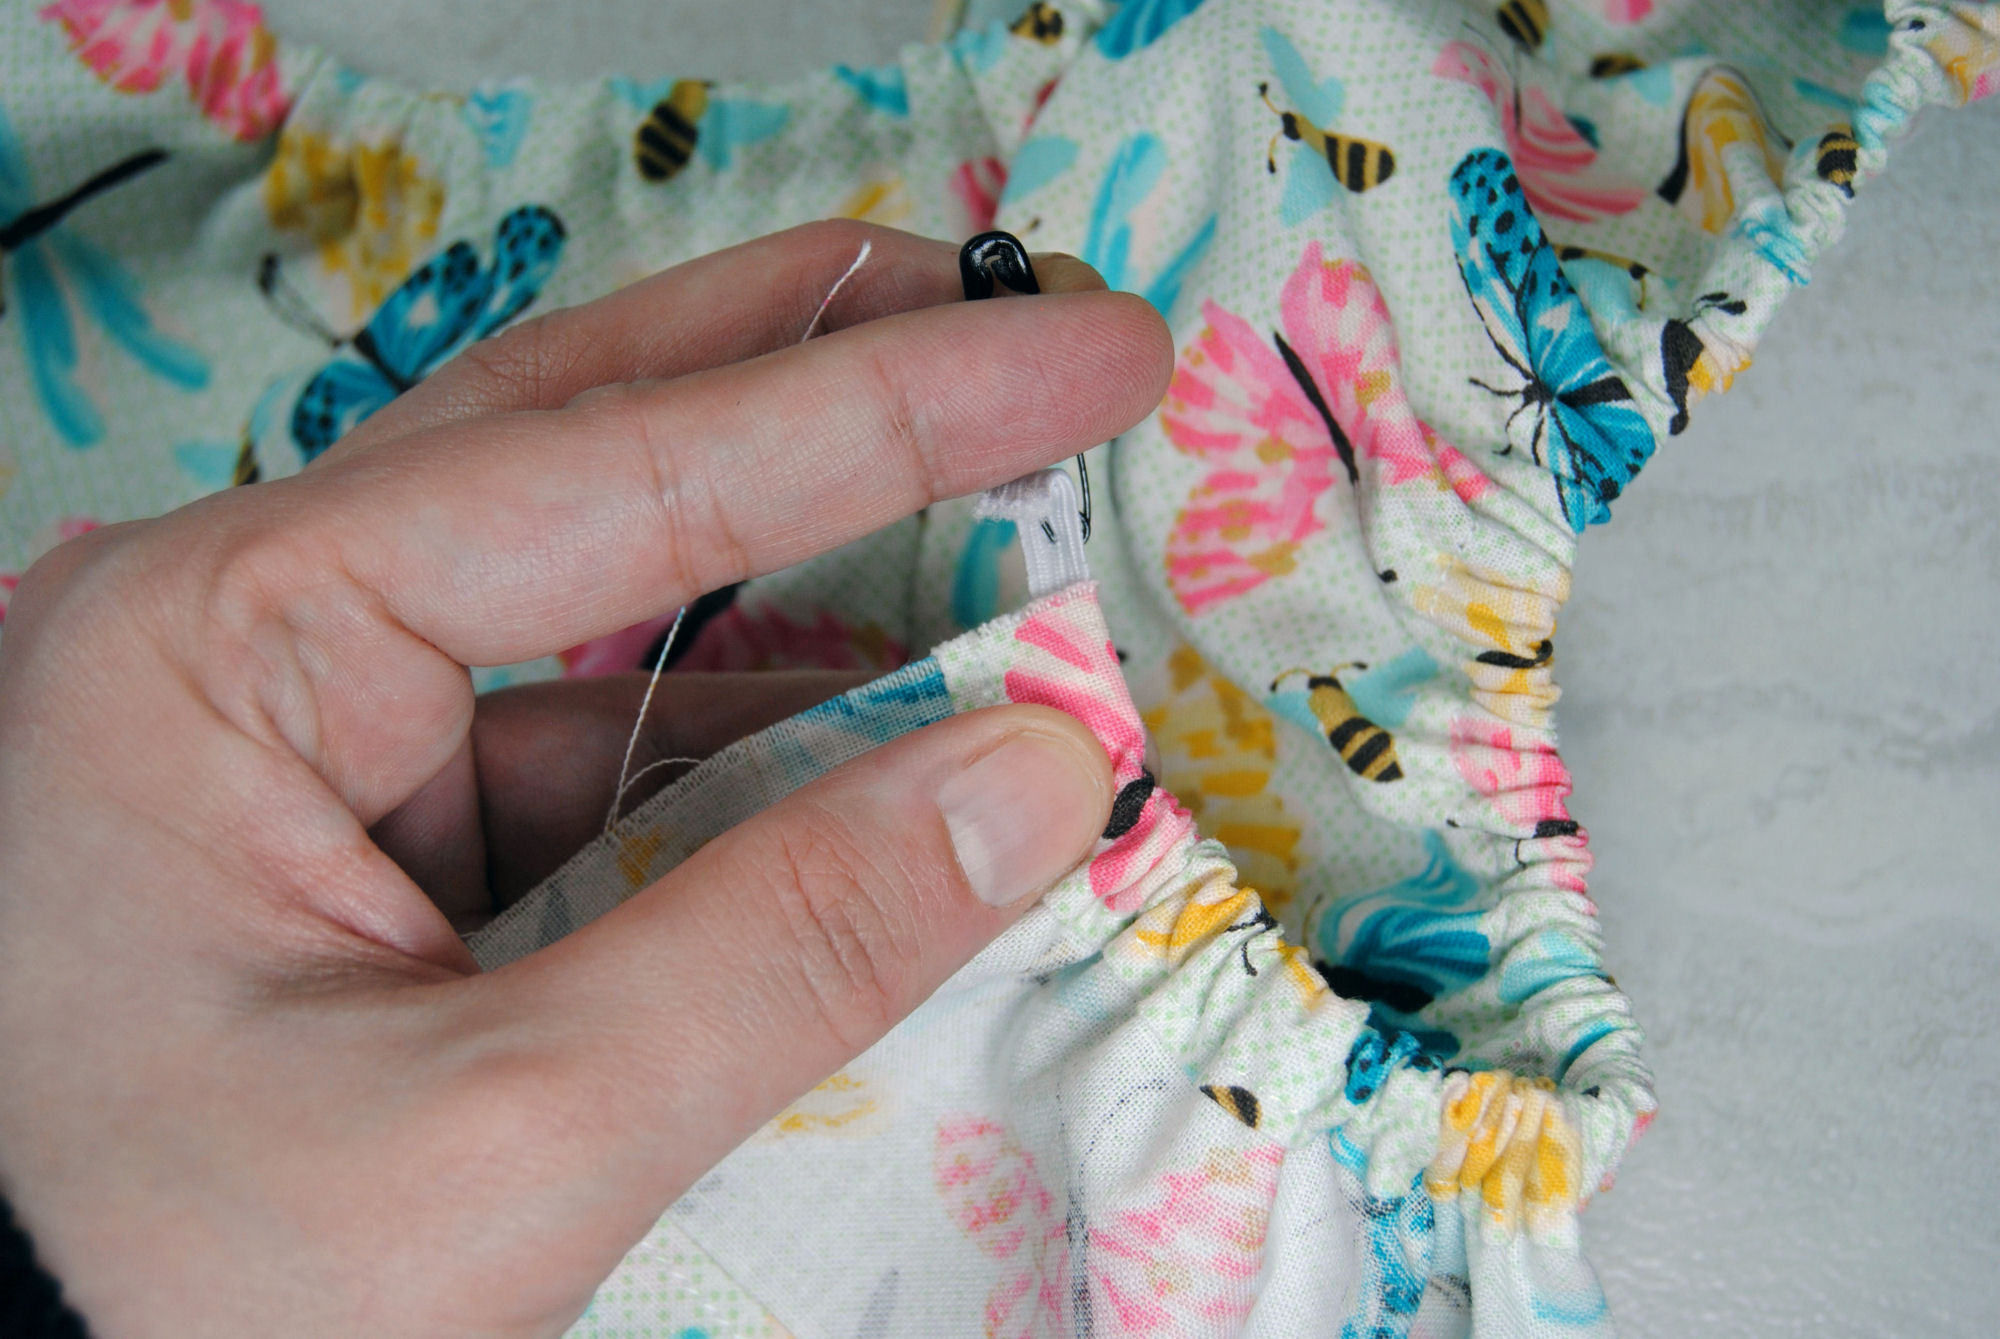
If your elastic wasn’t properly secured and snaps inside…. get out the seam ripper and pull it all out and do it again. Just know that’s normal and I’ve done it at least once. Per grime guard.
Connecting the Ends
Got both elastics fed through and secure? Great, it’s time to sew those ends together. Awkwardly fold the fabric around so that the ‘right sides’ of the fabric are facing each other and the elastic channels more or less line up. This is a lot easier to do if you’ve already stitched the elastic down so feel free to do that first if you haven’t already.
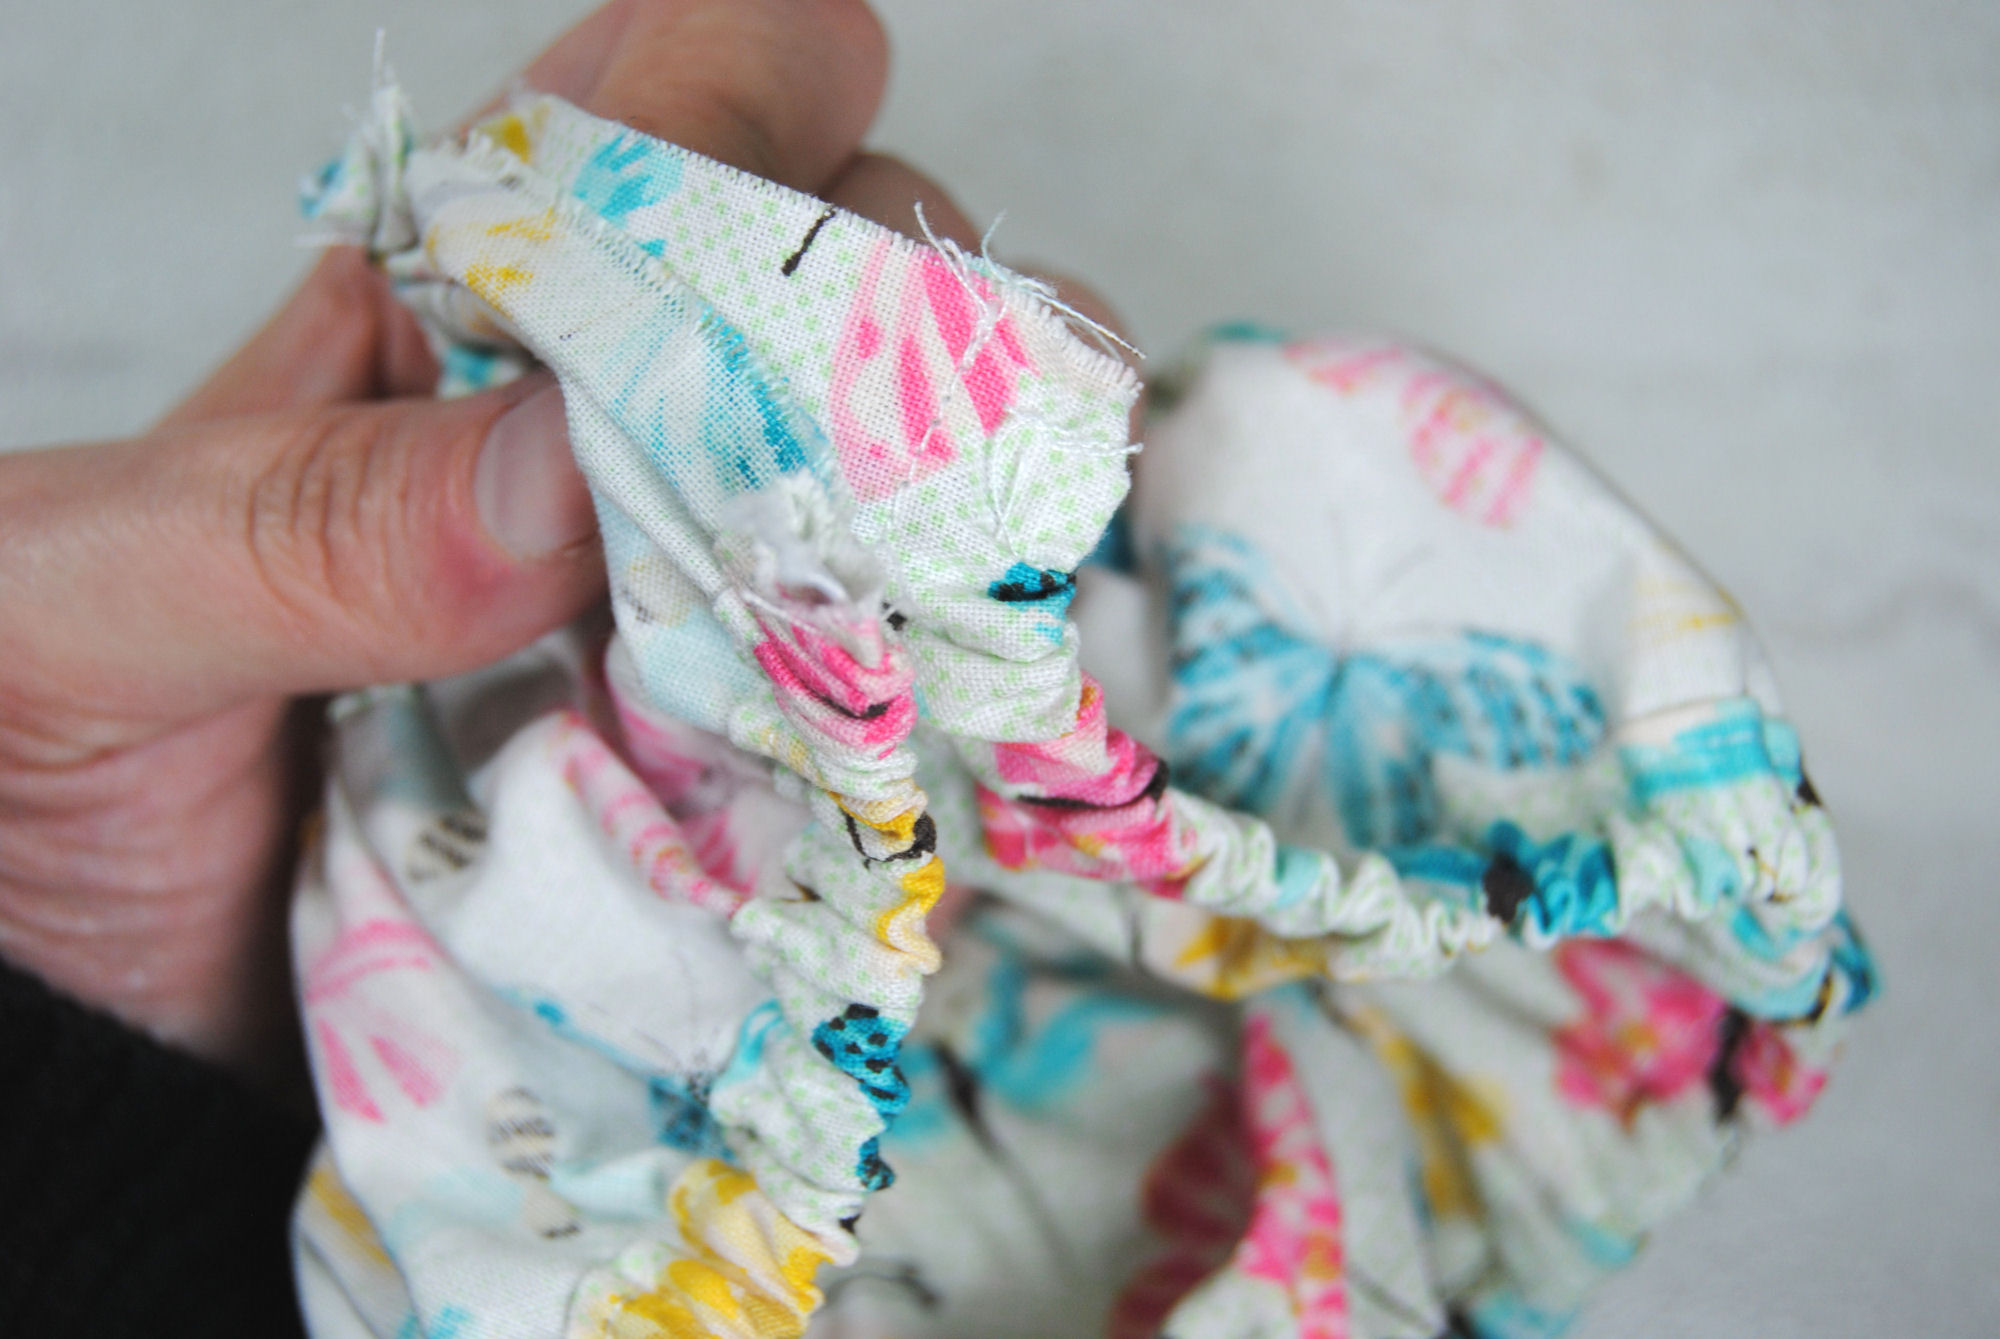
Then just like we sewed the two strips together earlier, stitch them together with that 1/4″ / 0.5cm seam allowance.
Now test it out on your Q-snap. If it’s still a bit loose, you can stitch just a bit further up that last seam to make it smaller and just cut off any excess. This time you can press that flap of fabric flat, or press it to one side. Whichever you prefer.
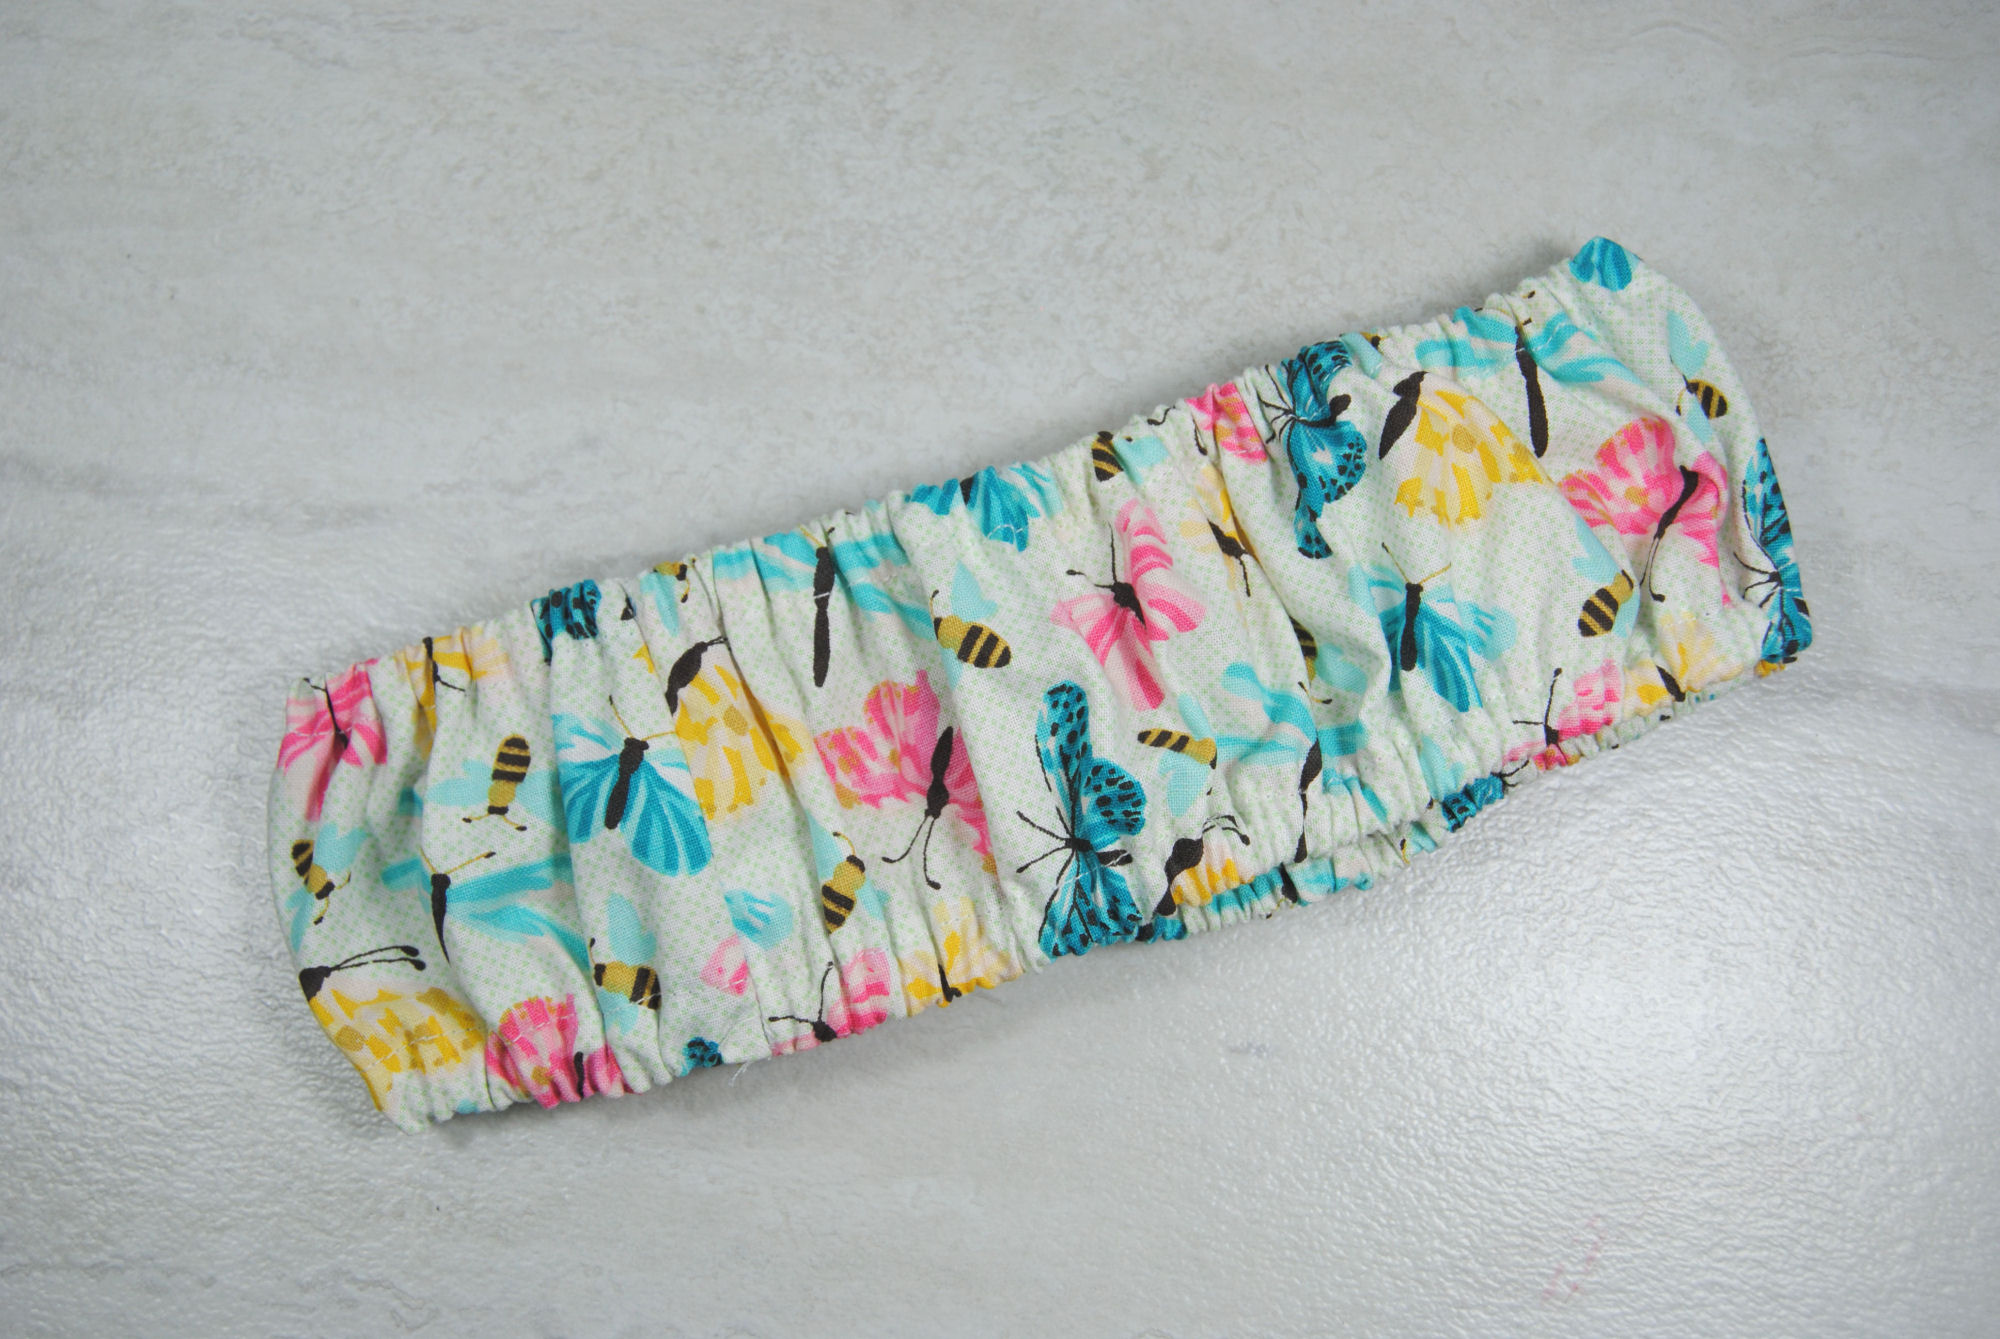
Aaand you’re done!
Sharing Your Work
Yes, this is an essential part of the process. Show someone your work!
Whether you post it on social media, send a photo to a friend, or just hold it up in front of your cat: Be proud of this thing you just made and show it off. You did great!
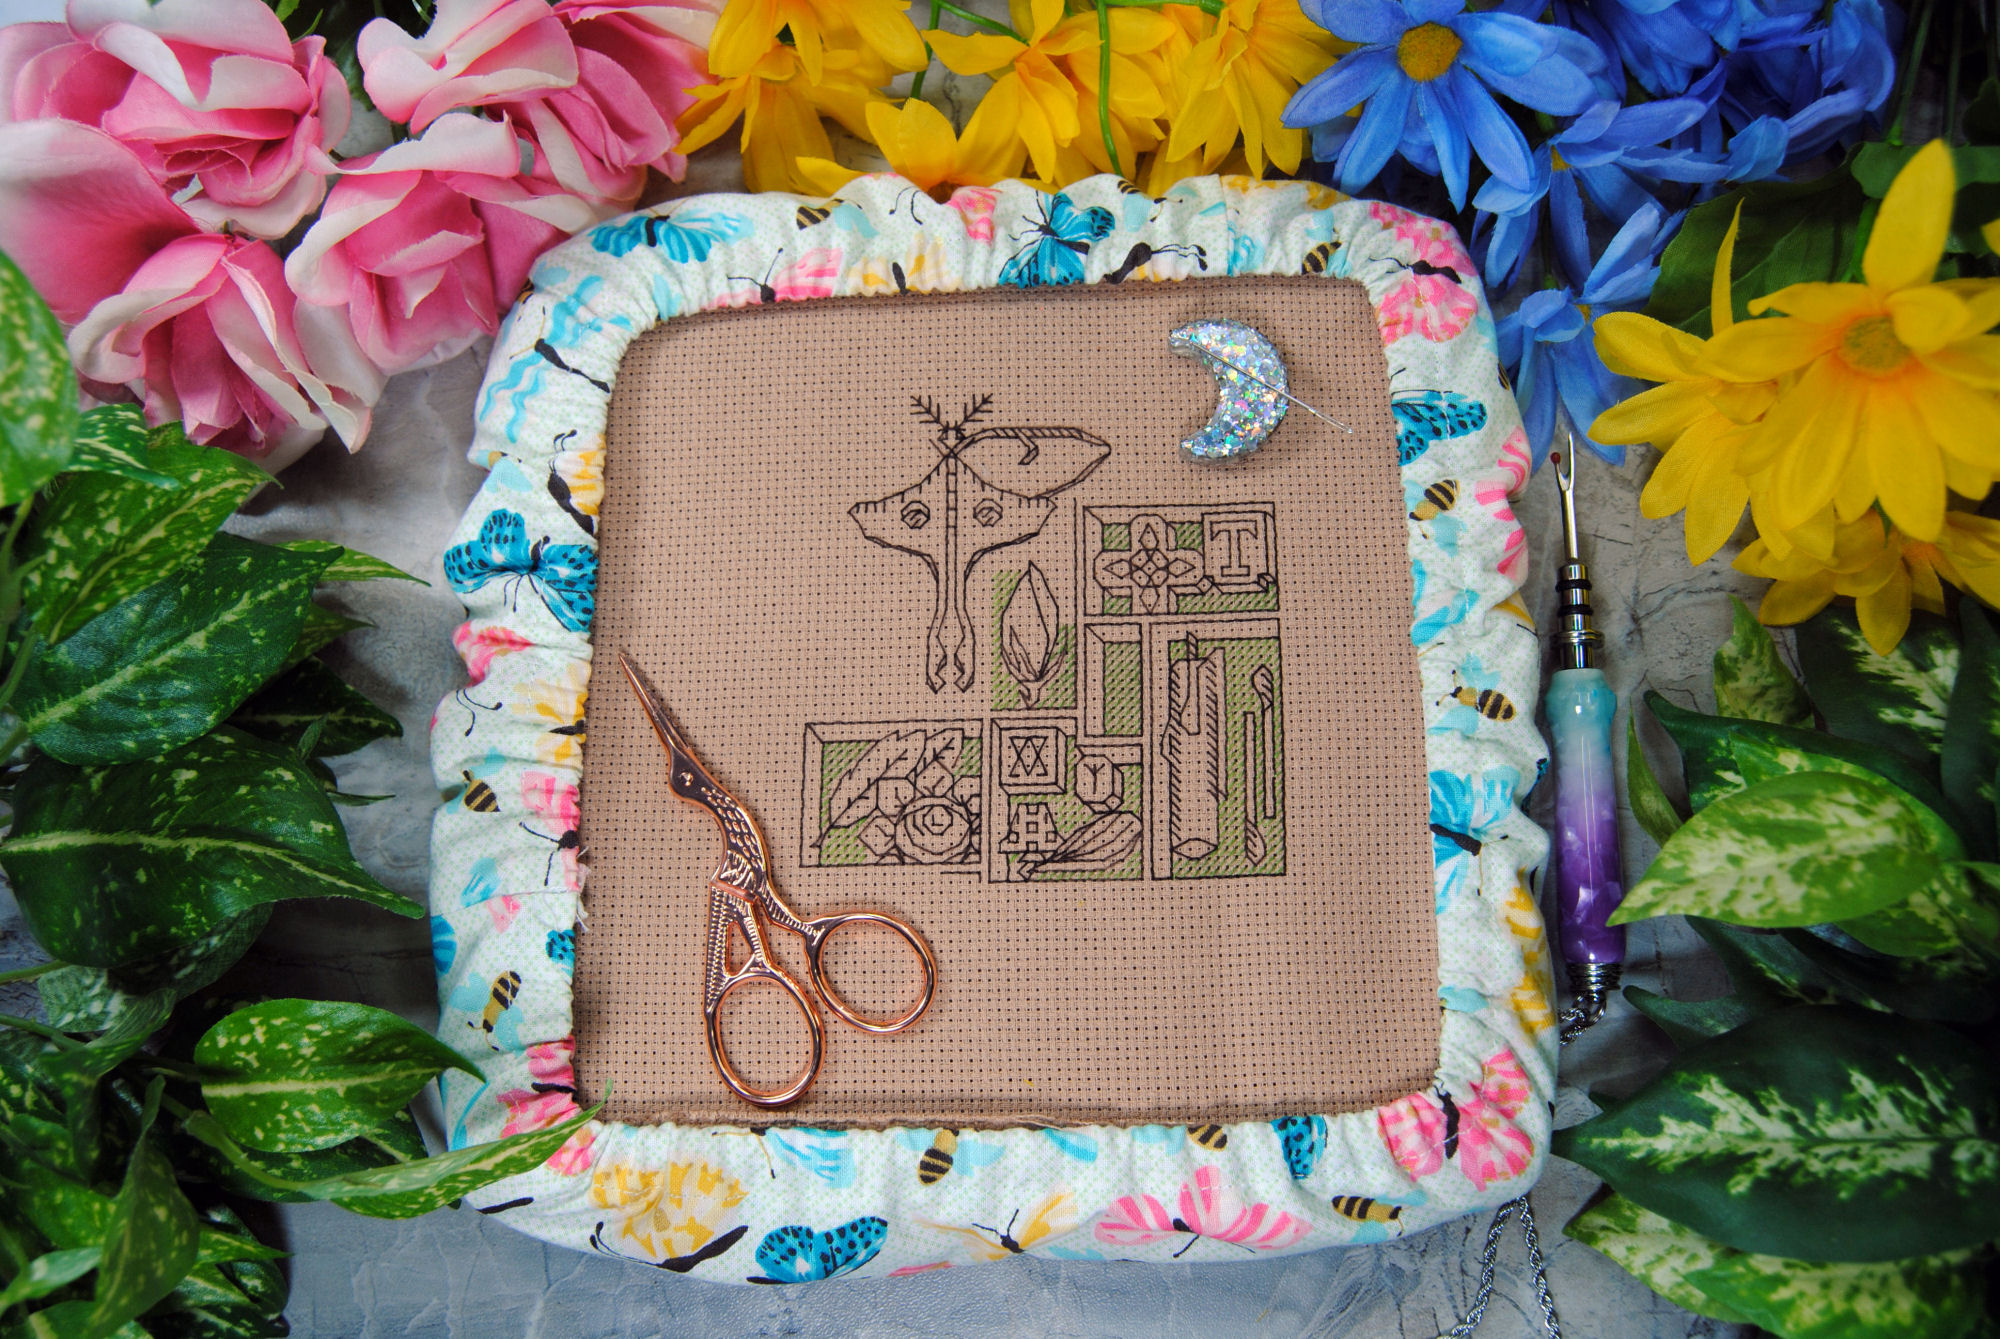
If you’re curious, the WIP I’m using as my model here is the Midnight Whispers SAL by the incredibly talented Urban Stitches.