Frogging – How to Fix Mistakes in Cross Stitch
The dreaded craft frog. Whether you’re a cross stitcher, you crochet, knit, or do any number of other thread art, you never look forward to frogging. But it is an inevitable thing. If there’s any universal truth in all of these kinds of crafts, it’s that counting to 5 consistently is hard.
Making mistakes doesn’t make you a bad crafter. It’s pretty normal! Whether you’re having a bad brain day, decided to stay up late stitching, or were just distracted in the moment — mistakes happen! It might not even be a counting mistake. We’ll go over WHY you might need to frog shortly, but first: why all the amphibian hate and what does it have to do with cross stitch?
This post may contain affiliate links. If you buy something using one of these links, I earn a small commission. However, there is no extra cost to you. Thanks for understanding! Learn more in my Disclosures & Privacy Policy.
Table of Contents
What is Frogging?
No one seems to know exactly where this term originated, or what started this trend, but it’s used across a number of crafts including cross stitch, embroidery, crochet, and knitting.
Nowadays at least the general consensus is that when you make a mistake, you need to rip it out.
Rip it.
Ribbit.
Get it?
It’s a cute little pun that just refers to the act of fixing a mistake in your work by undoing it.
Why Might You Need to Start Frogging
Miscounts
This will be the most common one. You stitched 3 stitches a few rows back when you should’ve done 2 or 4. Or maybe you had to start a section several stitches away from the previous group of stitches and you didn’t quite go far enough.
Either way, a miscount has happened somewhere and you might spend more time figuring out where the mistake even was than actually frogging.
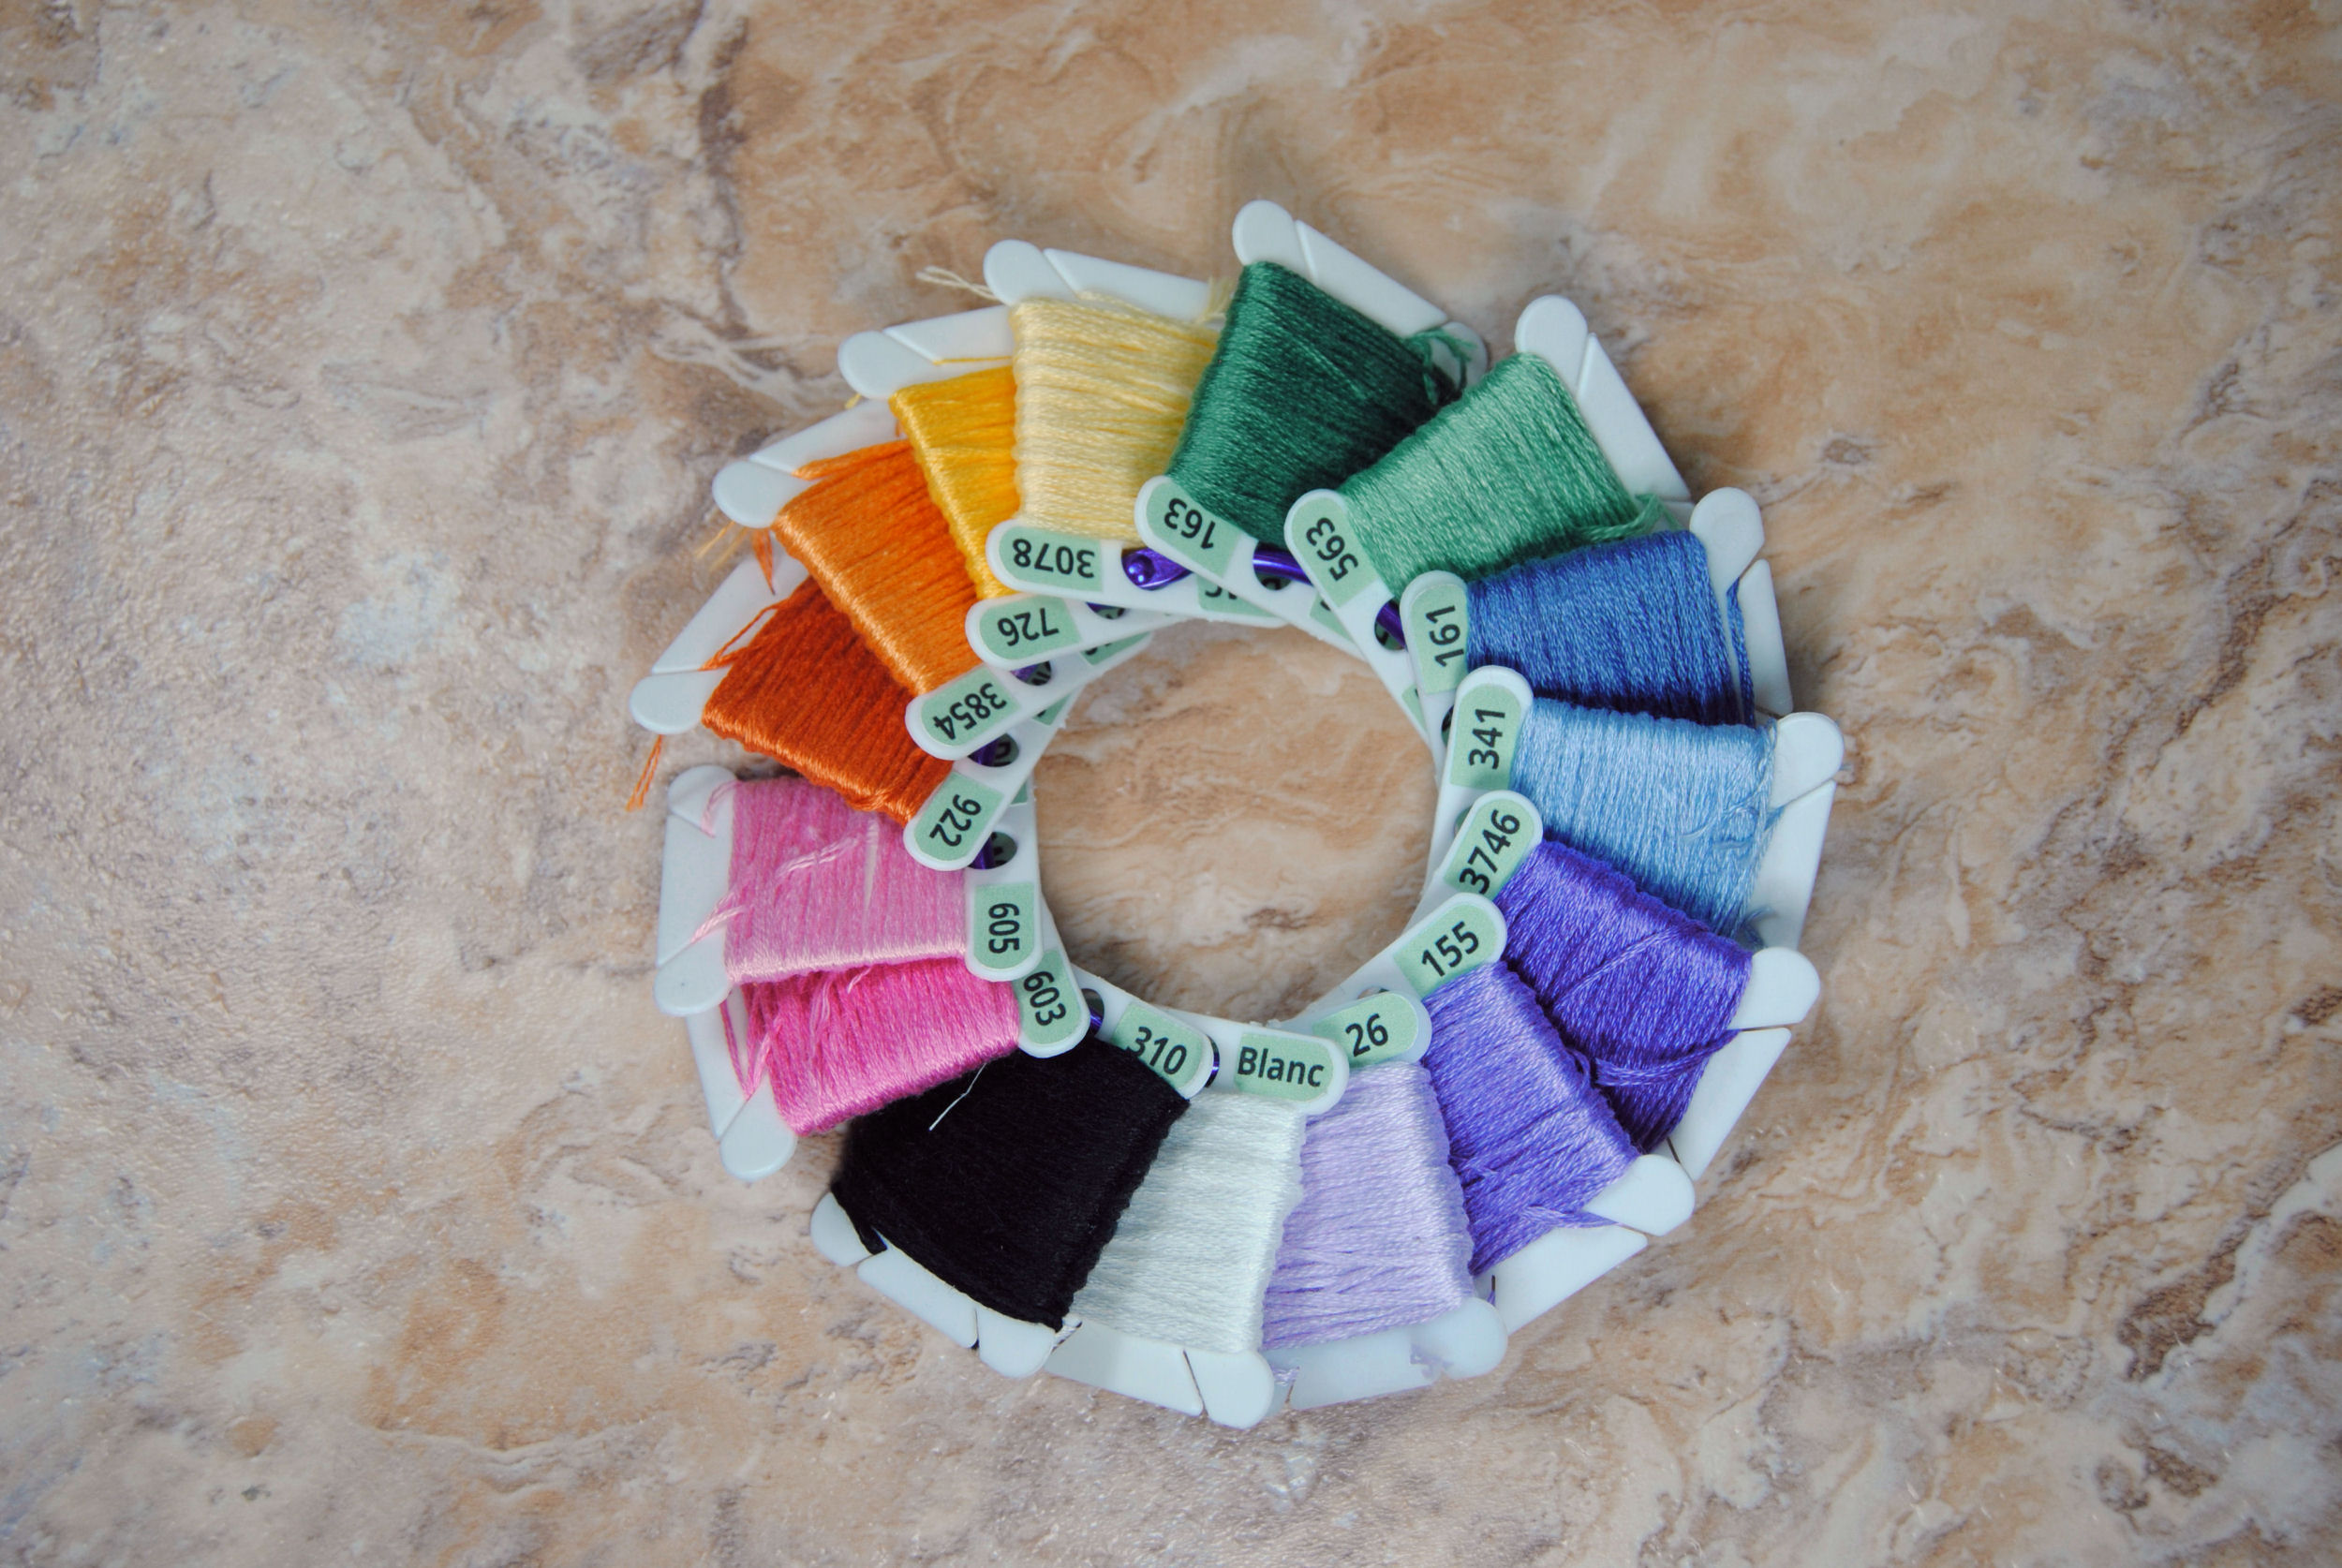
Wrong Color
This is the most common one amongst designers, as colors can be tricky and sometimes look just a little different on the bobbin than they do once stitched next to others. If a color just isn’t looking right, you might simply have to rip it all out and try a different one.
If you’re not a designer, this can also happen a lot with kits that just refer to colors by name and the floss just comes in a bundle without labels. Which thread is “Cream” and which “Light Beige”? Better hope the kit mentions how many strands you should have of each and that one has more so you can tell them apart that way. Or maybe your dyscalculia just got better of you and you wrote down 868 instead of 898. It happens.
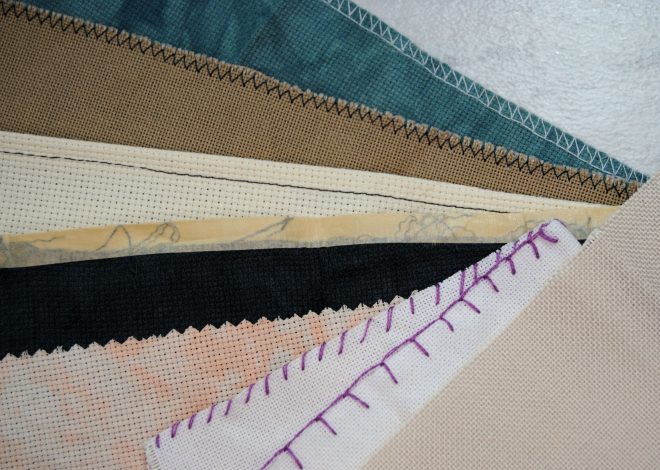
Reusing fabric
Sometimes we get partway into a project and decide you simply don’t want to stitch it. Either the pattern is low quality, you had a falling out with the person you were stitching it for, or it simply isn’t as fun as you anticipated.
You could just leave it in a UFO (Un-Finished Object) pile of shame for years. Or you could rip out your work and re-use the fabric for something else. For example, these black pre-stretched aida squares from Michaels were discontinued and it was far too precious to waste on a design I was never going to finish stitching… So I frogged it.

I’ve also done this a few times with thrifted projects. Someone else’s WIP that ended up in an op shop. This can be a good way to source cheap materials, including random partially finished kits you found for a few dollars. You may not like the pattern it came with, but want to use the materials for something else. If it’s not too far along, it might be worth frogging what little was stitched and reusing the fabric!
How to Actually Frog Your Work
Okay, so you’ve decided those stitches need to go. Now what? What’s the best way to go about it? Well, like with all things in crafts there’s no one ‘right’ way to do it. Here I’ll go over some of the different ways I’ve frogged or have seen people online describing their own frogging.
This is very likely not a comprehensive list, but all the ways I could think of off the top of my head. As well as a few tips for cleaning up afterwards. You may be doing it an entirely different way, and that’s okay!
I also feel like this is one of the rare instances where a video might be more helpful. So I put together a quick little 8 minute YouTube video for you.
But I’ll describe them down below too, as well as some additional tips/tricks.
I also split these techniques into two categories.
Recent mistakes, which you catch quickly. Preferably while still working on the same strand of thread. This could be just a few stitches back or a whole row, but ideally where you haven’t tied off and cut your thread yet.
And then some techniques for stitches that have already been secured, or for large areas of stitches.
I also apologize in advance for the state of my nails.
Frogging Recent mistakes
Stitch Backwards
Sometimes also called ‘un-stitching’. Just like it sounds, you can simply stitch ‘backwards’ by stitching into the hole the thread is currently coming out of from both the front and the back. I like to use the eye of the needle to avoid piercing the thread on accident, but it can still happen.

This is best if you catch your mistake early and just have to go back a couple of stitches. The biggest benefit of this technique is that you don’t have to pull the needle off your thread, just to have to rethread it later to keep stitching.
In knitting, this is called tinking instead of frogging. Tink is simply knit backwards. Unfortunately stitch backwards would just be… hctits. So, uh, we’ll stick to calling this technique frogging.
Pull From the Front
If you’re going back more than a couple of stitches it might be better to unthread your needle and pull from the front instead. Not only is this faster, but you’re less likely to tangle or pierce the the wrong threads.

Simply slide your needle under the last leg of the last stitch you did and pull it gently. If you find your needle too short to hold comfortably, you can also use a sewing pin. Some people even use a decorated needle they use for frogging specifically, sometimes called a thread picker. You could also use a thread hopper for this.
The additional decorations makes it easier to find if you drop it while frogging. Kind of like a scissor fob, but for needles!
Frogging Secured Stitches / Large Areas
If you have a large area to frog, or you’re not sure where the end of the thread even is to start undoing it, you might have to get a little more aggressive. This is also the way to go if you’re needing to frog multiple colors and not just a single strand.
Embroidery Scissors
Yes, scissors. I know some of you instantly cringed and had horrified thoughts of accidentally cutting your fabric. And those of you that have done hardanger before are totally unfazed.
But hear me out. This is absolutely an option if that’s what you have on hand!

The main thing to note here is to be careful. If you are worried about cutting fabric, try only snipping the top leg of your stitch, and then revert to pulling the rest of the stitch out from the front like we went over above.
This works best for larger stitches like those on 14 count, or if you’re stitching over 2 on 28. And also you definitely want embroidery scissors. Or cuticle scissors can work in a pinch as well. Something thin and pointy.
You don’t want to use large scissors for this. It’s only going to make things harder.
Seam Rippers

Similar to frogging with scissors, but with a more specialized tool. Unlike with using a seam ripper on your sewing projects though, you want to use the sharp edge rather than the ball.
Once again, if you’re afraid of ripping fabric: stick with just cutting the top leg of your stitch then pulling the rest out from the front. But the more you do it the more confident you’ll get. Just take it slow at first and I promise it’s not as scary as it seams. (Pun intended.)
Frogging Cleanup
Okay, so you’ve ripped out some stitches, now what? There’s a little bit of aftercare to do here before you get back to stitching.
Anchoring Frogged Tails
First of all, take the time to pull the last bit of thread to the back of your project. If you’ve only ripped a few stitches, that tail may be pretty short. So when stitching the next few stitches, make sure those tails get secured by stitching over them.
If there’s no more stitches to do in that area, you can use a needle threader or beading needle to tuck those tails. Just like you’d use it to thread your needle, tuck it behind some stitches, awkwardly push those tails into the threader, then pull through.


Cleaning Up Fuzz
If you’ve done a lot of cutting/seam ripping you might have some thread fluff on your project now. Tweezers are a great way to pull out all those excess threads. But you can also use tape or a lint roller to pick up any loose fluffy bits from your project!


Closing Up Gaps
If you’re not re-stitching in the area you just frogged, you might notice that the holes in the frogged areas look a little bigger than in areas you haven’t had to frog.
Sometimes, it can be fixed by gently massaging the fabric or running your nail over the area to loosen the fibers.
If you had to frog a large area, you may want to consider washing your project once you’ve finished stitching, as that will also loosen up the fibers and get them all looking a bit more uniform. As long as all of your materials are color safe, of course!
Fudging Mistakes
There are also times where you just can’t be bothered to unstitch a mistake, so here’s a few ways to work around the miscount.
Stitching over a stitch
One of my favorite ways to fix mistakes is… just to stitch over them. Yep, you heard me.
Will those stitches be a little fluffier than those around them? Yes. But if you’re looking from a distance, you absolutely won’t be able to tell. Especially if it’s just one or two stitches.

Adjusting Pattern
Especially as a designer, I have absolutely edited a pattern to match my mistakes. And you’ll never know which patterns I’ve done that to. Muahaha.
But you don’t have to be a designer to work around mistakes! Even stitching from a pattern, if your mis-stitch isn’t in the way you can absolutely adjust other pattern elements to adjust for the mistake.
Just like with color swapping, most designers absolutely don’t mind if you make a few changes, whatever the reasoning may be.
Leave Your Mistake
Depending on the mistake, it may be fine to just leave it! Especially with things like confetti stitches.
If one of those background snowflakes or tree ornaments were just a stitch off, no one would really notice. You’ve just customized your design! 😉

Frogging Self-Care
Lastly, but probably most importantly is how to handle mistakes from a psychological perspective. You know how to fix it now. But it’s still never a fun time, no matter how little or how often you have to do it.
Go Easy on Yourself
First, don’t be too hard on yourself. We all make mistakes. ALL of us. Counting is HARD. Yes, even just counting to 5. The repetition makes it real easy to miscount. So does stitching while sleepy or heavily distracted.
It’s okay to make mistakes. Take a deep breath, then fix it.
Put Project in Time Out
If you need to, it’s also okay to put a project in time out instead of frogging. It can be much more emotional having to rip out work you’ve done. Especially if you JUST stitched it. If you’re not stitching with a deadline, set it aside and work on another WIP for a bit.
You can frog your mistake later, once the initial frustration has passed.
Nice Tools
Consider investing in some nicer tools. Nothing makes frogging more frustrating than working with a tiny low quality seam ripper or some scissors that are just too thick-nosed for the job.
You can upgrade to a fancy handmade seam ripper, or just one that’s more ergonomic. Getting cute scissors or decent tweezers also counts as self care!

Make a friend do it
The other thing you can do is… make someone else do it. Sometimes we’re just a bit too attached to our own work to undo it. If you’re on a time crunch and can’t afford to put it in time out long enough to distance yourself from it, you can also get someone else to do it for you.
Whether that’s a stitchy friend, or a crafty significant other that you trust with your work.
Obviously this isn’t an option for everyone, but if you do have someone you can trust with this task it may be the best way to get it done so you can get back to stitching.
But with all of the tips and tricks we’ve gone over today, hopefully you feel a little bit more confident in being able to get it done yourself. 🙂