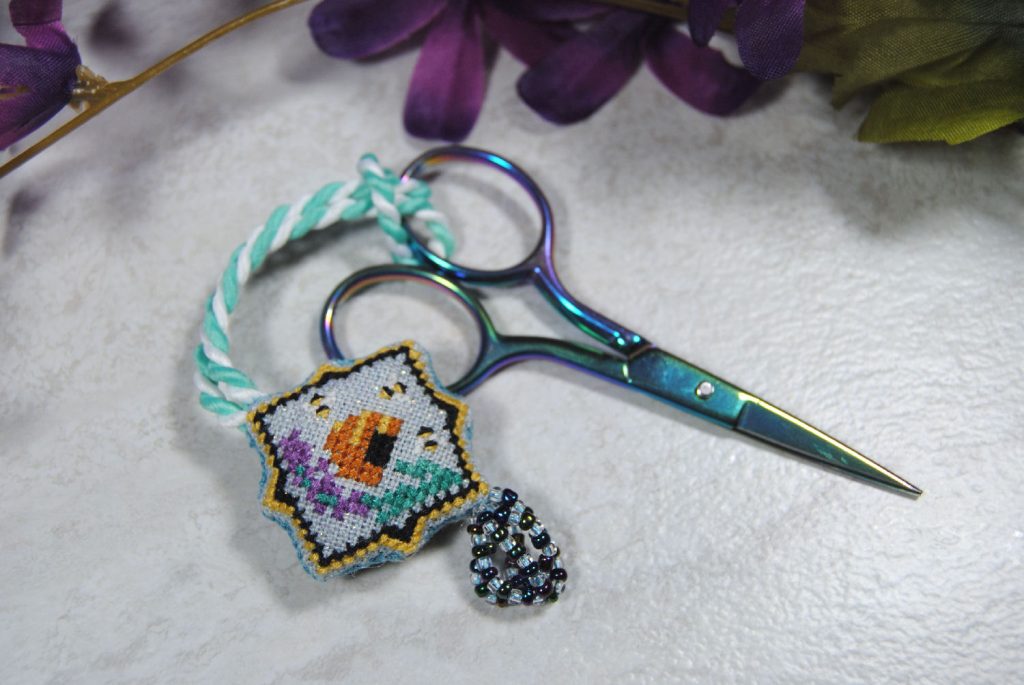
Beaded Scissor Fobs: How to Make Your Own
Today I wanted to go over how I make my beaded scissor fobs. This is just one way to do things, and the way I’ve found works for me. But feel free to adjust for your own needs as well. If you don’t want to go out and buy all the materials in bulk to make your own, check out my Etsy— I’ll be stocking new ones occasionally. Or find others that sell scissor fobs and support small businesses!
What are scissor fobs? Well I went over that in a bit more detail over in my Cross Stitched Scissor Fob Tutorial, but basically they’re something you attach to your scissors to make them easier to spot amongst your belongings, keep them from falling into the couch cushions, to tell them apart, or simply as a decoration!
Want to make a beaded fob rather than a cross stitch one? Let’s go over what you might need!
Table of Contents
Materials
Not all of these things are necessary, depending on what kind of fob you want to make. But let’s go over the bare minimums.
First, where do you get materials? For high quality stuff I usually recommend FireMountainGems. If you want to pick them out in person, I usually go to Michael’s or JOANN, but you might try going to Google Maps and typing in ‘beads’ to see what comes up, especially if you’re in a large metro area. There are entire bead shops out there. Like the Ornamental Beads store in Arvada (Basically Denver). You might never know they’re there unless you look!
That said, below I’ll link to some Amazon options I’ve tried because if you’re just making a few for yourself or friends, you probably don’t want to invest a ton of money into supplies. And not everyone has local craft shops.

Beads
It wouldn’t be a beaded scissor fob without beads. But that can mean seed beads, glass beads, plastic beads, cute star shaped beads, alphabet beads… you get the idea. The ones I’ll mostly be using today are from a variety pack of 6mm beads. Though I wouldn’t necessarily recommend this specific set, as it came with a lot of fused beads, aka two beads stuck together.
You might also want spacers like those flat silver bits to go between beads, but they’re not strictly necessary. I also sometimes use seed beads as spacers.
Wire
The gauge of your beading wire will depend on your beads. Especially if you’re using small beads like seed beads. Today I’m using 0.3mm wire. You want it thin enough to fit into the hole of your smallest beads.
Crimping Beads / Covers

The set I’m using has a bunch of extra stuff in it for other types of jewelry making. But for scissor fobs you’re really just looking for crimping beads and maybe some covers if you like that look. You can often find them together in sets, but I really recommend going name brand with these as the cheaper ones tend to be thinner metal and easier to break. I’ve had decent luck with the Beadsmith ones.
Crimping Pliers
You can absolutely get away with using needlenose pliers for this, but if you’d prefer a specialized tool there are specific crimping pliers. They also tend to come with more crimping beads.
Lobster Clasps
Depending on the type of scissor fob you’re making, you might need two different sizes of lobster clasp. You need at least one large enough to easily hook onto your scissors. I’m using these heart shaped ones which work will with most embroidery scissors.
You might also want some smaller ones for the other side. I use 12mm ones which seem just enough for needle threaders or clipping onto zipper heads. But they mainly come in larger quantities.
If you’re not sure what size you need, consider getting a variety pack that includes several different sizes. You’ll have leftovers either way, but are more likely to find the size you need.
And of course if you have Nickle allergies you may want to be a bit more selective in your materials even if you won’t be handling them as much as you would with worn jewelry.
Assembly Process
Alright, that’s enough about materials for now. Let’s talk about actually making those beaded scissor fobs.
If you’d prefer to see this process more or less in real time, I did also put together a short YouTube video on the process. But I’m terrible at filming myself, so you may find the photos below more useful. Either way, both are here for which ever way you learn best!
First Lobster Clasp
Start by feeding your wire through one of the crimping beads, then through your large lobster clasp, and then back through that same crimping bead. At this point I haven’t yet trimmed my wire, it’s just on the spool.
Leave a long tail, you want to be able to tuck it into some of the beads later.

Doing your best to keep the two sides of the wire parallel through the bead, Using your crimping tool, flatting that crimping bead.

You want it fairly close to the lobster clasp, but with enough room to still be able to move and rotate the clasp around.

Crimp the bead again, this time essentially folding it in half.

So that you have a small folded bit of metal just below your lobster clasp holding those two bits of wire securely.
Give both sides of the cable a bit of a tug to confirm they’re secure, and adjust as needed.

Covering Your Crimping Bead
If you’d like to cover up this little bit, you can put a crimping bead cover on it

Then using the same crimping tool you can gently close that bead. rotating around the bead to ensure it’s staying round.
This was impossible to accurately photograph with only two hands, so here’s my best shot:

Once you’ve closed it up, it just looks like you have a small bead at the end rather than that weird metal tube. They do come in different colors and textures, so go with whatever fits in with your other beads. But again, these are optional.

Give Yourself Extra Wire
First you’ll want to figure out exactly how long you want your fob to be to begin with. This is all up to personal preference, and you can make it as long or short as you like. If you have other fobs you like you can measure those to use as reference.

Once you’ve decided, give yourself extra wire and trim it off the spool finally. I like to have my extra be at least half as long as the fob itself, as I’ll be feeding the wire back into the beads.

You don’t have to do just one strand though! If you want multiple strands you can attach the second one now, or wait ’til after you finish the first. Up to you.

String Your Beads Onto The Wire
I admittedly didn’t take photos of this process, but it’s as simple as it sounds. Slide those beads onto the wire in whatever order you like. My bead selection process is in the YouTube video if you need it.
For the first half of the fob, I’d recommend sliding those beads onto both the main wire and the tail from your lobster clasp. If you were to ask jewelry makers out there, it is likely excessive to do more than the first few beads, but I like to be sure. Do whatever you’re most comfortable with.
Feed Wire Tails Back Through
Once you’ve added as many beads as you’d like, feed your wire through another crimping bead. Then add your ending piece. Whether that be a lobster clasp, a charm, or one last bead. Then feed it back through that same crimping bead.

While it’s still loose you can more easily tuck that wire into the beads as well, pushing the rest of the wire through to the middle of your fob.

I generally have long tails sticking out of the middle at this stage. This also helps me tighten that last crimping bead as I can pull the tail to adjust before crimping it.
Make sure you don’t pull it too tight though. You want the beads to be able to flex, and the clasps or charms to be able to rotate freely so it’s not straining the wire.

Then crimp that last bead just like before. Flattened, then folded over on itself. And cover your crimping bead as before if you want to.
Finally, give your wire a bit of a tug to make sure the crimping bead is holding it well, then trim off your wire tails and be very careful not to snip the inner wire.
Sound simple? It really is! Crimping does take a little bit of practice, so if doesn’t hold the wire right feel free to break the bead off and try again.
Decorating Suggestions
Once you’ve gotten the basic steps down, have some fun! Get creative and mix and match beads to make new creations! Give some to your friends, use some as keychains, zipper pulls, whatever you’d like.
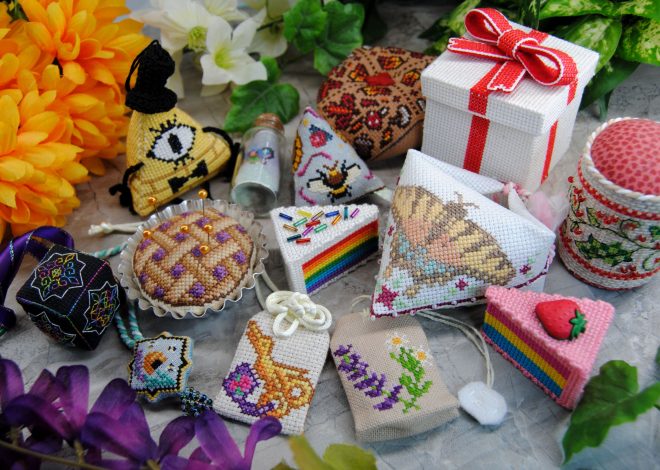
Below I’ll show some of the fobs I’ve made to give you some ideas to start with: