Fraying Fabric – Various Ways to Deal With It
How annoying is fraying fabric for you? Some fabrics definitely fray more than others, and some people don’t mind fraying while others can’t stand it! What do I mean by fraying? When the edge of your fabric starts to unravel or come apart while you’re trying to work with it!
The good news is there’s a lot of different ways to manage your fray happy fabric. I’m not going to try and tell you which is the ‘best’ method or which work better than others, because they all have their place. It just depends on your particular fabric, tools, time, and preferences. I tend to use different methods for different projects!
Instead, I’ll just list off the options I’ve come across and you can decide for yourself which works best for your needs.
I’ll start off with the simpler methods first and work my way up to the more specialized options.
This post may contain affiliate links. If you buy something using one of these links, I earn a small commission. However, there is no extra cost to you. Thanks for understanding! Learn more in my Disclosures & Privacy Policy.
Table of Contents
Let it Fray
The first and easiest way to manage your fraying is to just… not worry about it. Yep you heard that right. Ultimately it’s not a big deal. You should be leaving a fair amount of room between the edge of your fabric and you actual stitching, so the fraying doesn’t truly become an issue. Once you’re done stitching and are ready to finish it into something you can always trim up those frayed bits.
But they can be annoying flopping about while you’re trying to stitch. So if they’re genuinely getting in your way, read on!
Q-Snaps
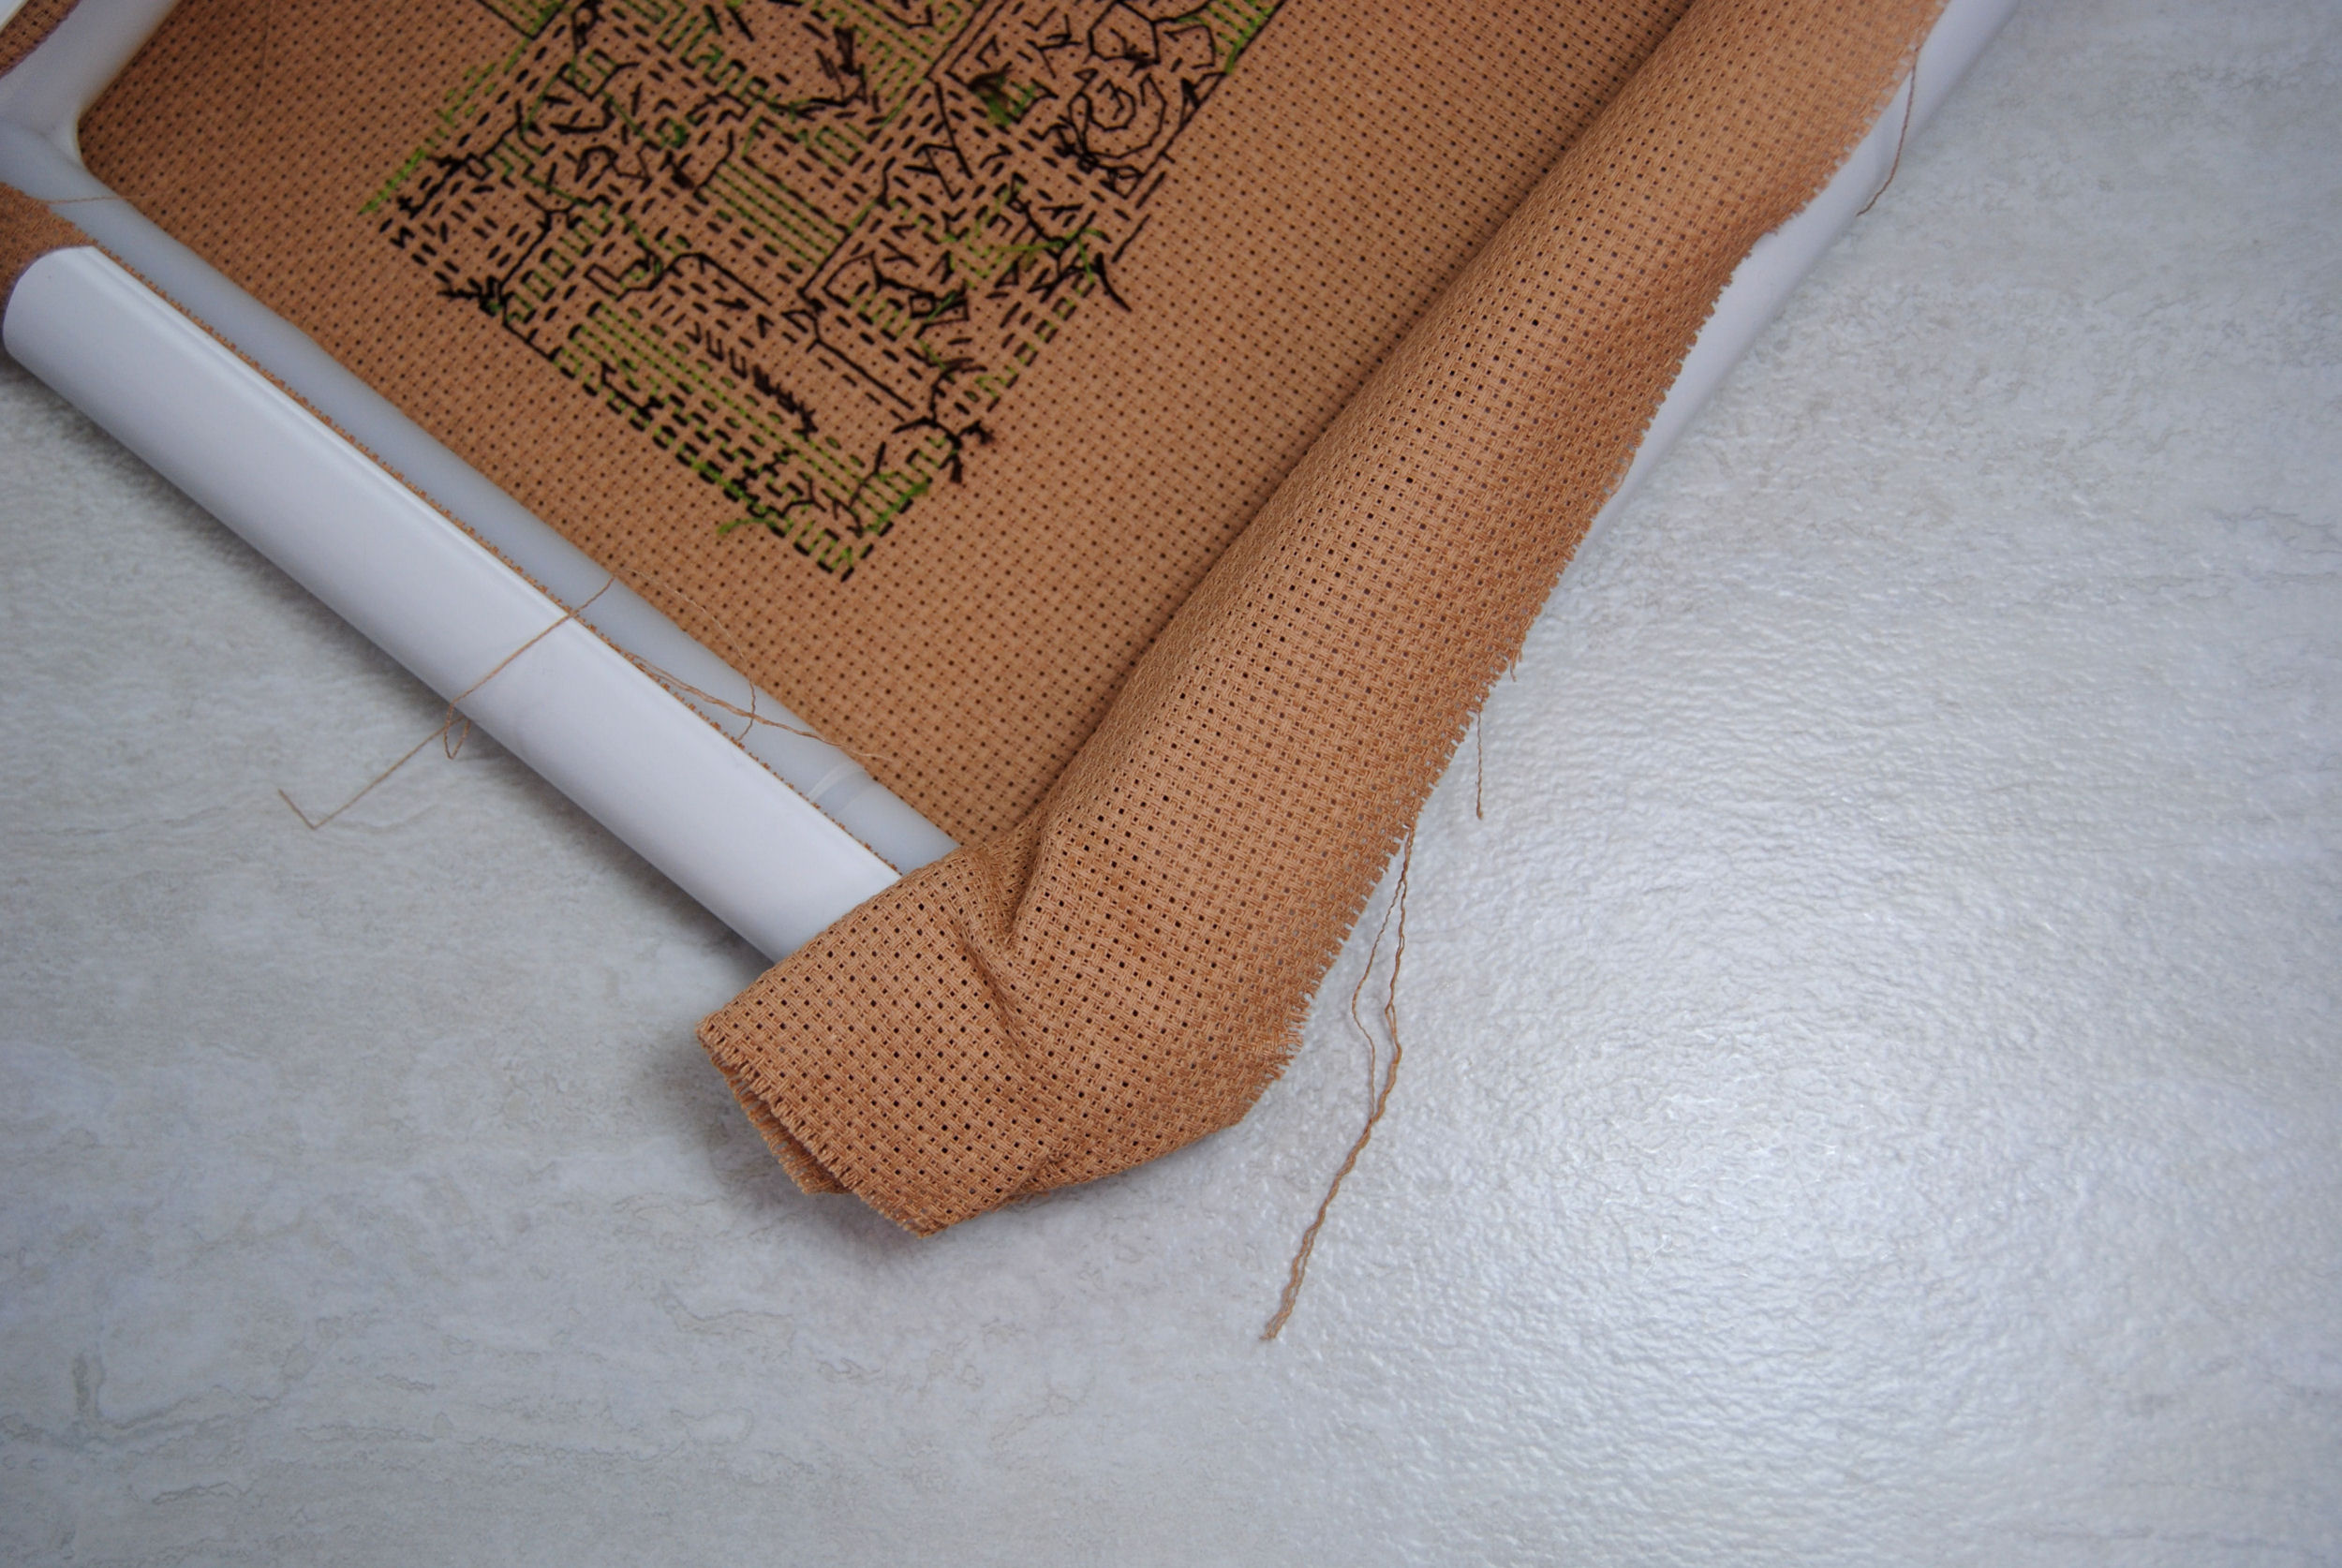
If you’re using a Q-snap like me, you can fold your excess fabric and clamp right on the edge of the fabric. This has two benefits. One, the fabric hiding under that clamp doesn’t get a chance to fray. Plus it makes the fabric it’s clamping onto thicker so that it holds your project tighter. Which is very helpful if you’re using an off brand snap or your clamps have loosened over time.
Grime Guards
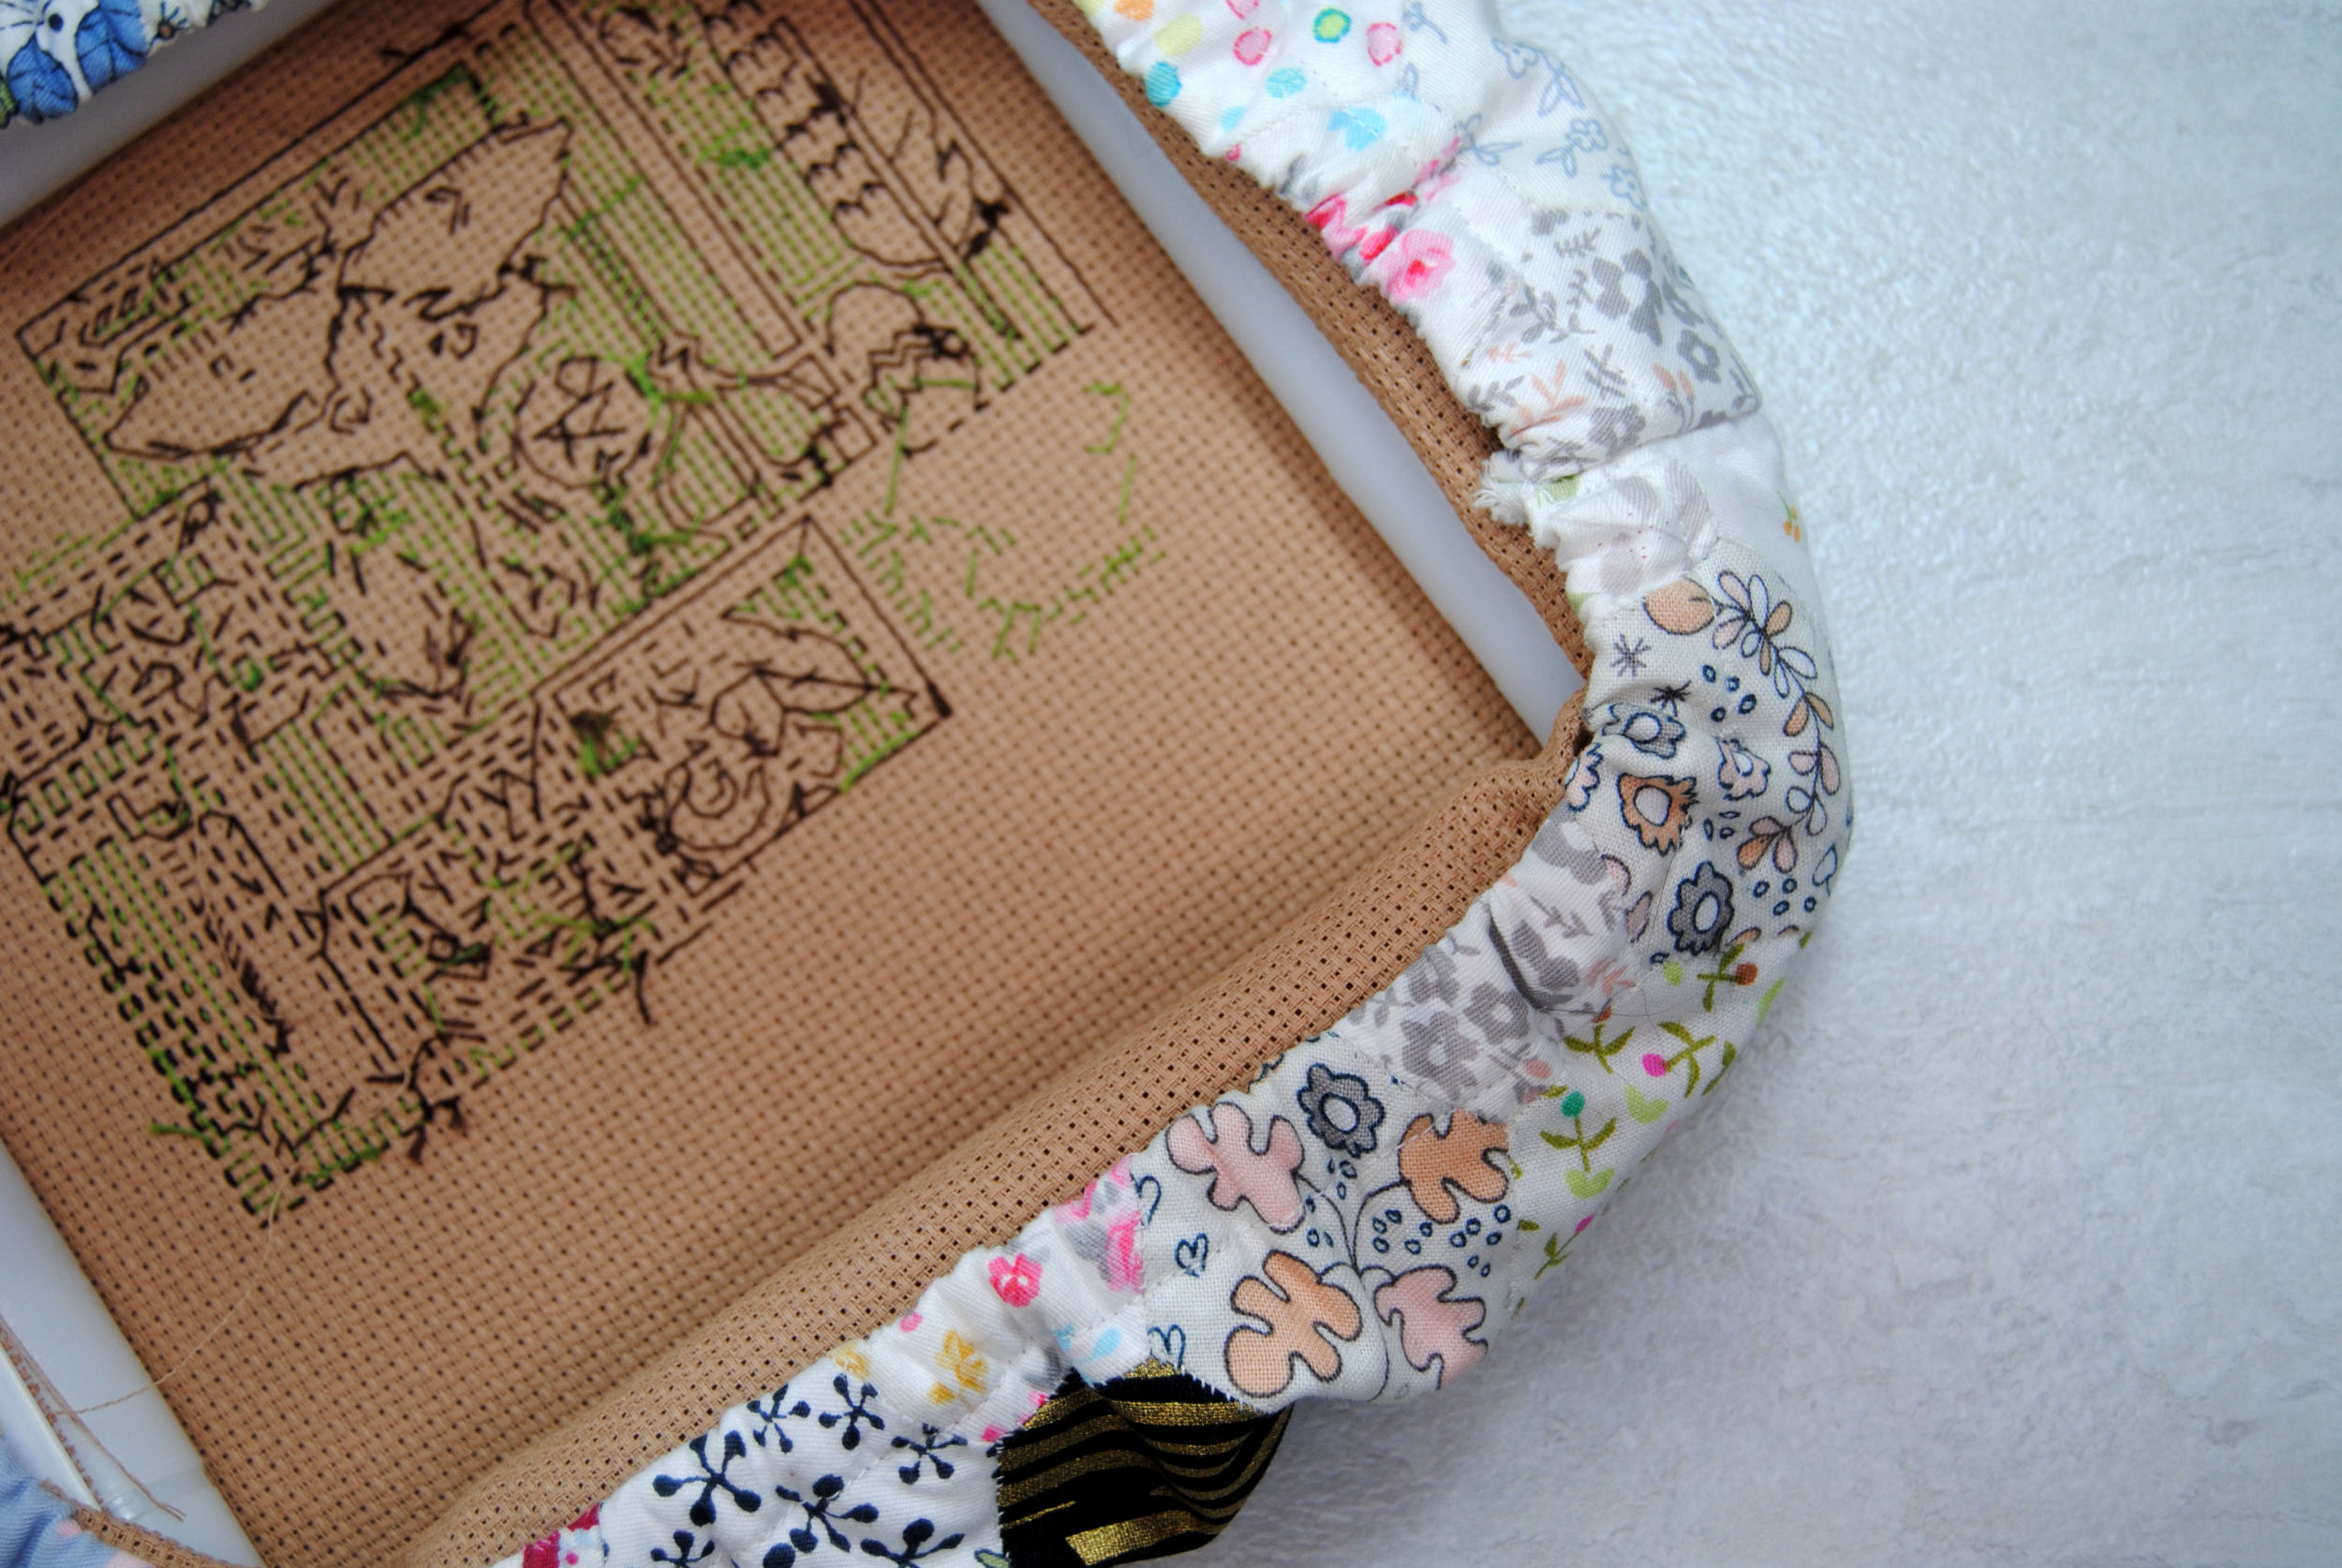
With this method we’ll just be letting it fray, but you’re hiding it under a grime guard to keep yourself from touching the edge as much and thus keeping it from continuing to fray.
If you’re using a Q-snap you could double up these methods and both clamp the edge and cover it in a grime guard. But if you’re a hoop user, or simply don’t like doubling up your fabric, then covering up that excess with a cozy is a great option.
Tape The Edges
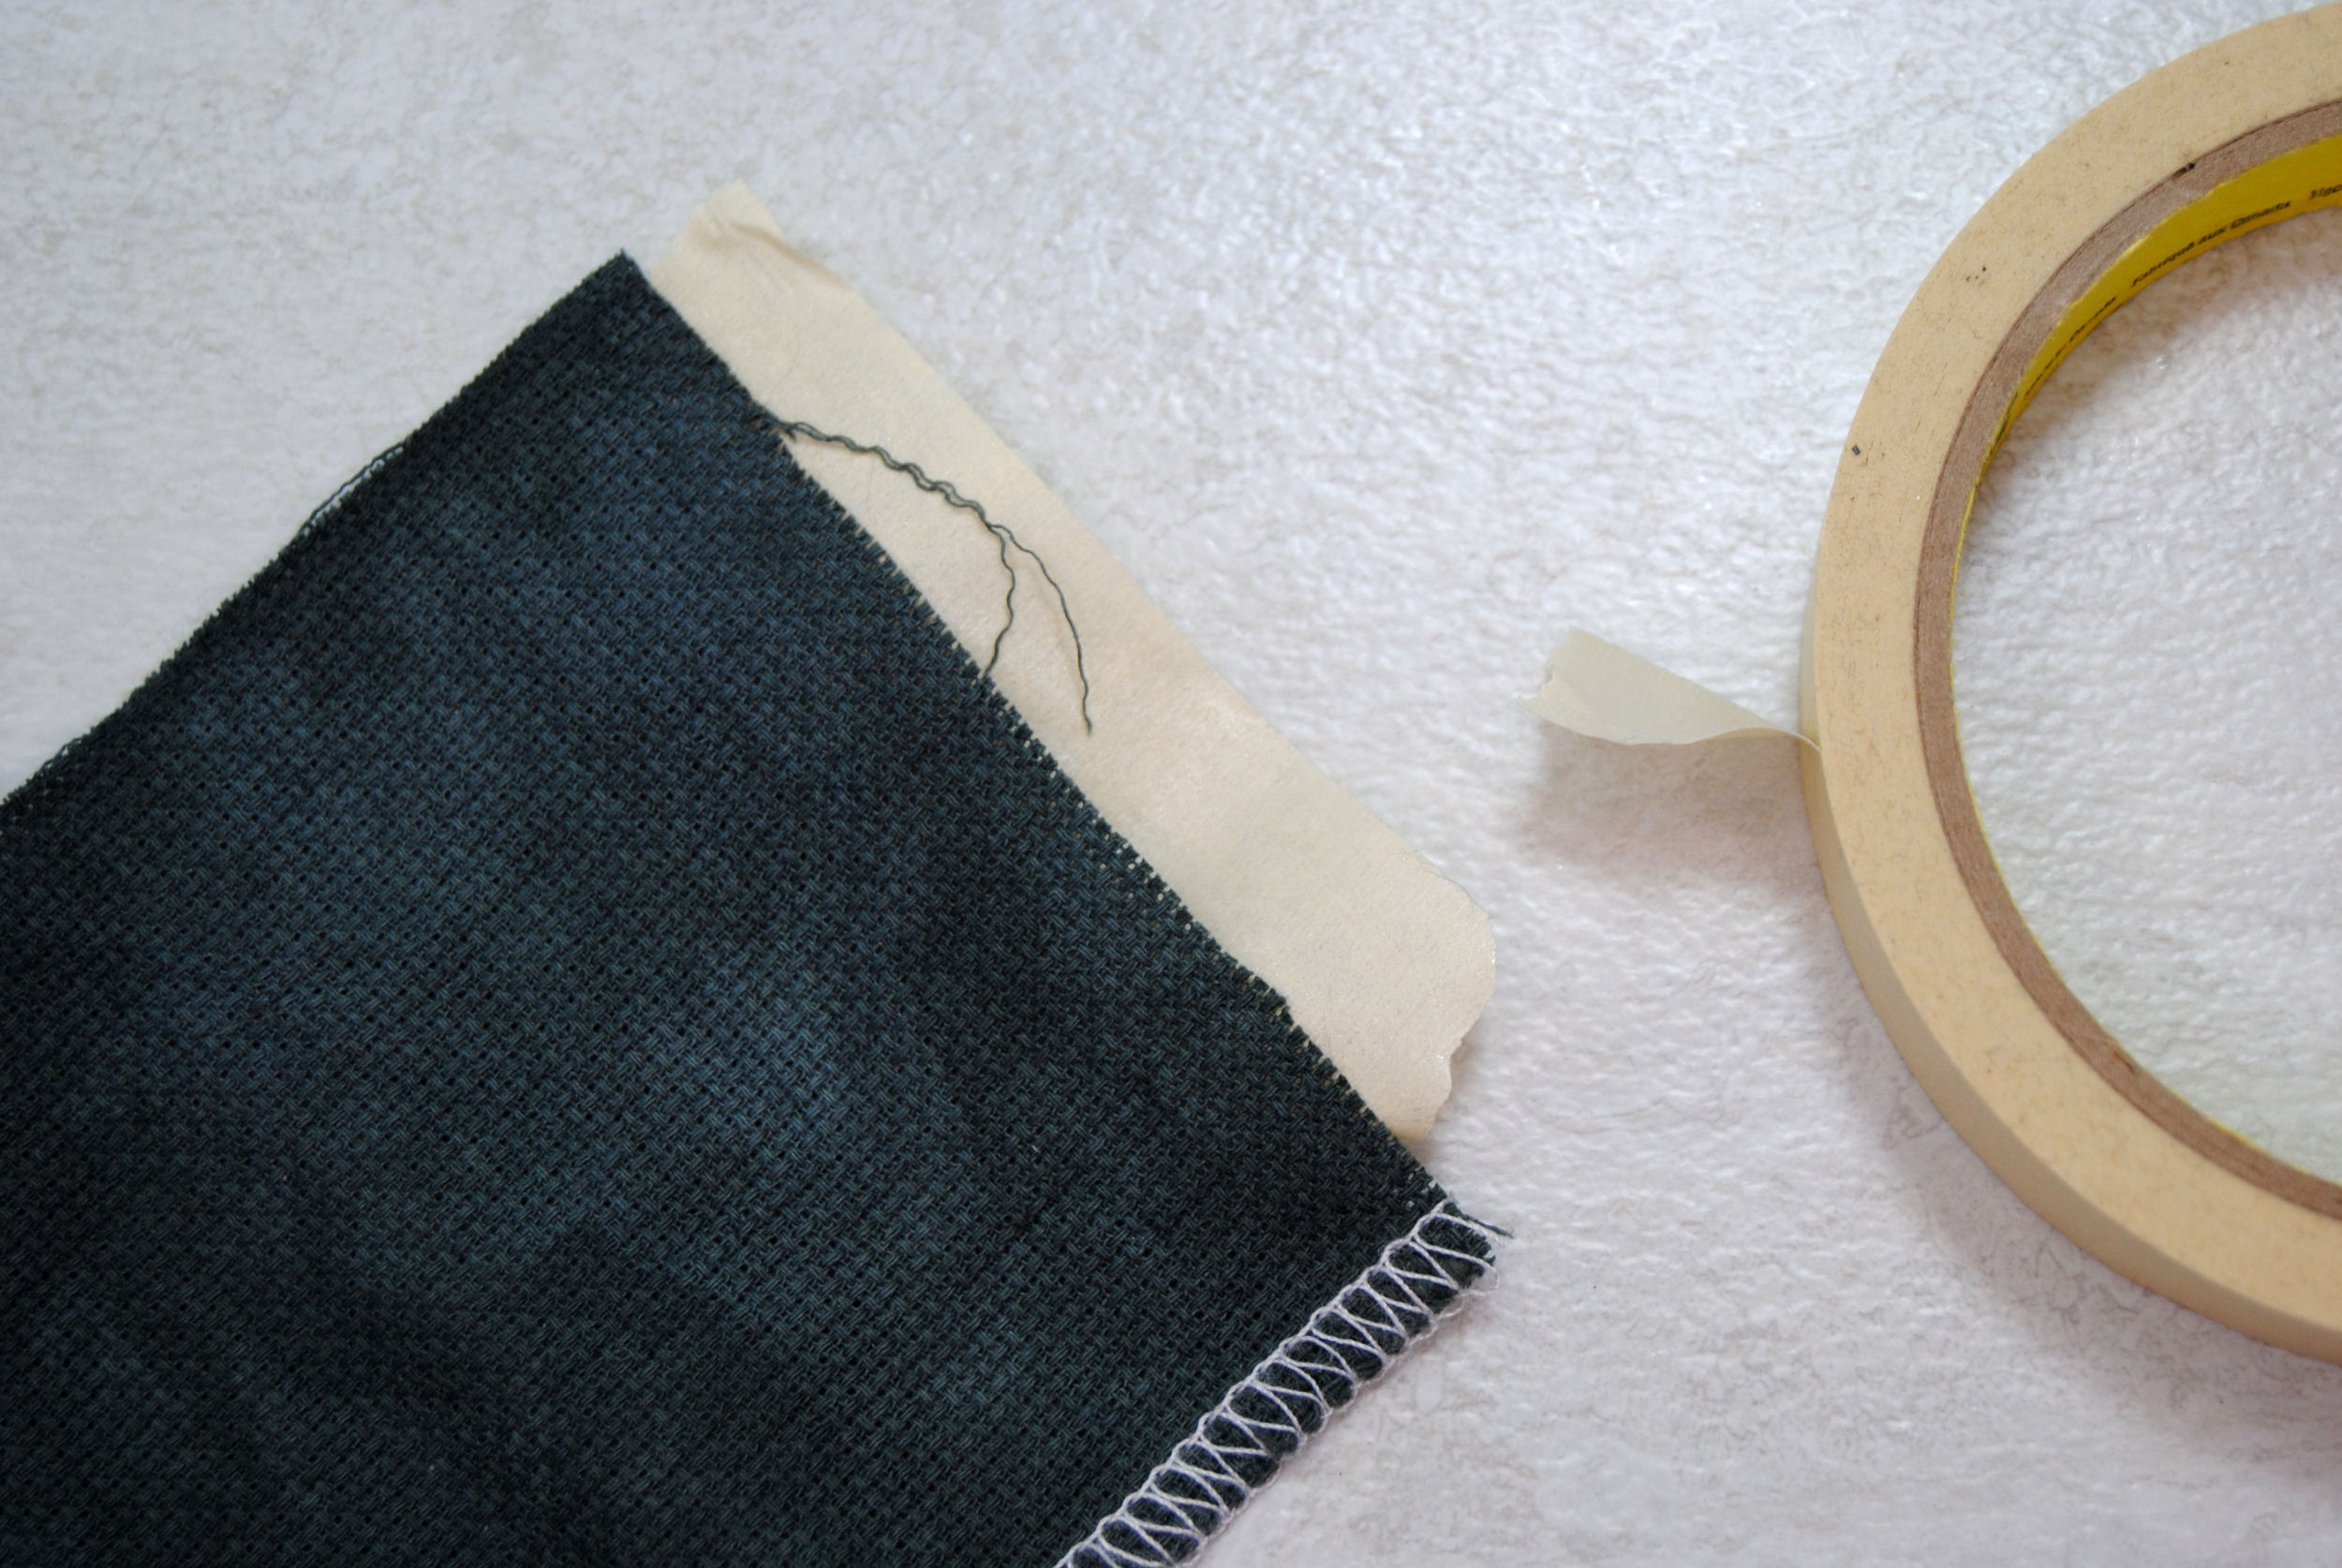
This is a method I’ve been using for literal decades. Masking tape! Or painter’s tape. Or whatever tape you have that sticks to fabric. I can never seem to get washi tape to stick well, so maybe not that.
Taping is great for long-term projects that are going to get a lot of wear moving around your hoop/qsnap or packed away and unpacked multiple times over years.
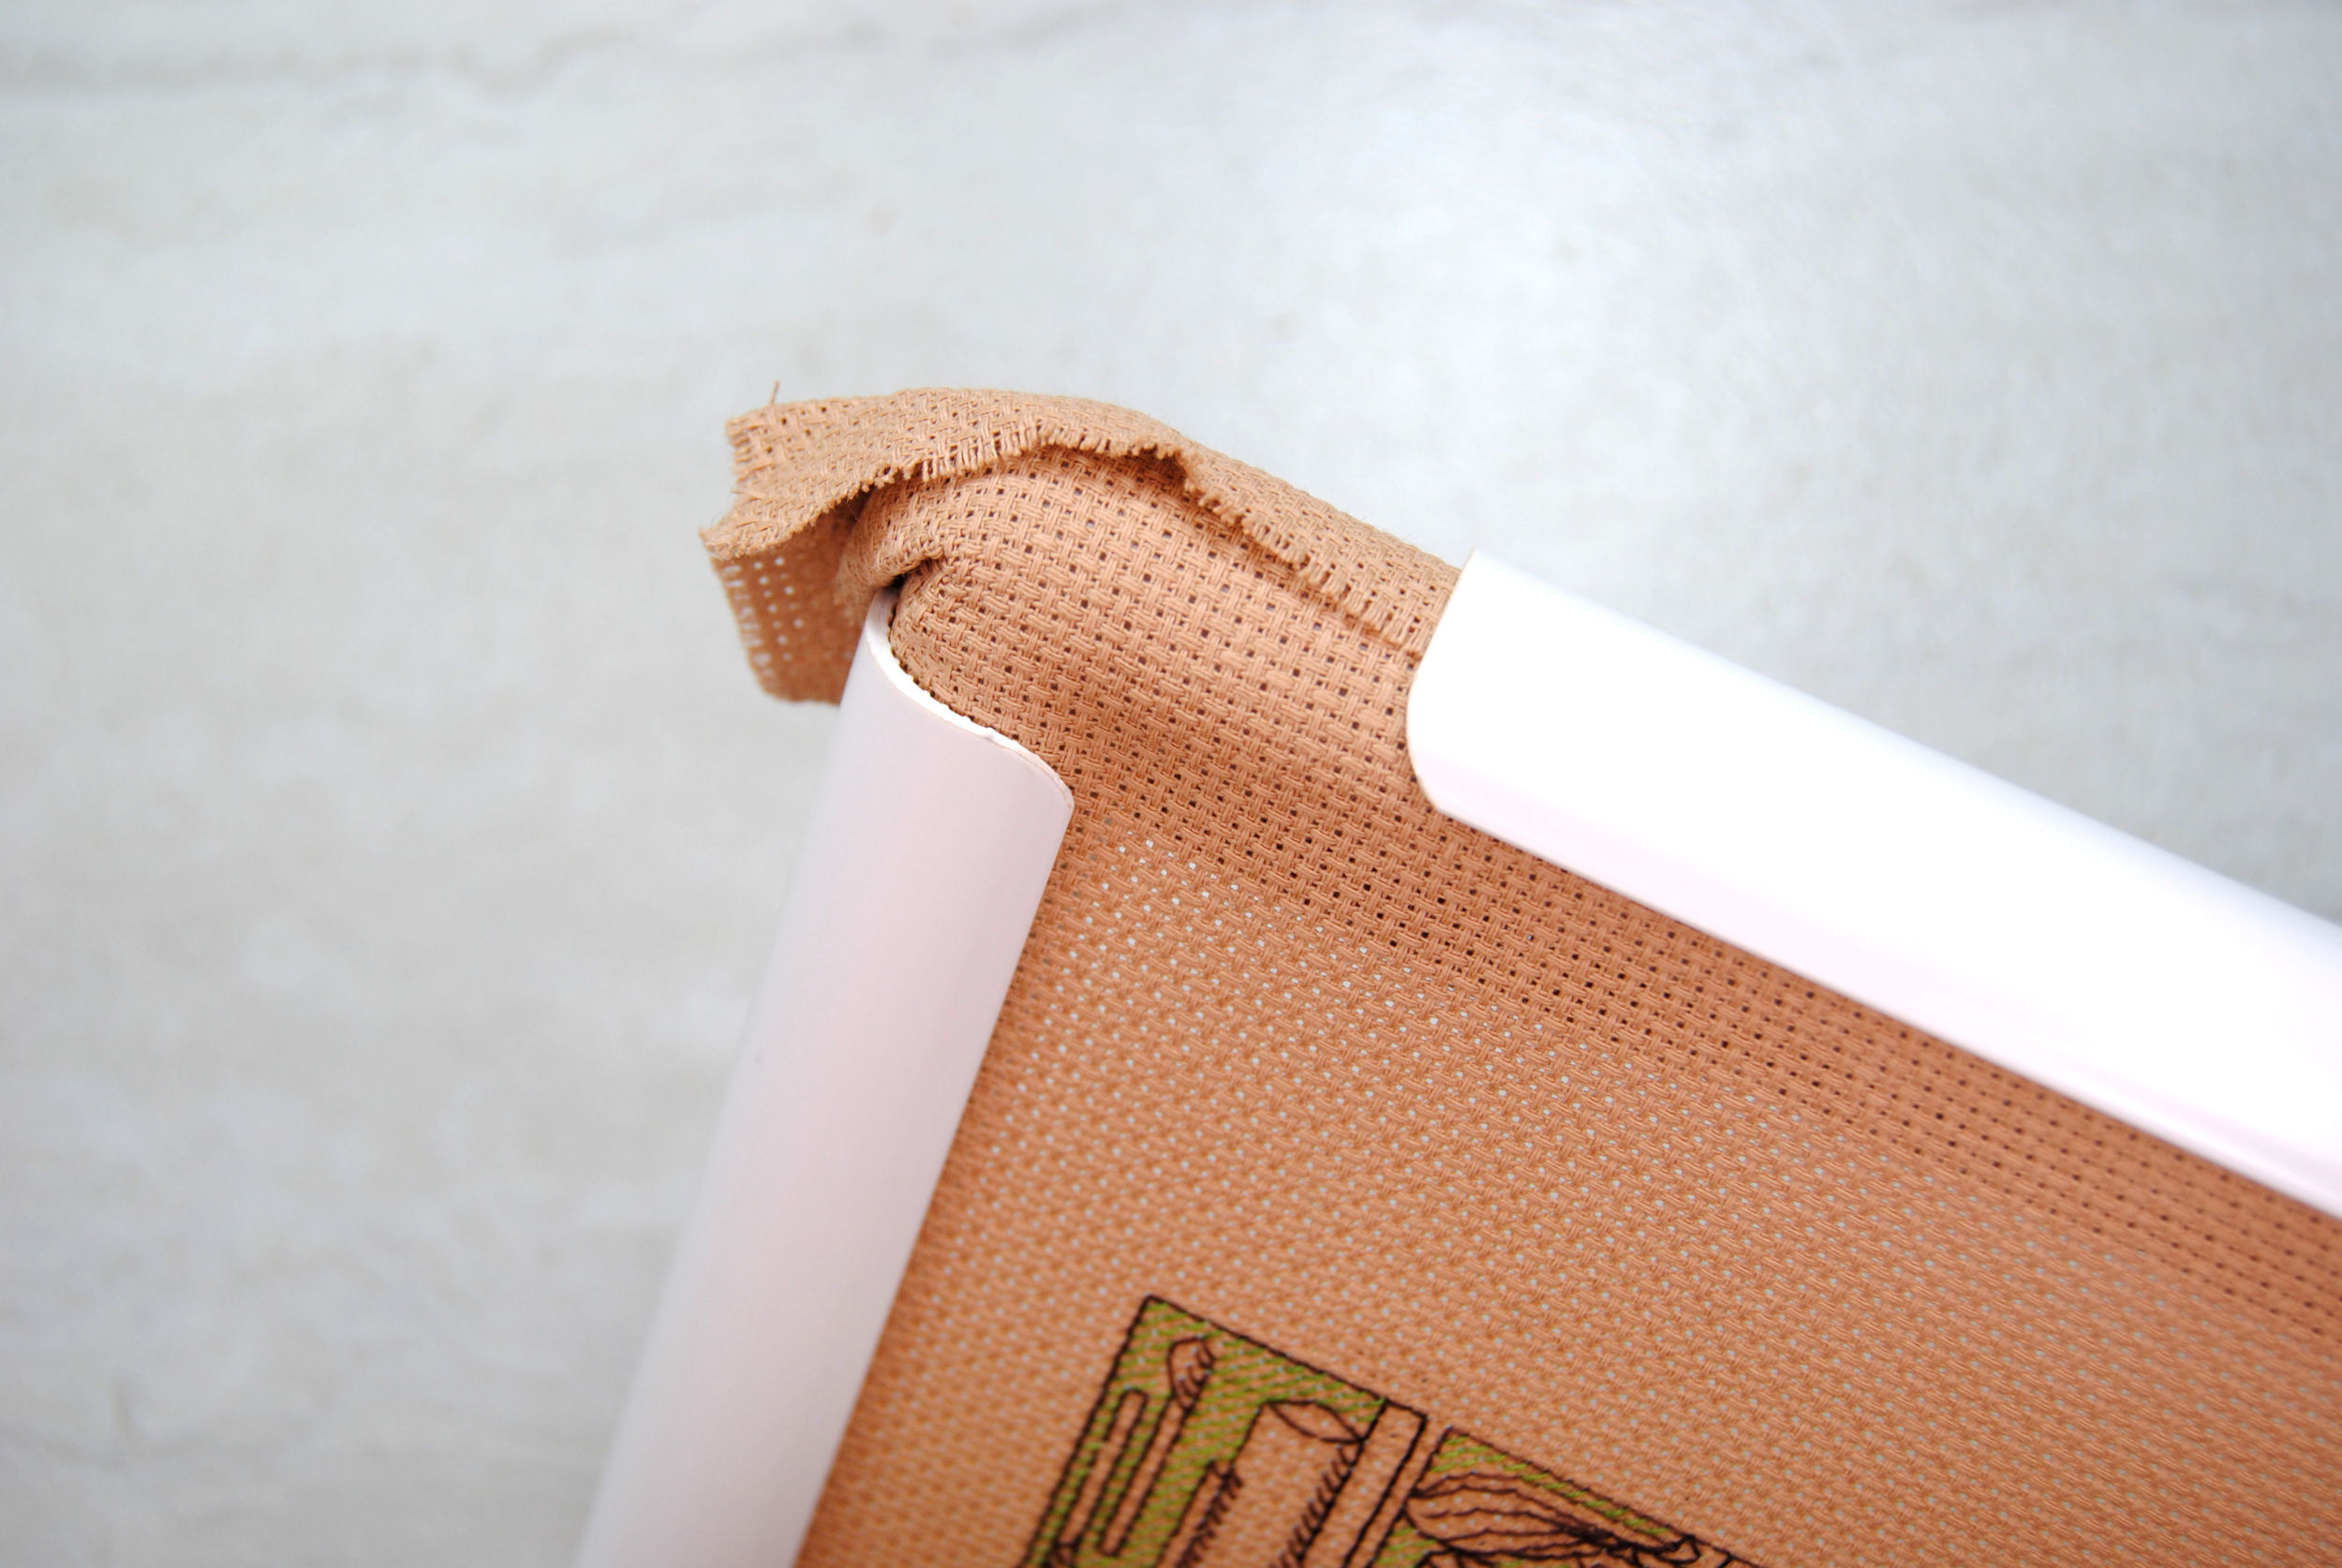
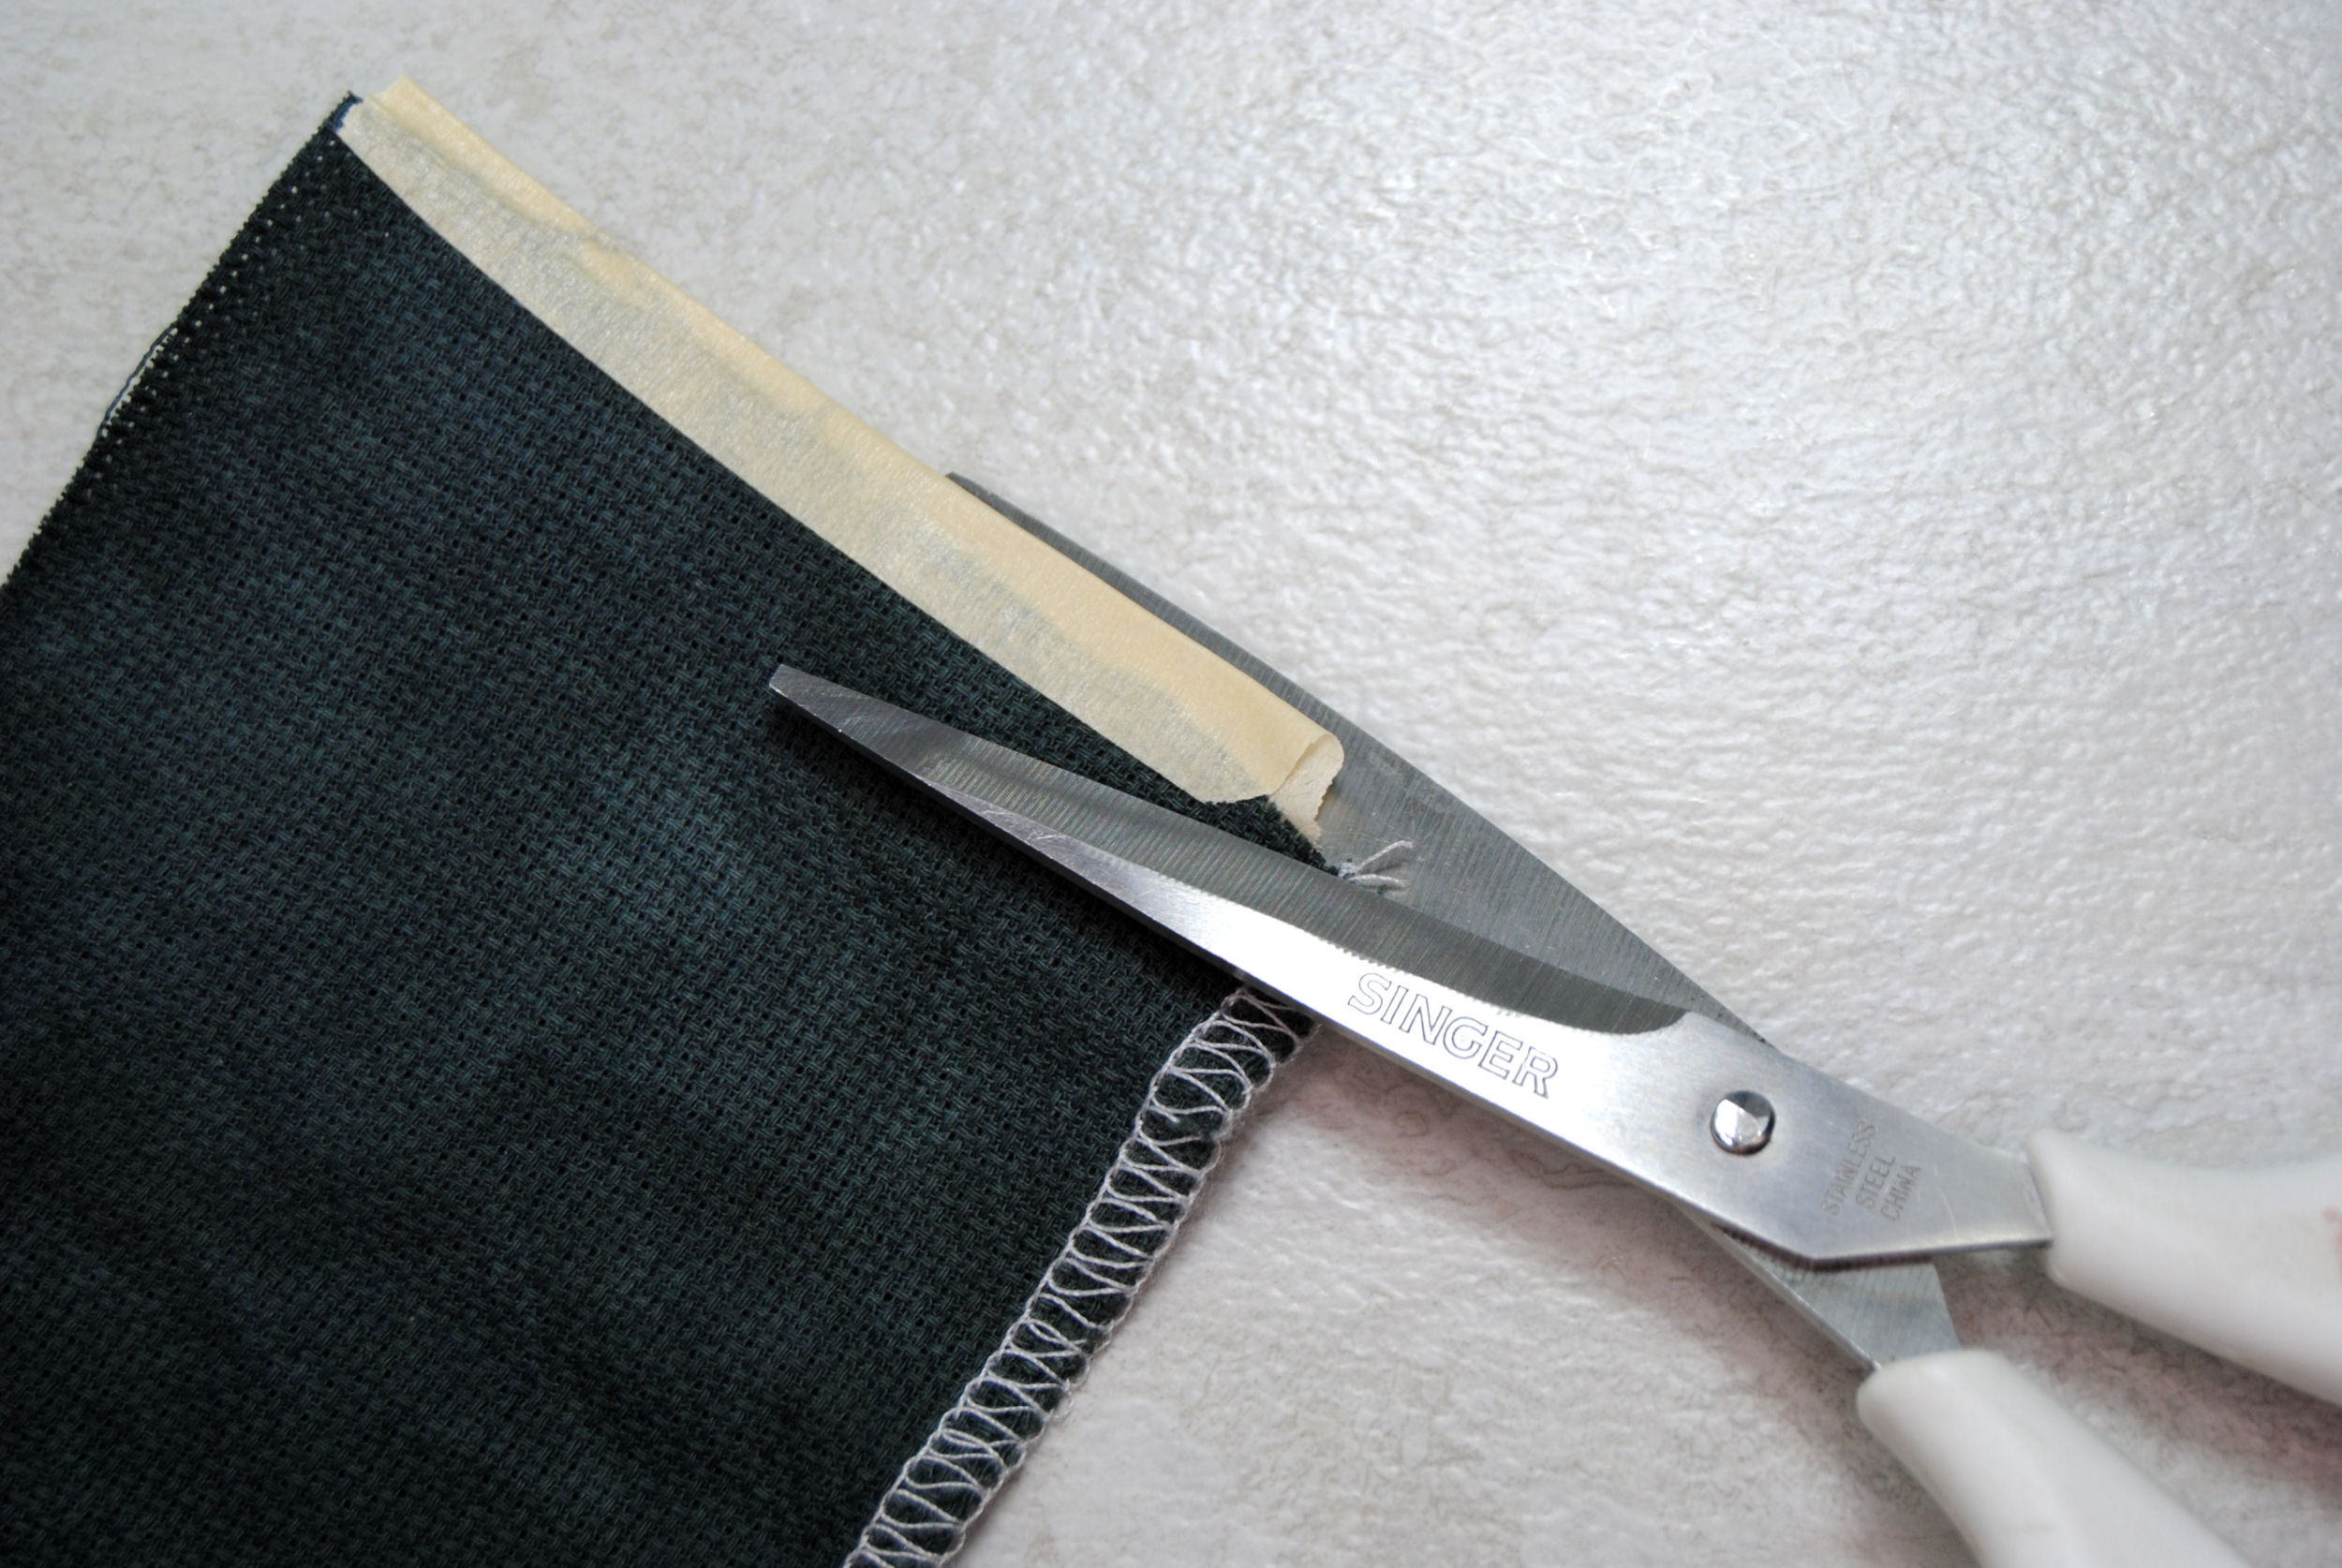
I do recommend not taping the full width of your tape but just enough to stick to the fabric. When I do this, I’ll put down some tape on just the very edge.
And then when I fold over, most of the tape is sticking to itself rather than the fabric. You can even see all the strands of fraying fabric trapped in the tape there.
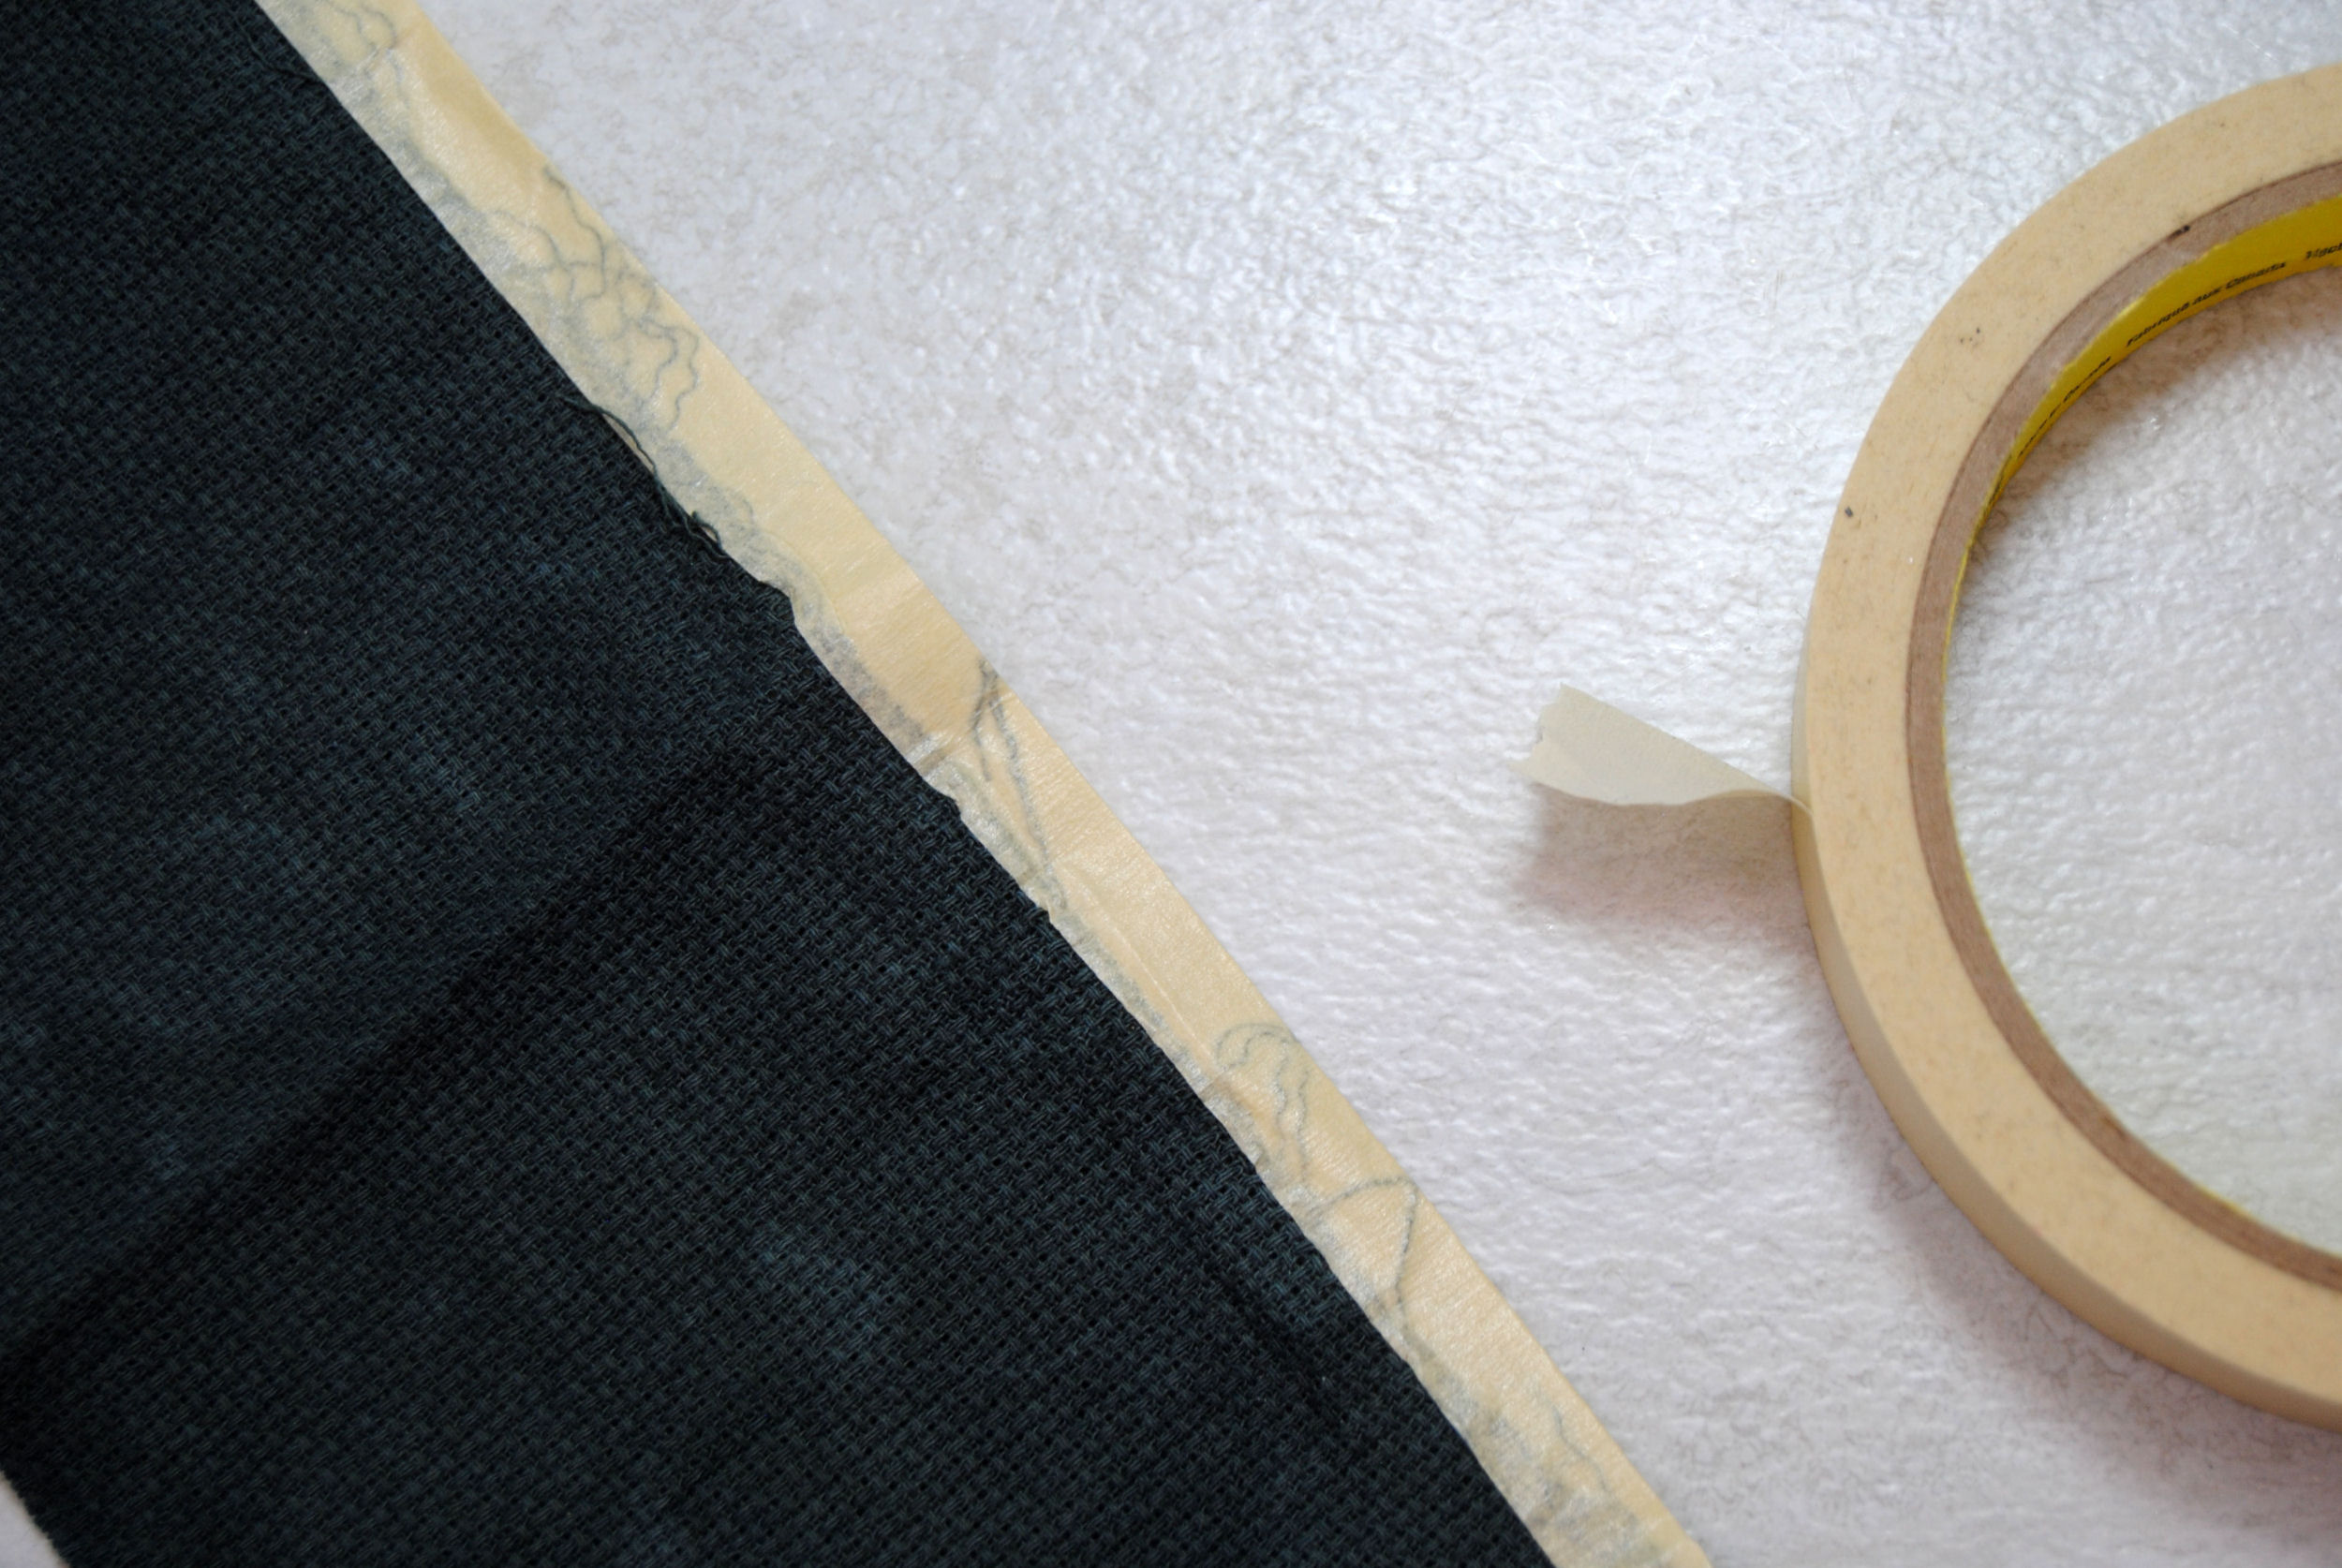
The thing is — many of these tapes are not acid free and can stain your fabric over time. Here’s an example from a WIP I thrifted that had tape on it. I’ve no idea how long the tape was on there, but it was no longer adhesive and just kinda sloughed right off. If you’re working on a large project that is likely to take years, keep that in mind.
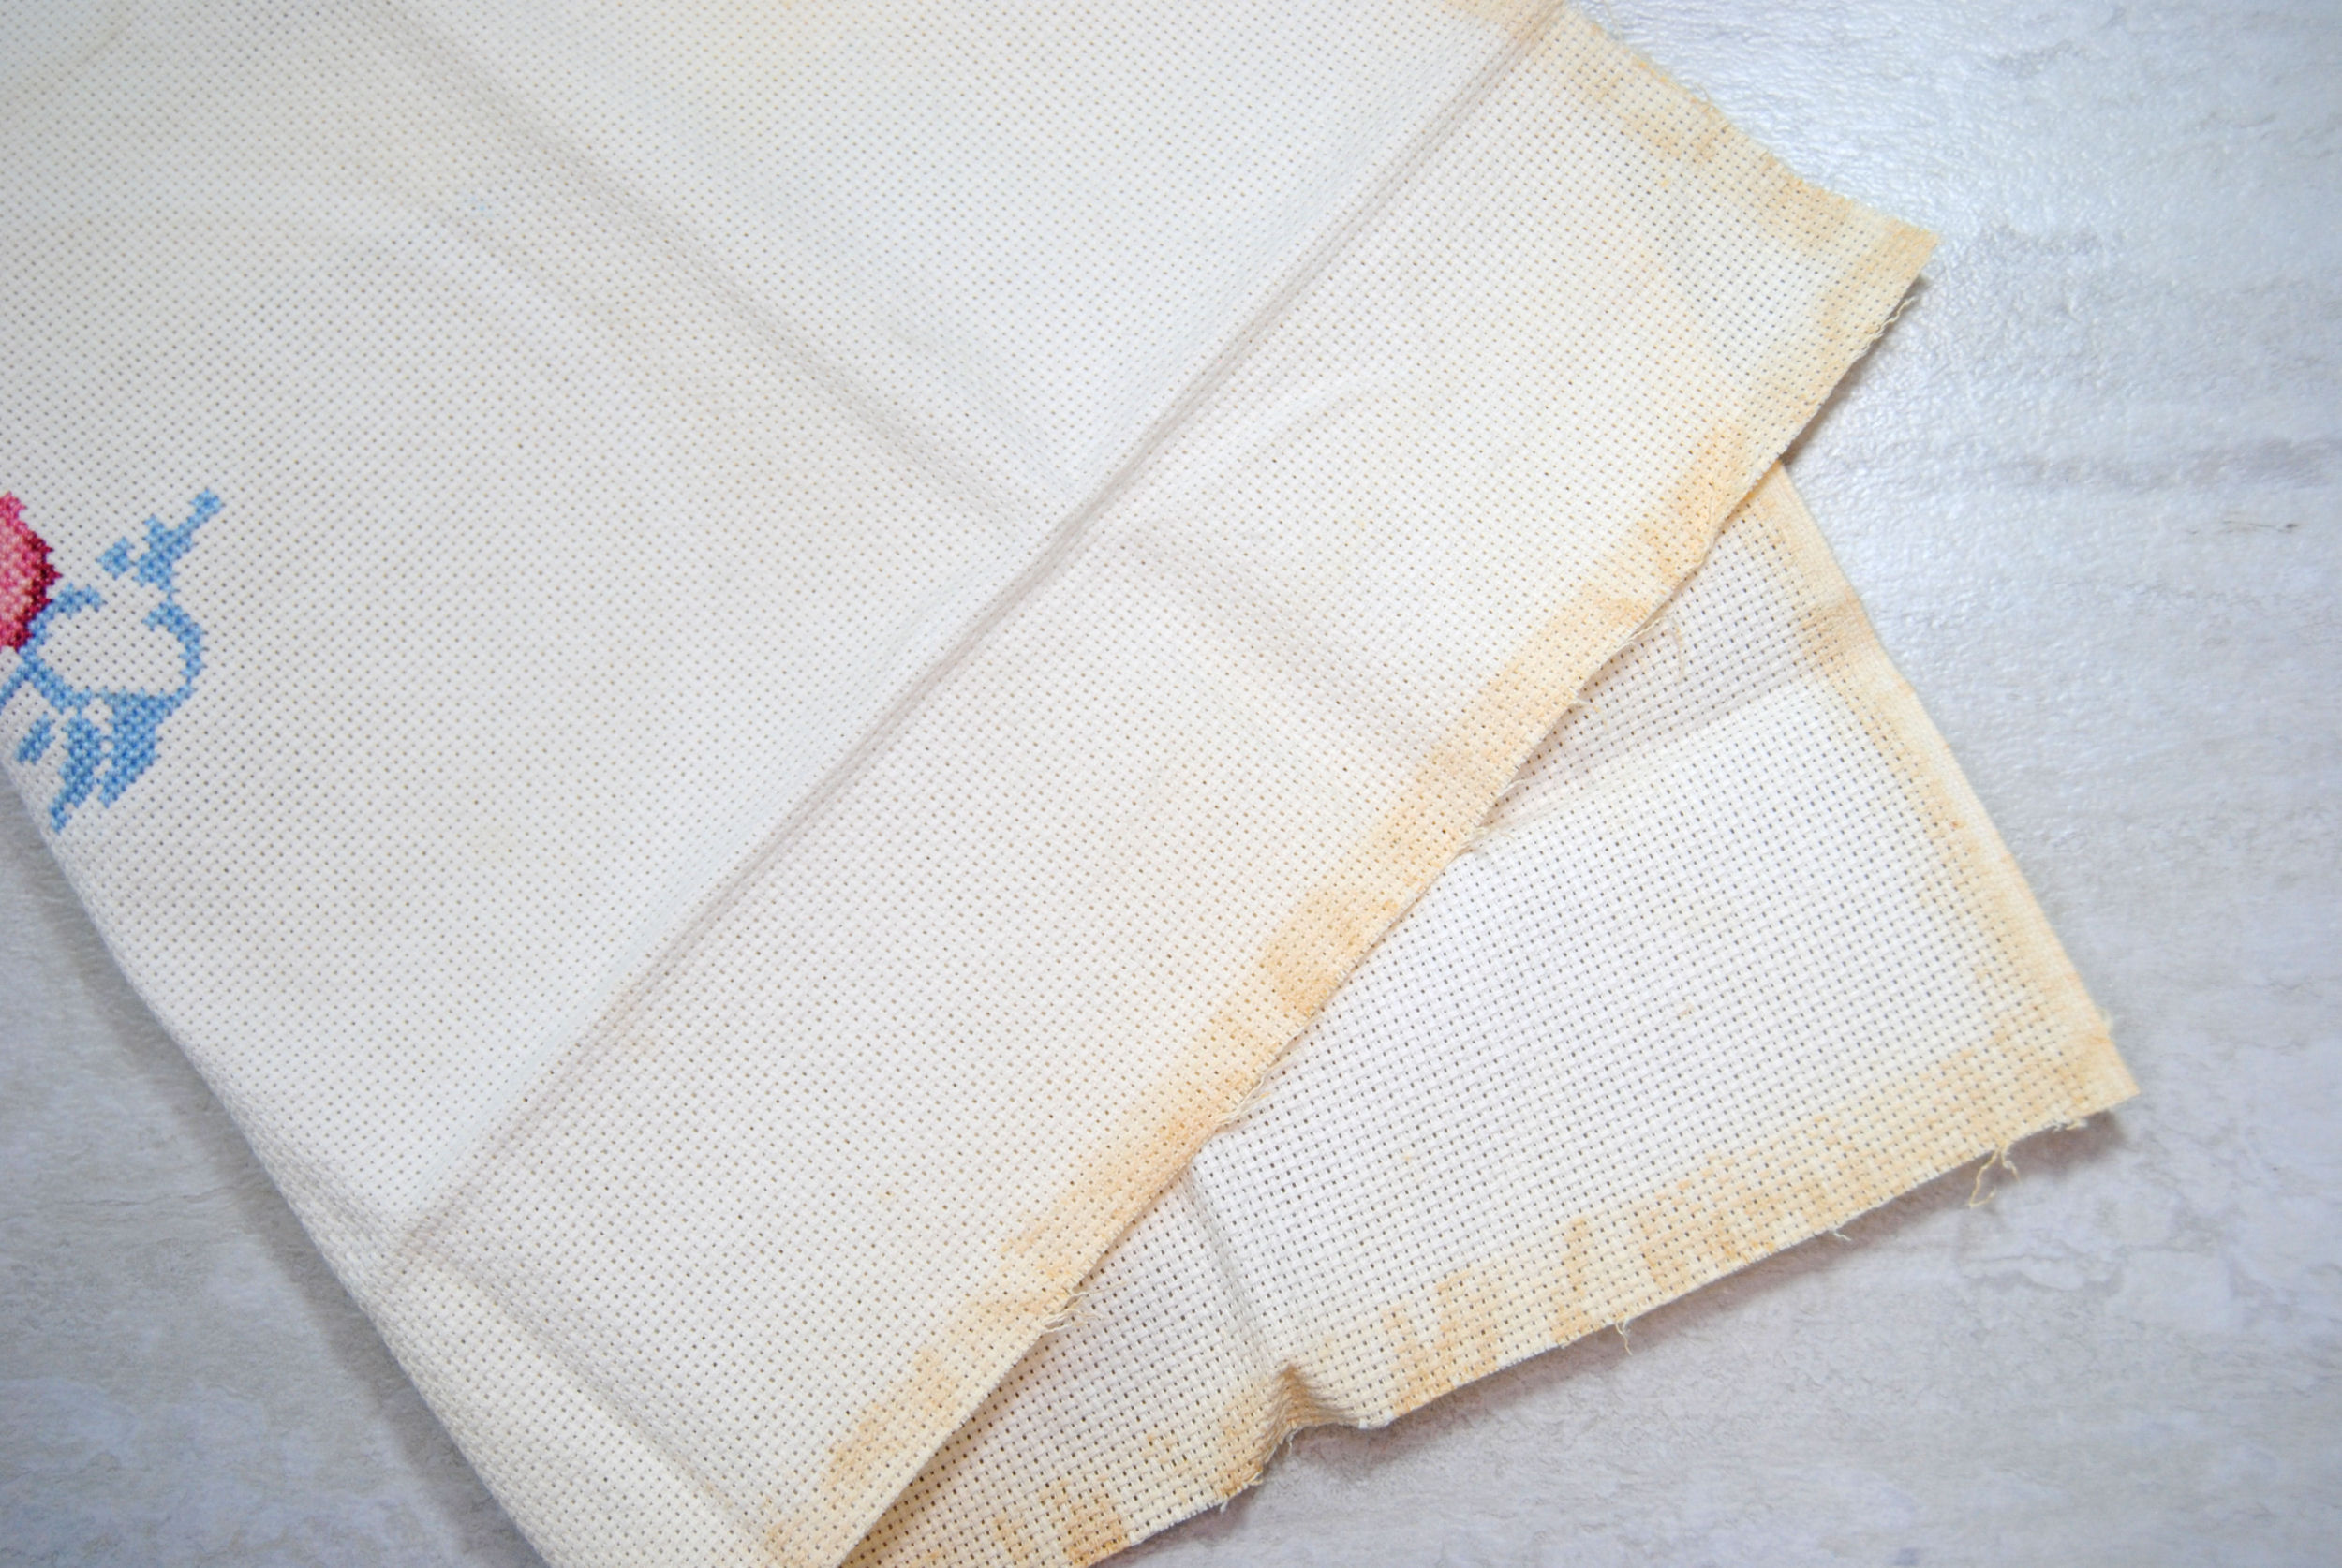
I still have some tape on old WIPs from 20+ years ago holding just fine, so this must be super old, used a different kind of tape, or was somehow affected by its enviornment.
That said! I still use this method often. The caveat being — I fully expect to cut the tape off in the end.
That’s right. In addition to the extra fabric around the project I already keep for finishing, I keep an extra bit for taping. When my project is all done I’ll cut off the tape prior to washing.
Pinking Shears
Speaking of cutting, our next option is to cut the edge of the fabric using pinking shears! These are scissors that create a zig-zag cut along the edge of your fabric and they help reduce fraying. They don’t stop it entirely, but definitely slow it down.
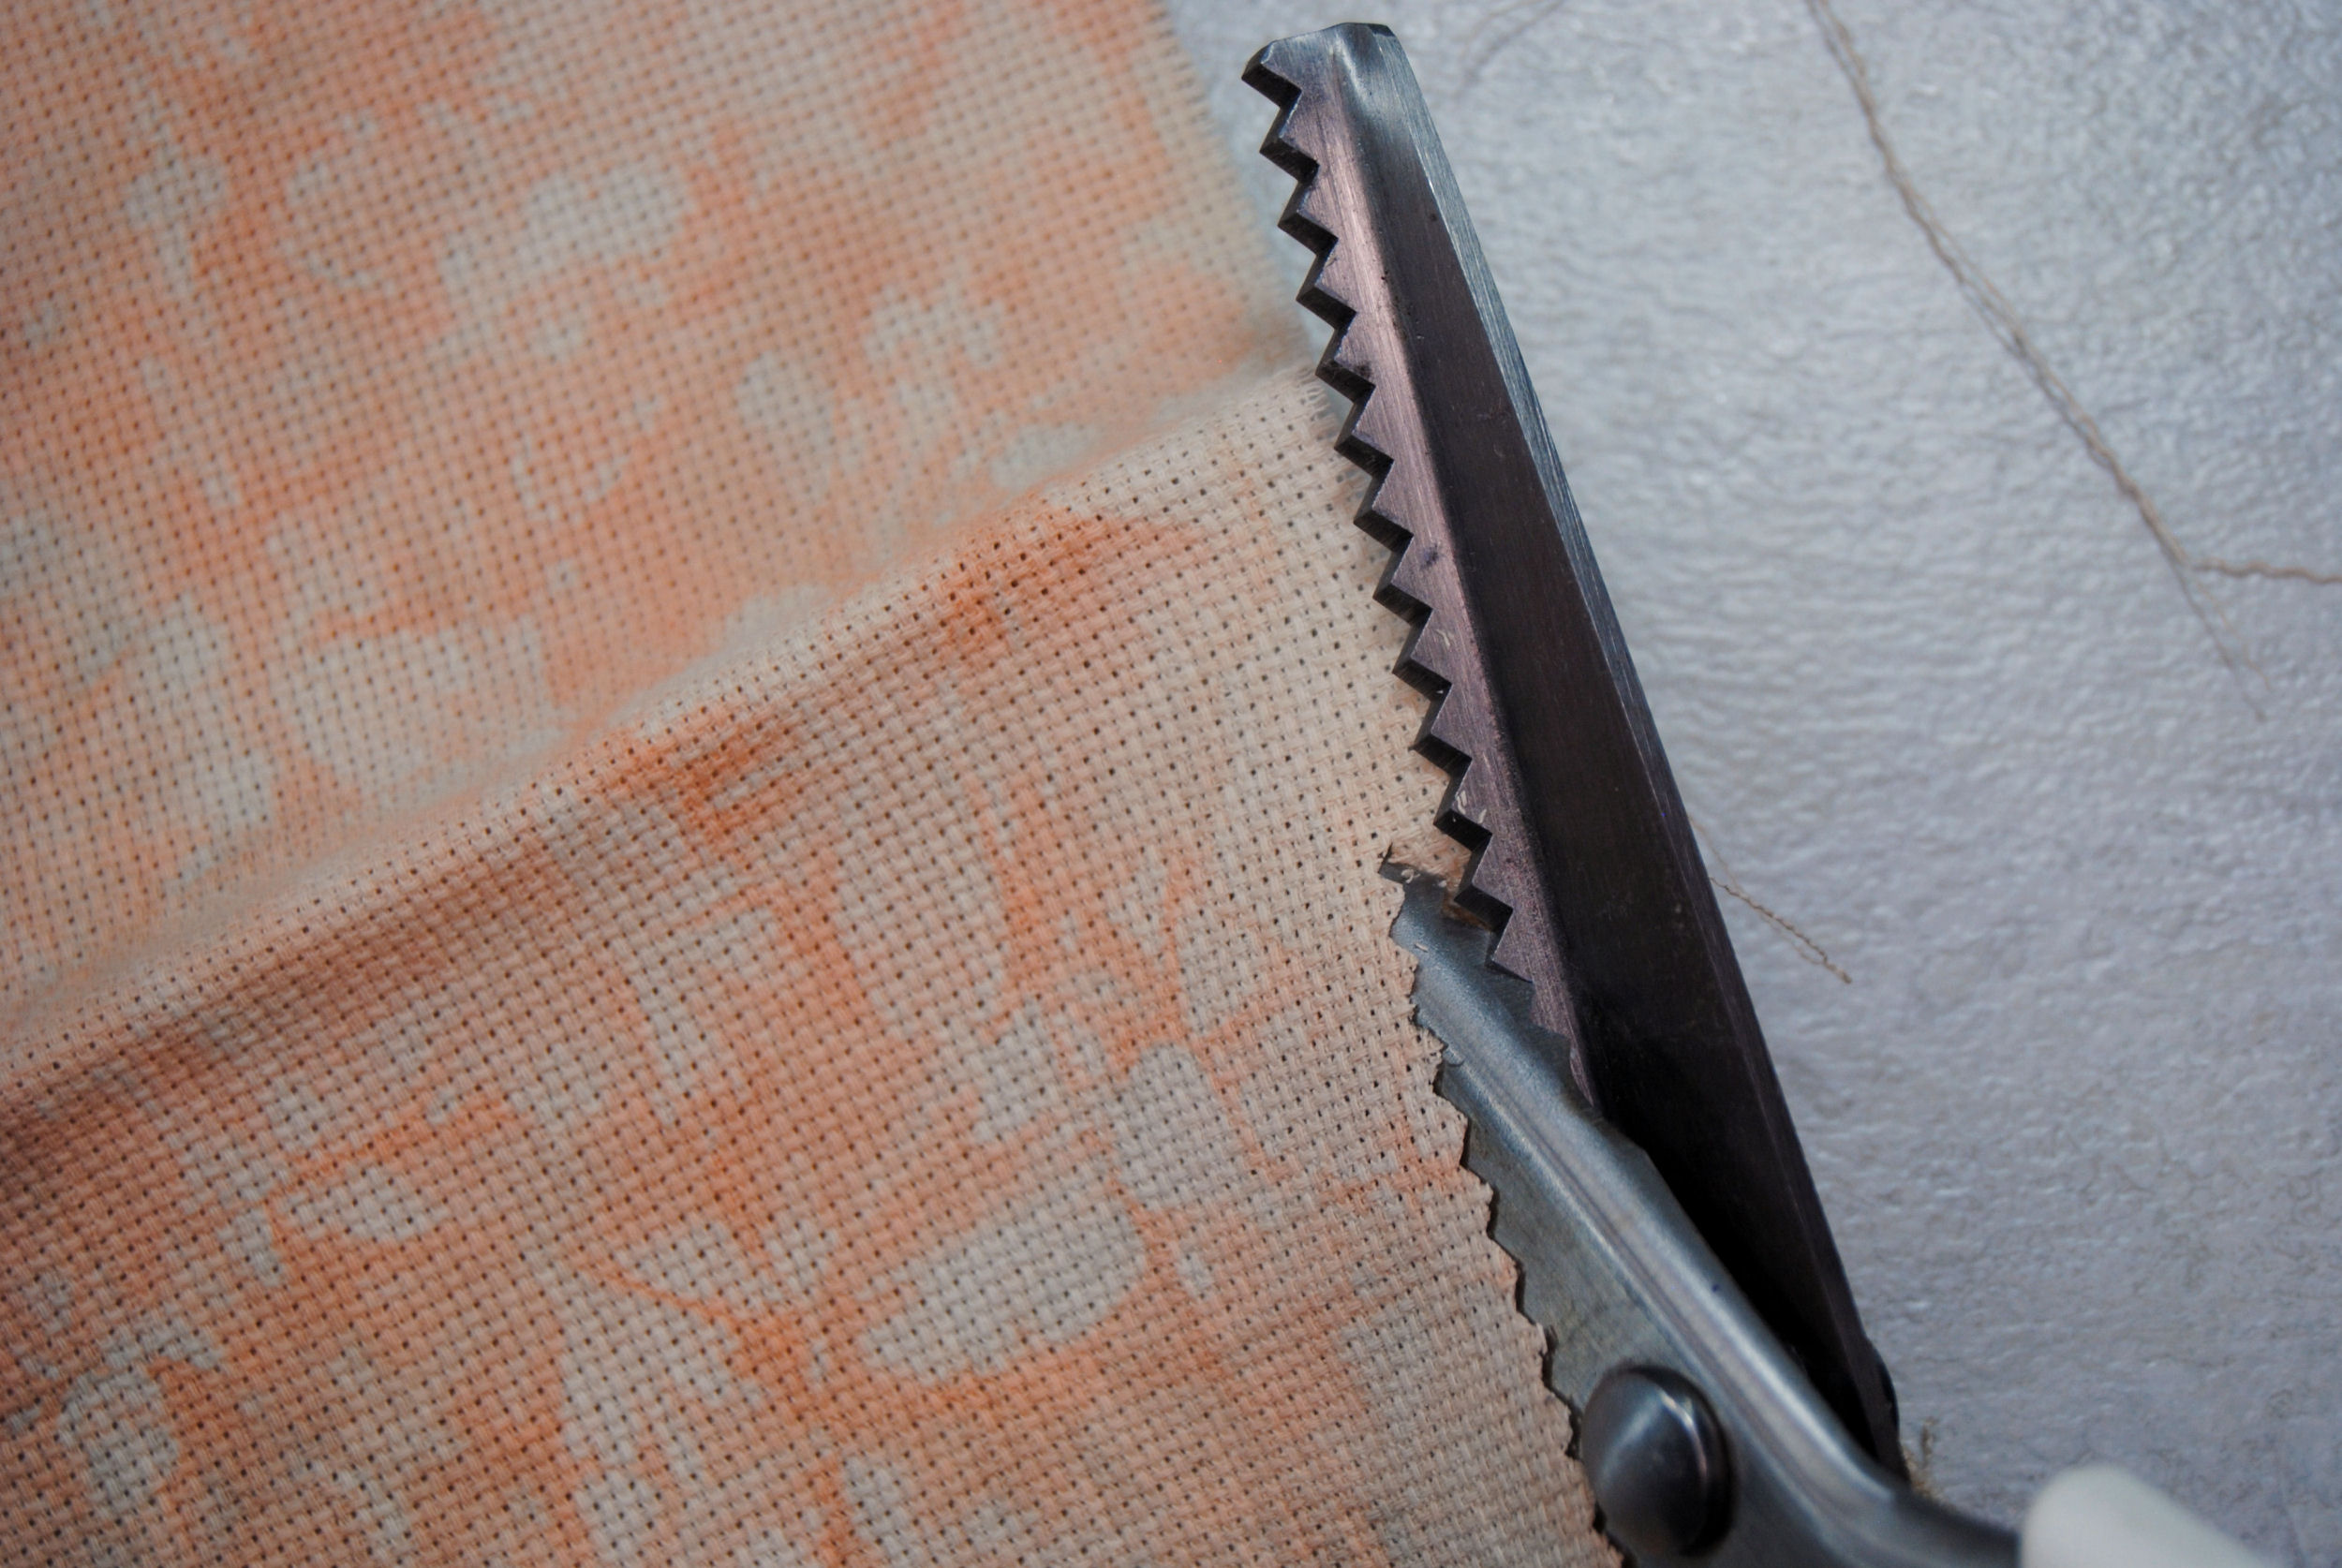
This is a relatively inexpensive way to easily manage a whole lot of fabric. And is used commercially as well! For example, the Charles Craft Printed Aida fabrics come pre-pinked!
Fray Check
A favorite method of mine lately has been Fray Check. This is essentially an adhesive that you apply along the edge of the fabric. It then absorbs into your fabric and dries, keeping those strands secured together.
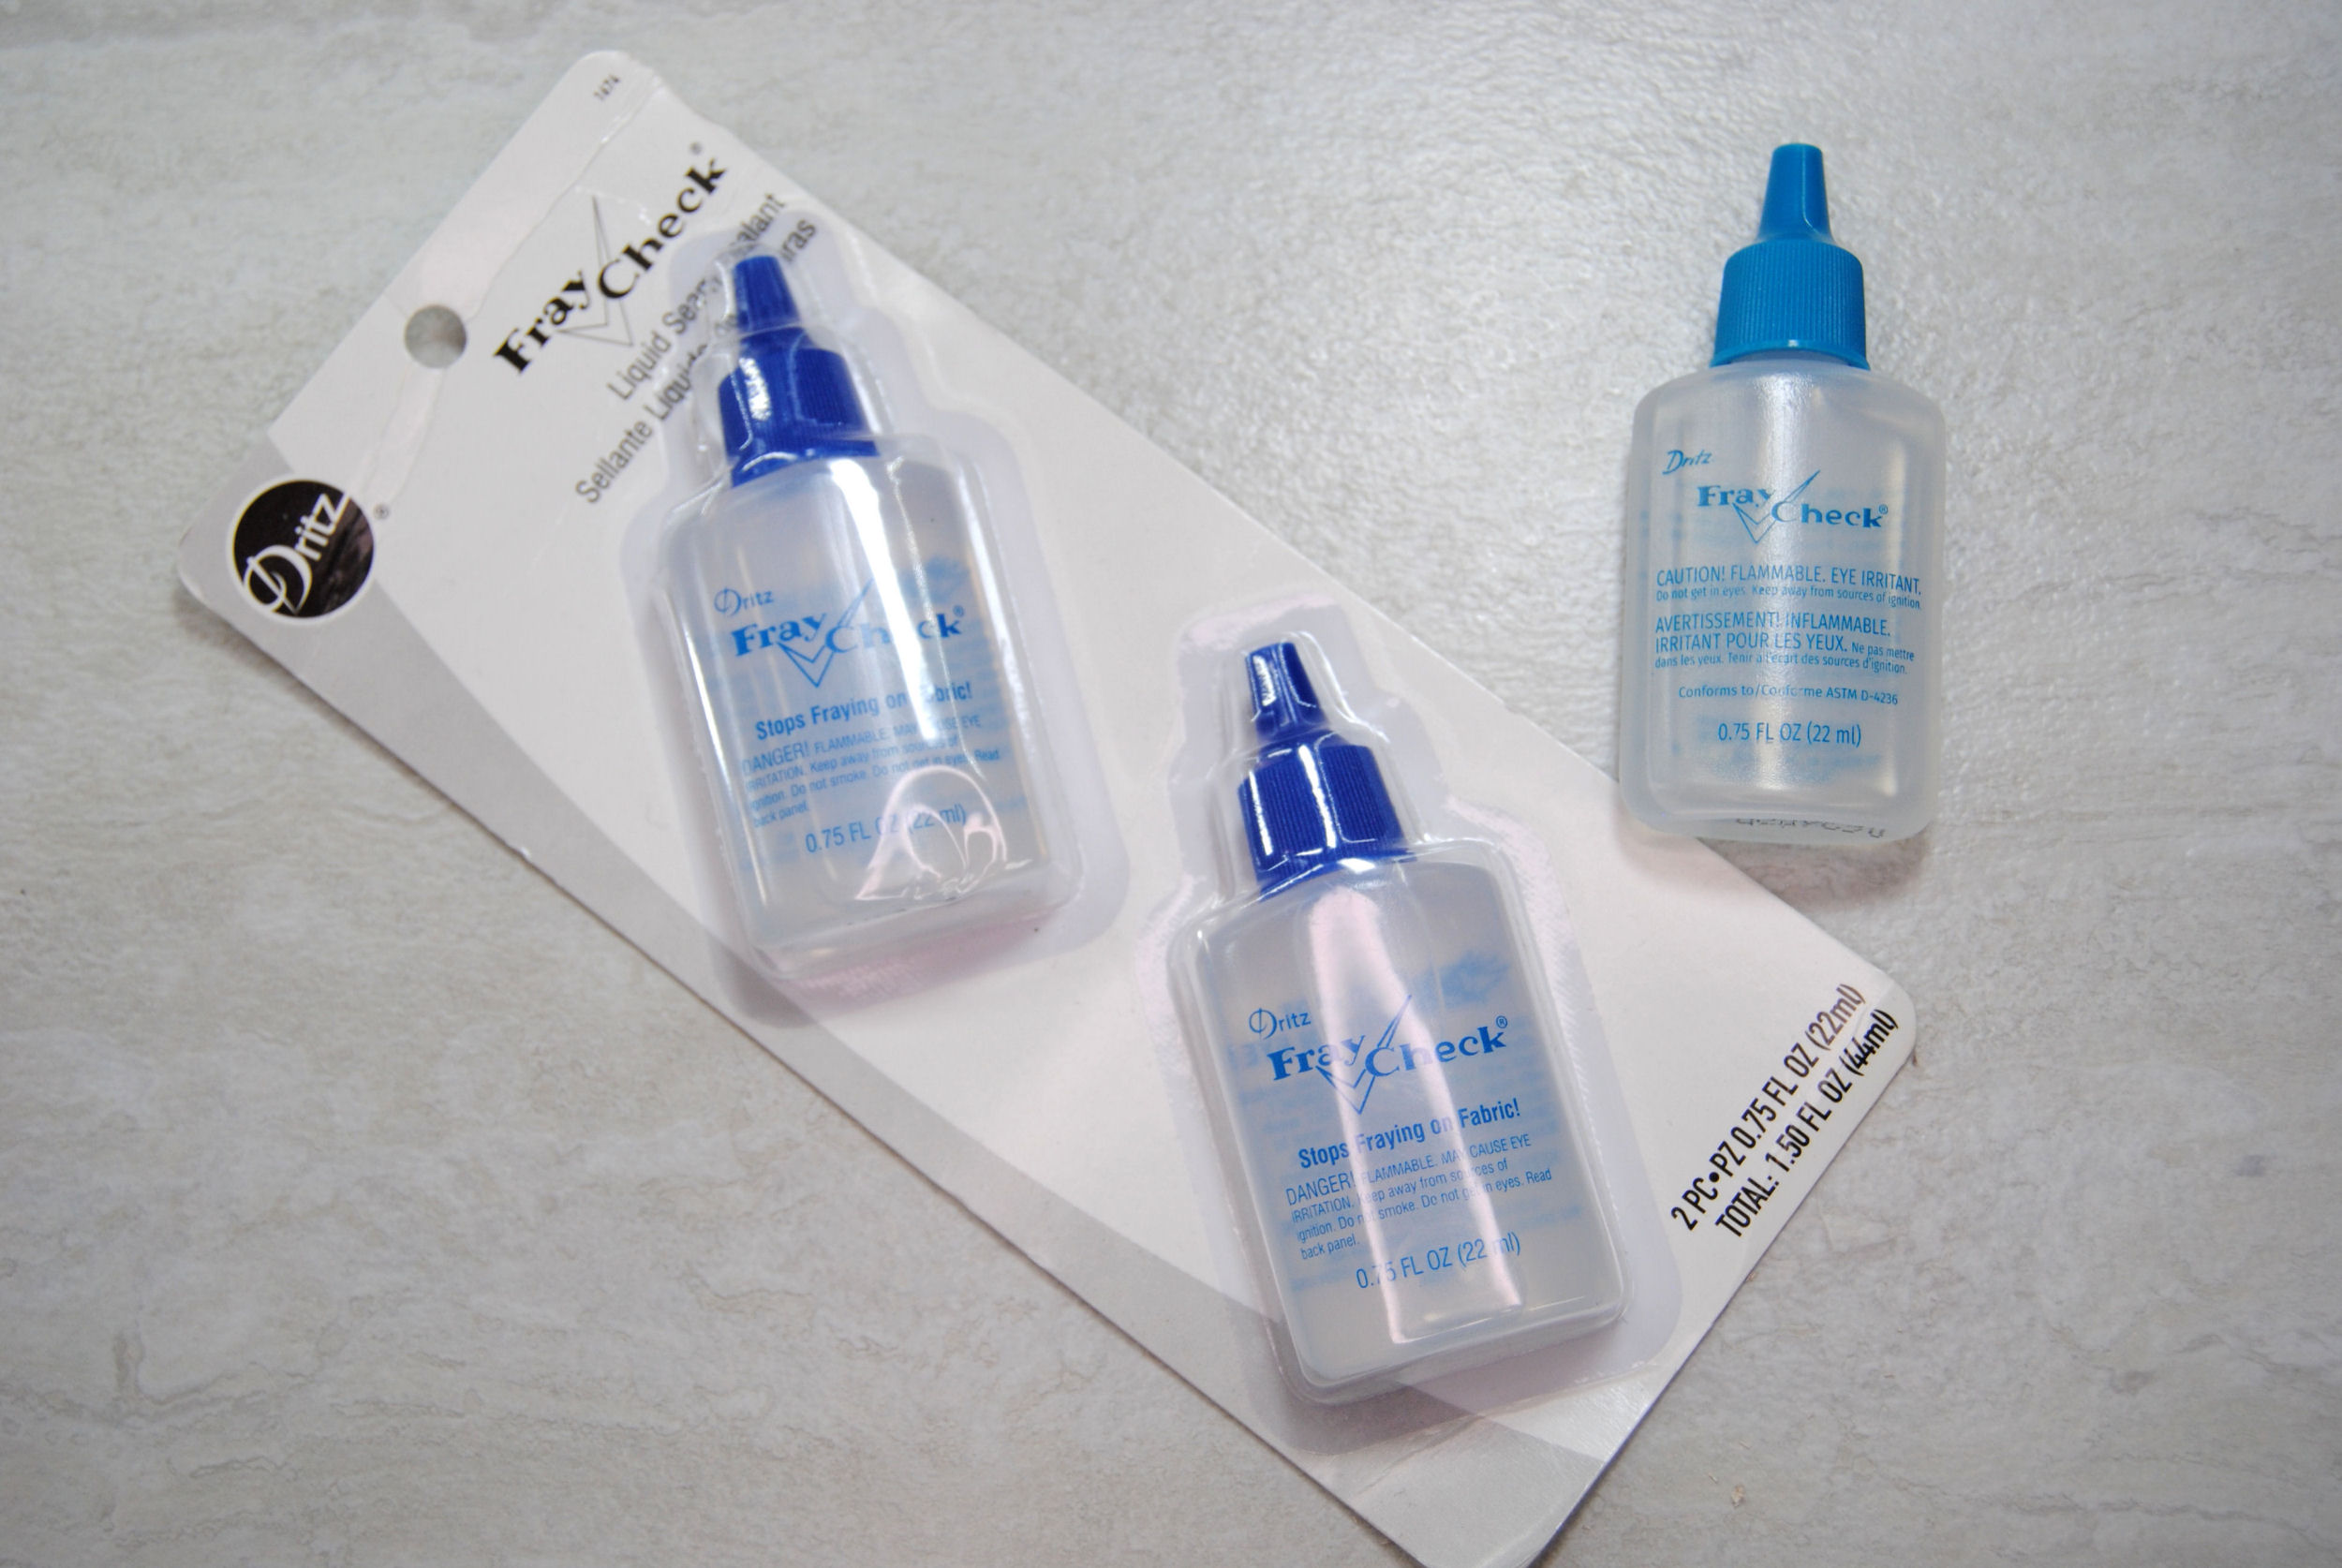
Fray Check is just the Dritz version of this concept though, there are other brands of similar products such as Aleene’s Stop-Fraying or E6000’s Fray Lock. Some people even use Clear Nail Polish or diluted white glue.
The main thing to note here is that it is an adhesive and can discolor the edge. But it’s real useful for when you need the fabric to be a specific (especially small) size and stay that way.
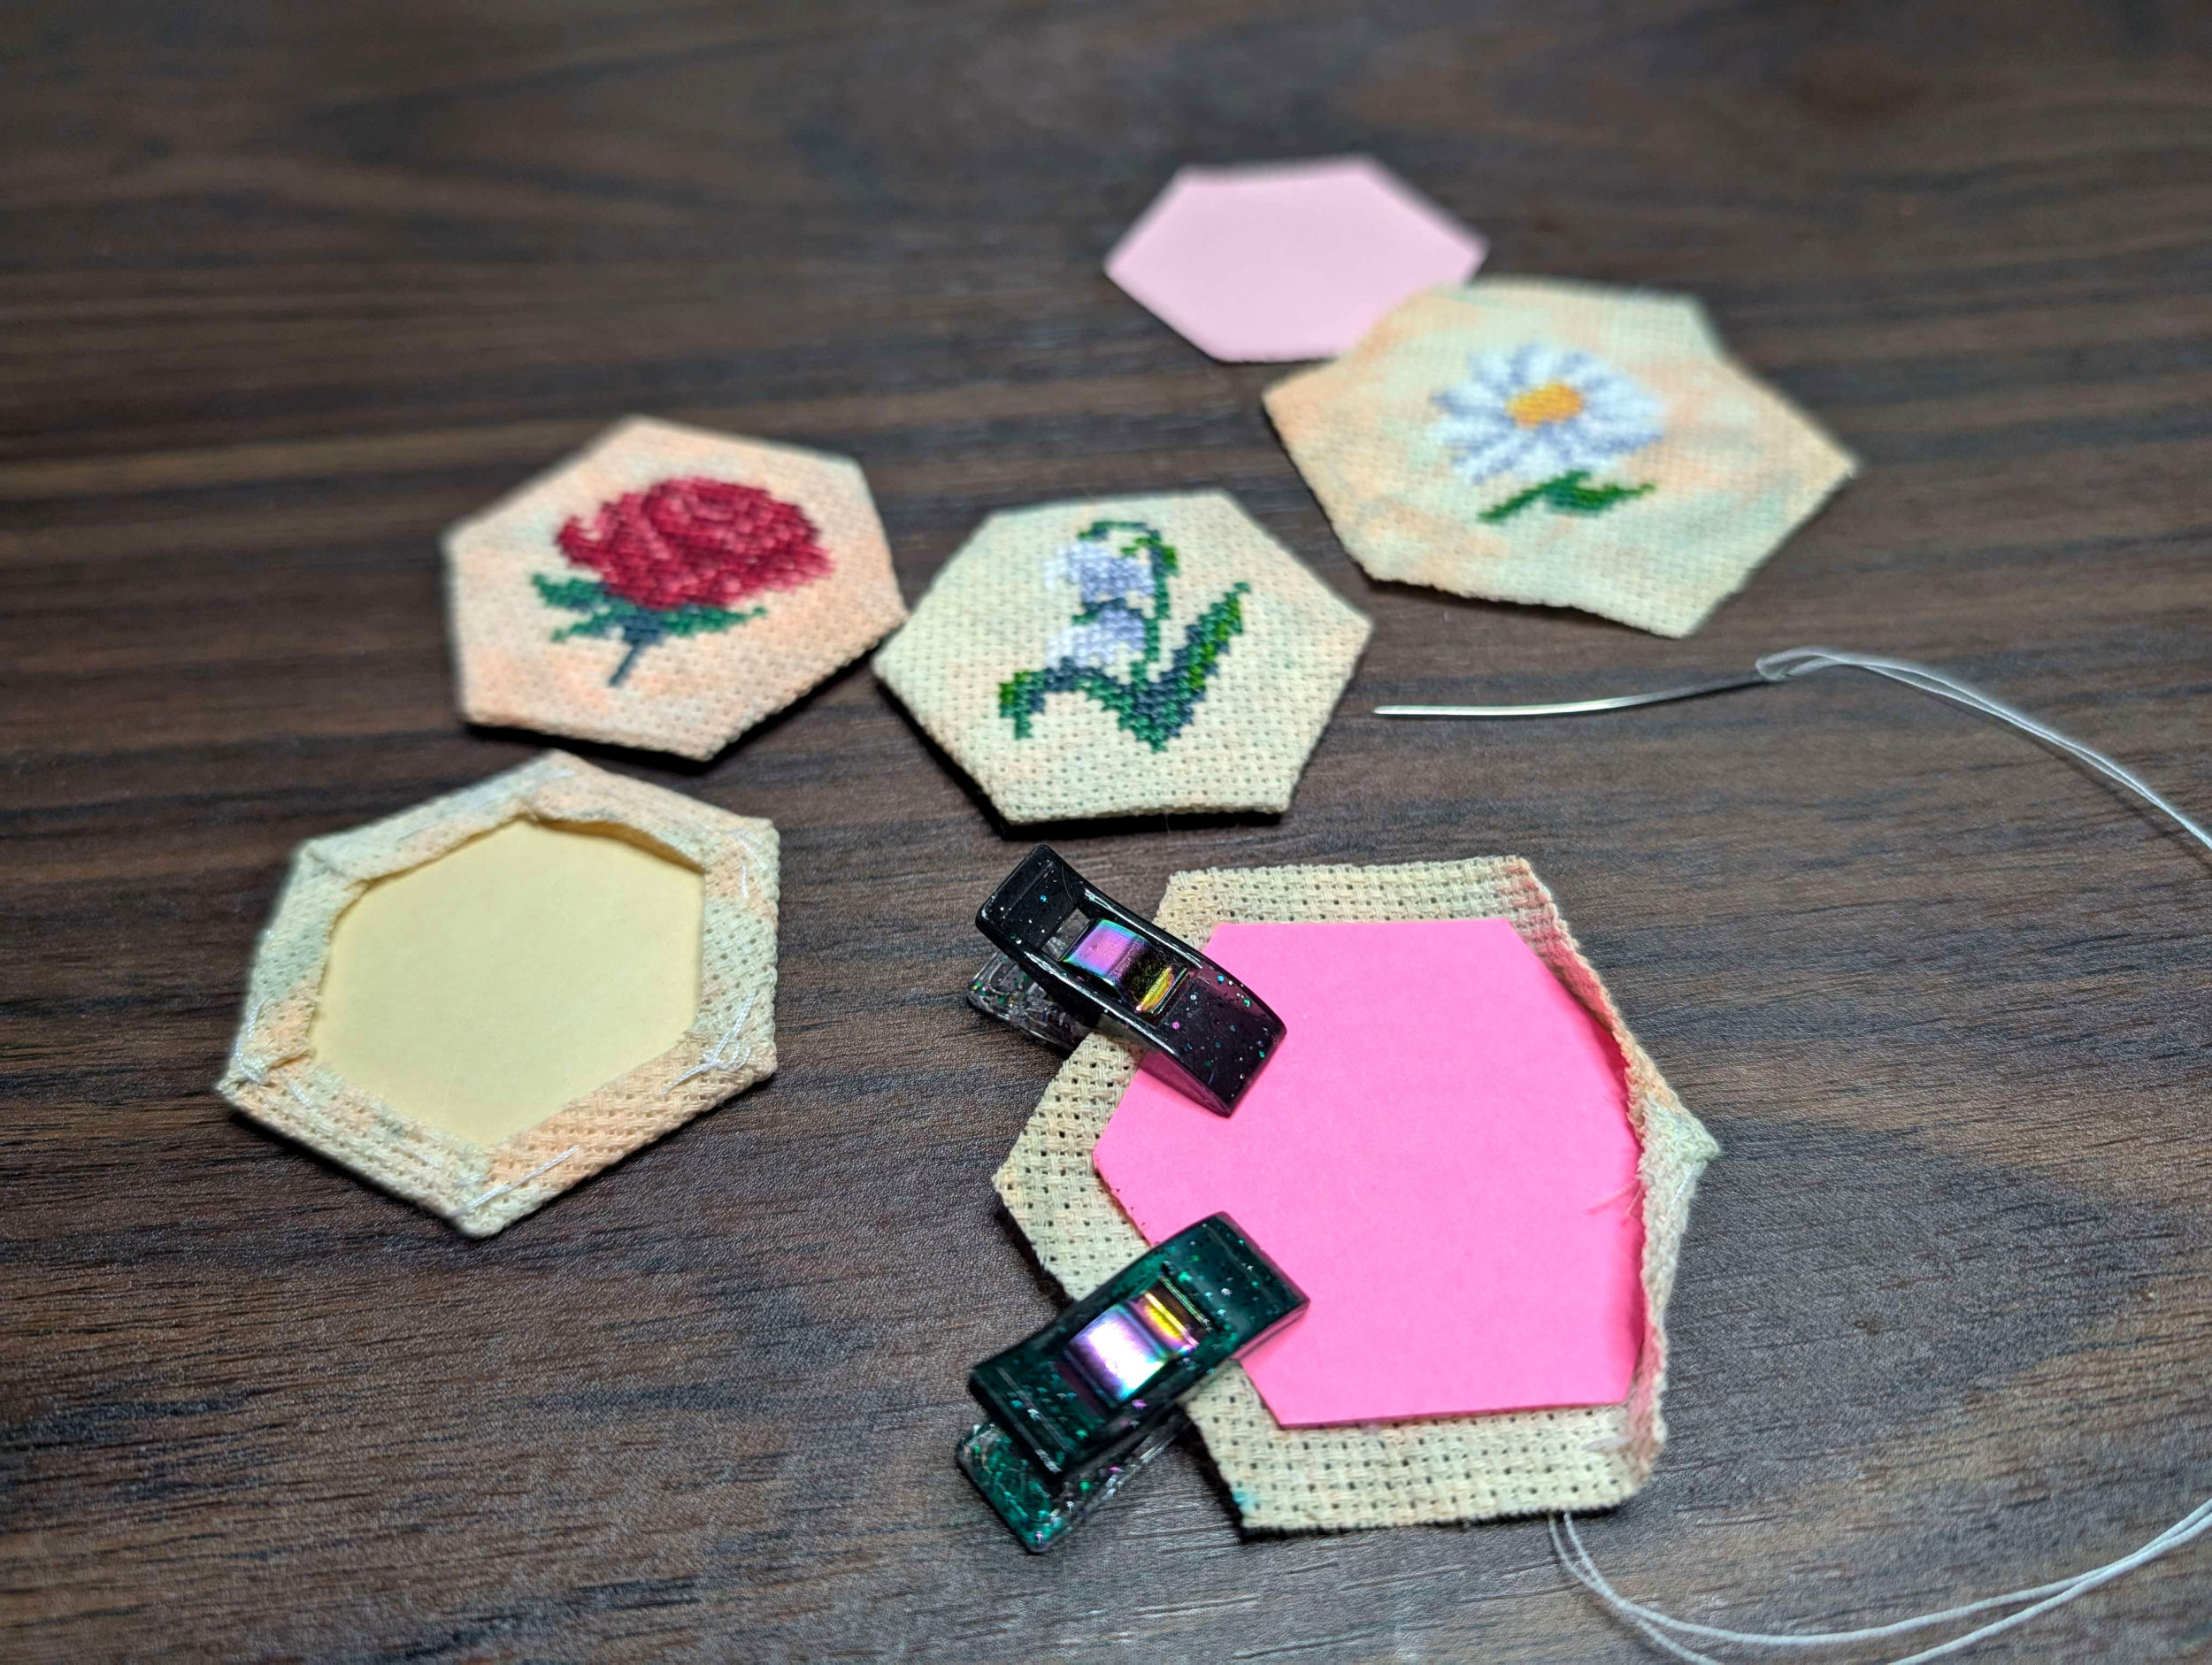
For example, to make English Paper Piecing hexagons from aida, I used fray check along the edges since I was handling a bunch of small pieces of fabric that I didn’t want falling apart. But I couldn’t give them a bunch of extra fabric as they need to be just large enough to wrap around the papers.
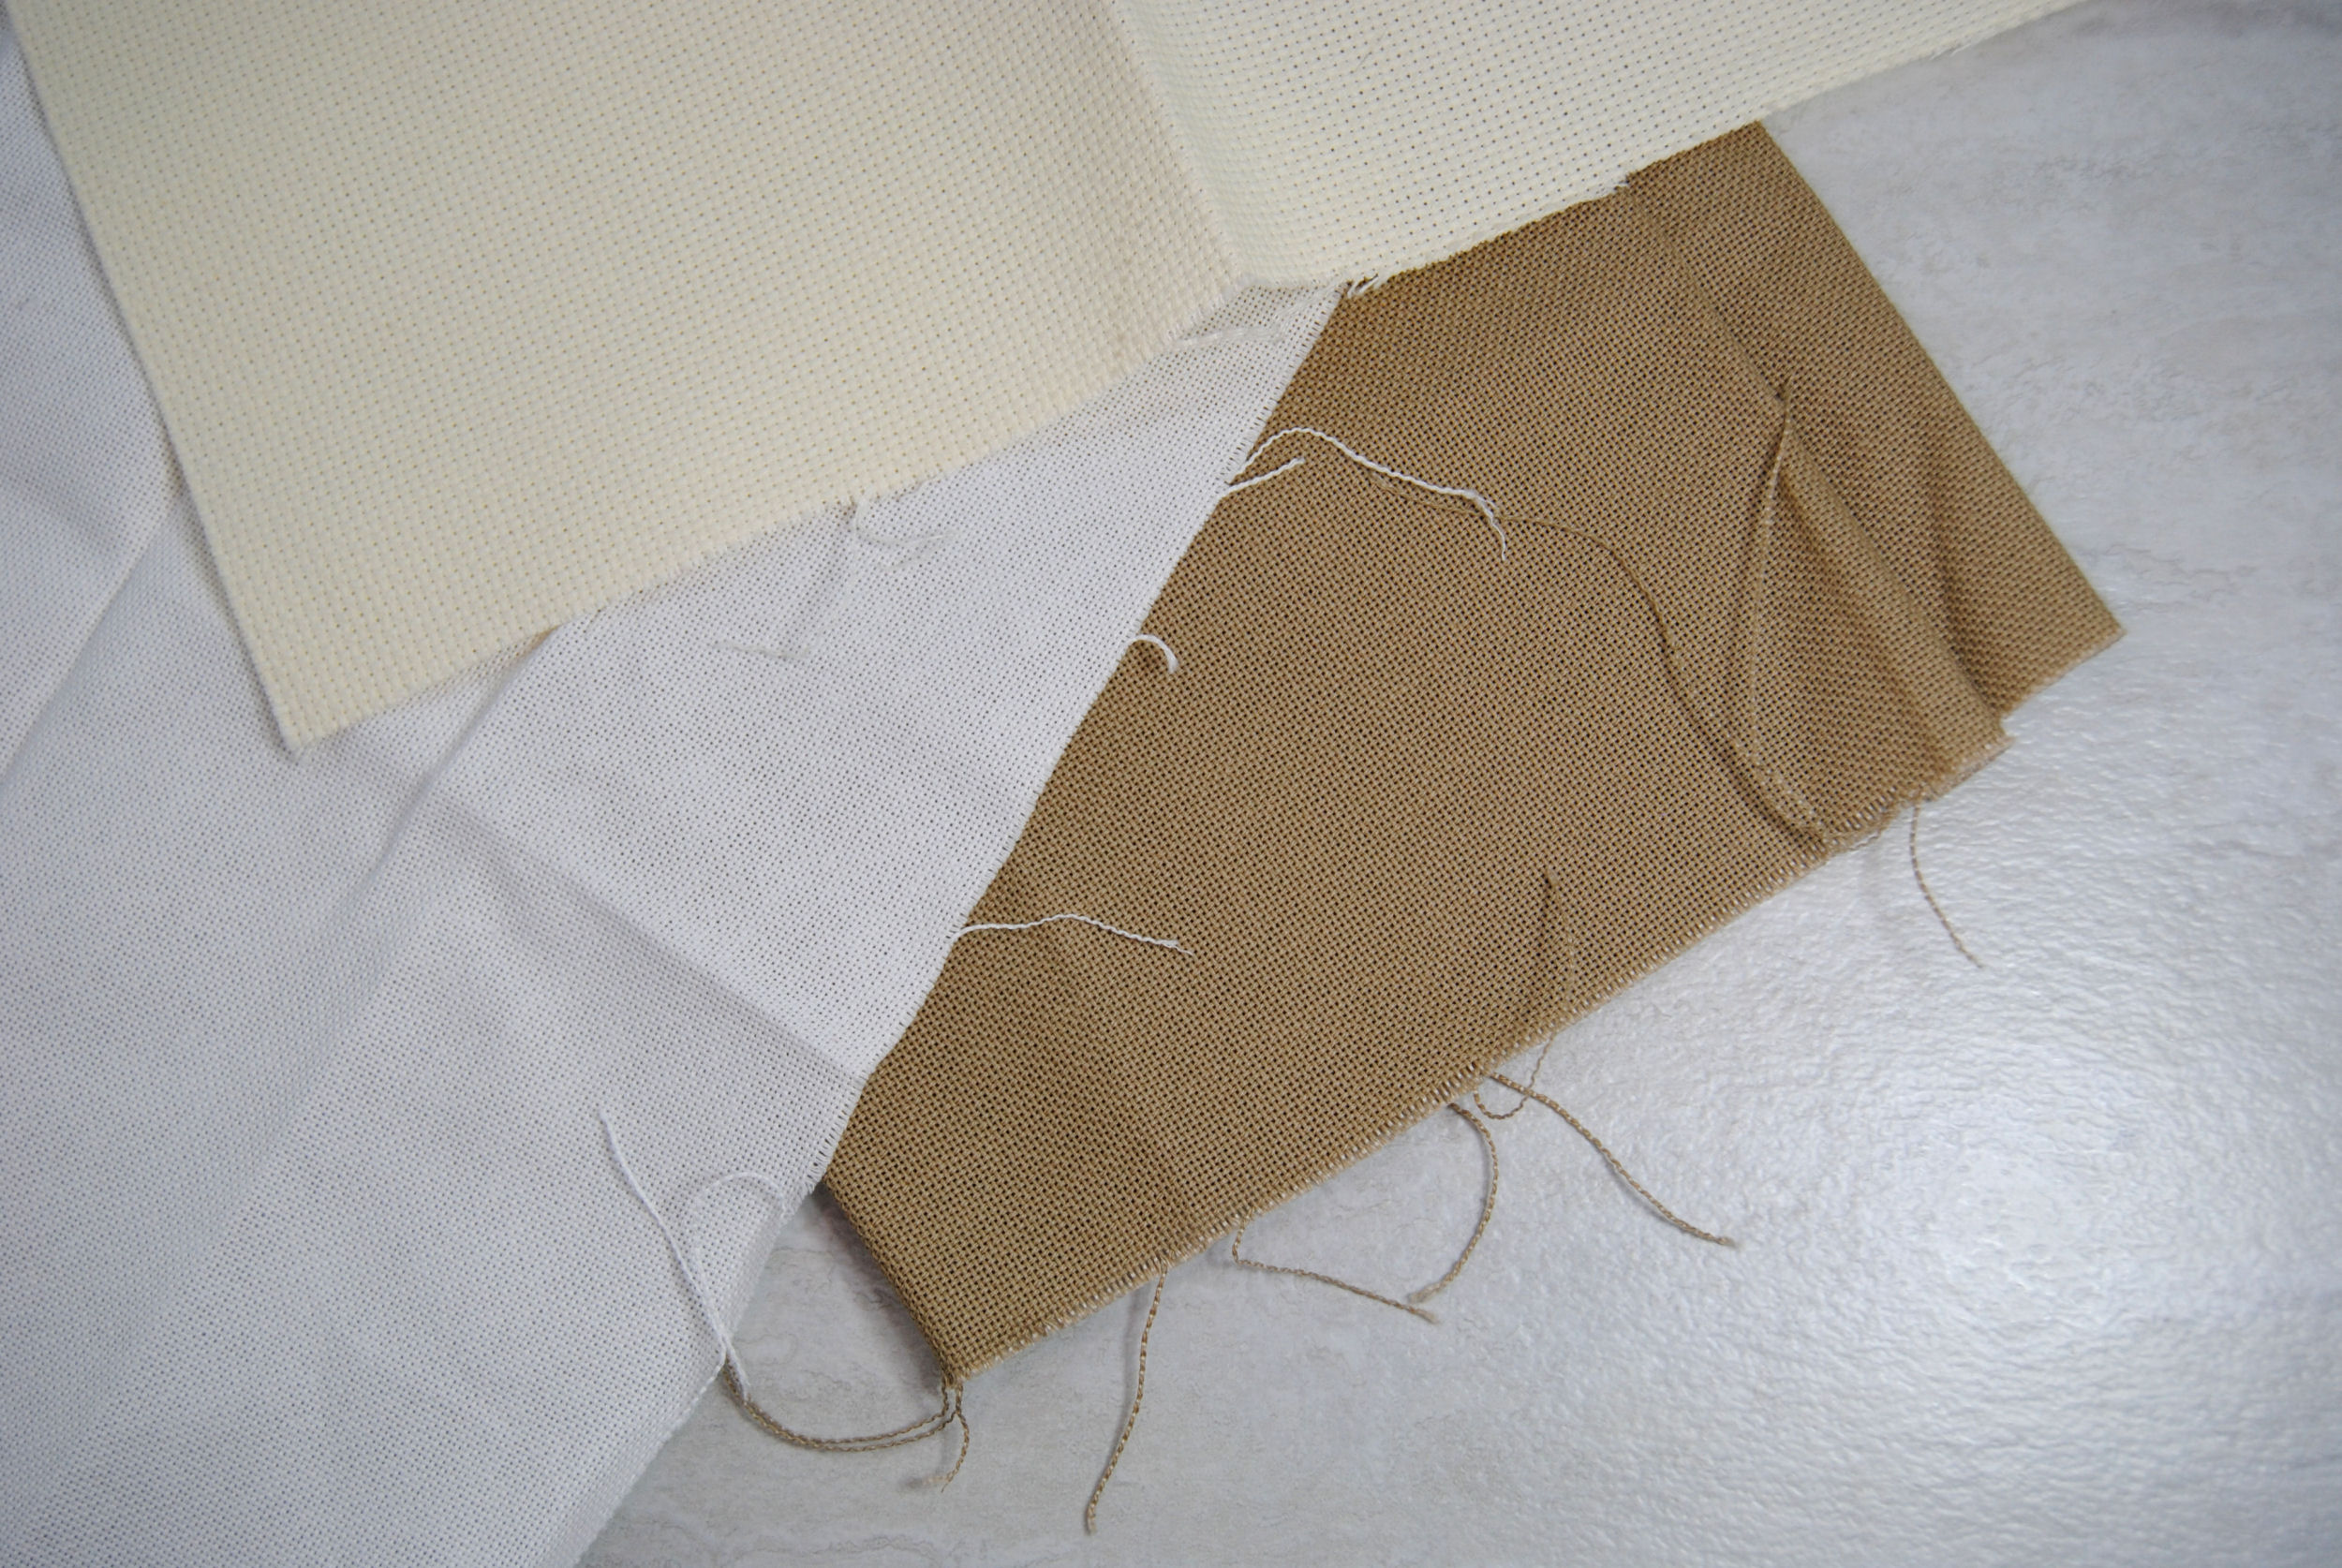
I also tend to use it on the backs of my stretched canvases to keep them from unraveling once I’ve trimmed it to size. It’s as simple as just running a bit of the stuff along the edge once done and letting it dry. You can see below where I haven’t quite done that yet for the one on the left and it’s already fraying all over the place.
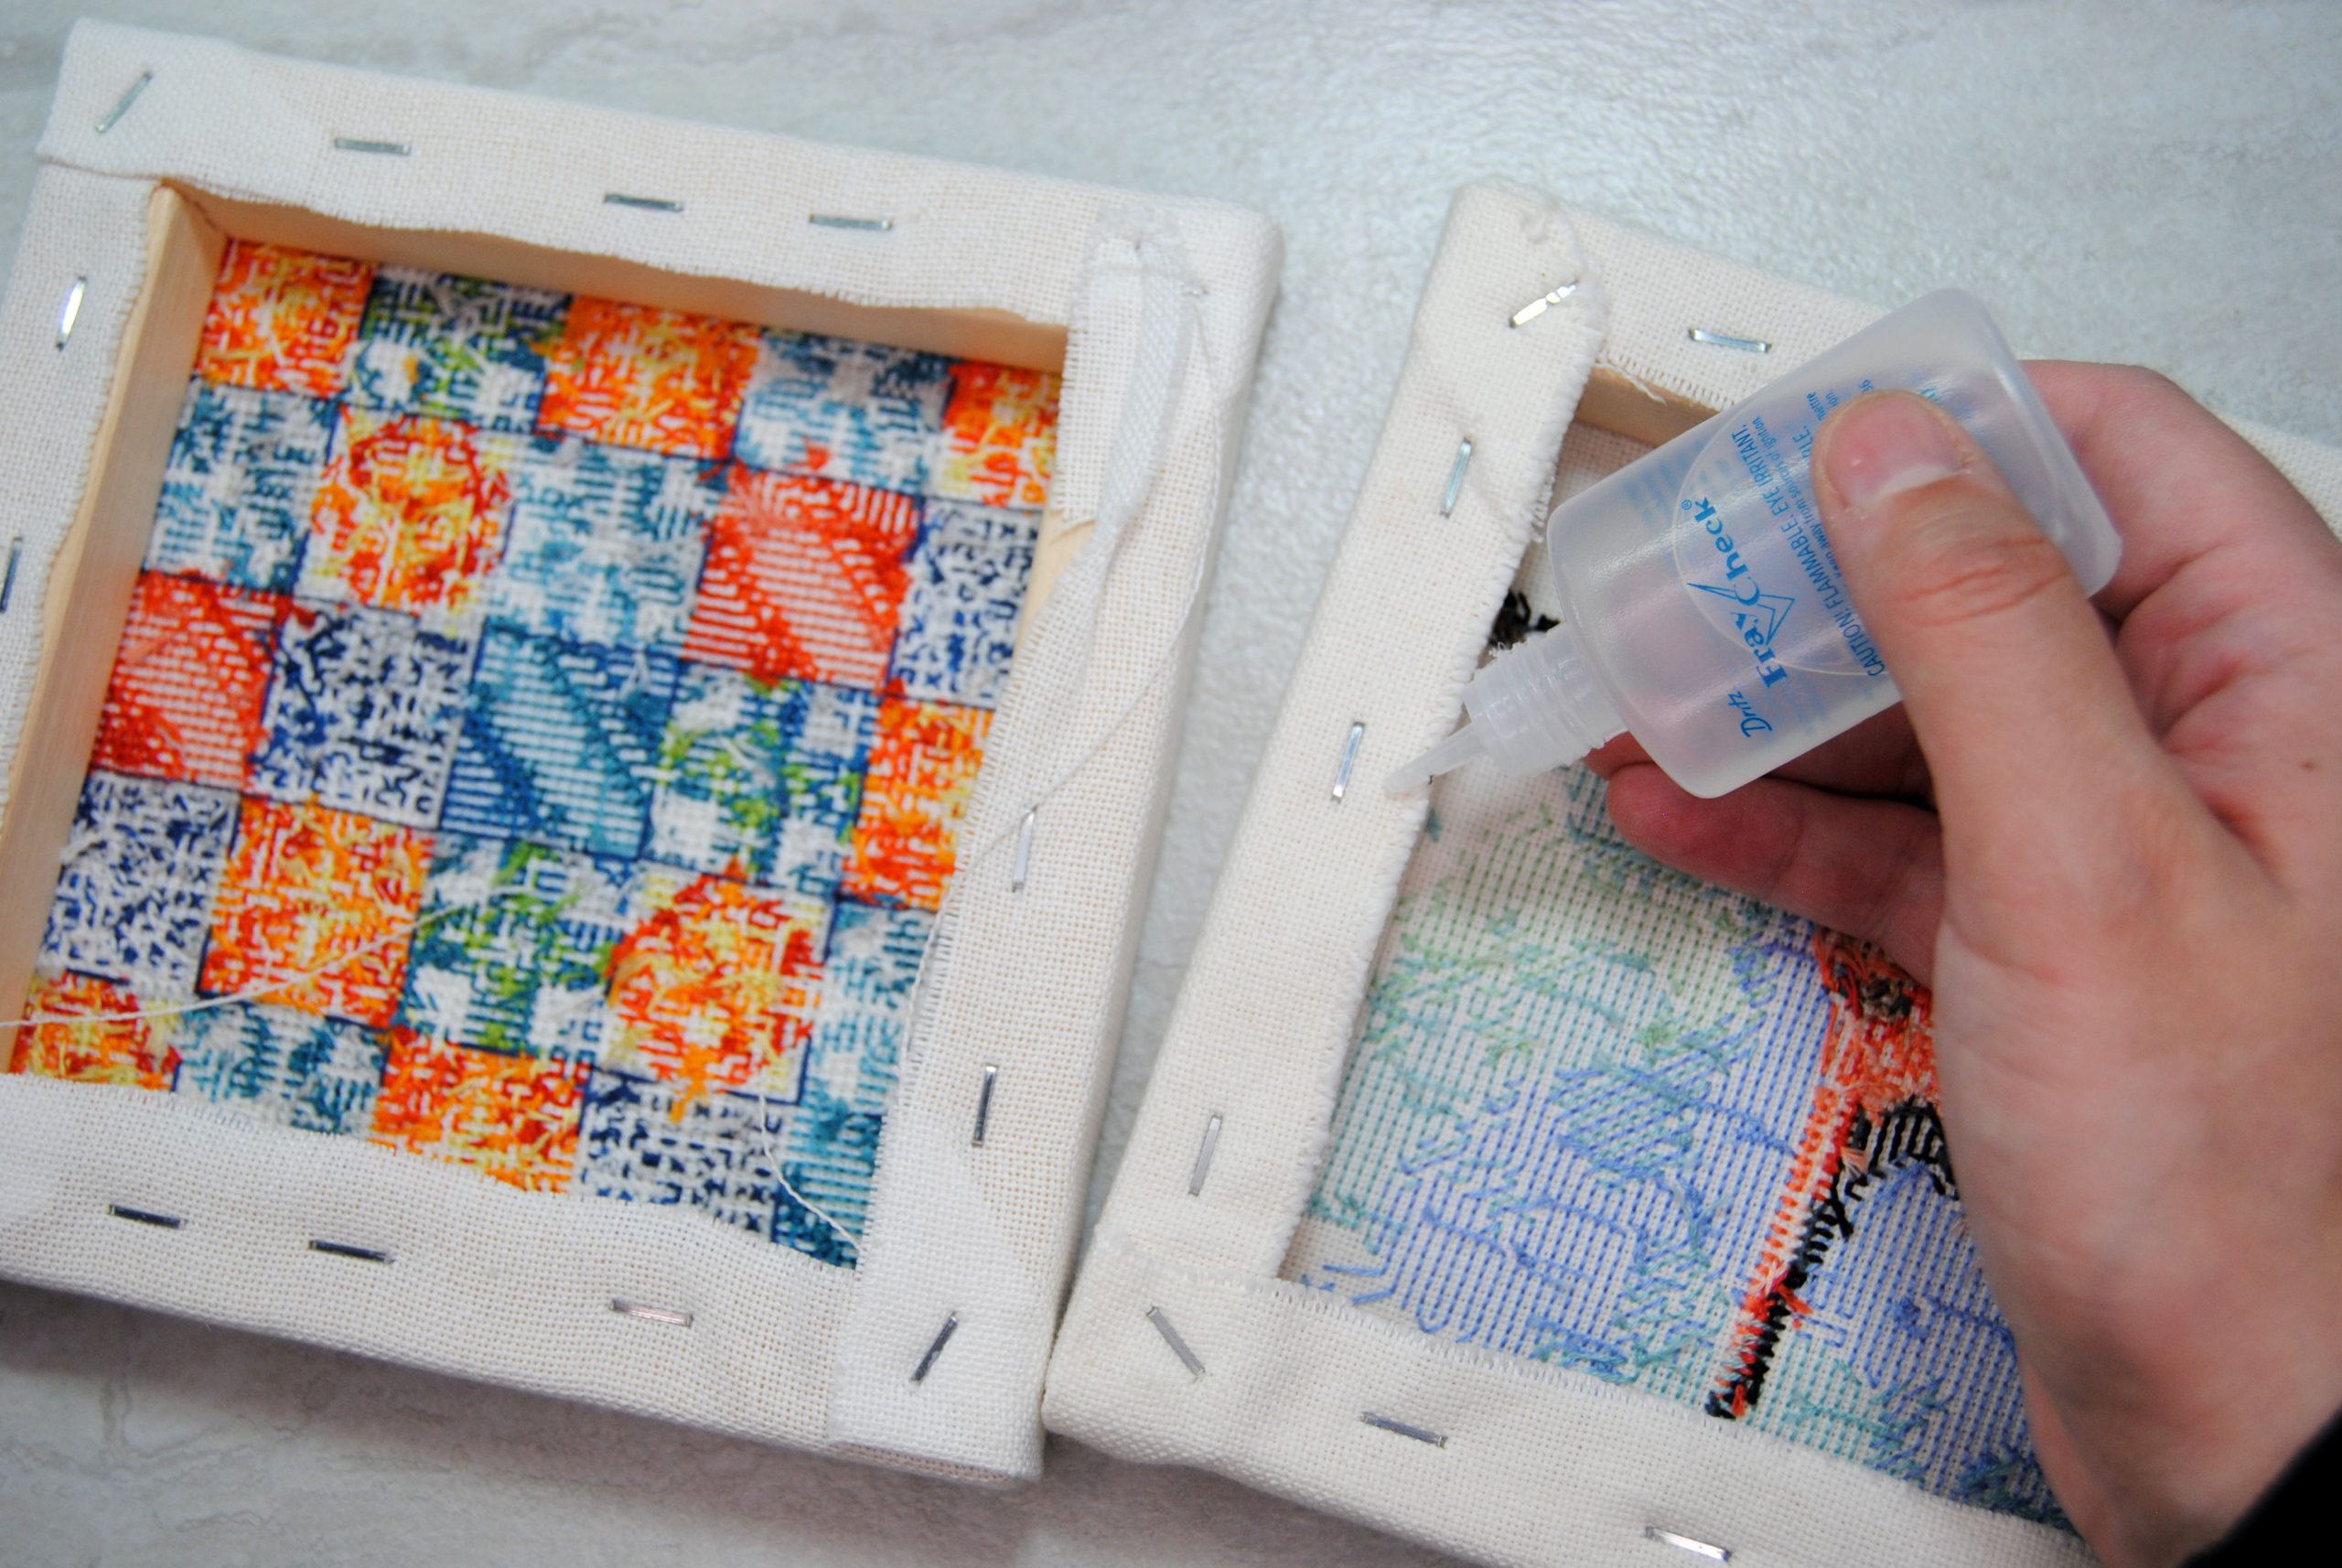
Meanwhile the one on the right has stayed nice and neat for months and I’m just holding the bottle to pose for the camera at this point.
Seam Finishes
Now we get into the sewing options. This can either take a lot longer (hand sewing) or require machinery that not everyone will have, so I’ve left them to the end. They can be a good option if you dislike the thought of adhesives on your project!
Hand Stitching – Whip Stitch
First up, the simple whip stitch. This is a relatively quick stitch and basically just holds those threads in place, so even if it does fray a bit it’s still contained within those whip stitches. I’m definitely no expert, so I recommend checking out any number of YouTube videos on how to whip stitch. Most will show you stitching two pieces of fabric together, but it’s the same technique done with just that single edge.
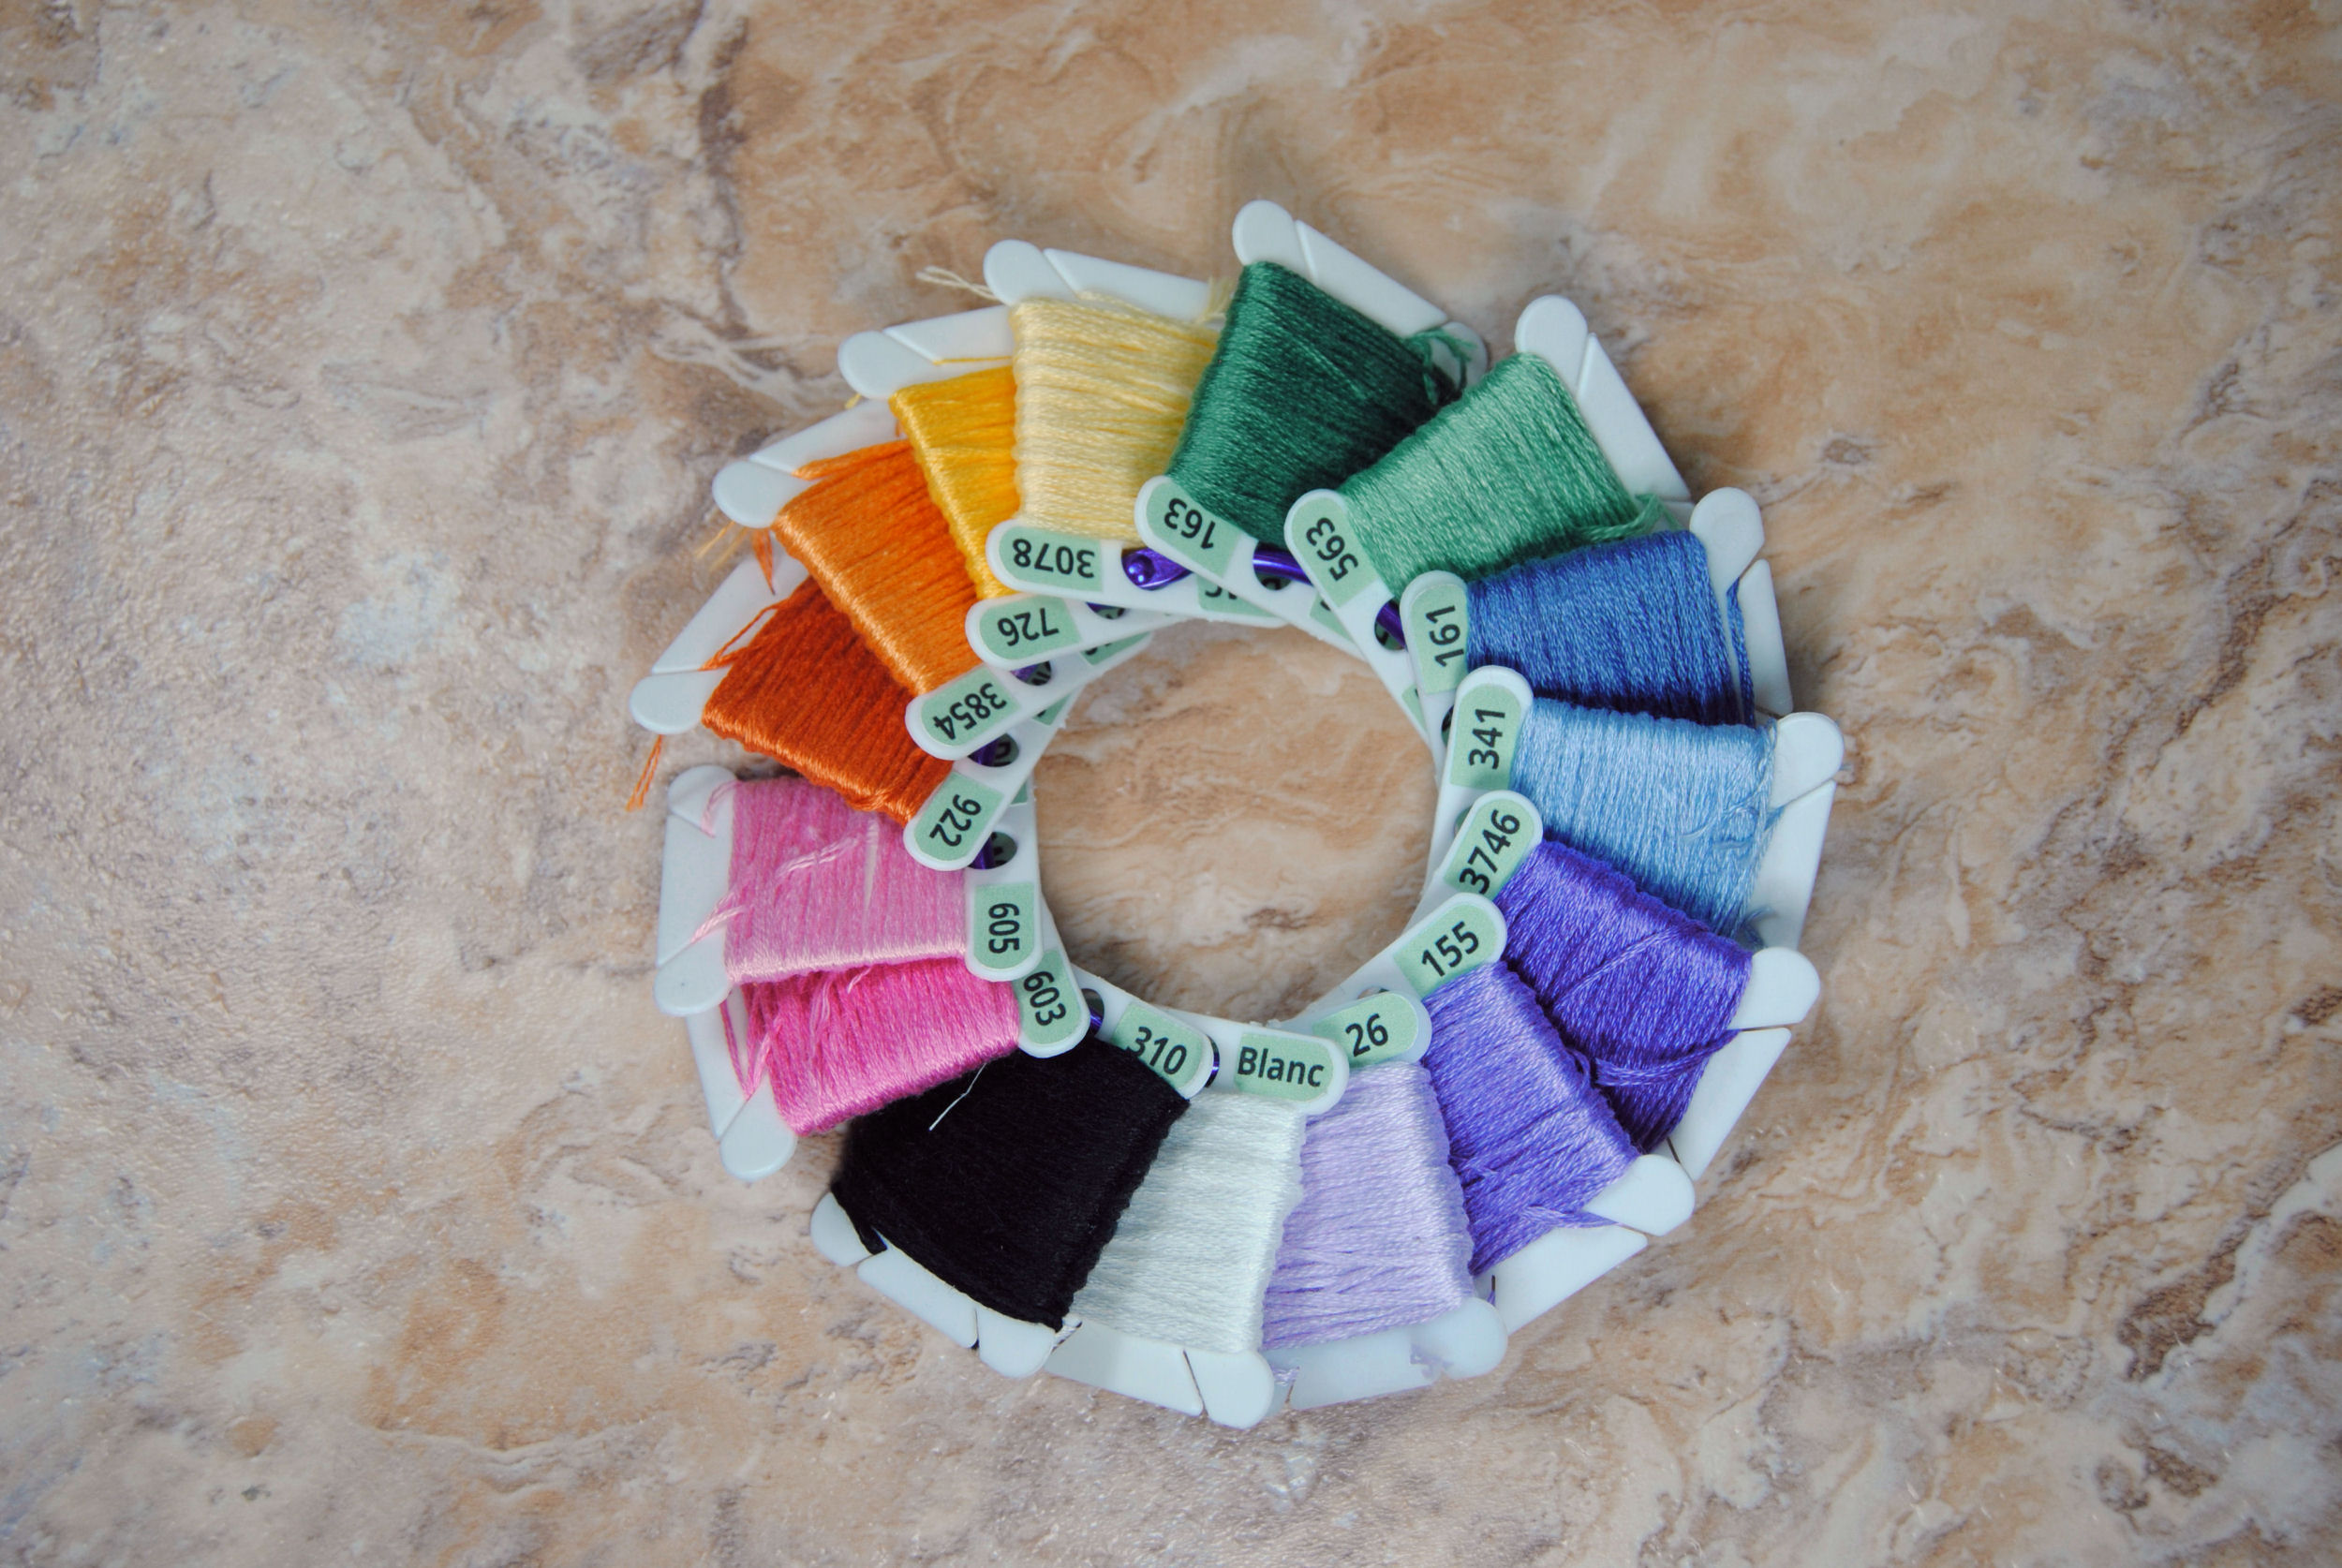
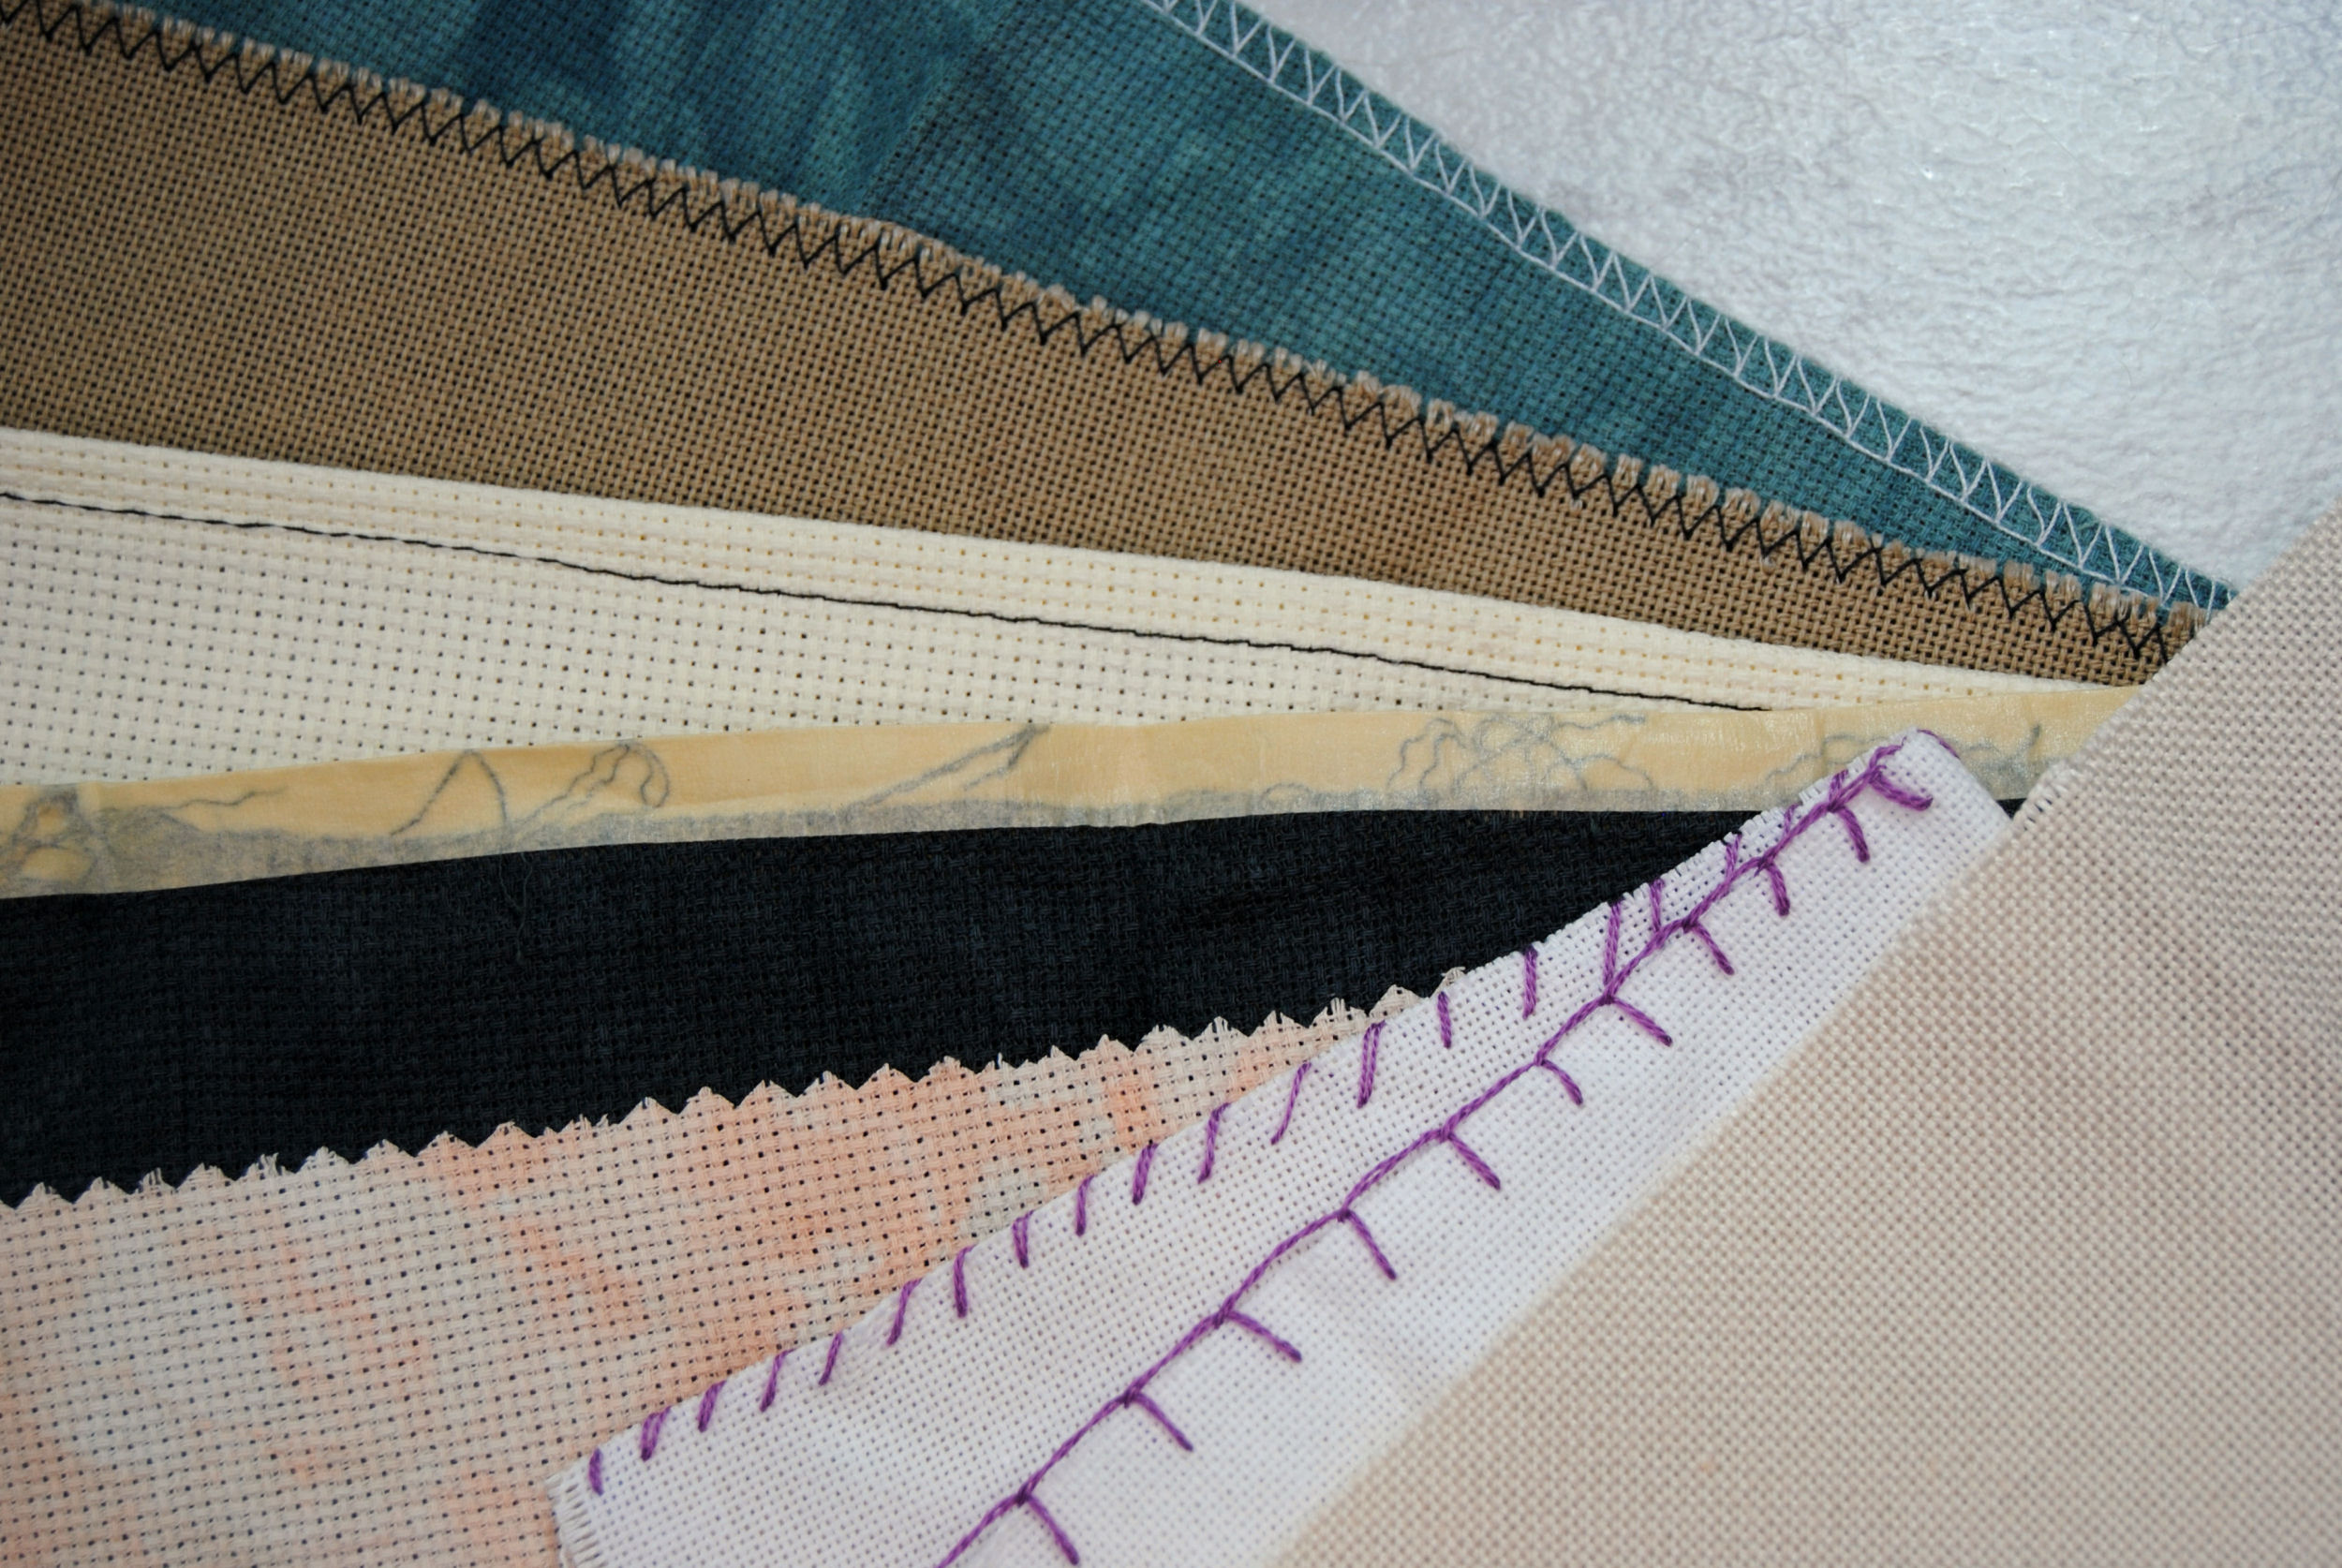
Here I did it with just 2 strands of DMC, which is a great way to use up unknown and thrifted colors. As you can see, it definitely does not have to be neat and tidy or evenly spaced. It just needs to gently wrap around the edge of the fabric.
Hand Stitching – Blanket Stitch
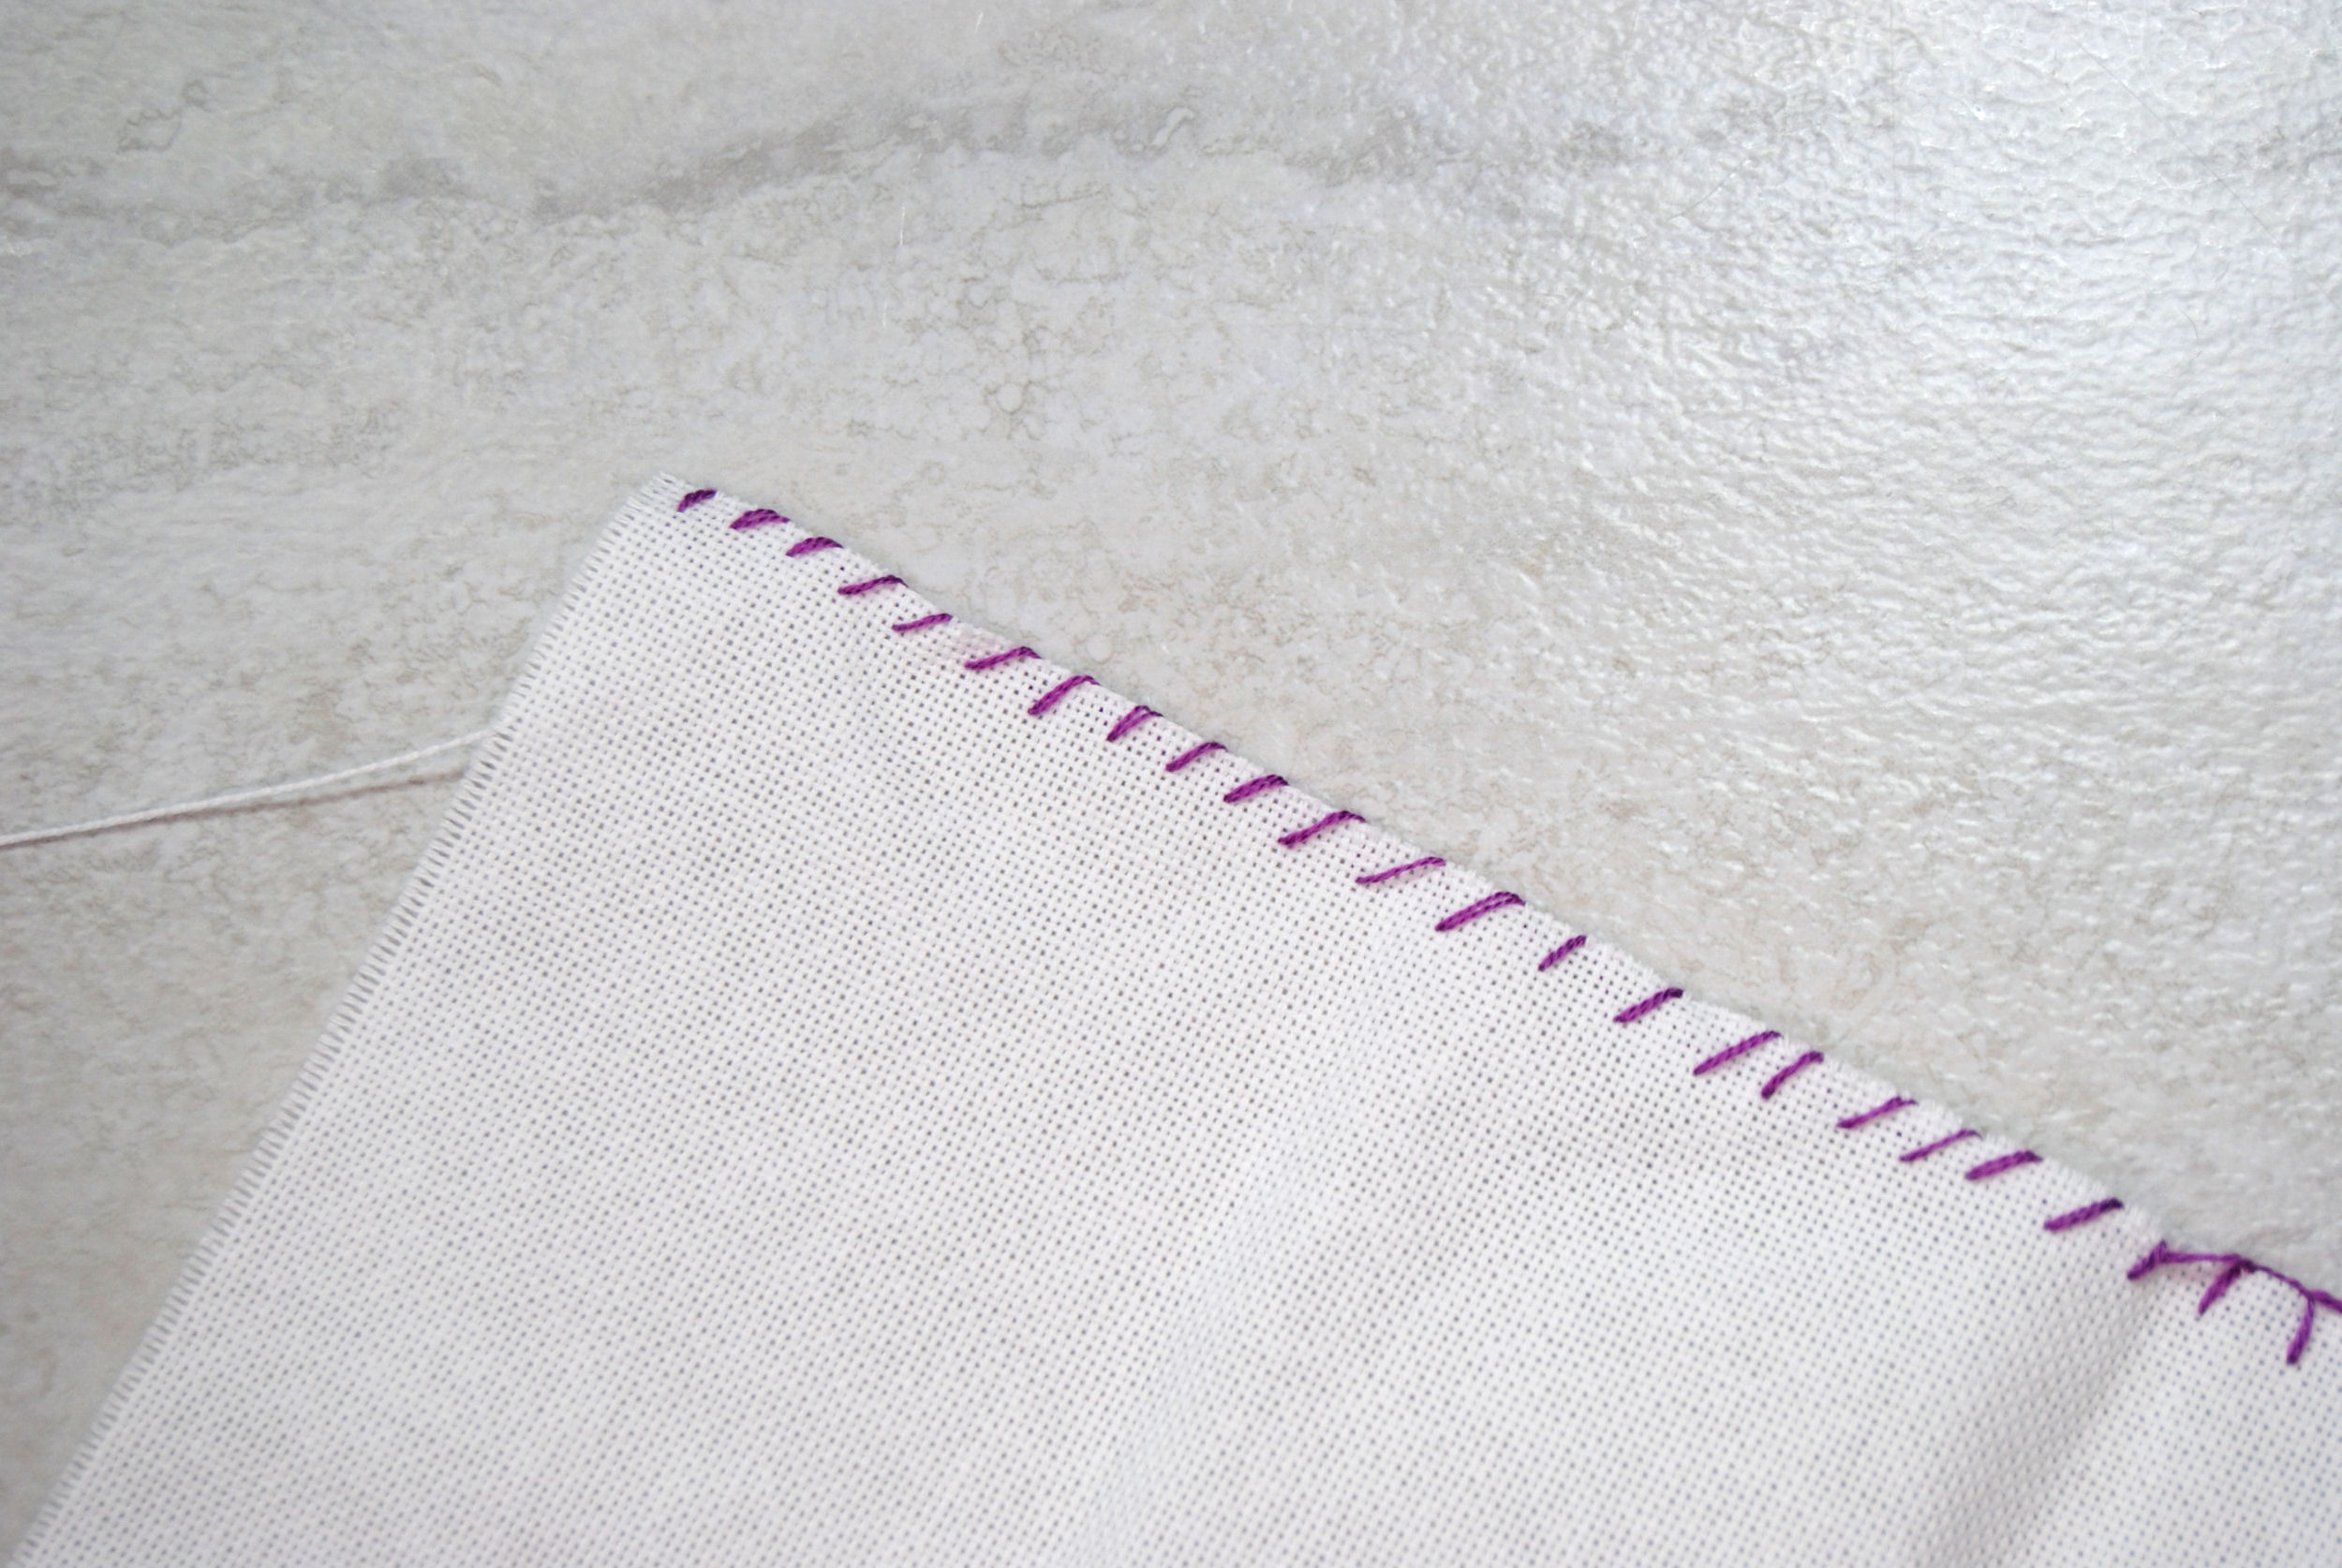
I mentioned this in my hoop finishing article, but I really don’t enjoy blanket stitch. It’s not even hard. It’s barely even an extra step up from whip stitch. But eh, I did a bit here just to demonstrate. You’re welcome.
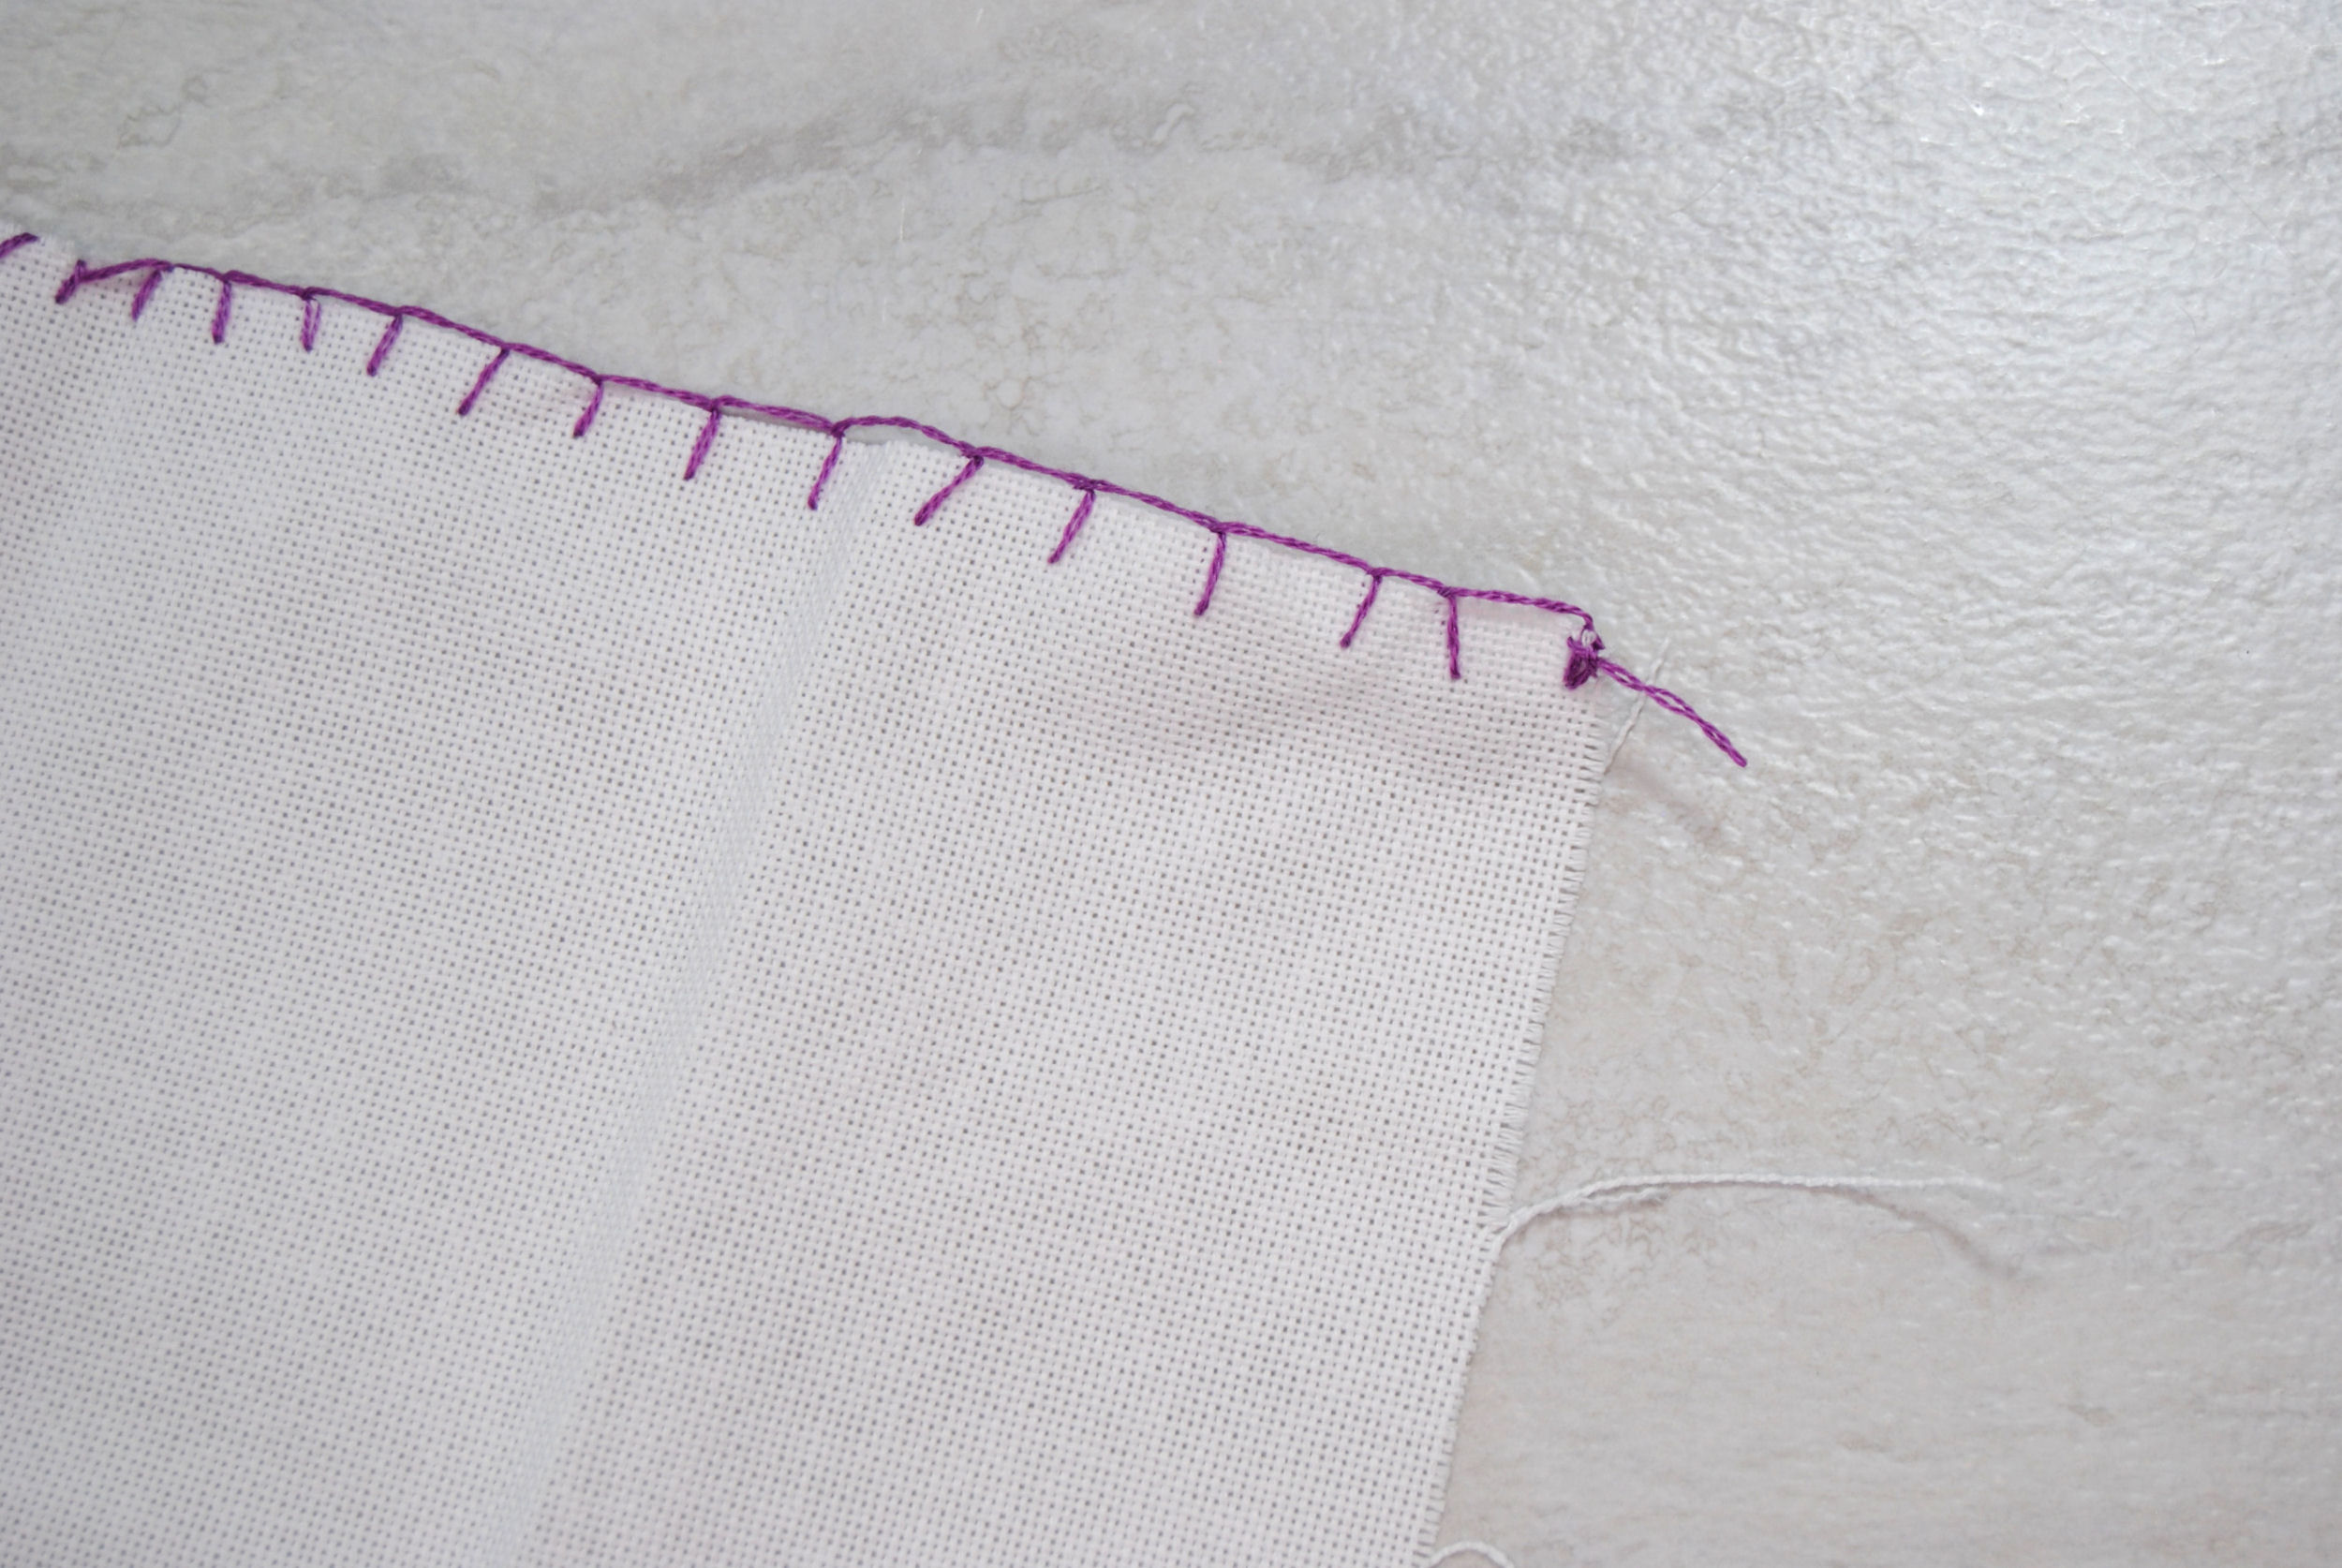
It just has that extra little line of thread along the edge and makes it a bit more visible. If you’re less messy with it and idk, actually count out your spacing it’ll even look nice! Possibly.
There’s lots of great video tutorials on how to blanket stitch. But it serves the same purpose as the whip stitch, keeping those frayed strands contained.
Zigzag
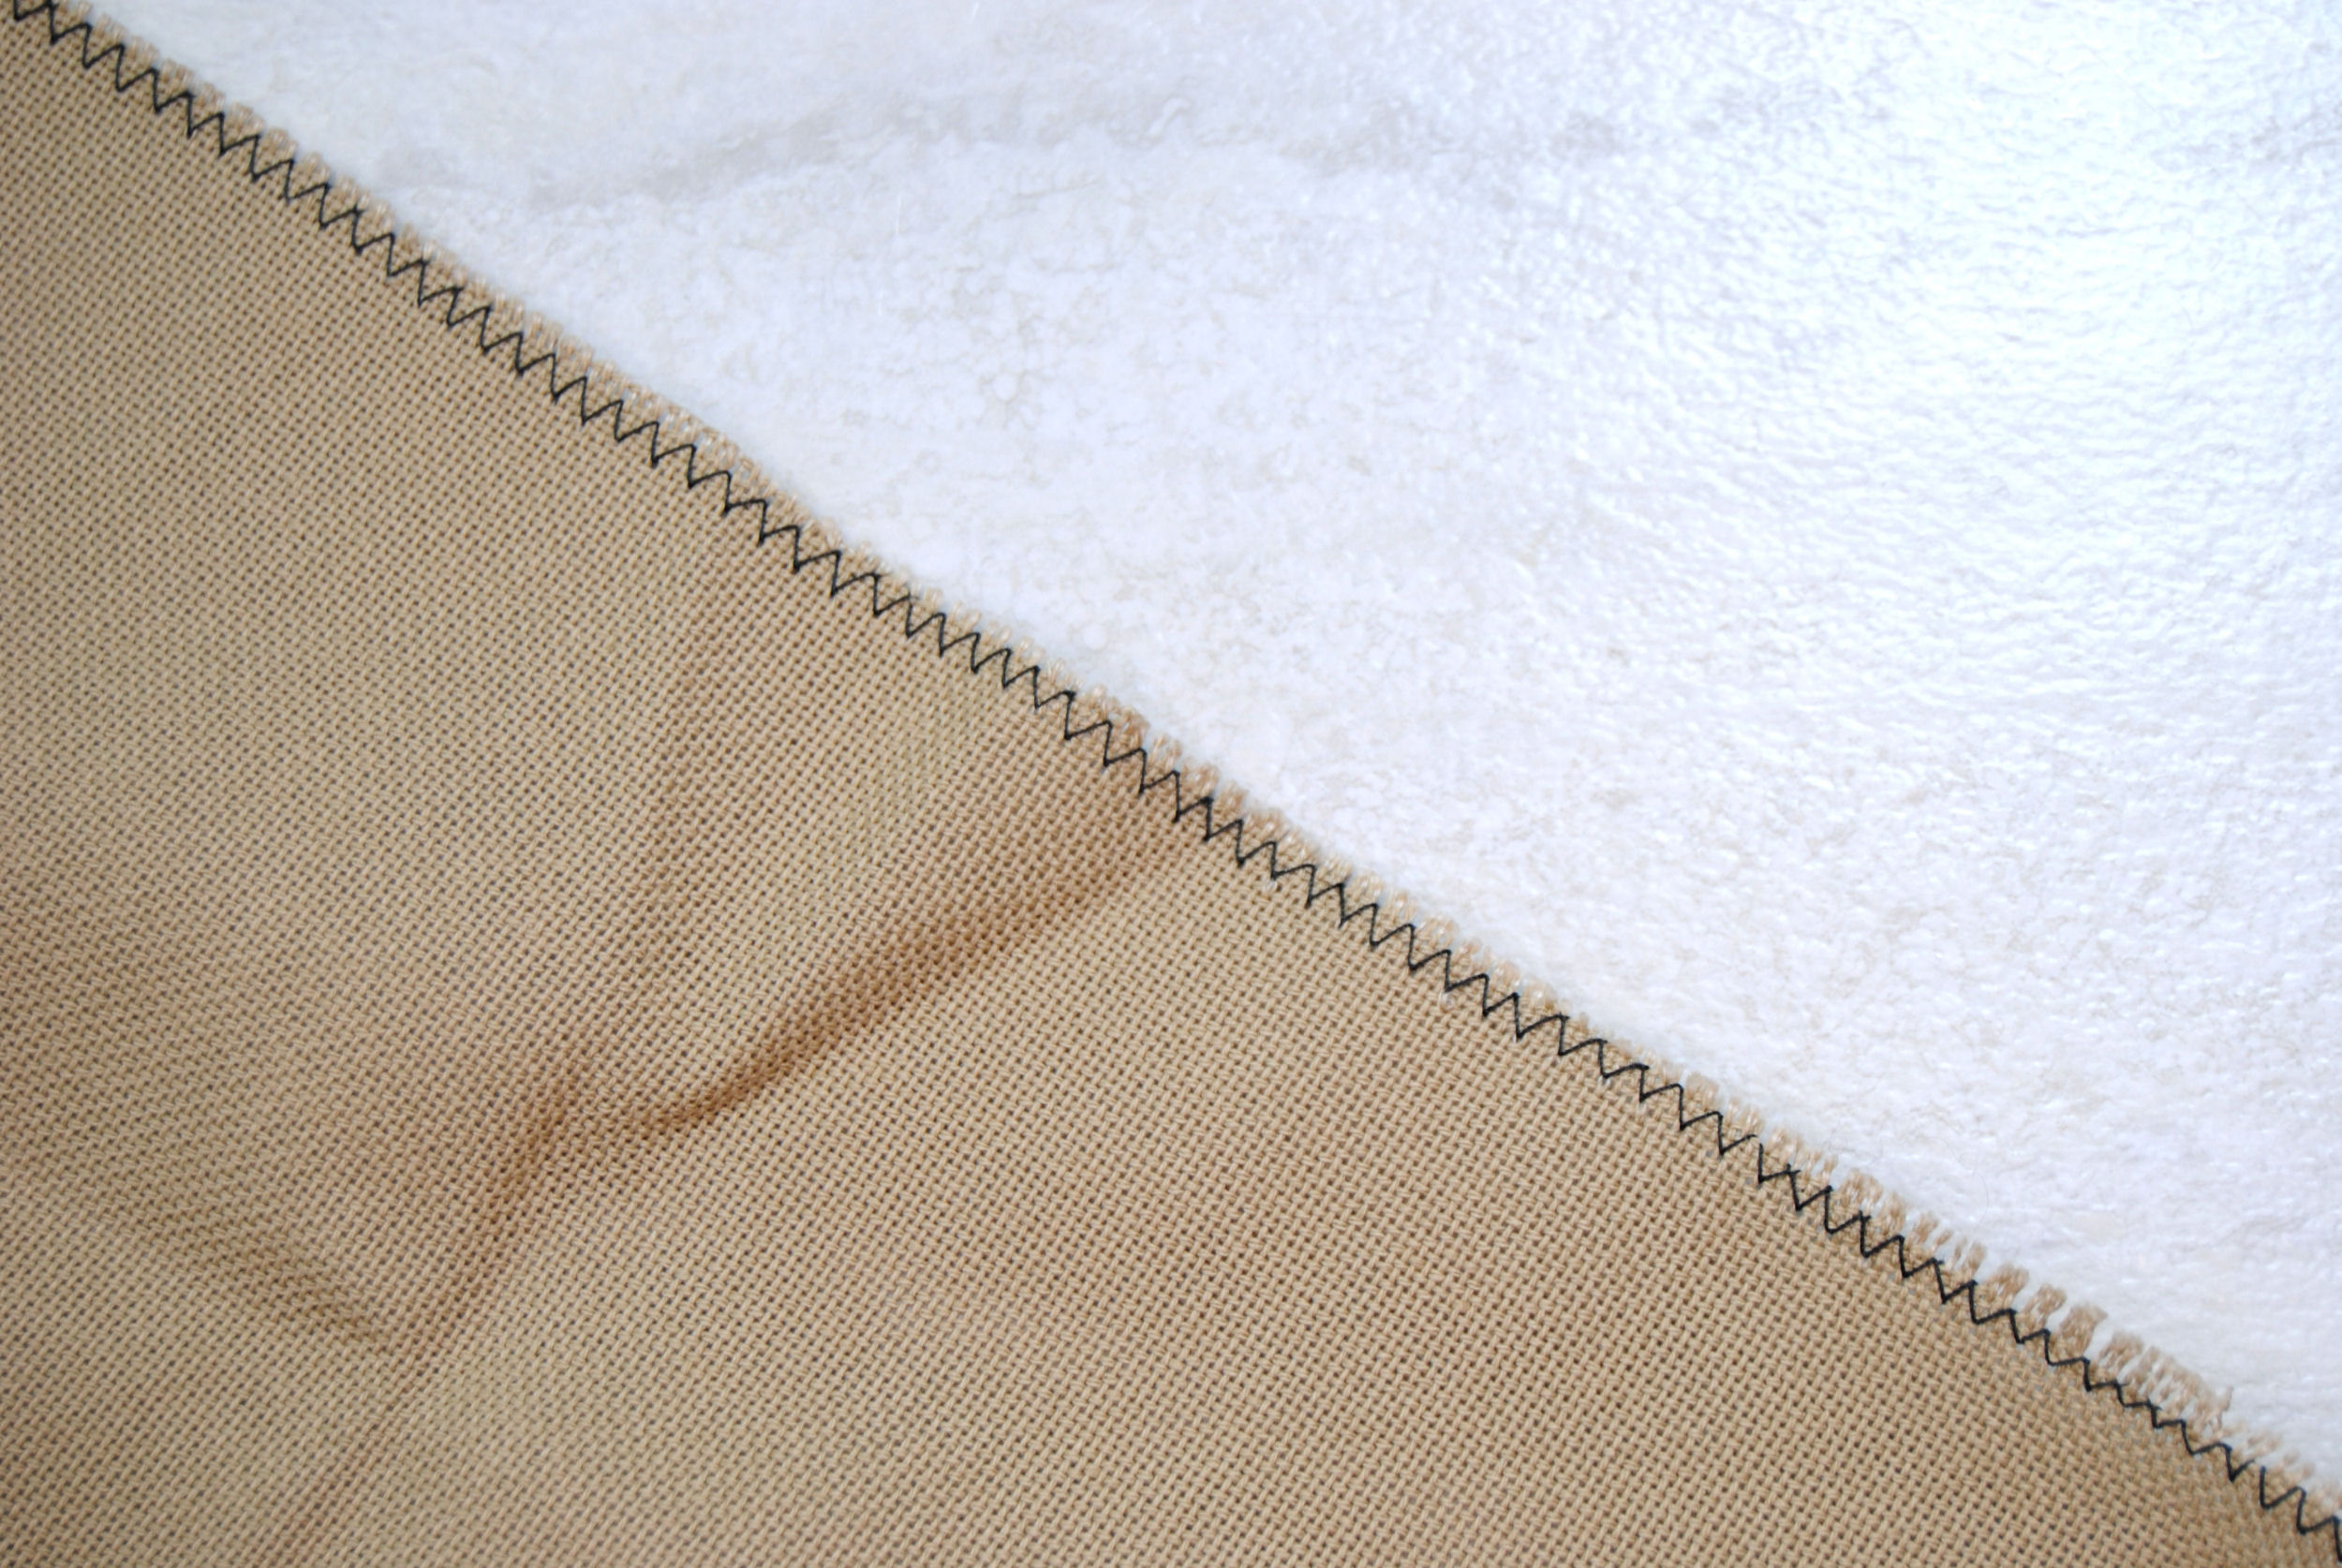
Now on to machine stitches! If you’ve got a sewing machine already, a nice quick way to contain your edges is to sew a zigzag stitch along the edge of your fraying fabric. I was too lazy to even swap out to my overlock foot here and it turned out fine.
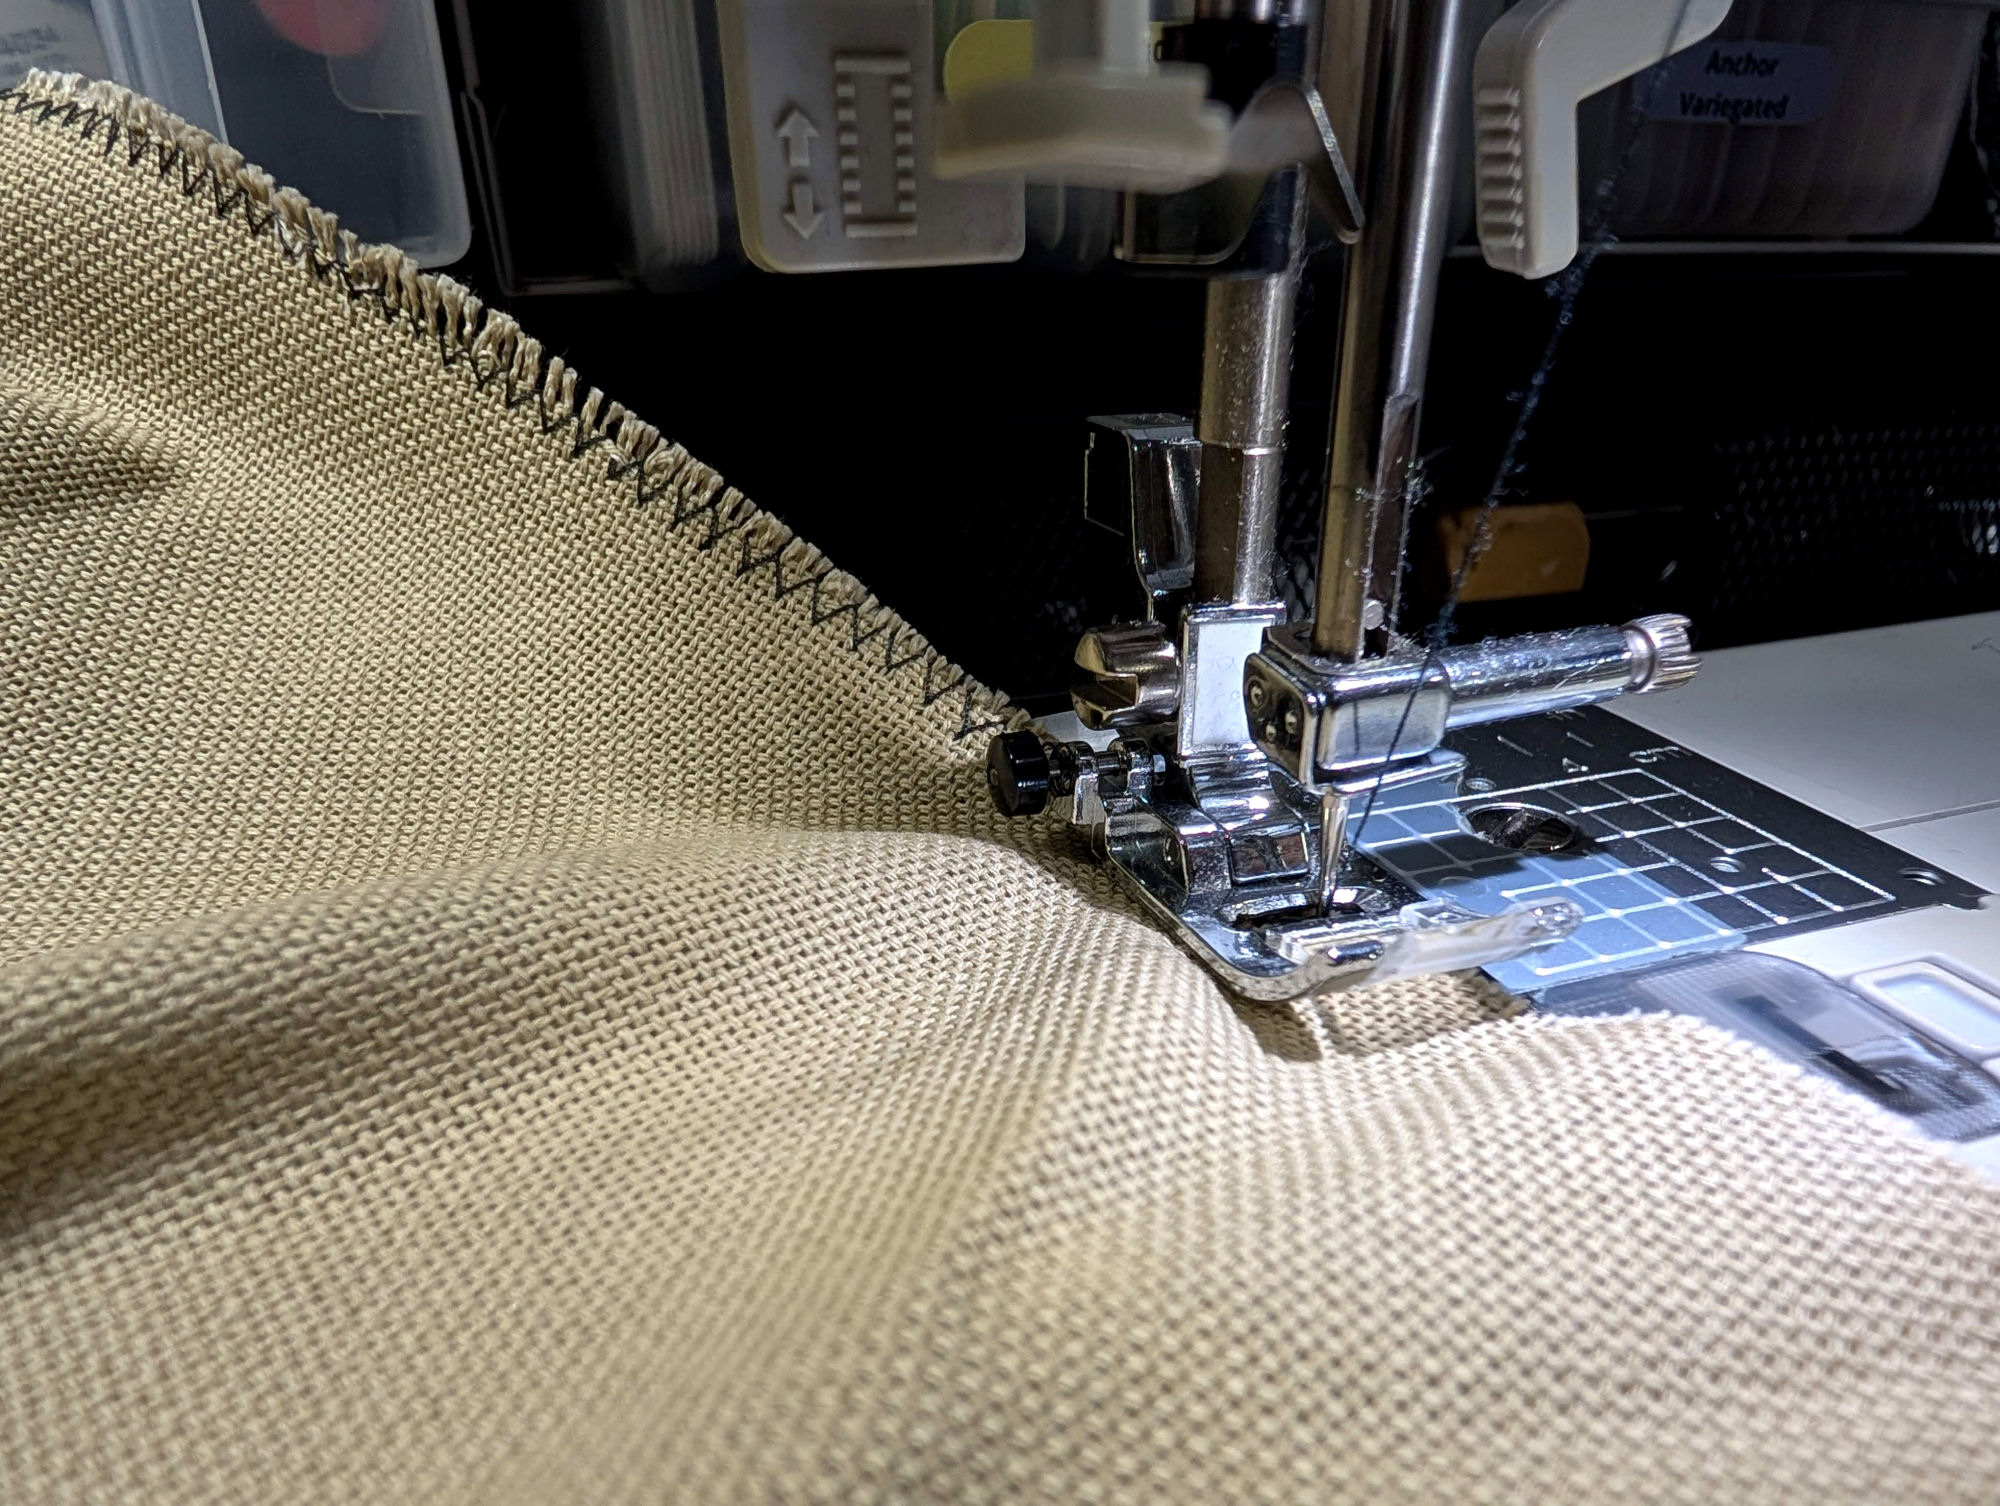
You can kinda see where the fabric had already frayed a bit that the zigzag kinda falls in between the frayed weft strands and holds that warp in place. It makes it look less tidy, but serves the same purpose. If you’d like it looking a bit neater, make sure to trim your fabric and stitch it that freshly cut edge before it has a chance to start fraying again.
Hemming
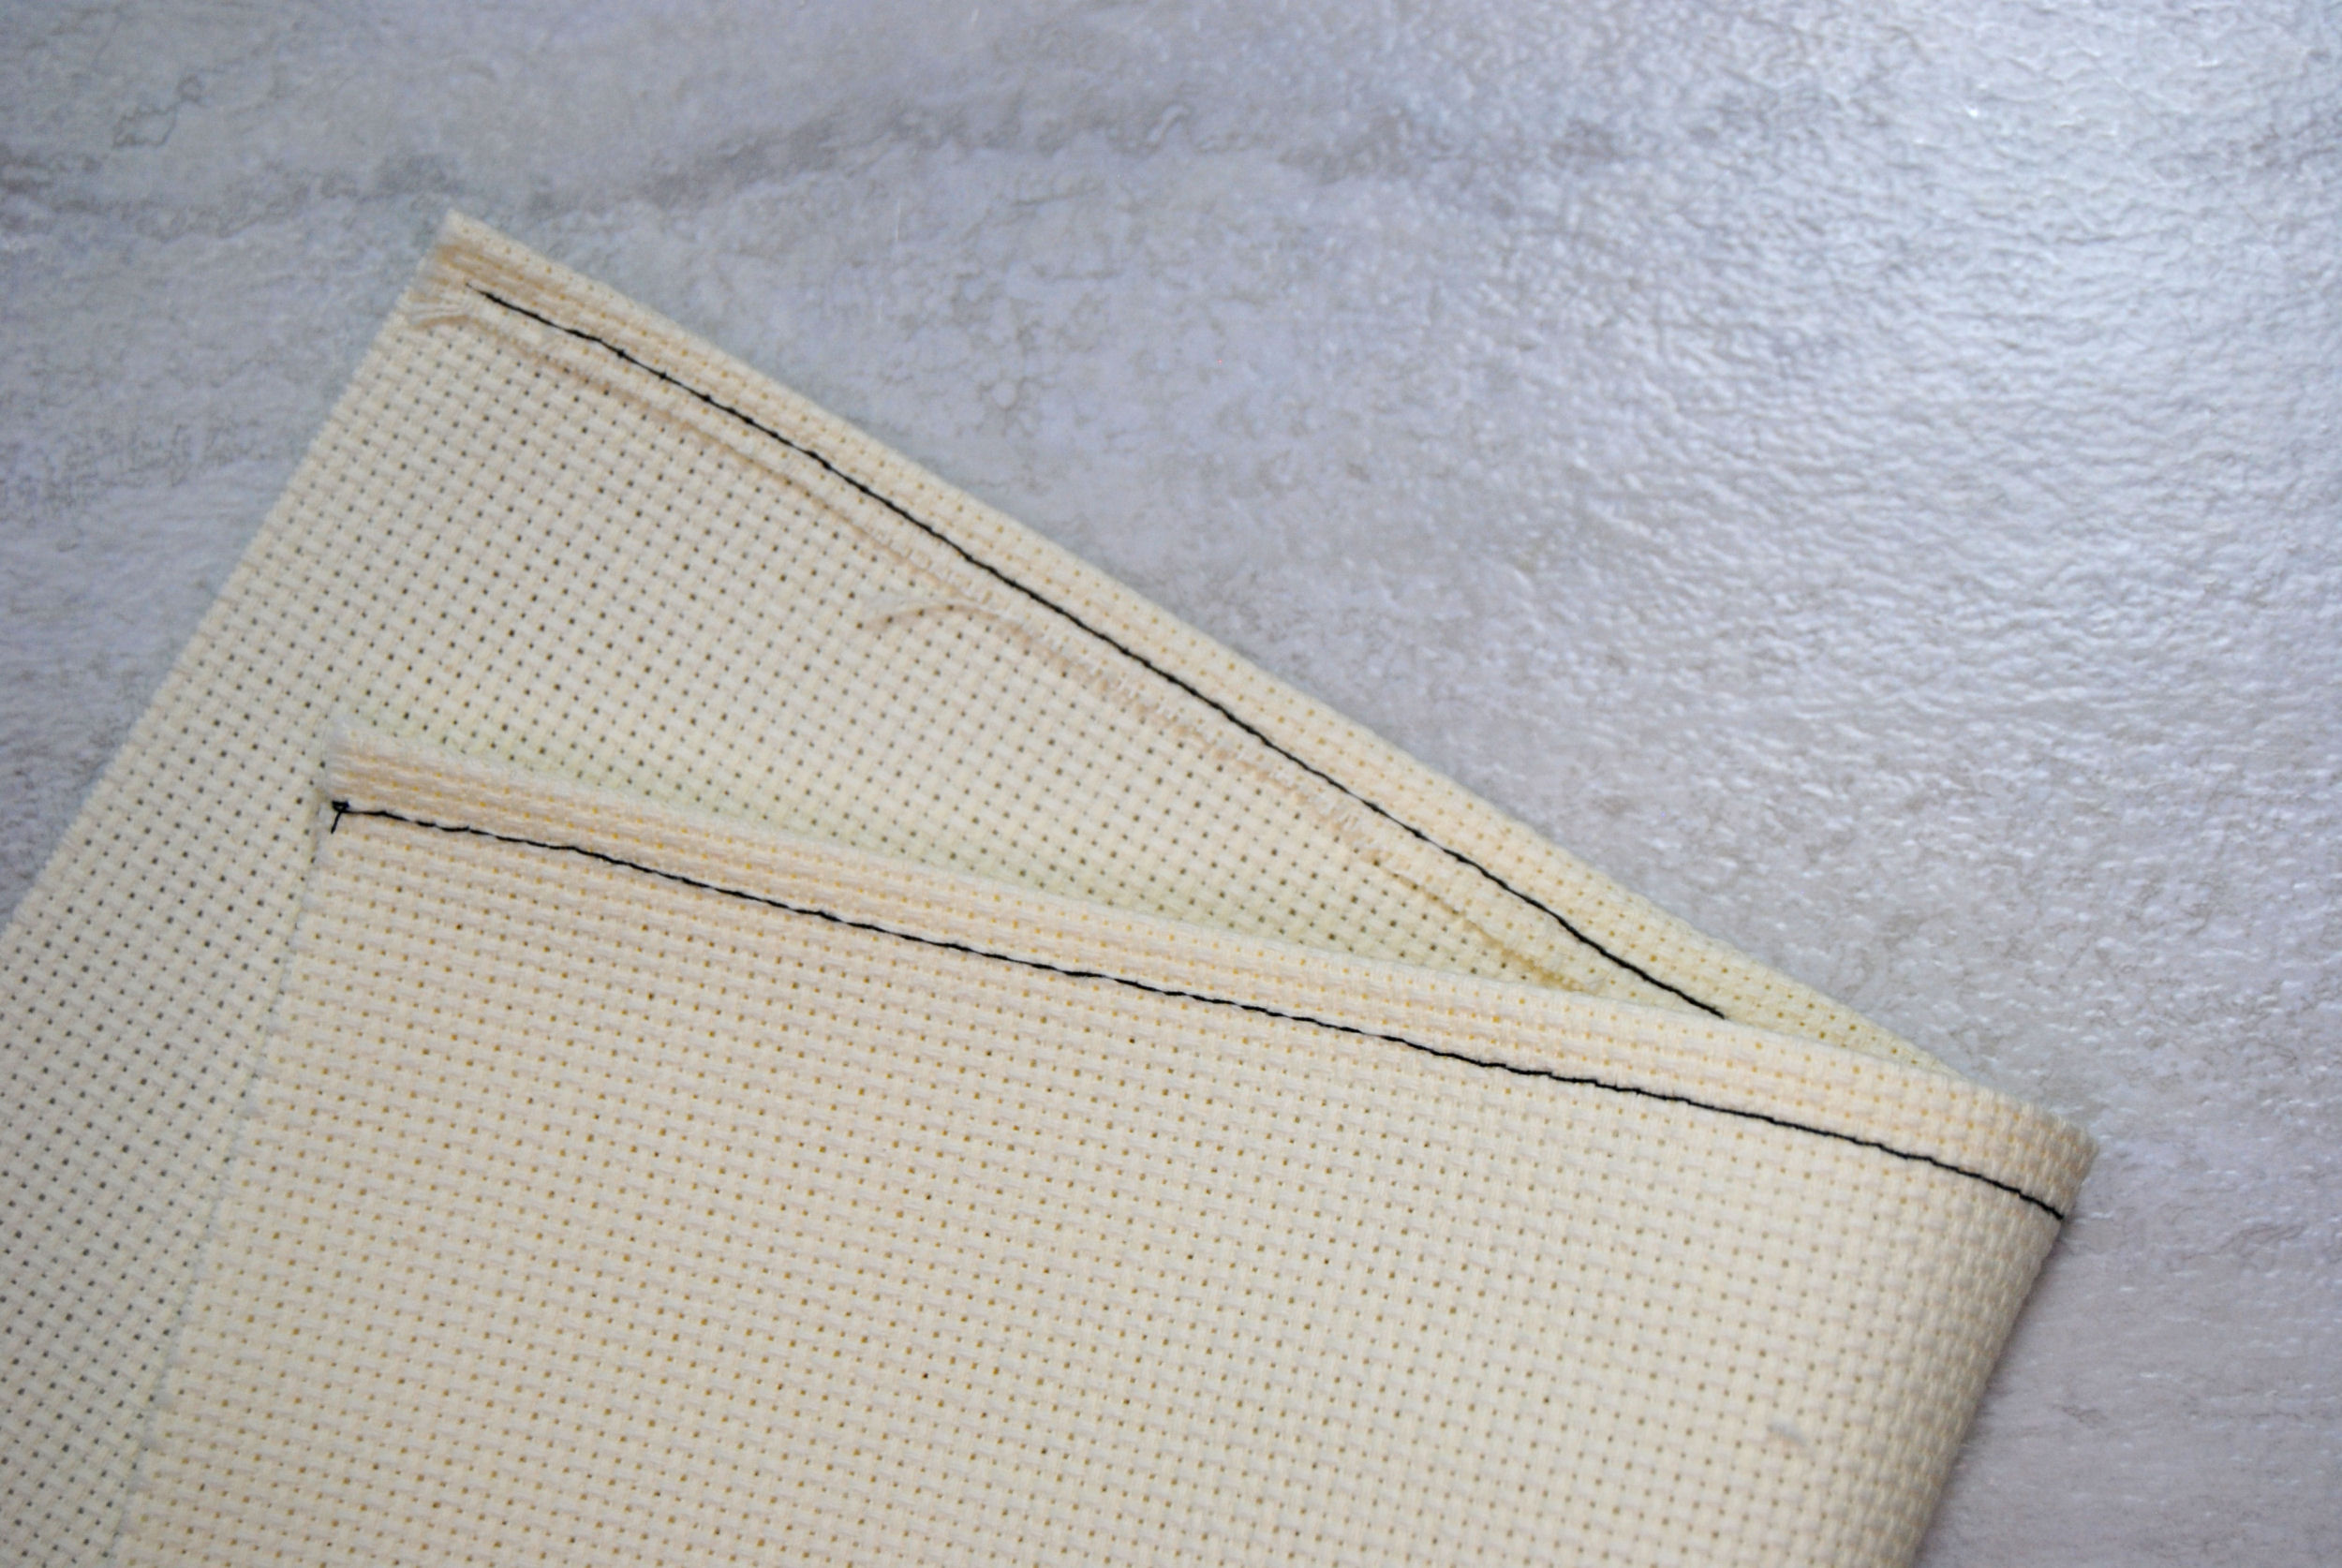
Another option with your machine if you just can’t get the zigzag to cooperate is to hem that edge.
You could do a double fold hem so that the edge is completely enclosed, but that tends to make the edge a bit too thick when working with aida and the like.
Instead, I’d just do a single fold hem. This will get the raw edge out of the way for handling without adding too much bulk. But maybe pick a thread that’s a similar color of your fabric so it’s not as obvious. I just wanted it visible for the camera.
You could technically do this by hand with a backstitch, but it’s understandably a bit faster with a machine.
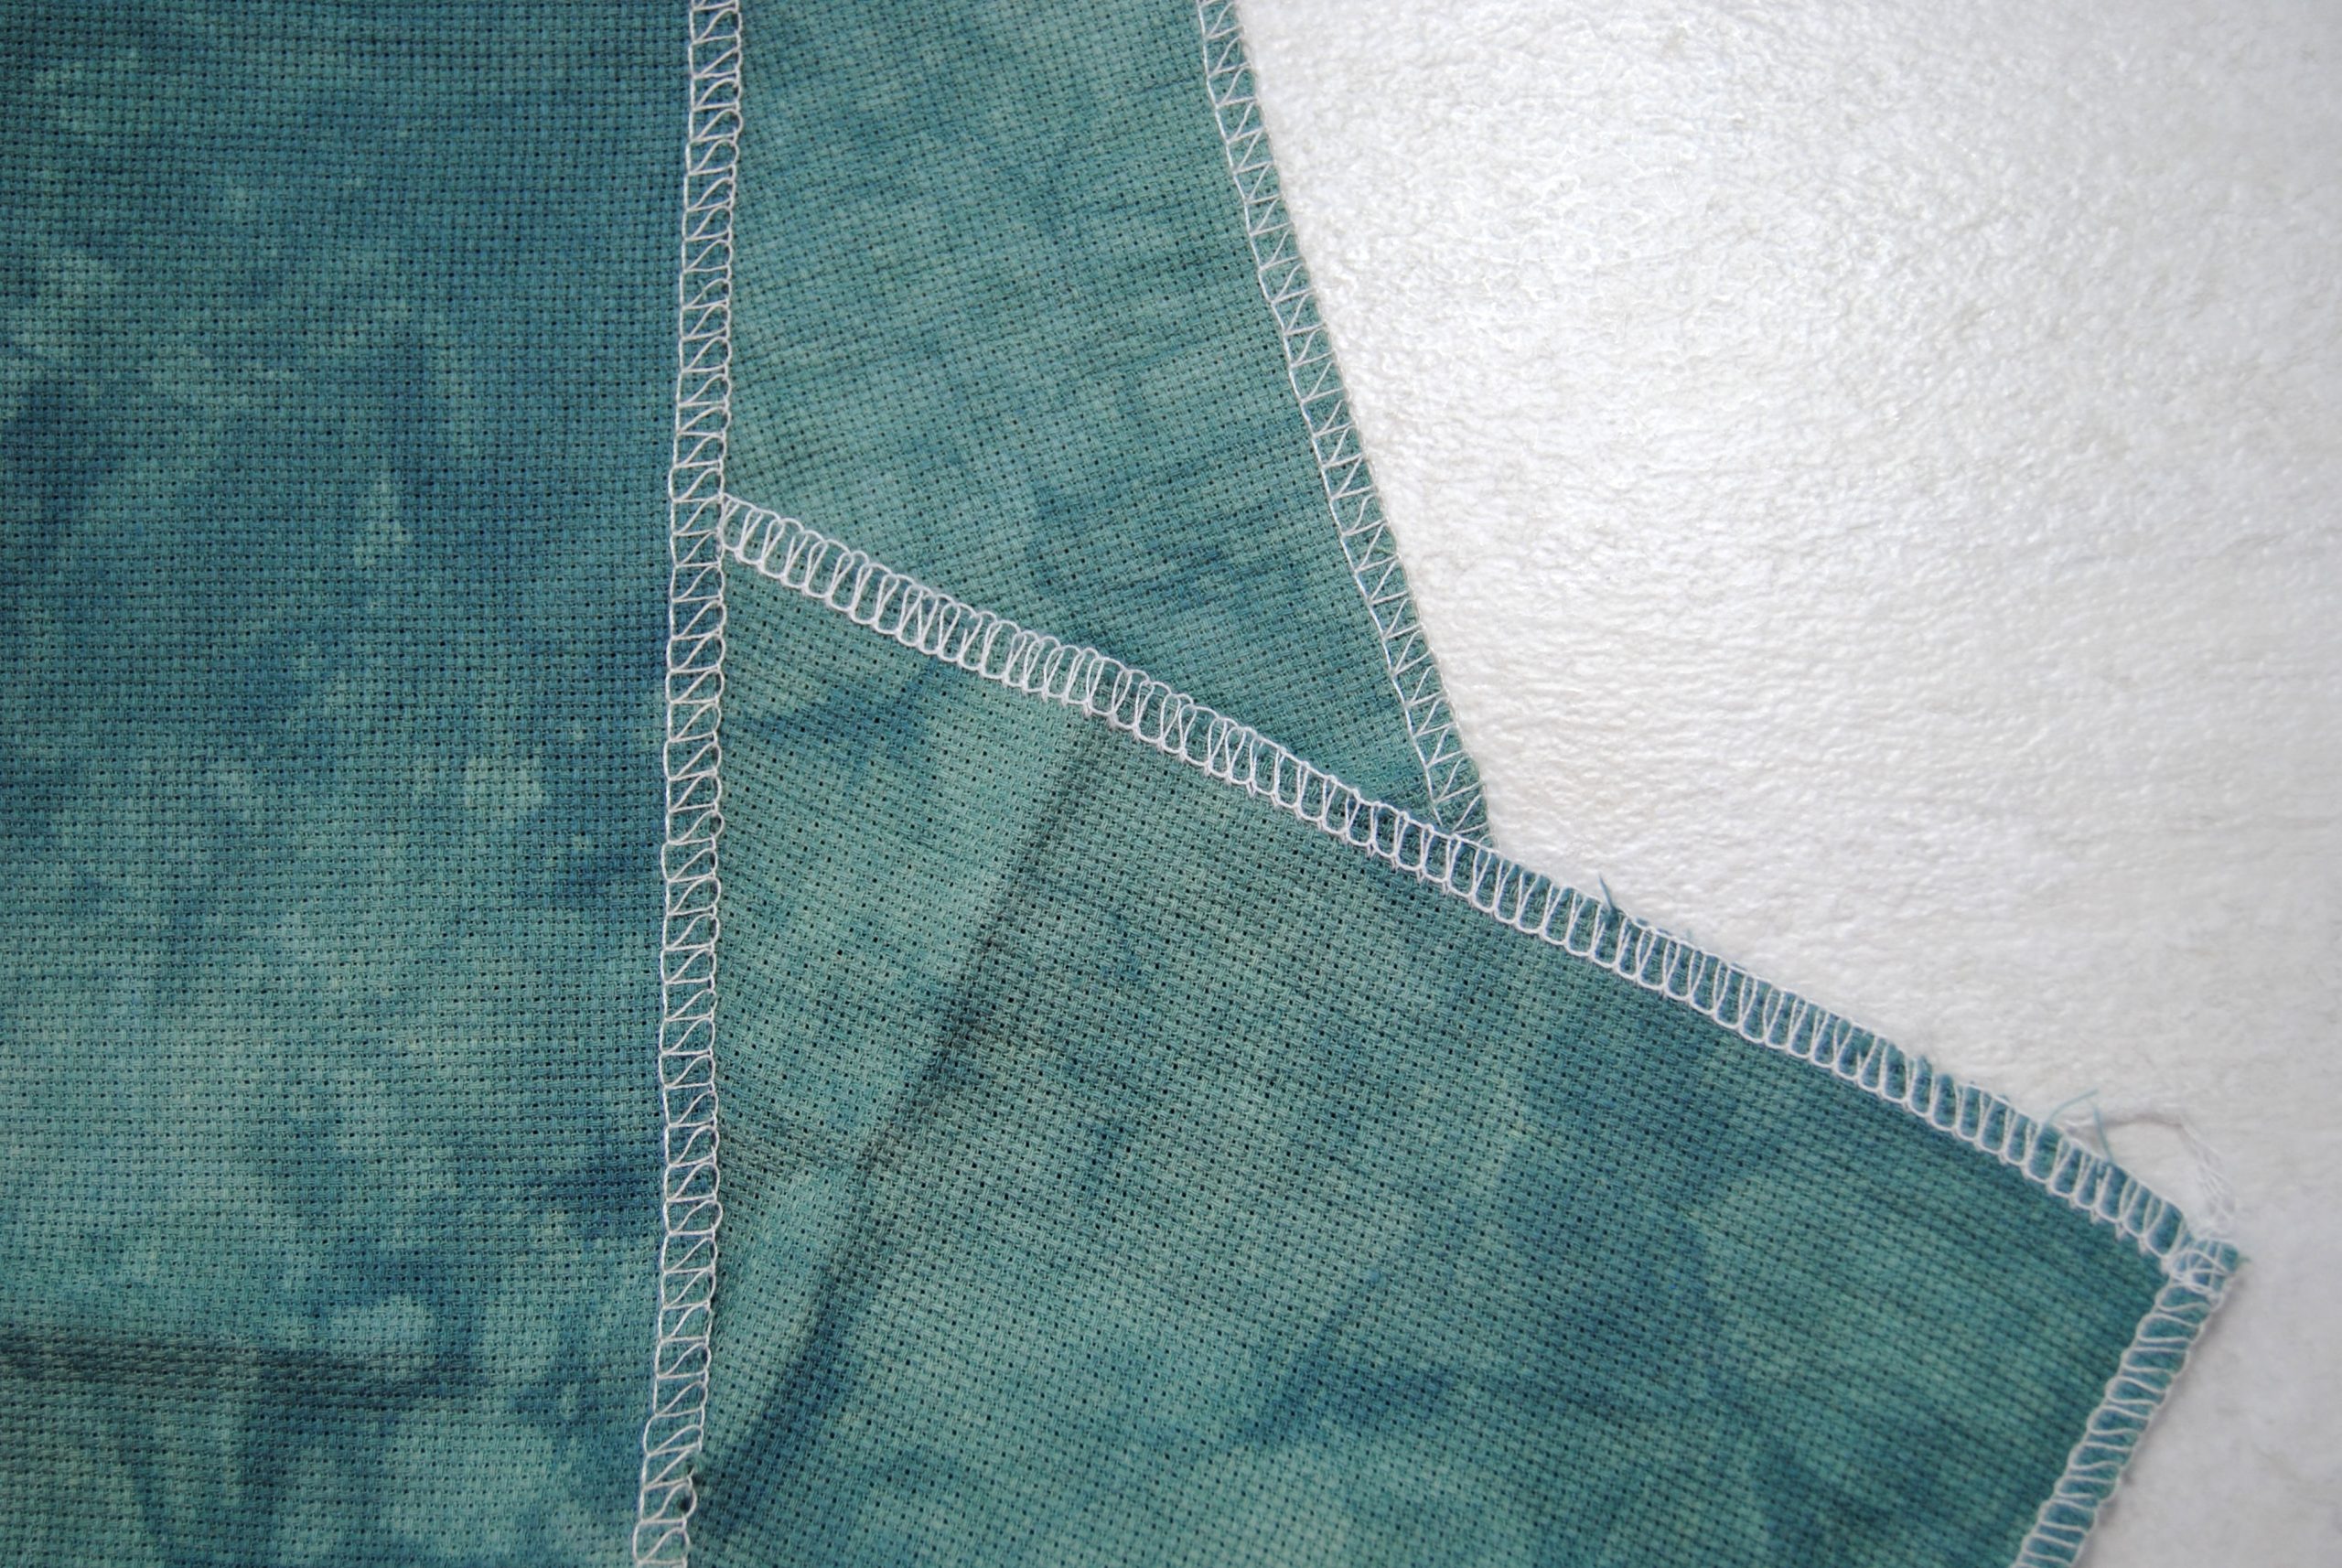
Serging
Lastly, serging. This is the most common you’ll see on purchased hand dyed fabric because it’s super effective at preventing fraying. But it’s also the least likely you are to do at home as you’d need an expensive serger machine.
Essentially, it’s a technique that cuts the fabric while also simultaneously sewing over the edge with multiple threads to hold it in place.
Do you need a serger? Probably not unless you’re going into business and need to be able to seamlessly finish a whole lot of fabric. But it is definitely an option and one you’ll see a lot when buying fabrics.
There are likely even more ways out there to manage your fraying fabrics, so feel free to drop me a line if you have any suggestions! You know I always love trying out new things.