Washing your Cross Stitch: When and Why to Wash
Now here’s a question that gets brought up quite frequently in the Pixel Stitch discord — washing your work. I’ll start off by saying that washing is entirely a matter of personal preference, and people do it all sorts of different ways. Here I’ll be outlining reasons I choose to wash, and how I go about it. If you’ve been doing it differently, that’s OKAY. But if you haven’t been washing at all, hopefully this will answer some of your questions.
This post may contain affiliate links. If you buy something using one of these links, I earn a small commission. However, there is no extra cost to you. Thanks for understanding! Learn more in my Disclosures & Privacy Policy.
Table of Contents
When to NOT wash your cross stitch
Before we can talk about how and why to wash, we should probably discuss reasons you would not want to wash your design.
Does it need it?
The first obvious reason would be: It doesn’t need it. To be quite honest, 90% of the time I don’t wash my projects. If you wash your hands before stitching, keep your projects safe, and mostly use evenweaves and other untreated fabrics… you’re probably fine.
Assuming you didn’t spill something on it or touched it with dirty hands, you should be fine. There will still likely be some light hand oils on it, but for the most part that won’t be noticeable. Unless it’s one of those huge projects you’ve had your hands all over for literal years, you can skip ahead straight to ironing.
Is it color fast?
The other reason you wouldn’t want to wash your project is if any of your materials aren’t colorfast. Get a nice hand dyed aida? Using some overdyed thread or off brand thread? It’s probably best not to risk it.
That said, if you feel your stitch needs a wash, you’ll want to test some of these things. Try stitching with white onto a scrap of that fabric first and washing it to make sure it won’t bleed out. Stitching a bit with that overdyed thread on a scrap of white aida and testing to see if bleeds in the wash before you dunk that project you’ve worked on for weeks.
DMC cotton brands are generally colorfast. Kreinik threads mostly are too, though there are some like 003L and 006HL that may bleed.
But why would it need washing in the first place?
Okay, are there reasons besides dirt and stains that you would want to wash your project? Absolutely! Washing isn’t necessarily just to get rid of grime. Even if you’ve kept it clean there are a couple of reasons you might decide to wash it anyway.
Hoop rings and Q-snap curl.
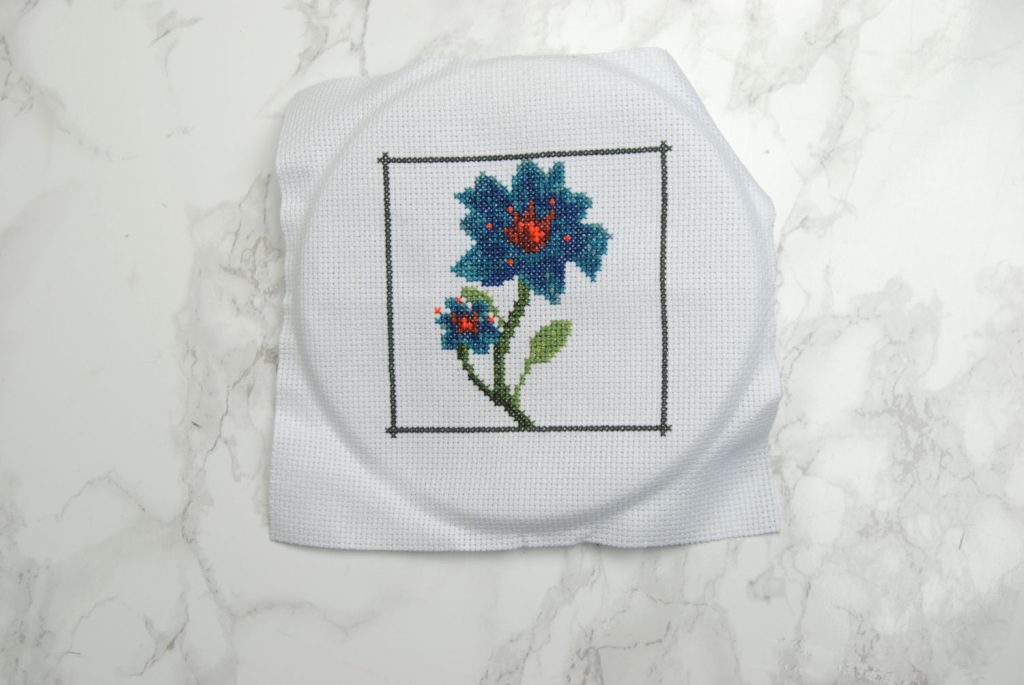
If you’ve ever used an embroidery hoop while stitching you know about hoop rings. This is when you pull off the hoop and the fabric seems to be permanently stuck in that position.
I generally don’t use hoops, so my example wasn’t actually stitched in one. However, I did put it in a hoop overnight just to demonstrate. And to show that washing does get rid of these darned rings.
While Q-snaps don’t leave these deep creases, you will occasionally get what I like to call Q-snap curl. If you’ve had a project in a Q-snap for a long time, it may curl up on the sides where the clamps were in place. These are a bit easier to just iron out, but sometimes a quick wash is in order if they just don’t want to straighten.
Stiff Aida
The main reason I end up washing my projects is if I used a stiff aida cloth. As tempting as it may be, I don’t usually recommend washing aida before stitching on it. Aida cloth often comes with a stiffener agent that helps hold the threads in their place, holding open those nice clear holes for you to stitch through.
When you wash it, this stiffener will get washed away and the cloth will feel much softer, but the threads will spread out and your holes will be harder to find and stitch through. If you bought nice hand-dyed aida, this is part of the reason why it wasn’t as stiff as the stuff you buy commercially.
Testing colorfastness
I mentioned this a bit earlier, but if you do use dyed fabrics it’s probably a good idea to do some testing before washing.
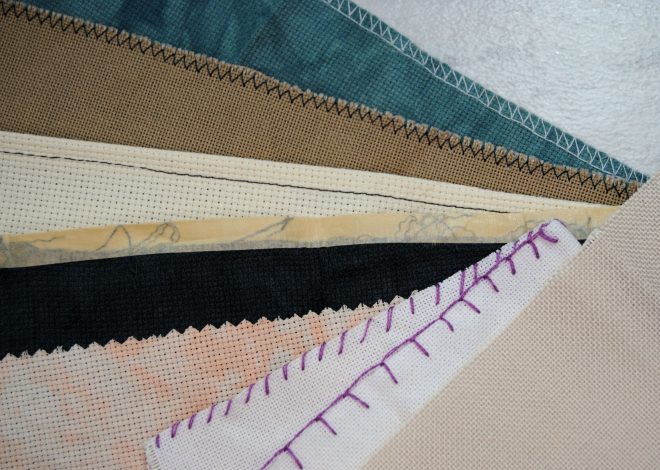
Fabric – Cut some scraps of your fabric and stitch some white onto it. Wash it with soapy warm water and see if it bleeds. If it does, try a new swatch with just plain cold water. Still bleeding? Best not to wash your project if you can help it.
Thread – same idea; stitch onto some plain white fabric and give it a gentle soak. If your color starts bleeding out, it’s probably not a good idea to wash your finished piece.
Either way, give it time after that test to make sure it dries completely without bleeding.
Even if you follow all the best practices — bleeding can happen! So test it out in advance if you can.
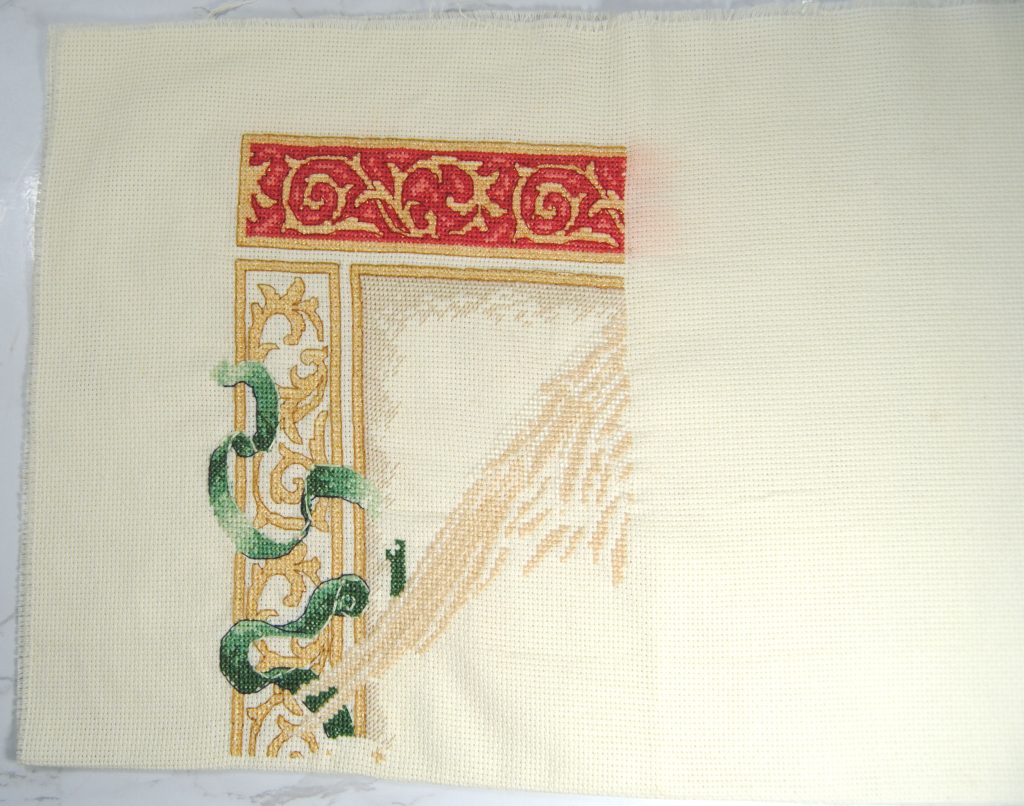
Here’s an example from a UFO I washed as a test for another article.
When first pulled out of the water and rinsed there was no sign of bleeding. I rolled it up in a towel to try and get as much water out as possible, then laid it flat in my office while I slept. Everything seemed fine. But when I checked on it the next day… it had bled quite a bit!
Time for washing
Okay, so you’ve decided your project needs washing. You’ve finished stitching it entirely and have pulled it off your hoop or Q-snap for the last time. You’ve tested those fancy hand dyed materials and they don’t seem to be bleeding. Now what?

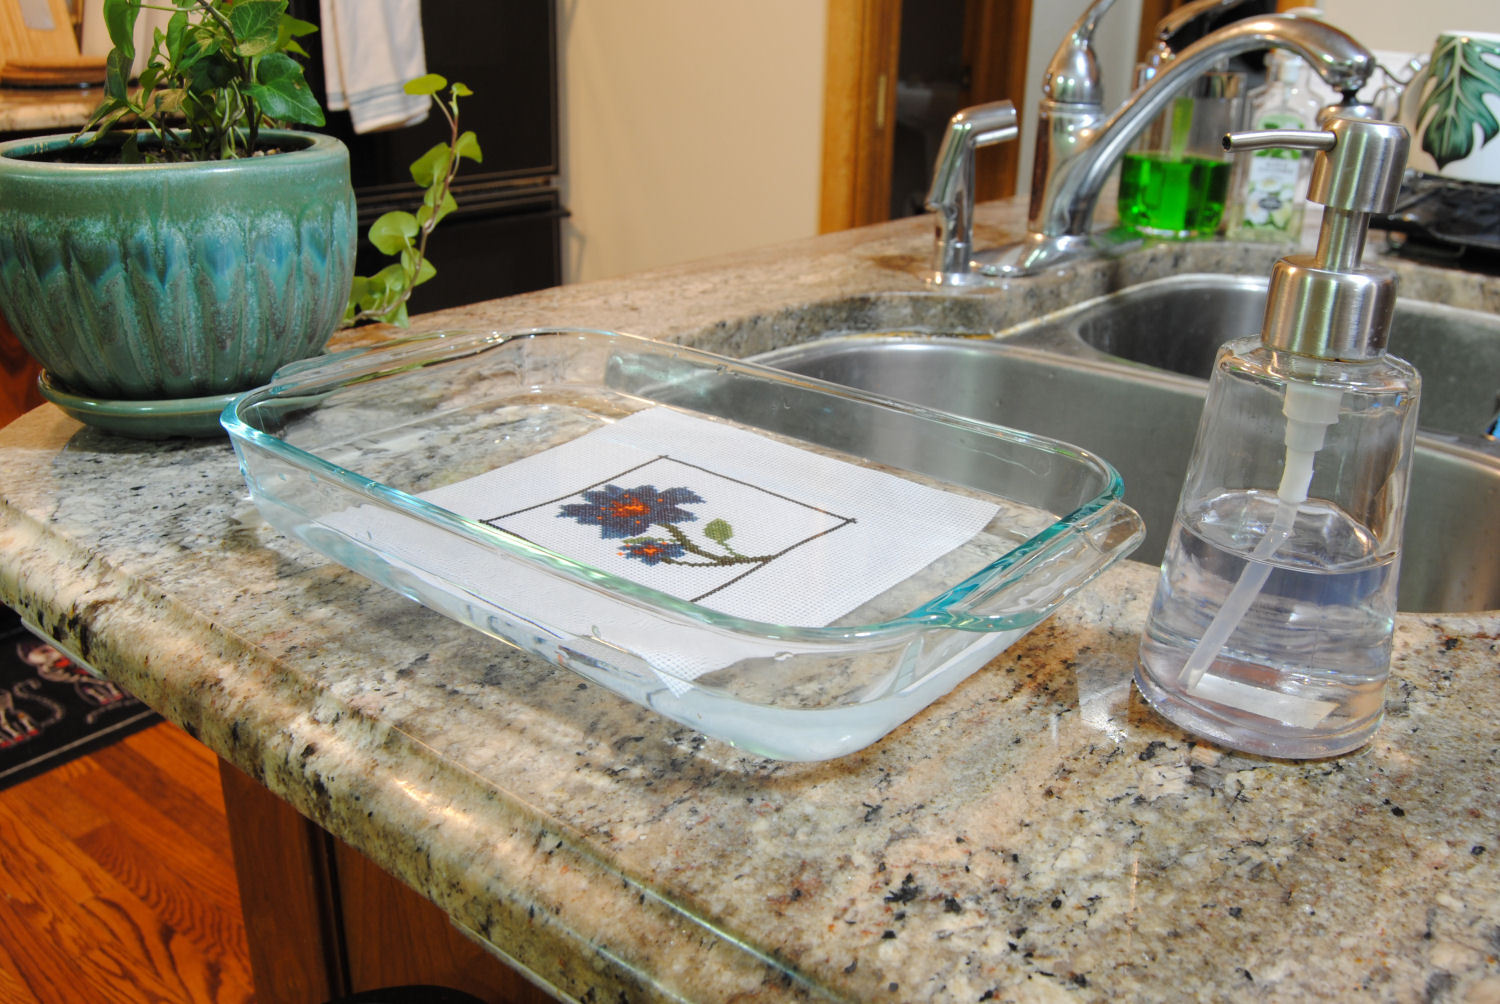
Get yourself a container and the most boring, unscented soap you can find. Fill that container with lukewarm water an a couple of drops of soap. I used a pyrex casserole dish for visibility.
Swish it around a bit to get that soap diluted through your water, you should see it foam up a bit.
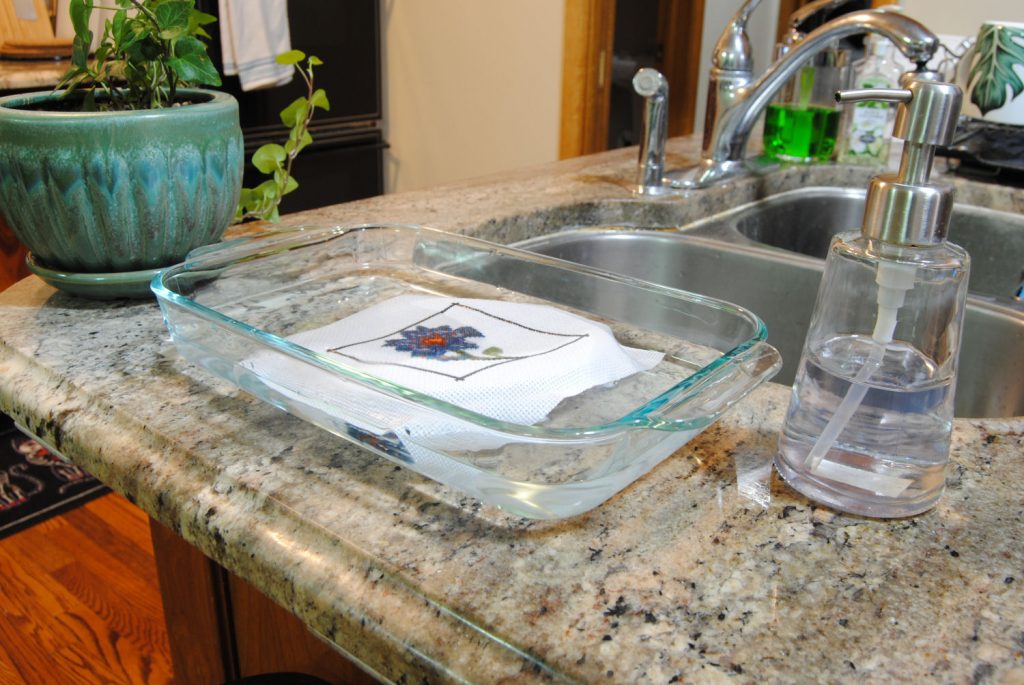
Gently plop your stitch onto the water . Don’t scrub or wring it out, just let it absorb the water. You can push it down if needed, but It should sink to the bottom as it soaks up the water. Let the soap do it’s thing.
Now rinse out your container and refill it with clean water and soak your slightly soapy project in that for a bit. Do this a couple of times until the soap has been rinsed off your project.
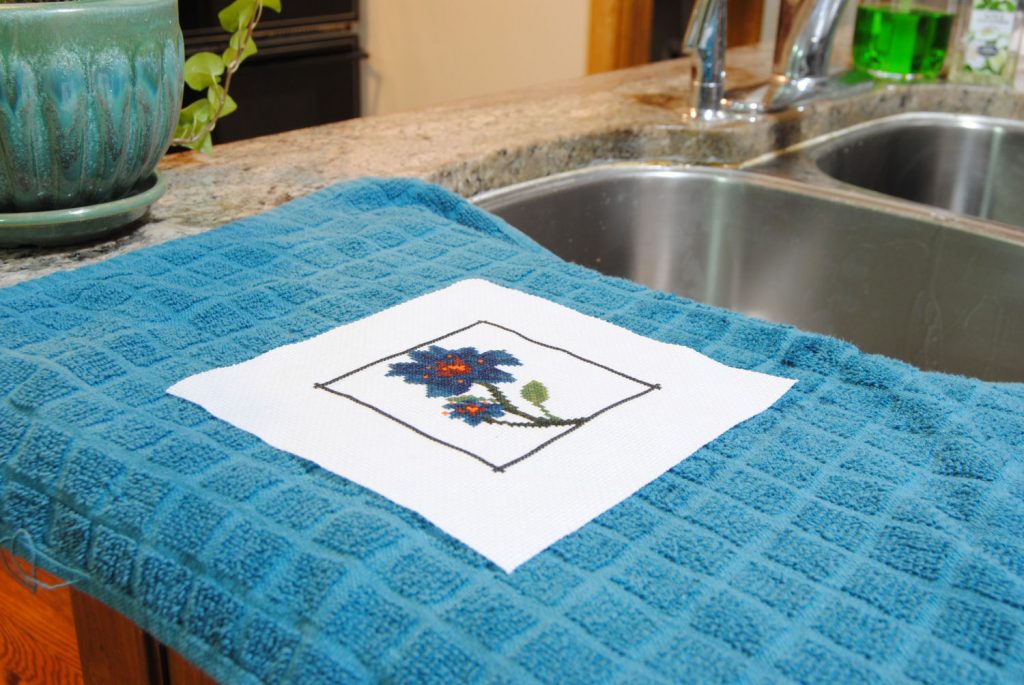
Now leave it flat to air dry. If you have a drying rack that would help it dry faster. I generally just leave it on a towel to dry for a while.
Ironing your cross stitch
Once your project is fully dry, you may want to iron it out to flatten it out completely. If you iron it while it is still damp, it can lead to colors running. Even colors that would not have bled in the cold or lukewarm wash.
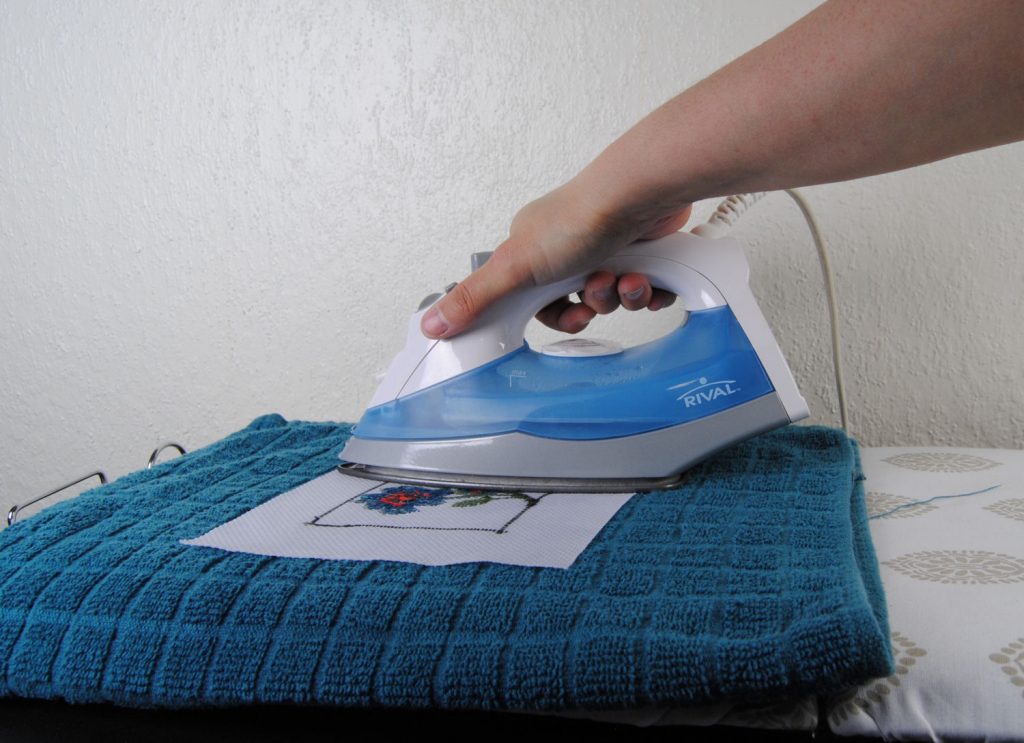
Don’t iron the front of your project. Place it face down on a towel so the stitches are not getting crushed or flattened.
If you have used any sort of metallic threads, make sure to put another layer of fabric between your stitch and the iron. Do not iron metallic threads directly, and avoid using steam. Most metallic threads (or glow in the dark threads!) are synthetic and will melt or shrink in high heat.
And you’re done! You can move on to framing or stretching it or whatever you were gonna do with your finished stitch.