It’s October! And that means Spooky Stitches! What better way to dress up your Halloween patterns than with some glow in the dark thread? Well, while I’ve discussed other Glow in the Dark thread brands before, I hadn’t yet tried out Sulky Glowy! So I whipped up a new pattern to test these colors out with.
This post may contain affiliate links. If you buy something using one of these links, I earn a small commission. However, there is no extra cost to you. Thanks for understanding! Learn more in my Disclosures & Privacy Policy.
Table of Contents
Sulky Glowy Brand Thread
Sulky is known for sewing thread, and Sulky Glowy is also intended for sewing. But I have cross stitched with Sulky thread before and absolutely loved the results. Their Petites line is perfect for embroidery. And their metallics are pretty nice to work with as well. You can see the results from that over in my Sulky Review.
After doing a followup review on 16 count aida, I knew that’s what I’d end up using for this Glowy experiment. Similar to the Sulky Metallics, these threads are much thinner than standard DMC cottons. So it was time to do some experimenting to see what worked.
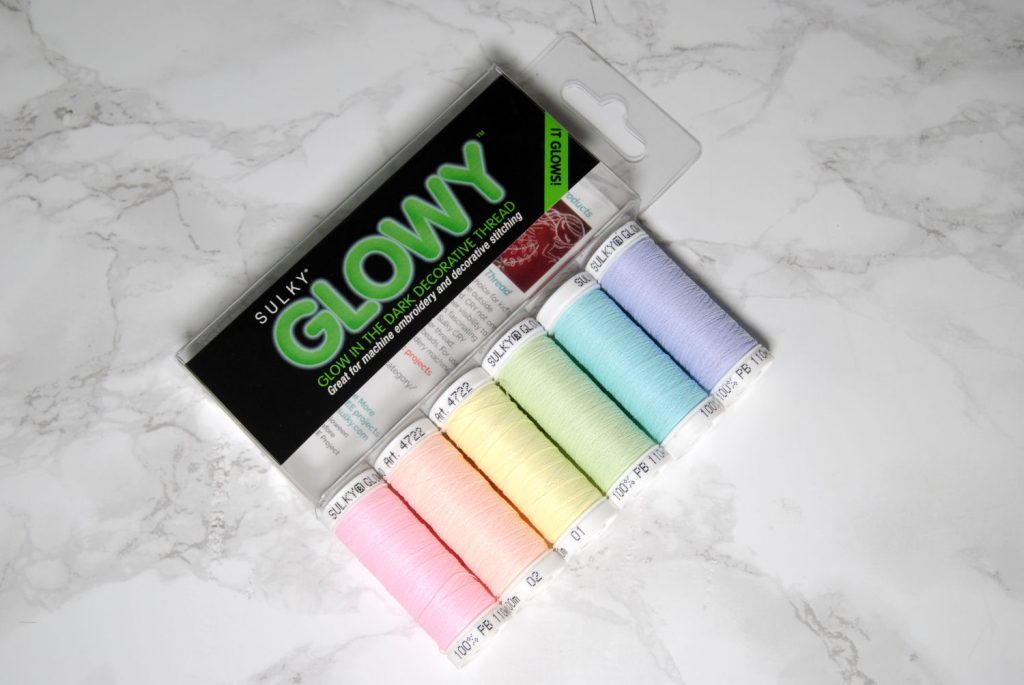
I purchased Sulky’s Glowy pack which came with a small spool of all the colors except white. I was excited to see that Sulky still has blue and purple available in their glow line, considering Kreinik had discontinued theirs.
Naturally, the first thing I did upon receiving my package was to find out how much they actually glow.
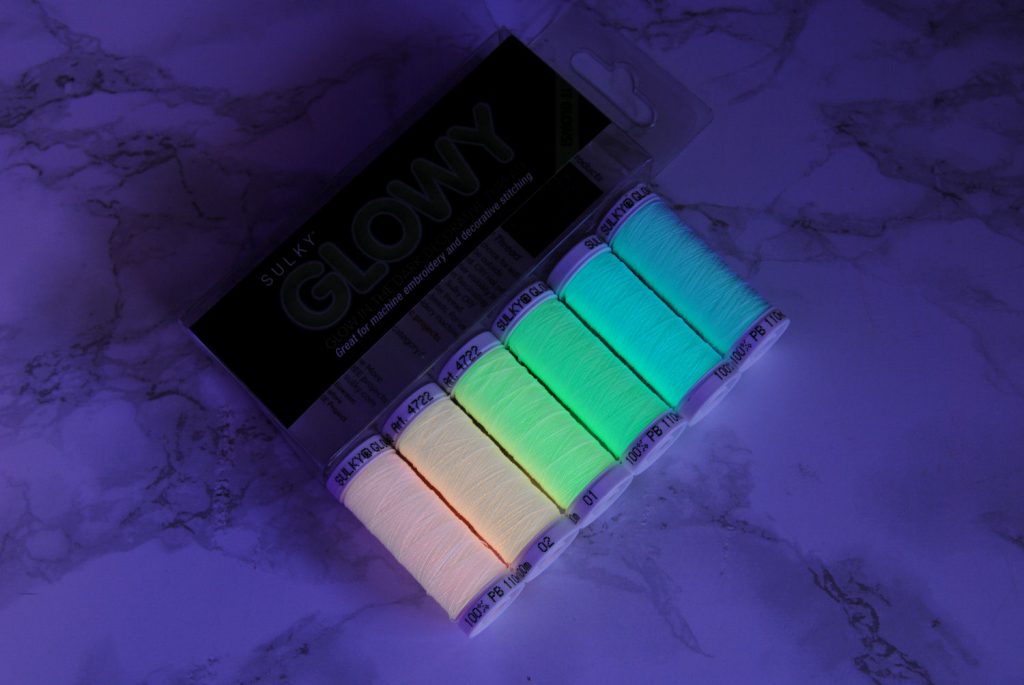
This first shot is of me shining a light on them for ~10 minutes then turning most of the lights off and taking this photo in the glow of my PC monitors with high exposure. They really do glow this brightly in person, though I’ll note the blue and purple are hard to tell apart at this point.
For this second shot, I turned off ALL the lights (including my monitor) and pulled out a blacklight. This kinda washed out the subtle differences in colors, implying to me that may really only have ~3 colors of glow and just mixed it with different cottons to achieve the 6 colors. I could definitely be wrong, though.
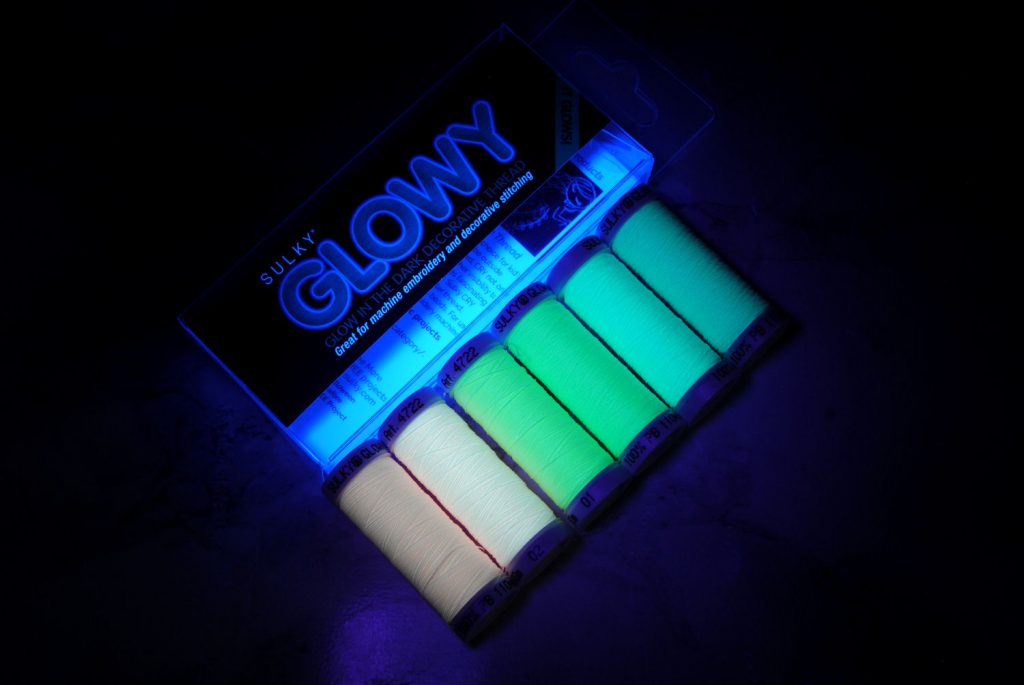
I am pleased with how much these guys glow without the plastic feel of Kreinik’s Glow in the Dark threads.
Stitching with Sulky Glowy
I quickly decided I wanted my test to be a small biscornu pattern that would be quick to stitch. As I mentioned earlier, I used 16 count black aida. Though I’ll show you some stitching on 14 count later for comparison.
First, I got all my non-glowy stitches out of the way. Outlines down, and stitched the border with a non-uv reflective color so it wouldn’t interfere with my glow testing.
Finally, it was time to try out our new threads!
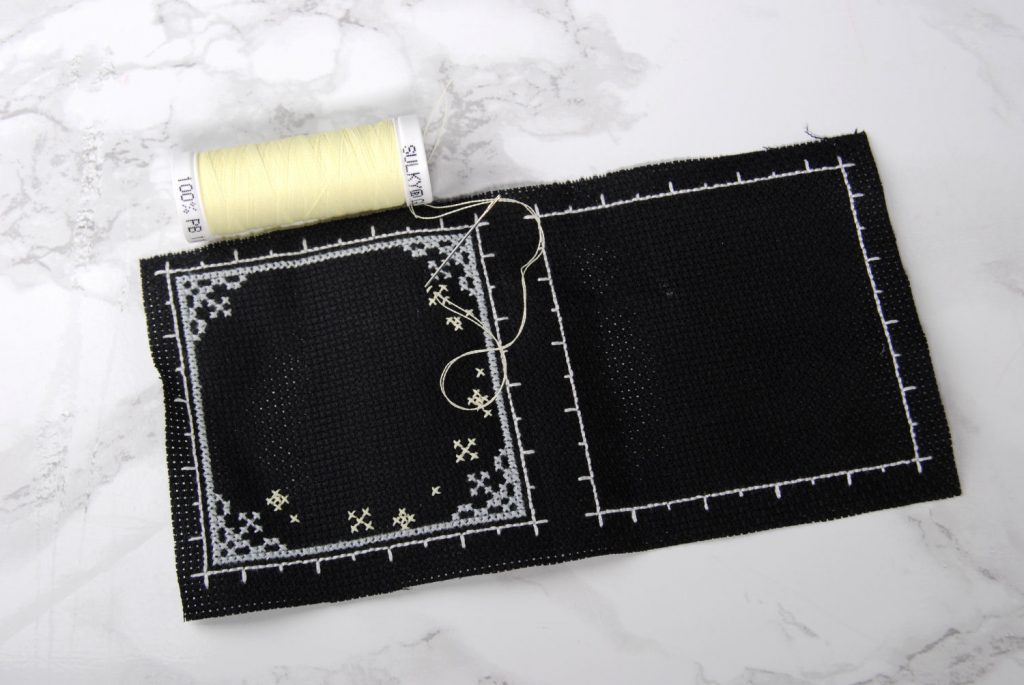
I stitched up these little stars using two strands of Sulky Glowy 0001, the yellow. While this thread is thin, it is not nearly as slippery as the Sulky Metallics were and stayed together pretty nicely. It’s still thinner than using DMC cottons, but has decent coverage on this count.
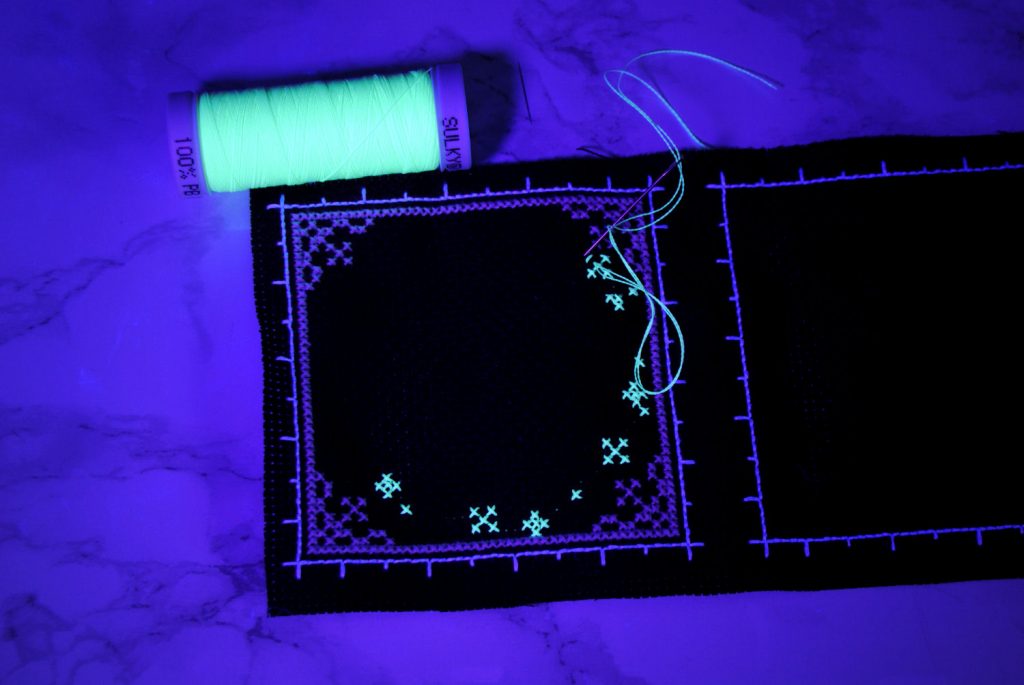
I didn’t even wait to finish stitching the stars before deciding to see how the glow was progressing now that it wasn’t all concentrated into a spool. So far, so good.
Blending Sulky Glowy Thread and DMC Cottons
For the second part, I wanted to experiment with making the thread thicker by blending it with some DMC cottons.
In this experiment, two strands of cotton and a single strand of Sulky Glowy 0006 was used. Since I was so excited about the purple thread, I just had to include it in my design!
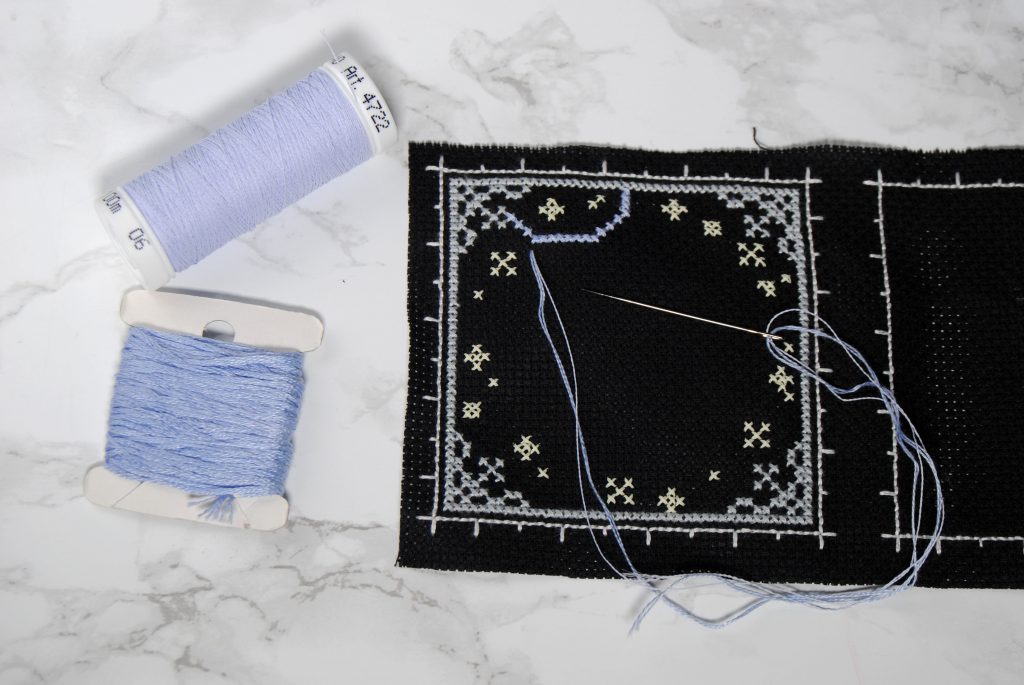
Unfortunately, I found this to be far too thick for my liking on 16 count aida. Though it did make a very interesting design in the dark.
So I ripped it all out and tried again with just a single strand of DMC and a single strand of Sulky Glowy. You’ll see that the stitches are not nearly as puffy now, but are still a bit fuller than the stars.
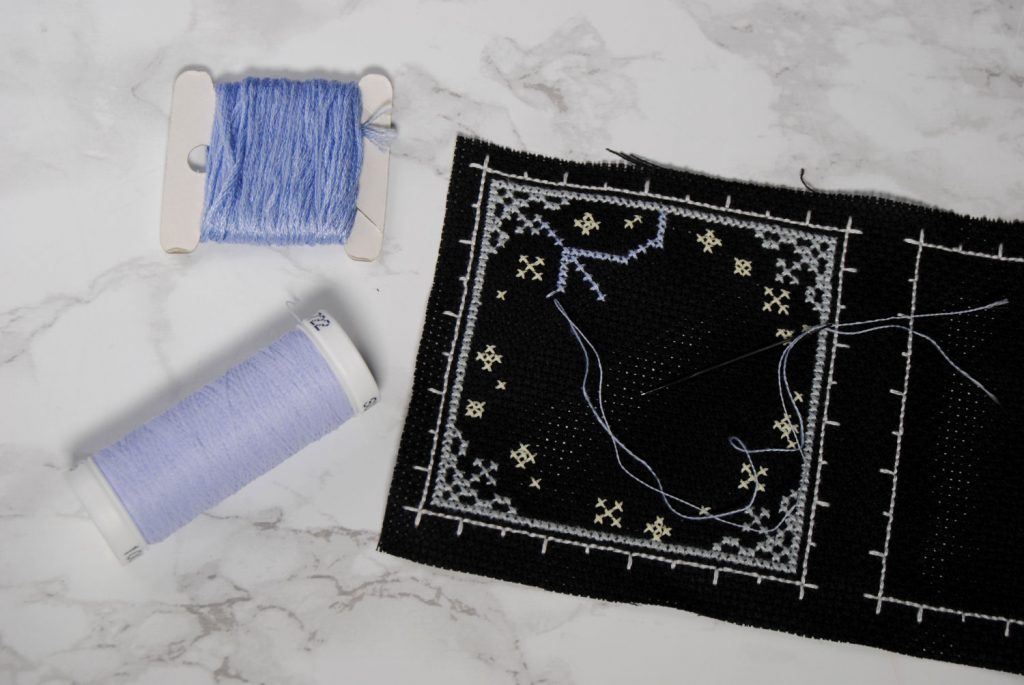
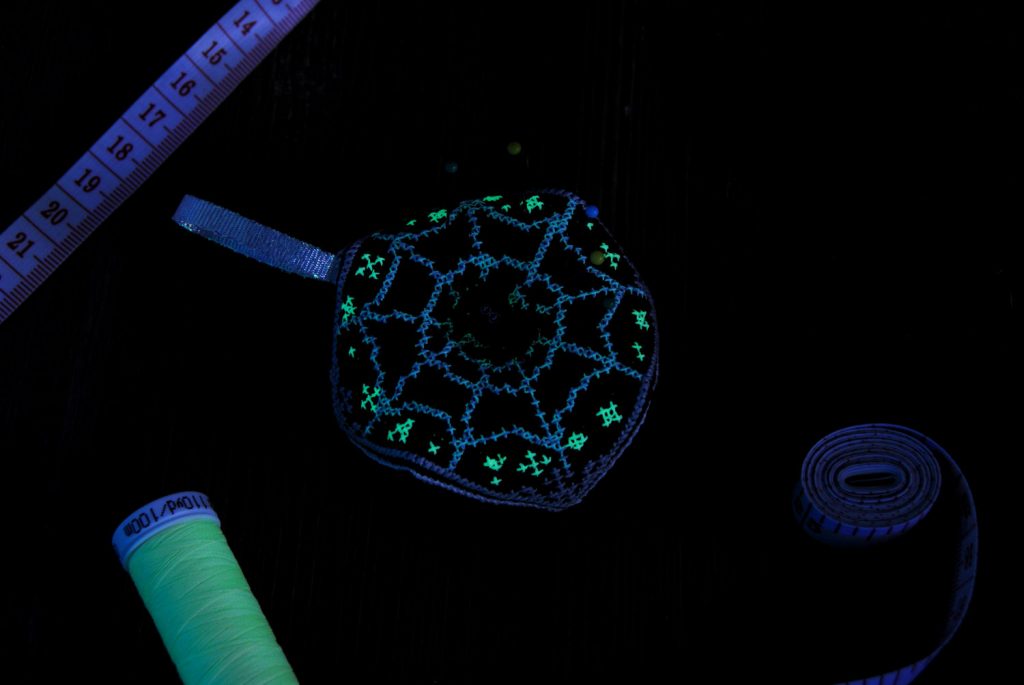
Luckily the interesting blend effect was still strong in the dark, making for a more subtle glow than the stars.
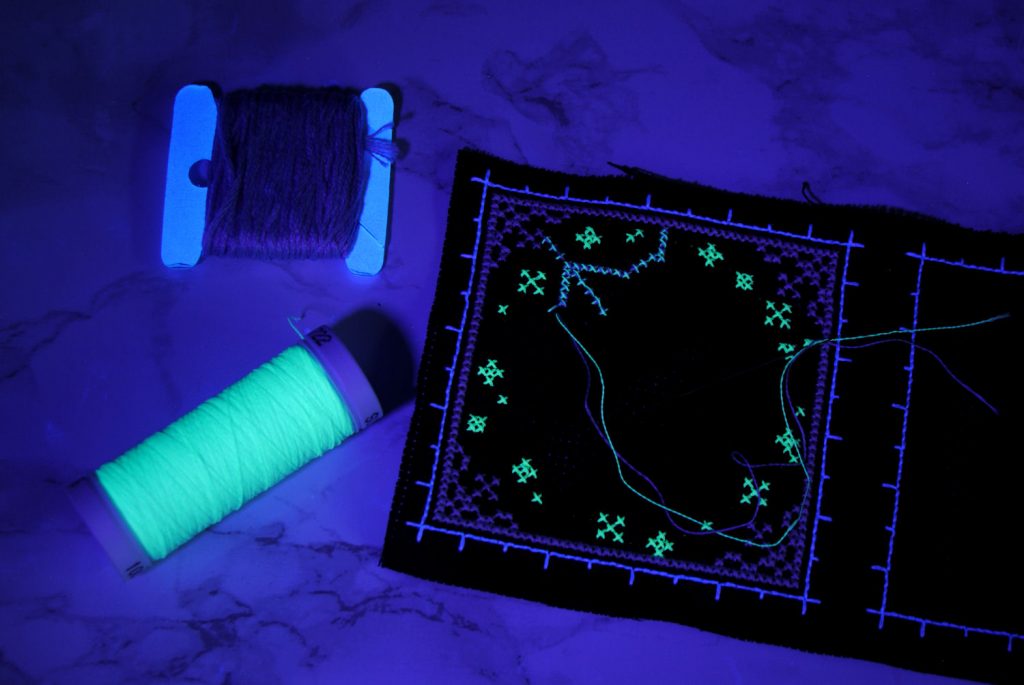
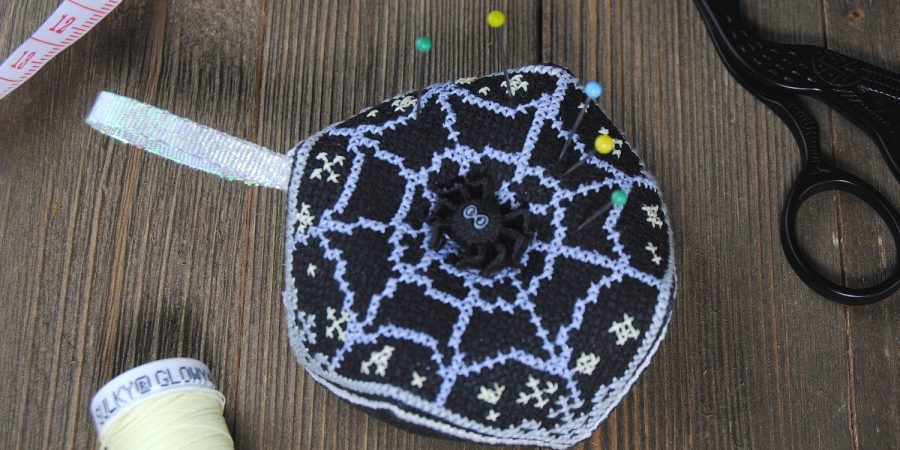
Deciding that I liked how it was coming out, I kept on stitching and was soon done with my biscornu design!
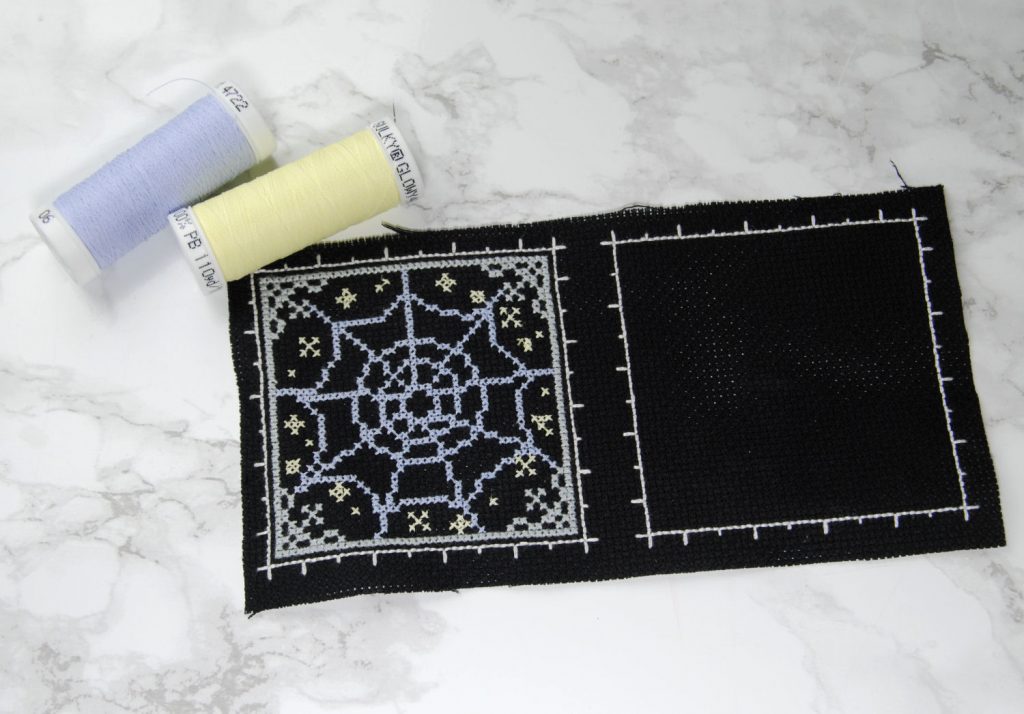
Look how awesome that webbing looks! I bet I could get it a bit more even if I had done some railroading, but I kinda like the sporadic messiness of it, to be honest.
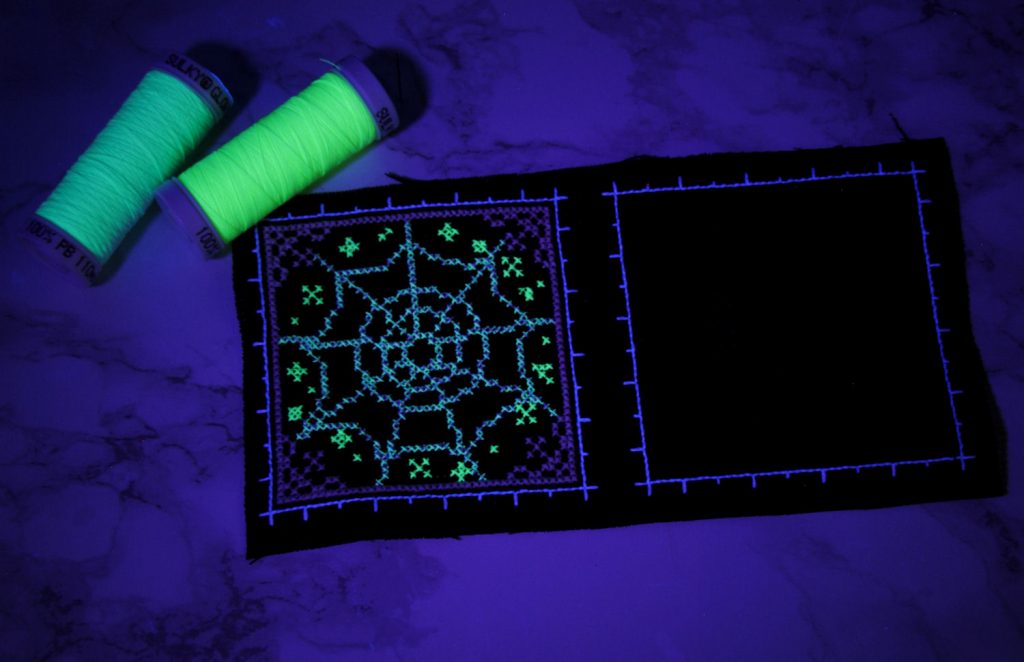
DMC Equivalents
Since I did love the blending so much, I wanted to take a moment and find the DMC cotton equivalents of these threads for you.
I went through my full collection, and these are the closest I found. My camera decided the DMC should be a bit darker in these photos for some reason, but they’re pretty indistinguishable once threaded together. At least in whatever dye lots I happen to have on hand.
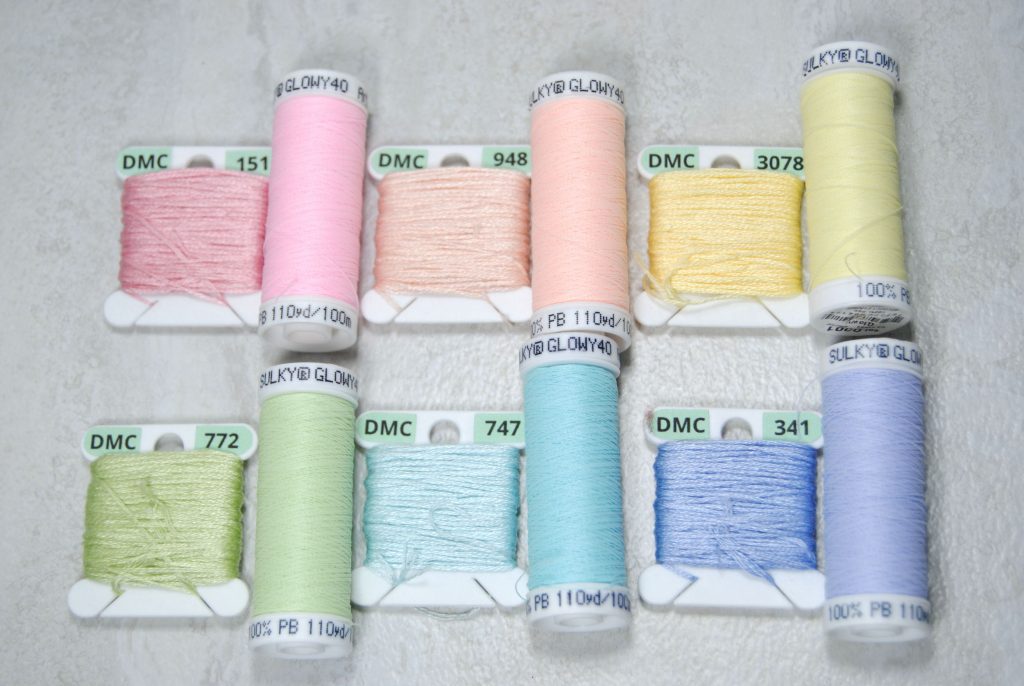
Pink:
Sulky Glowy 0003
DMC Cotton 151
Orange:
Sulky Glowy 0002
DMC Cotton 948
Yellow:
Sulky Glowy 0001
DMC Cotton 3078
Green:
Sulky Glowy 0007
DMC Cotton 772
Blue:
Sulky Glowy 0004
DMC Cotton 747
Purple:
Sulky Glowy 0006
DMC Cotton 341
Coverage on Different Aida Counts
For the next part of my experiment, I did some stitching on other fabric counts to test coverage.
Pink Heart
The Pink heart is 2 strands of Sulky Glowy on 14 count aida.
The green leaves of that same heart are 3 strands of Sulky Glowy.
I prefer the 2 strands, but if you’re partial to thick stitches, you’ll probably want to go with 3 strands.
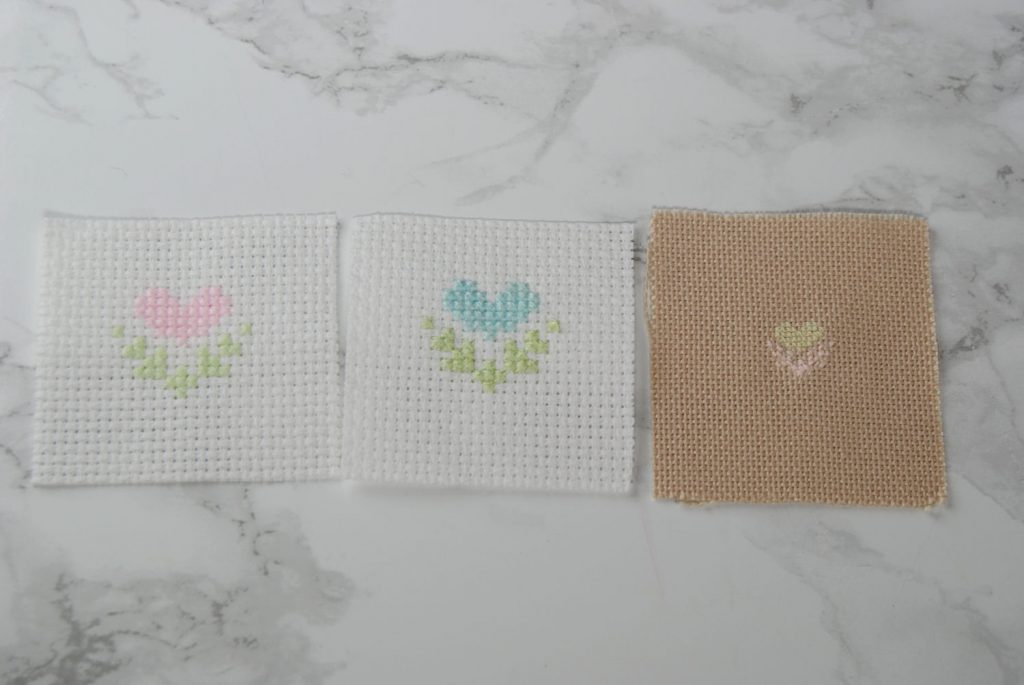
Blue Heart
This blue heart is 2 strands DMC Cotton with 1 strand of Sulky Glowy
The leaves for that one are done with 2 strands DMC cotton and 2 strands Sulky Glowy.
It’s pretty hard to tell the difference until the lights are off.
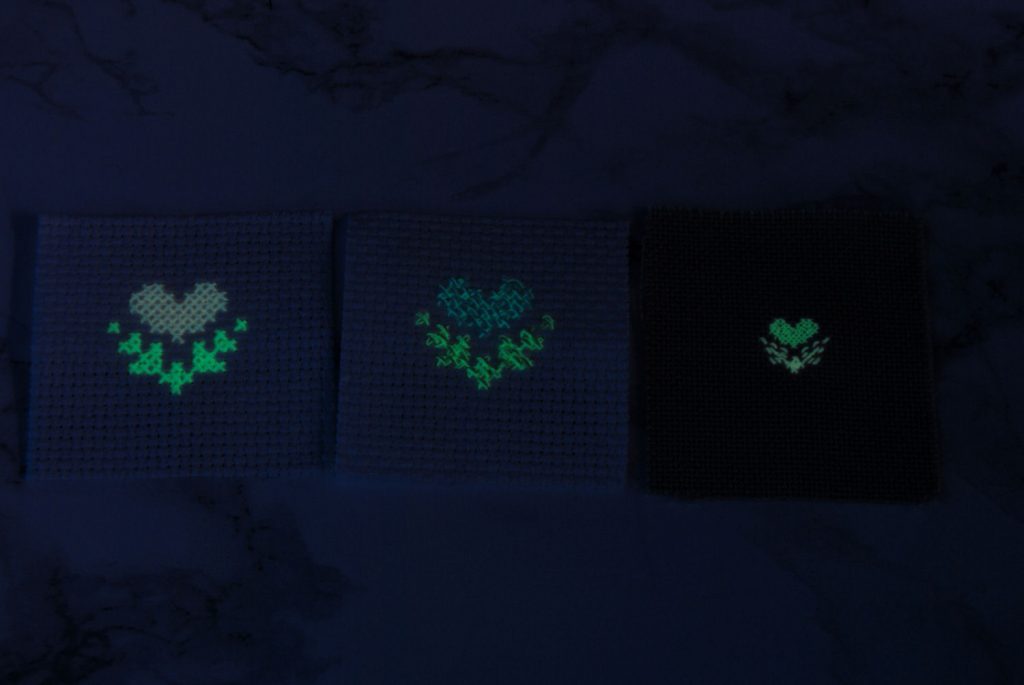
I definitely prefer the glow with 2 strands of Glowy in that case, but it’s harder to keep your stitches even.
Note that I took this photo without a blacklight because the white aida is UV reflective and was glowing brighter than the thread! Whoops!
Yellow Heart
Lastly, the Yellow Heart was stitched on 28 count evenweave. I stitched full stitches with 1 strand of Sulky for the heart. The leaves were stitched with 2 strands of Sulky, but only using half stitches.
They admittedly weren’t the best colors to stand out on that sandy evenweave, but I do still like the coverage and glow for both of those thread counts.
I guess the important takeaway is that you should do some testing of your own on different counts to see what coverage YOU prefer. 🙂
WARNING: DO NOT IRON
Finally satisfied with my testing, I went on to finish assembling my Biscornu. Out of sheer habit I ironed it real quick to flatten it out and fold in the edging. Despite knowing better.
I mentioned it in my blog on Washing your Cross Stitch, but seriously. Do not iron specialty threads. In this case, Sulky Glowy is mostly plastic. It melts. Luckily, I didn’t iron much before realizing my mistake and only had to re-stitch a handful of stars before going back to the assembly.
Regardless, I felt it was important to mention here. If you absolutely need to iron, put a cloth on top of your work and turn the iron down pretty low. Constantly check on progress to make sure you’re not melting your thread away!
The Finished Biscornu
Small fiasco aside, I finally was able to put the biscornu together.
I had recently picked up a random pack of Halloween/Fall themed buttons and thought this little spider bro would be perfect to finish it off!
That button pack is pretty random. You won’t get what’s pictured in the listing. Or even the same buttons I got. But you WILL get a variety of buttons to play with, regardless!
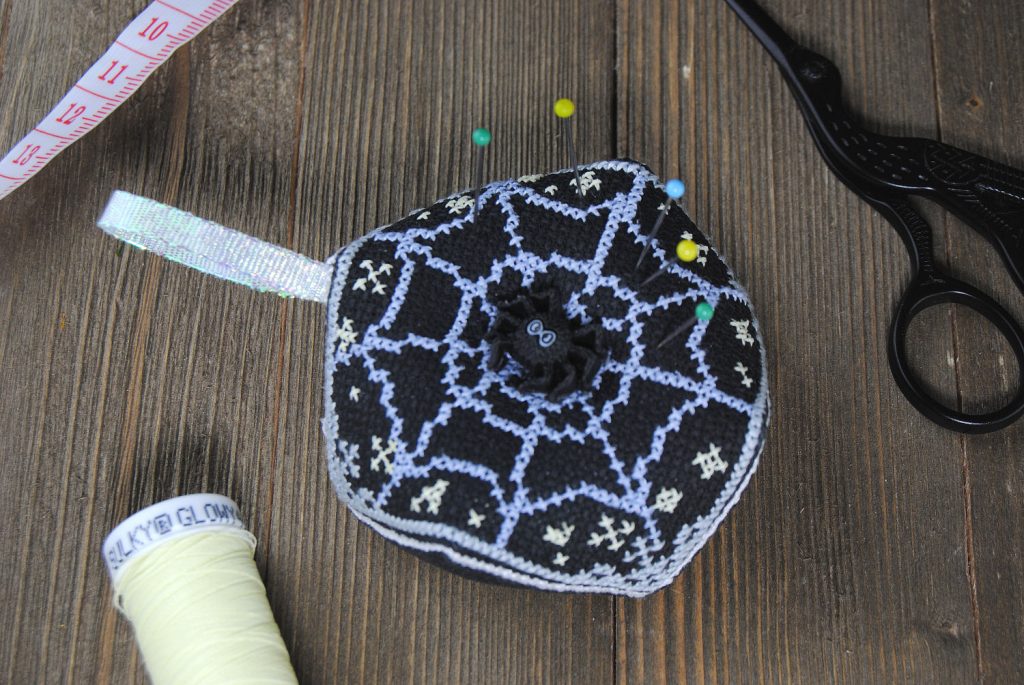
I used a 1/4″ Offray Iridescent ribbon for the loop so I could hang it up on my pegboard when not in use.
The pattern for this Spiderweb biscornu is available only on Patreon!
I absolutely love how this little guy turned out, and I hope you do too! If you decide to try out Sulky Glowy threads yourself, do let me know! I’d love to see what you make!
