How To French Knot; Or What To Try Instead
Okay, so I technically already have a french knot tutorial as part of my Advanced and Specialty Stitches list. But I wanted to go a bit more in depth and offer multiple sources and tutorials, as well as additional ways to substitute them. So here we are, going a little more in-depth. With links to other tutorials as well.
Table of Contents
French Knots
How to French Knot
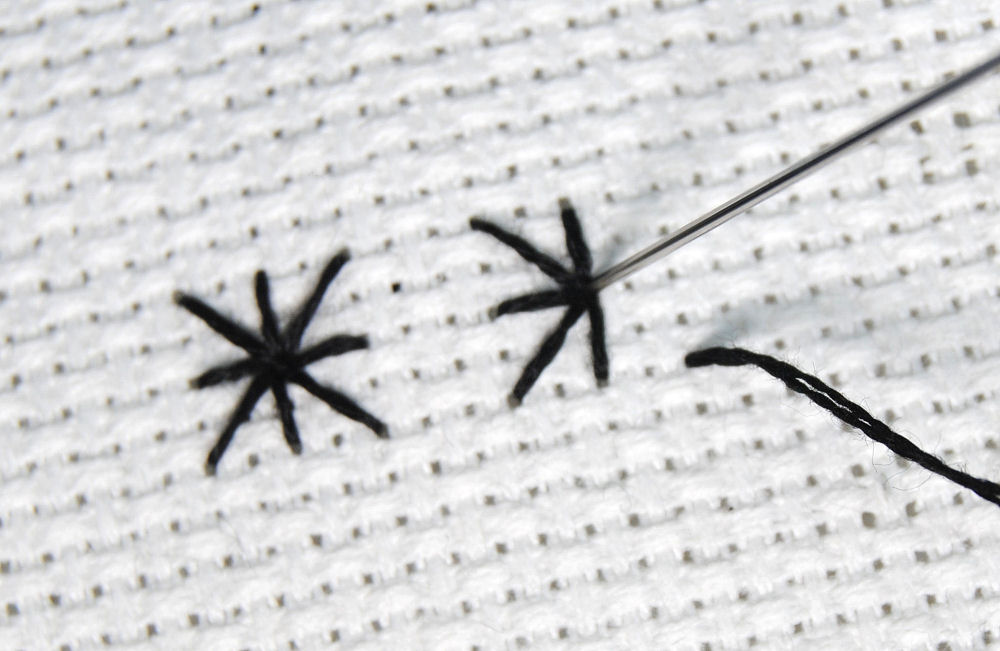
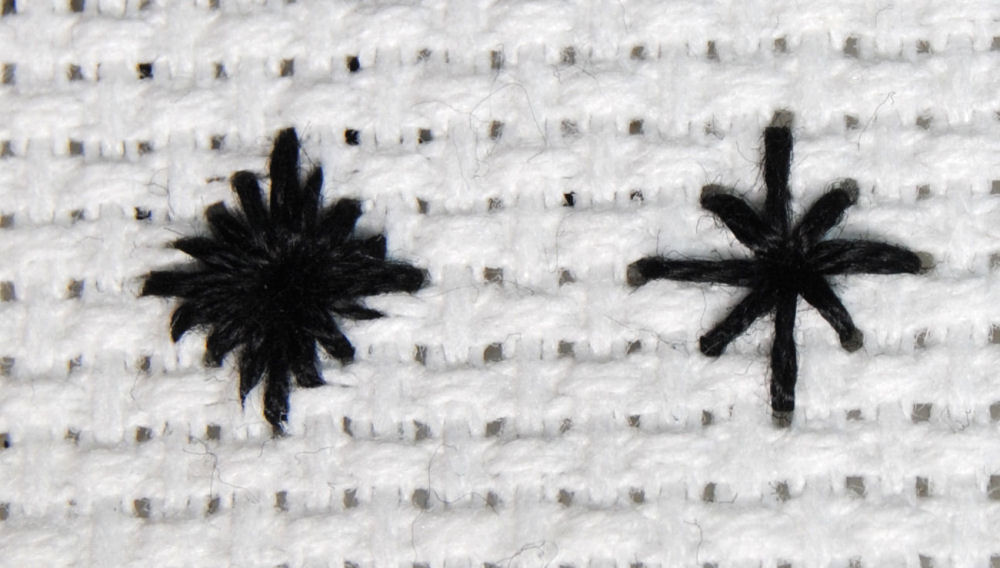
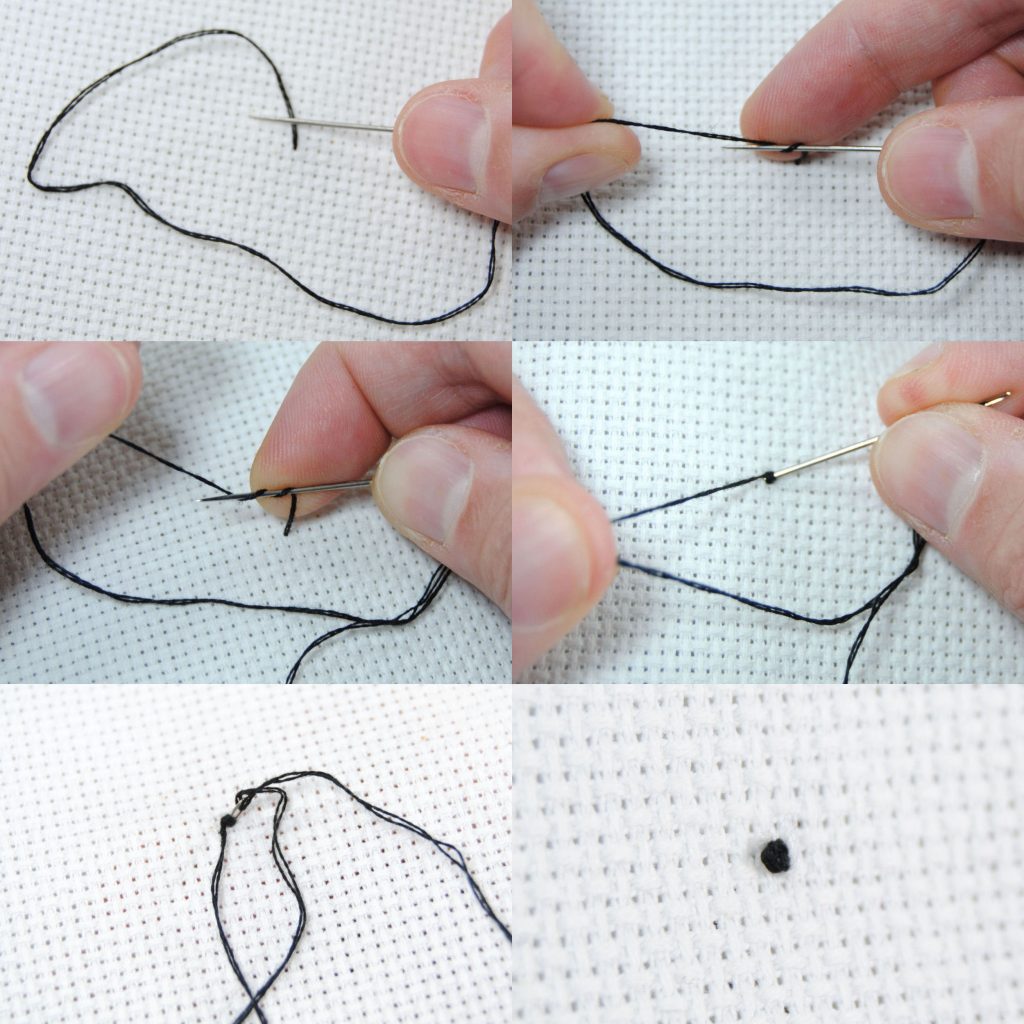
The basic gist of the French knot is that you twist your thread around the needle 2-3 times, then pull the thread tight while you push the needle through this twisted thread. With your finger you can gently hold the bundle of thread as you pull the needle and the rest of your thread creating a knot.
This is much easier to demonstrate than describe, so here’s some photos.
Tips
- Don’t pull too hard – It can be easy to pull your knot straight back through the fabric. Try to be gentle pulling through. Once you’ve moved on to the next stitch it’ll be secure enough, but that fresh knot can easily slip away if you’re not careful.
- Don’t go back in the same hole – If you’re finding your knot gets accidentally pulled back through your hole anyway, try stitching back down in between holes. If you’re working over 2, that might be the ‘middle’ hole. But on 14 count and similar, you can just stab your needle between the holes as pictured below.
- Try a different needle – If you’re having trouble with pulling the needle through at the end, try a thinner needle. Or at least one with a less pronounced eye, so it doesn’t get caught in the knot.
- Which Way To Twist – You can loop the thread in either direction, as long as you’re consistent. If you’re finding it slipping off too easily, try going in the other direction. You’ll see it done both ways in different tutorials.
Other French Knot Tutorials
There’s dozens of tutorials out there, so if this one doesn’t quite make sense to you — check out another! If photos aren’t enough, check out one of the video tutorials. And of course do some practice knots on some scrap fabric. Sometimes you gotta do the thing for it to really click in your brain.
- Sirithre (Illustrated)
- Sublime Stitching
- Crewel Ghoul
- WeeLittleStitches
- Diary of a Northern Belle
- Needlework Tips
- Wandering Threads
- NeedleNThread
NeedleNThread (Video) - 8 Bit Stitch (Video)
- Peacock & Fig (Video)
- River Birch Threads (Video)
- Simply in Stitches (Video)
- stitchy_itchy on Reddit (Video)
Colonial Knots
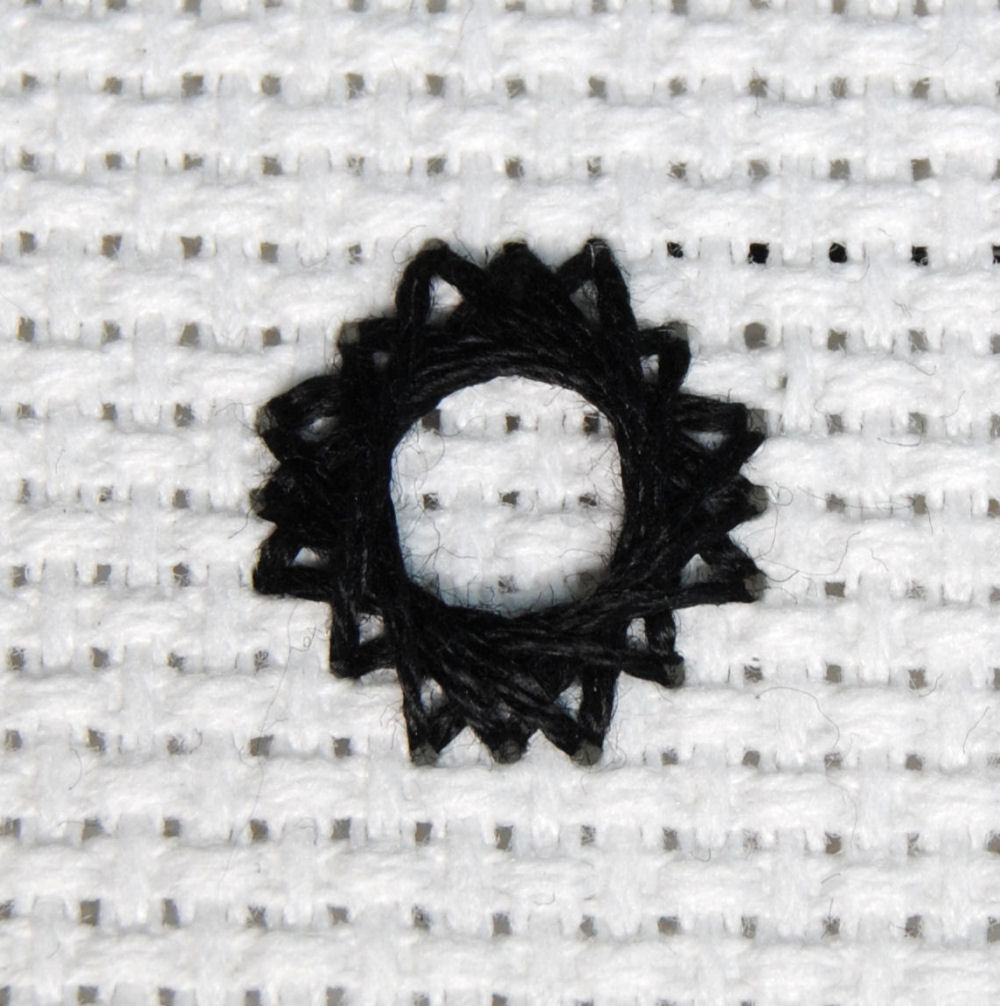
How to Colonial Knot
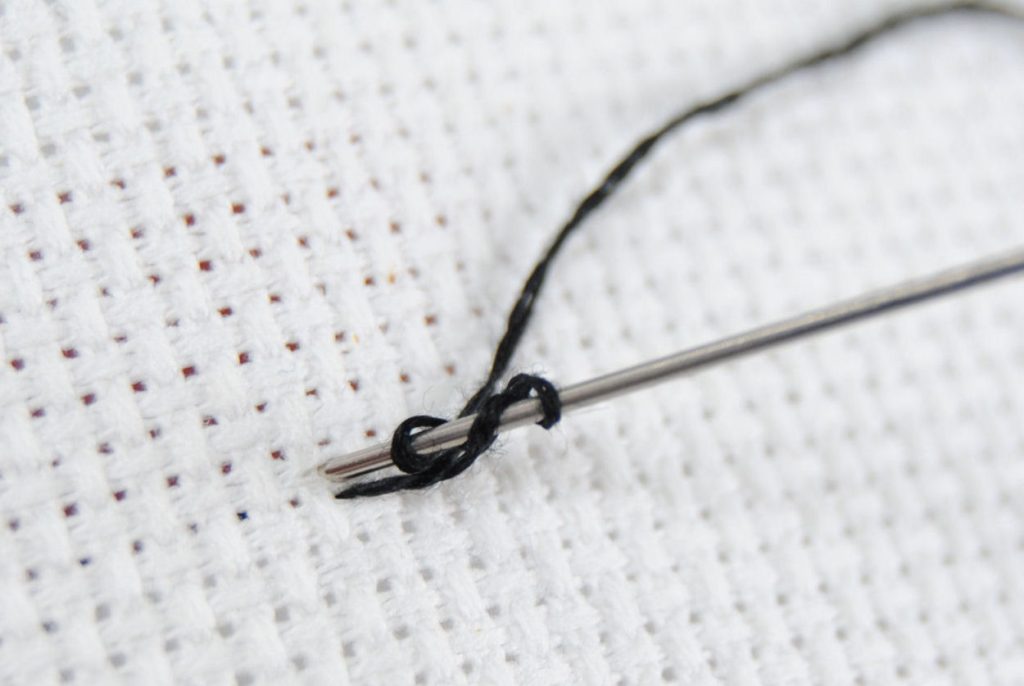
Colonial knots are similar to French knots, but many find them easier to do. So if you’ve been struggling with the French knot, maybe try this one out. Instead of twisting your thread around in the same direction, you’re creating a figure 8 with your thread. Like before, pull the thread tight towards you and pull your needle and the remaining thread through the fabric.

Tips
As before, don’t go back in the same hole – use that inbetween hole if you’re working over 2, or just stab your needle between the holes on lower counts like 14.
Other Colonial Knot Tutorials
As always, there are plenty of tutorials out there. What works for you may not work for someone else and vice versa. That’s why it’s so important that there’s a variety of people willing to demonstrate this for you!
- StitchFloral
- NeedleworkTips
- Polkadots & Blooms
- NeedleNThread (Video)
- Peacock & Fig (Video)
- Sarah’s Hand Embroidery (Video)
- Cutesy Crafts (Video)
Beads
I technically already have a Beading Tutorial here on the site as well, but I’ll go over the key points here again. Check the other article out if you want tips on what brands and bead sizes to use as well as storage suggestions.
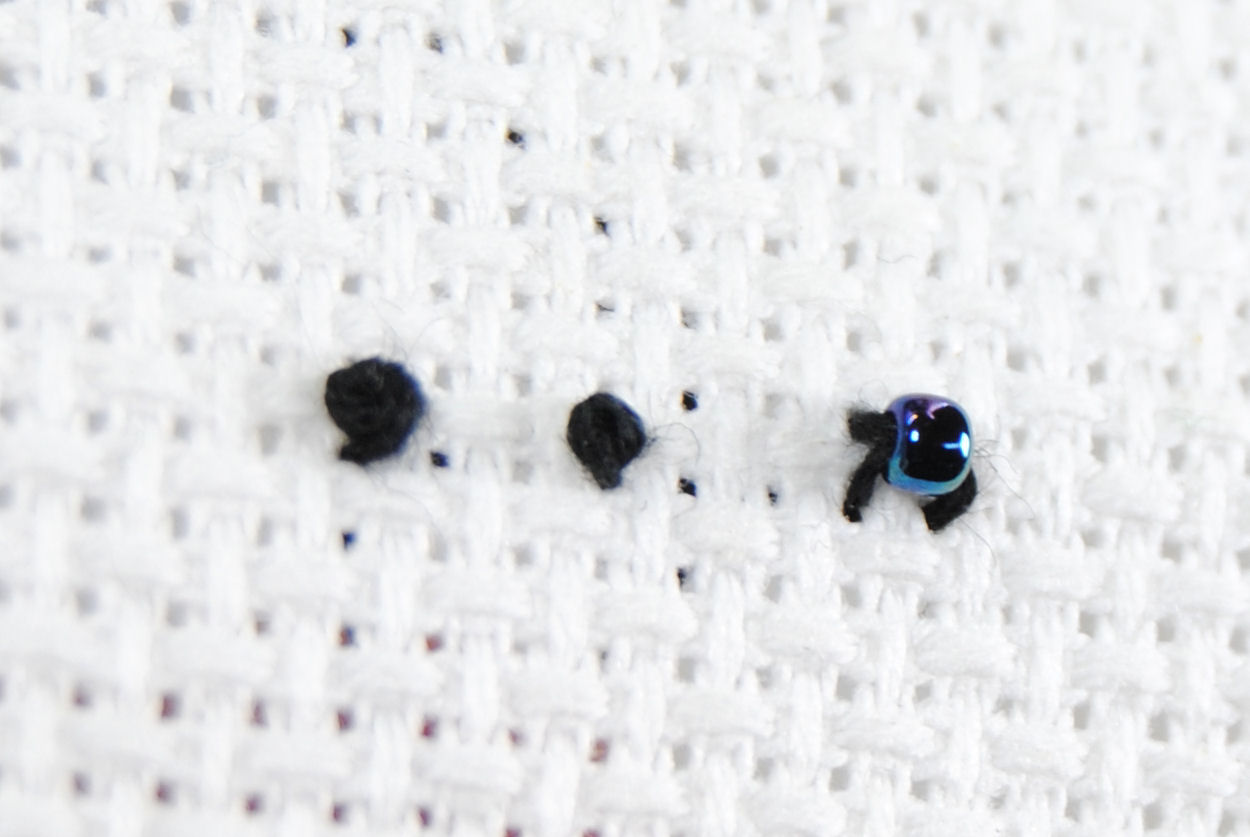
How to Stitch Beads
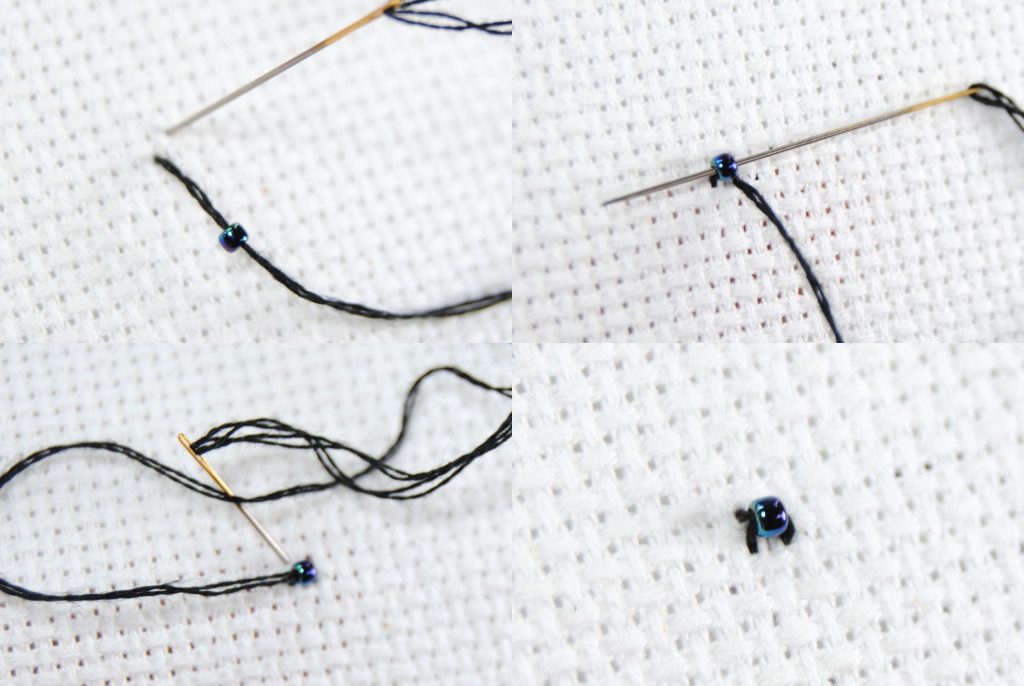
The basic idea is to do a normal cross stitch, but with a bead. Make your stitch in the same way your other stitchers are made. I always do the / leg first, so that’s what I’ve done here. If you normally stitch \ first, then do that! Finally go back through the bead and down the other side to complete your X.
Tips
You’ll need a thin enough needle to go through the bead multiple times with your thread. Some people even use beading specific needles. For this tutorial I used thin embroidery needles.
The most commonly used bead size is 11/0, but you can go up to a 15/0 or ‘petite’ bead on higher counts.
You can use the same color thread as your bead, or use invisible thread or fishing line.
Beaded Pattern Example
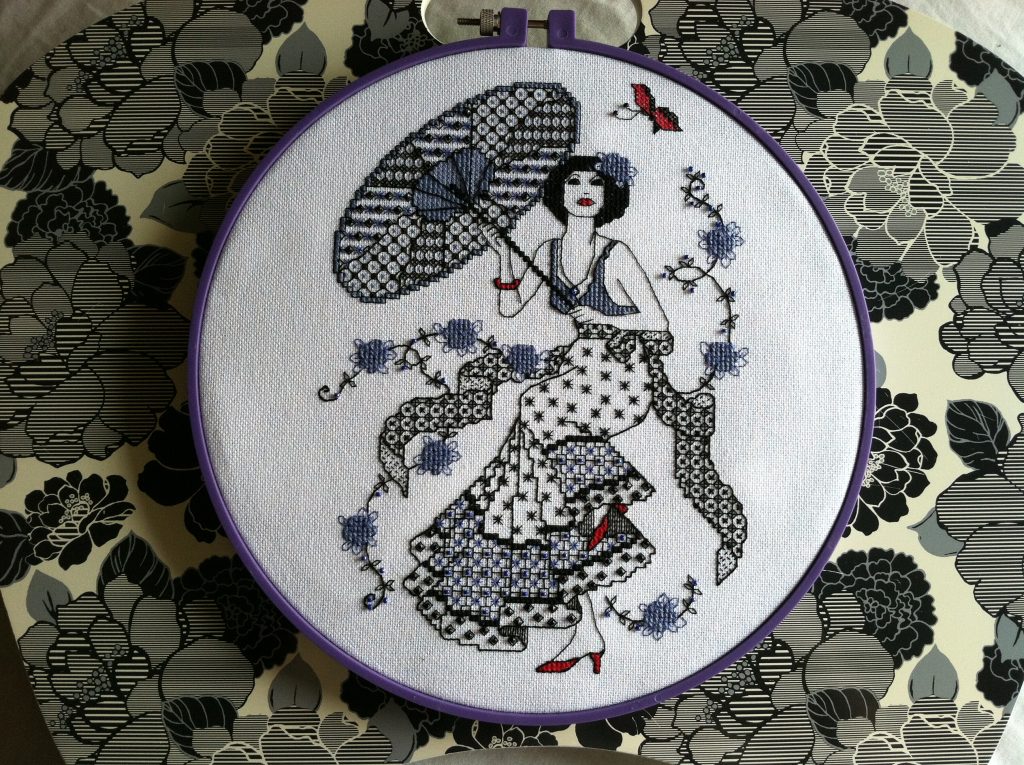
This gorgeous piece was stitched by Luca from the Pixel Stitch Discord. It’s been previously published in a magazine back in 2012 under an old name, so you may’ve seen it already!
The original pattern is by Lesley Teare and calls for a whole bunch of french knots. In addition to swapping some colors to better fit their giftee’s decor, they also swapped all the french knots for beads!

Other Cross Stitch Beading Tutorials
- Sirithre (My original Bead tutorial)
- Little Lion Stitchery
- Needlework Tips
- Peacock & Fig (Video)
- The Giddy Stitcher (Video)
Plain Cross Stitches
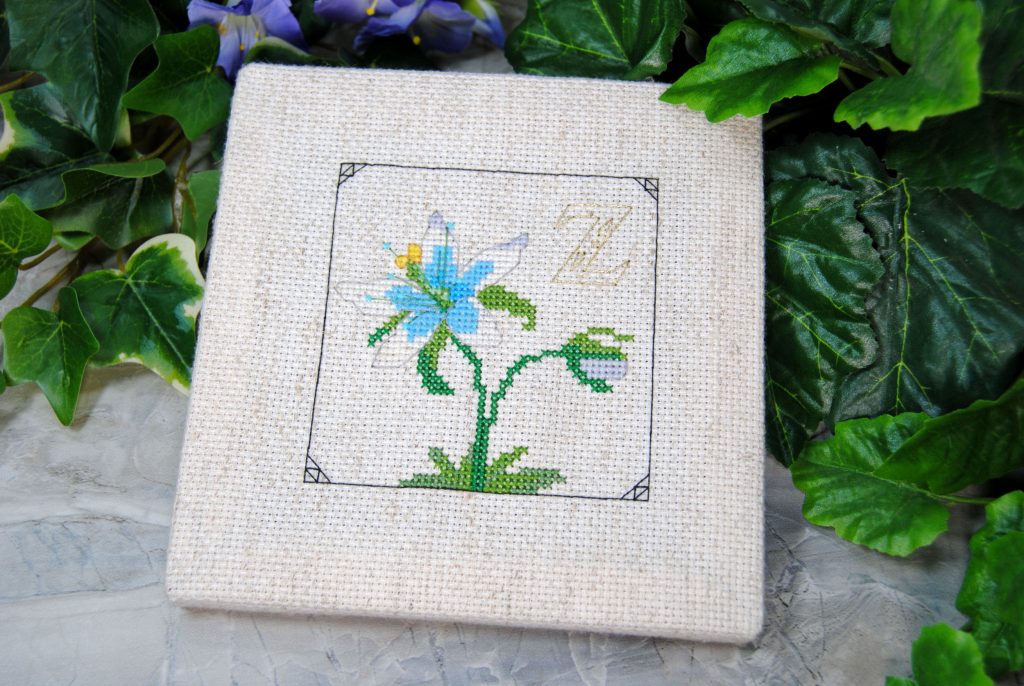
In some cases you can replace french knots with just normal cross stitches! This really depends on what the french knot is being used for, as it may not work to replace a fine detail. But for example, the stamens on this Zelda flower could’ve been topped with french knots. And they originally were while I was designing it! But when I got to stitching I decided to make them full Xs instead. And you’d be none the wiser if I hadn’t told you. Especially since as the designer I can just go back and edit the pattern to match. But honestly, they’d look fine either way.
Another good example would be if a pattern had french knots confetti as scattered stars in the sky or even snow. These could easily be replaced with full stitches!
Skipping French Knots Entirely
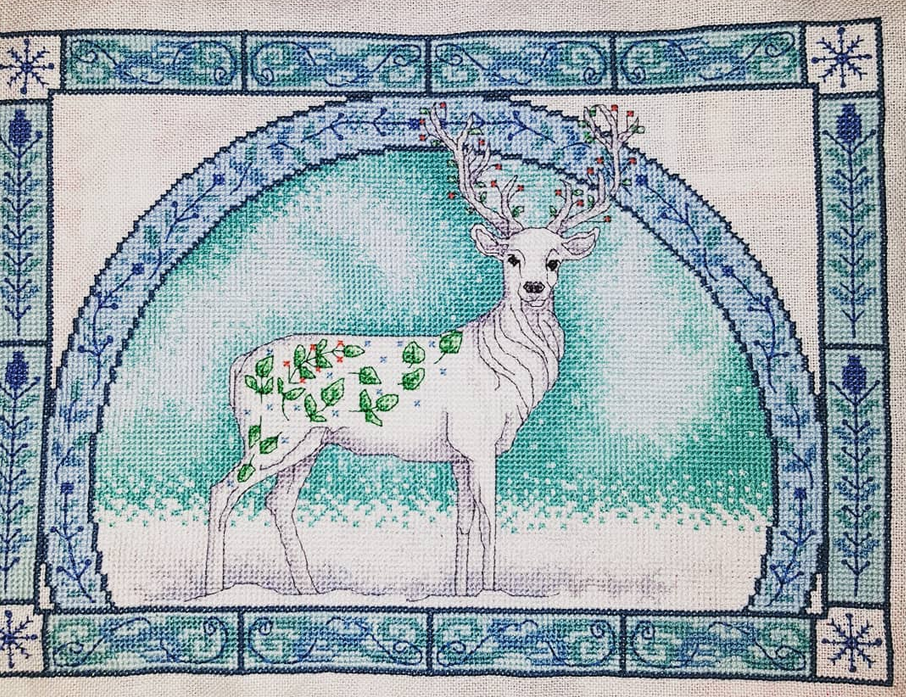
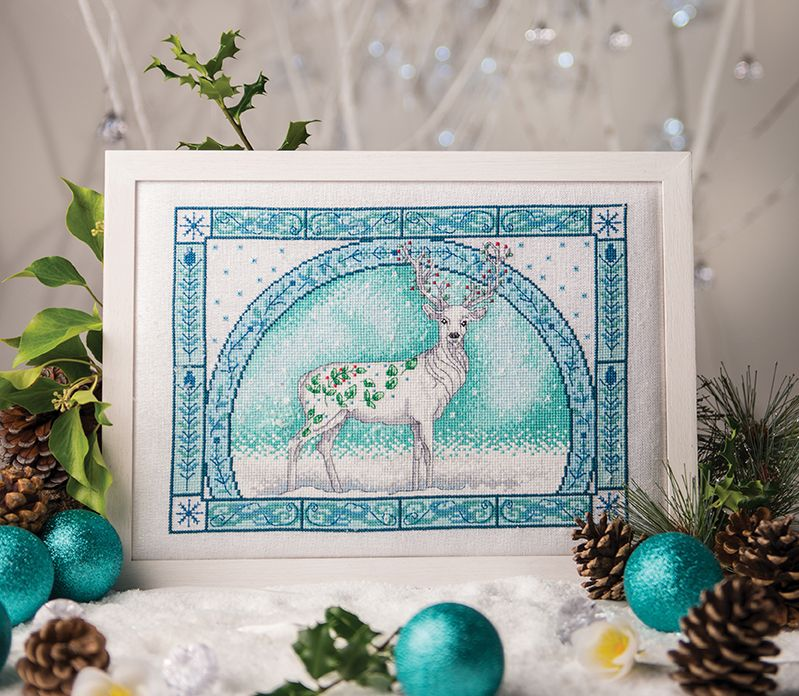
Sometimes you just can’t be bothered, tbh. This gorgeous piece by Jaedia from the Pixel Stitch Discord is stitched from a pattern by Durene Jones that can be found in CrossStitcher Magazine Issue 299.
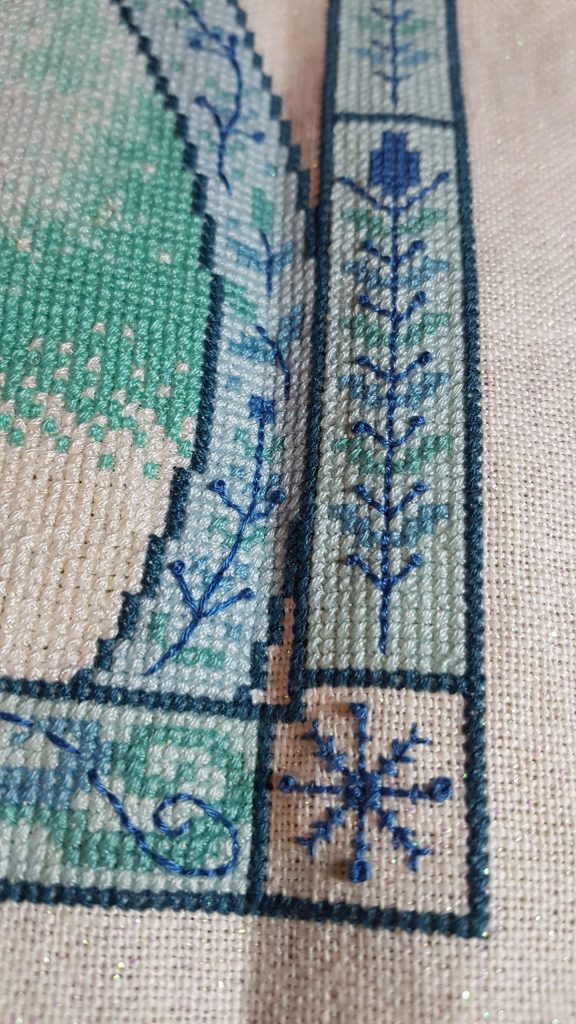
Jae noted that the french knots in the border designs and snowflakes could easily be left off without anyone being the wiser. And I’m inclined to agree. They do add a little flair, but aren’t absolutely necessary. And no one would notice if you left them off entirely.
In fact, you may not have noticed she left off the french knots in its eyes!
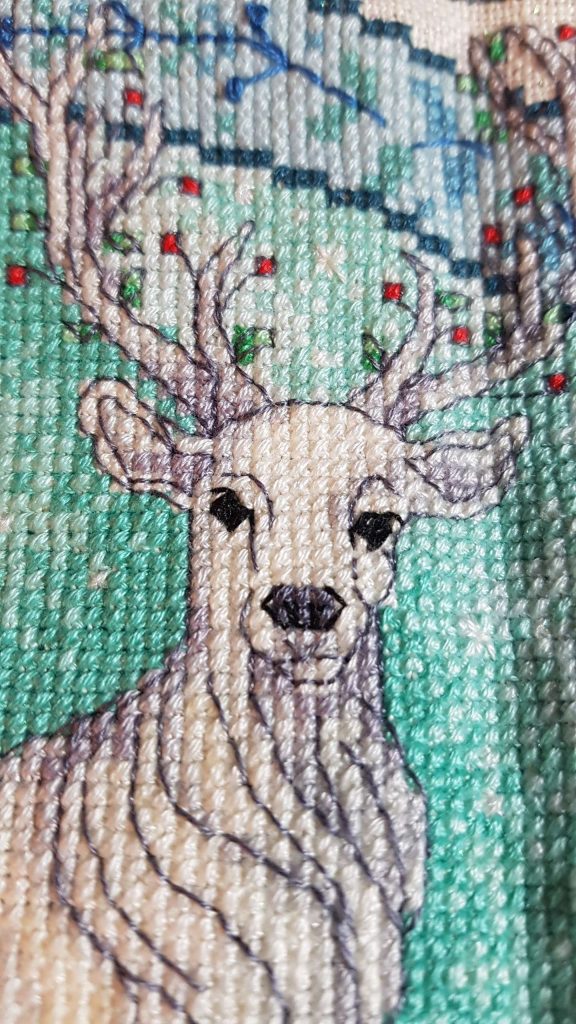
Here’s the promo photo from the magazine, for comparison. I couldn’t find a higher resolution version, but you can still see that there’s two white french dots for eyes. But honestly I would not have noticed their absence if she hadn’t pointed it out.
Of course ultimately it’s up to you if you want to stitch them or not, or how to best replace them. But hopefully this article has given you some ideas on how to stitch them (or not!) going forward.