Flatfold No-Glue Cross Stitch Finishing Tutorial
I’ve been wanting to make a flatfold for a while now, and I’ve looked up all manner of tutorials for it. While I’ve found several, and in several different languages, they all seem to be based on slathering your project with glue. If you’d prefer a no-sew tutorial, I loosely followed the one by Twisted Stitcher.
To be fair, a lot of tutorials have been lost to time, broken images, and outdated websites. So maybe they were out there somewhere. Flatfolds are by no means a new phenomenon, and were rather common in the traditional cross stitch circles.
That said, I haven’t seen any using modern styled patterns yet. So here’s my attempt at a nerdy, no-glue flatfold in which I take a ton of photos as I go so you can try it too. Let’s help keep these finishing techniques alive as we go into this new era of modern cross stitch designs.
This post may contain affiliate links. If you buy something using one of these links, I earn a small commission. However, there is no extra cost to you. Thanks for understanding! Learn more in my Disclosures & Privacy Policy.
Table of Contents
Sizing Your Flatfold
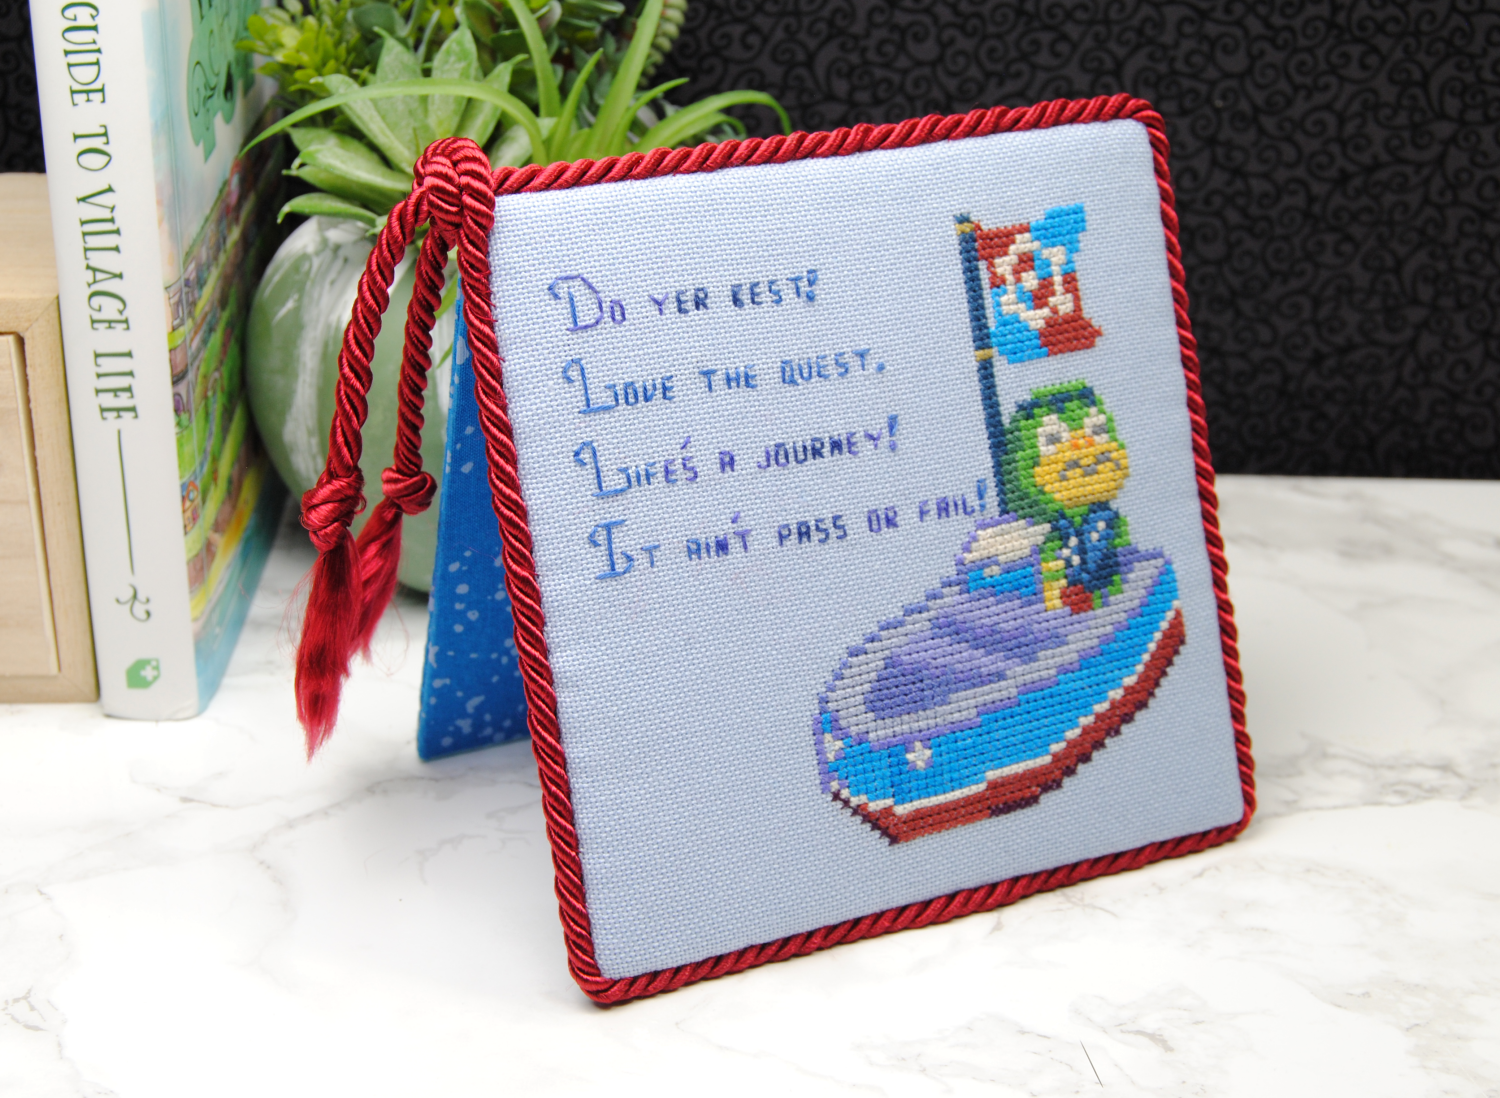
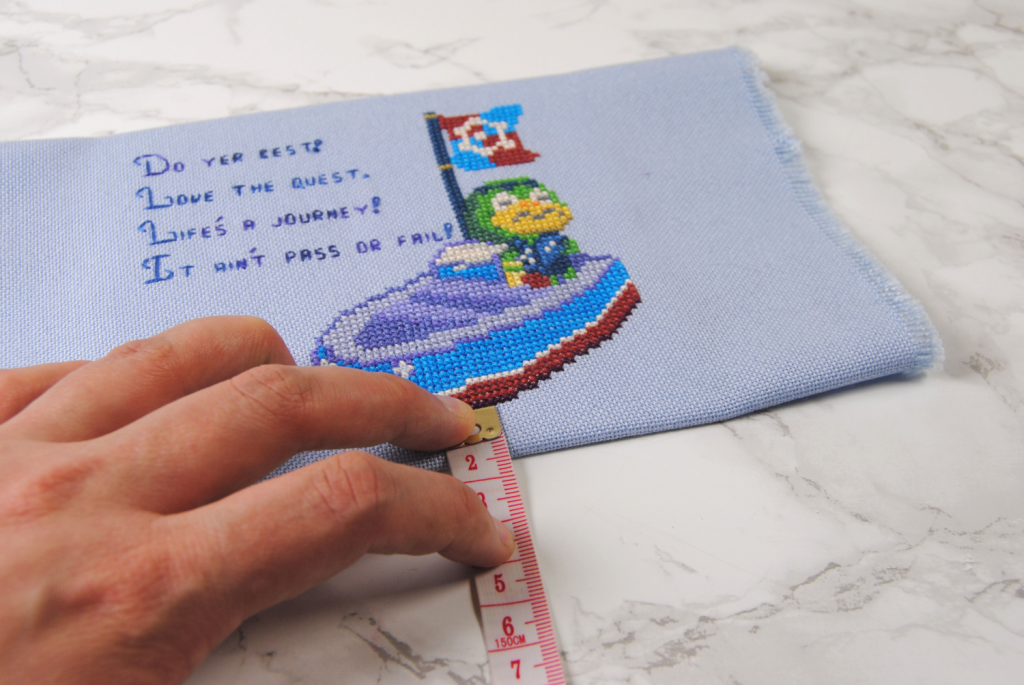
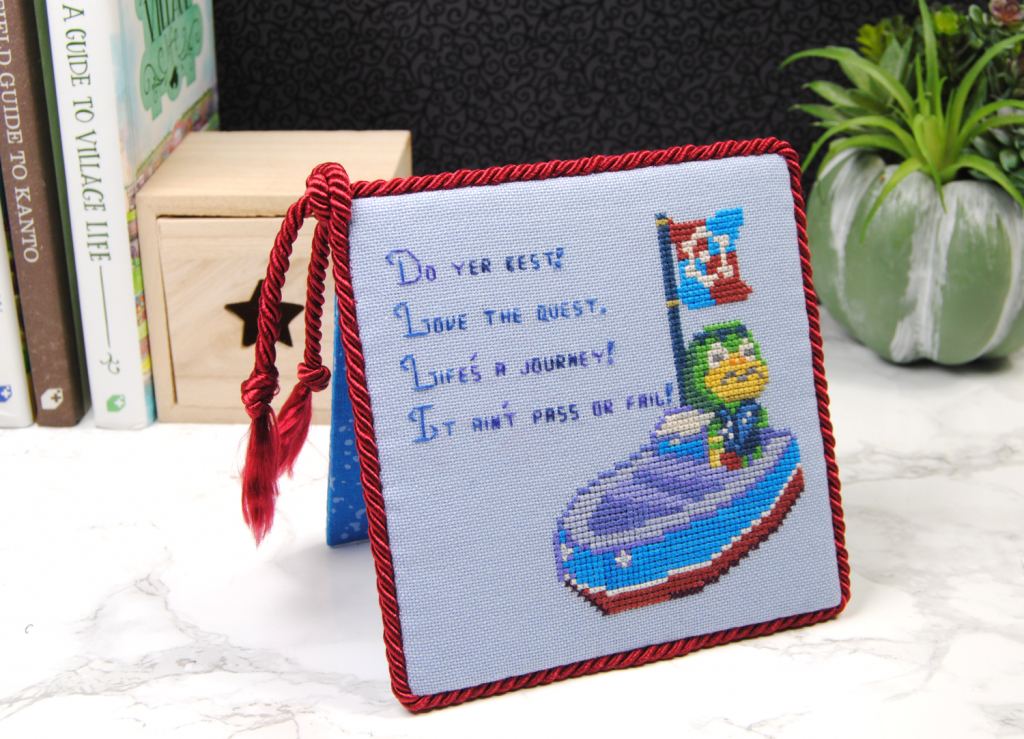
Before we can even talk about materials, your first task is to determine the size of your flatfold. For this example I am using my very own Kapp’n pattern. This pattern is available on Patreon or Etsy. I added one of my favorite quotes to make it a bit more square, but flatfolds don’t have to be square! So keep that in mind while doing the math.
Measuring the stitched area, I determined it was about 4.5″ square. I played around with sizing a bit and decided the flatfold itself would be 5.25″ square. This way, it would have a bit of a border around the stitches.
Materials
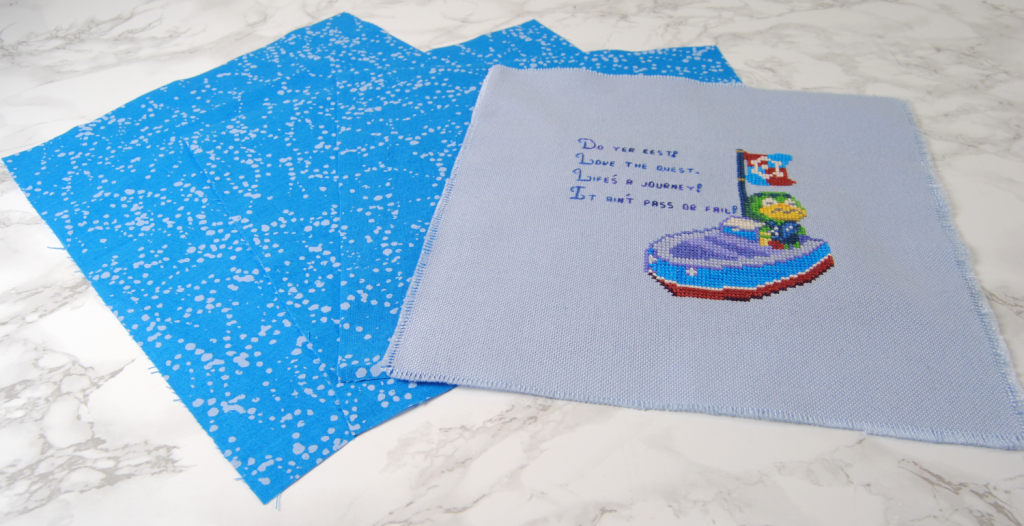
With sizing decided, it was time to cut out my fabric. I added a 2″ border to the size I decided, and then just rounded it out to 9″ squares for ease of measuring. You’ll need to adjust the panels based on the sizing of your stitch, but basically you need 2 backing fabrics the same size as your stitch and one with a little bit extra.
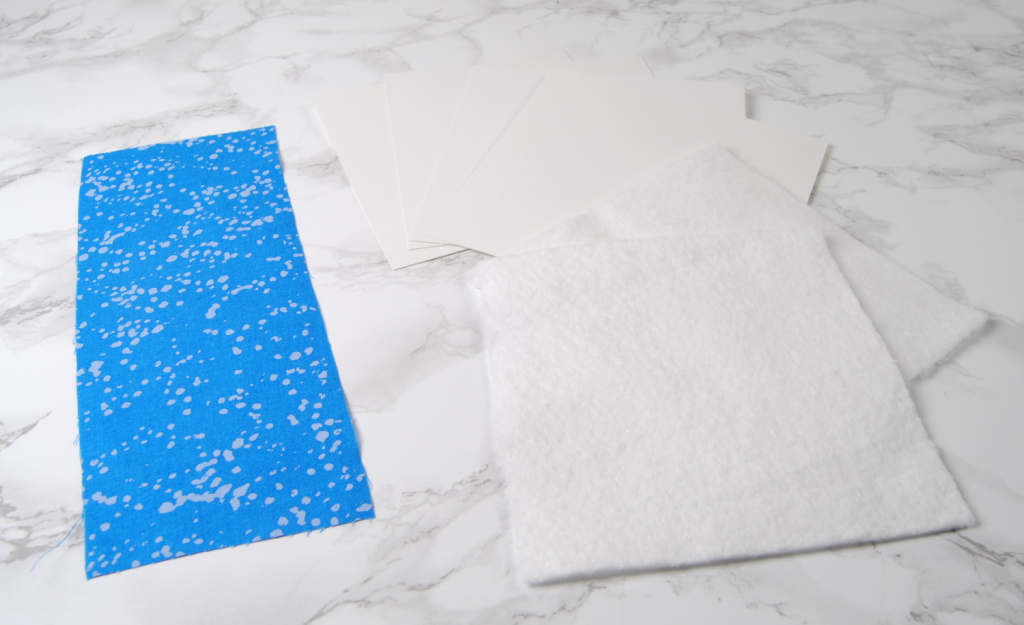
The matboard and cotton batting will be cut to the size you want your finished piece to be. For the board, I used the same comic book boards I use to store my fabric.
After doing some math, I prepared the following:
- 9″x9″ Finished stitch
- Two 9″x9″ matching fabric squares
- One 9″x11″ matching fabric square
- One 4″x6″ matching fabric strip
- Four 5.25″x5.25″ mat board squares
- Two 5.25″x5.25″ cotton batting squares
- Optional: decorative cording
Video Tutorial
Before we get too much further, if you prefer video tutorials, I have one of those now too!
It should have all the same content, but if there’s something that’s not quite making sense written down, feel free to check that out as well.
Preparing your cross stitch
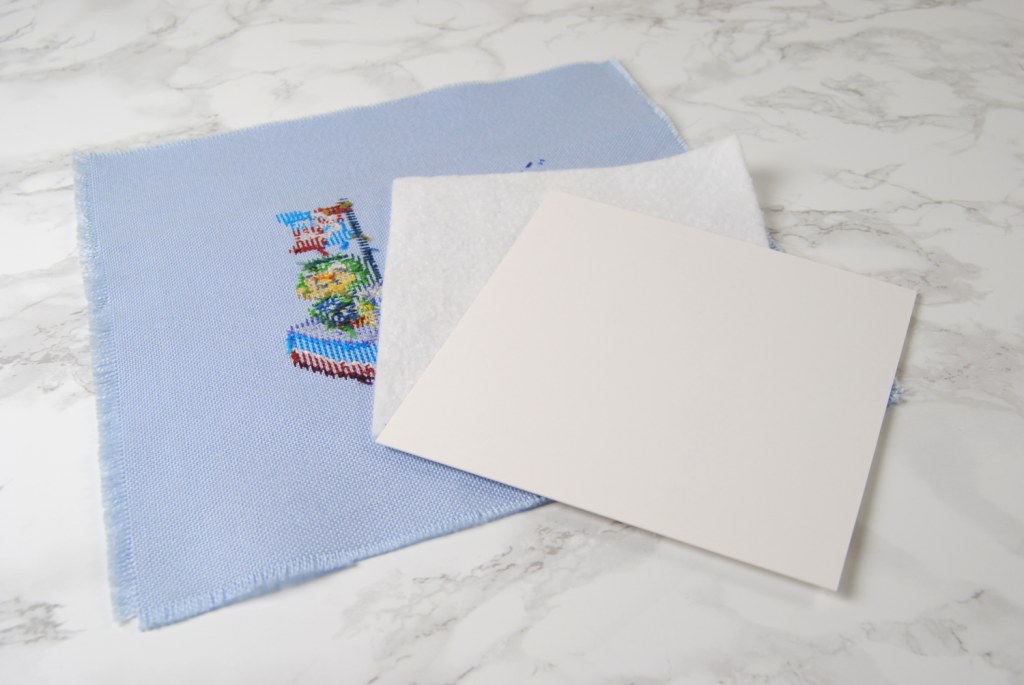
Let’s start with your finished stitch. Go ahead and get one piece of mat board, one piece of cotton batting, and your finished piece together.
Lay the batting carefully onto the back of your stitch, centering it as much as possible. On top of that, lay your square of mat board. Make sure this is centered as much as possible. If you hold your piece up to a light this can be easier to see.
Fold two of the sides over onto the board and iron the sides flat if you can. Then run a loose stitch between the gap in the center, pulling it tight as you go. Try not to pull too hard though, as your thread might break or rip through the fabric.
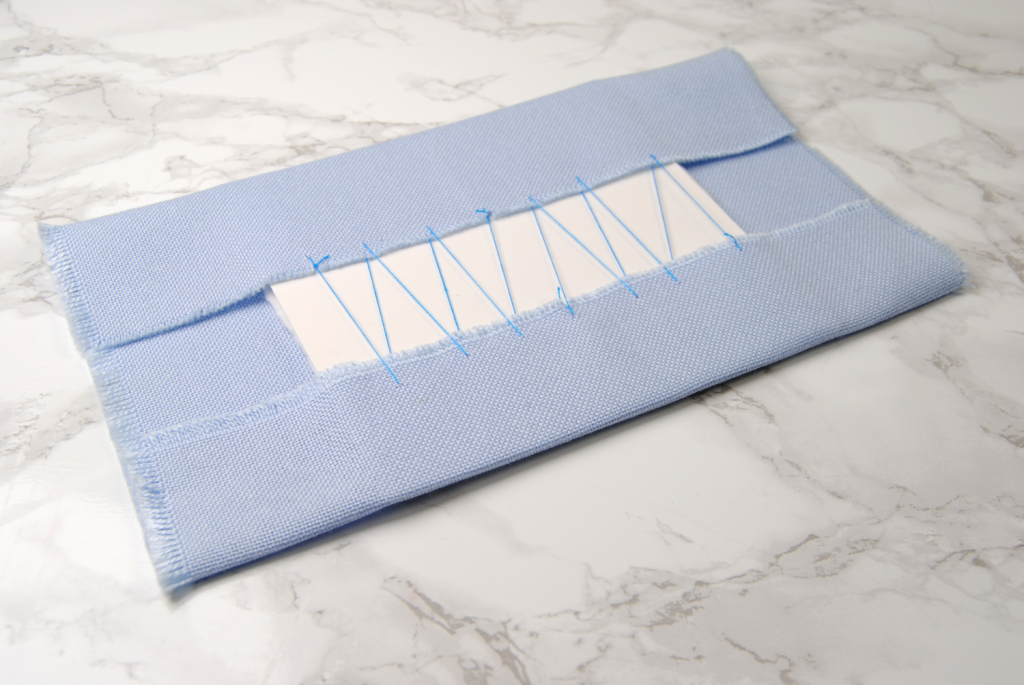
Now’s a good time to double check that it’s still centered. Measure the fabric around your stitches and make sure it’s even on all sides. Fold the other sides over and make sure they’re even too before continuing. If it needs to be adjusted, you should still be able to slide your mat board around carefully.
Now fold the other sides over, iron them in place and stitch across again.
Wrapping your backing piece
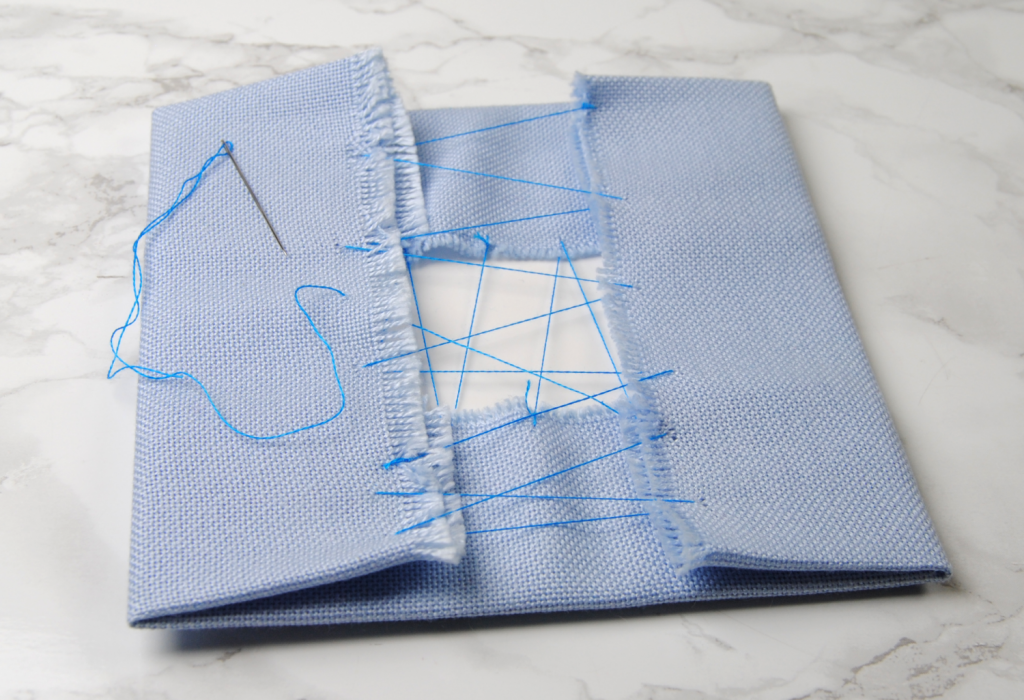
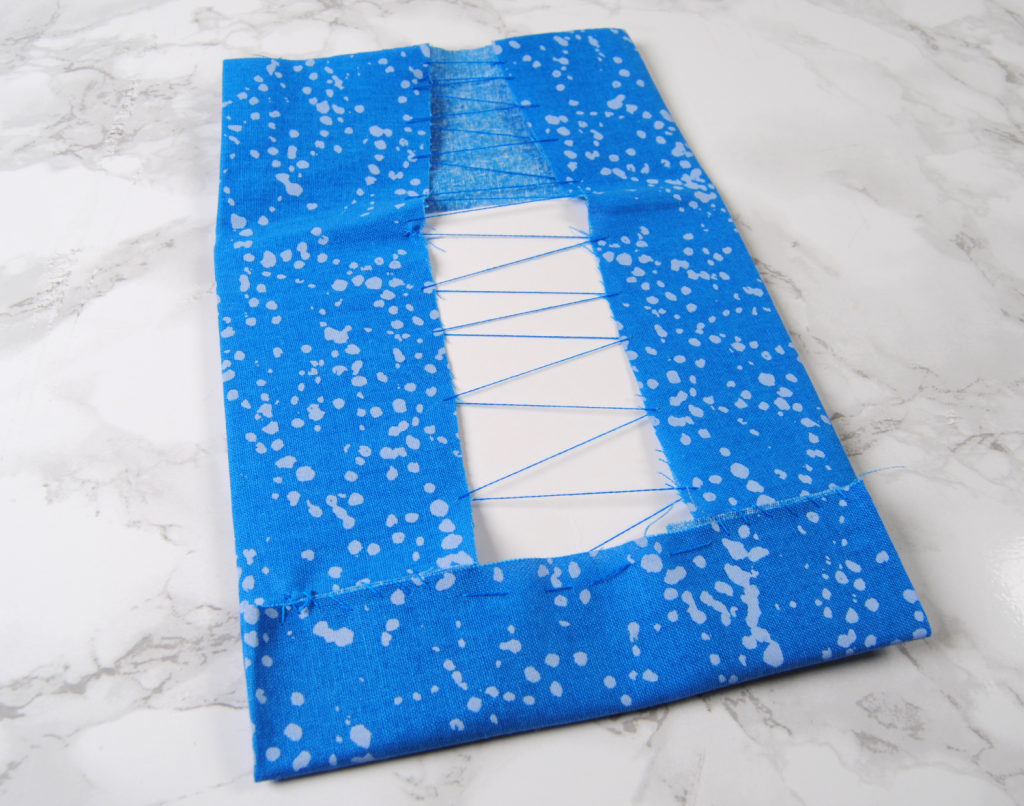
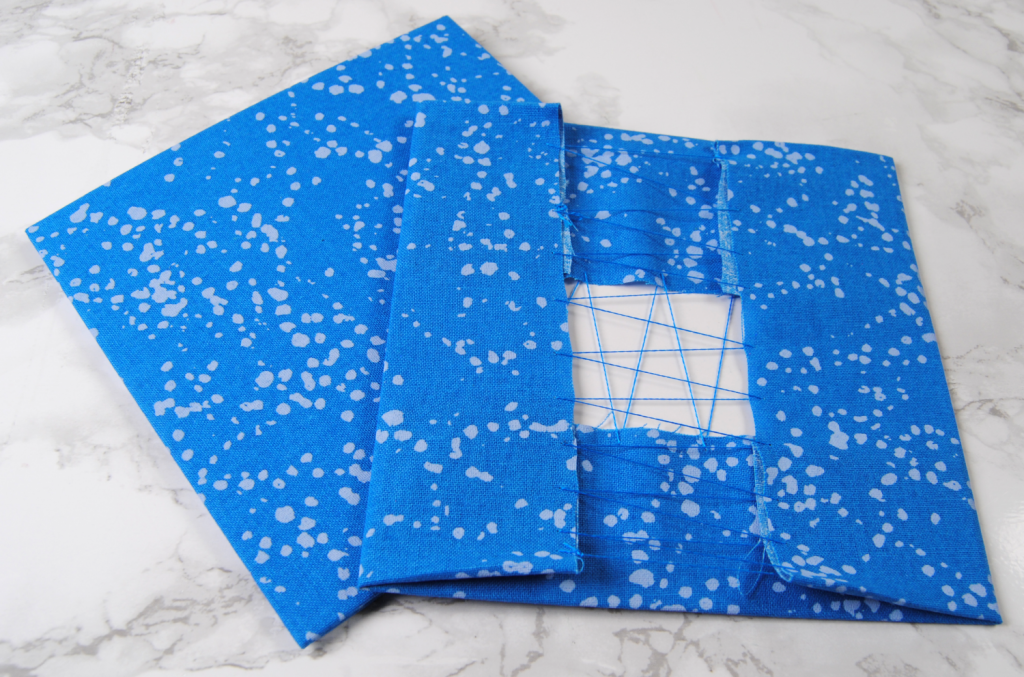
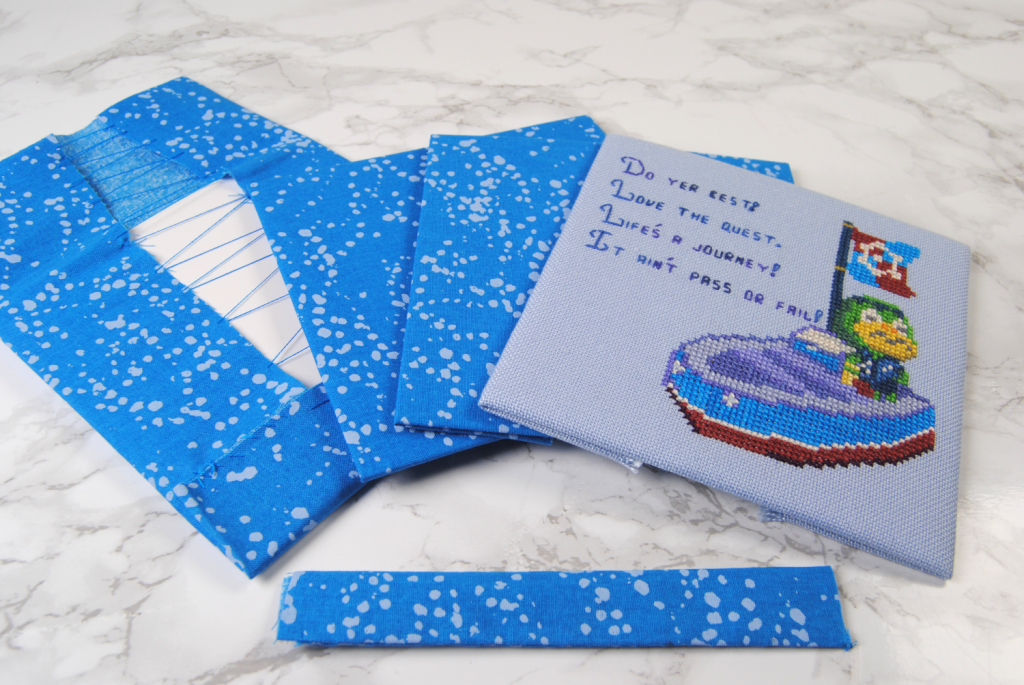
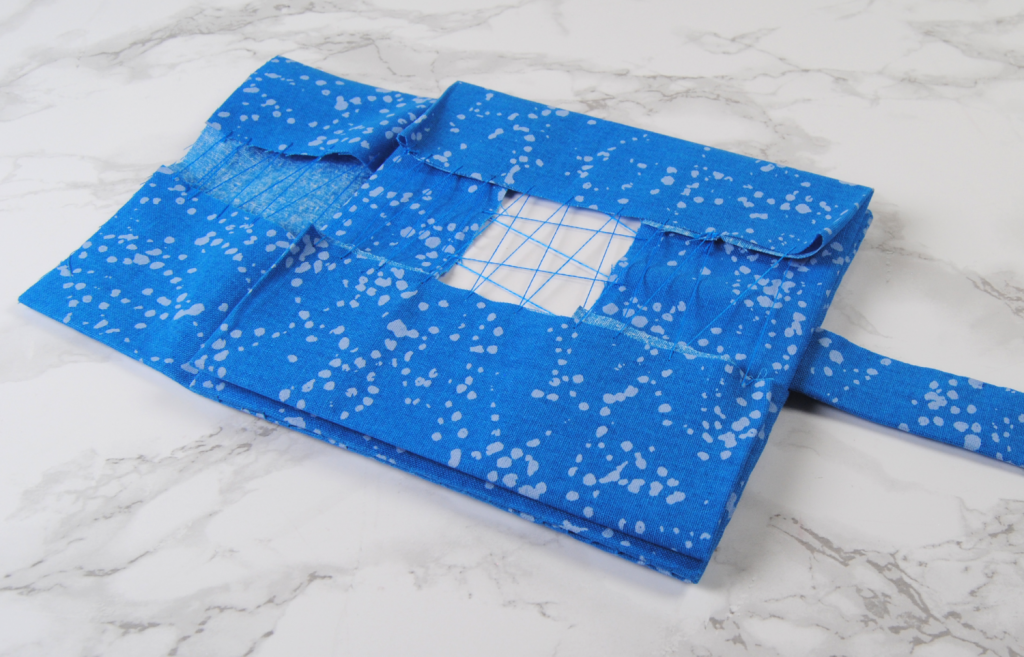
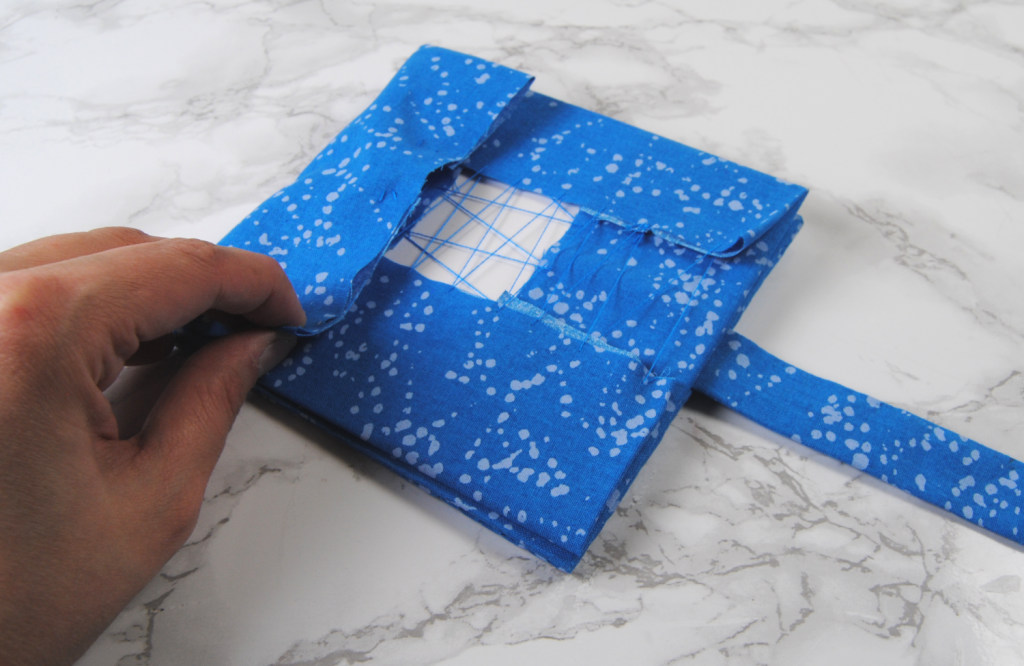
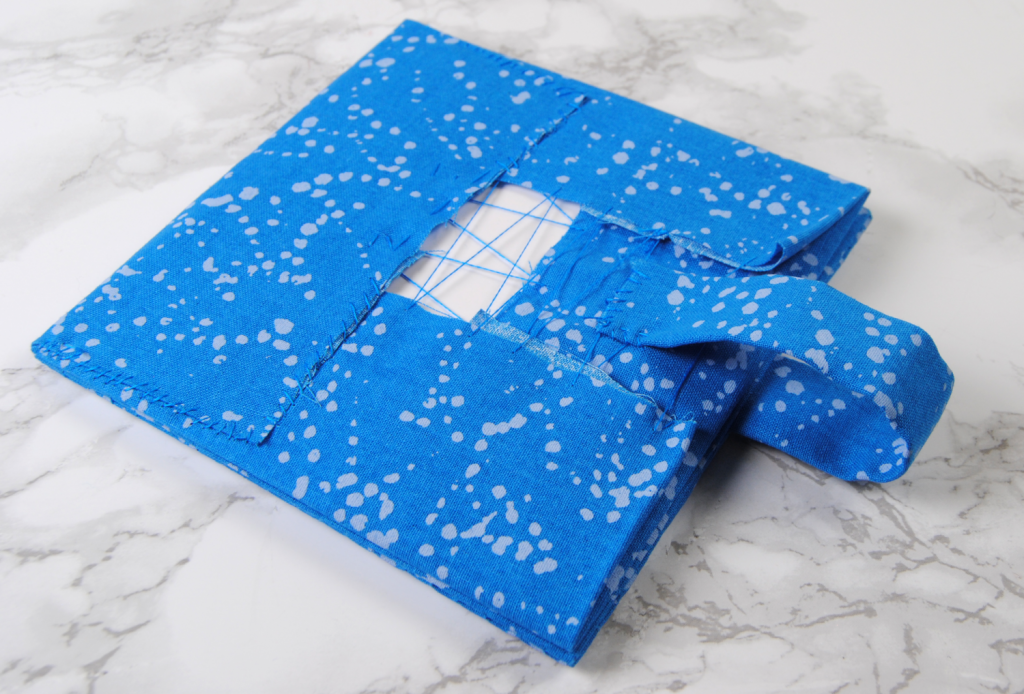
Now take the fabric you cut with an extra few inches on it. In my case, the 9″x11″ piece. Lay your second cotton batting and mat board centered as if that extra 2″ wasn’t there. Fold it over so that it matches the size of your other fabric, if that helps you center it.
Now repeat the stitching you did before, but leave the extra-long flap un-folded. Since I couldn’t stitch across like before, I stitched the side flap to the already folded over fabric. This is a little hard to describe via text, so try and match the photo.
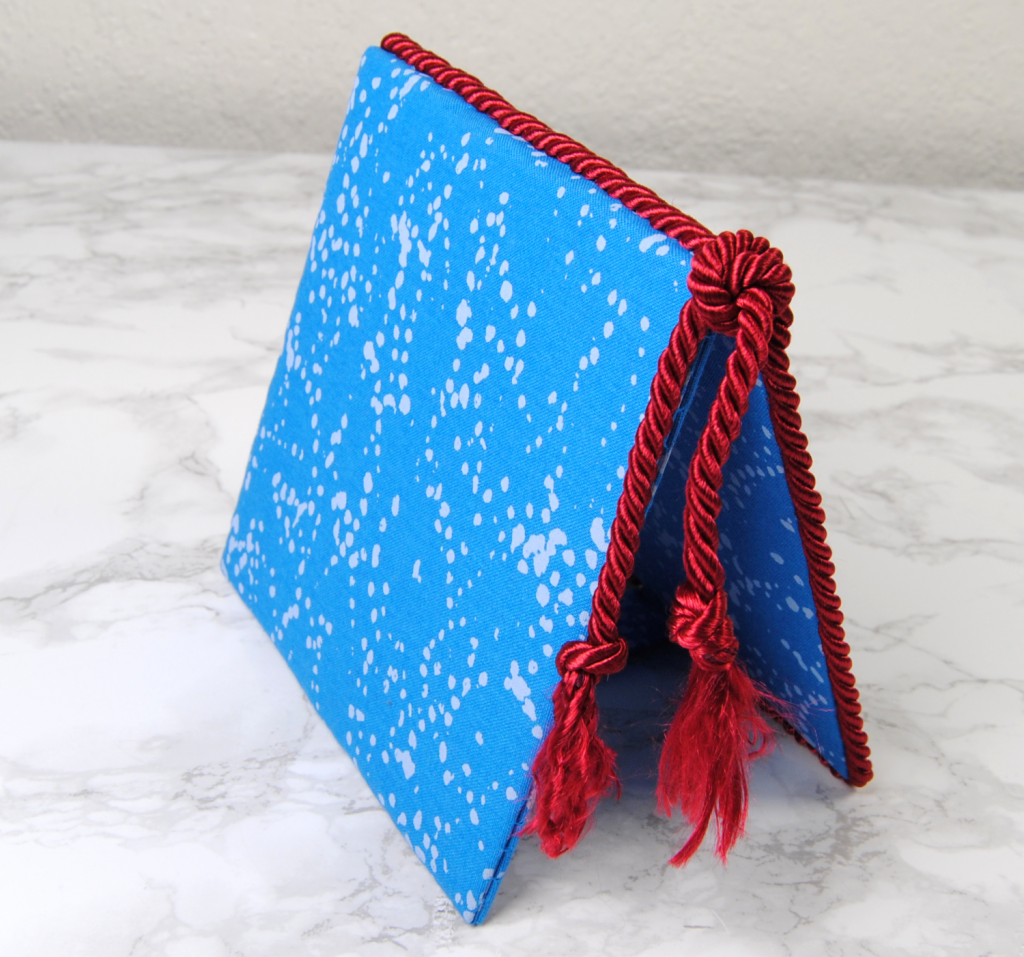
I picked a fabric that is pretty chaotic, so I wouldn’t have to worry about centering it. If your backing fabric has motifs or a more structured design, make sure to take the extra time to get it to line up with the mat board. The extra-long flap will be the top of your flatfold, so keep that in mind.
Prepare the Inside Pieces
With those two out of the way, wrap your last two pieces of mat board with the matching fabric squares. These two will not have batting, and will be on the inside of your finished flat fold.
Creating a Fabric Tongue
This is the last piece before we start putting it all together. It is the little strip of fabric at the base of a flat fold that keeps it the perfect distance apart for it to stand up on its own.
I used a 4″x6″ strip of fabric. It can be longer if needed. For example, a tall rectangular flatfold would need to open up more at the base to stand upright. So adjust accordingly.
You can also make it wider if you prefer that look. In this example, 4″ wide means I’ll end up with a 1″ wide strap. So take the finished width you want and multiply it by 4.
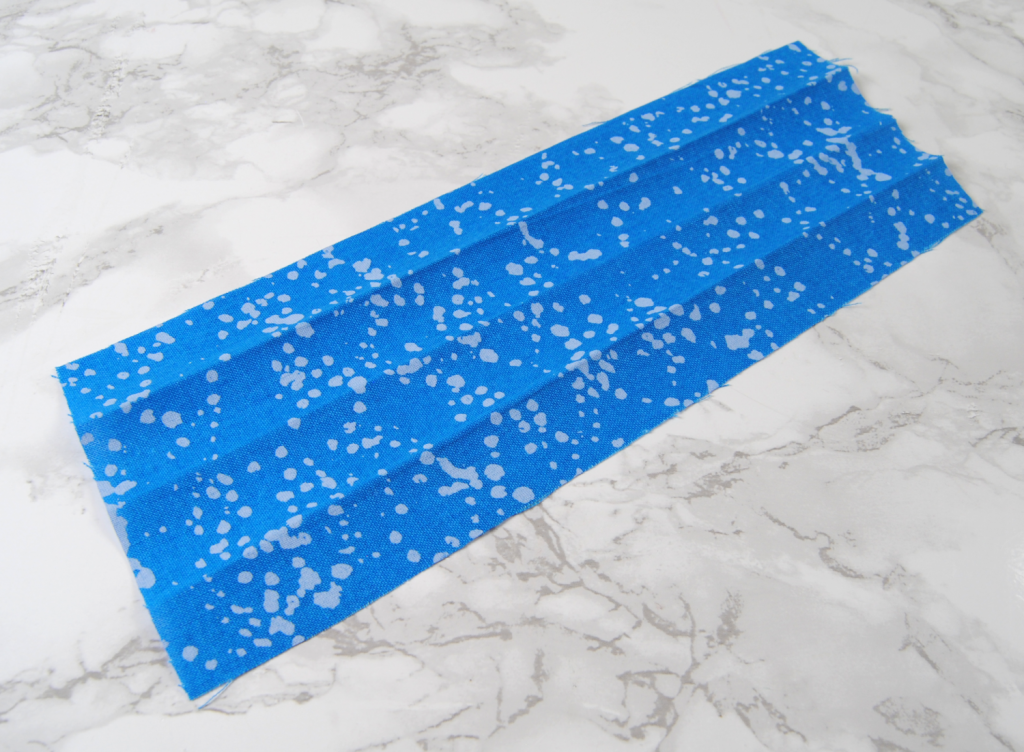
You’ll want to fold your fabric strip into 4ths. An Iron comes in real handy here to make sure it’s even. Start by folding it in half long-ways and ironing the edge to get that nice crease. Then open it back up and fold the edges into that center crease.
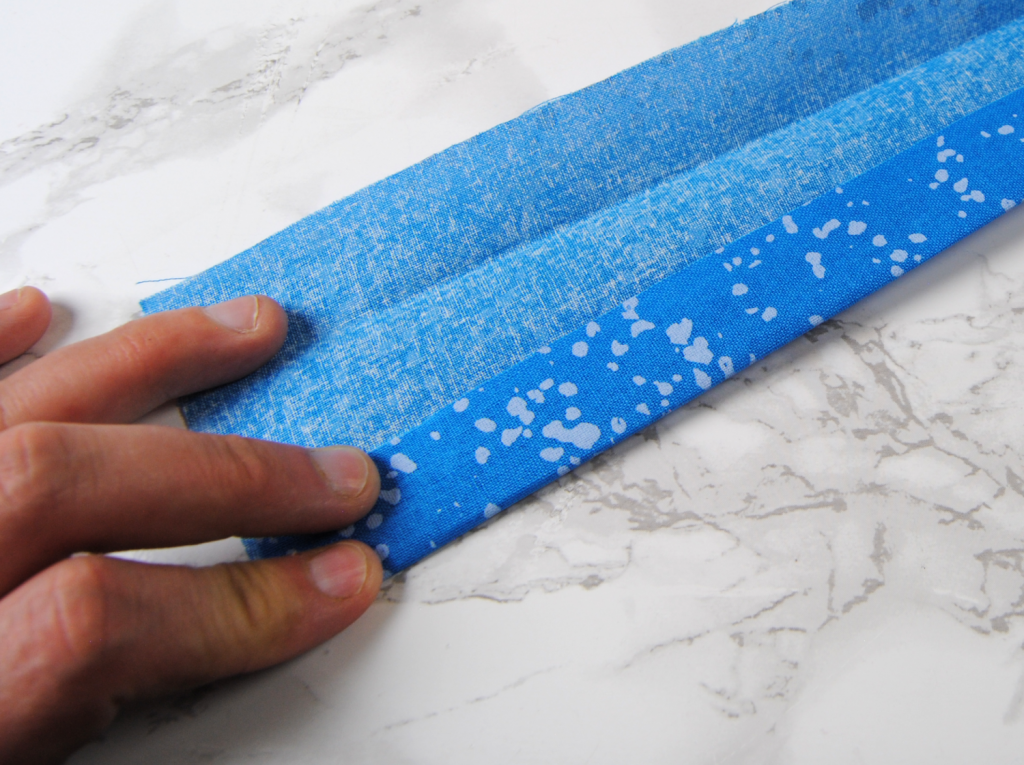
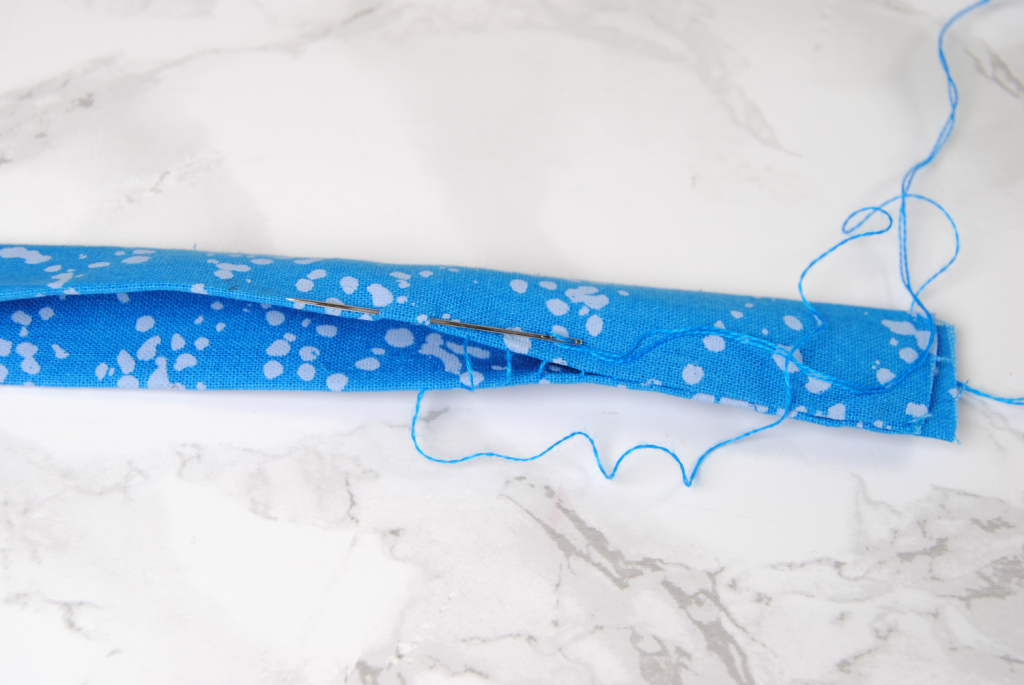
Finally, fold it in half again so the bare edges of the fabric are on the inside. Then use a ladder stitch to sew the seam closed. I’ll be using this stitch a lot for this project, so now’s a good time to practice!
Assembling your Flatfold
Finally it’s time to start putting it all together! At this point, you should have:
- Your finished cross stitch, mounted with batting.
- One backing fabric board with batting and an 3-4″ loose flap at the top.
- Two backing fabric boards without batting.
- One fabric tongue
Back Piece
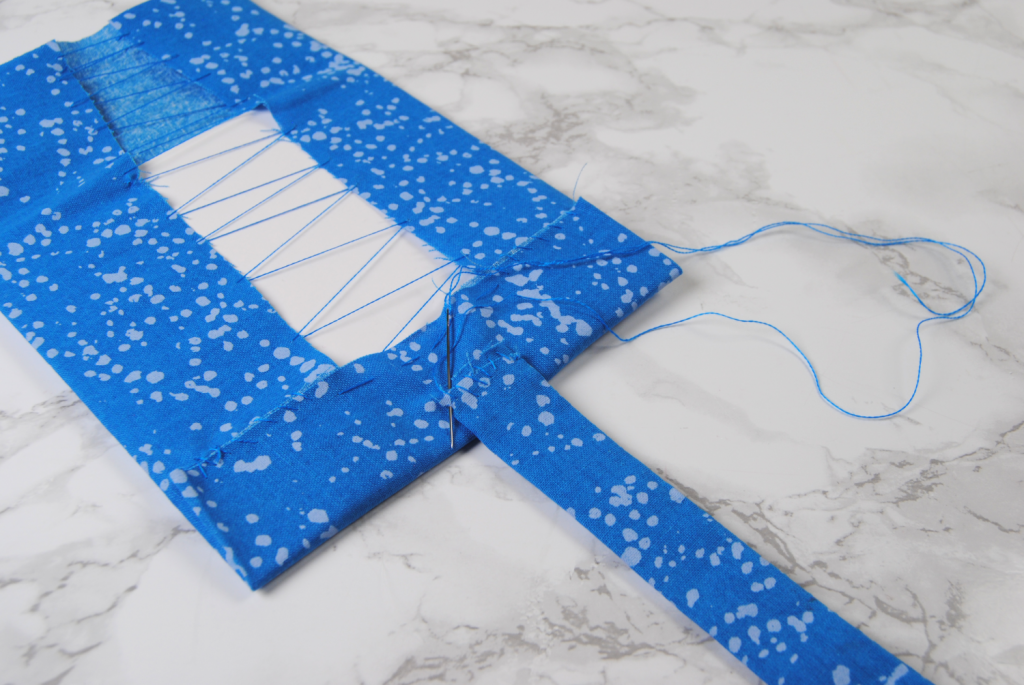
Start with that backing piece that has the extra flap. Attach your fabric tongue to the base of this piece as shown here. This will all be hidden inside the flatfold, so your stitches don’t have to be pretty.
Inside Piece 1
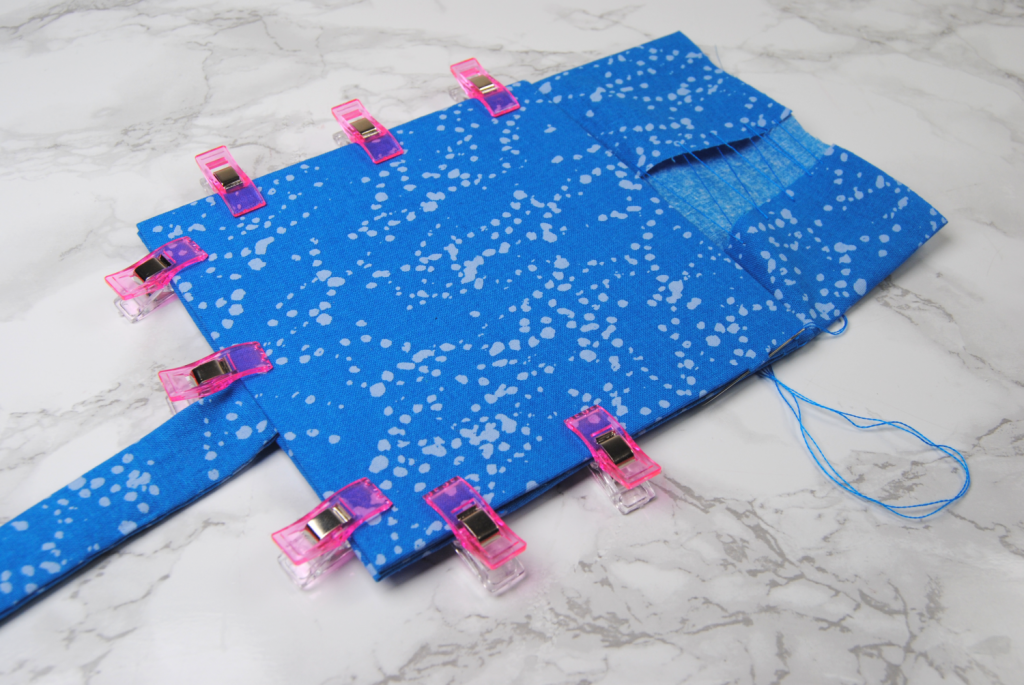
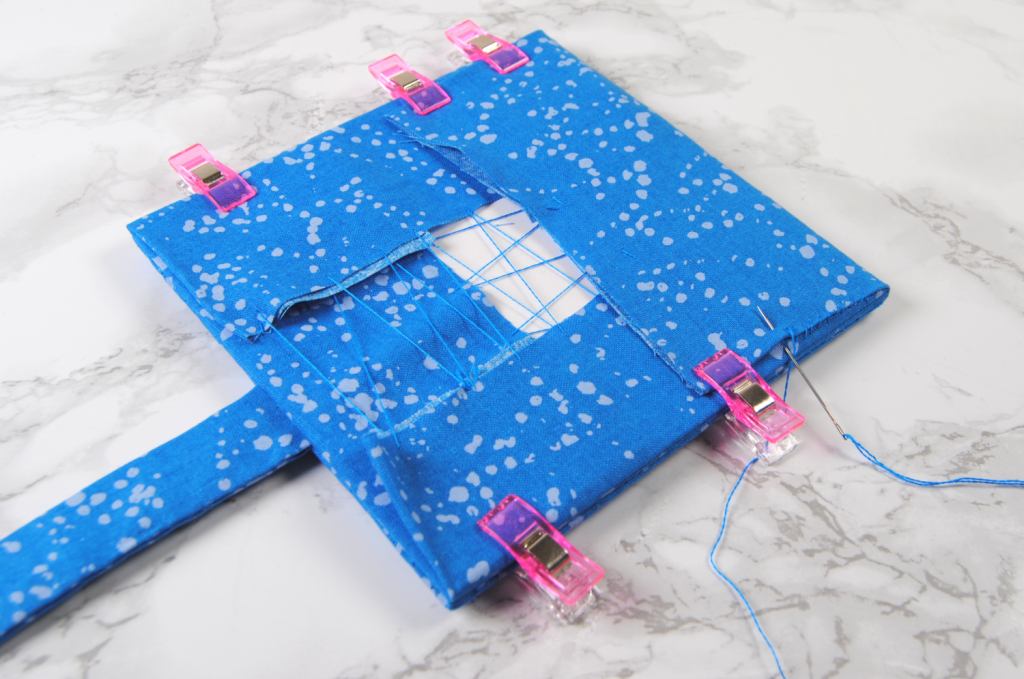
Place one of your inside boards on top of that, right side up. I used Wonder Clips to hold it in place and make sure it stayed lined up as I worked. You could also use binder clips, if you have those on hand instead.
Using the same ladder stitch as before, sew the edges of these two pieces together carefully.
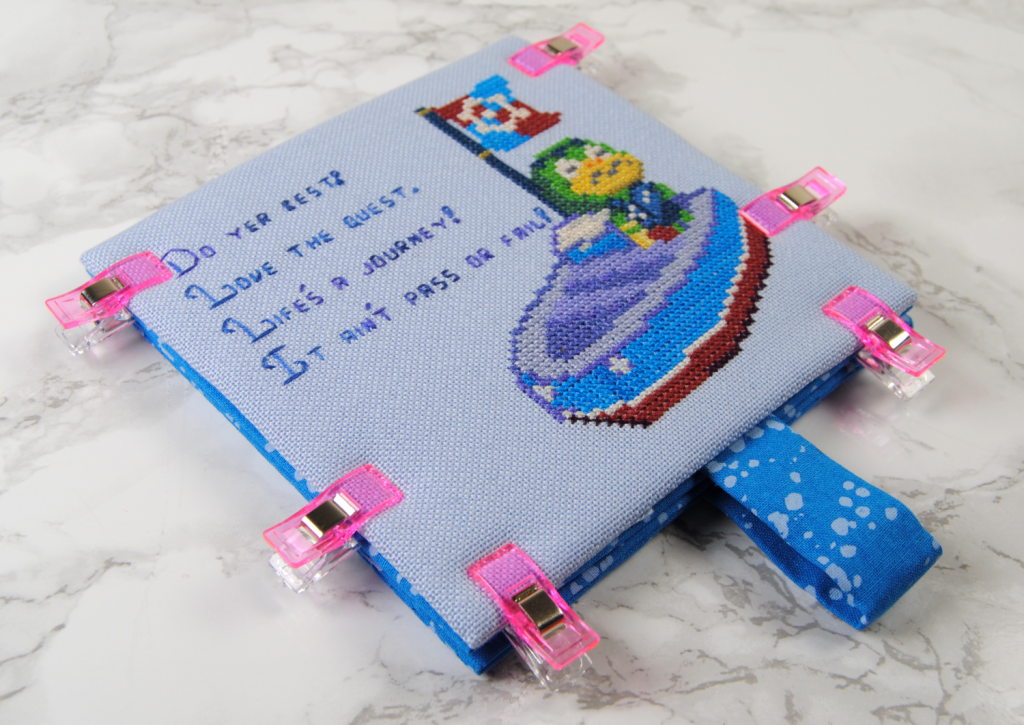
Inside Piece 2
Now, place your second inside piece on top of the other, right sides facing. Make sure it lines up with the other squares and clip it into place if needed.
Fold the flap over and pull it down tightly, clipping it into place. Then sew it into the fabric of that second inside piece, making sure it keep it stretched out so that top edge is as clean as possible.
Fabric Tongue
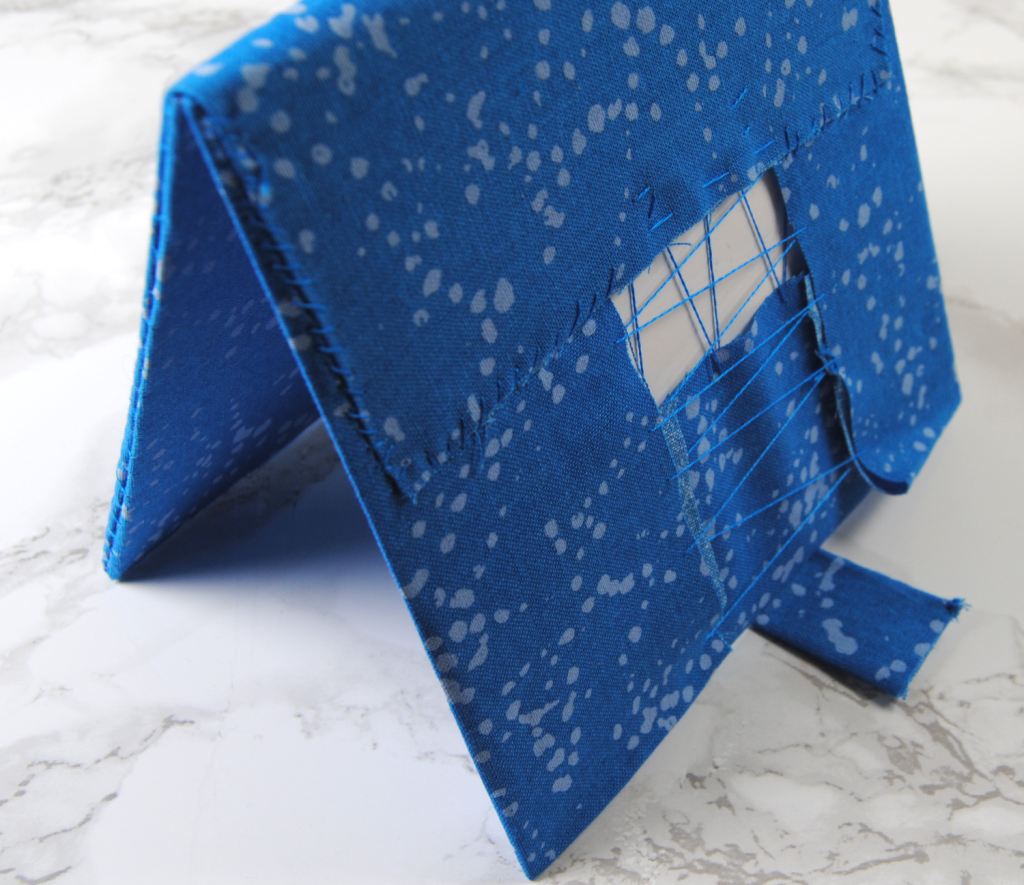
Stand your piece up and decide how far you want it to stay open, making sure your fabric tongue is flat on the table. Your piece should be able to stand up on its own easily. Fold up the extra bit of tongue while it’s standing, and sew it into place
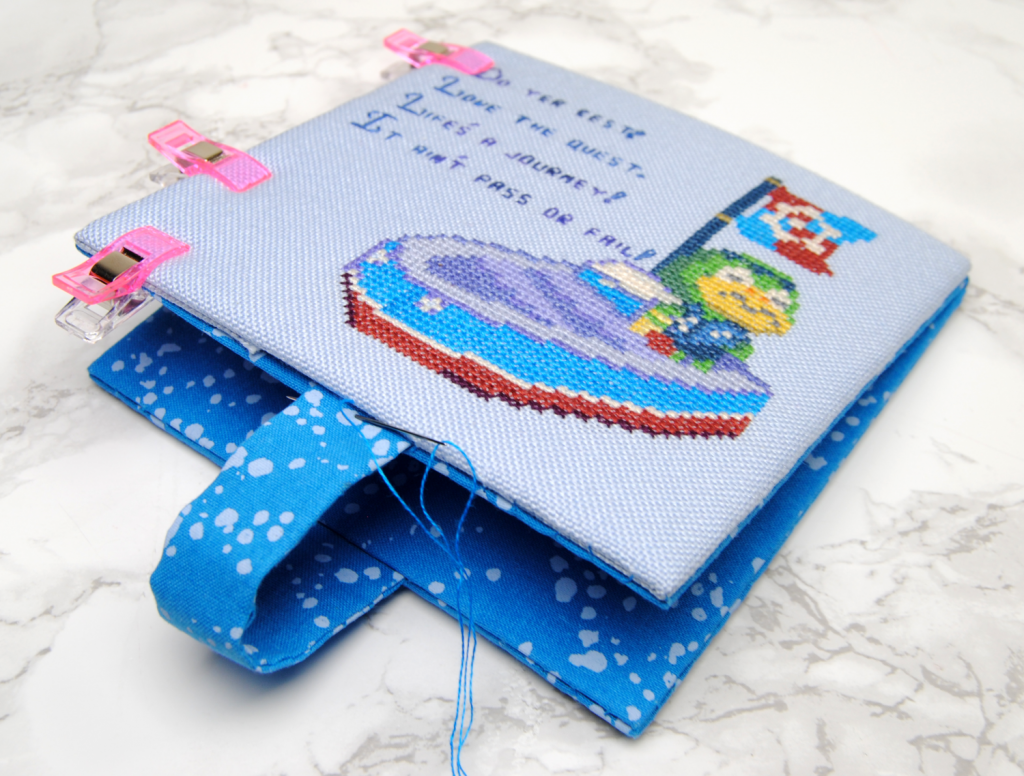
Front Piece
Finally, place your cross stitch piece on top of your bundle and clip it into place. Make sure the piece lines up with everything below it, and that the fabric tongue is at the bottom of your stitch.
Sew your stitch to the second backing piece, sewing through the fabric tongue where needed.

Now it’s technically done and should be able to stand up all on its own! You could just leave it as-is, or you can decorate it a bit.
Decorate your Flatfold
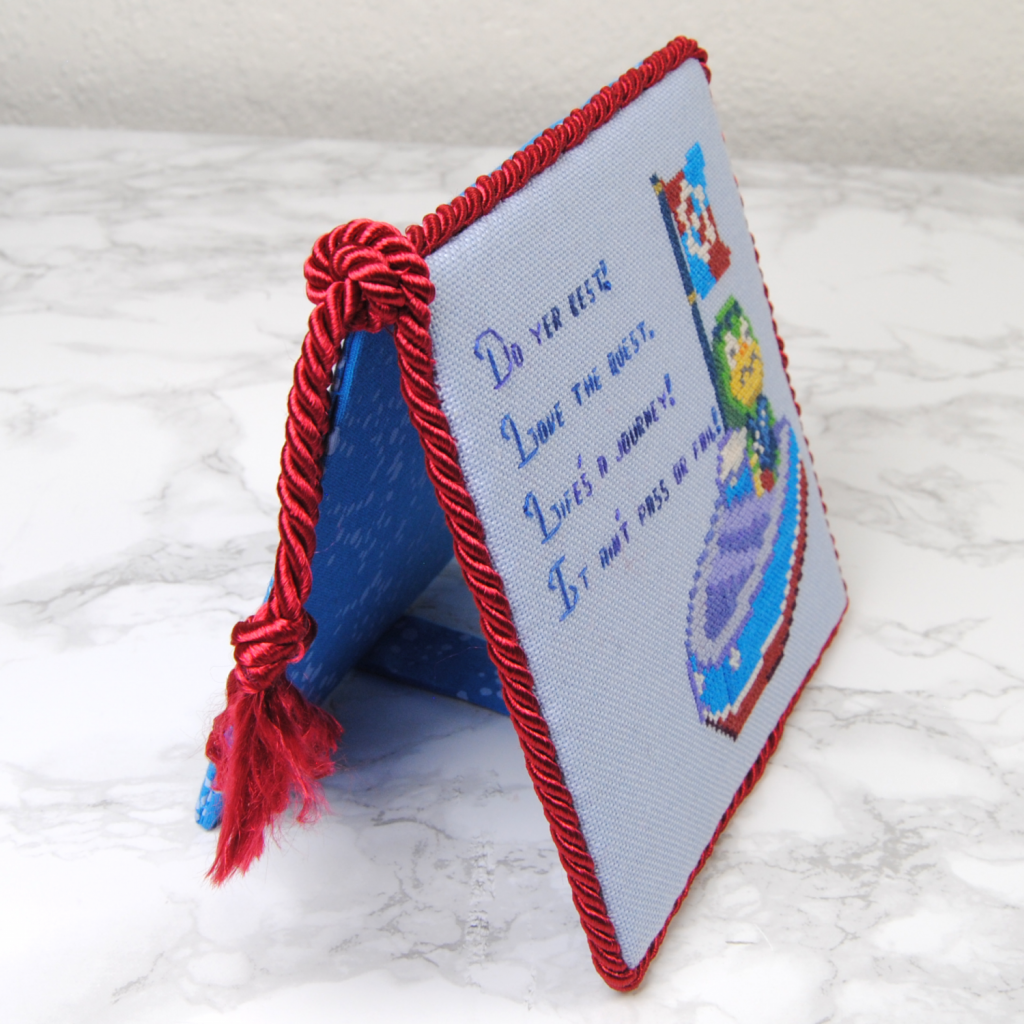
I’ve seen a lot of fun flatfolds around the internet, but as this was my first one I didn’t want to get too fancy. I decided to just border it with cording like the tutorial I was following. Luckily I had some dark red cord that kinda matched the accents on Kappn’s boat, so I went with that.
Leaving a 5″ tail at the top left corner, I sewed the cord around the edge of the flat fold. I used a matching color thread so that I could just lay it into the grooves of the cord and have it blend in.
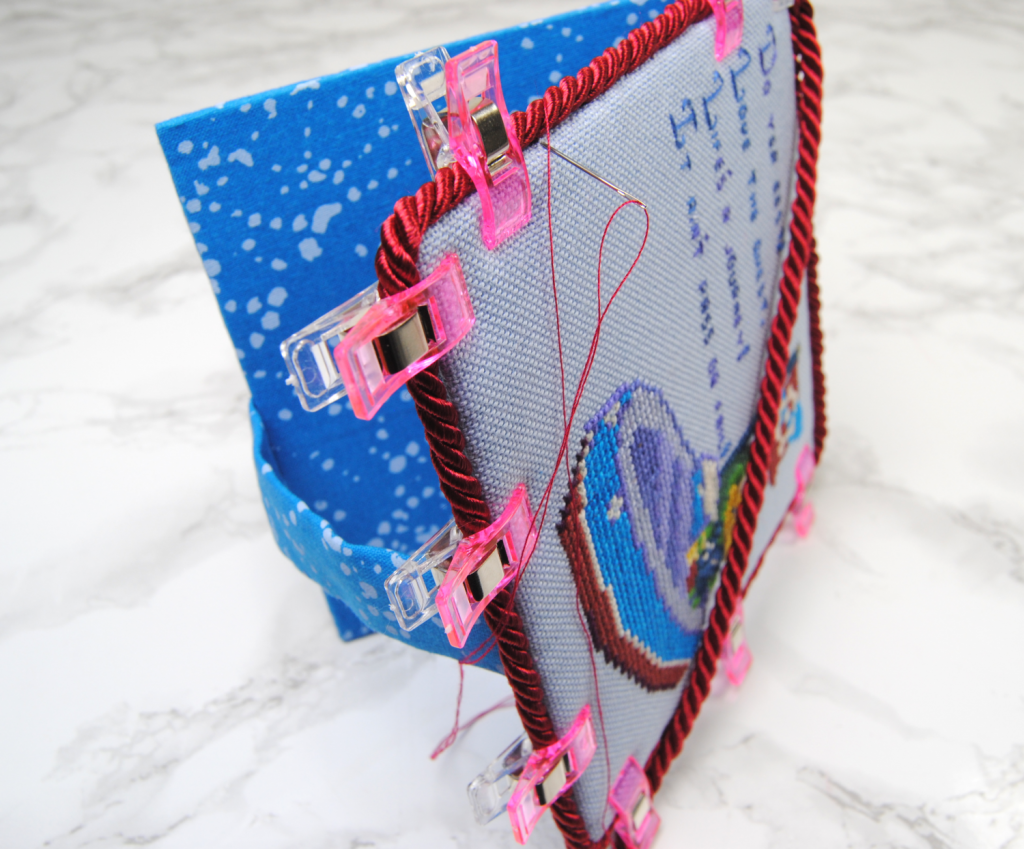
Once I got back around to the top left, I tied the cord in a knot around that extra length I had left in the beginning. I sewed the knot into place just to make sure it wouldn’t loosen over time. Then I tied knots about 2.5″ down from the corner and trimmed off the cord about an inch from that knot.
The ends instantly unraveled, creating a makeshift tassel. I really should have brushed and trimmed those tassels before taking all my photos. But you know, hindsight and all that.
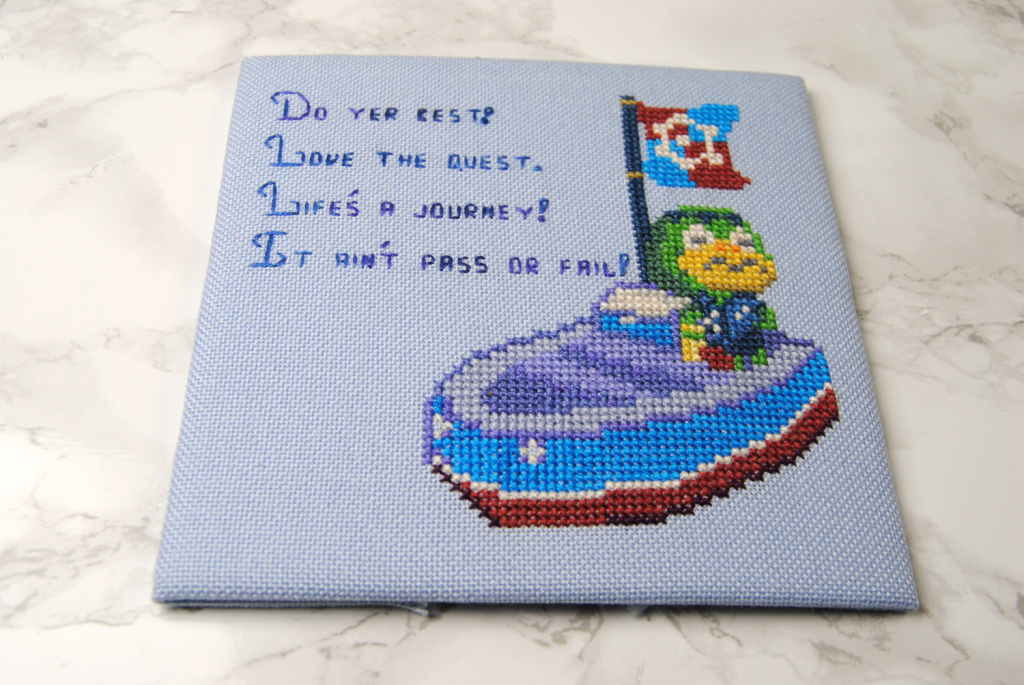
The Finished Flatfold
I really like how that knot spiral turned out on the corner. The tassels could use some work, though.
I thought about adding a ribbon bow or something, but decided I liked the relatively plain border as-is. Maybe next time I’ll do some more experimenting!
I’m pretty happy with how it turned out, all things considered. It’s a great first attempt! If you try this out and have some suggestions better ways to do things (without glue!), please let me know!


