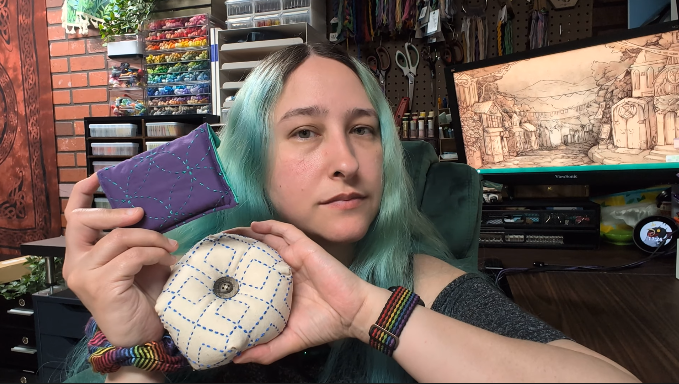
Learning Sashiko as a Cross Stitcher
What is Sashiko?
Simply speaking, Sashiko is a Japanese embroidery technique originally used for mending and reinforcing textiles. Nowadays it has become a more decorative stitching style.It’s primarily known for using small running stitches to create intricate geometric designs. The most recognizable option being white thread on indigo fabric.
Beyond that, I’m not qualified to teach you about the origins and history of this craft. I’m a beginner too! If you’d like to learn more about its history, I recommend looking at articles and videos written by Japanese artisans of the craft, such as Atsushi Futatsuya of UpcycleStitches.
Prefer video? I’ve got a vlog about this very journey over on YouTube as well! I go over a lot of the same stuff there, so it’s just aboutwhichever format you prefer.
Cross Stitch Skills that Carry Over
One thing I do feel qualified to discuss is cross stitch — as I’ve been doing it for 30+ years. But these two crafts aren’t really comparable. Sashiko is very different from cross stitch. You’re likely not even using the same materials. For Sashiko you’re ideally using a thicker ply thread, a looser weave fabric, and even a much longer needle. But there’s a few things that do carry over.
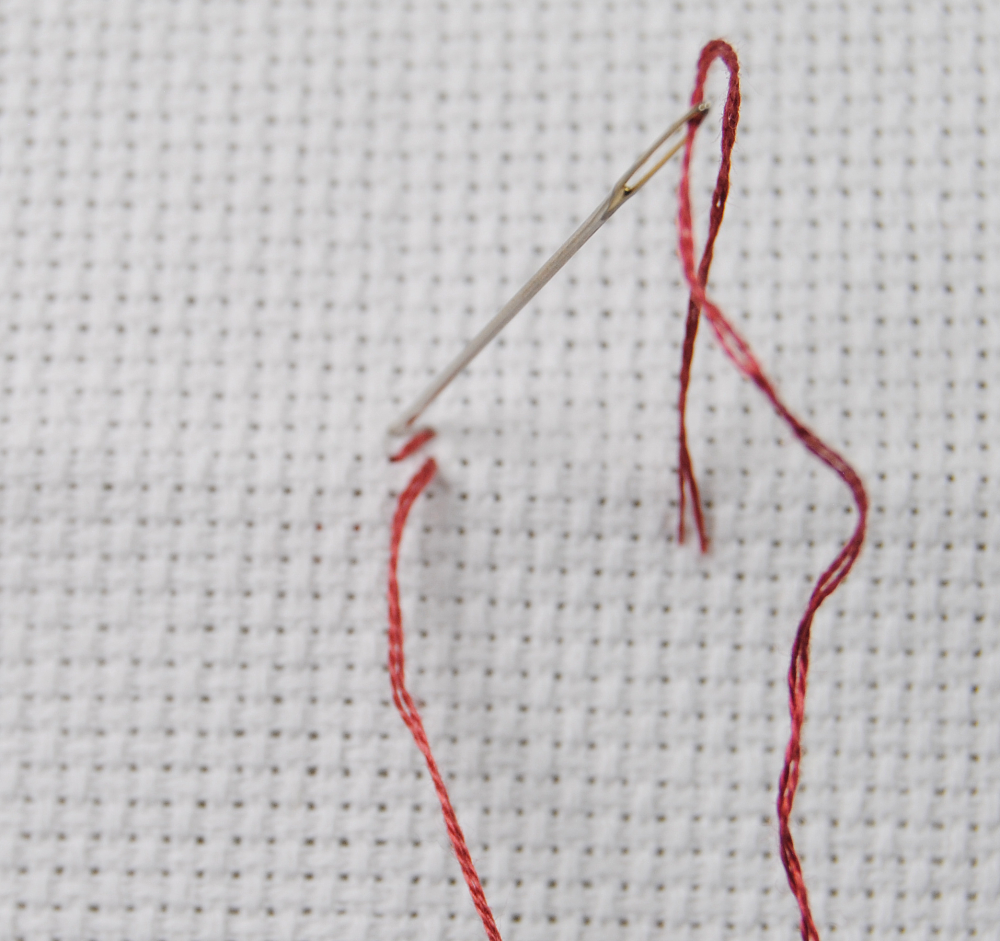
Needle control
It seems basic, but if you don’t remember what it was like when you first started learning to work with a needle… there’s definitely a learning curve! The muscle memory you’ve built up with cross stitch or other textile crafts does carry over.
Being able to thread a needle easily or being able to guide the needle up from the back accurately without looking may not feel like a skill you’ve really learned but it’s something that really does come with time. This skill translates wonderfully to all sorts of hand sewing and embroidery techniques regardless of what craft you originally learned it for.
However, in cross stitch you’re often going straight up and straight back down, whereas in Sashiko you’re queueing up a number of stitches on your needle in a more rocking motion. Quite different from the usual cross stitch unless you’re a fan of the sewing method. Still, being generally comfortable with needle and thread will be helpful in learning any new craft involving those tools whether you realize it or not.
Patience
This might feel like a cop out, but in this modern age of small attention spans patience is an important skill as well. And one thing you definitely learn as a cross stitcher is that hand stitching takes TIME. So much time.
In fact Sashiko is going to feel sooooo much faster to you as a cross stitcher as it would to someone trying it as their first textile craft. Whether you take your time and focus on making your stitches even or just breeze through without worrying about it too much. Sashiko is a much quicker embroidery style! Which is honestly a nice change of space from the relatively slow cross stitch process.
Regardless of how little Sashiko actually has in common with cross stitch, I was ready to give it a go! So it was time to do some research.
This post may contain affiliate links. If you buy something using one of these links, I earn a small commission. However, there is no extra cost to you. Thanks for understanding! Learn more in my Disclosures & Privacy Policy.
Sashiko Resources
So you’re interested in trying it yourself, let’s talk about resources. While not an exhaustive list, here’s some of the tutorials, patterns, and videos I found useful during my experiment!
Tutorials/Demonstrations
There’s a whole lot more tutorials and videos listed on my Floss Adventure site, but below are the ones I referenced during my own adventure.
Free Patterns
I haven’t tried any of these yet, as I ended up using the printed patterns I already had purchased. But they’re on my shortlist to try as my next Sashiko project, and you might find them useful as well!
- Otherwise Amazing – Sashiko Coasters
- The Spruce Craft – Sashiko Patterns
- Create Whimsy – Sashiko Ornaments
- Little Dear Tracks – Sashiko Placemats
Books
I had picked both of these up through humble bundles over the years and finally sat down to read them. They were quite insightful! Both felt very surface level and and thus beginner friendly. And they had a number of patterns available for me to pick from if I so chose. I’ve already got a few earmarked for future projects.
This last one I haven’t read yet but it was recommended by one of my Patrons. It’s not a pattern or tutorial book, rather it tells more about the history and philosophy behind Sashiko.
Materials I Used
Now for the fun part — my own exploration of this craft! Let me share with you the materials I used and my first couple of projects. Because I’ll definitely get some things ‘wrong’ and it will still turn out just fine. Hopefully this helps you feel more confident about trying it yourself instead of worrying about making mistakes!
Needle & Thread
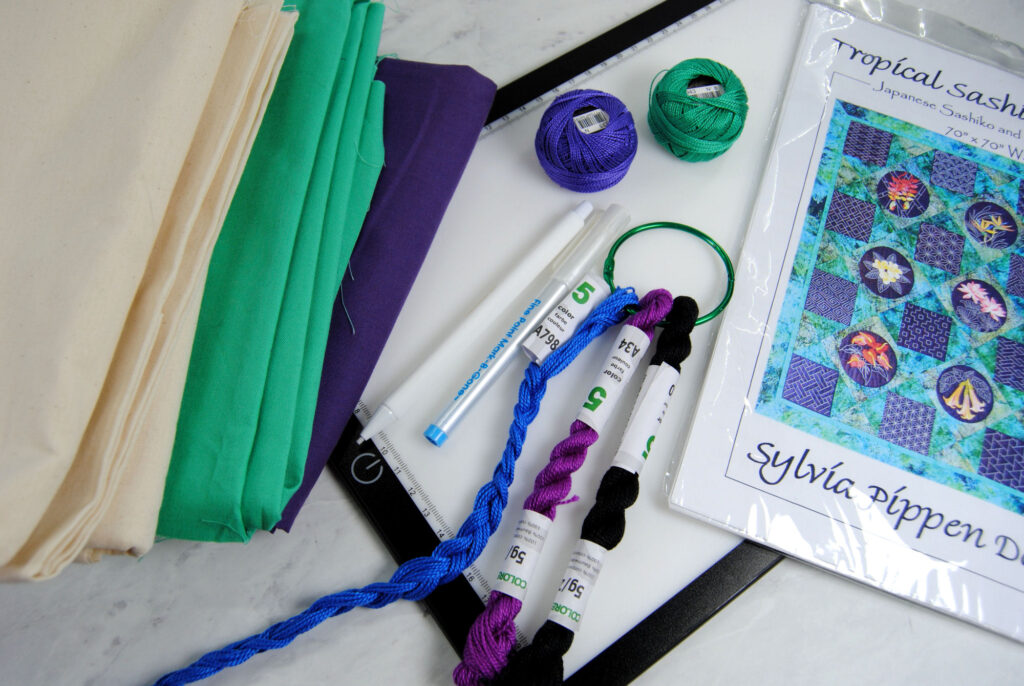
I’m not the type to go out and buy a ton of new materials or even a proper kit to learn a new skill if I can try it out some other way. I’ve got entirely too many craft materials as it is. So for this experimentation I’ll be using Perle Cotton as I already have on hand.
There’s a great thread comparison guide over at Snuggly Monkey that shows how it compares in thickness to the more well known sashiko brands. I decided to do at least two projects and try out both Size 5 and Size 8 Perle Cotton. And yes, both are ‘off-brand’ thread, not DMC. These random threads are what I do my experimenting with. Save the brand names or fancy floss for when you’re more confident and aren’t worried about ‘wasting’ materials with your learning.
Fabric
I don’t have a lot of solid colored fabric in my stash, just a lot of patterned quilting fabric. But I did find a few! My first project I’ll be working with a cheap unbleached cotton muslin fabric. It’s super thin so I’ll be using at least two layers of fabric.
Once I’ve gotten the feel down, I have some plain purple and teal quilting cotton I got from a creative reuse store. They’re basically my brand colors and will be fun to stitch on!
Pattern & Transferring
From my research, there’s a few common ways to get sashiko patterns onto your fabric.
- Pick up some plastic sashiko stencils that you can draw through to get the design onto your fabric.
- Buy some pre-printed water soluble stabilizer that you stitch right through and then dissolves when washed.
- Print out your pattern on normal copy paper and then use trace it using graphite transfer paper to mark your fabric
- Trace your pattern onto your fabric by holding it up to your monitor, a window, or light board.
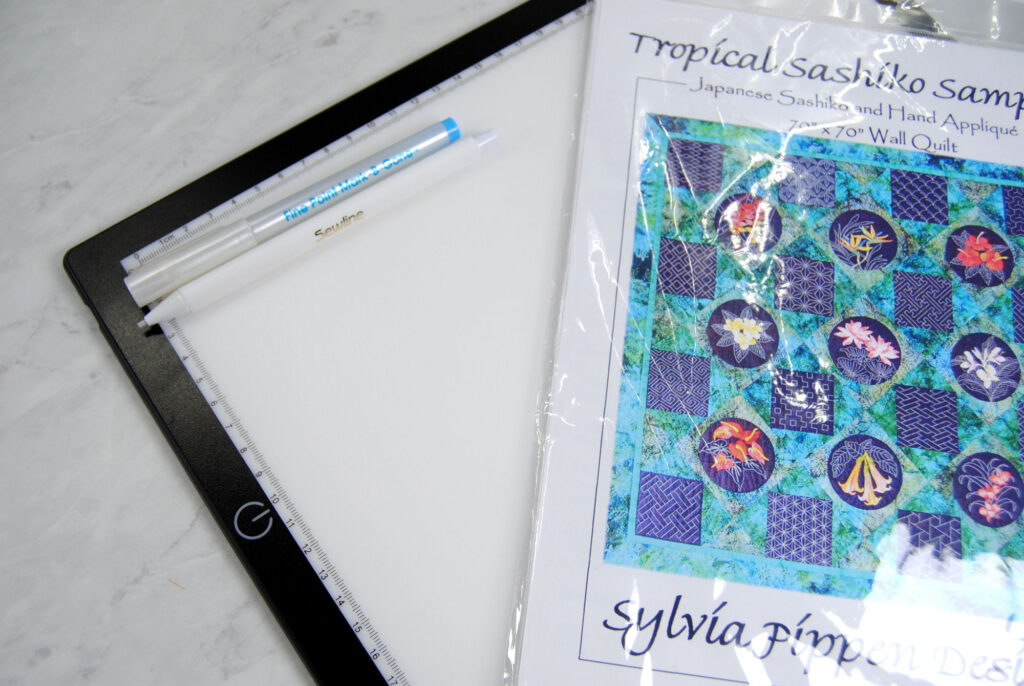
Since I already had a cheap LED light board on hand, and some printed sashiko patterns from the same creative reuse store I got the fabric from… I opted to go that route.
I’m using both light and dark fabrics, so my marking pen of choice is going to change. For the muslin I used a Dritz washable pen. But that wasn’t showing up well on the purple, so for that I used a Sewline Chalk Pencil.
I’ve also seen people using FriXion pens for transferring embroidery patterns onto fabric. That is certainly an option! I don’t like to because I live in a climate where it can get pretty cold and have had marks from FriXion pens reappear even just sitting on my desk in my basement office. I do still use them a lot for marking things within seam allowances where they’ll never be seen again.
My first Project – A Biscornu
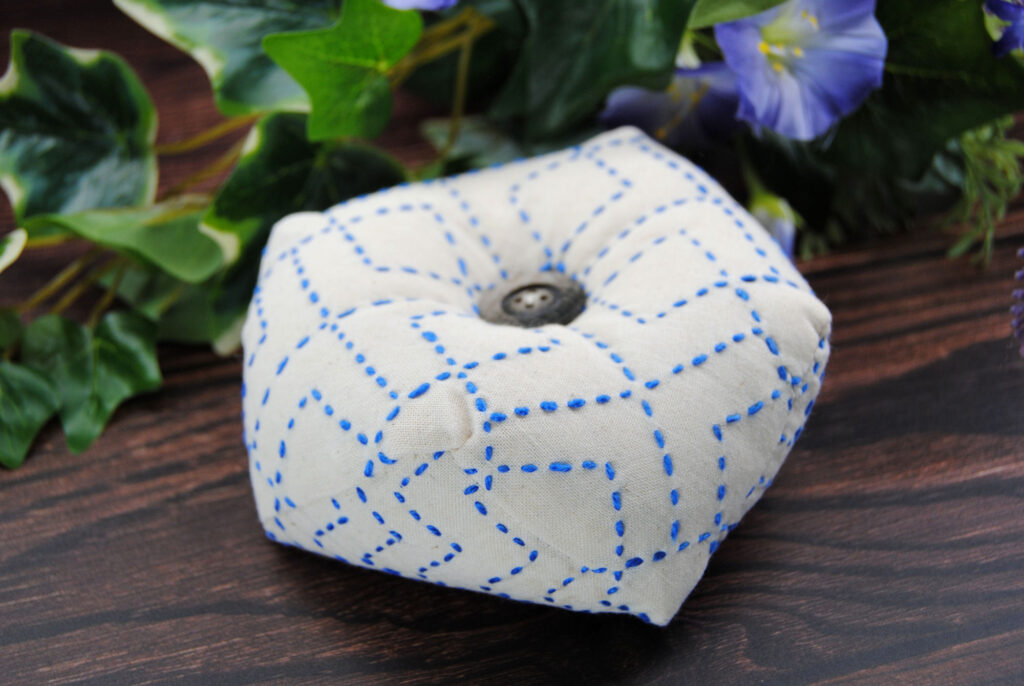
During my research I came across this video on How to Make a Sashiko Biscornu and well, I do love me a good biscornu so immediately I was just amazed I hadn’t considered the option yet! Naturally this had to be one of my projects. And since it just requires two squares, I thought it’d make a great first project!
About a year ago my local crafty reuse shop had a bag sale, wherein you could fill a bag with stuff for a set price. Abong the things I had picked up was this bundle of sashiko patterns by Sylvia Pippen Designs. So I picked out two of my favorites and set to work transferring.
Now I didn’t have any indigo fabric, just this basic muslin, so I opted for blue perle cotton in size 5 to reverse the traditional white on blue sashiko colors.
First Side
I started with a basic zigzag pattern, though after posting this WIP on Instagram I was told I was going about it wrong. Rather than following each zigzag, I was meant to go all the way across horizontally just skipping gaps where the lines don’t line up.
By the time I read that though I was already mostly done with this method, soooo. Eh. I kept going as is. I was bound to make mistakes, but I wasn’t going to let that stop me.
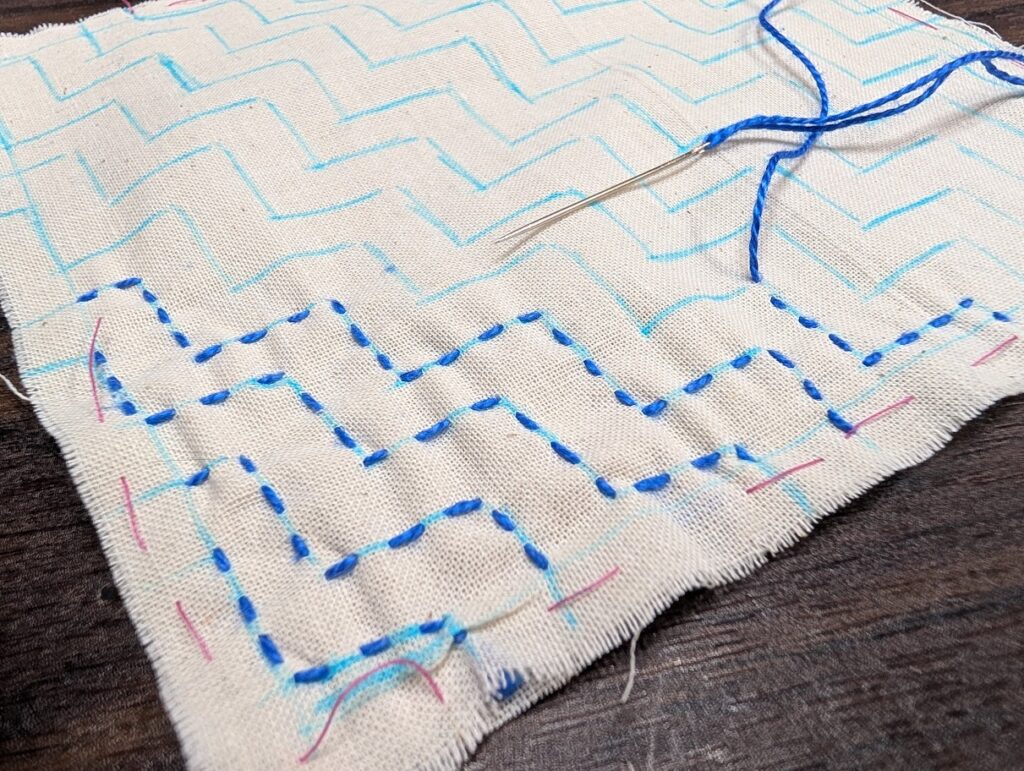
Regardless of how I was ‘supposed’ to do it, I was learning valuable skills. Practicing keeping my stitches evenly spaced and roughly the same size. Figuring out how to turn corners. Learning to stop pulling too tight. Just getting the feel for the process, really. And that’s more important to know than the ‘right order’ to stitch things in.
It’s not like the patterns came with a guide on how to tackle them, after all. As a bonus, my zigzag was actually double sided! Whereas if I had stitched all the way across it would’ve definitely looked different on the back.
Second Side
Still, I kept going and started on my second pattern. And since I couldn’t find an example online of how someone else had stitched this exact pattern I of course ignored the ‘go all the way across’ technique again, whoops.
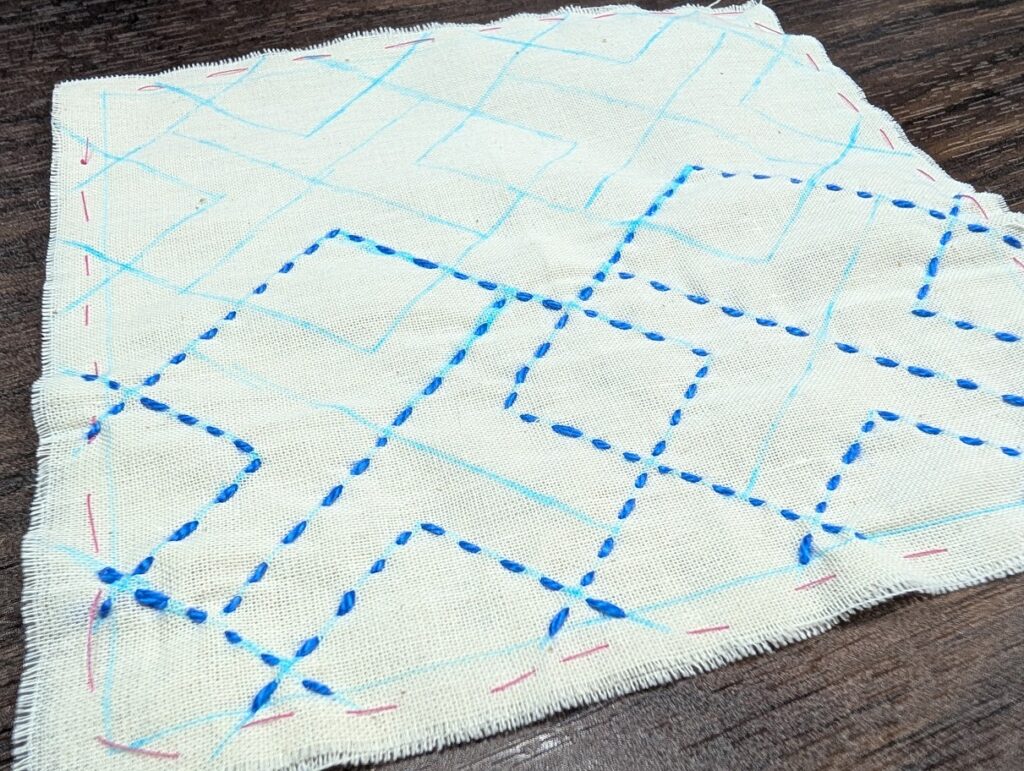
This one was instead a fun puzzle on how far I could follow the pattern around twists and turns before I ran into a ‘dead end’. And yknow what, it worked. It was *fun*. And it turned out super cute as a biscornu if I do say so myself.
Second Project – Card Wallet
Up next I wanted something a little more practical. And while I have previously done mostly bags in my Floss Adventures, they’re just so useful. I wanted something smaller this time though, so I opted for a business card holder. Looking online, I found this cute pattern by A Spoonful of Sugar and set to work.
I just happened to have my brand colors as fabric, so they were perfect for a business card holder! As such I also picked some thread similar enough to my brand teal to make sense and stand out on that purple fabric.
Then I picked out a pattern with no straight lines this time! And from what I could find online circles are typically stitched in this wavy pattern, so that’s what I did. This Shippou Tsunagi is really easy to find examples of as it’s very common. I actually found a number of different examples of how people had stitched this, so I don’t think there’s any one ‘right’ way to tackle it. This is just the route I took.
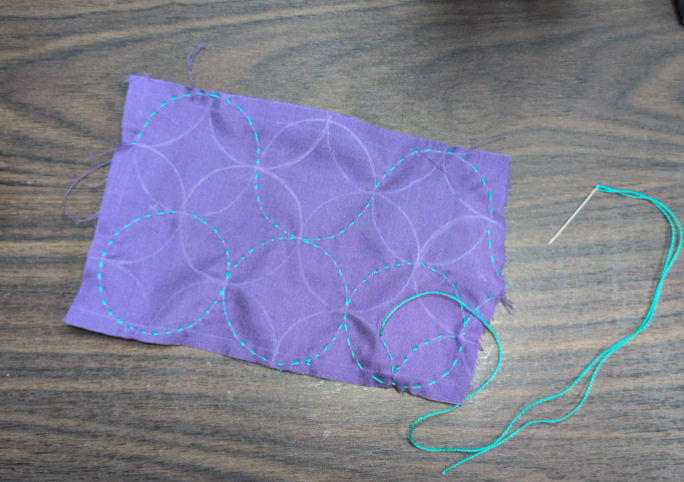
From this I learned I much preferred this size 8 perle cotton! It just slid so smoothly through the quilting cotton. I definitely recommend if you can’t get your hand on sashiko thread. Though of course, if I am to continue this craft I’ll be picking up ‘real’ sashiko thread so I can learn the difference in feel with that as well. But for just pulling from my stash, it worked out wonderfully.
And so did my business card holder!
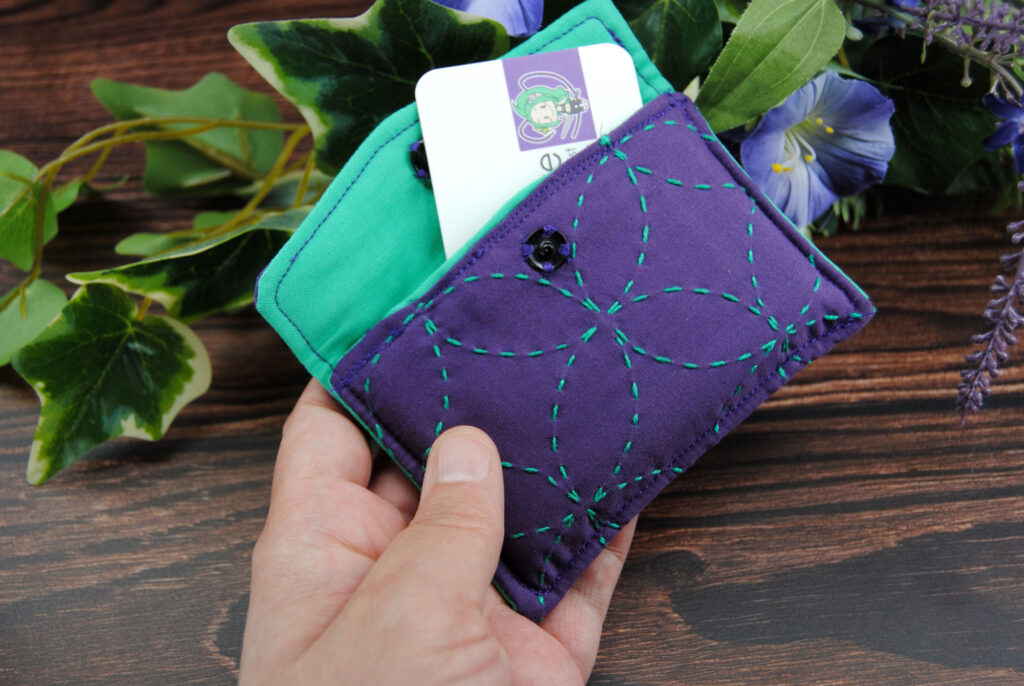
Since it’s such a small bag it really focuses on the zoomed in pattern itself, which I like.
Final Thoughts
I honestly had a lot of fun! Was it 100% authentically sashiko? No, probably not. BUT it was enough to get me interested in the craft and to try again and improve my technique. And I got a couple cute projects out of it!
Thanks to this experimentation I’m more likely to want to invest in more ‘official’ sashiko materials for future projects so I can compare the feel of sashiko thread to the pearl cotton I used this time. Or getting a feel for the weave type I should look for in fabric.When I do I’ll be able to genuinely understand why that specific thread or fabric is recommended.
And to me that’s an important part of learning a new craft. Trying it out with minimal cost while figuring out if I even want to do this long term. Plus if I do continue I want to understand why things are done they way they are rather than being told how it ‘should’ be done.
But should YOU try it? Of course. Everyone’s different and the only way you’ll know if a craft is for you is by giving it a go. Even if you end up hating the process, you’re learning something about yourself. And at the end of the day, that’s what really matters.
You Might Also Like:
Crafty Combinations: Quilting & Cross Stitch
Design Challenge: Colors I’ve Never Used Before
