This article is part of a series on Advanced and Specialty Stitches. Check the main article for a full list of stitches. This one is just about the tent stitch.
Table of Contents
When to use Tent Stitch
Another technique you might have seen around is the tent stitch or half stitch. This can be very effective in making background items seem further in the background. You’re effectively letting some of that background fabric color shine through on purpose.
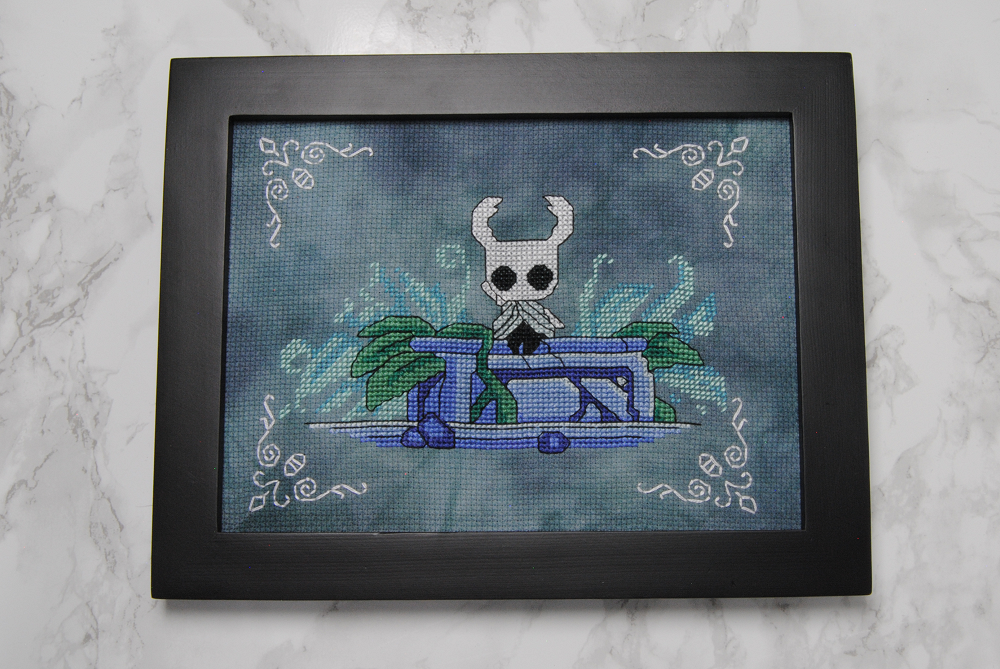
For example, in my Hollow Knight pattern I used tent stitch on the leaves in the background, in addition to making them a lighter color than the ones in the foreground. This made them look a bit further away.
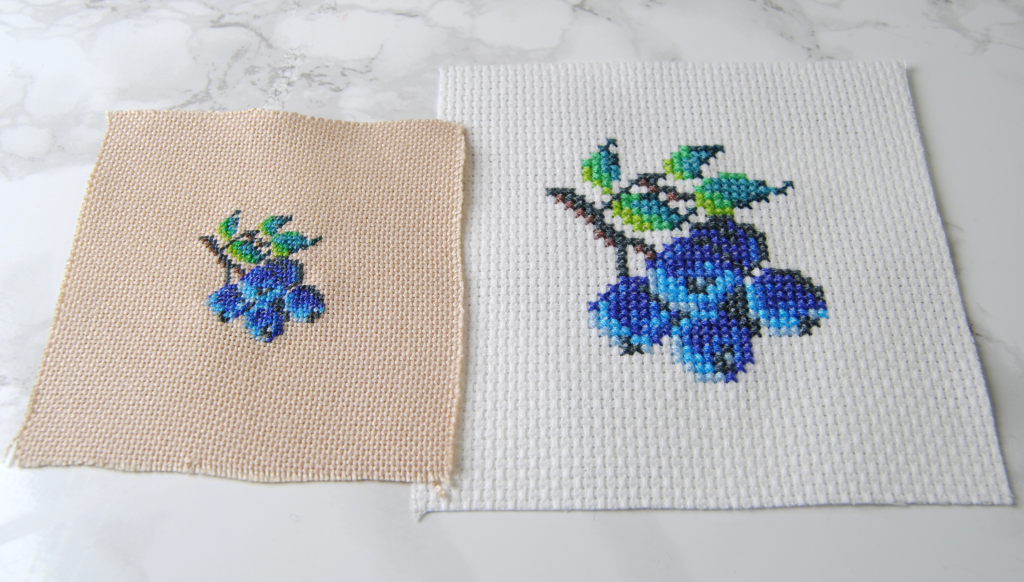
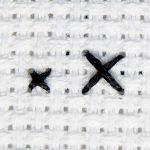
I’ve also used tent stitch before to stitch on higher count fabrics. You can see more about this in my Petit Point tutorial. Instead of doing full Xs like I would on aida, I’ll use tent stitch over 1 on 28 count and up to make my stitches smaller and quicker to stitch.
How to Tent Stitch
There’s actually a couple different ways to go about this. They’ll look the same from the front either way, but if you care about how your back looks you may want to consider the different methods.
I don’t pay too much mind to the backs of my projects, so I tend to use these methods pretty interchangeably depending on the design and how I’m going about stitching it.
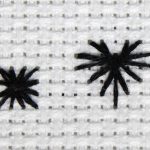
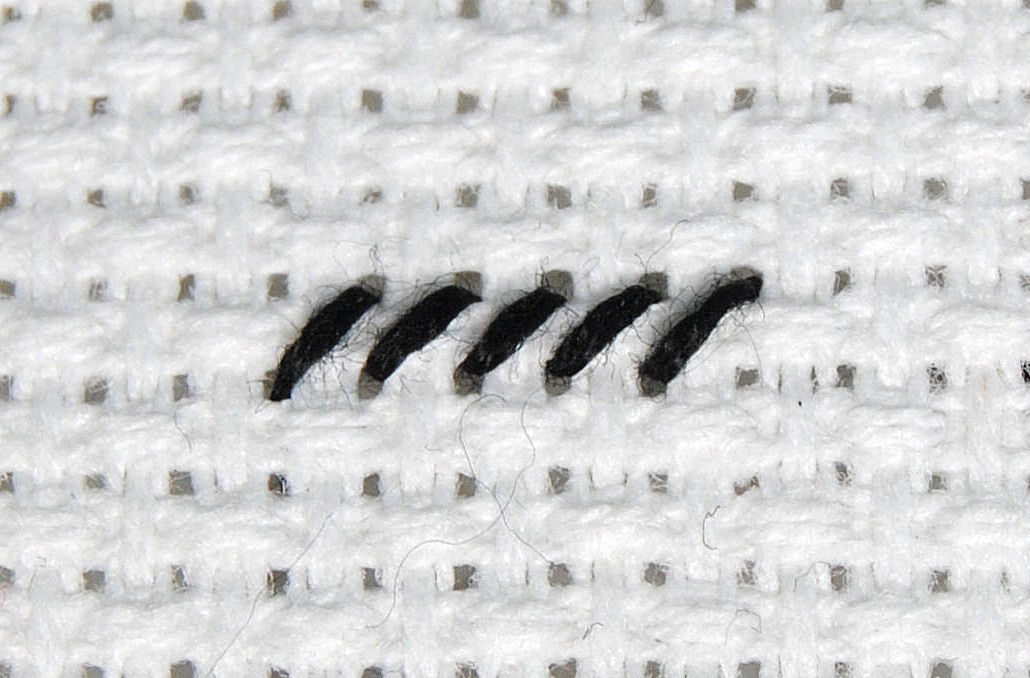
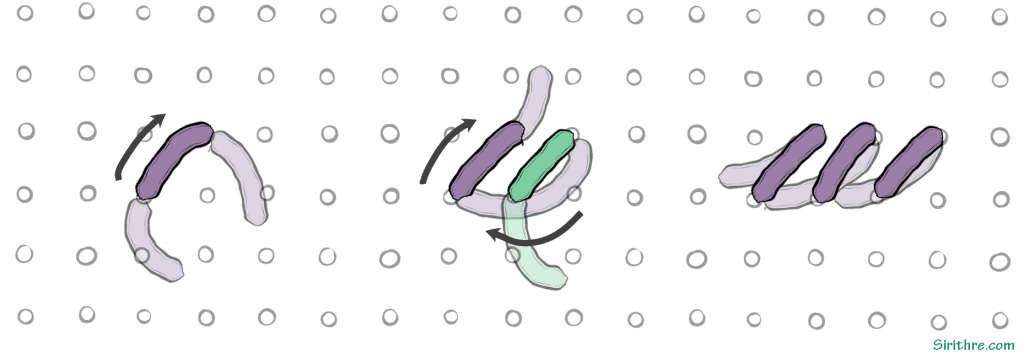
Half cross stitch

Half cross stitch is basically what it sounds like. You stitch just like you would normally, except only the single leg. Here they’re pictured going left to right, but if you normally stitch right to left that’s fine too!
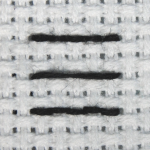
The main thing to note is that this uses as little thread as possible. So from the end of one stitch goes directly to the next stitch. On the back of your project this will look like a series of vertical lines.
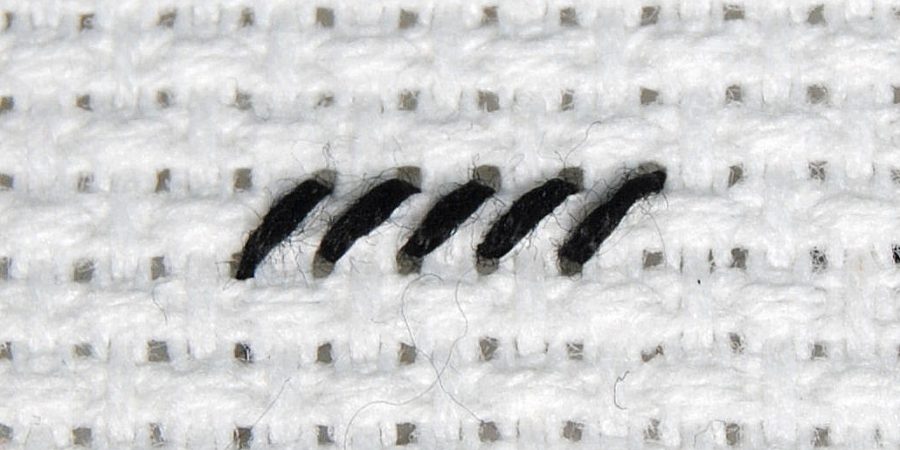
Continental Stitching
Continental stitching looks the same from the front of your project, but very different from the back. It also uses a lot more thread than the half cross stitch.
Start with a normal half cross, but instead of proceeding in the direction of your stitch, loop back around to the opposite side. For example, if your first stitch finishes in the upper right, you’ll be starting the next stitch to the left, in the bottom left corner.
This holds true when moving down to the next row as well.
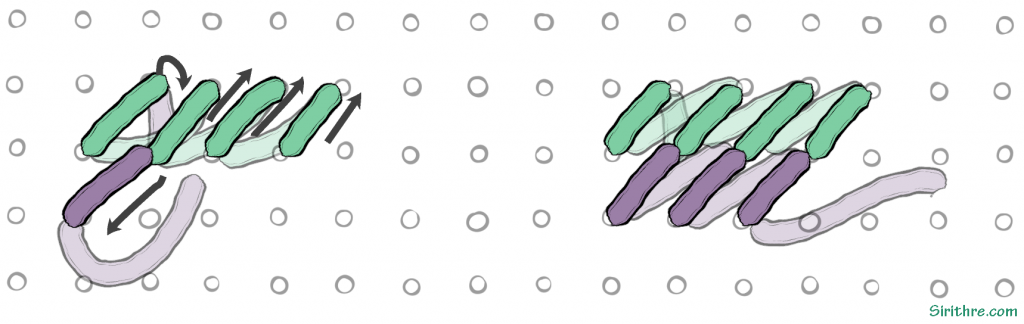
On the back of your project, these will look like longer half stitches.