
I hope everyone’s enjoying Animal Crossing! I’m having a lot of fun with it, personally. Still mad that they waited so long to announce the special edition Switch, though.
Fun fact: When the Switch first came out, I refused to buy one and spent a good two and a half years without one. Specifically because I was waiting for an Animal Crossing game/switch to be announced. Having missed out on the Animal Crossing 3DSXL I was determined to get one this time around.
This post may contain affiliate links. If you buy something using one of these links, I earn a small commission. However, there is no extra cost to you. Thanks for understanding! Learn more in my Disclosures & Privacy Policy.
I finally gave in and bought a Switch just before Pokemon came out because I didn’t want to miss that. For Christmas I got a replacement shell to pretty it up. And now I simply can’t justify buying a new Switch just for a color.
I still want an Animal Crossing Switch though, so I’ve settled for making a dock cover for it. I had an awful time finding any patterns or tutorials on how to make one though, so I ended up improvising. Now I want to share with you how I made it so you can spruce up your switch as well.
If you’re more of a video person, I did edit something together demonstrating how I did my Zelda dock cover as well.
The patterns I used are my own design, and both the Katrina one as well as the Zelda one I use in the video tutorial are available on Etsy.
Table of Contents
Concept Building
Since basically everything I do nowadays is Cross Stitch related, I wanted to incorporate that into my design. But with most aida being fairly scratchy I didn’t want that to be up against my screen so I came up with this patchwork design. You can also make a cover with just plain fabric, so I’ll provide measurements for both.
I also recommend doing a test run first if you have extra fabric on hand. This familiarizes yourself with the pattern and how to align any designs on your patterns. You don’t want to risk that cross stitch you spent hours on until you’re sure it’ll look how you want.
Disclaimer: I am a total newbie when it comes to sewing. I’ve had my Sewing machine not even 3 months at this point and have made maybe 10 small items at most. I am not claiming to be an expert of any sort. This also means it may not be the most ideal way to make this, but it is beginner friendly. In that it was made by a beginner.
You could also easily sew this by hand if you don’t have a machine!
Switch Dock Materials
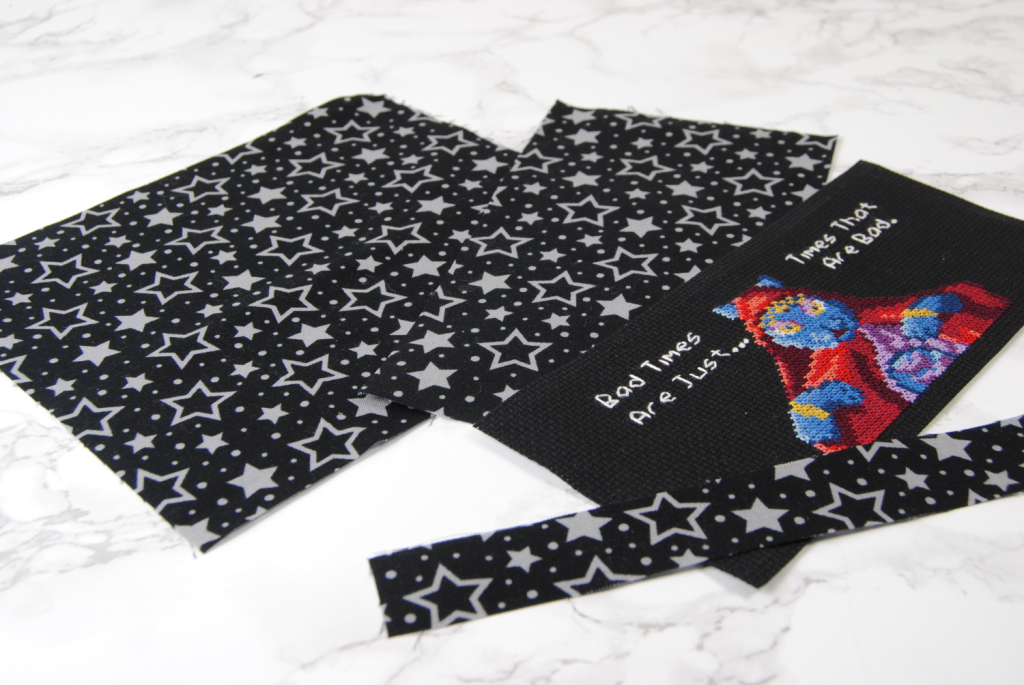
- One cross stitch or accent fabric panel – 3.5″ x 7.75″
- One fabric strip for below the stitch – 1″ x 7.75″
- One fabric strip that will be facing your screen – 4.25″ x 7.75″
- Inner lining fabric – 7″ x 7.75″
If you’re not doing the patchwork version; you just need
- One 7″ x 7.75″ rectangle (Inside)
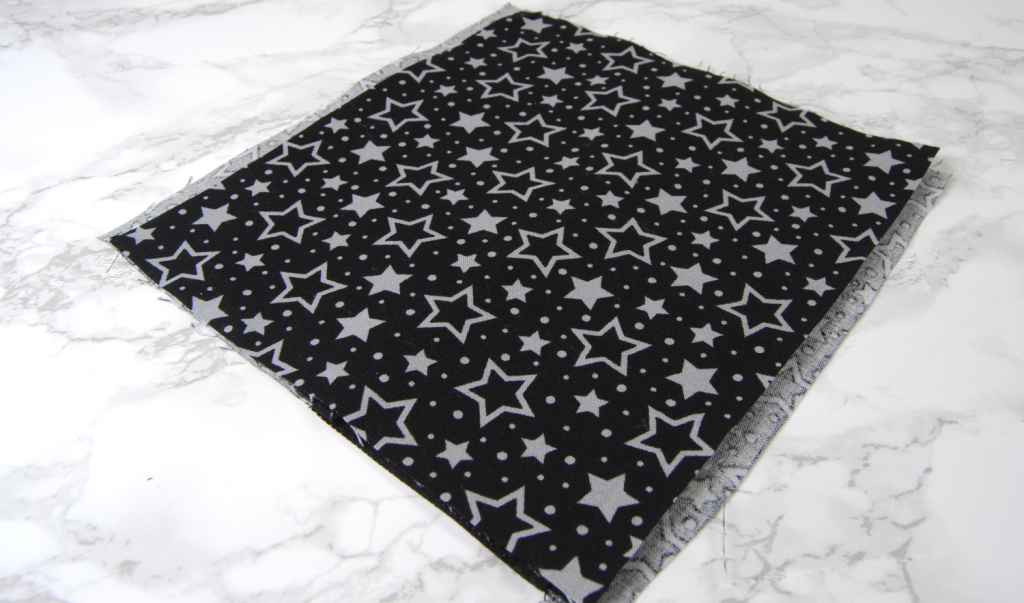
- One 7.75″ x 7.75″ square (Outside)
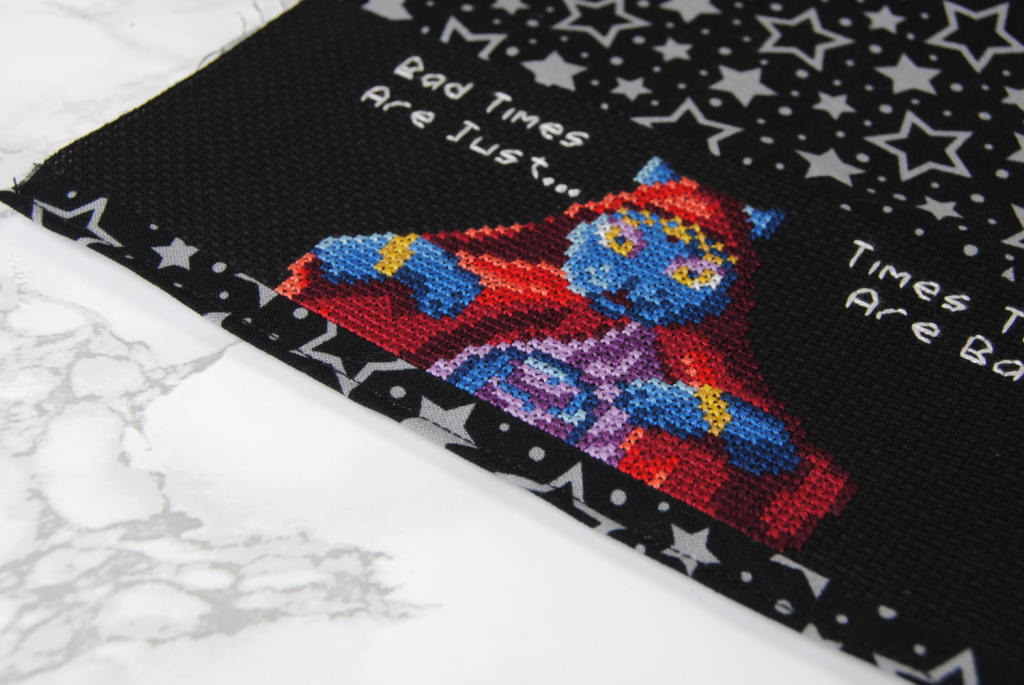
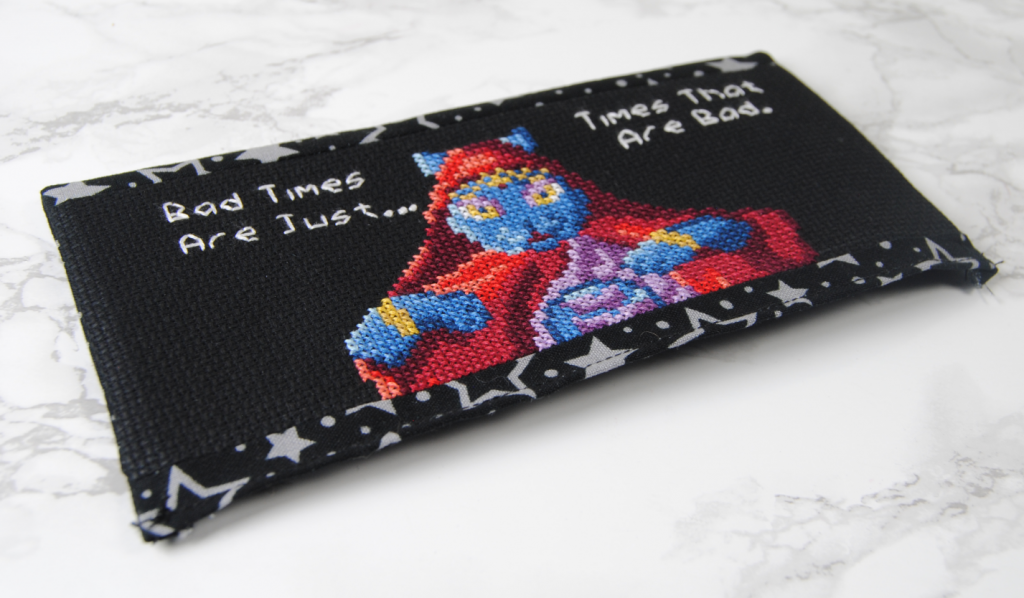
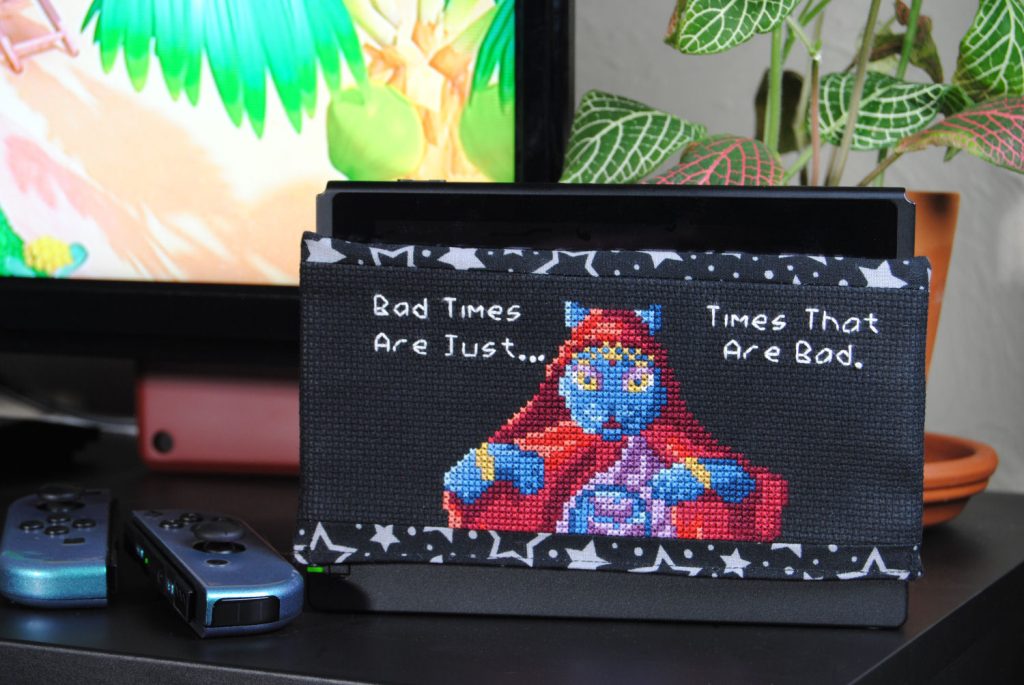
All seams are 1/4″. Which is mostly important for your cross stitch. Note in my photo that there is a quarter-inch border around the design (noticeable at the bottom where her body cuts off)
Bottom Strip
Let’s start by putting together that front panel for the patchwork version.
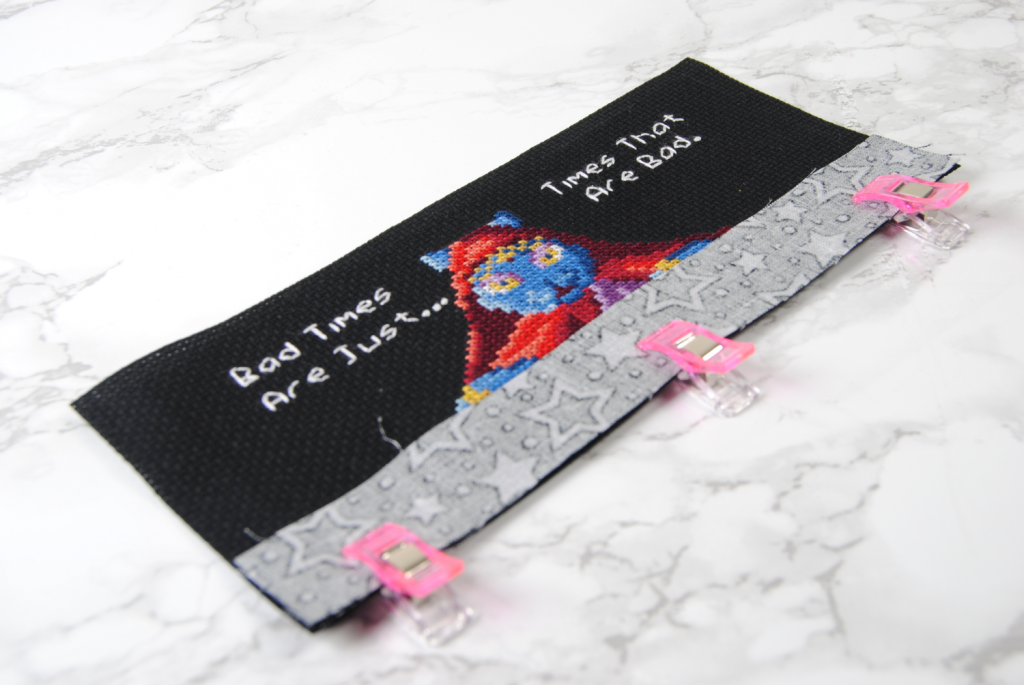
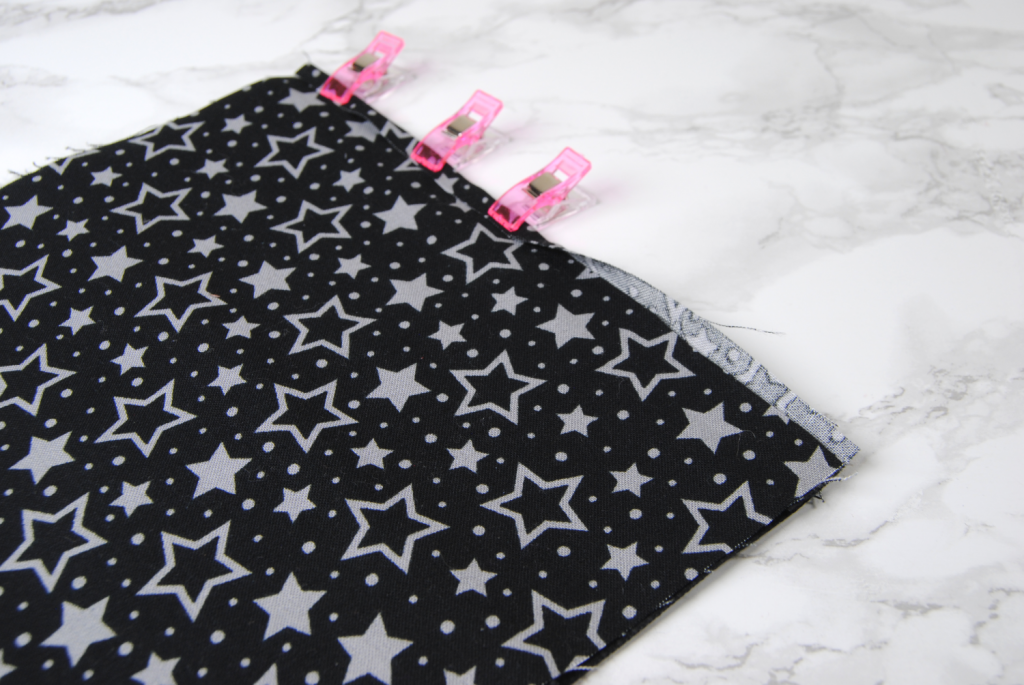
I began by attaching the small strip at the bottom of the design. Place it on top of your accent panel, right sides facing each other. I use Wonder Clips rather than pins, but you can use whatever you’d like to hold this strip in place.
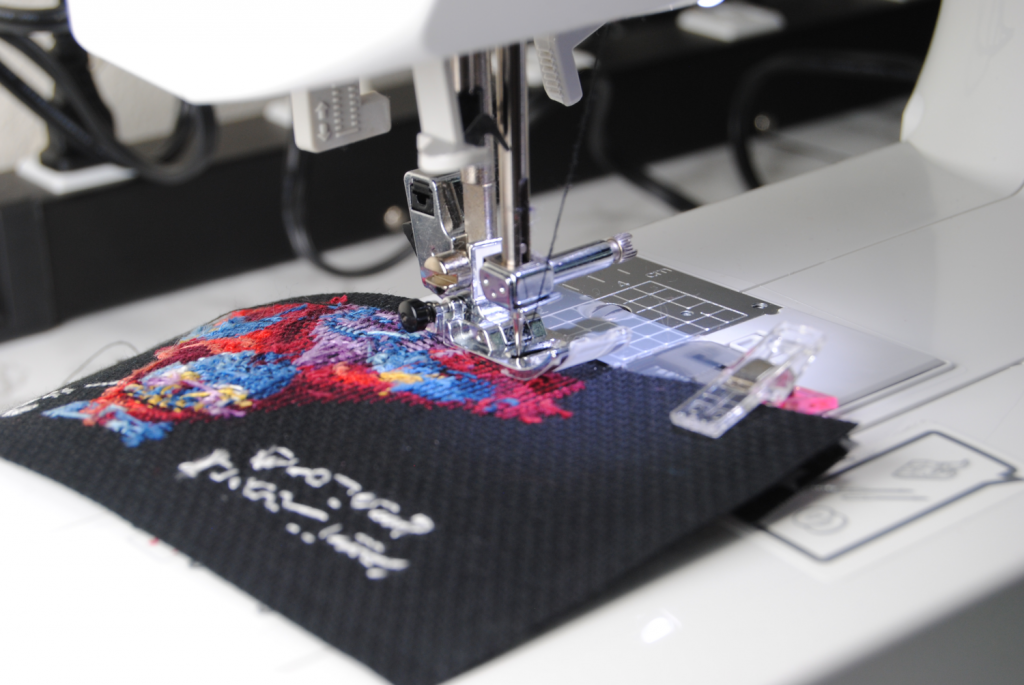
You’ll notice I stitched it together with the cross stitch facing up. This was because the aida grid made it easier to keep my stitching straight. Also so I could make sure the seam lined up with the very edge of the stitching itself.
Now iron your seams flat to minimize the lumpiness. I’m sure there’s other reasons, but again I am a beginner. It just looks nice when you press them flat.
Back Panel
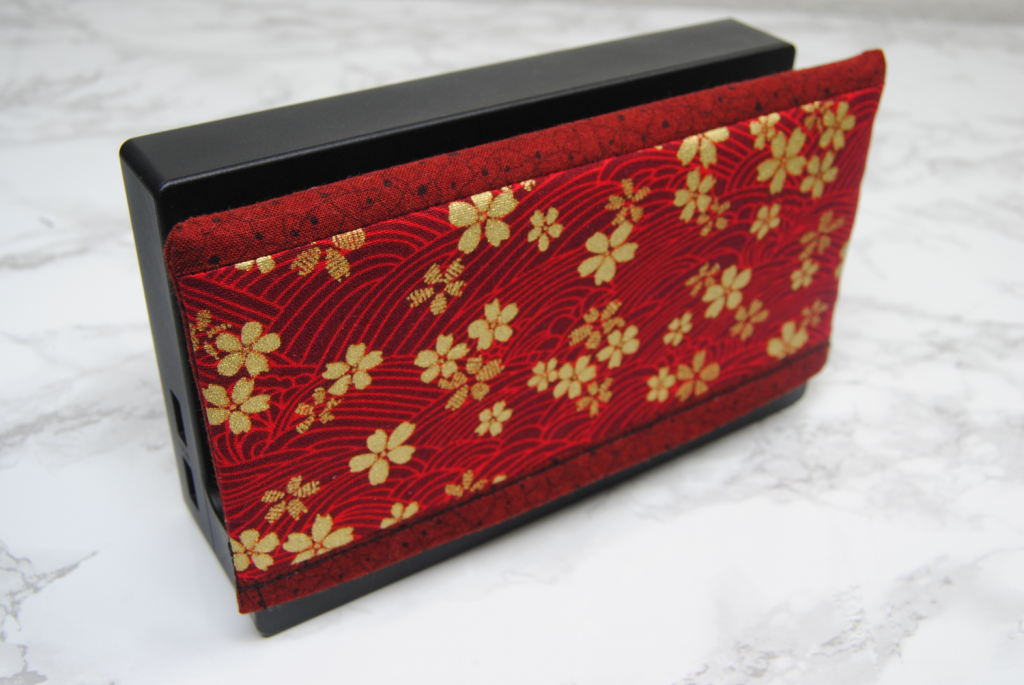
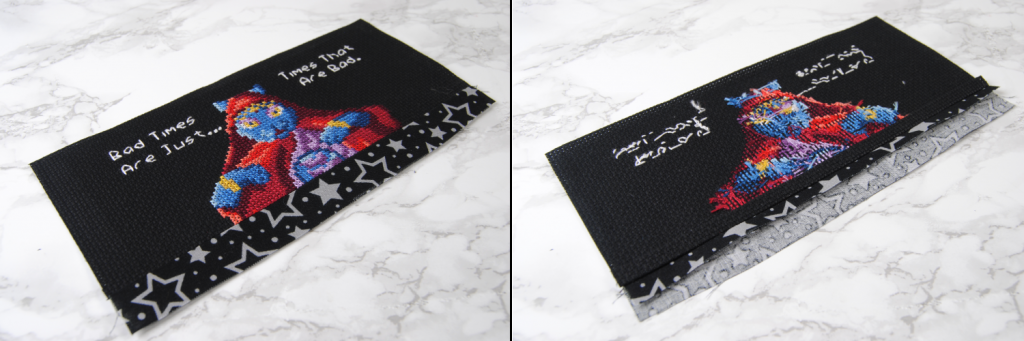
Now sew the 4.25″ rectangle on top of that in the same way. This is the fabric that your screen will be rubbing up against. Make sure it’s not abrasive. The metallic fabric on the front of my test cover would probably be a bad choice. Using a microfiber cleaning cloth would probably be the smart choice. I just used a basic cotton.
Again, press your seams. And now those just making a plain dock cover can join us again.
Inside Lining
We could just leave the inside as-is, as it’s not going to be visible. However, due to the nature of patchwork I figured those little flaps would get caught when trying to put the dock cover on so I opted to line it. I used the same cotton from the outside to make keep it uniform.
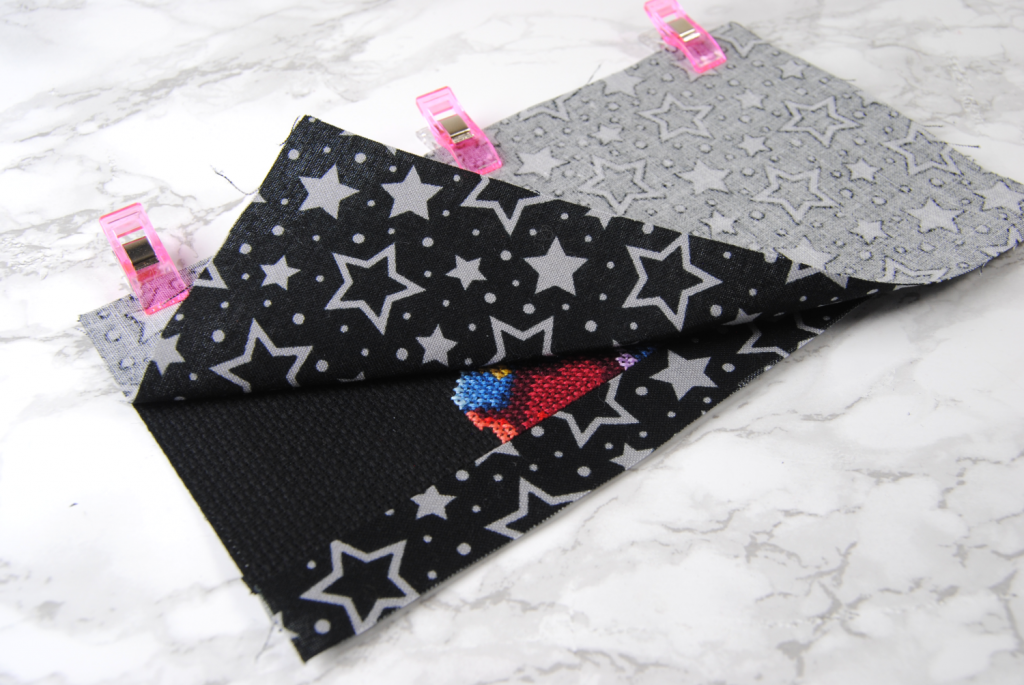
Lay the slightly smaller rectangle on top of your front panel. The ‘wrong’ sides of the fabric should be facing each other as pictured. Center it so there’s an even amount of fabric peeking out from the top and bottom of the front panel.
Now fold up that edge and pin or clip it in place. It should be about 1/8″ of overlap. And sew it in place wherever you want the top stitch to be visible.
For this one I stitched it closer to the edge. If you look back at my test stitch, it was closer to the accent panel. Either way will work. Or you could stitch straight across the middle! This is basically just so the raw edges aren’t visible.
Switch it up
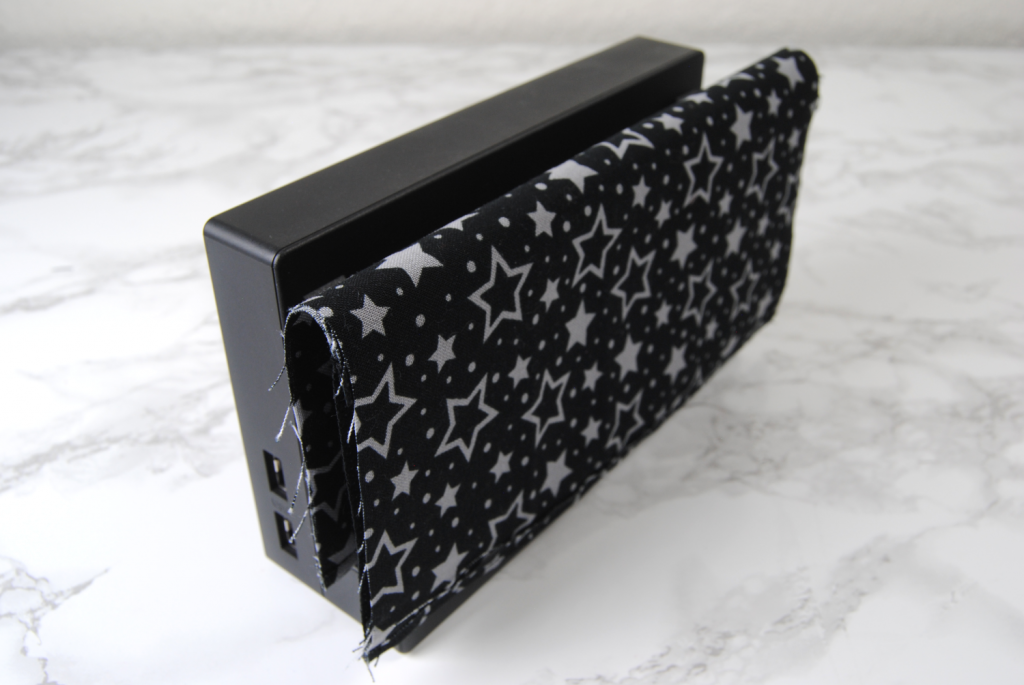
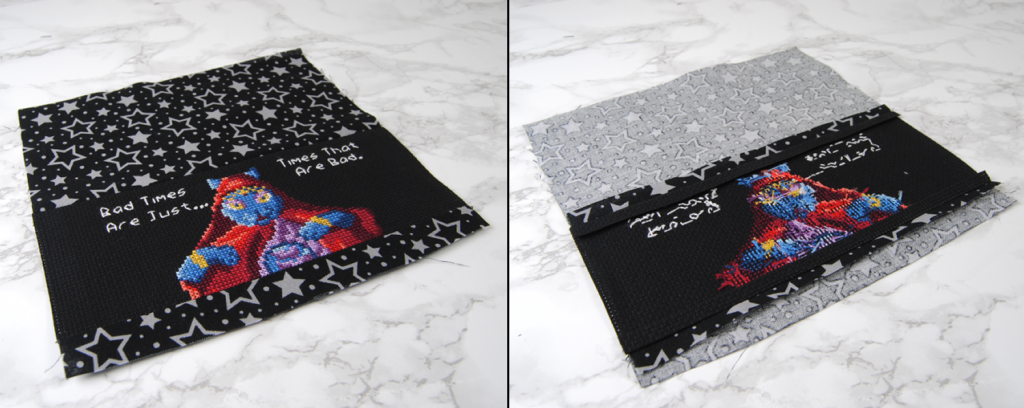
To figure out where it should be sewn together, I draped my sandwitched panel over the front of the dock. This was so I could make sure the inside flap reached the bottom of the dock, and the front wasn’t covering up the light. I clipped one of the sides and took it off before clipping the other side in place. Make sure you’re folding with the front panel on the inside as pictured.
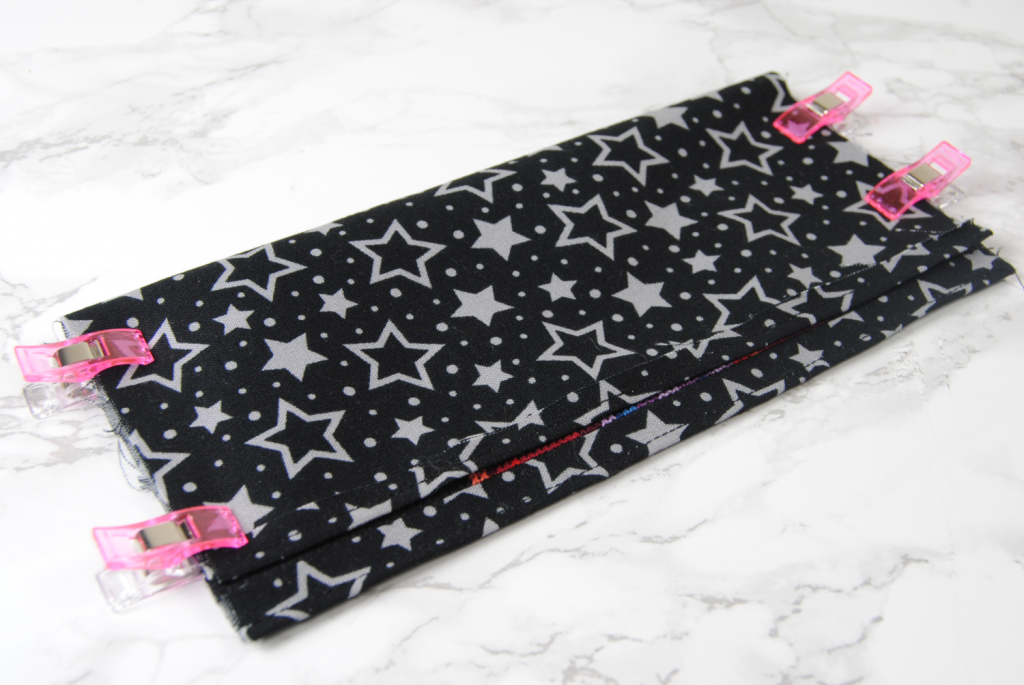
Both times this seemed to line up with the bottom of the accent panel. That’s likely a good spot if you’re making this for someone and don’t have a dock to test it on. Or 1/2″ from the bottom if you’re working on a plain one.
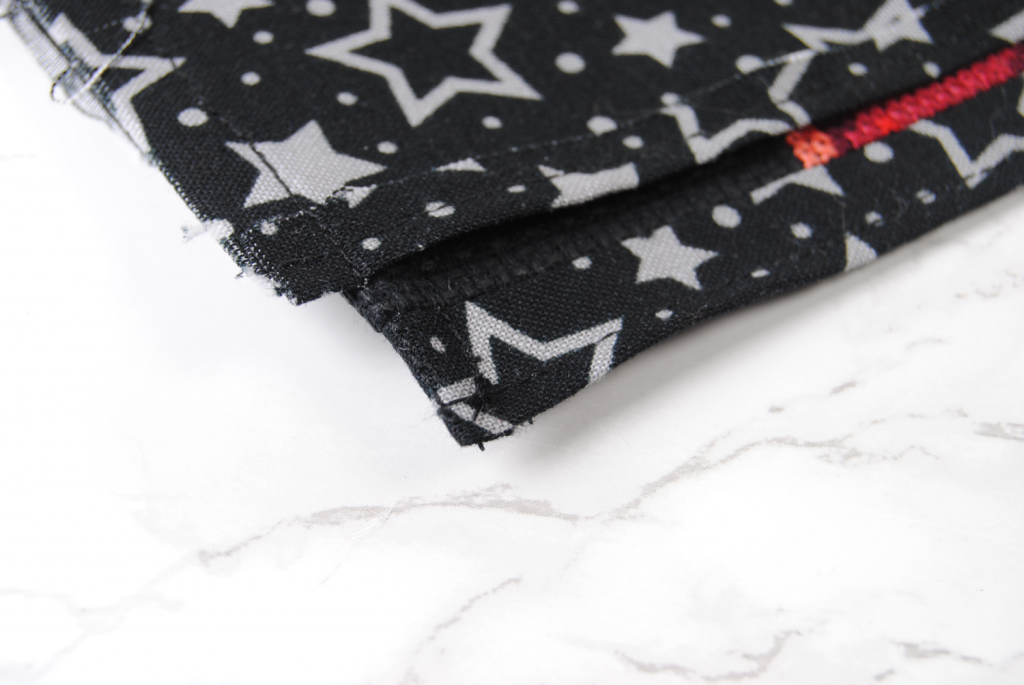
Now sew them together along that sides, still with a 1/4″ seam. In the photo below you’ll see I also opted to fold the corners back and sew it just along that 1/2″ strip. This will be the front of your dock cover, so it just makes it seem finished rather than a raw edge.
You’re nearly done!
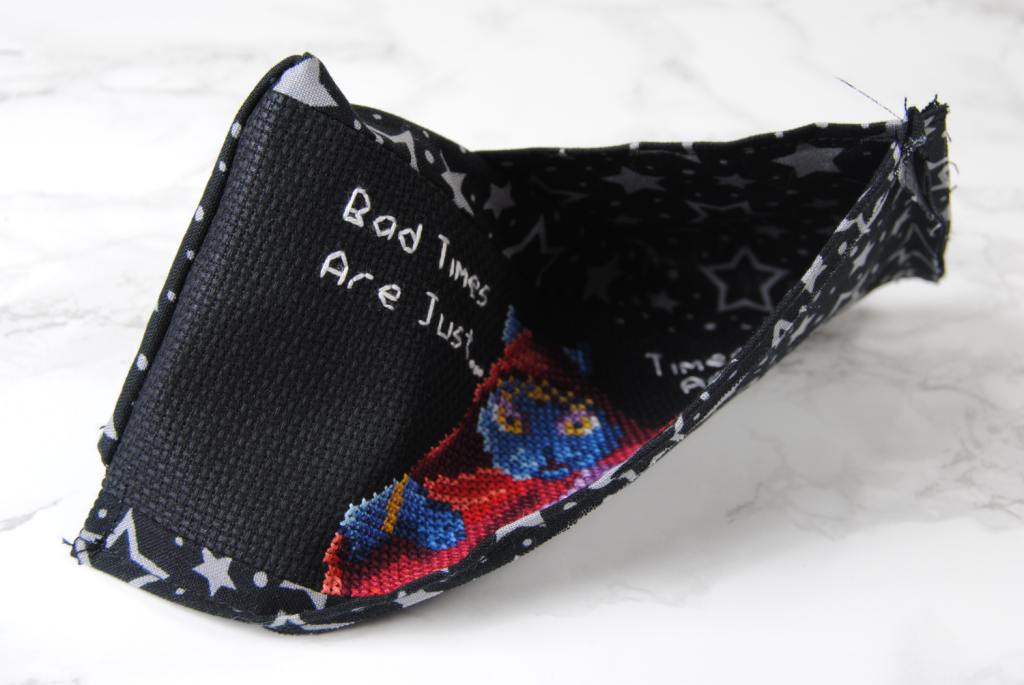
The last step is basically just to turn it right side out. I used a chopstick to make sure the corners got pushed out properly.
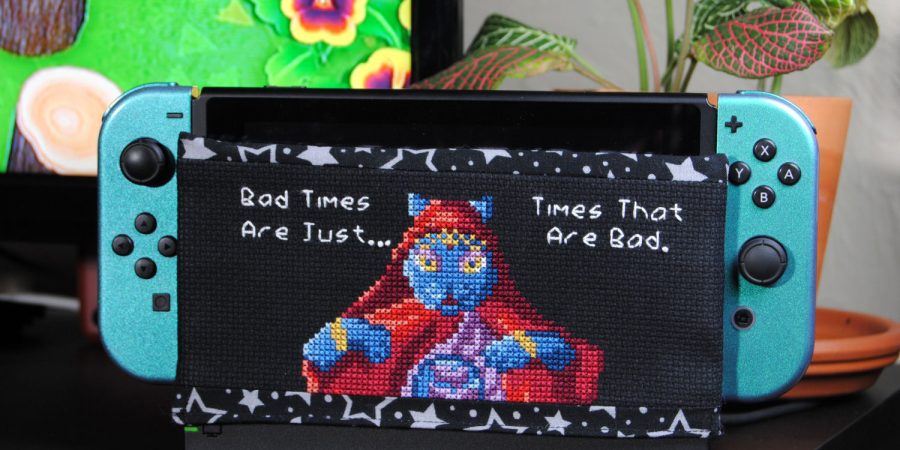
Enjoy your new dock cover! If you decide to make one yourself, please tag me @sirithre when you post on Twitter/Instagram. I’d LOVE to see you what you make.
Here’s how mine turned out!

You might also like:
 Flatfold No-Glue Cross Stitch Finishing Tutorial
 Pin Drum Cross Stitch Finishing Tutorial
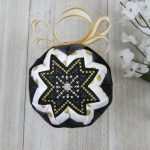 Quilted Cross Stitch Ornaments – Fabric Christmas Baubles
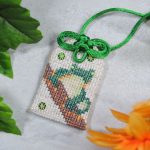 Omamori Tutorial – Cross Stitch Your Own Good Luck Charm
 Framing Tips for Cross Stitch – Inexpensive At-Home Finishing Techniques
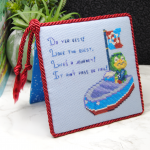
 Scissor Cases – Safely Store Your Storks