
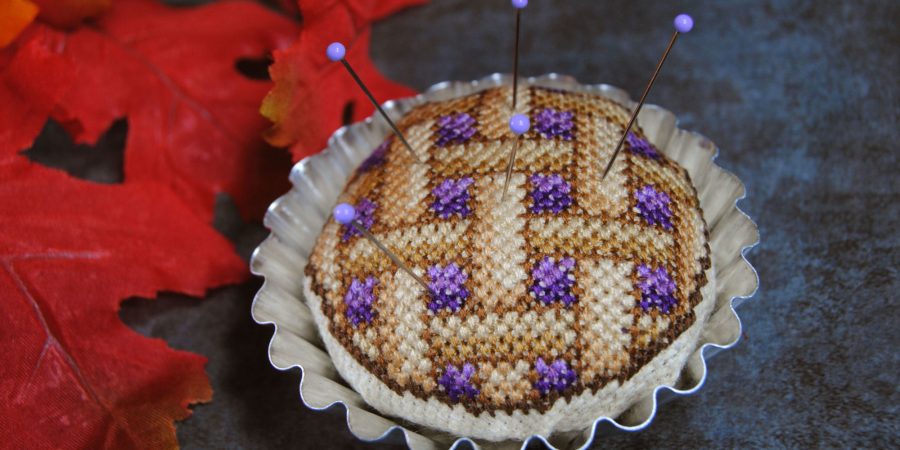
A while ago I purchased a bunch of mini tart pans for the purpose of making… well, tarts. But after they sat on my desk for a few weeks and I kept putting thread scraps and random needles or pins into them, I decided I should actually make something with them. So I made a pin cushion! And because it’s a tart pan, I decided to make it look like a pie.
This is sort of a tutorial. I say sort of, because I was figuring it out as I went as well. So I’ll let you know where I’d recommend doing something different than I did. But I am excited to see what you guys come up with, too!
This post may contain affiliate links. If you buy something using one of these links, I earn a small commission. However, there is no extra cost to you. Thanks for understanding! Learn more in my Disclosures & Privacy Policy.
Table of Contents
Pin Cushion Materials
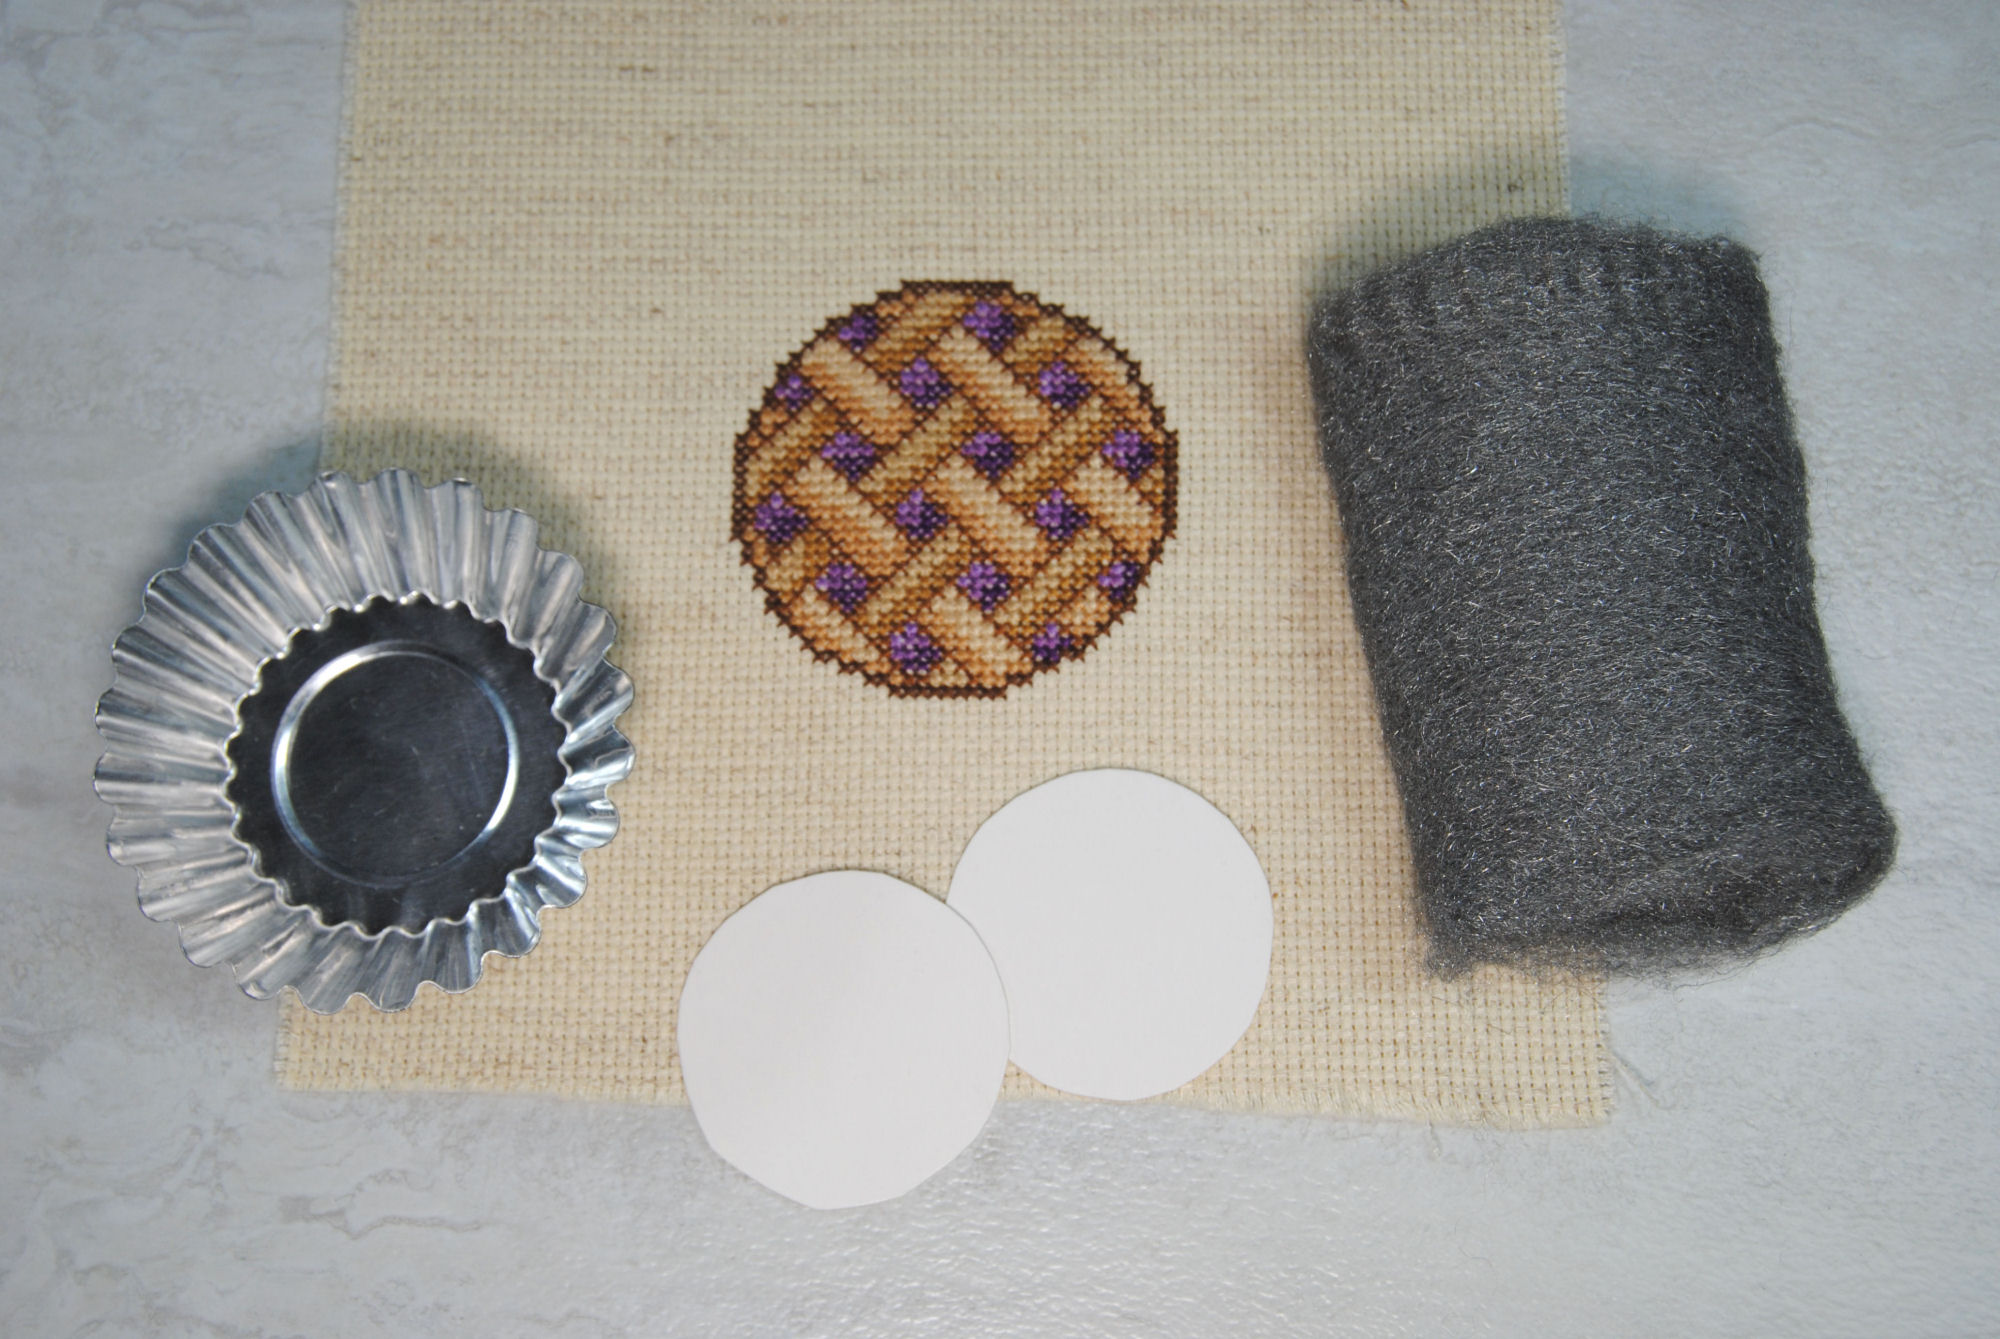
First things first; what materials did I use?
The tart tins I purchased were these 2″ tart tins from amazon. I recommend purchasing these first and having them in hand before designing your pin cushion so you can make sure the size is right.
I also purchased this super fine steel wool to stuff it with. You can of course use regular stuffing, orts, dryer lint. Pretty much anything you can use to stuff a biscornu, too. I chose steel wool so it would keep my pins sharp.
You’ll also want to cut out some circles the same size of the bottom of your tart pan to use as an anchor for the ‘pie’. I used comic book board, since it’s nice and sturdy. Despite that, I cut out 3 for extra thickness and weight.
Finally, your stitch! Make sure you leave more room around it than you think you’ll need. It needs to wrap down into your tin and meet back up in the center, so give it plenty of room. In this example, I left 2.5″ (6cm) on all sides so I could comfortably put it on my Q-snap, but you’ll see down below I trimmed that down a bit when I went to stitch it together.
Designing a pattern
Here’s where it gets a bit tricky. Measure the top of your pie tin across. Mine were 2.75″ (7cm) across, but I measured it from the inside of the ruffles, which got me 2.5″(6.3cm). This doesn’t sound like a big difference, but there is some white space around the edges of my ‘pie’ I would probably have ideally filled in.
Doing this again, I probably just would have made my ‘crust’ 2 stitches wider though, not really changed the depth of my filling. So my pattern still works out well.
Basically, you want a perfect circle the width of your pie tin. Here’s the sizing I ended up using. Feel free to enlarge it as needed. This is also based on 14 count fabric, so resize as needed depending on what count you’re using!

The actual blueberry pie design I used in my example is available on my Patreon. Otherwise you’re welcome to design your own using this outline as a template!
There’s also a free cherry pie pattern on my Ko-Fi!
Assembling the pin cushion
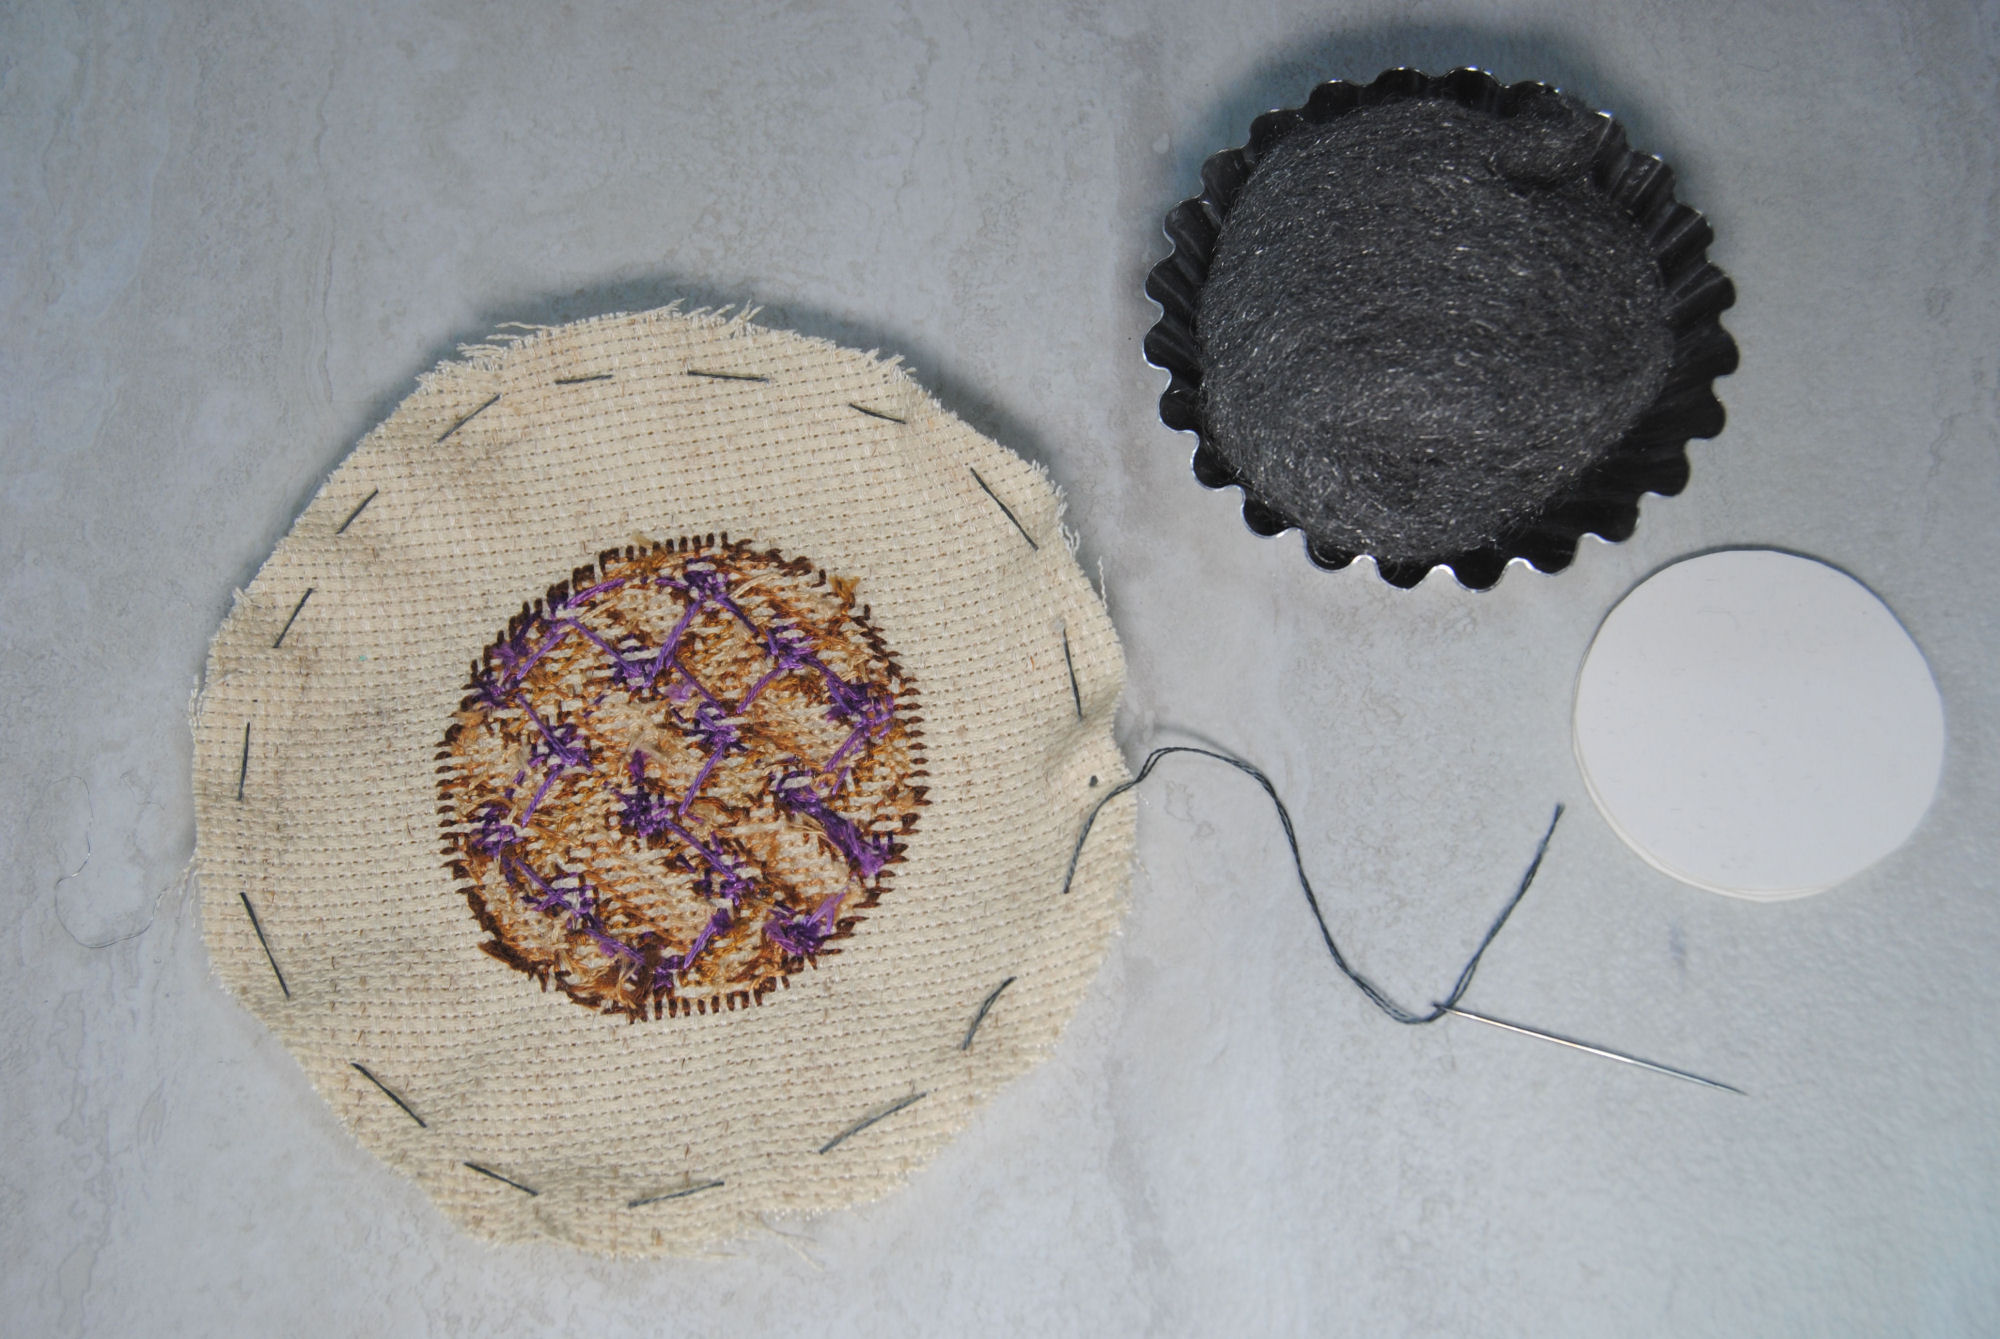
First, you’ll want to trim you fabric down into a circle. You still want to keep a wide area around your stitch. If you’re not sure how big it should be, take your measuring tape and measure from the center of your tin, out and up one of the sides. For me, this was just under 2″.
Using sewing thread, stitch around your circle with a real loose running stitch. I used embroidery thread here, but as Lia is frequently reminding us in the Pixel Stitch Discord… sewing thread is cheaper and sturdier. Use that instead if you can. Don’t tie off your thread just yet though.
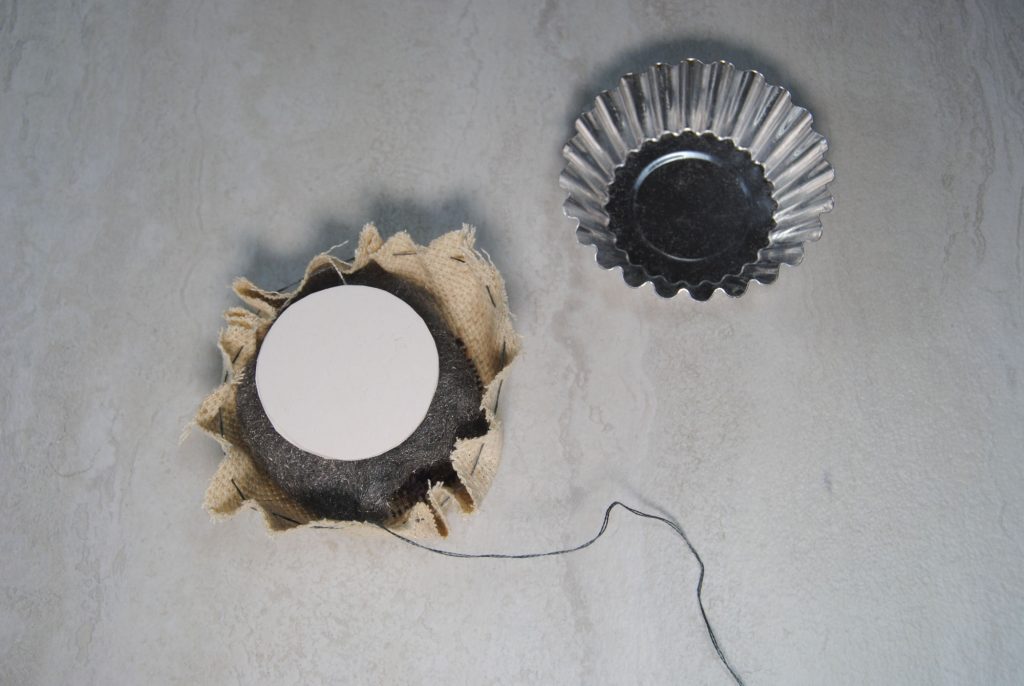
Now plop your choice of stuffing into that circle and balance that cardstock on top. Pull that thread tight so the edges all come together towards the center.
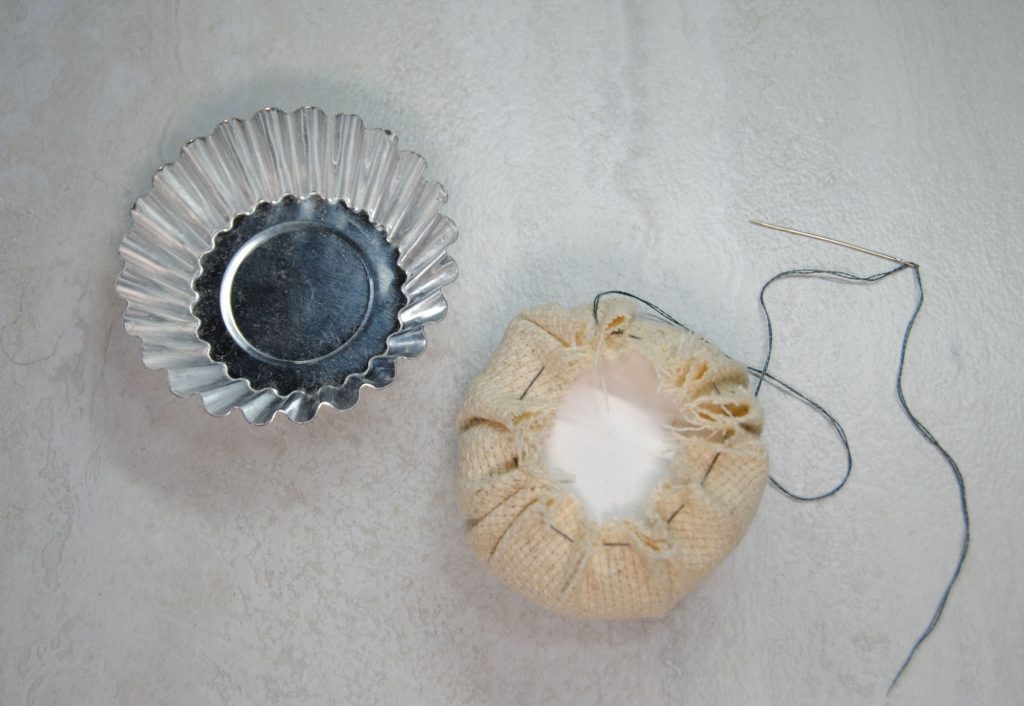
Keep pulling until you’ve made a weird ball with just that flat side of cardboard. Stitch across and pull things as tight as you’re comfortable. This part won’t be visible, so don’t worry about being tidy. Just make sure it’s secure! The round card helps you get the exact size needed to sit comfortably at the bottom of your tin.
You can then just plop this ball into your tart tin and you have a pin cushion! However, I wanted mine to not move around as much though, so I decided to glue it down.
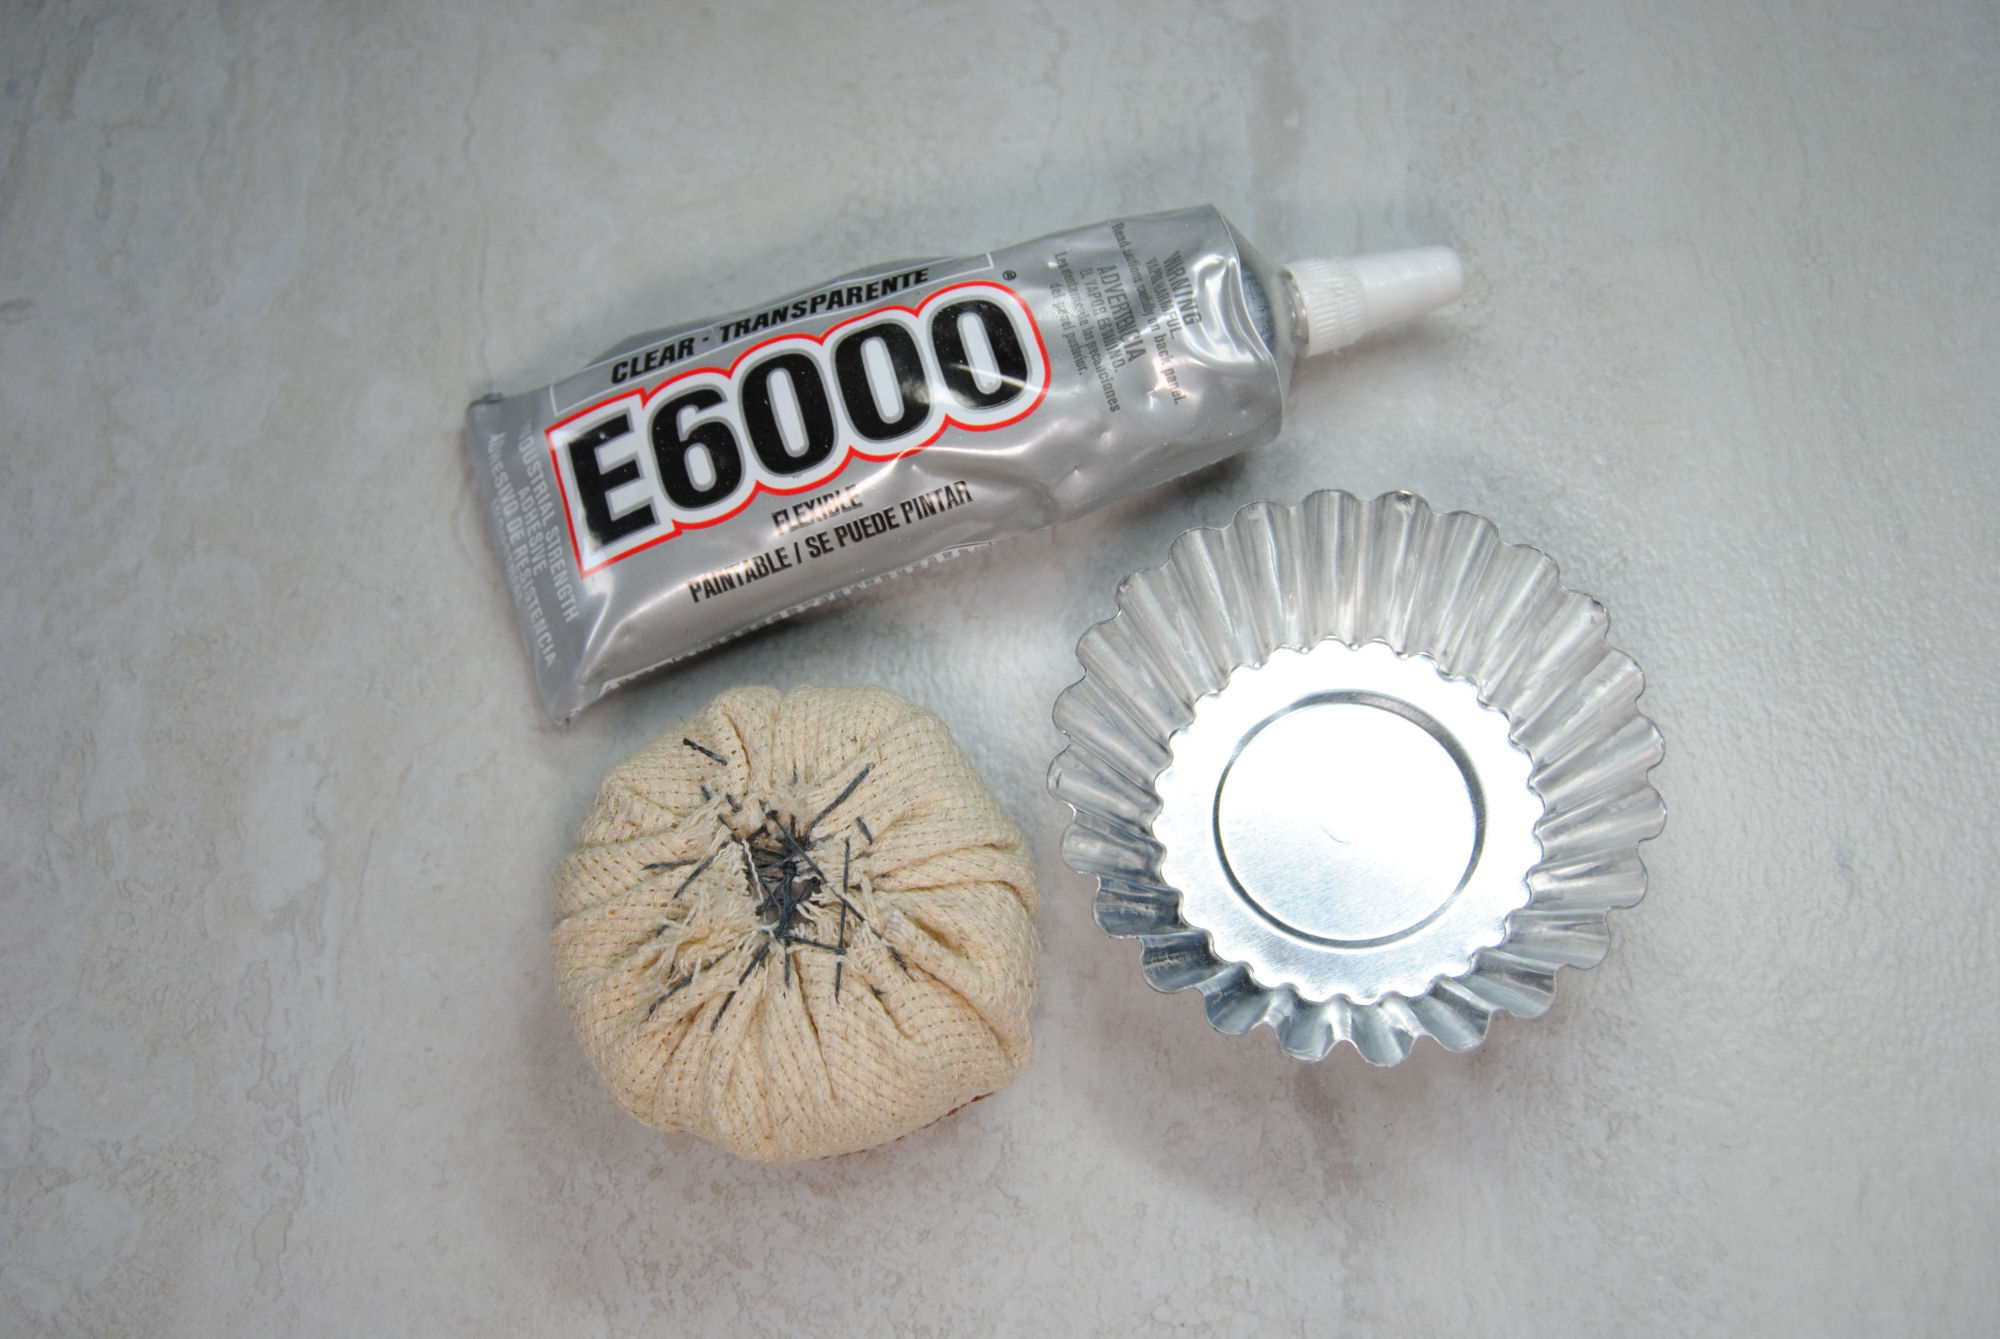
I generally try to avoid gluing cross stitch, but as this was just a fun little project just for me… why not? Here I use E6000 Glue. Heck, I use it for pretty much everything. If you have your own preferred glue, go for it.
Finished Piece
And here it is! An adorable little desk piece to keep all your pins handy. You can see the slight white space around the edges I mentioned before. But honestly it doesn’t bother me enough to redo. I think it’s lovely and it makes me smile every time I see it on my desk.

I’d love to see what cute cushions you guys end up making based on your favorite pies or cakes! But also you could just put a general logo or small design in there and it’d be just as cute and personalized. 🙂
You might also like:
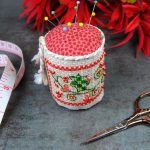 Pin Drum Cross Stitch Finishing Tutorial
 Humbug Tutorial: Ornaments, Pin Cushions, or Scissor Fobs?
 Making an Iron-On Patch out of Your Latest Cross Stitch Project
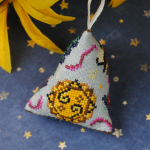
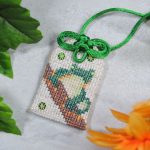 Omamori Tutorial – Cross Stitch Your Own Good Luck Charm
 Framing Tips for Cross Stitch – Inexpensive At-Home Finishing Techniques
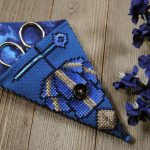 Scissor Cases – Safely Store Your Storks