
In case you’re not familiar with the concept of gridding, it’s a technique mostly used on large cross stitch patterns to help the stitcher with counting and sizing. If you’ve ever seen an in progress photo of someone stitching where their fabric is covered in small squares, that’s gridding!
There’s lots of different ways to do it and no one way is ‘correct’, simply whatever works for you. I’ll be going over a number of different material options, as well as different ways to actually create your grid.
But before we get into that, let’s go over several different reasons you might want to grid your project.
This post may contain affiliate links. If you buy something using one of these links, I earn a small commission. However, there is no extra cost to you. Thanks for understanding! Learn more in my Disclosures & Privacy Policy.
Table of Contents
Why should you try gridding?
These are not the *only* reasons to grid, but they do seem to be the most common. Ultimately it’s up to you whether the time spent gridding is worth it *to you* and your project.
Counting is harder than it seems
The number one most common reason to grid is simply to make counting easier. Most patterns nowadays include slightly thicker lines every 10 stitches. Gridding 10×10 squares makes it so much easier to see where your next stitch needs to go, typically without having to count any higher than 5.
You can quickly count that your next stitch is 3 squares away, 4th stitch from the right of that square, and 2 stitches down. Rather than having to individually count out 26 stitches to the side and hope you kept your counting straight before counting two down from there.
Sure, counting to 26 doesn’t sound terribly hard. But it can’t be just me who feels like their eyes start to cross a few squares into counting. And that recounting 4 times to make sure you got the right square somehow ends up with 4 different numbers.
To make sure project fits on your canvas
If you’re not 100% sure your design fits properly on the fabric you’ve chosen, you could choose to grid just the size outline of your design onto it. This helps to make sure it both fits, has plenty of room around it for whatever finishing technique you’re using, and that it’s properly centered before you start.
You may not find this completely necessary. If you’re accustomed to doing all the necessary math to make sure things fit, you won’t need this. But if you’re not confident in your math, this is definitely an option.
Similarly, you may be used to centering your project on the fabric by starting from the middle. But if you want to start stitching from one of the corners instead, this can be an option to make sure it’s centered without having to do maths.
To line up multiple patterns on one fabric
Similar to the above, gridding can be helpful if you’re planning to fit multiple designs onto one piece of fabric. In this case you only need to grid the size outline of each design. An example of this is my Skyrim Constellation Stitch A Long.
To make sure each constellation was lined up properly and they would all fit on the fabric, I gridded 18 same-sized boxes on my fabric before starting.

To be able to stitch cross country even on low color counts
If you’re not familiar with the term ‘cross country’, it’s typically used to define the method of cross stitching that involves stitching all of a certain color in a project before moving on to the next.
When using this method on large pieces, this can be very difficult as some of that color may be randomly used on the opposite side of your project from where you started. Rather than having to trust yourself to count 40 stitches away for your next stitch, you can count 4 10×10 boxes away. This reduces the possibility of miscounting, though it doesn’t rule it out entirely of course.
Easy progress tracking on full coverage pieces
Whether you’re parking or just working in clumps, having things on a grid makes it relatively easy to count how many stitches you’ve made. Rather than counting stitches or relying on cross stitch apps like Pattern Keeper to keep count for you, you can generally eyeball your count based on the amount of squares you’ve done. This doesn’t work as well if you’re going cross country, but if you’re averaging about 4 ‘squares’ a day you can quickly calculate how many days you might have left in your project.
Material Options for Gridding
I’ll get into the actual technique of gridding later on in this article, but for now let’s talk about your options when it comes to materials.
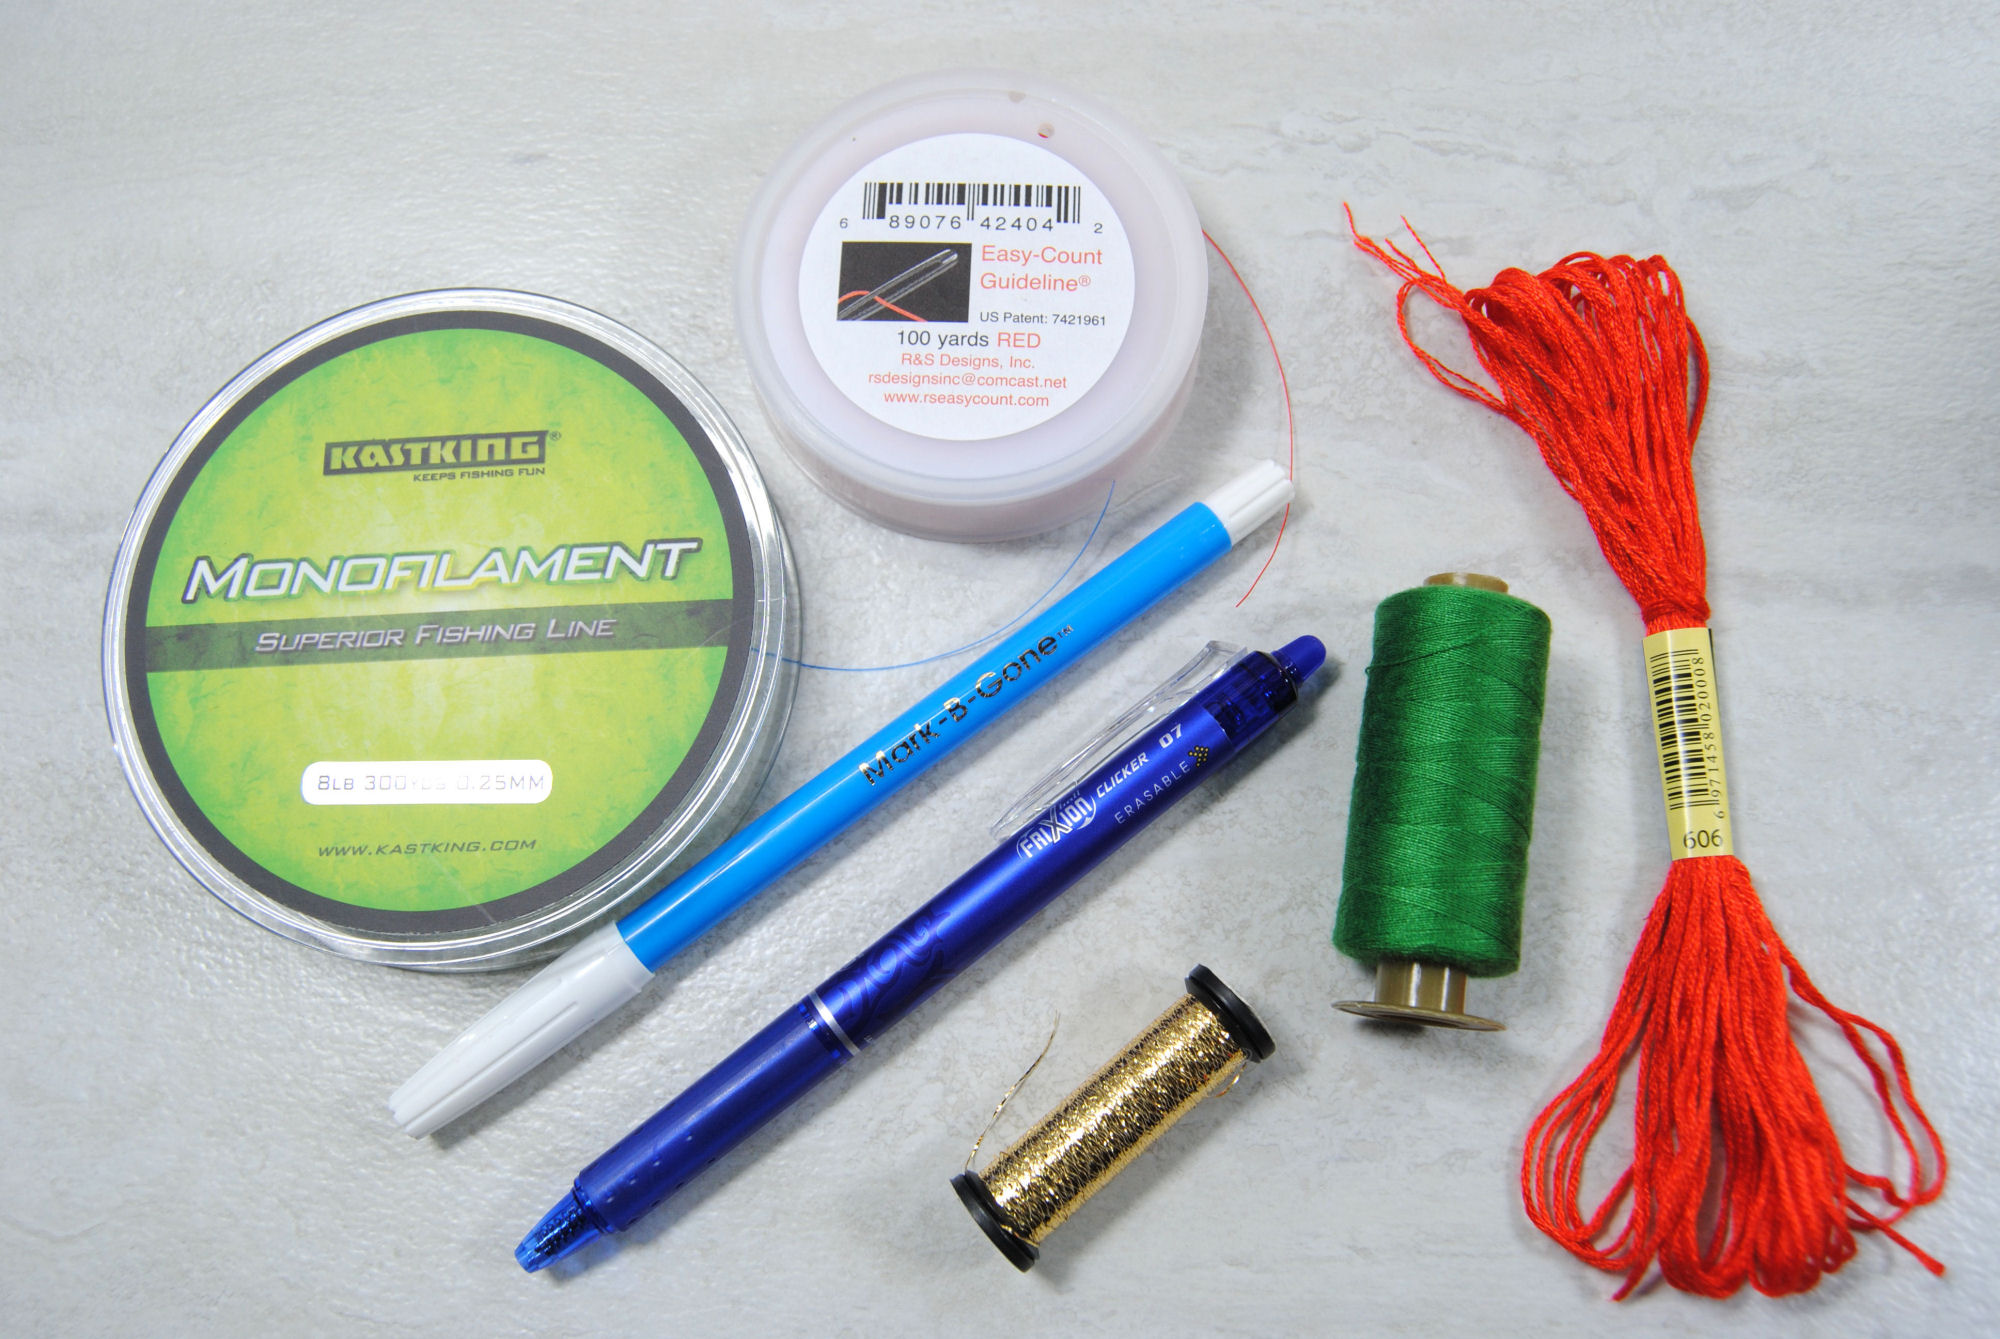
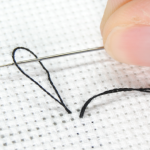
Single Strand of Embroidery Thread
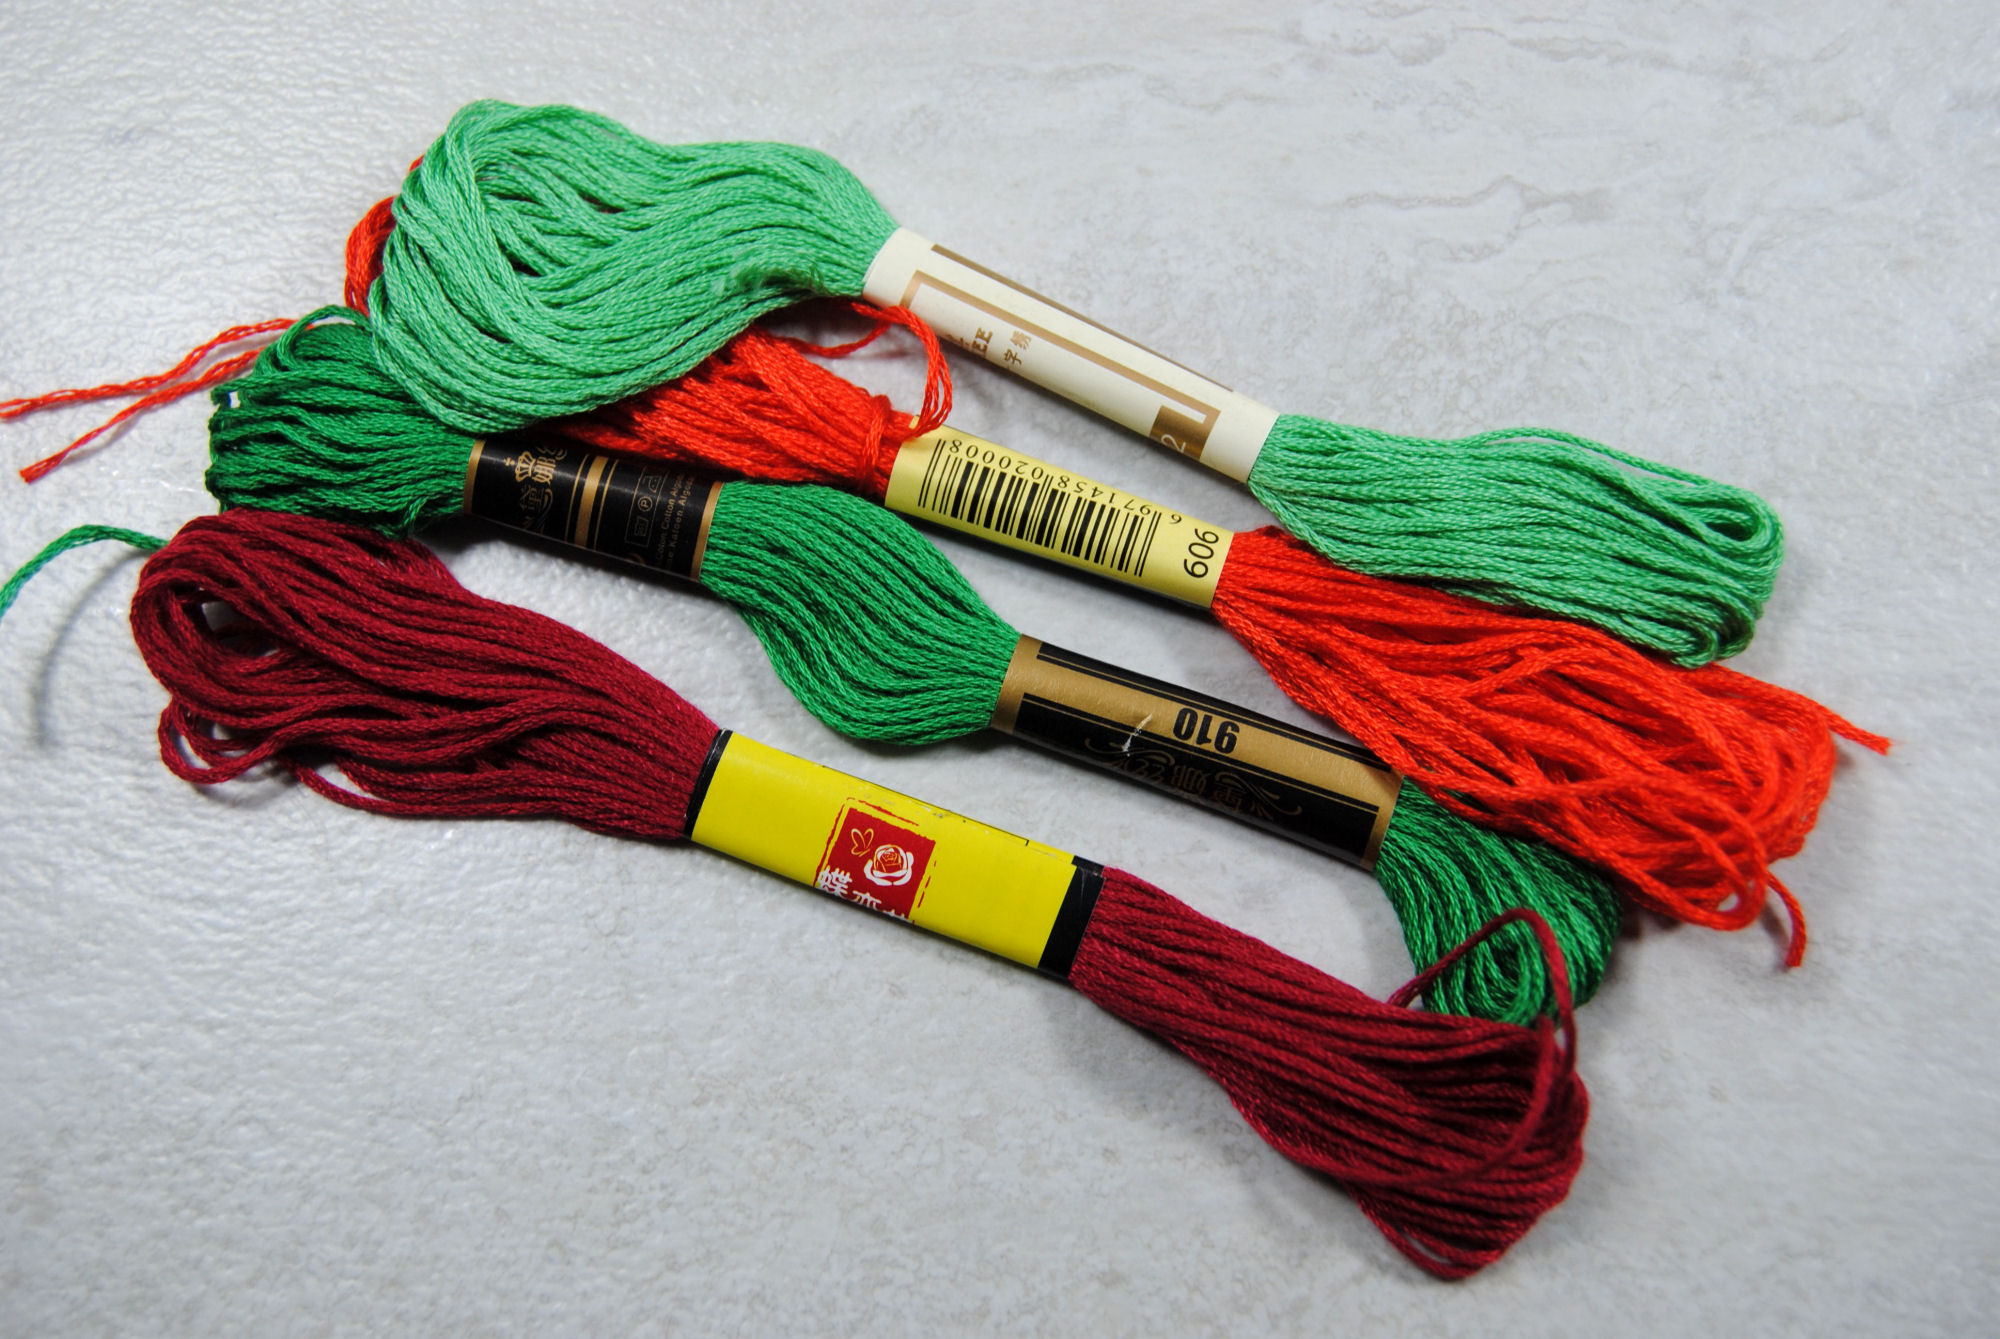
Typically when one first wants to try gridding, you don’t want to have to buy new materials for it. And that’s totally fair. You don’t even know if you LIKE gridding yet. So it is entirely reasonable to just use a single strand of whatever thread you have around. Whether you accidentally bought an extra skein of a color, or thrifted some mystery color you probably won’t use otherwise. You just have to be more careful to move the strand out of your way while stitching.
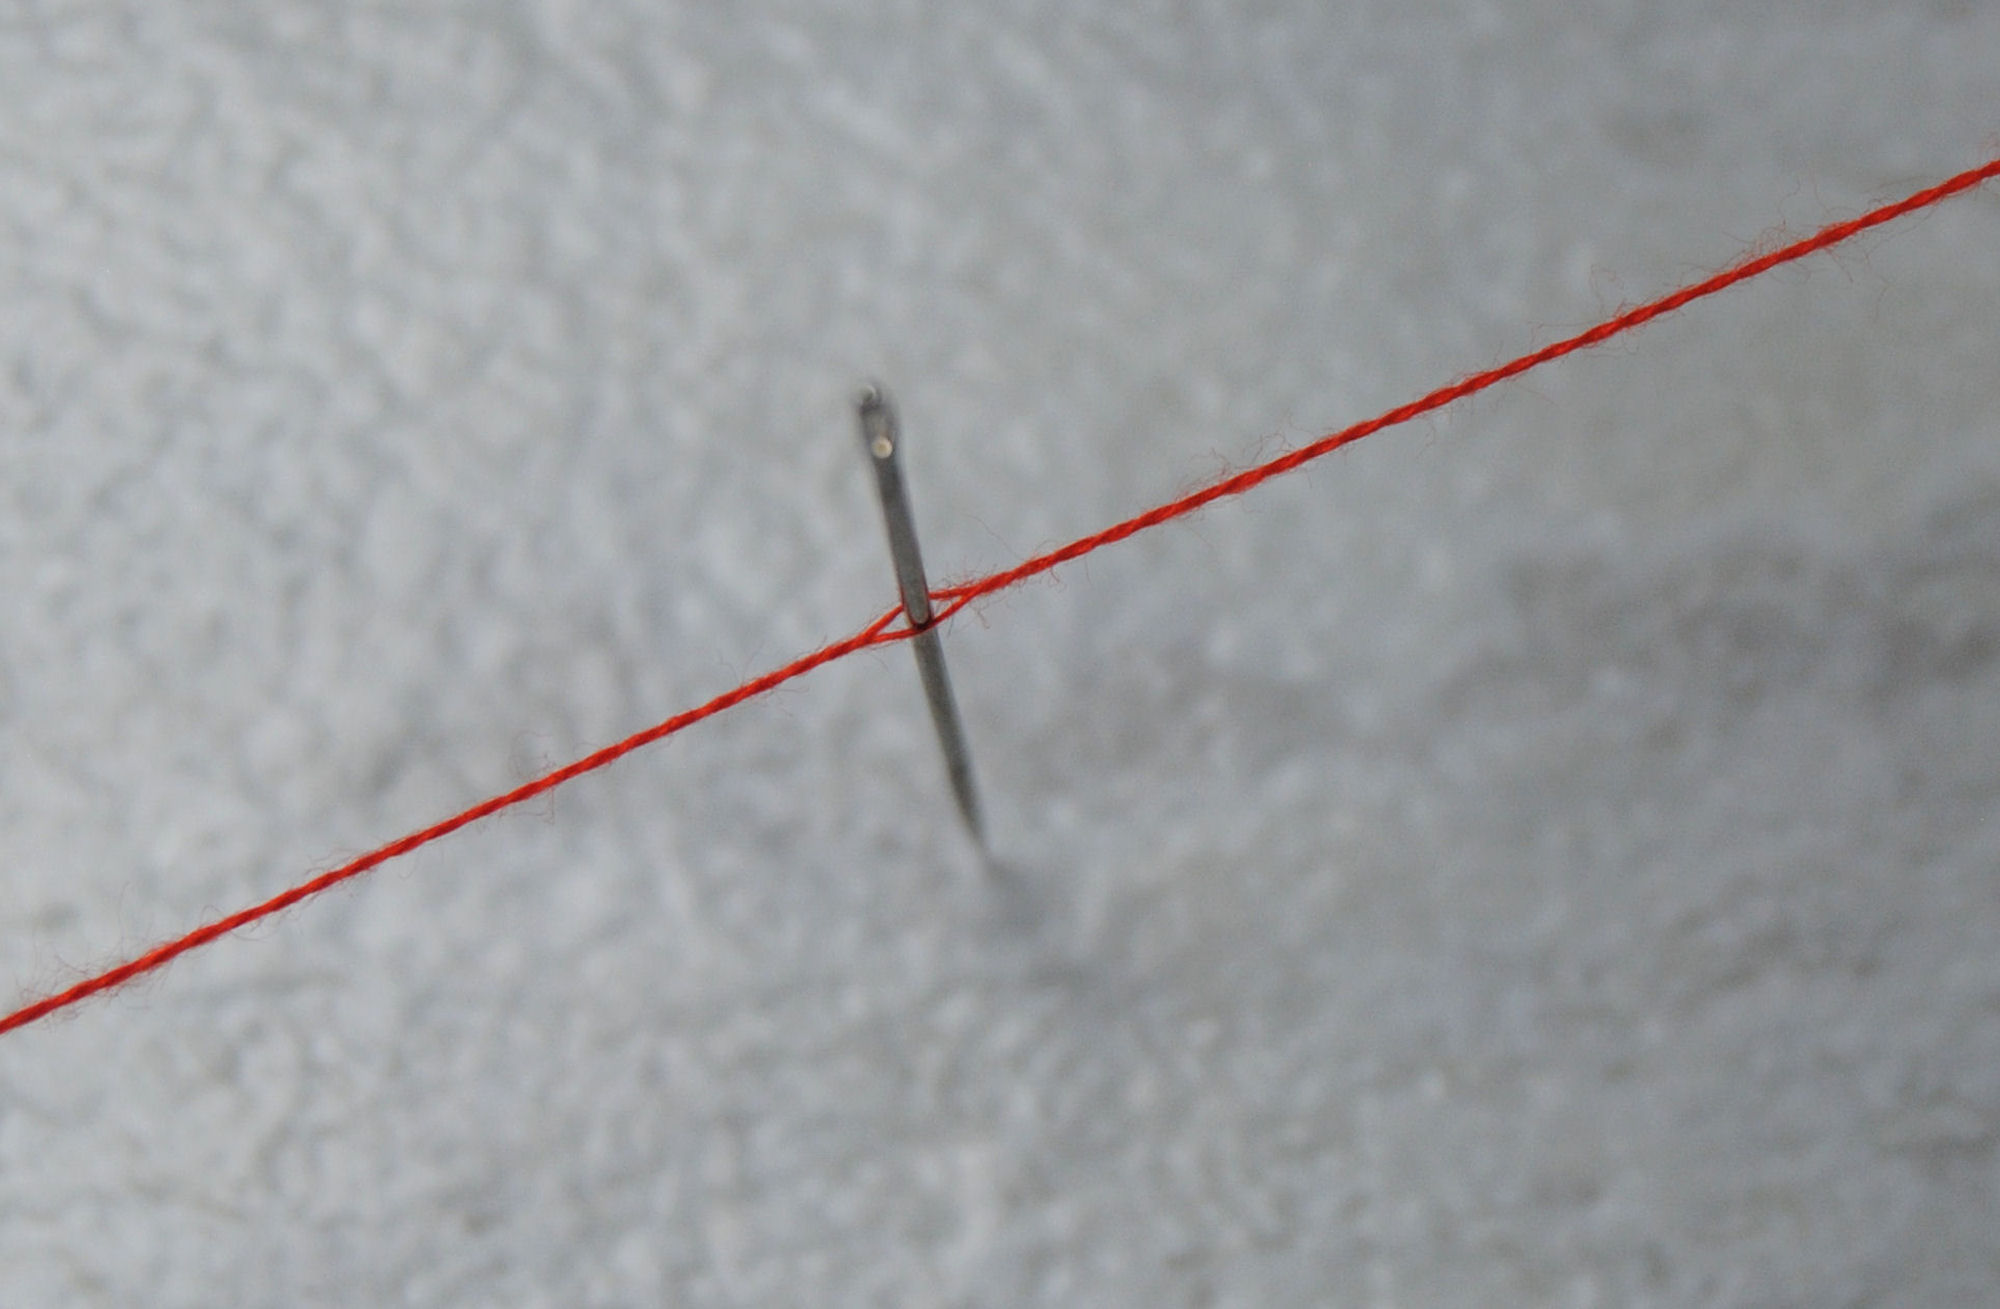
PROS: You probably already have some on hand that you might be willing to sacrifice. You can choose basically any color so that it contrasts with your chosen fabric. This is a great use for those mystery colors or off brand threads you don’t know what to do with.
CONS: As you can see, it is easy to accidentally pierce the thread while you stitch, making it infinitely harder for you to pull out the grid once you’re done.
Sewing Thread
Similar to above, if you do any sort of sewing you might have some sewing thread lying about. This is typically thinner than embroidery thread, and thus better suited for gridding.
PROS: Again, lots of colors to choose from
CONS: It’s still possible to accidentally pierce while stitching, especially when using sharp needles
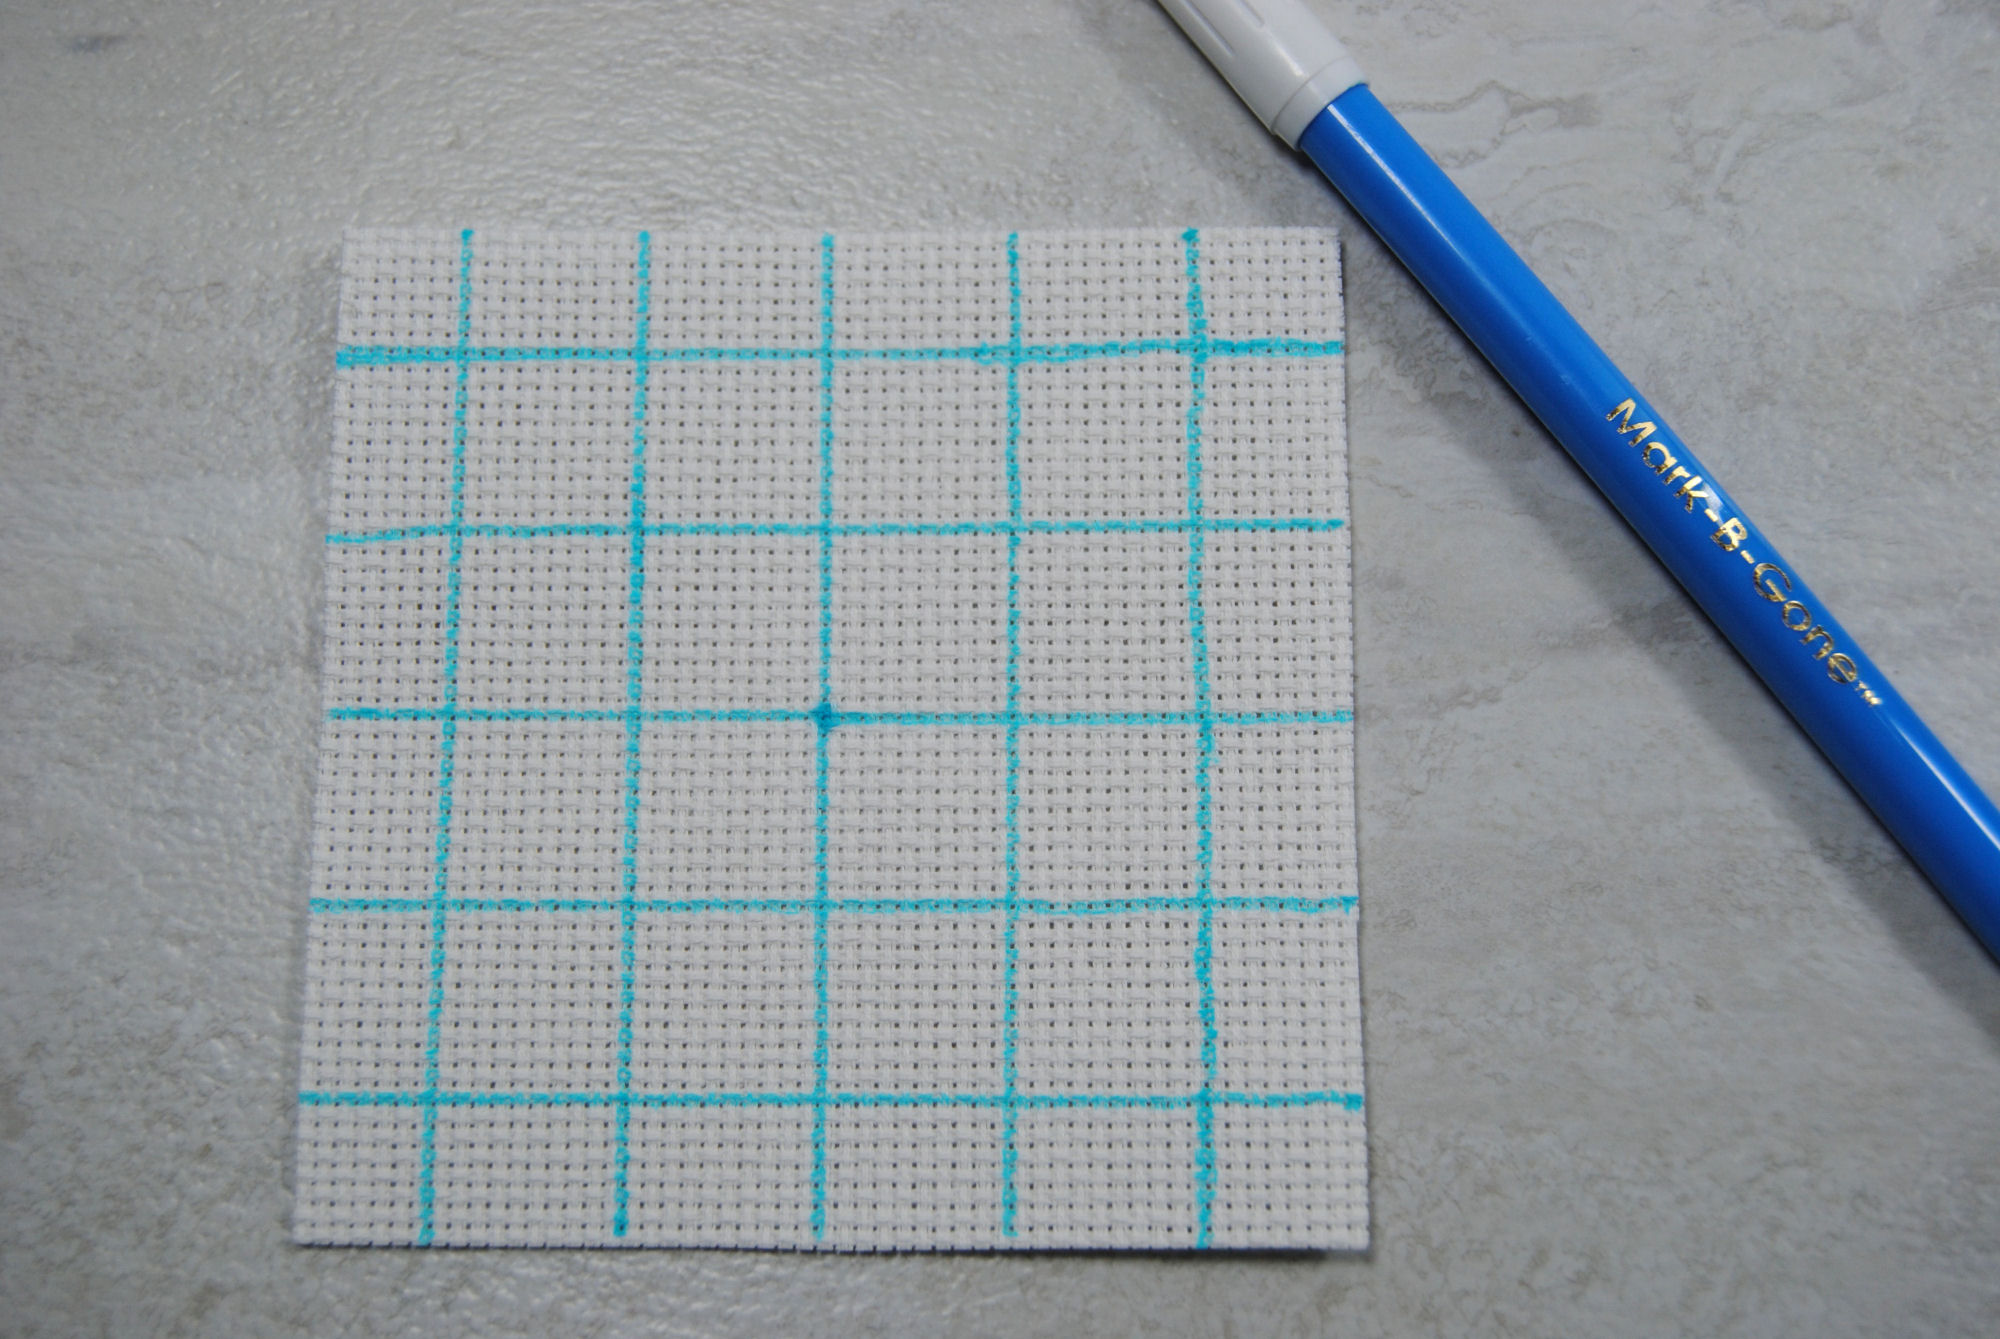
Washable Pen (Use a ruler!)
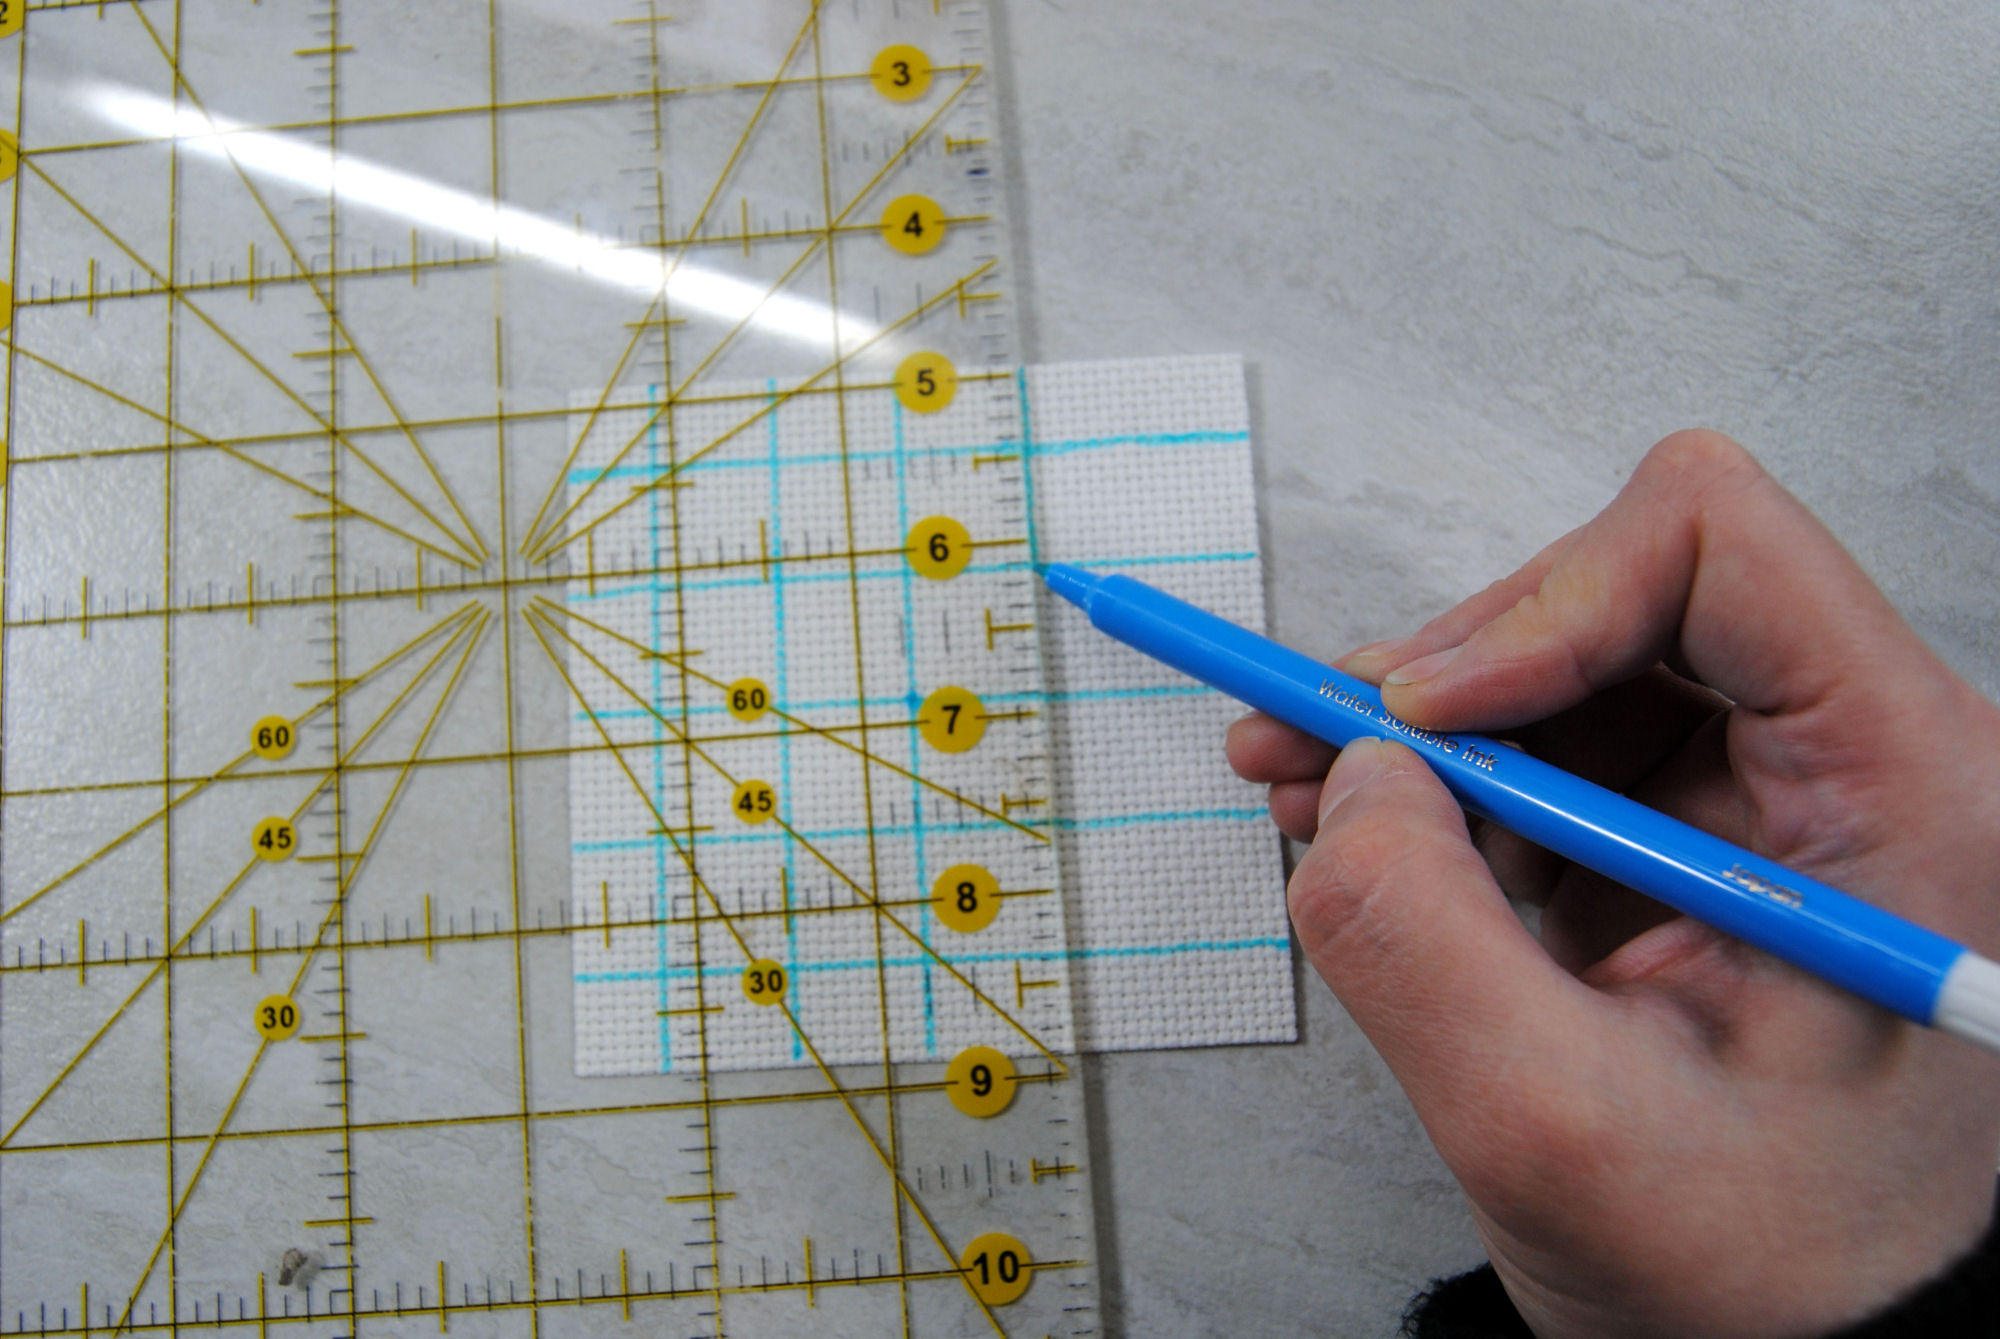
Probably the most common method you’ll see because it’s quicker and easier to do. You can get a water soluble pen, or an air eraseable pen. Or even both in one pen! The disappearing ink or ‘air eraseable’ pens are mainly for projects you’ll be finishing within 24 hours. Whereas the water soluble pen washes out with water.
I definitely recommend using a ruler to get this on straight. Though definitely don’t bump the ruler sideways before taking a photo so it looks off center. I swear it wasn’t while actually drawing on the grid. 😉
PROS: Much easier to apply, as you don’t have to stitch anything onto your fabric. You can just draw it on with a ruler to keep it straight. Also easier to remove in that you can just wash it or give it time to disappear.
CONS: Only available in blue/purple. Which also means it doesn’t work well on dark fabrics. Additionally, if you’re working with fabrics or overdyed threads that are not color fast, you do NOT want to wash your project, so these pens won’t work. I also find that even the ‘fine liner’ pens feel a bit thick, especially on higher count fabrics. So it can be tough to make straight lines or tell where a corner is where two lines meet.
Blending Filament
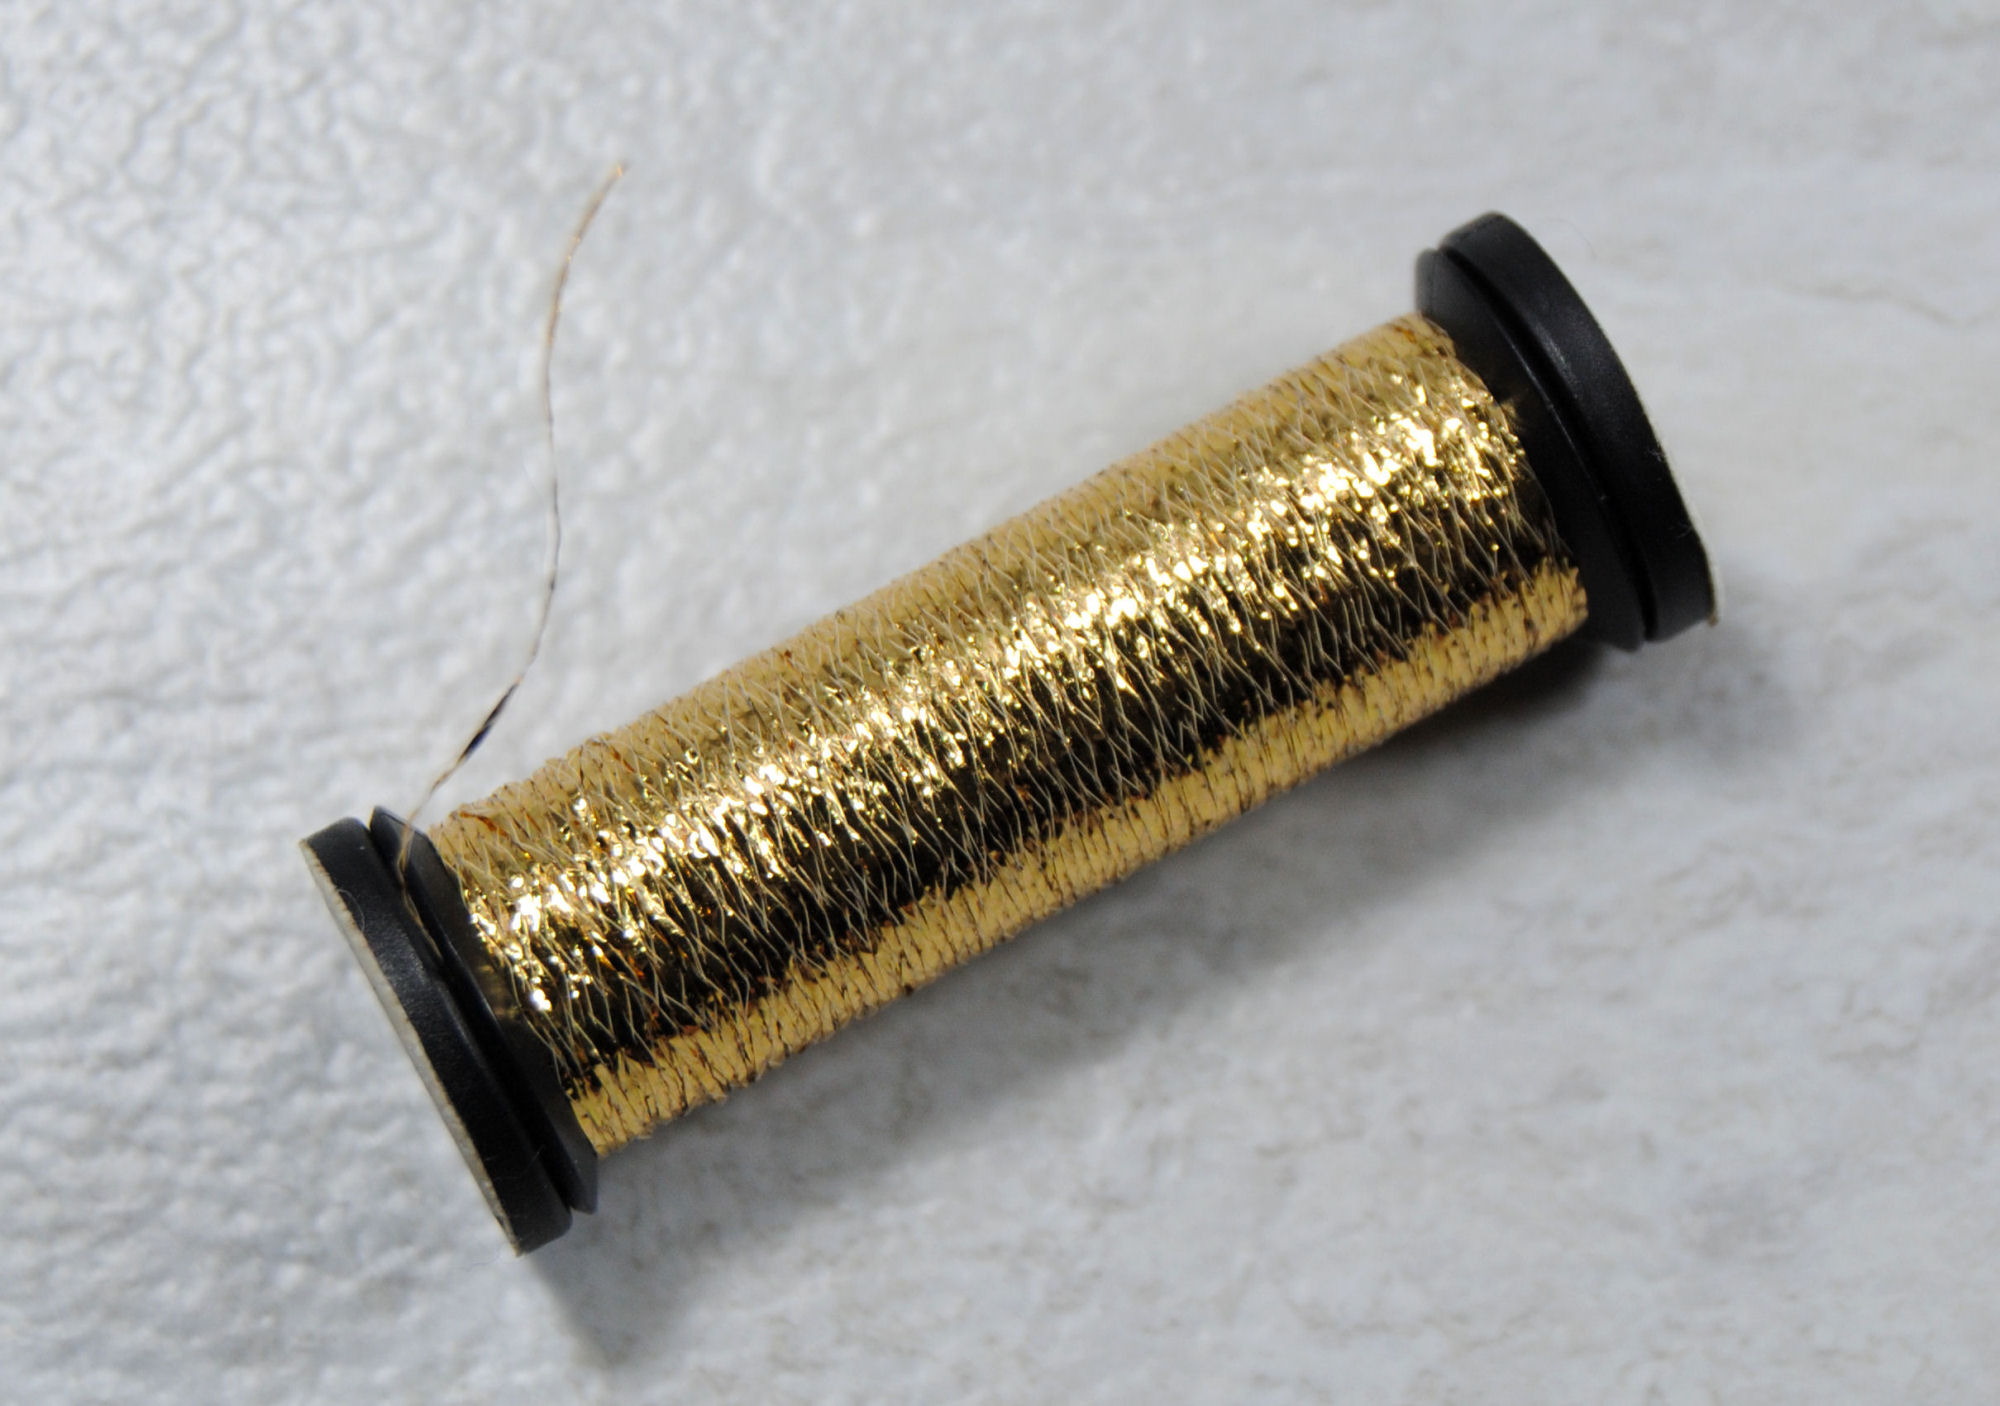
On the same lines as above, something I’ve seen around but never tried until now is the use of blending filament for gridding. Filament is a flat metallic thread, similar to the old Christmas tinsel. Sulky Holoshimmer thread is similar and would work just as well. Pictured is Kreinik Blending Filament 002HL
PROS: Shiny and bright and easy to see. Depending on color, works well on dark fabrics. The standard gold would be perfect for this.
CONS: As it is a specialty thread, it’s generally more expensive than most options here. It can also be very flimsy and crinkle up a bit.
Fishing Line
My personal go to when it comes to gridding, monofilament fishing line. Plus it’s generally cheaper than products marketed for sewing/cross stitch. I use 8lb generally, and it slides easily through the fabric.
PROS: It’s thin, comes in various colors, and can’t be accidentally pierced while stitching. Easy to find locally.
CONS: It’s very plasticy, and can trigger texture sensitivities. Most are semi transparent, making it harder to find colors that stand out on black or dark fabrics.
Easy-Count Guideline
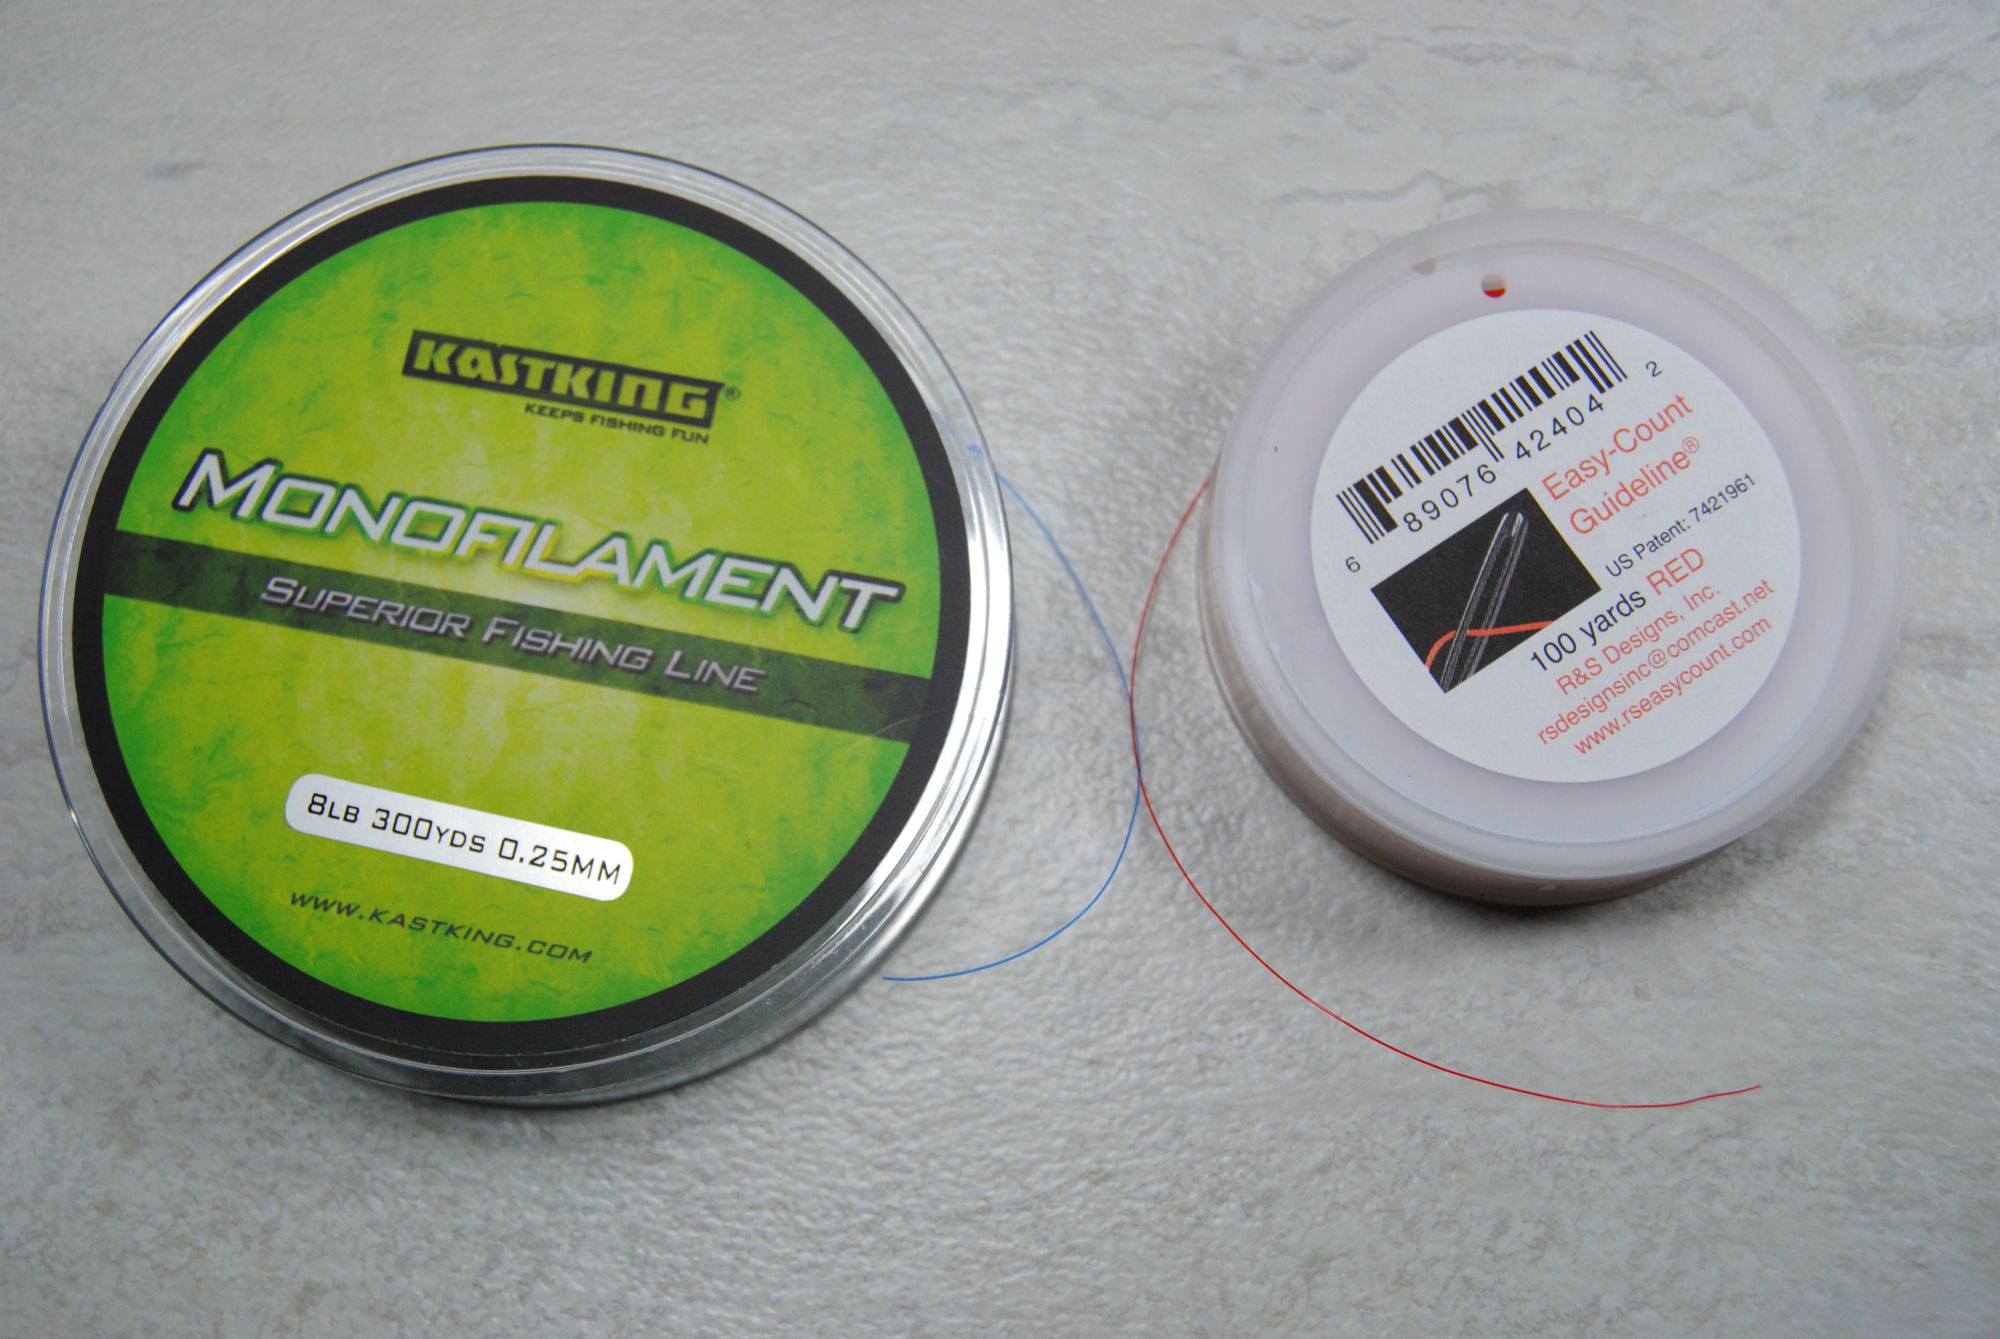
Easy-Count Guideline is a thread specifically designed for the purposes of gridding, presumably by a stitcher.
PROS: Smooth and unpierceable and specifically designed for gridding. Slides out super easy. Is opaque and easily visible on black and other dark fabrics. Unless you’re stitching on red, I suppose.
CONS: As it’s marketed as a specialty thread, it’s more expensive than similar options such as fishing line. Only comes in red, as far as I know. Not likely to be found locally unless you have an LNS.
Pre-Gridded Fabric
Nowadays you can purchase pre-gridded fabric so you don’t have to grid yourself!
Zweigart Easy Count and DMC Magic Guide are two brand name examples of this. Wichelt also makes easy count fabrics
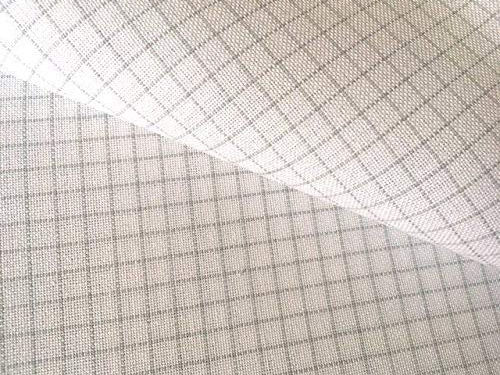
PROS: The easiest to do. No work on your part, just wash it out when done! Good for full coverage pieces though where it doesn’t matter what color your fabric is!
CONS: Again, needs to be washed. So no using non-color fast threads! Can be harder to find, especially in different counts or colors. DMC Magic Guide for example only seems to be available on the UK site, and then only in 14 or 18 count white. Zweigart has more count and color options, but there are still limits.
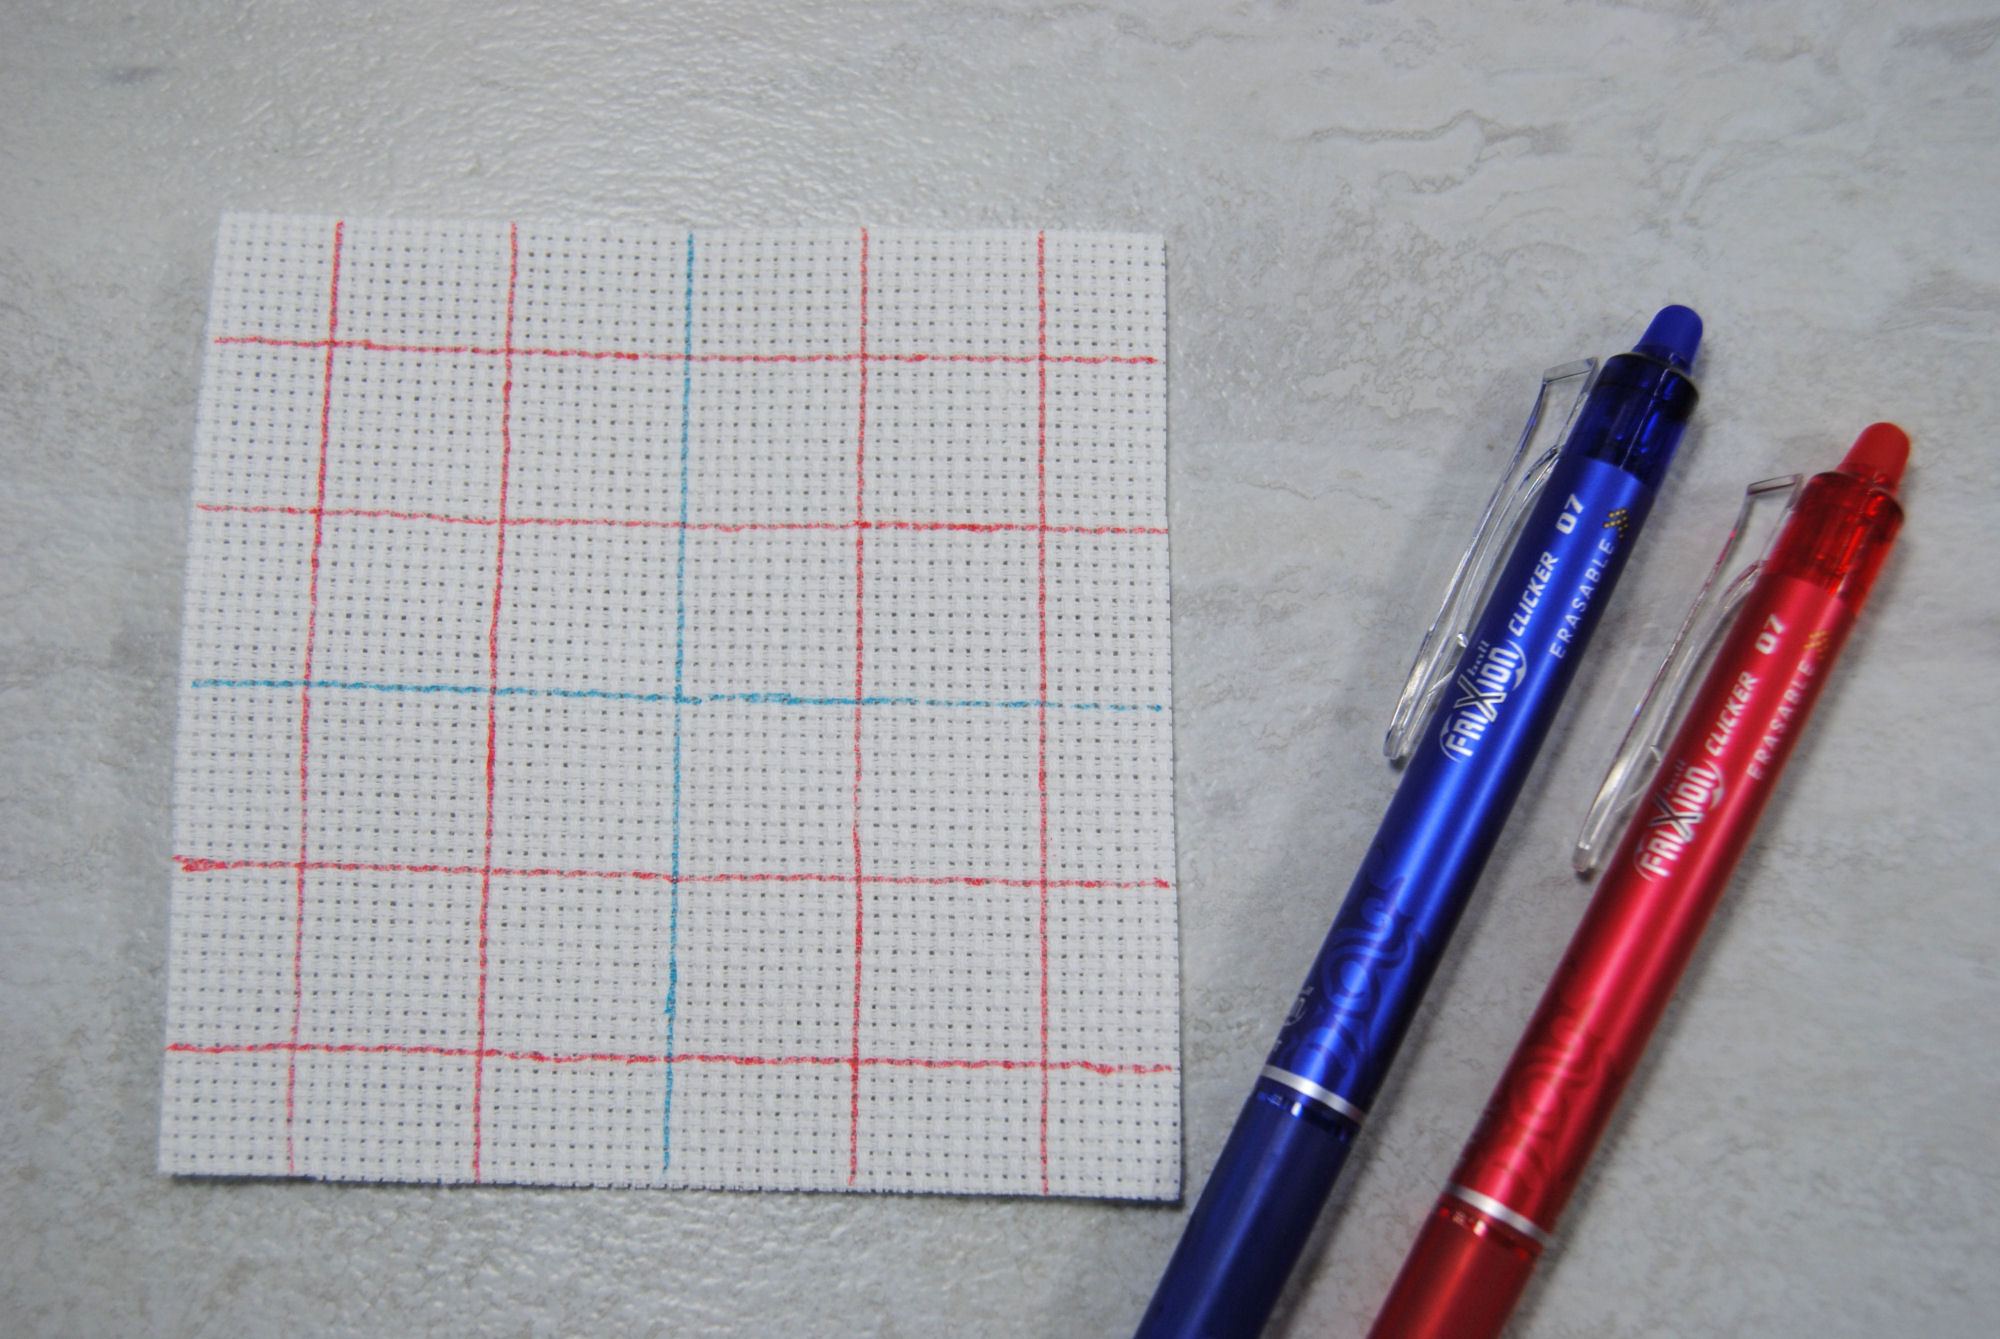
FriXion Pens
Here’s a method I was not aware of until it was brought up in the Pixel Stitch Discord server. The helpful astralcat suggested using Frixion erasable markers. If you’re not familiar with Frixion, they make pens, markers and highlighters that are eraseable. I’ve been using their pens for my planner, but never thought to use them on fabric! The ink is formulated to erase with heat, and the eraser tips are designed simply to create that heat via friction. And voila, disappearing ink!
They also included a WIP photo of their current project so you can see how it works!
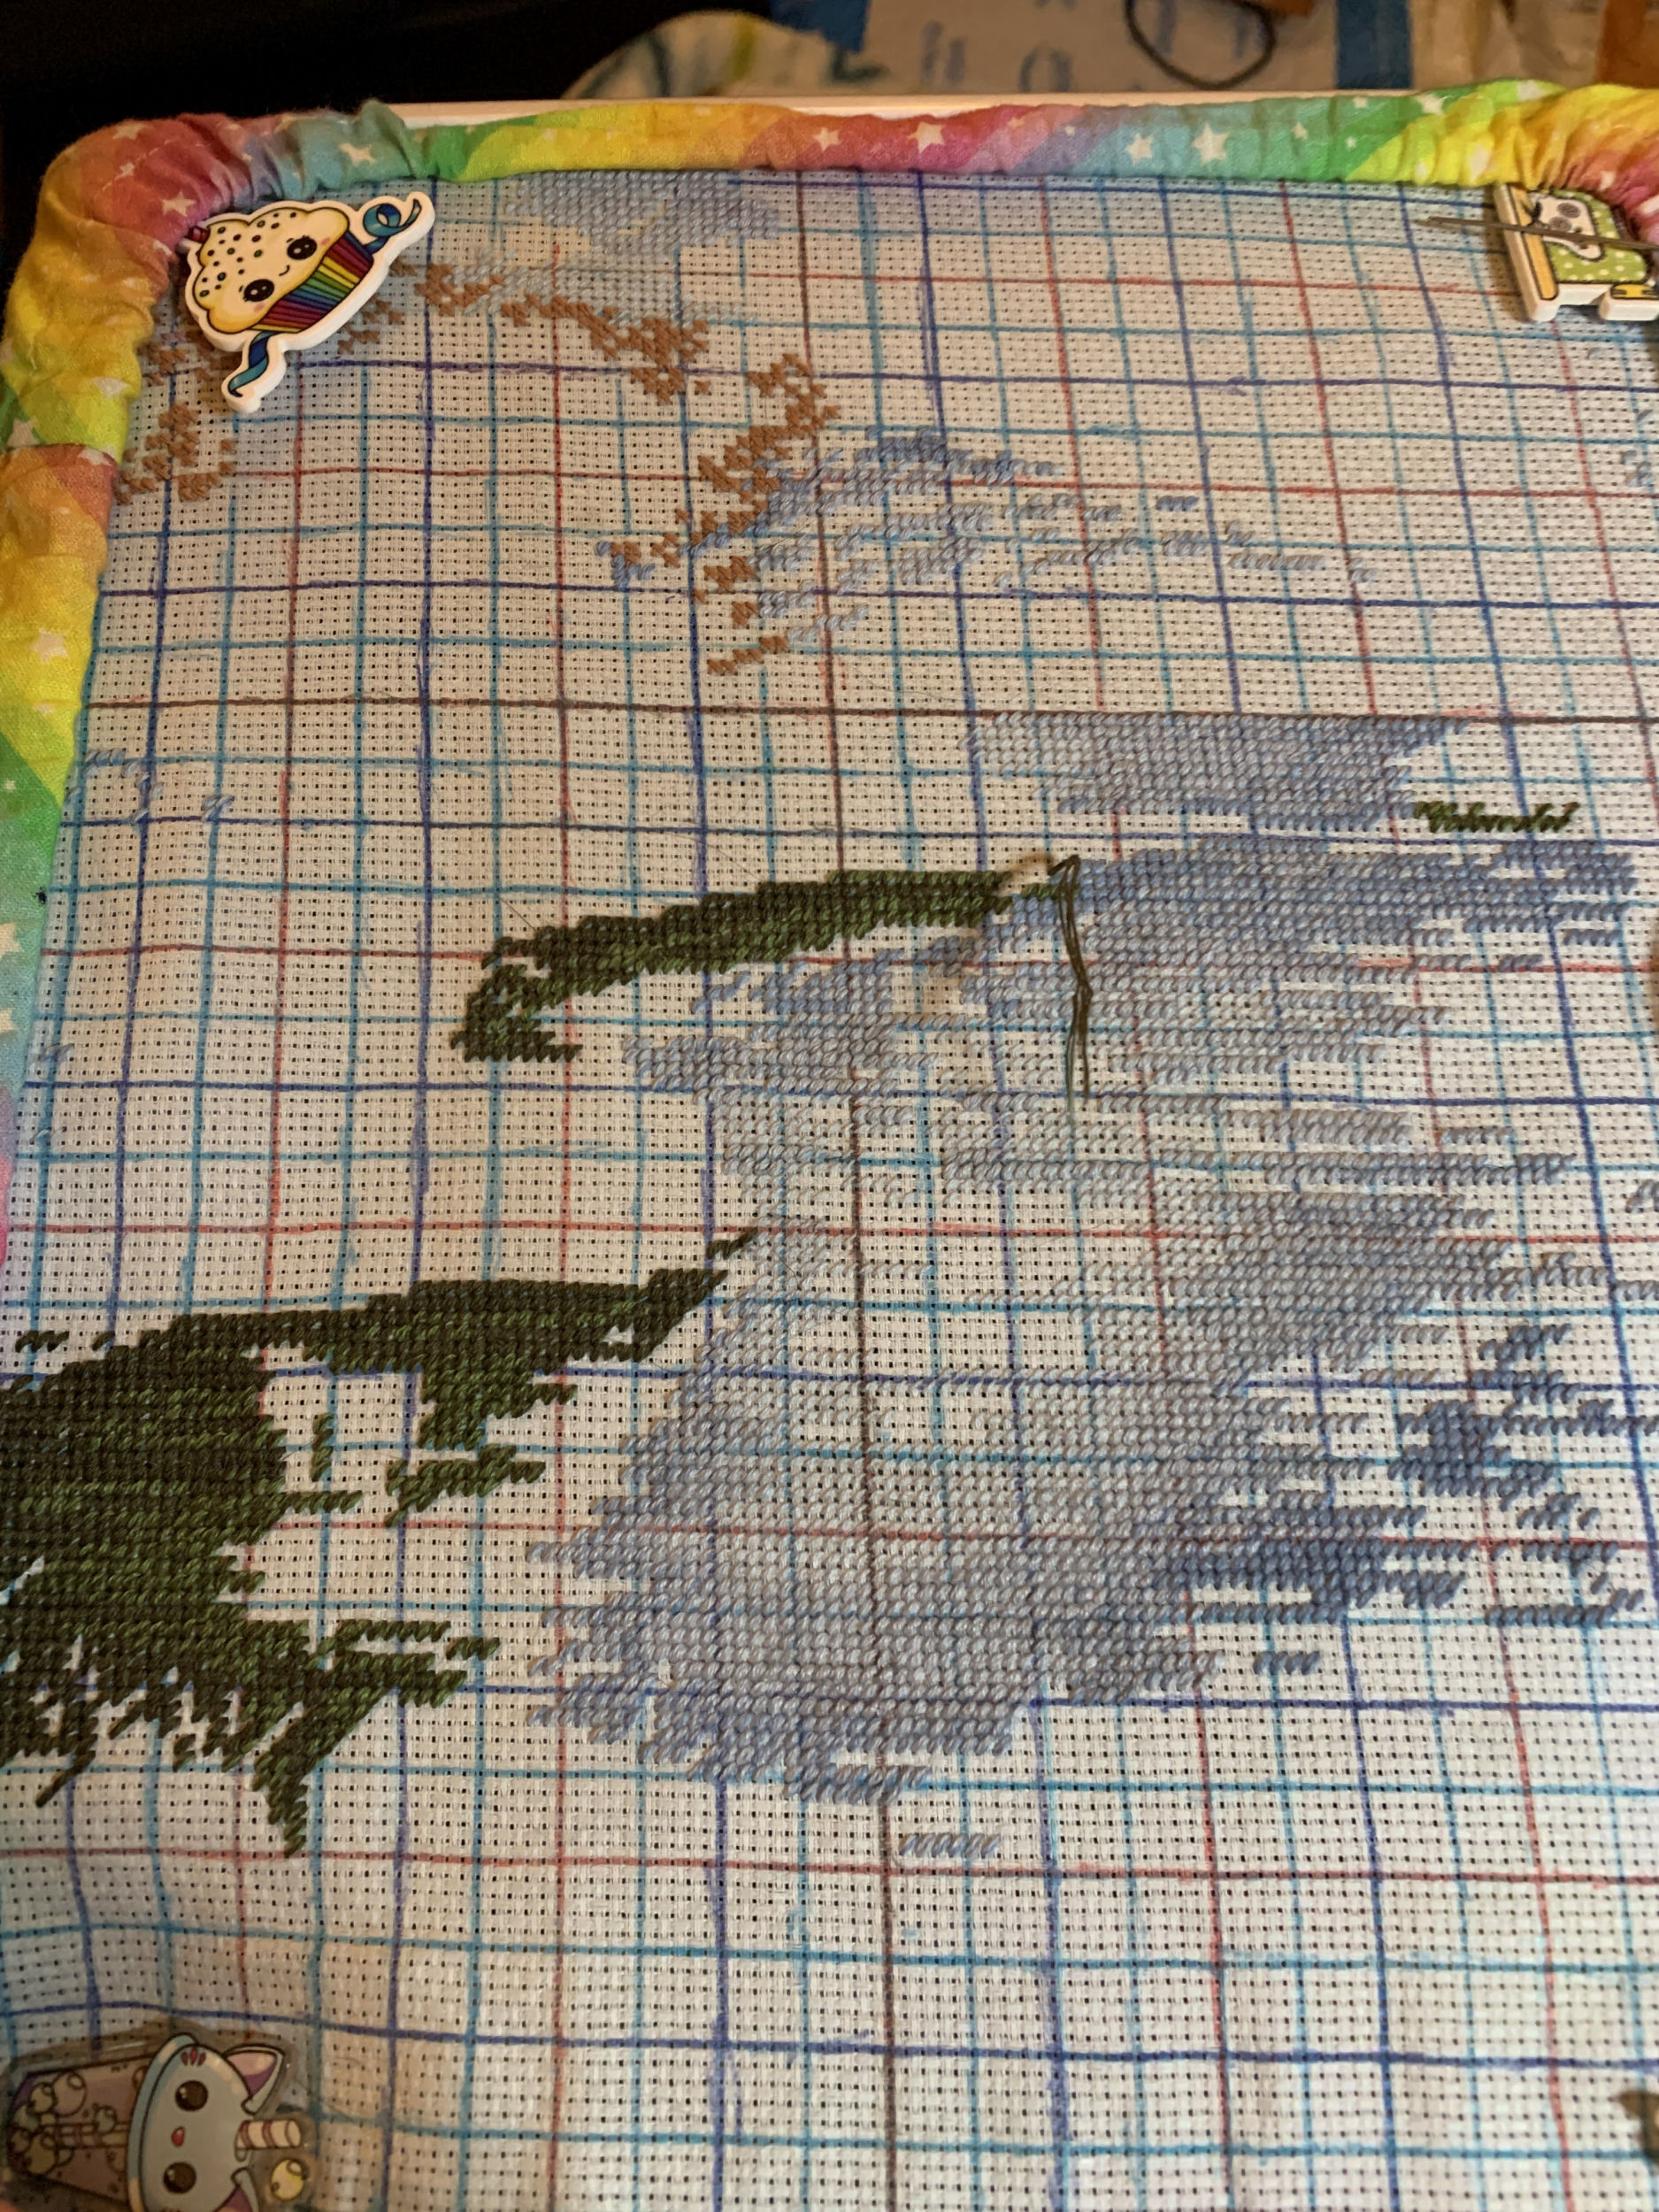
Here, they used black lines to show the center lines of their project. Light blue for every 5 stitches, and alternating red and bark blue for every 10 stitches.
PROS: Lots of colors to choose from! Just as easy to use as a standard washable/air eraseable pen. Except this can be erased with heat. Whether that be hot water or a hair dryer.
CONS: If you’re washing your project using hot water it increases the risk of fabric or thread bleeding. As long as you’re using color fast materials, you should be okay, though. Also, as it’s just disappearing ink that reacts to heat, it doesn’t technically get washed out. If you live in colder climates the ink can reappear. However, you can simply reheat it to make it disappear again.
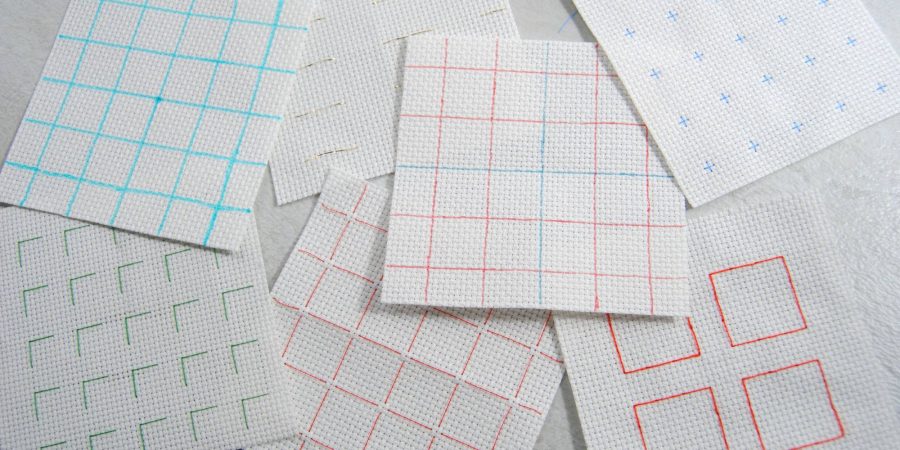
Various Gridding Designs
So you’ve chosen your material. Now what? What design to actually grid onto your fabric? There’s a lot of different techniques and it seems everyone has their own way of gridding. I can’t possibly list them all, but let’s go over some of the most common. Feel free to mix and match or come up with your own!
Full Square gridding
One of the most common grids is simply to do full squares. This is typically what pre-gridded aida comes with, and is pretty easy to do with the washable pens and a ruler. This is harder to achieve with thread as you’ll have to backtrack or do some sort of backstitching to accomplish. You most certainly CAN though. However, the more you backtrack, the harder it can be to pull out once you’re done.
Squares minus corners
Close to the full squares, but you start from one side and just stitch continuously across, dipping down just at the corners of your squares.
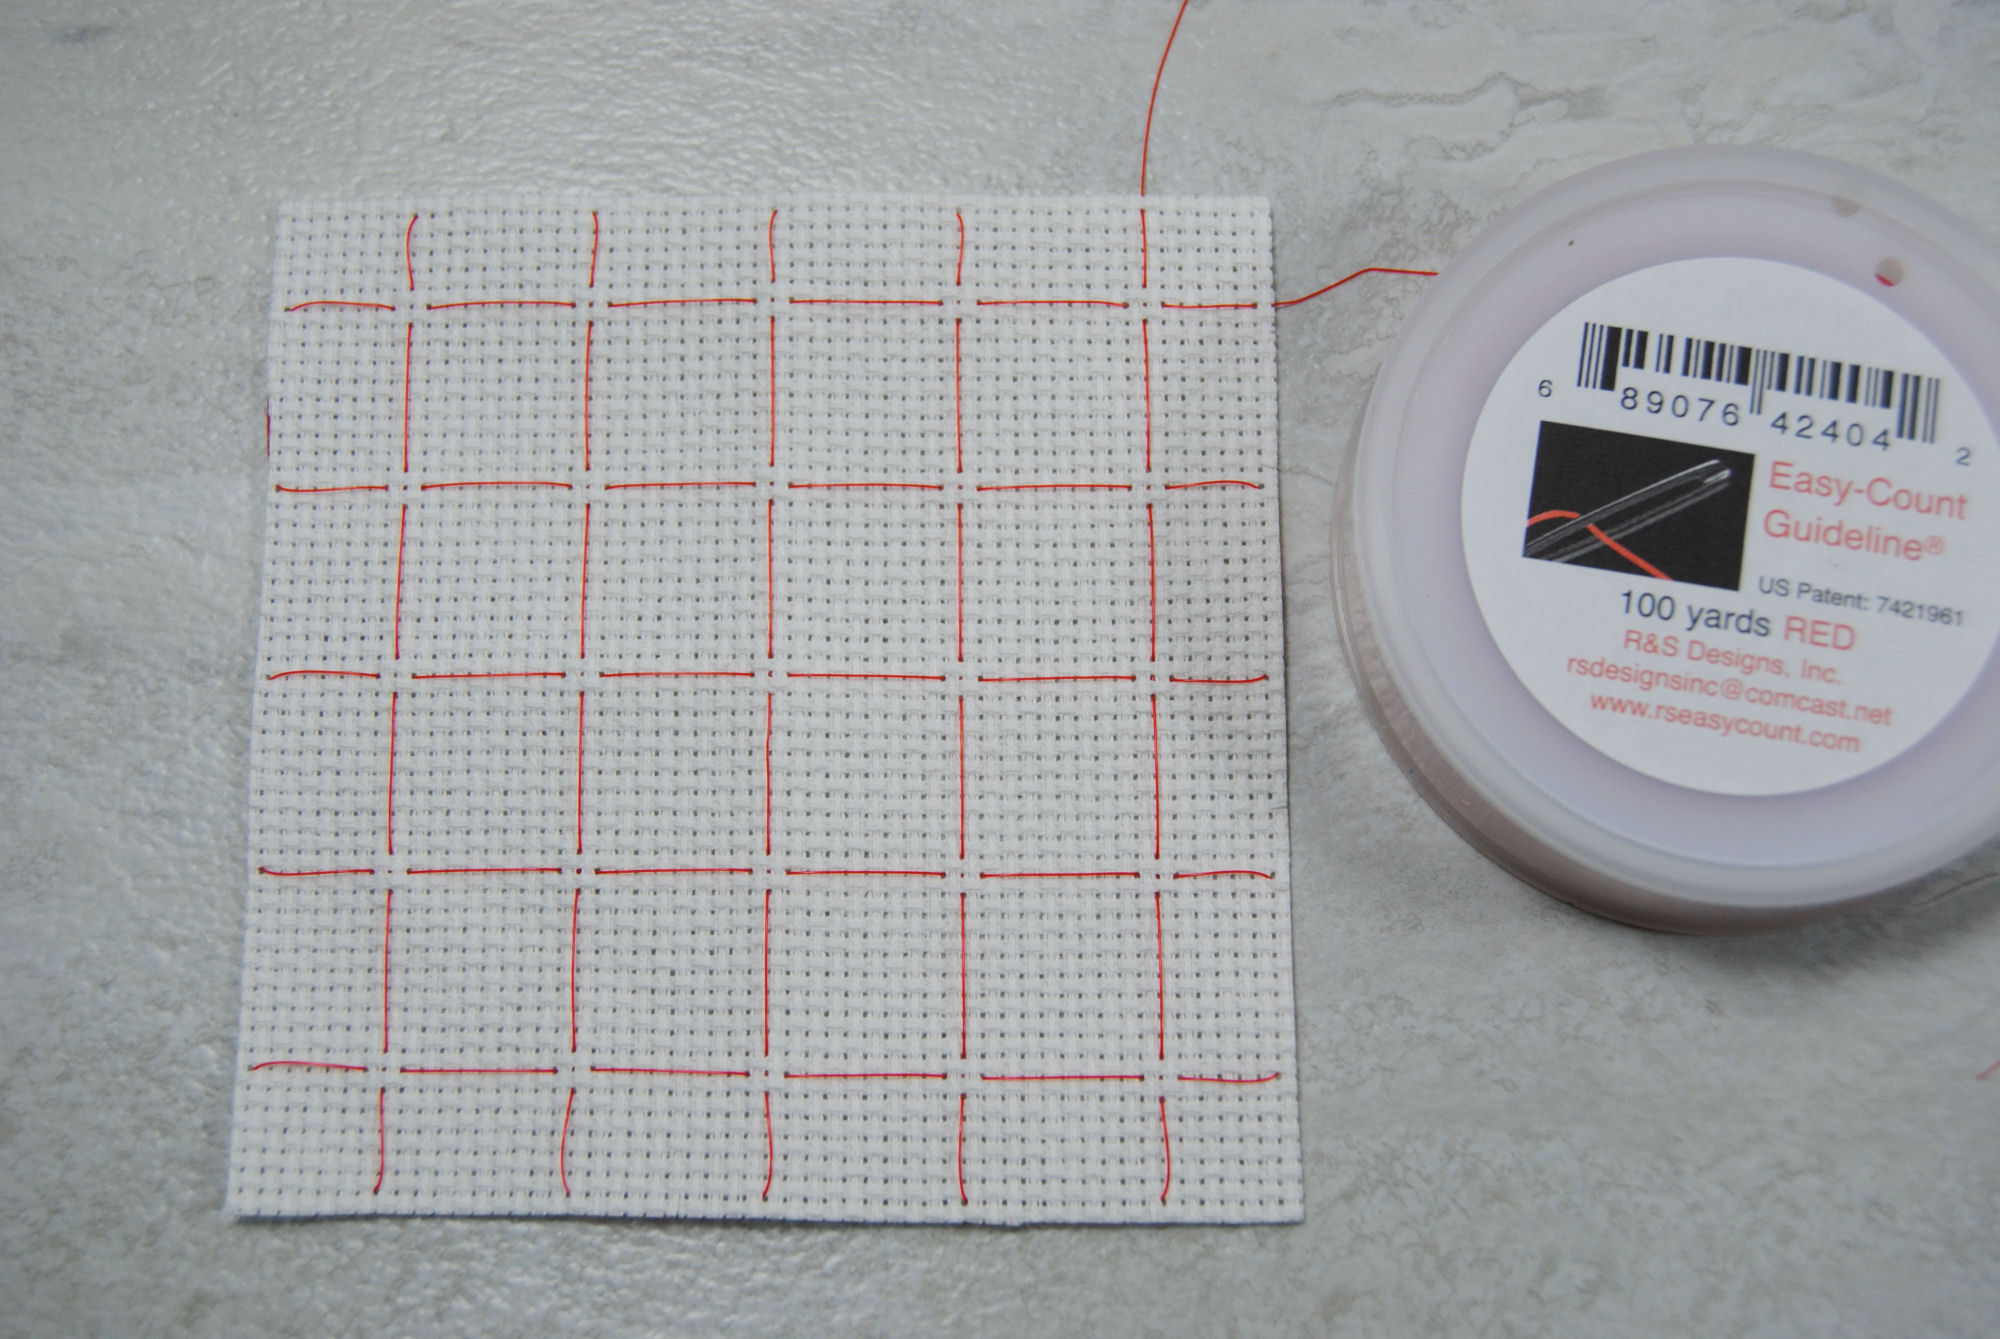
For this example I tried out the Easy-Count Guideline thread. No need to anchor the thread, as you can see I just have the ends loosely sticking out. And yes this is all just one long strand of thread.

You can just loop at each row change to keep on stitching in one continuous strand. Since you’ll be pulling it out at the end anyway, it doesn’t matter.
Just corners
Alternatively, you could do the opposite of the above and just do the corners. This leaves you with little +’s on your fabric. For the most part, it’s stitched the same way as the above. But you’re working on the other side of the fabric. This has a much cleaner look and can make for cleaner WIP photos while still using a grid.
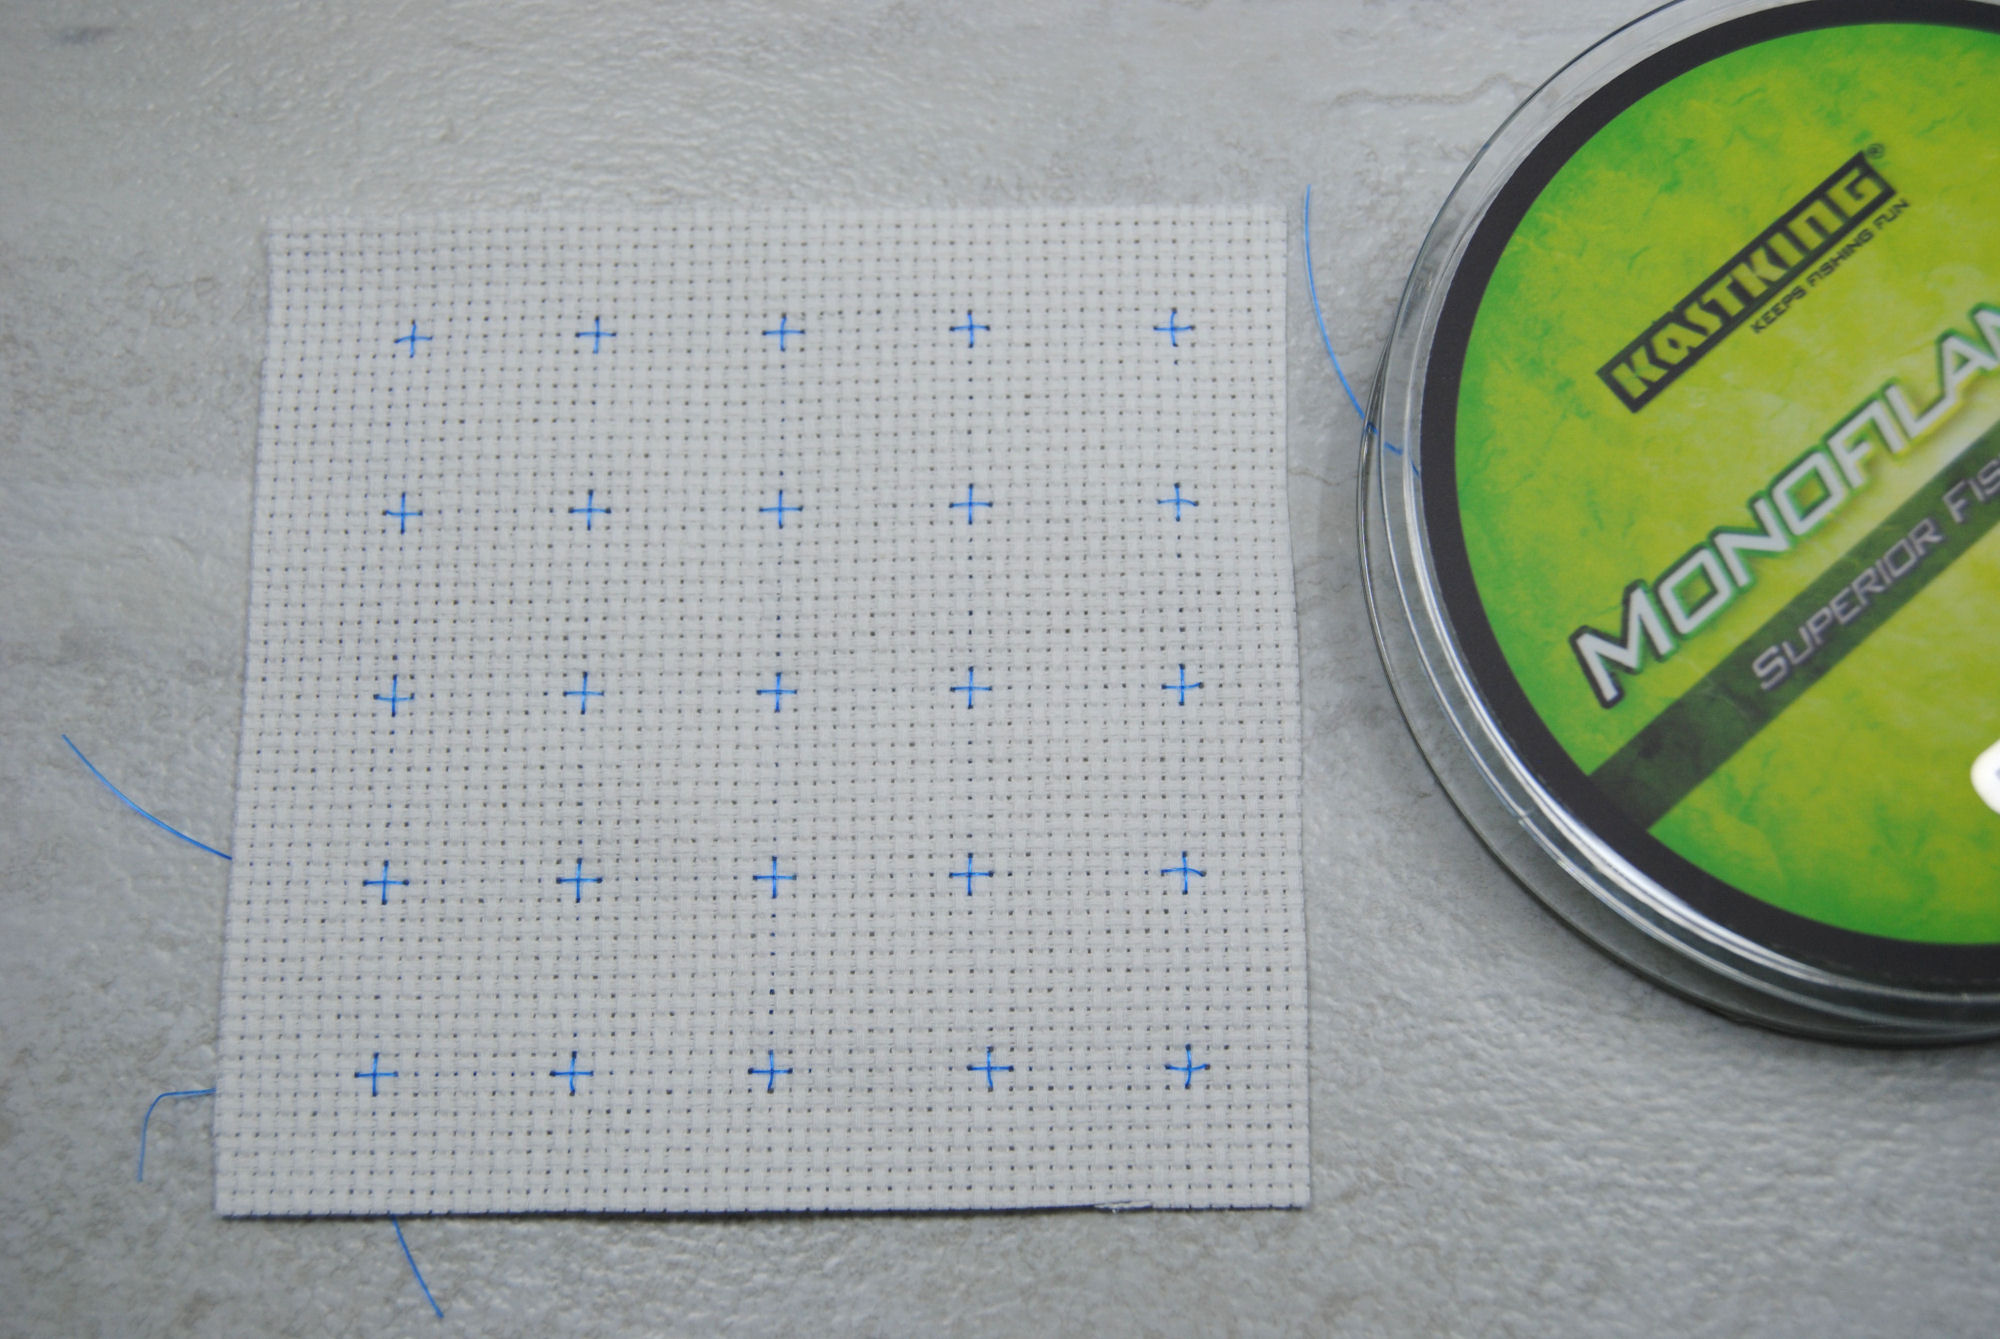
For this one I used that blue fishing line I mentioned previously. I honestly found it to feel basically the same as the Easy Count Guideline. But for basically the same price, I got 300 yards instead of 100 yards.
L shapes
Another gridding method are these ‘L’ shaped corners. Here you do vertical dashes every 5 stitches, and horizontal stitches every 5 stitches from the corners of those.
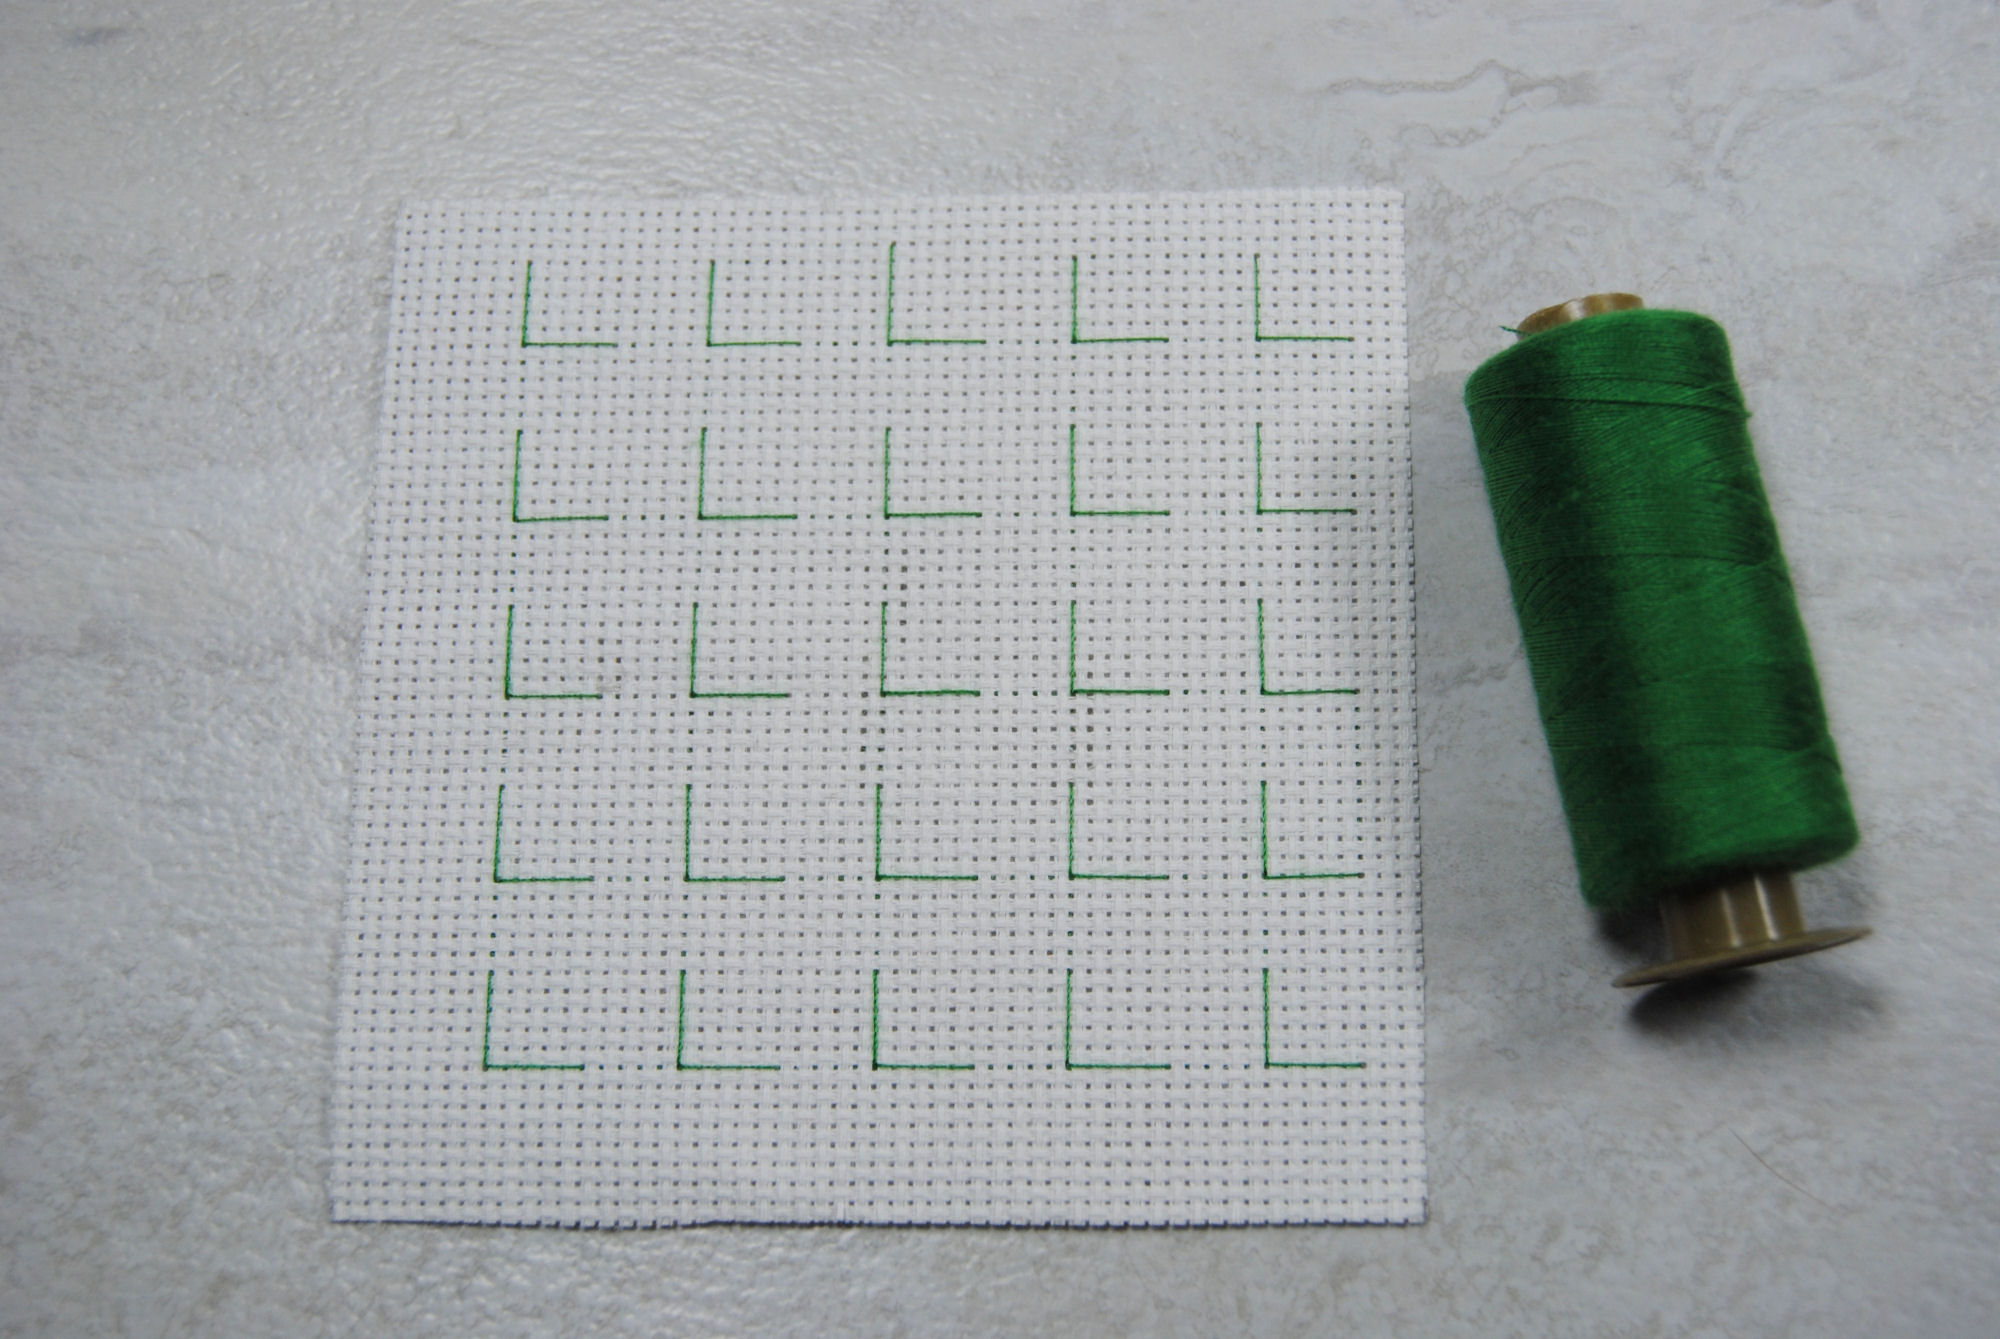
Please ignore the fact I miscounted the top middle L leg and it is 6 tall randomly. This was intentionally done to remind you that you can still miscount in this process. I definitely didn’t just notice while editing my photos. Nope. *cough*
Though you’ll note that when making a grid it’s much easier to tell at a glance that you’ve miscounted and can fix it before you ever start stitching.
Dashed lines
Blending filament is relatively expensive, so I wanted to use a method here that doesn’t use as much thread. In this example I’m only doing the horizontal lines, and spacing them apart every 10. Since I’m not doing any vertical gridding it uses about half as much thread as full gridding would use.
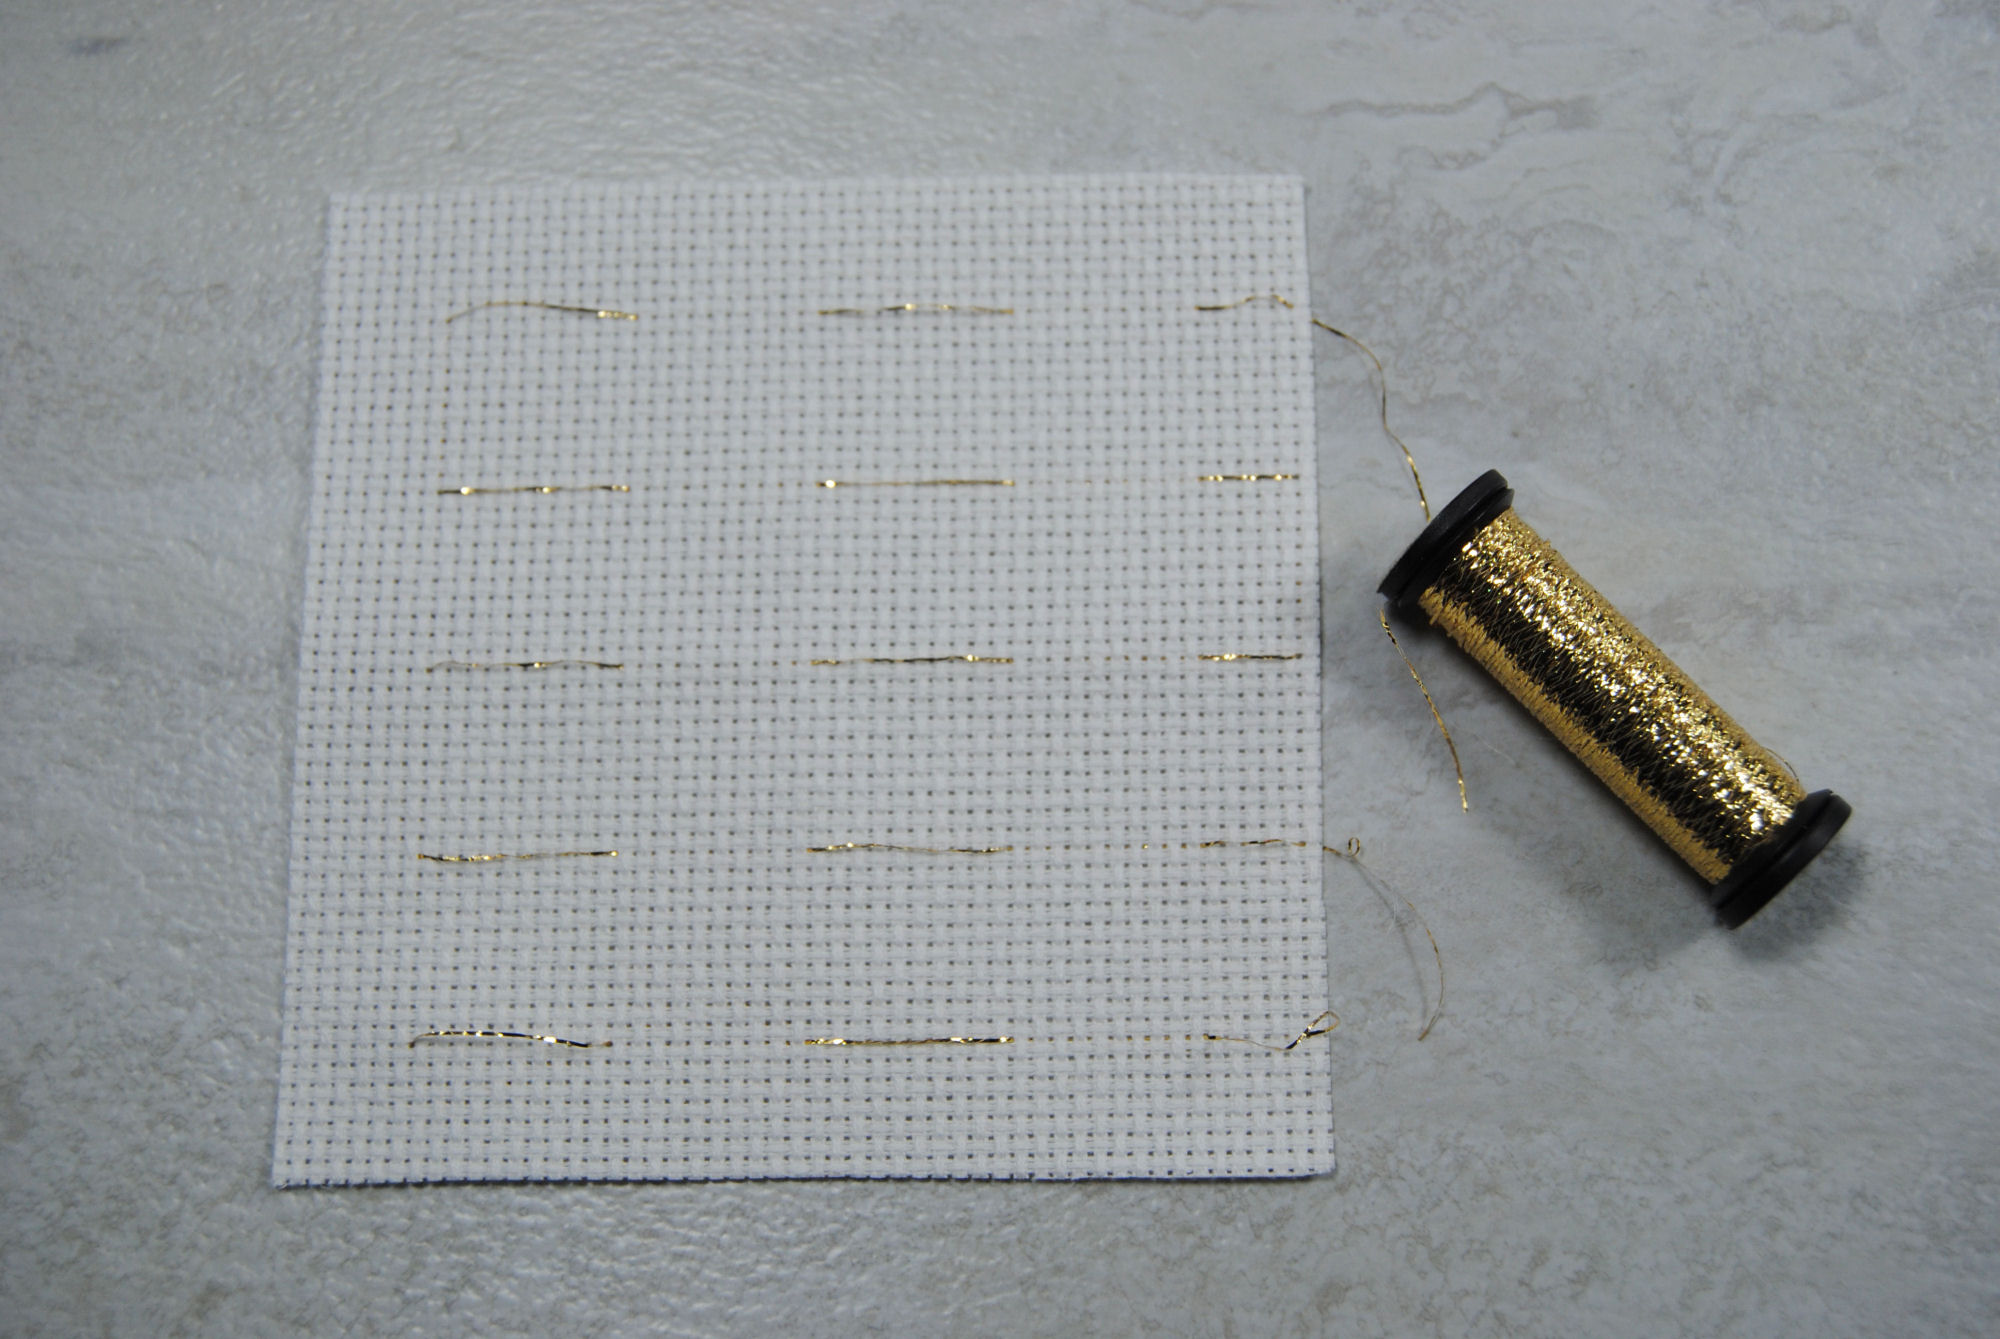
You can just kind of imagine the vertical lines based on where the thread stops and starts. Here you’ll also note that the blending filament is a bit kinked and looser than some of the other methods. It doesn’t bother me much, but your mileage may vary.
I also used this method on a HAED ages ago, using the DMC Satin thread I had laying around. I had to pull it out as I went to avoid getting it trapped in my stitches though.
Page changes
Since I mentioned that HAED of mine, I managed to dig up and old photo of it. This is Magic Witch by Sara Butcher. It’s a “Quick Stitch”, but the only HAED I’ve finished. The main reason I bring this up now is because you’ll see near the bottom of the photo I had a second set of gridding in purple to denote where the page changes were.

This is great for larger patterns that take up multiple pages so you can easily use that as a reference point. You’ll also note I was pulling out the grid as I finished a section or had enough stitches in an area to work as reference for future reference. That satin thread was easily accidentally stitched through. I do not recommend.
I also wanted to see if the Frixion gel pens worked as well as the marker pens astralcat used, so I did my own little sample using the pens I use in my planner. Using a different color to mark the center lines of the square.
The little rubber ‘eraser’ on these pens works well enough on fabric, but it definitely has trouble getting down into the holes since the friction heat is just on the surface of the fabric in that case.
After several days of this one hanging out on my desk waiting for me to finish making the other samples so I could photograph everything together… I ran this sample through some hot water and the markings pretty well disappeared. I was ready to call this a success.
Unfortunately, it’s also winter in Denver and my home office is in the basement, so it’s pretty chilly. It’s gotten as low as -2F (-19C) in the last week, and I don’t keep the heat on during the day downstairs since my partner’s office is upstairs and heating is expensive.
As you can see below, the lines started to faintly reappear.
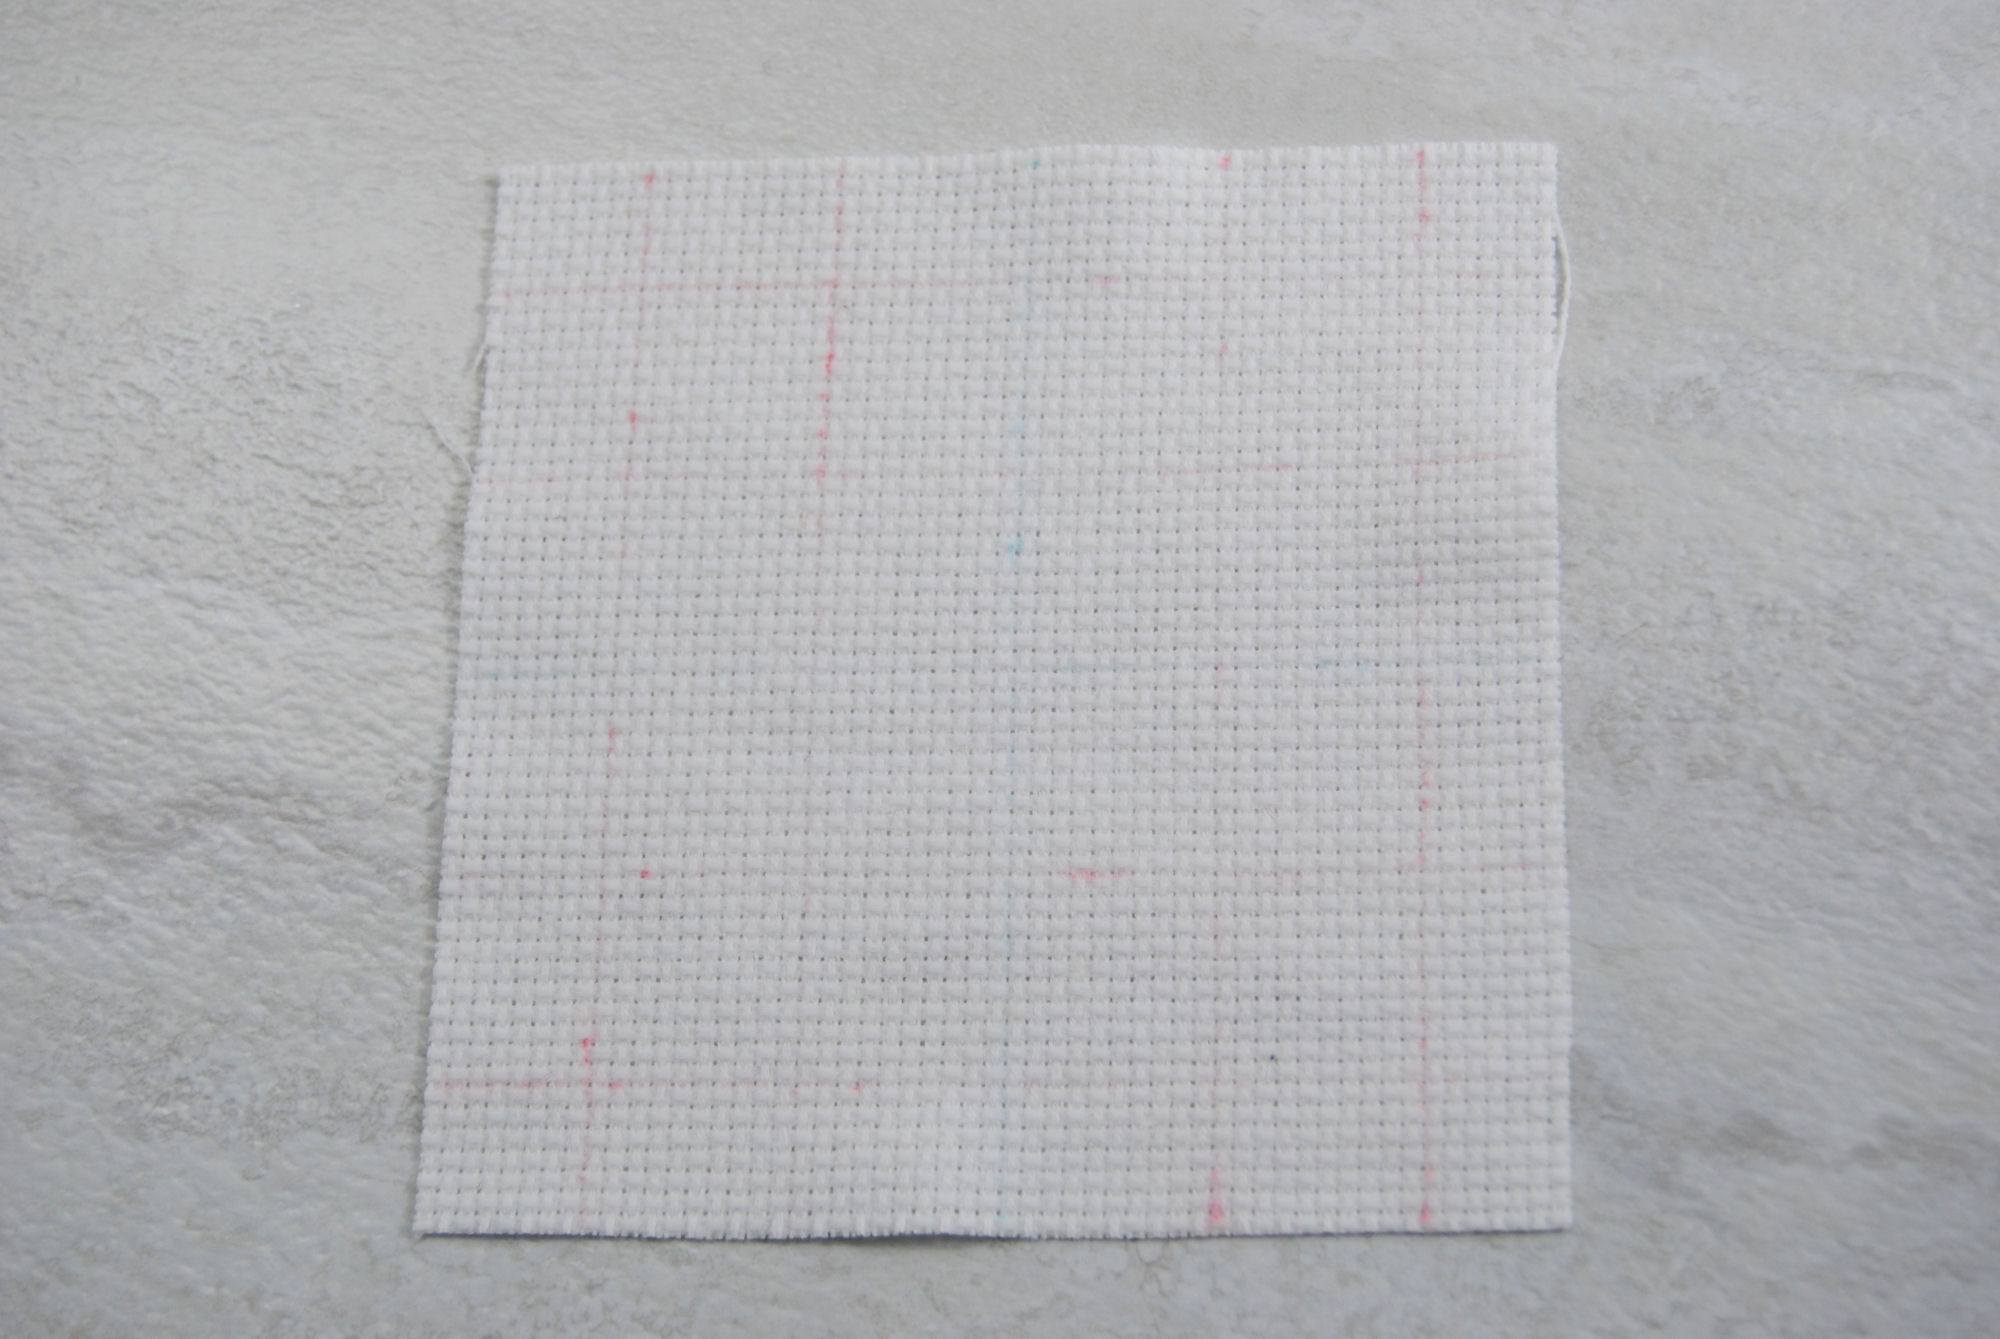
To be fair, it was gone again with a quick iron. Still something to keep in mind if you (or the person you’re gifting your project to) live in a cold climate.
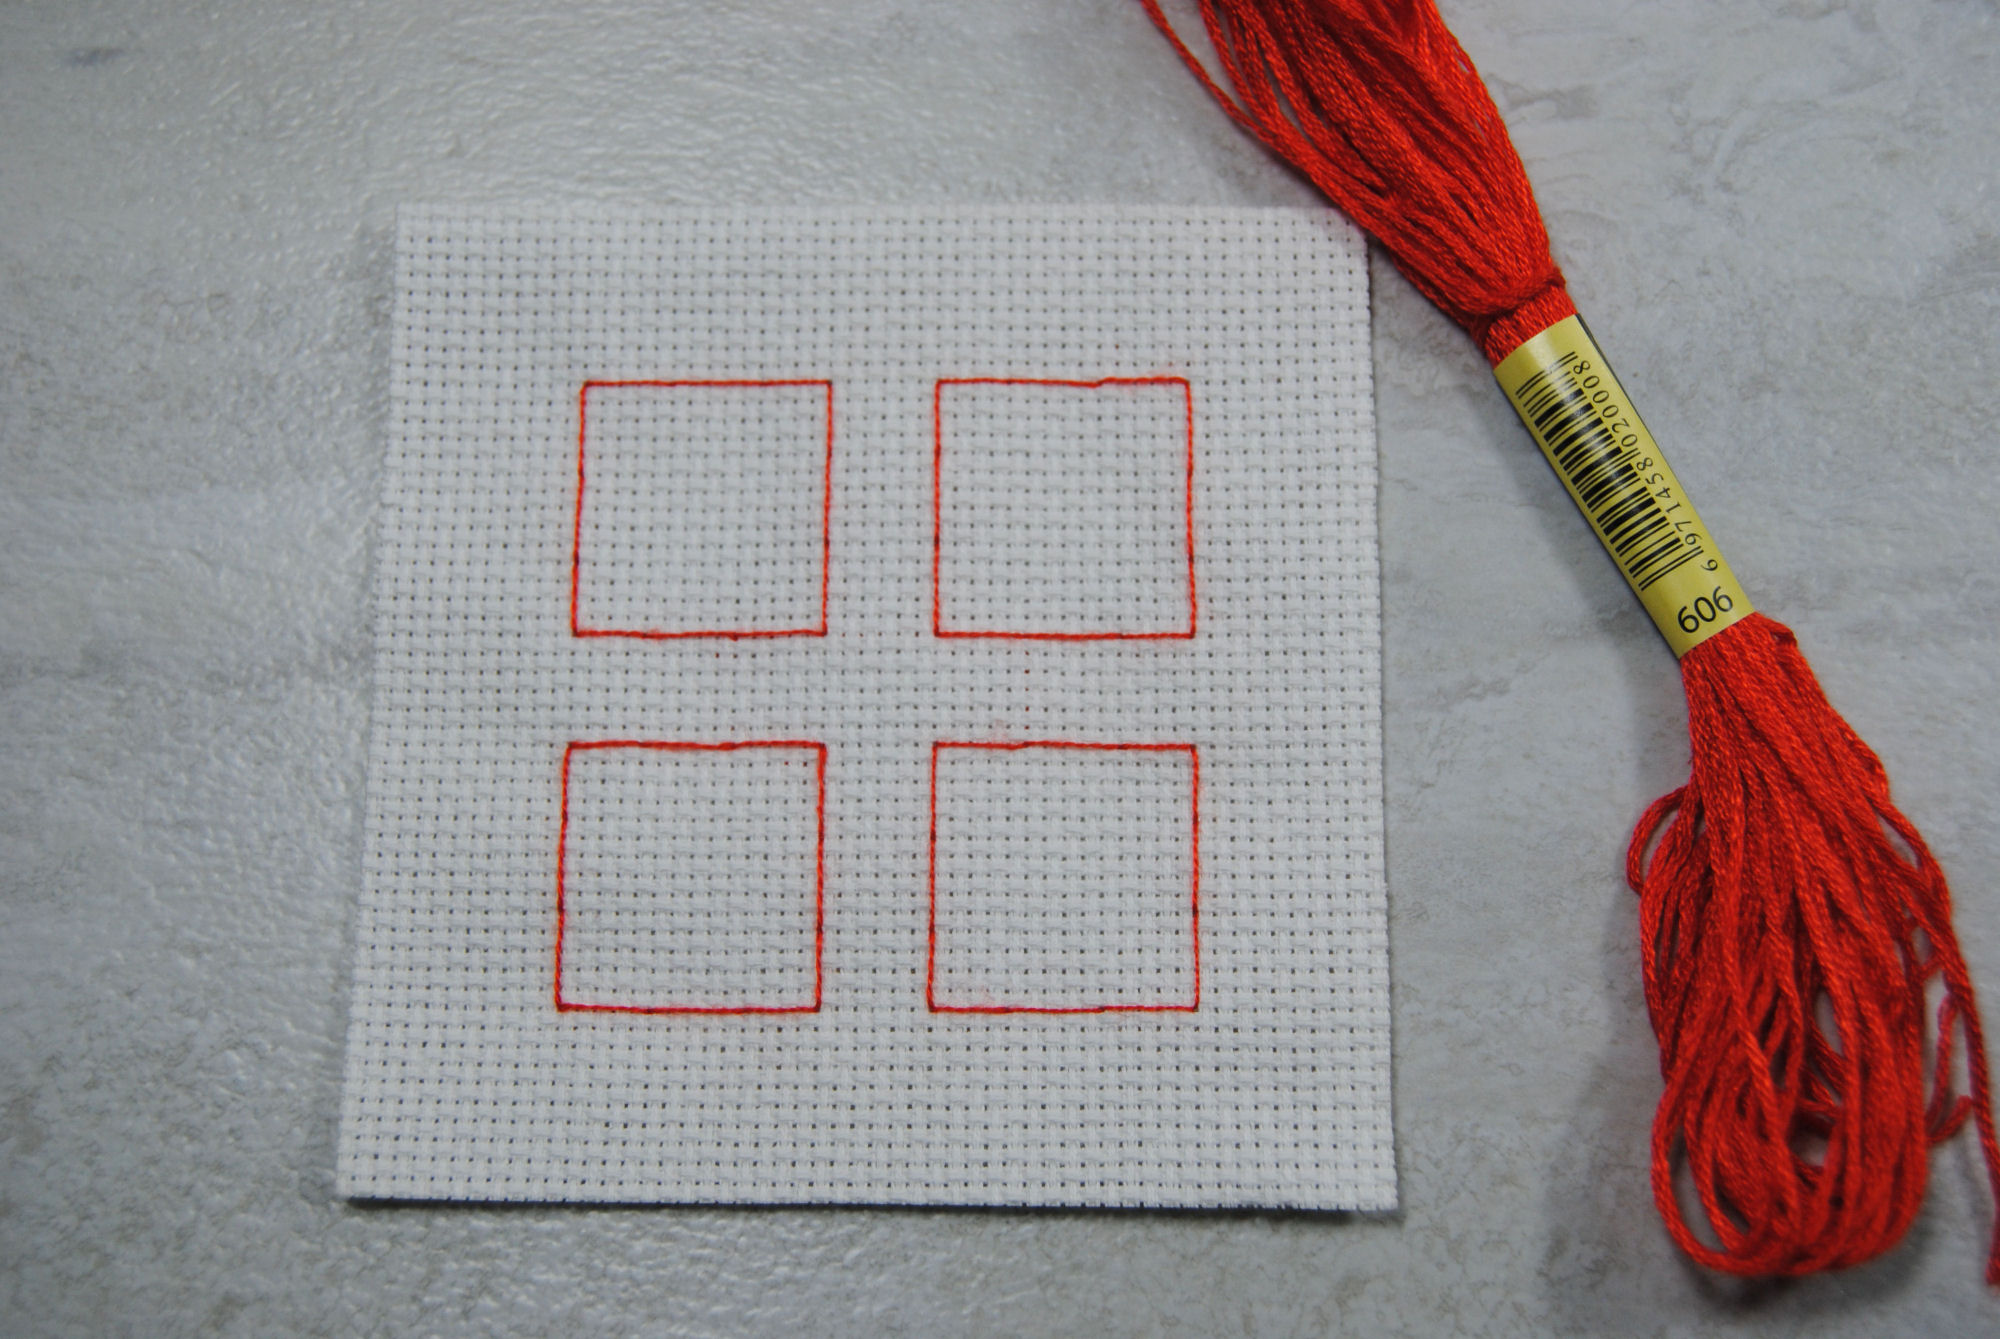
Outlines Only
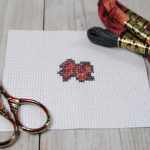
Lastly, a method I’ve already shown you at the beginning. Using it just to make sure you can fit multiple designs onto one page. Large scale, I showed you my Skyrim SAL with the big box outlines. For my mini samples I used single strand embroidery thread to make four 14×14 boxes. In case I wanted to fit four small sprite onto this fabric, spaced evenly apart.
Since I wouldn’t be stitching right up to the edge of the grid very much, I felt okay using normal embroidery thread. Again, just take extra care when using cotton thread that you’re not stitching through it.
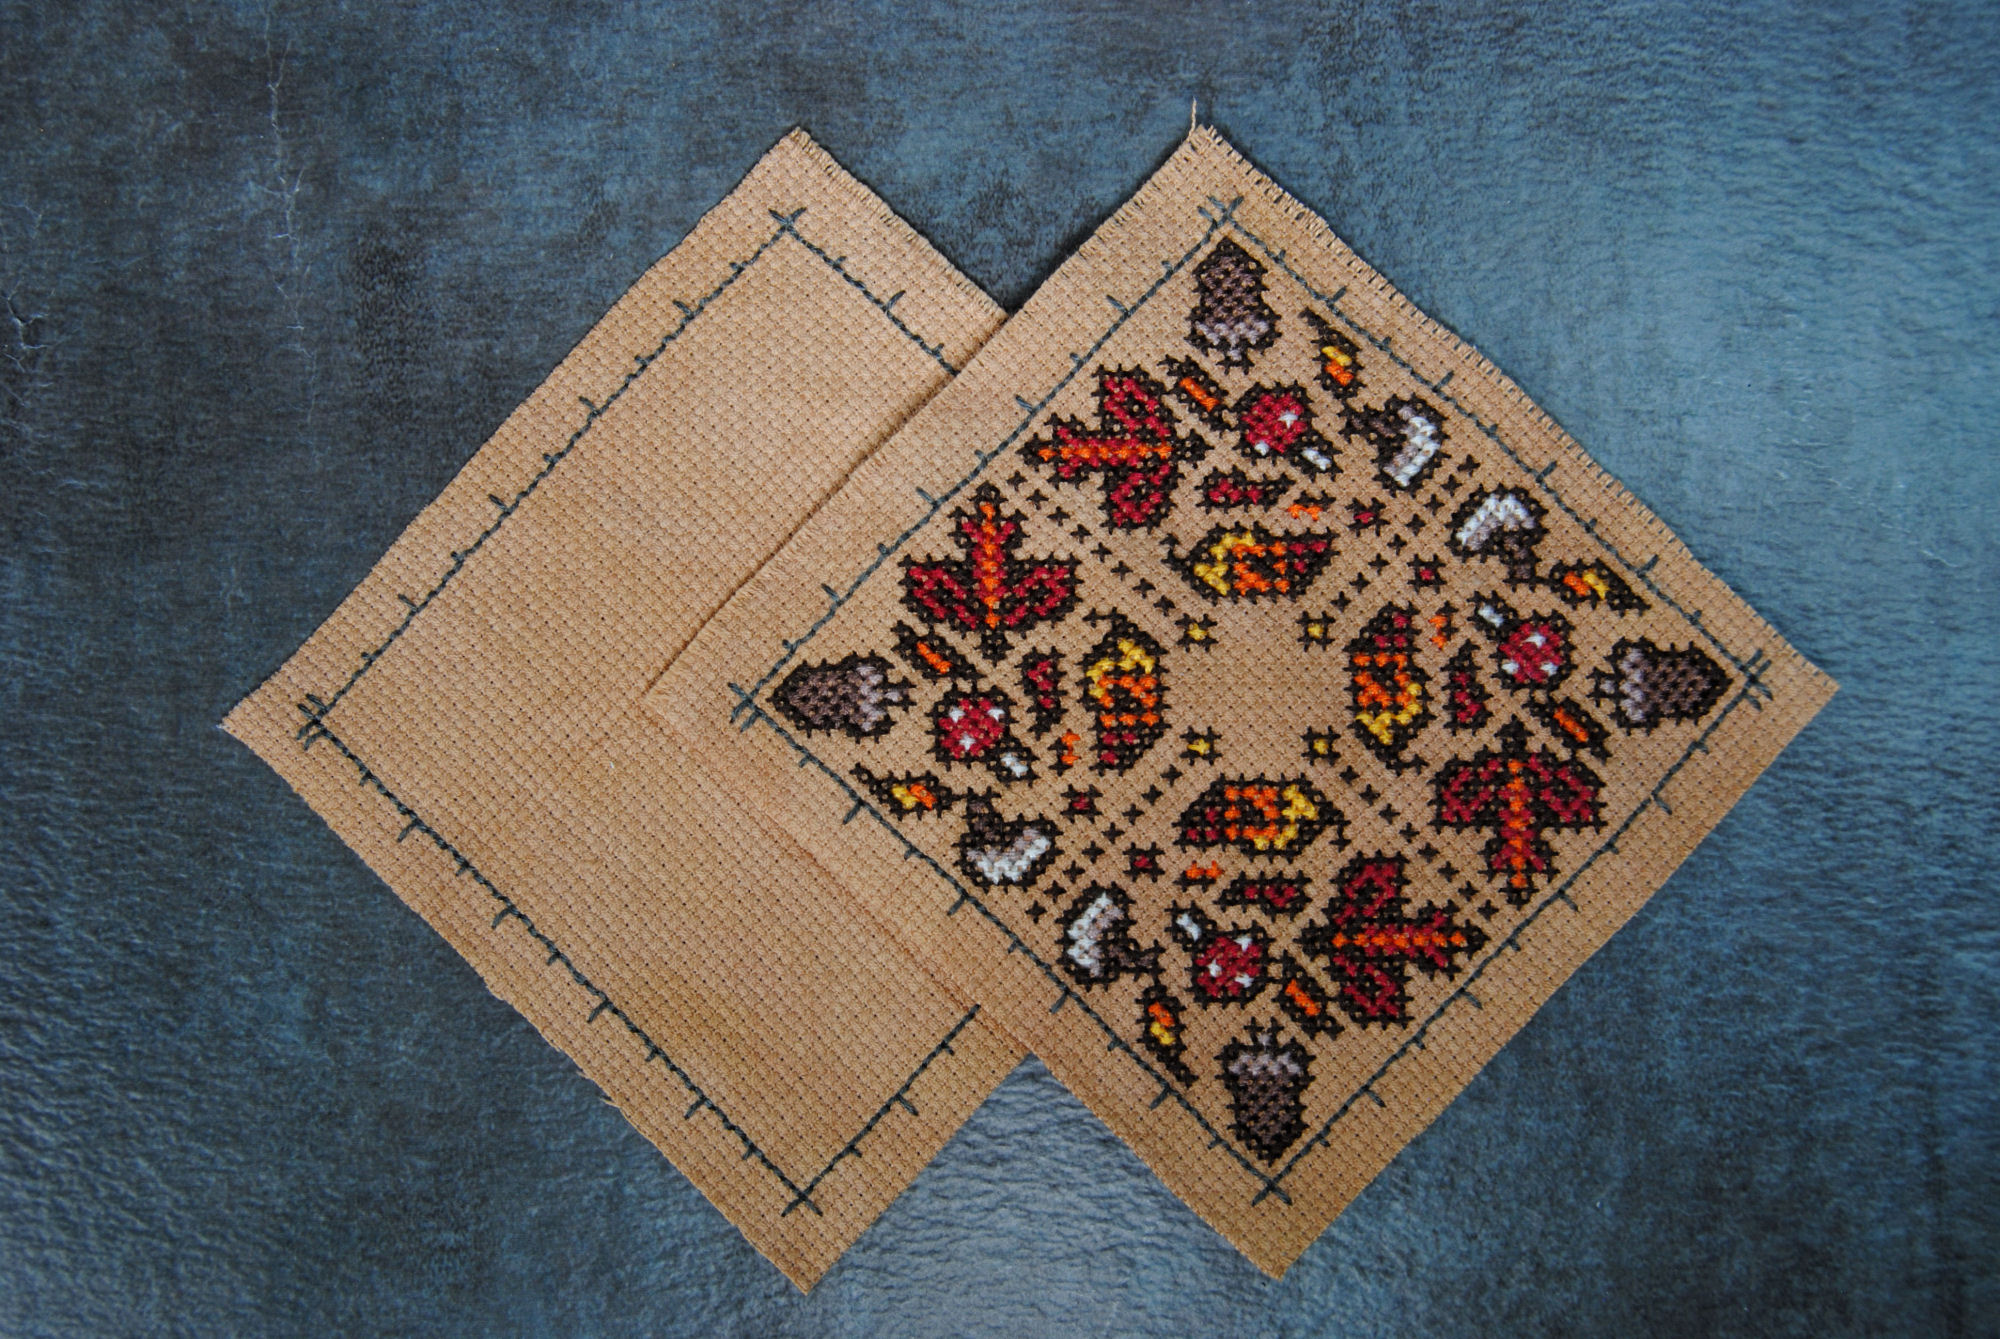
Of course, I’d be remiss to leave out my favorite ‘outline only’ gridding: Biscornu outlines! Not familiar with biscornu? They’re these cute little weirdly shaped pillows often used as pin cushions, ornaments, and more. Part of assembling them into cushions is making a backstitch outline square, but anything outside that square will be *inside* the cushion.
So, when starting a biscornu design I stitch the outline first and make little dashes on the outside to note every 5 and 10 stitches. This makes it a good reference for stitching the design inside, and I don’t have to pull it out when done!
Make your own design!
Ultimately, gridding should be whatever shape makes most sense to you. Make up a new technique, combine various ones like I did with my HAED or astralcat did with the pens. Don’t be afraid to think outside the box!
But also don’t feel obligated to grid at all if you’re comfortable stitching without one. As always, there’s no wrong way to stitch. 🙂
You might also like:
 Thread Starts for Cross Stitch — 7 Ways to Anchor Your First Stitch
 Cross Stitch Beginner’s Guide
 ORTs – What Do You DO With Your Leftover Cross Stitch Thread?
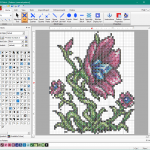 PCStitch Basics: Turning Pixel Art Into Cross Stitch
 Variegated Thread – Tips for Cross Stitching with Multicolor Floss
 Discontinued DMC: Hard to Find Threads and Their Replacements