
If you’re expecting some of those fancy super aesthetic Bujo spreads here, you may be sorely disappointed. On the other hand, you may simply be here for layout ideas. You may even appreciate representation of bullet journals made by mere mortals such as myself. Whichever camp you’re in, I hope you find some inspiration here regardless!
I don’t keep a full bullet journal. And I keep most of this information in spreadsheets, airtables, and other digital formats instead. But I was feeling inspired, spent too long browsing bujo Pinterest, and wanted to try my hand at designing some simple tracking layouts. I liked how they turned out, so I decided I may as well show you guys as well.
This post may contain affiliate links. If you buy something using one of these links, I earn a small commission. However, there is no extra cost to you. Thanks for understanding! Learn more in my Disclosures & Privacy Policy.
Table of Contents
Yearly Tracker
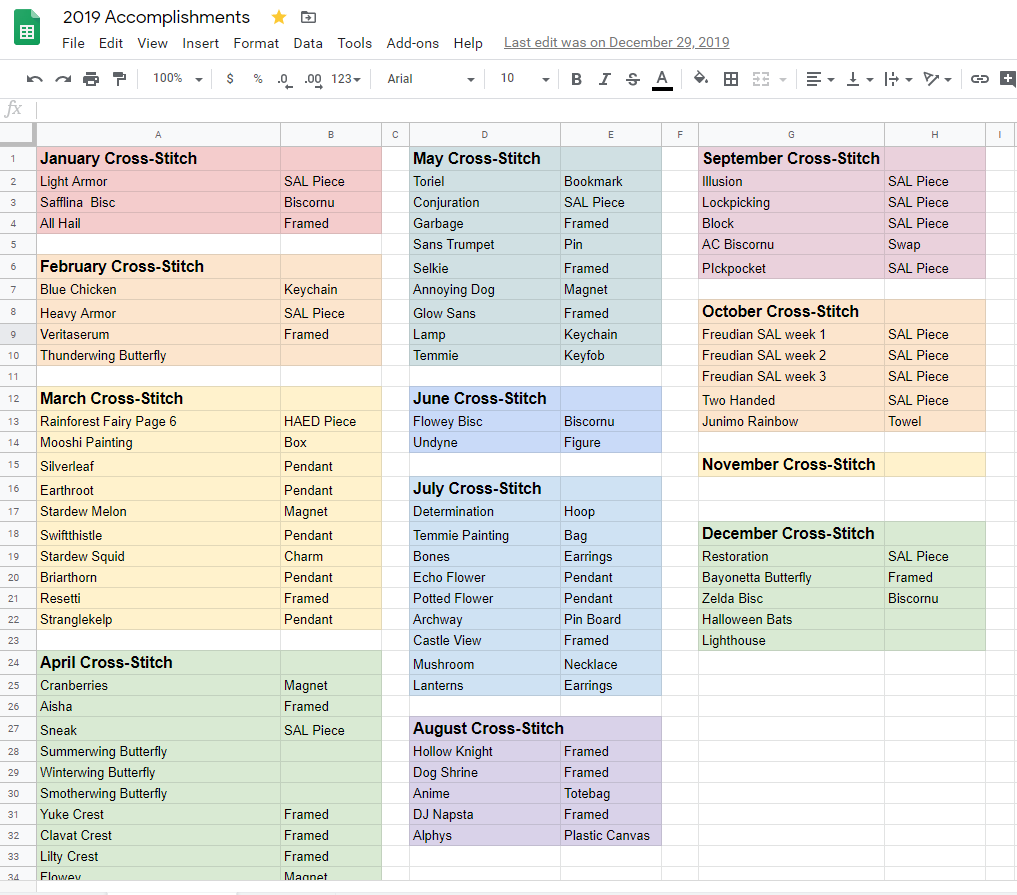
One of my favorite things to do is track all the different projects I finish in a given year. I typically do this via a spreadsheet as I’ve shown in my Tracking blog. When I’m feeling like I haven’t done ‘enough’, I use this to look back and see just how much I have accomplished already.
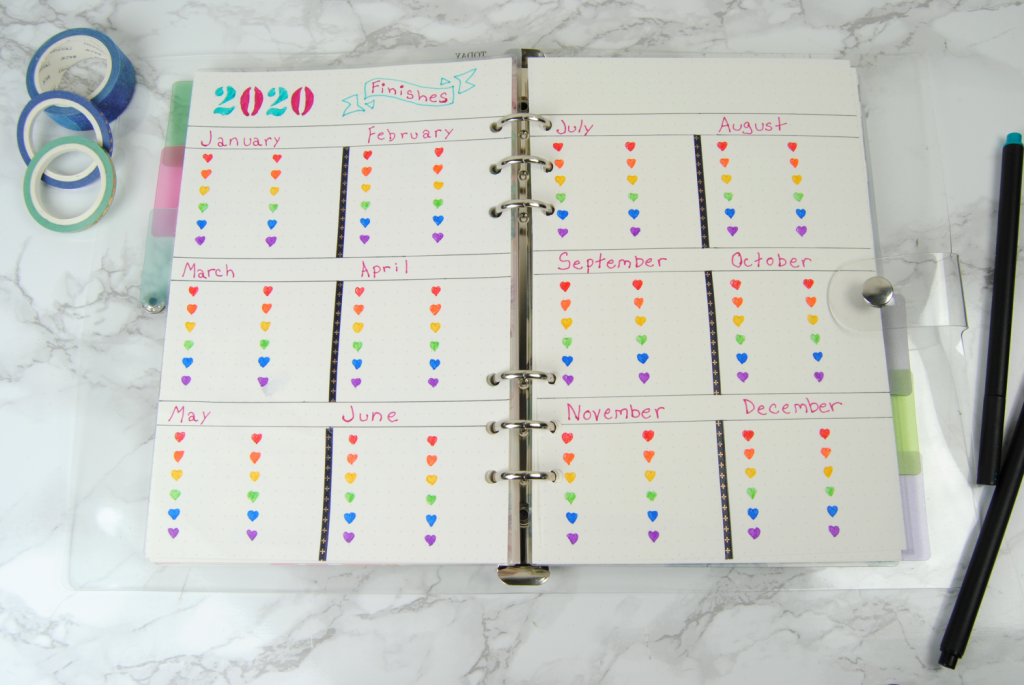
I wanted something more aesthetic for my bujo, but wanted to keep it as colorful as I could. Here’s what I came up with;
Before you ask, I’ll link the notebook I bought and all my tools at the end. 😉
I love the rainbow heart bullet points! They’re just so cheerful and fun to look at. You may think that’s a bit too many bullet points if you mostly do larger projects, so you may decide to just do the one row of them if needed.
With the exception of April, I definitely needed that second row though! Here’s what it looked like once I filled in what I’d made so far this year. And yes, I do count SAL parts as separate finishes. =P
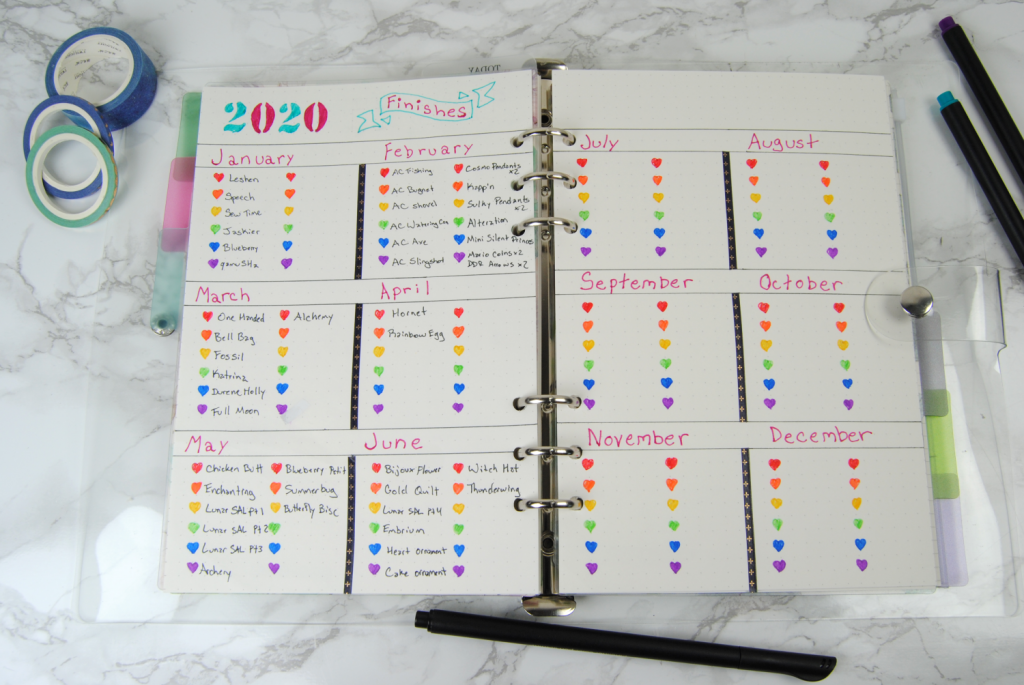
My handwriting may not be the neatest, but there’s still just something about writing things down. Meditative, almost.
Pattern Tracker
The next page I wanted to do was a tracker to keep track of my patterns and plans. I wanted to track basic stats like the fabric chosen, start and end dates, pattern designer etc.
After making a list of what I wanted to track, I divided my page in half. I sketched out where each section should go in pencil, then went back over it with pen and erased the pencil marks afterwards.
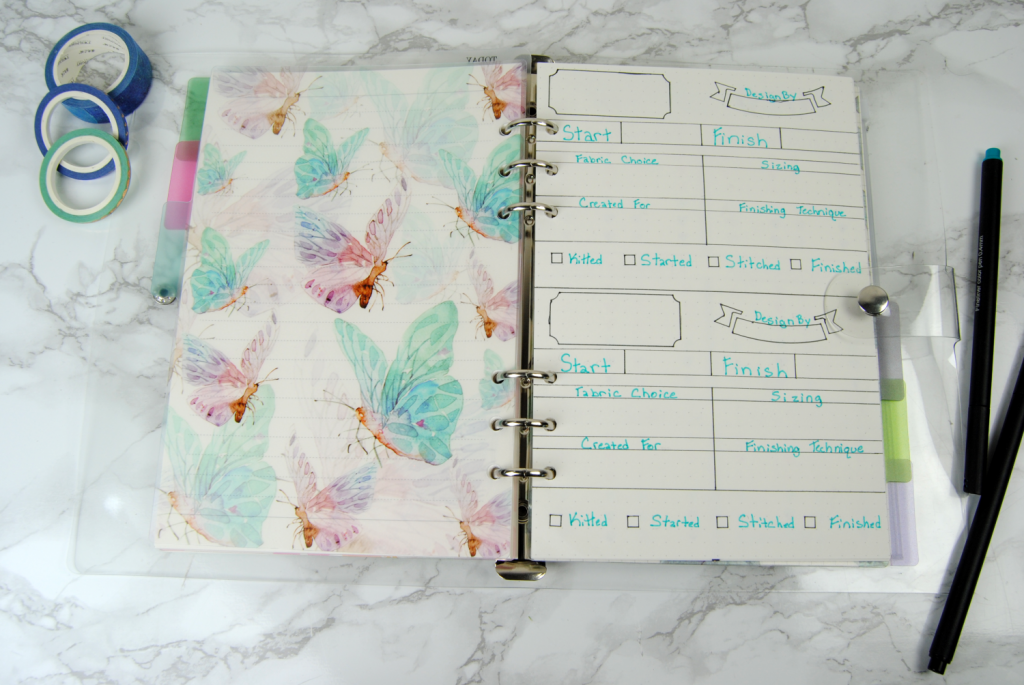
My friend has told me the teal is a bit hard to read. But it’s either not that bad in person or I just have better eyesight. I don’t know. You’re more than welcome to use a different color if you do this, though.
This spread took much longer to put together. And man do I have a new appreciation for all those super aesthetic and fanciful bujo spreads out there. They must take SO much time. I do love how it looks, though!

I went ahead and filled this page out as an example, but I doubt I’ll be making more of this page personally. I’m sticking to airtable so I have more time to actually stitch. 😉
I do love this notebook though, and have been using the non-dot grid sections for journaling, keeping track of my houseplants, doodling pattern ideas, and so forth. Speaking of which…
Materials
Because I know at least one person will ask, here are the materials I used;
I wanted a notebook that had the rings and I could easily move pages around as needed. I wanted it reasonably sized but not a full sized 3-ring binder.
This one ended up fitting those needs, plus it had some cute botanical dividers. It came with multiple types of paper so I could try them out and decided from there what pages to order to refill it with. Plus, the pencil pouch and ruler included seemed they would come in handy.
I ended up purchasing a journal ‘bundle’ due to sheer laziness. Mostly I just wanted washi tape and colored pens to play with, but the stencils did come in handy as well. Plus they fit comfortably in the pouch that came with the notebook! Win/win!
I can’t say whether or not they were worth the price, as I have no basis for comparison. But for a beginner journal-er like me, they honestly aren’t terrible.
Thanks for Reading!
I hope you enjoyed this silly foray into bullet journaling and that you found it at least a little interesting or inspiring. Let me know if you enjoyed this and if you’d like to see more of these vaguely cross-stitch adjacent posts and/or organizational techniques.
You might also like:
 ORTs – What Do You DO With Your Leftover Cross Stitch Thread?
 Cross Stitch Studio Tour – My Basement Home Office
 Thread Organization for Cross Stitch and Embroidery
 Storing Cross Stitch Patterns, WIPs, and Materials with a Filing Cabinet
 Advanced and Specialty Stitches: More Than Just Cross Stitch
 Discontinued DMC: Hard to Find Threads and Their Replacements