
I’ve had the idea to make a poseable 3D cross stitch for a long time now. Over a year ago I designed some patterns based on the Legend of Zelda Breath of the Wild butterflies thinking that’d be the perfect thing to turn into a hairclip or pin. I drew them at an angle though and I never quite got around to making a second version of them that would work in 3D. Until now, of course!
I don’t know if this is a thing other people would want to make, o for now I just converted the Thunderwing design. The pattern is up on Patreon if you’re interested. But any overhead butterfly pattern will work for this. Or other creatures! I bet a Dragonfly or even a Dragon would look amazing in this style!
The actual process for making these is pretty simple, and hopefully I answer all your questions in this post. Let me know if you need clarification on anything, though!
This post may contain affiliate links. If you buy something using one of these links, I earn a small commission. However, there is no extra cost to you. Thanks for understanding! Learn more in my Disclosures & Privacy Policy.
Table of Contents
Materials
This assumes you’ve already picked up a pattern and have the standard needle and thread on hand. Plus some basic scissors for cutting through plastic canvas. Otherwise, there’s not too much out of the ordinary needed!
- 14 Count Plastic Canvas – You can use lower count plastic canvas, but your pattern is going to end up much larger that way. Keep that in mind when purchasing! Also keep an eye on whether you want clear or white. This is commonly overlooked in online listings.
- 18 Gauge Wire – If you have wire on hand already, you could easily experiment with different gauges. I found 18 to not be too thick and easily pliable, but still thick enough to retain its shape well.
- Needle-nose pliers and wire cutters – It’s possible to improvise with household tools when working with wire, but these are pretty useful if you’re looking to work with wire more in the future.
- Pin Brooch or Hair Clip (Optional) – You can attach it to really anything you want, so be creative! I chose to attach it to a pin brooch.
Stitching on Plastic Canvas
If you haven’t stitched on plastic canvas before, that’s okay! There’s really not much to it. Use a standard tapestry needle and take it slow at first. On fabric we tend to get used to having our needle be able to go in at an angle. With plastic you pretty much have to go straight up and down. It does bend, but not a ton. So just be mindful of that.
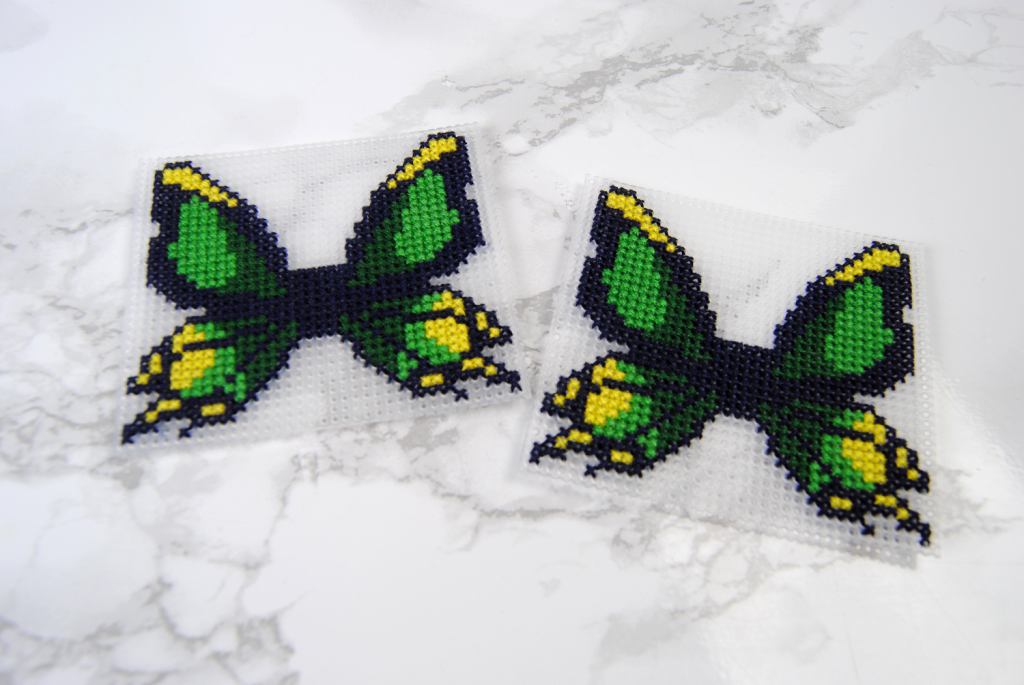
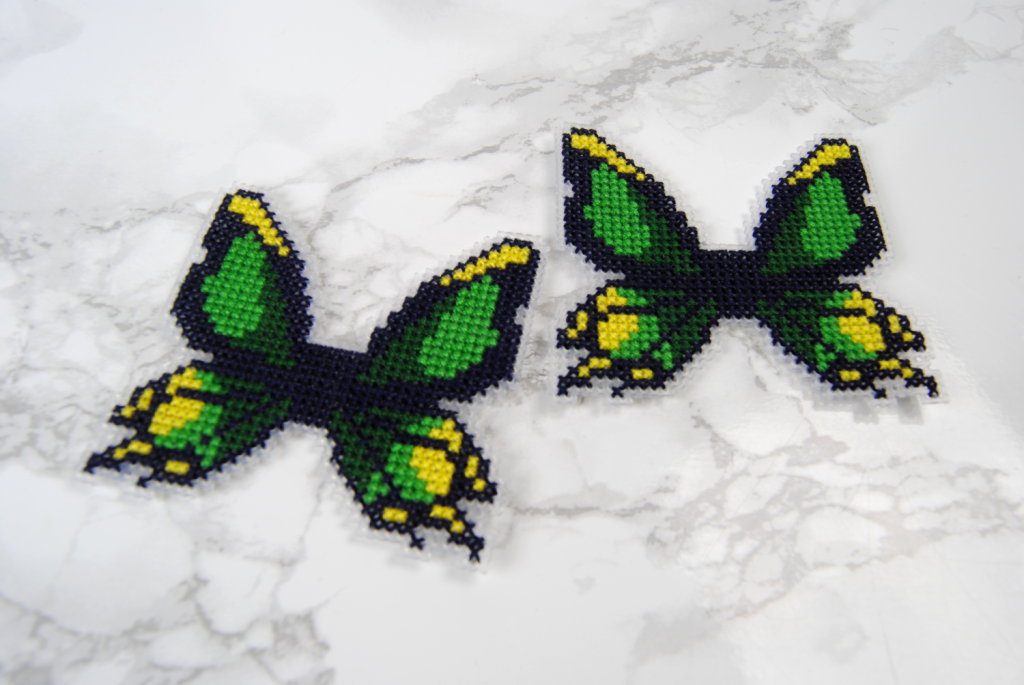
For this project I decided it would be best if it was double-sided, so I stitched two butterflies. You could also stitch just one and line the back with felt. But since this is going to be a 3D item I wanted the stitching to be visible from all angles.
With the pair of scissors I normally delegate to paper cutting, I carefully cut out the butterflies, cutting as close as I was comfortable. I know it’s hard to see since it’s clear plastic on a white table, but be sure to leave a border around the stitches so they don’t come loose!
3D Sculpting With Wire
Using my needlenose pliers I carefully bent my wire into a perfect outline of a butterfly, making sure to—
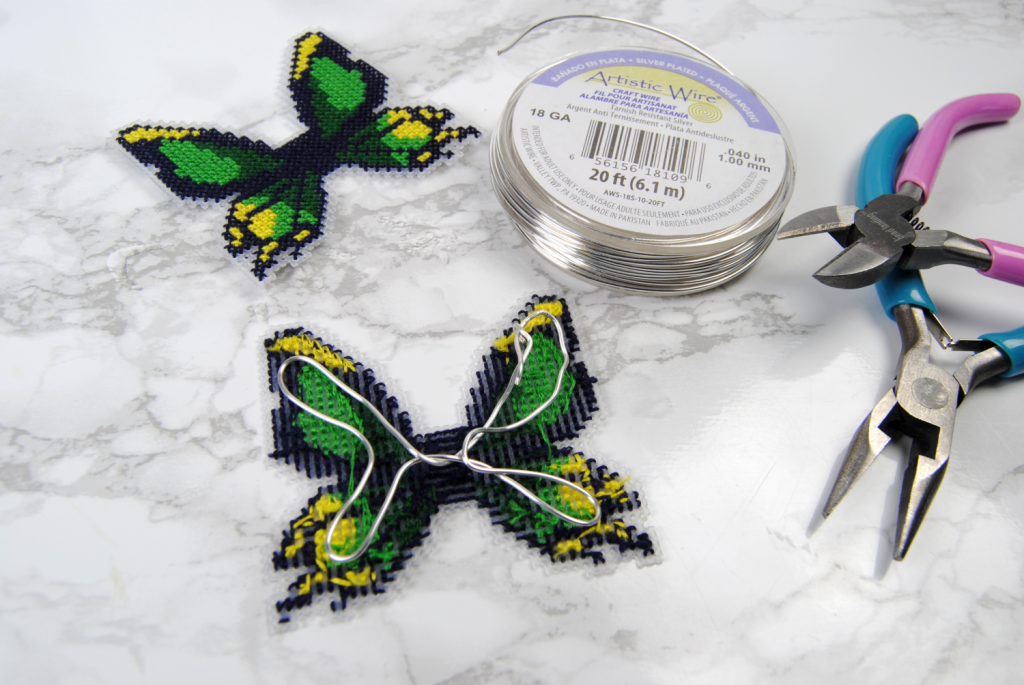
Okay look, it doesn’t have to be pretty. Seriously. It will not be visible. Look at this thing. It’s terrible. But it does it’s job. The main thing is to make sure the wire fits within the edges of your stitching, and gets all the key areas that you want to be able to pose. In this case, my focus was on making sure all four parts of the wings were bendable.
Plastic Canvas and Wire Sandwich
With the wire ‘carefully’ designed to fit within the general shape of my butterfly, I unceremoniously plopped my second butterfly on top and backstitched around the edges. This can get a bit annoying at first as the wire will constantly be trying to escape. But once you have one of the wings done, it will hold the wire well enough to get the rest outlined without issue.
Try not to keep the wire flat for this stage, as you want to keep the holes lined up until you’re done stitching.
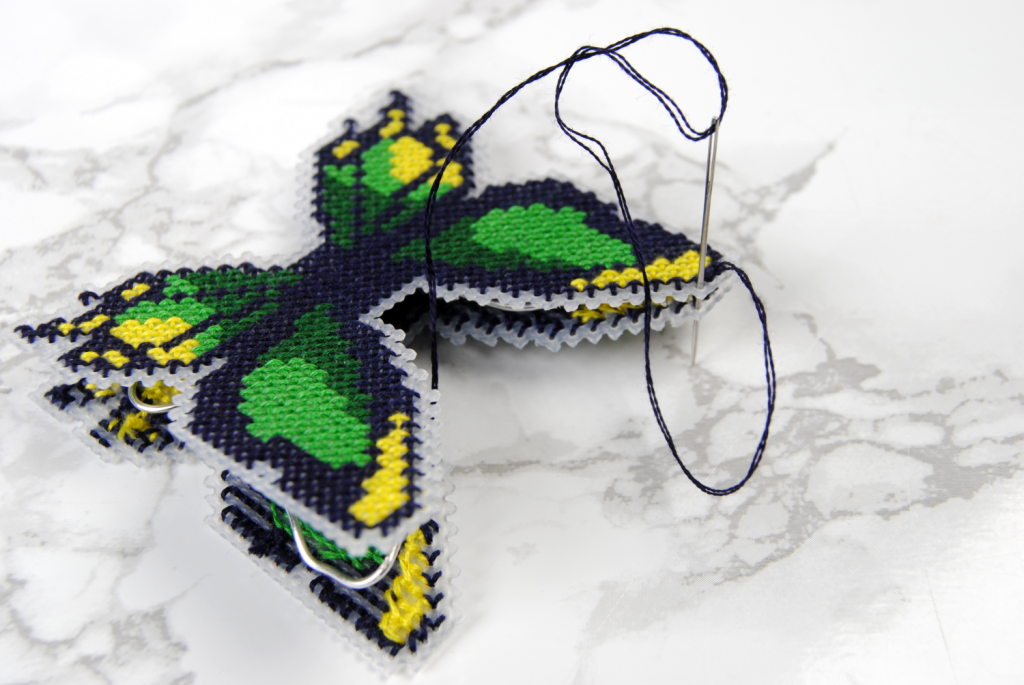
Once you’ve stitched all the way around, you should be able to easily bend the wire into whatever 3D pose you want.

Now, I personally don’t mind the clear plastic border around the stitch. However, some people prefer to wrap the edges with thread to match the design a bit better. That’s entirely up to you. However, I’ve never done it so I have NO advice for you on how to do it effectively. You’re gonna have to experiment and figure it out on your own. Sorry!
Attaching your Finishing
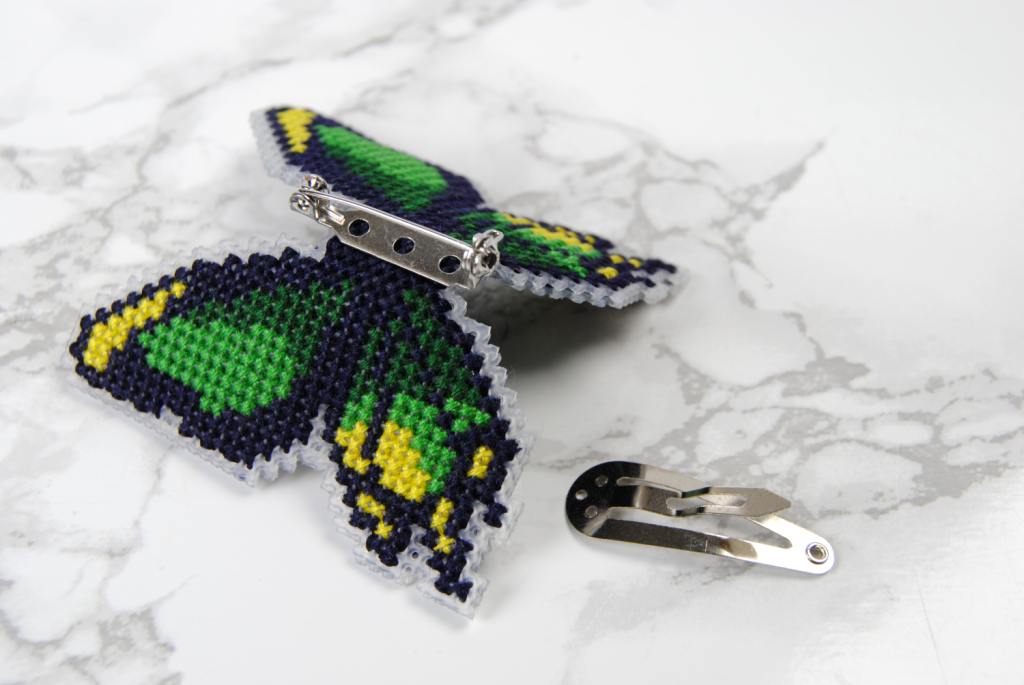
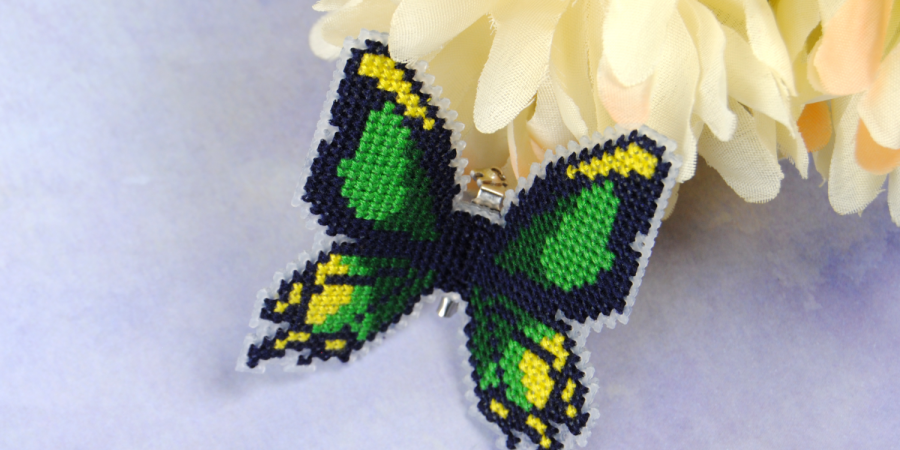
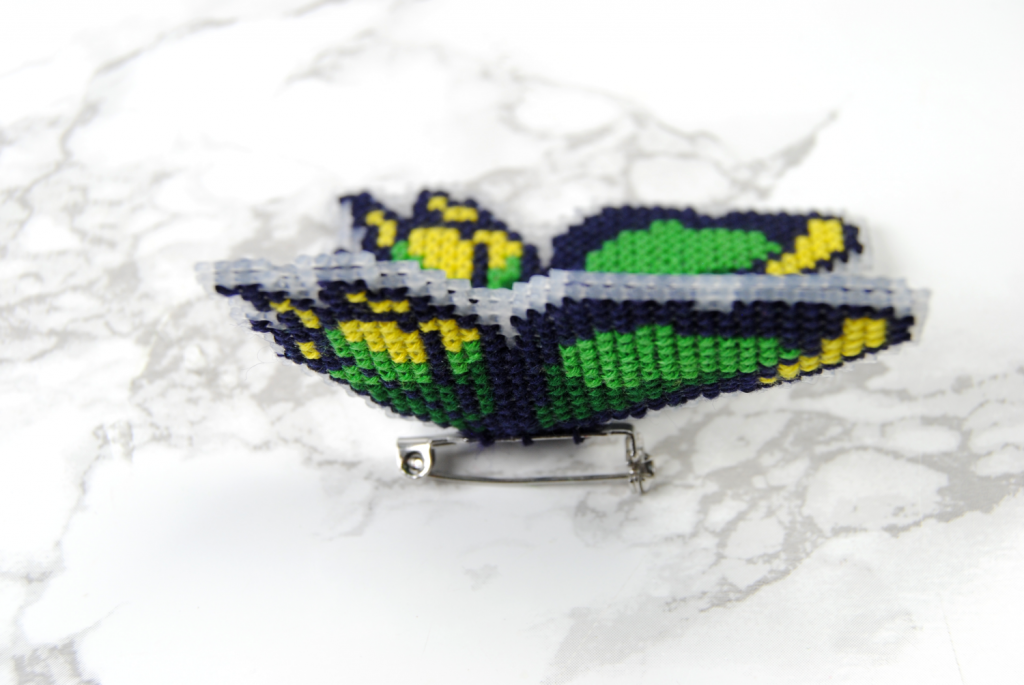
There’s not much room on the body of my butterfly, but luckily I had these 1″ (25mm) pin brooches on hand. They do stick out a little bit, but I don’t mind. They do make 3/4″ (19mm) ones, so keep that in mind.
You could also use a small hairclip like the one pictured here. The main thing is to make sure you’re securing it to a part that you don’t need to be able to bend later. In this case, I was pretty much limited to the ‘body’ of the butterfly.
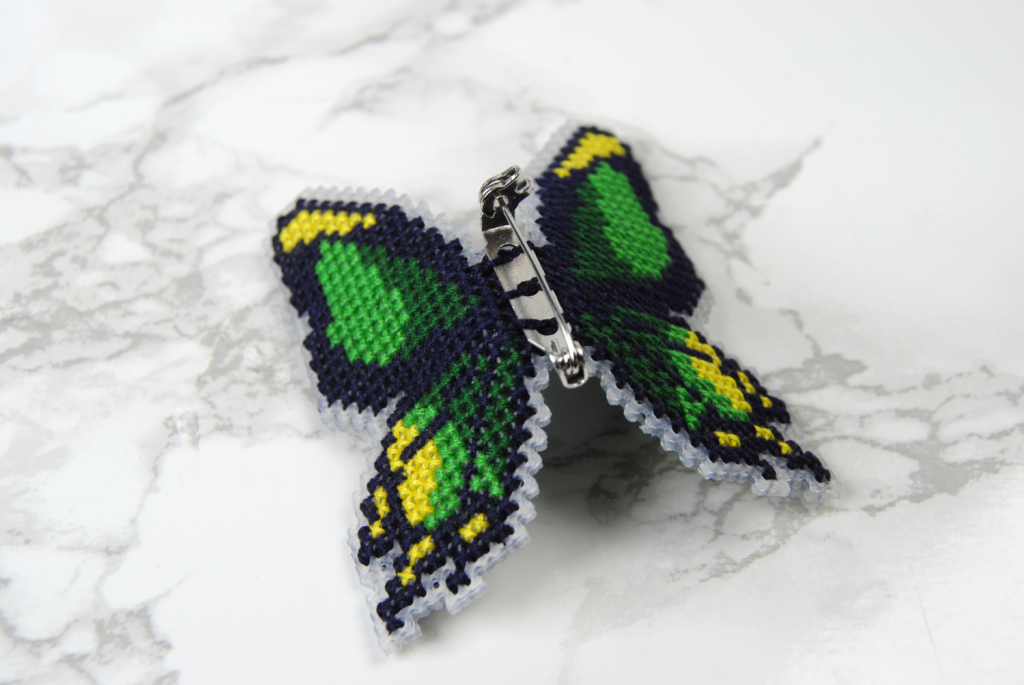
Thankfully the body is also entirely 939, so I could pretty much haphazardly stitch through both sides with the same color and not worry about the stitches being visible from the front.
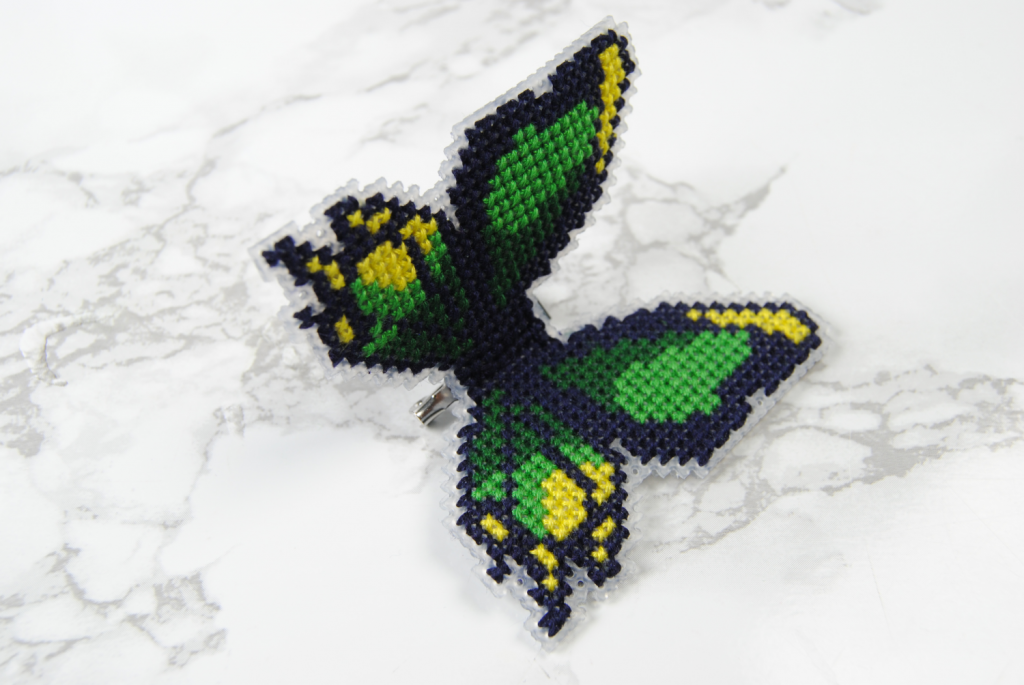
That really is all there is to it, though! Now you just have to contend with how frustratingly difficult it is to photograph 3D objects so you can post them online! I hope you get the general idea with these photos though.
Now I’m off to pin this to the shoulder of my dress so I can feel like a D*sney princess. 😉
You might also like:
 Flatfold No-Glue Cross Stitch Finishing Tutorial
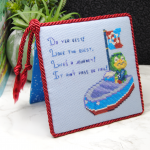
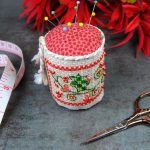 Pin Drum Cross Stitch Finishing Tutorial
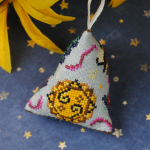 Humbug Tutorial: Ornaments, Pin Cushions, or Scissor Fobs?
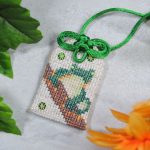 Omamori Tutorial – Cross Stitch Your Own Good Luck Charm
 Framing Tips for Cross Stitch – Inexpensive At-Home Finishing Techniques
 Scissor Cases – Safely Store Your Storks